The Gaming Guide Archives logo
Guides

All Gaming Guides

Browse every written guide on The Gaming Guide Archives. Find collectibles, walkthroughs, boss routes, beginner tips and completion pages by game.
276 guides
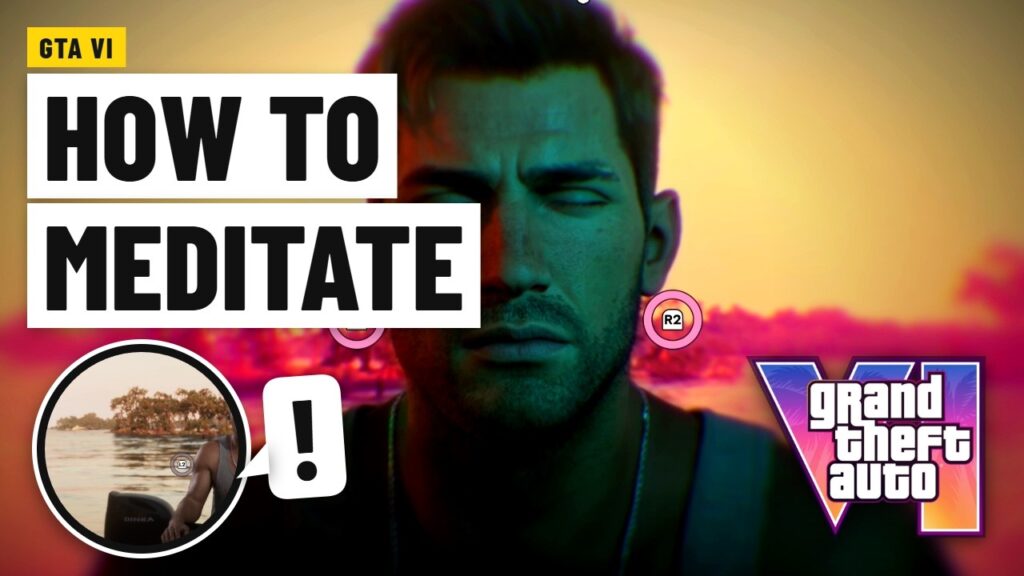
How to Meditate in GTA 6 guide image
Image: TGGA
Grand Theft Auto VI How to Meditate in GTA 6

Meditation helps raise your Focus stat. The first meditation happens at Jason's house in Chapter.

Beginner Guides

GTA 6 Beginner Tips: Cars, Weapons, Strength, Fishing and More (Video Guides) guide image
Image: TGGA
Grand Theft Auto VI GTA 6 Beginner Tips: Cars, Weapons, Strength, Fishing and More (Video Guides)

Short GTA 6 how-to videos for new players: customize and refuel your car, get it.

Beginner Guides

How to Customize Your Car and Change Your Hair in GTA 6 guide image
Image: TGGA
Grand Theft Auto VI How to Customize Your Car and Change Your Hair in GTA 6

GTA 6 lets you mod your car at mod shops and change Jason's and Lucia's.

Beginner Guides

How to Play Pool in GTA 6 guide image
Image: TGGA
Grand Theft Auto VI How to Play Pool in GTA 6

Pool in GTA 6 uses 8-ball rules. You pocket your group of solids or stripes.

Beginner Guides
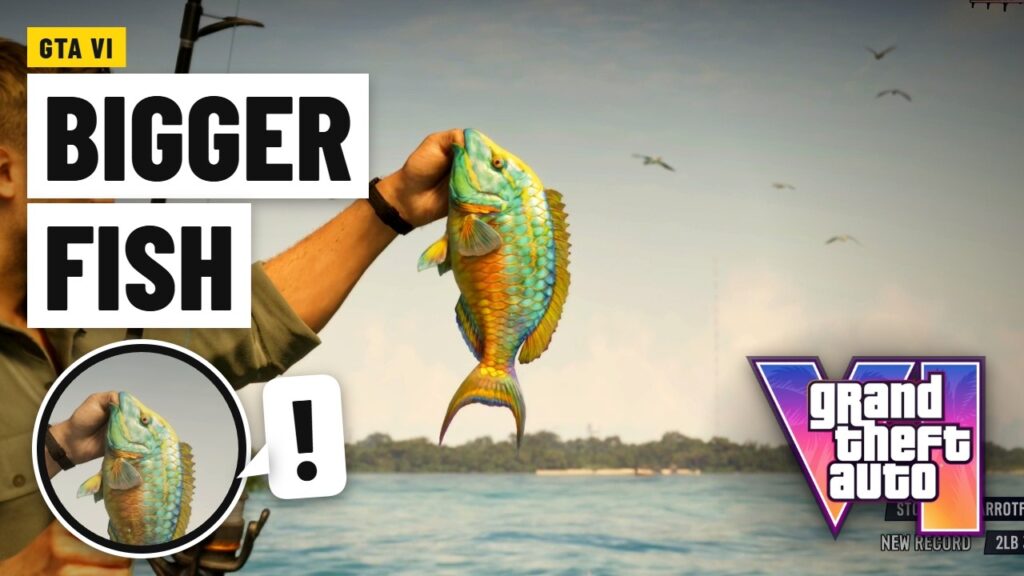
How to Catch a Stoplight Parrotfish in GTA 6 guide image
Image: TGGA
Grand Theft Auto VI How to Catch a Stoplight Parrotfish in GTA 6

Cal challenges Jason to catch a stoplight parrotfish heavier than 2 lbs in the side.

Beginner Guides
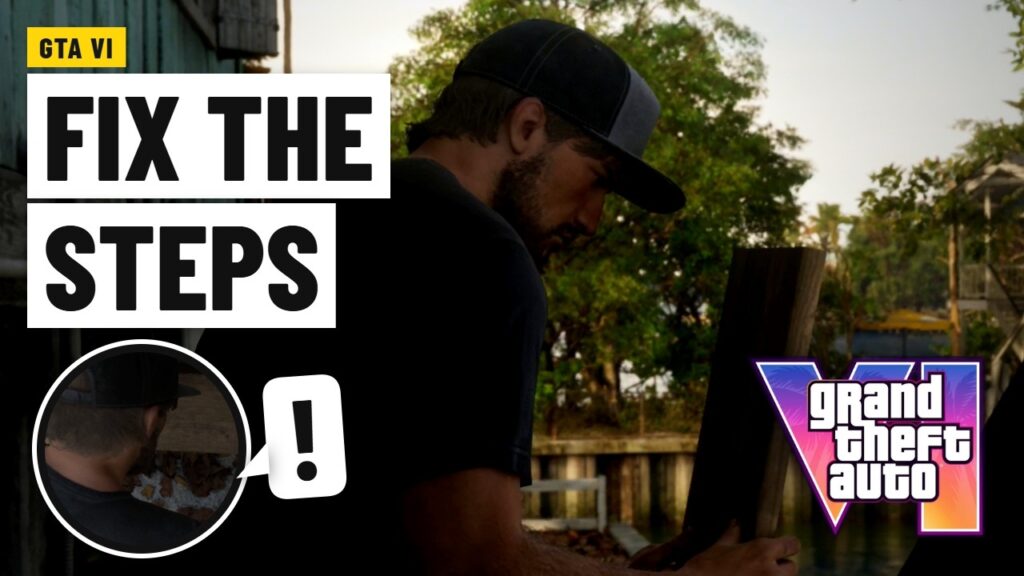
How to Fix the Steps at Jason’s House in GTA 6 guide image
Image: TGGA
Grand Theft Auto VI How to Fix the Steps at Jason’s House in GTA 6

The broken front steps are the first repair at Jason's house, and you have to.

Beginner Guides
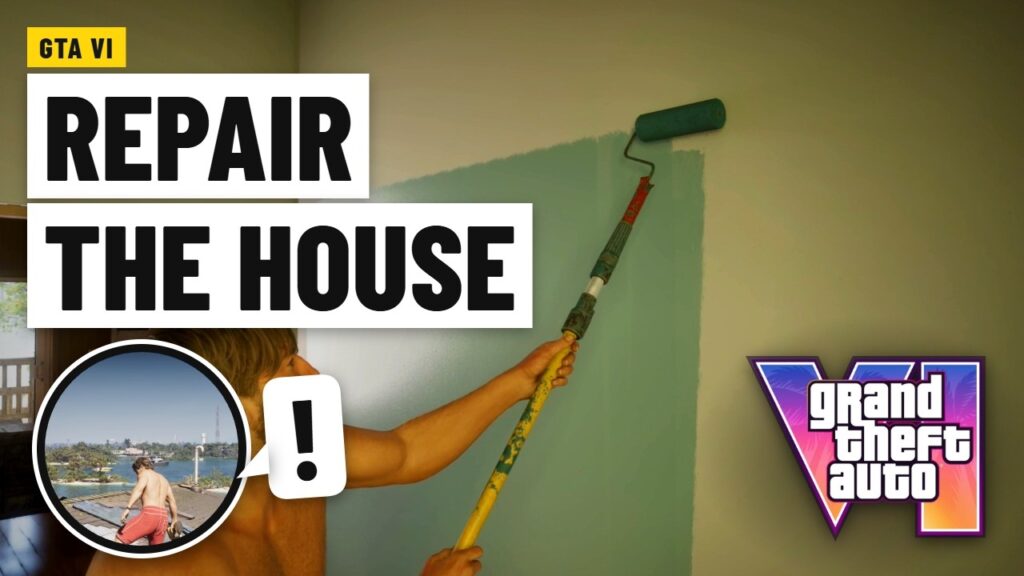
How to Repair Jason’s House in GTA 6 (All 4 Repairs) guide image
Image: TGGA
Grand Theft Auto VI How to Repair Jason’s House in GTA 6 (All 4 Repairs)

Jason's house in Key Lento is falling apart. After Gone Fishing you can fix four.

Beginner Guides
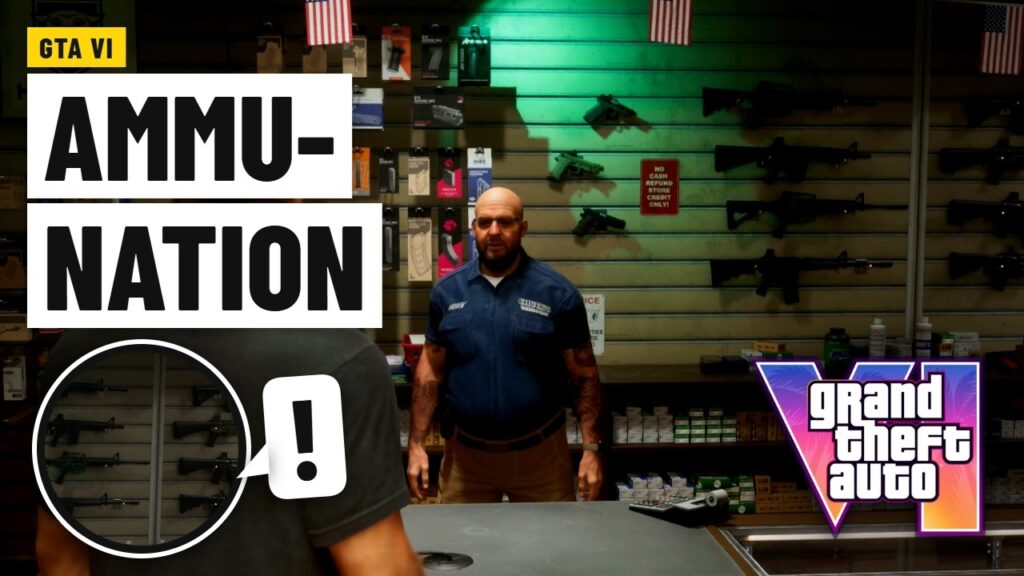
How to Buy Weapons at Ammu-Nation in GTA 6 guide image
Image: TGGA
Grand Theft Auto VI How to Buy Weapons at Ammu-Nation in GTA 6

Ammu-Nation is where you buy guns, ammo, armor and attachments in GTA 6. You first.

Beginner Guides

How to Get Stronger in GTA 6 (Strength Stat) guide image
Image: TGGA
Grand Theft Auto VI How to Get Stronger in GTA 6 (Strength Stat)

Jason and Lucia both have three stats: Strength, Cardio and Focus. Strength raises your maximum.

Beginner Guides
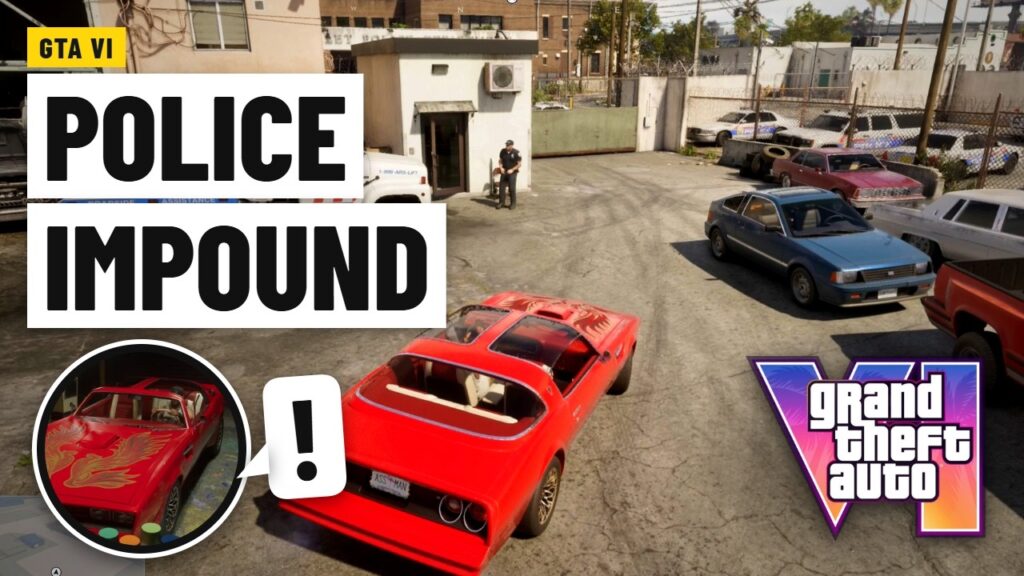
How to Get a Car Out of the Police Impound in GTA 6 guide image
Image: TGGA
Grand Theft Auto VI How to Get a Car Out of the Police Impound in GTA 6

If you leave your personal car behind in a police search area, it gets impounded..

Beginner Guides
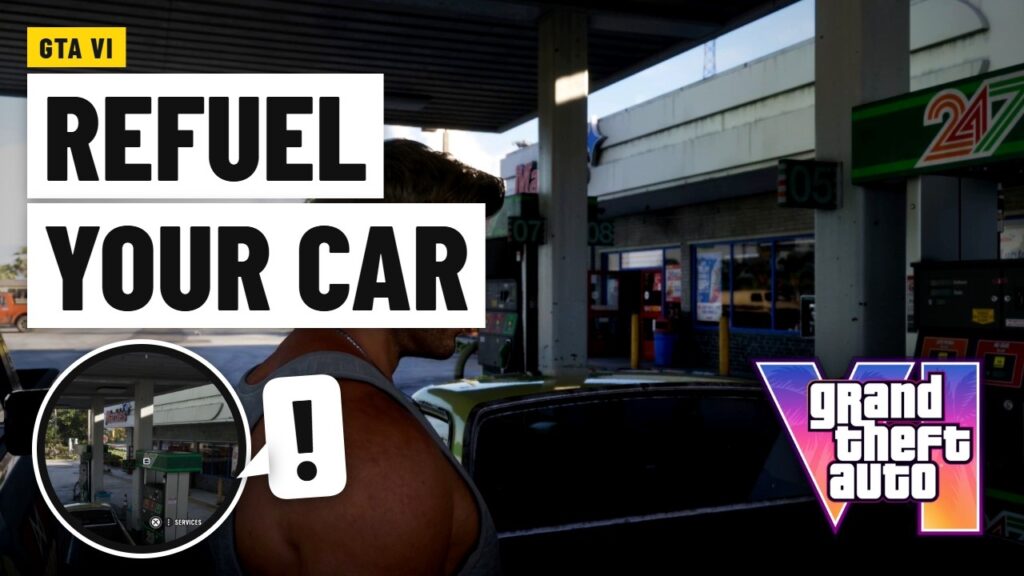
How to Refuel Your Car in GTA 6 guide image
Image: TGGA
Grand Theft Auto VI How to Refuel Your Car in GTA 6

Cars in GTA 6 use fuel as you drive, so sooner or later you have.

Beginner Guides
All 5 Empty Bottle Locations in Ocarina of Time (Switch 2) guide image
Image: TGGA
Ocarina of Time (Switch 2) All 5 Empty Bottle Locations in Ocarina of Time (Switch 2)

Where to find all 5 Empty Bottles in the Ocarina of Time remake on Switch.

Collectibles
Shadow Temple Walkthrough and Bongo Bongo Boss Guide (Ocarina of Time Switch 2) guide image
Image: TGGA
Ocarina of Time (Switch 2) Shadow Temple Walkthrough and Bongo Bongo Boss Guide (Ocarina of Time Switch 2)

How to get into the Shadow Temple in the Ocarina of Time remake on Switch.

Walkthrough
Biggoron’s Sword Trading Sequence in Ocarina of Time (Switch 2) guide image
Image: TGGA
Ocarina of Time (Switch 2) Biggoron’s Sword Trading Sequence in Ocarina of Time (Switch 2)

The full adult trading sequence for Biggoron's Sword in the Ocarina of Time remake on.

Walkthrough
Ocarina of Time Upgrades Guide: Wallets, Quiver, Double Defense and Light Arrows (Switch 2) guide image
Image: TGGA
Ocarina of Time (Switch 2) Ocarina of Time Upgrades Guide: Wallets, Quiver, Double Defense and Light Arrows (Switch 2)

Where to get the Adult's Wallet, Giant's Wallet, Big Quiver, Double Defense and Light Arrows.

Unlockables
Ganon’s Castle Walkthrough: All 6 Trials, Ganondorf and Ganon (Ocarina of Time Switch 2) guide image
Image: TGGA
Ocarina of Time (Switch 2) Ganon’s Castle Walkthrough: All 6 Trials, Ganondorf and Ganon (Ocarina of Time Switch 2)

How to get into Ganon's Castle in the Ocarina of Time remake on Switch 2,.

Walkthrough
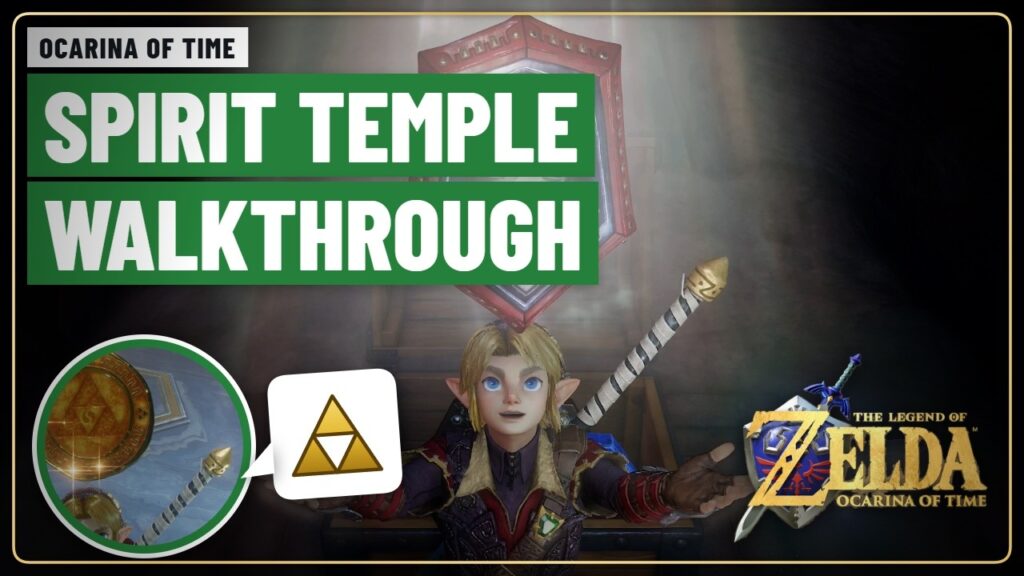
Spirit Temple Walkthrough: Young Link, Adult Link and Twinrova (Ocarina of Time Switch 2) guide image
Image: TGGA
Ocarina of Time (Switch 2) Spirit Temple Walkthrough: Young Link, Adult Link and Twinrova (Ocarina of Time Switch 2)

The full Spirit Temple route in the Ocarina of Time remake on Switch 2: Gerudo.

Walkthrough
Ocarina of Time Remake Gold Skulltula Guide (Switch 2) guide image
Image: TGGA
Ocarina of Time (Switch 2) Ocarina of Time Remake Gold Skulltula Guide (Switch 2)

This guide lists all 100 Gold Skulltulas in The Legend of Zelda: Ocarina of Time.

Collectibles
Ocarina of Time Remake Heart Piece Guide (Switch 2) guide image
Image: TGGA
Ocarina of Time (Switch 2) Ocarina of Time Remake Heart Piece Guide (Switch 2)

This guide lists all 36 Pieces of Heart in The Legend of Zelda: Ocarina of.

Collectibles
Ocarina of Time Remake Walkthrough (Switch 2) guide image
Image: TGGA
Ocarina of Time (Switch 2) Ocarina of Time Remake Walkthrough (Switch 2)

This Ocarina of Time walkthrough takes you through the full main route of the Nintendo.

Walkthrough
How to Win the Super Cucco Game and Get a Bottle (Ocarina of Time Switch 2) guide image
Image: TGGA
Ocarina of Time (Switch 2) How to Win the Super Cucco Game and Get a Bottle (Ocarina of Time Switch 2)

At Lon Lon Ranch, Talon challenges you to find his three Super Cuccos among all.

Collectibles
All 7 Cucco Locations and the Bottle (Ocarina of Time Switch 2) guide image
Image: TGGA
Ocarina of Time (Switch 2) All 7 Cucco Locations and the Bottle (Ocarina of Time Switch 2)

The Cucco Lady in Kakariko Village lost her seven Cuccos. Bring them all back to.

Collectibles
Bottom of the Well: All 3 Gold Skulltulas (Ocarina of Time Switch 2) guide image
Image: TGGA
Ocarina of Time (Switch 2) Bottom of the Well: All 3 Gold Skulltulas (Ocarina of Time Switch 2)

There are three Gold Skulltulas in the Bottom of the Well. One is in the.

Collectibles
Lens of Truth Location (Ocarina of Time Switch 2) guide image
Image: TGGA
Ocarina of Time (Switch 2) Lens of Truth Location (Ocarina of Time Switch 2)

The Lens of Truth shows hidden things: invisible enemies, fake walls and secret paths. You.

Walkthrough
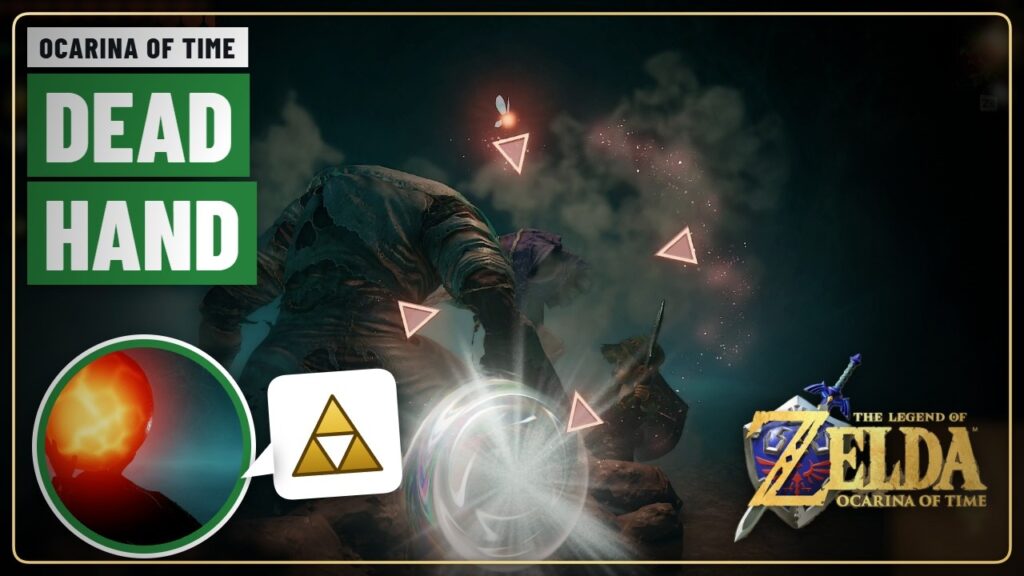
How to Beat Dead Hand (Ocarina of Time Switch 2) guide image
Image: TGGA
Ocarina of Time (Switch 2) How to Beat Dead Hand (Ocarina of Time Switch 2)

Dead Hand is the mini-boss of the Bottom of the Well. Its long arms reach.

Boss Guides
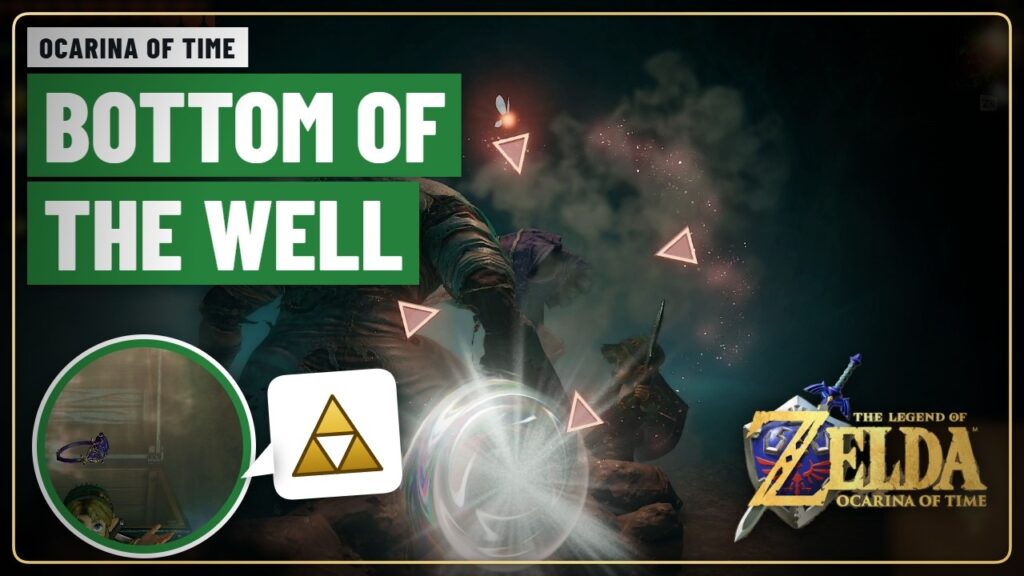
Bottom of the Well Walkthrough (Ocarina of Time Switch 2) guide image
Image: TGGA
Ocarina of Time (Switch 2) Bottom of the Well Walkthrough (Ocarina of Time Switch 2)

The Bottom of the Well is a small, creepy dungeon full of fake walls and.

Walkthrough
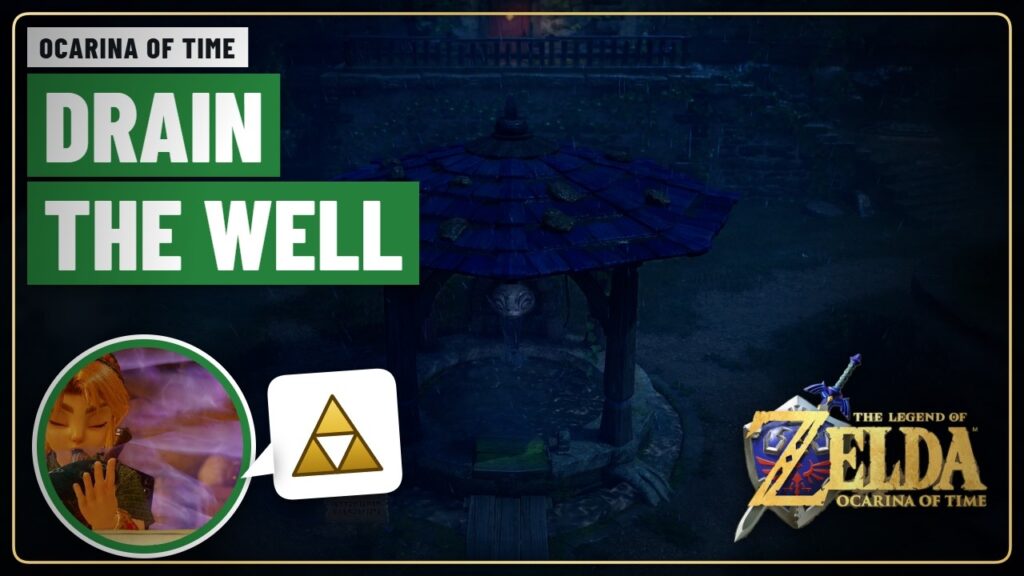
How to Get Into the Bottom of the Well (Ocarina of Time Switch 2) guide image
Image: TGGA
Ocarina of Time (Switch 2) How to Get Into the Bottom of the Well (Ocarina of Time Switch 2)

The Bottom of the Well is under the well in the middle of Kakariko Village..

Walkthrough
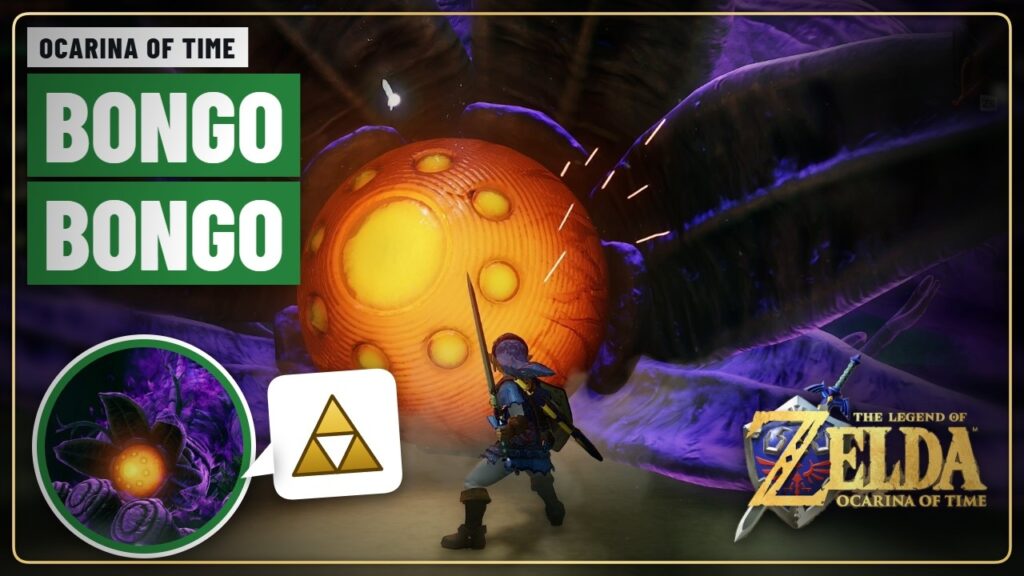
How to Beat Bongo Bongo (Ocarina of Time Switch 2) guide image
Image: TGGA
Ocarina of Time (Switch 2) How to Beat Bongo Bongo (Ocarina of Time Switch 2)

Bongo Bongo is the boss of the Shadow Temple: a giant invisible creature with two.

Boss Guides
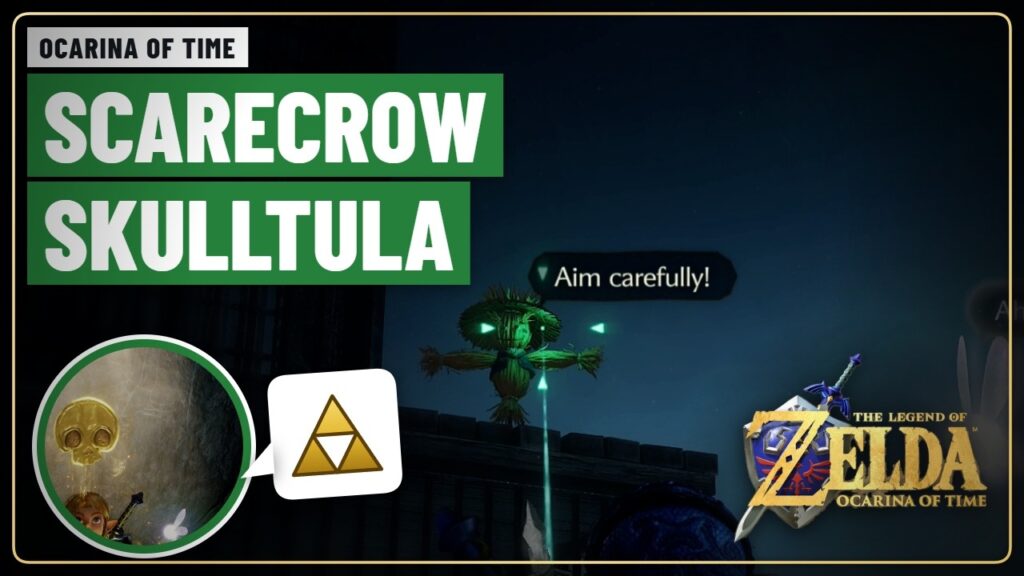
Shadow Temple Gold Skulltula with the Scarecrow’s Song (Ocarina of Time Switch 2) guide image
Image: TGGA
Ocarina of Time (Switch 2) Shadow Temple Gold Skulltula with the Scarecrow’s Song (Ocarina of Time Switch 2)

One Gold Skulltula in the Shadow Temple is too high to reach until you call.

Collectibles
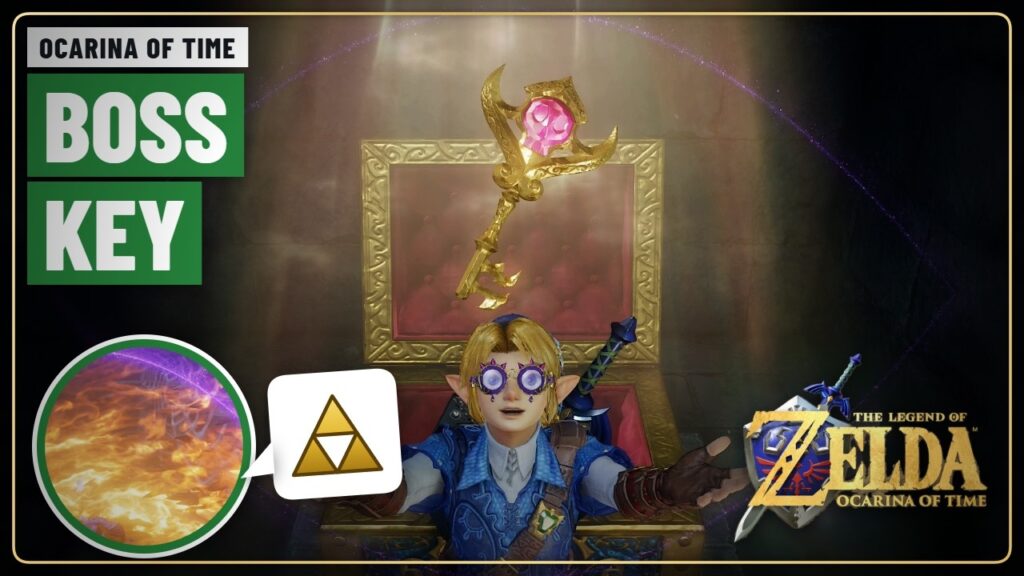
Shadow Temple Boss Key Location (Ocarina of Time Switch 2) guide image
Image: TGGA
Ocarina of Time (Switch 2) Shadow Temple Boss Key Location (Ocarina of Time Switch 2)

The Shadow Temple Boss Key is deep in the temple, past several invisible walls and.

Walkthrough
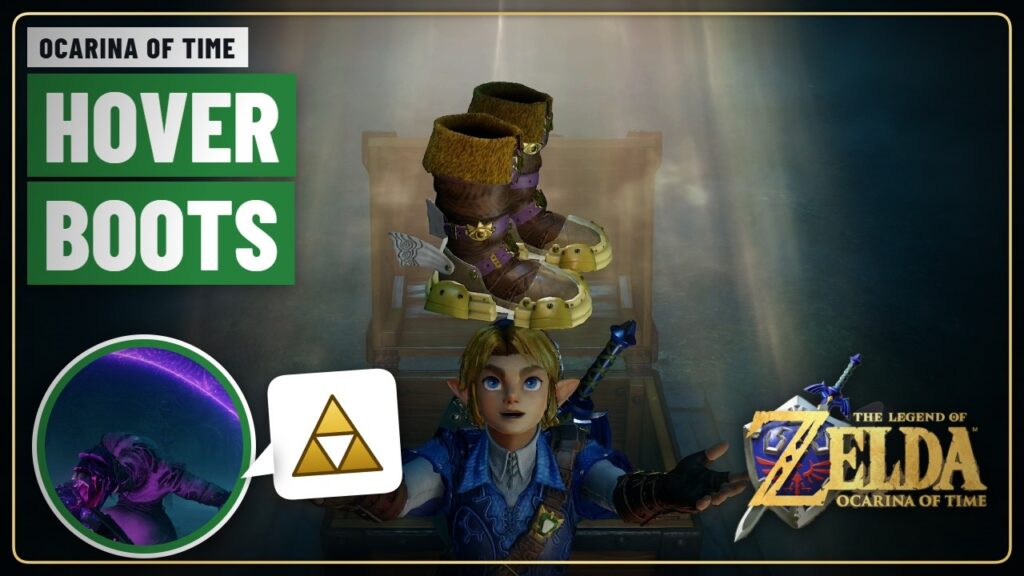
Hover Boots Location (Ocarina of Time Switch 2) guide image
Image: TGGA
Ocarina of Time (Switch 2) Hover Boots Location (Ocarina of Time Switch 2)

The Hover Boots let Link run over gaps for a moment without falling. You find.

Walkthrough
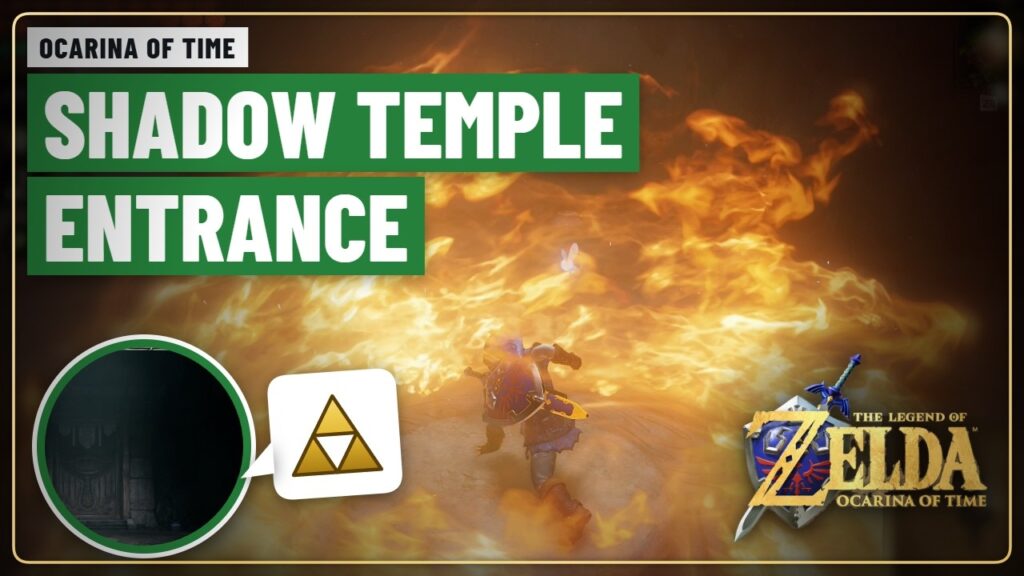
How to Get Into the Shadow Temple (Ocarina of Time Switch 2) guide image
Image: TGGA
Ocarina of Time (Switch 2) How to Get Into the Shadow Temple (Ocarina of Time Switch 2)

The Shadow Temple door is sealed until you light all the torches around the platform.

Walkthrough
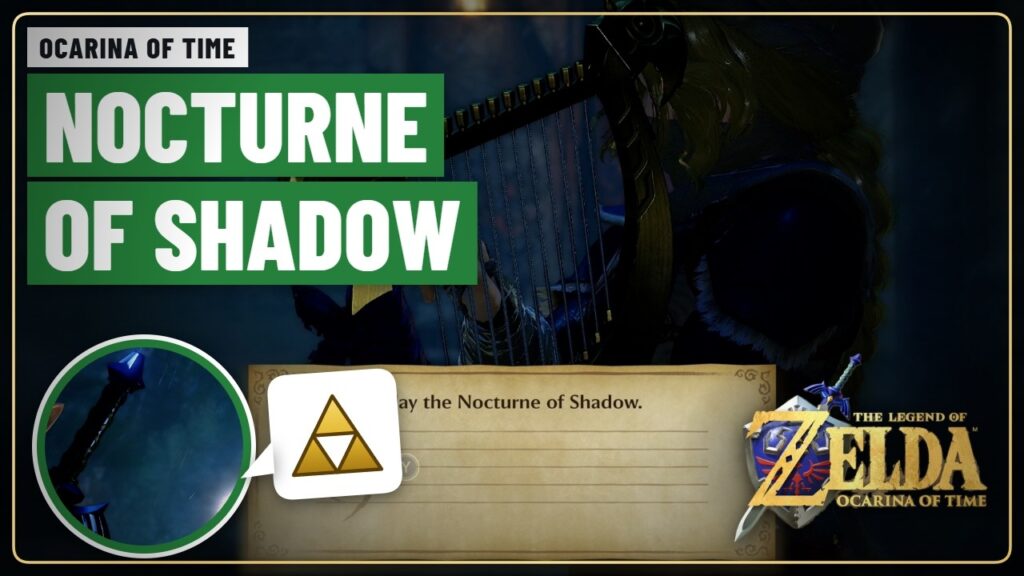
How to Get the Nocturne of Shadow (Ocarina of Time Switch 2) guide image
Image: TGGA
Ocarina of Time (Switch 2) How to Get the Nocturne of Shadow (Ocarina of Time Switch 2)

The Nocturne of Shadow warps you to the Shadow Temple. Sheik teaches it to you.

Walkthrough
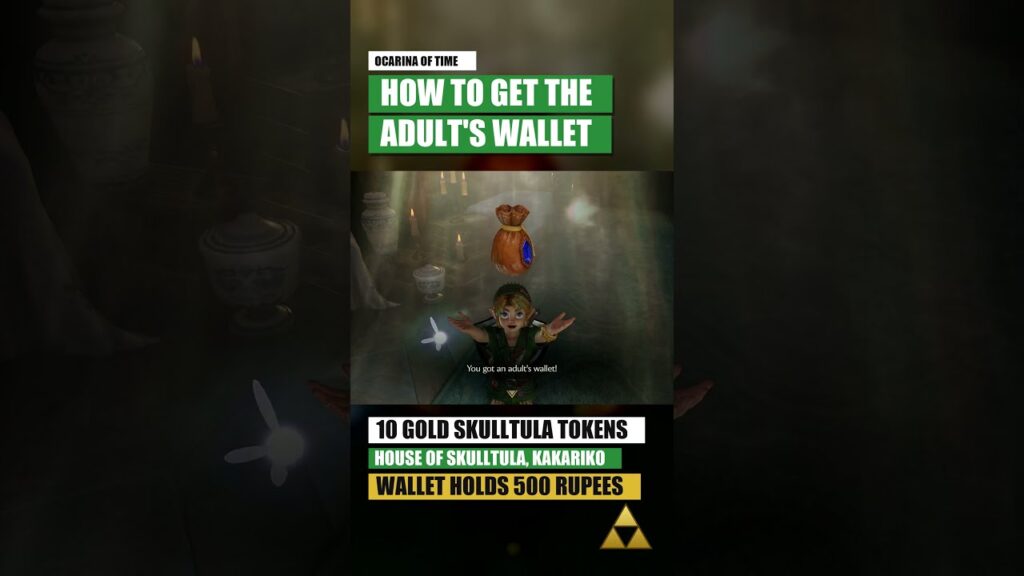
How to Get the Adult’s Wallet (Ocarina of Time Switch 2) guide image
Image: TGGA
Ocarina of Time (Switch 2) How to Get the Adult’s Wallet (Ocarina of Time Switch 2)

The Adult's Wallet is the first wallet upgrade. You get it for your first 10.

Walkthrough
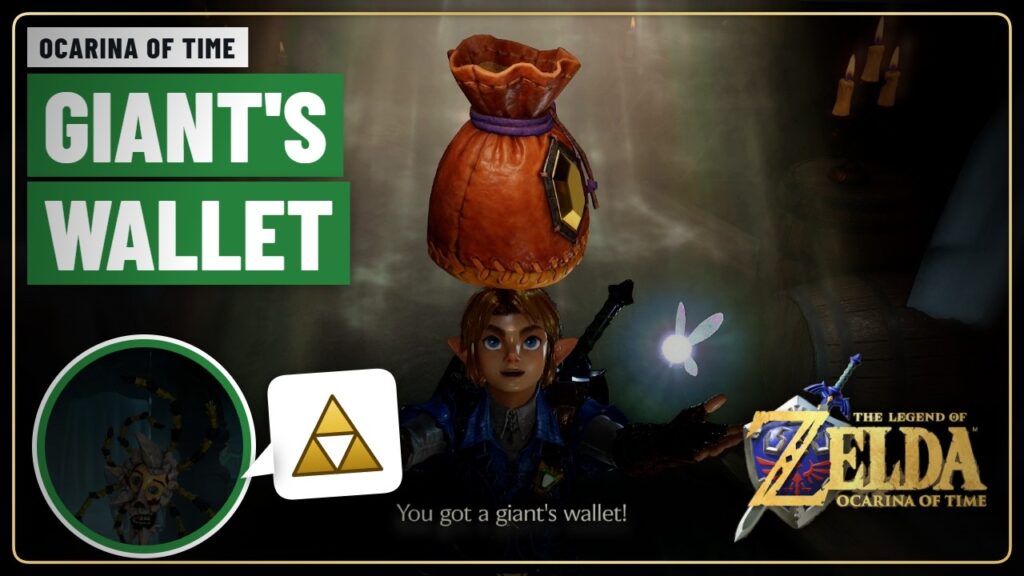
How to Get the Giant’s Wallet (Ocarina of Time Switch 2) guide image
Image: TGGA
Ocarina of Time (Switch 2) How to Get the Giant’s Wallet (Ocarina of Time Switch 2)

The Giant's Wallet raises your Rupee limit. It is one of the House of Skulltula.

Walkthrough
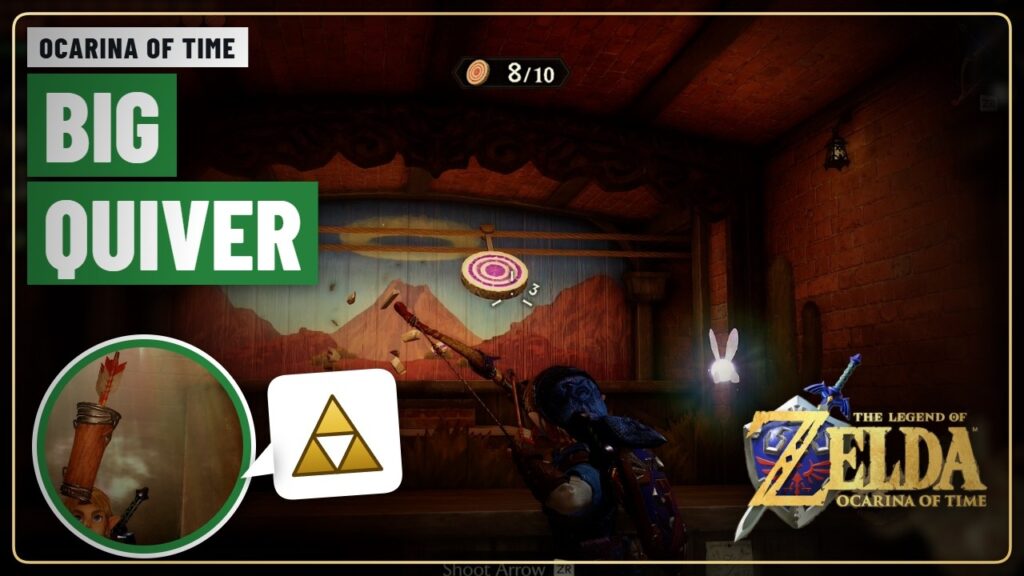
How to Get the Big Quiver: 40 Arrows (Ocarina of Time Switch 2) guide image
Image: TGGA
Ocarina of Time (Switch 2) How to Get the Big Quiver: 40 Arrows (Ocarina of Time Switch 2)

The Big Quiver lets you carry 40 arrows. You win it at the shooting gallery.

Walkthrough
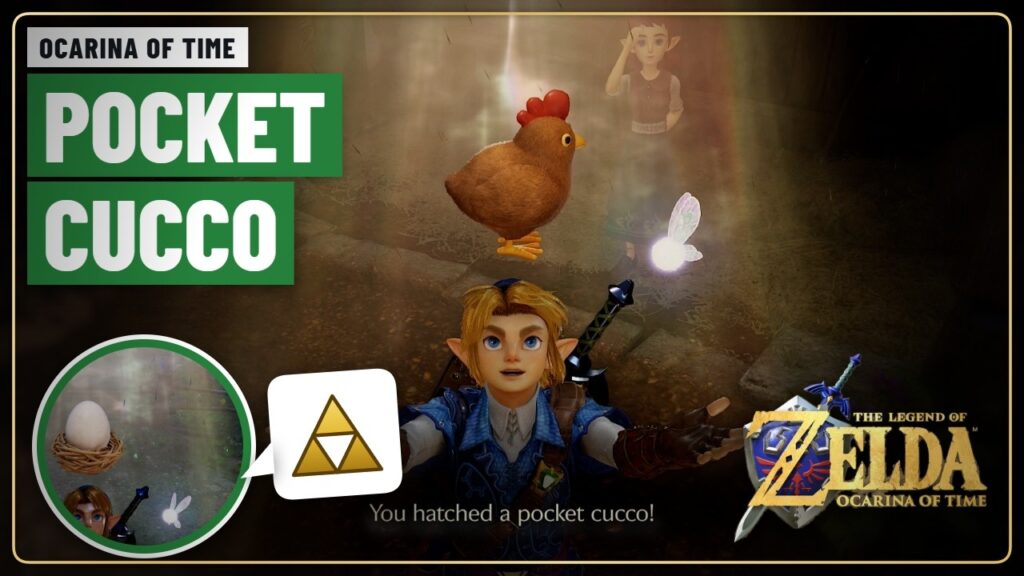
Pocket Egg and Pocket Cucco (Ocarina of Time Switch 2) guide image
Image: TGGA
Ocarina of Time (Switch 2) Pocket Egg and Pocket Cucco (Ocarina of Time Switch 2)

The Pocket Egg is the first item in the trade for Biggoron's Sword. It hatches.

Walkthrough
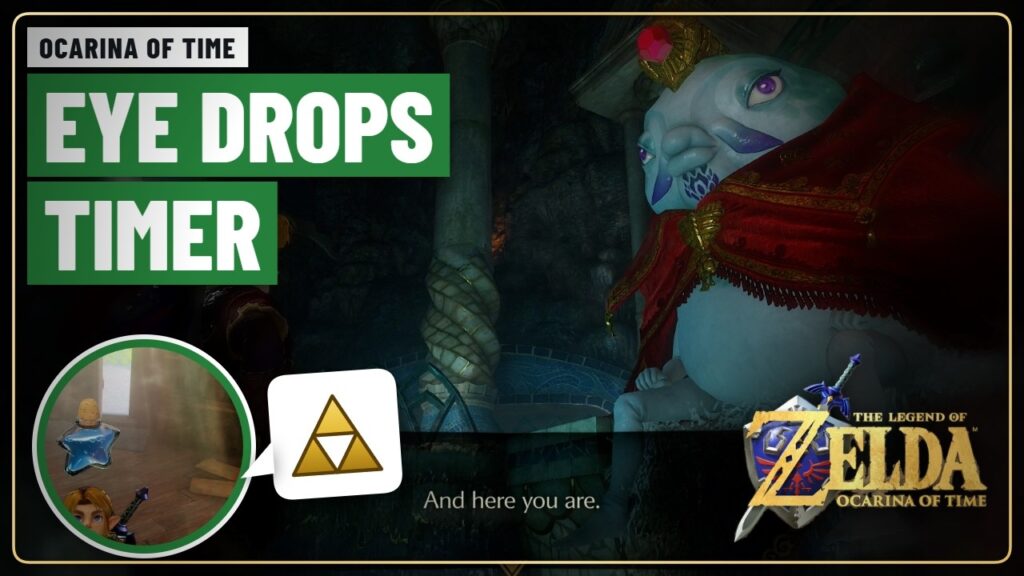
Eyeball Frog and Eye Drops Fastest Route (Ocarina of Time Switch 2) guide image
Image: TGGA
Ocarina of Time (Switch 2) Eyeball Frog and Eye Drops Fastest Route (Ocarina of Time Switch 2)

Two of the hardest steps in the Biggoron's Sword trade are timed runs: the Eyeball.

Walkthrough
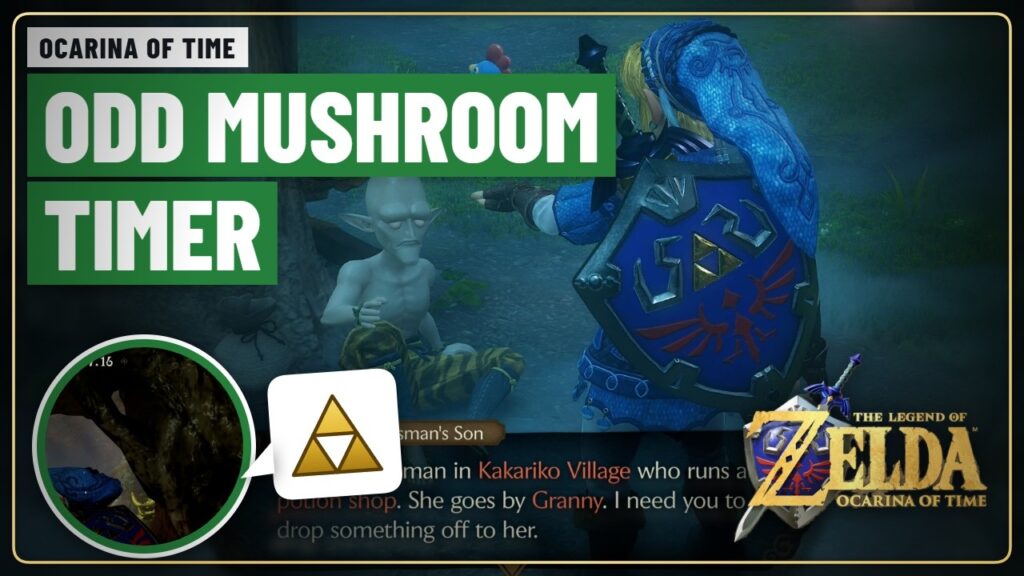
Odd Mushroom Fastest Route: 4-Minute Timer (Ocarina of Time Switch 2) guide image
Image: TGGA
Ocarina of Time (Switch 2) Odd Mushroom Fastest Route: 4-Minute Timer (Ocarina of Time Switch 2)

The Odd Mushroom is part of the trade for Biggoron's Sword. You have to take.

Walkthrough
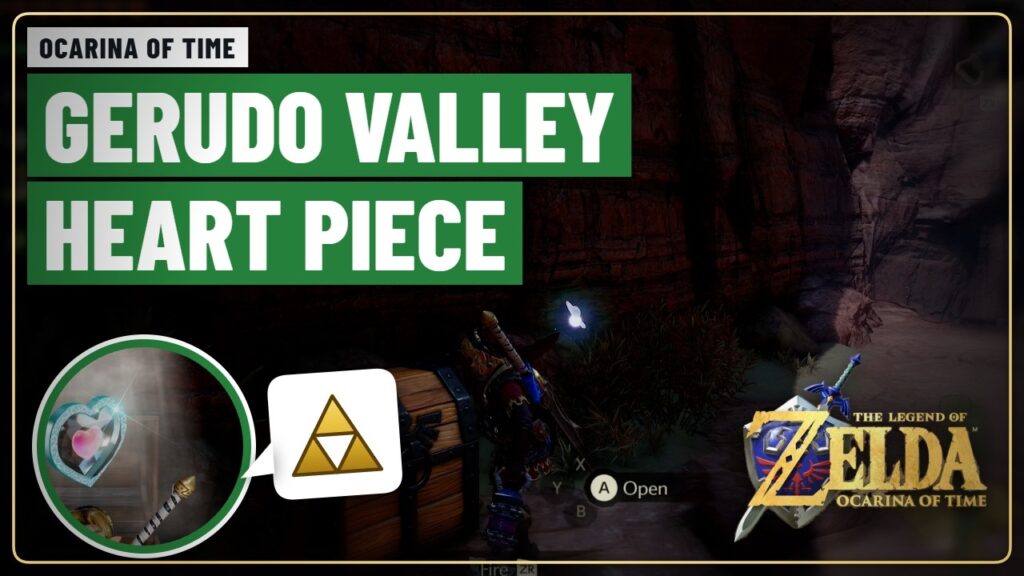
Gerudo Valley Heart Piece Location (Ocarina of Time Switch 2) guide image
Image: TGGA
Ocarina of Time (Switch 2) Gerudo Valley Heart Piece Location (Ocarina of Time Switch 2)

Gerudo Valley has two Pieces of Heart. Our video shows how to get one of.

Collectibles
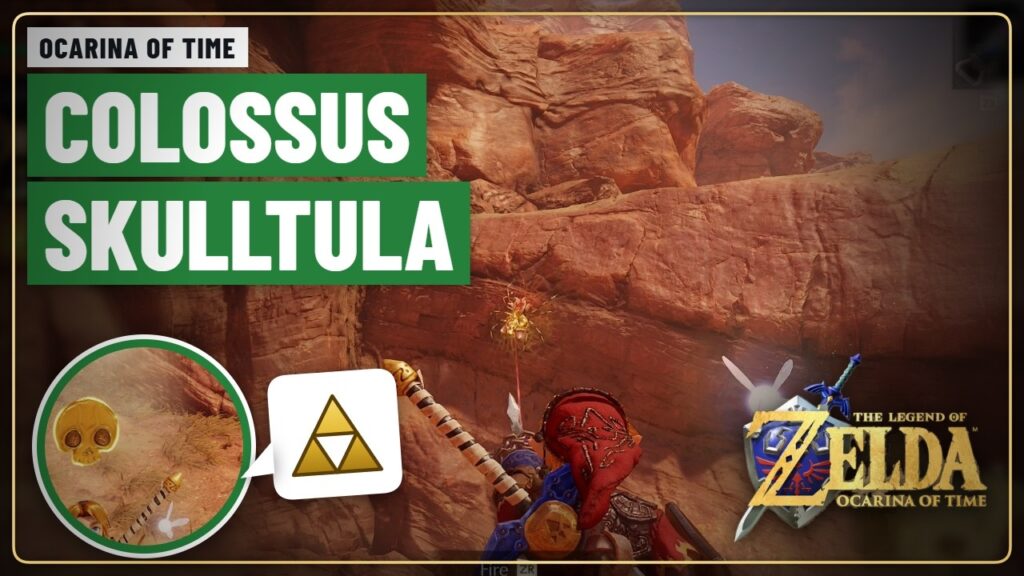
Desert Colossus Gold Skulltula Location (Ocarina of Time Switch 2) guide image
Image: TGGA
Ocarina of Time (Switch 2) Desert Colossus Gold Skulltula Location (Ocarina of Time Switch 2)

The Desert Colossus has Gold Skulltulas around the Spirit Temple. Our short video shows exactly.

Collectibles
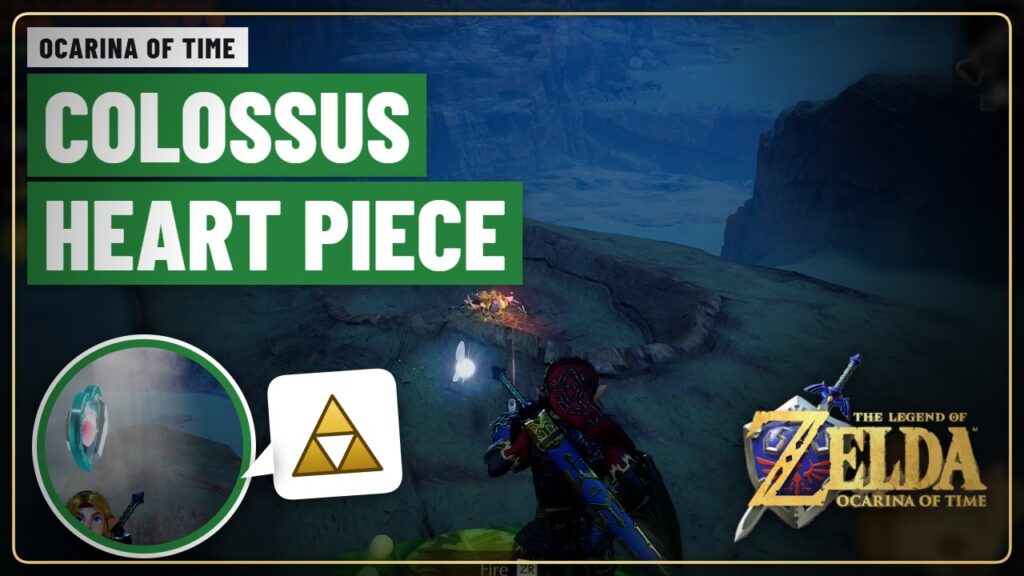
Desert Colossus Heart Piece: Magic Bean (Ocarina of Time Switch 2) guide image
Image: TGGA
Ocarina of Time (Switch 2) Desert Colossus Heart Piece: Magic Bean (Ocarina of Time Switch 2)

A Piece of Heart at the Desert Colossus can only be reached with a Magic.

Collectibles
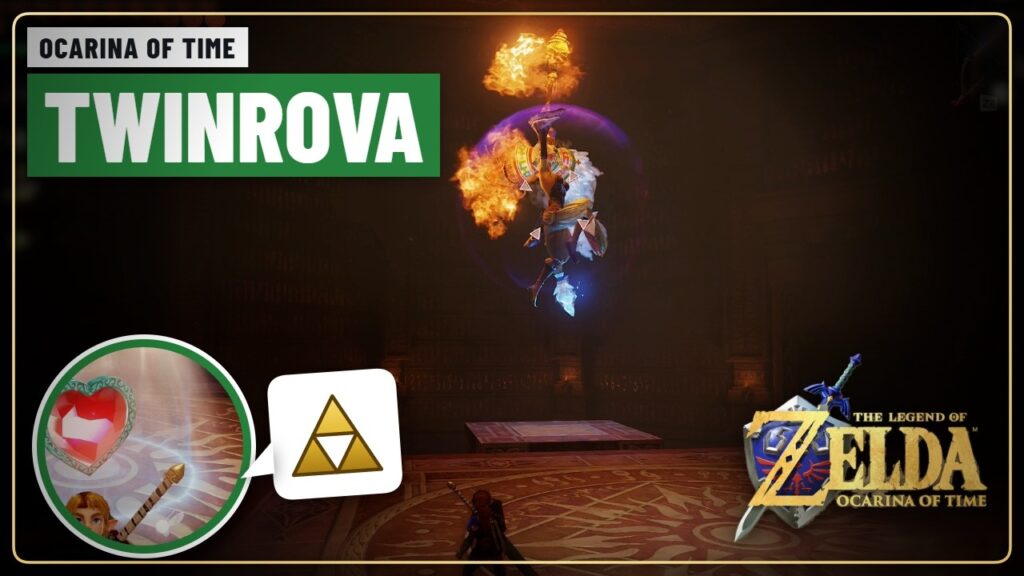
How to Beat Twinrova (Ocarina of Time Switch 2) guide image
Image: TGGA
Ocarina of Time (Switch 2) How to Beat Twinrova (Ocarina of Time Switch 2)

Twinrova is the boss of the Spirit Temple: two witches, Koume with fire and Kotake.

Boss Guides
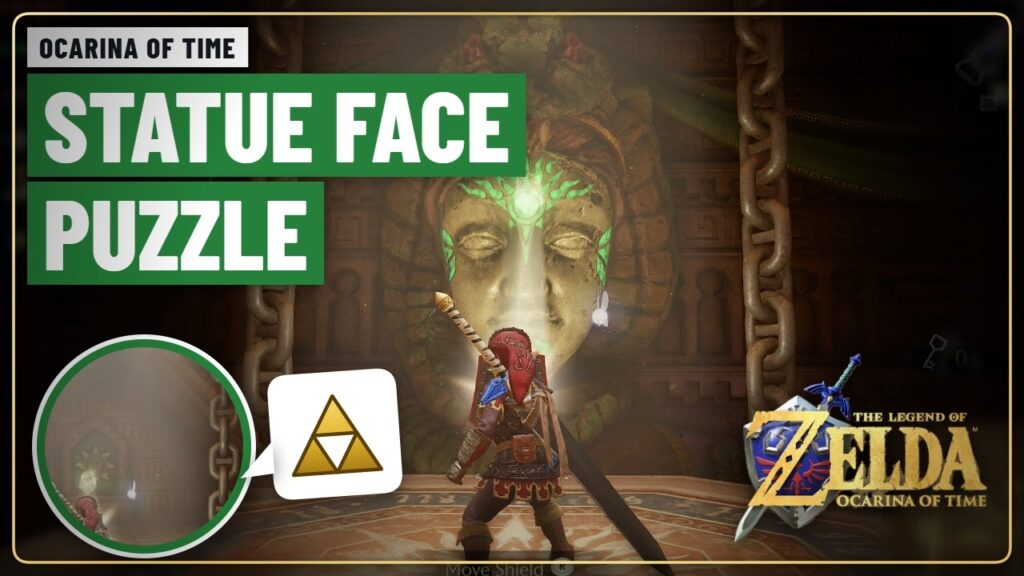
Spirit Temple Statue Face Puzzle Solution (Ocarina of Time Switch 2) guide image
Image: TGGA
Ocarina of Time (Switch 2) Spirit Temple Statue Face Puzzle Solution (Ocarina of Time Switch 2)

Near the end of the Spirit Temple you have to light up the face of.

Walkthrough
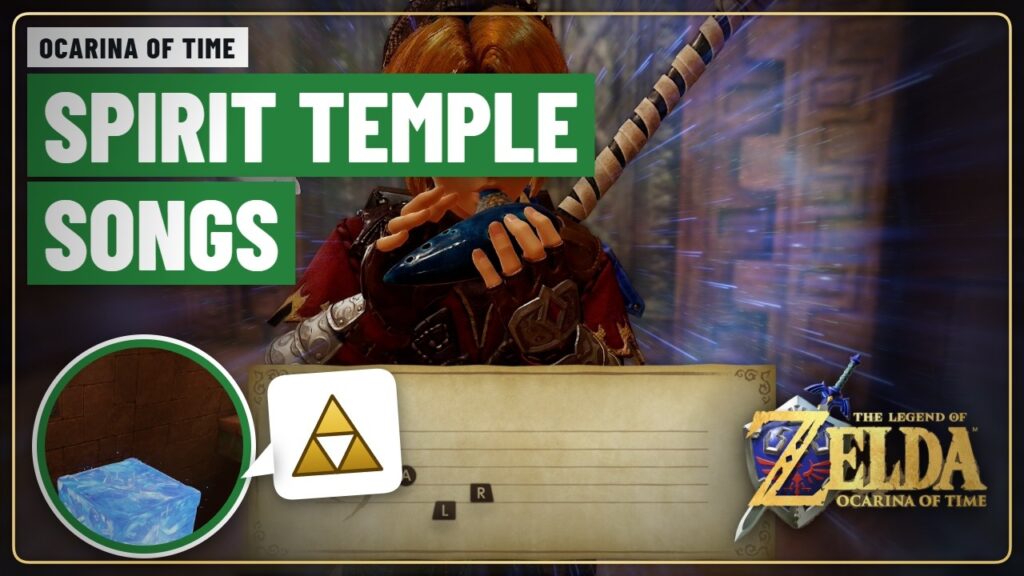
Spirit Temple Song Puzzles: All 3 Locations (Ocarina of Time Switch 2) guide image
Image: TGGA
Ocarina of Time (Switch 2) Spirit Temple Song Puzzles: All 3 Locations (Ocarina of Time Switch 2)

There are three spots in the Spirit Temple where you need to play a song:.

Walkthrough
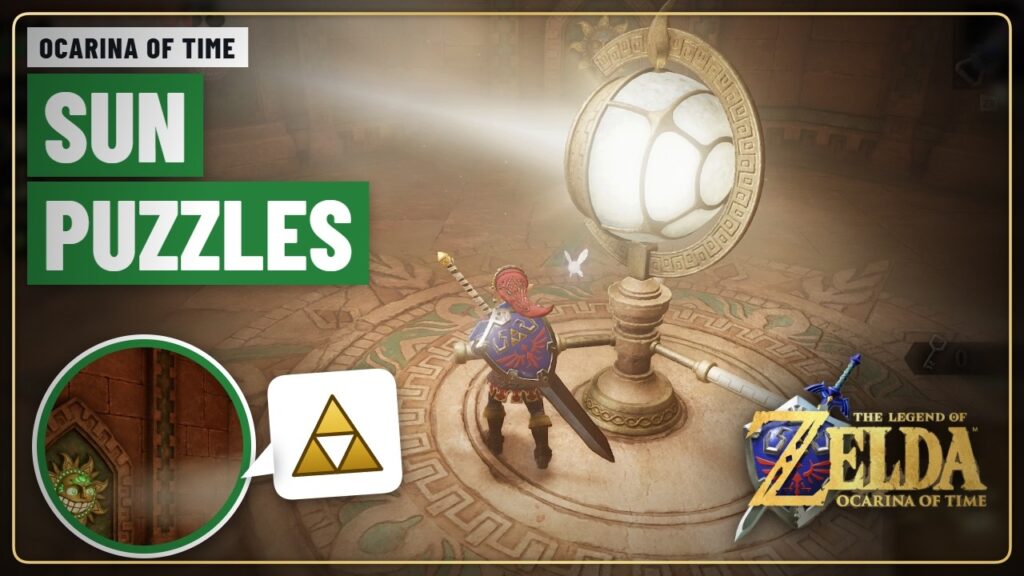
Spirit Temple Sun Puzzle Solution (Ocarina of Time Switch 2) guide image
Image: TGGA
Ocarina of Time (Switch 2) Spirit Temple Sun Puzzle Solution (Ocarina of Time Switch 2)

The sun puzzles in the Spirit Temple ask you to bounce beams of light onto.

Walkthrough
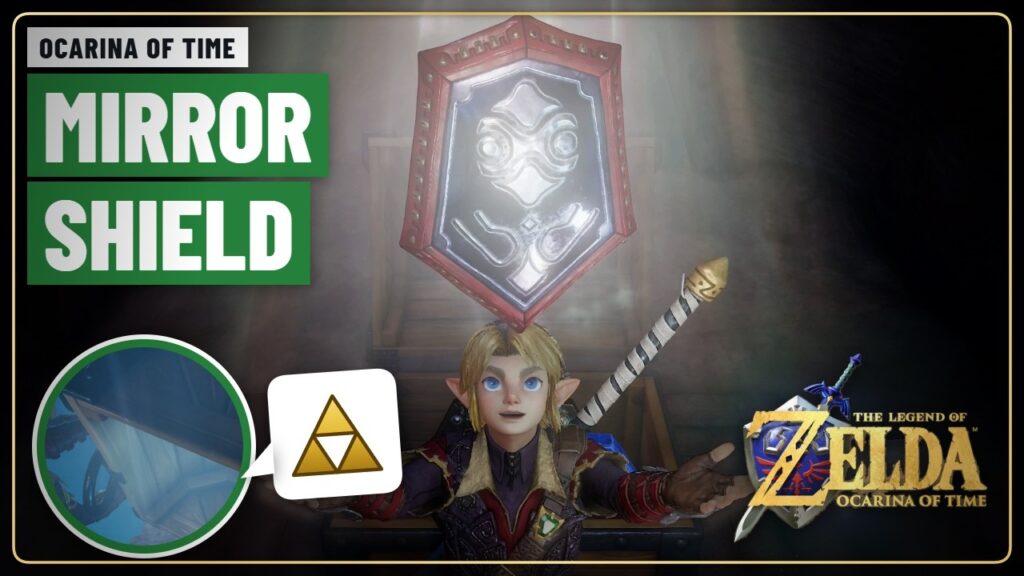
How to Get the Mirror Shield (Ocarina of Time Switch 2) guide image
Image: TGGA
Ocarina of Time (Switch 2) How to Get the Mirror Shield (Ocarina of Time Switch 2)

The Mirror Shield reflects light and magic. You need it for the sun puzzles in.

Walkthrough
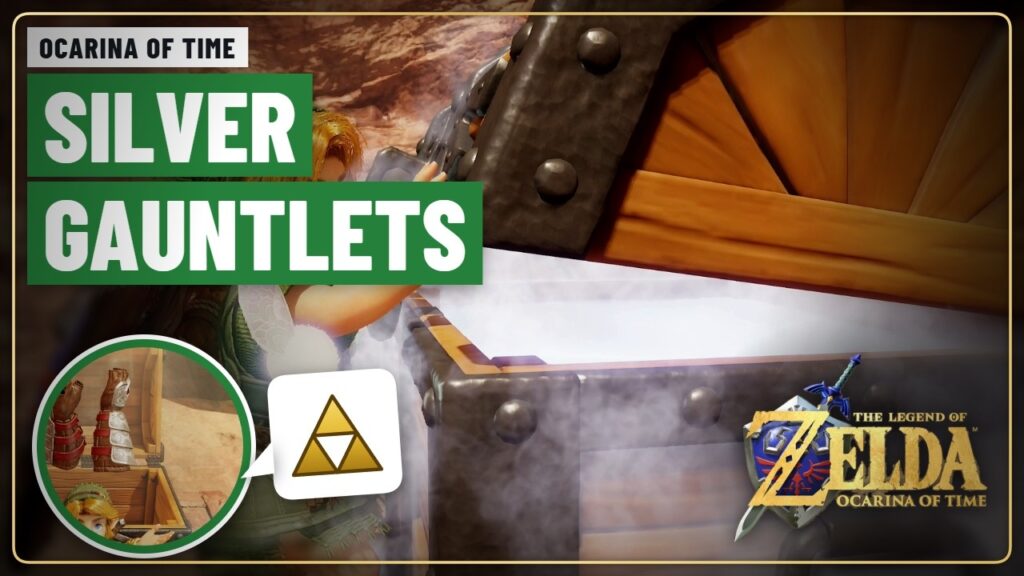
How to Get the Silver Gauntlets (Ocarina of Time Switch 2) guide image
Image: TGGA
Ocarina of Time (Switch 2) How to Get the Silver Gauntlets (Ocarina of Time Switch 2)

The Silver Gauntlets let adult Link push and lift huge blocks. Young Link finds them.

Walkthrough
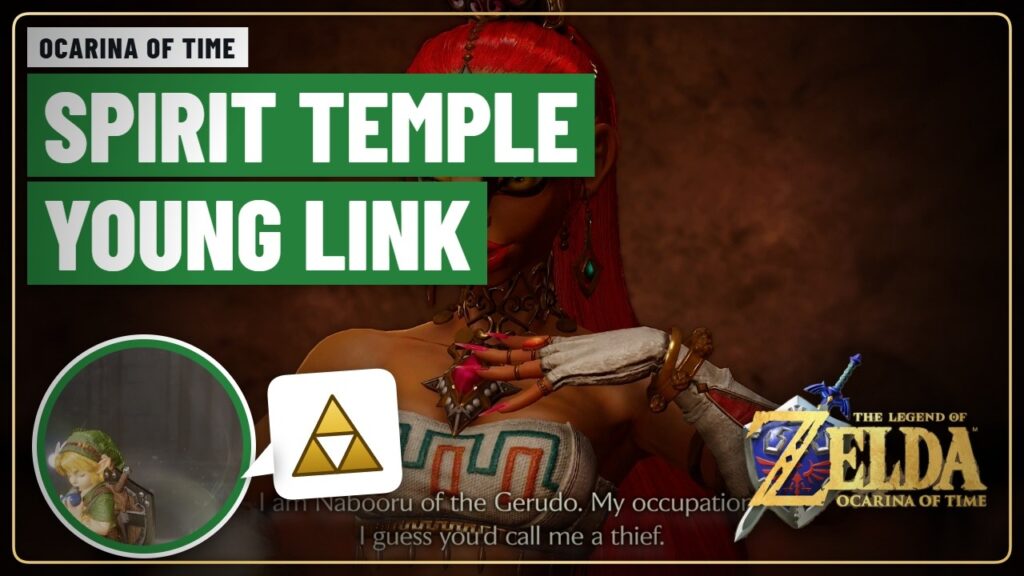
How to Get Into the Spirit Temple as Young Link (Ocarina of Time Switch 2) guide image
Image: TGGA
Ocarina of Time (Switch 2) How to Get Into the Spirit Temple as Young Link (Ocarina of Time Switch 2)

Adult Link cannot get far into the Spirit Temple. You have to start as young.

Walkthrough
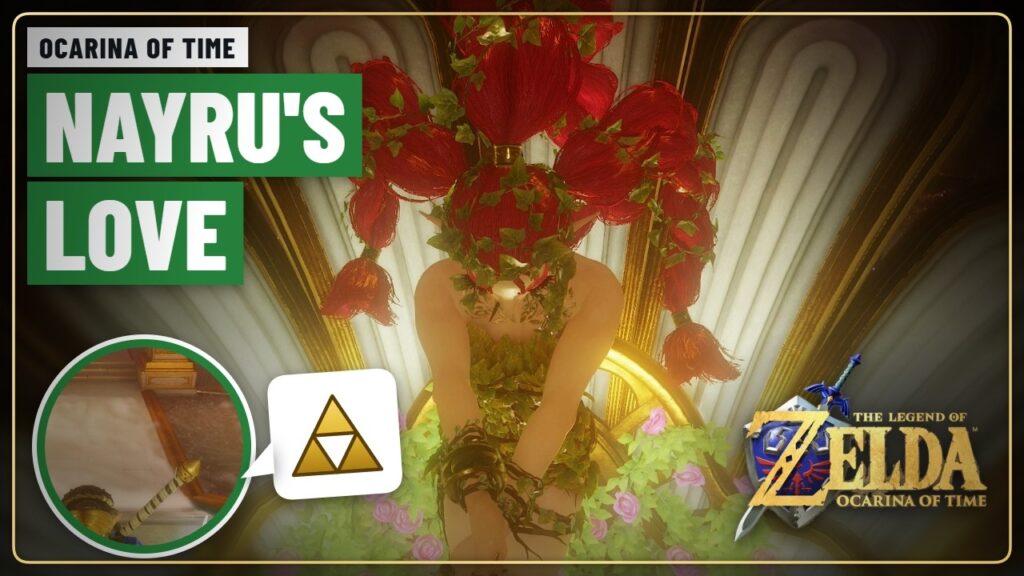
How to Get Nayru’s Love (Ocarina of Time Switch 2) guide image
Image: TGGA
Ocarina of Time (Switch 2) How to Get Nayru’s Love (Ocarina of Time Switch 2)

Nayru's Love is a magic barrier that makes Link invincible for a short time. The.

Walkthrough
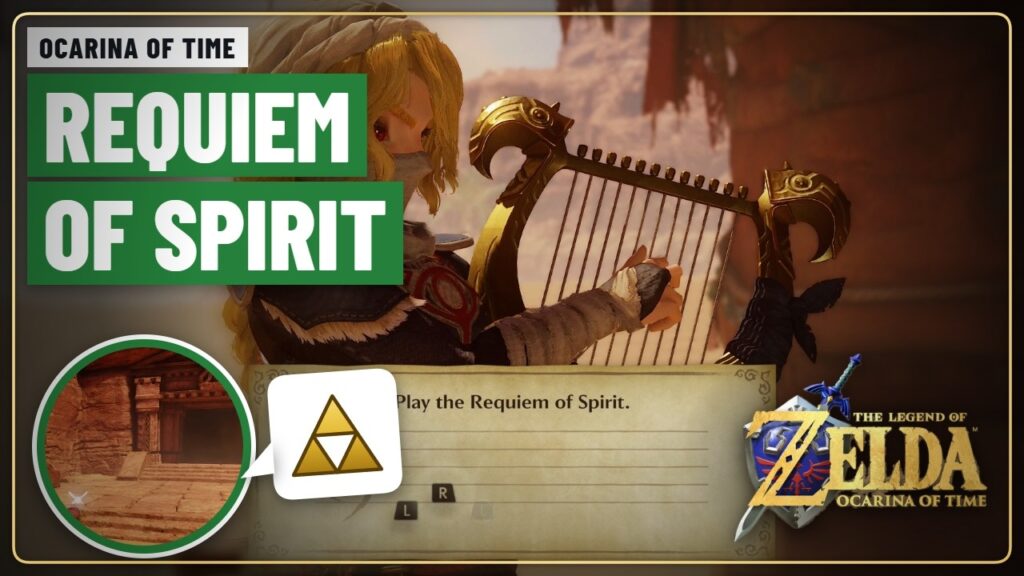
How to Get the Requiem of Spirit (Ocarina of Time Switch 2) guide image
Image: TGGA
Ocarina of Time (Switch 2) How to Get the Requiem of Spirit (Ocarina of Time Switch 2)

The Requiem of Spirit warps you to the Desert Colossus. You need it to enter.

Walkthrough
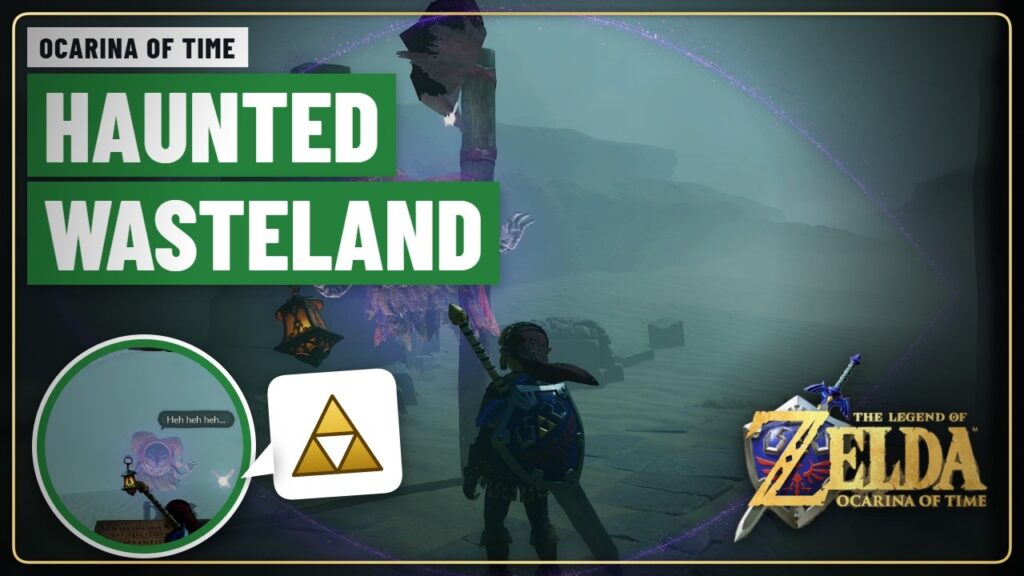
How to Cross the Haunted Wasteland (Ocarina of Time Switch 2) guide image
Image: TGGA
Ocarina of Time (Switch 2) How to Cross the Haunted Wasteland (Ocarina of Time Switch 2)

The Haunted Wasteland is a sandstorm between Gerudo's Fortress and the Desert Colossus. Without a.

Walkthrough

How to Rescue the Carpenters in Gerudo’s Fortress (Ocarina of Time Switch 2) guide image
Image: TGGA
Ocarina of Time (Switch 2) How to Rescue the Carpenters in Gerudo’s Fortress (Ocarina of Time Switch 2)

Four carpenters are locked up in Gerudo's Fortress. Free all of them and the Gerudo.

Walkthrough
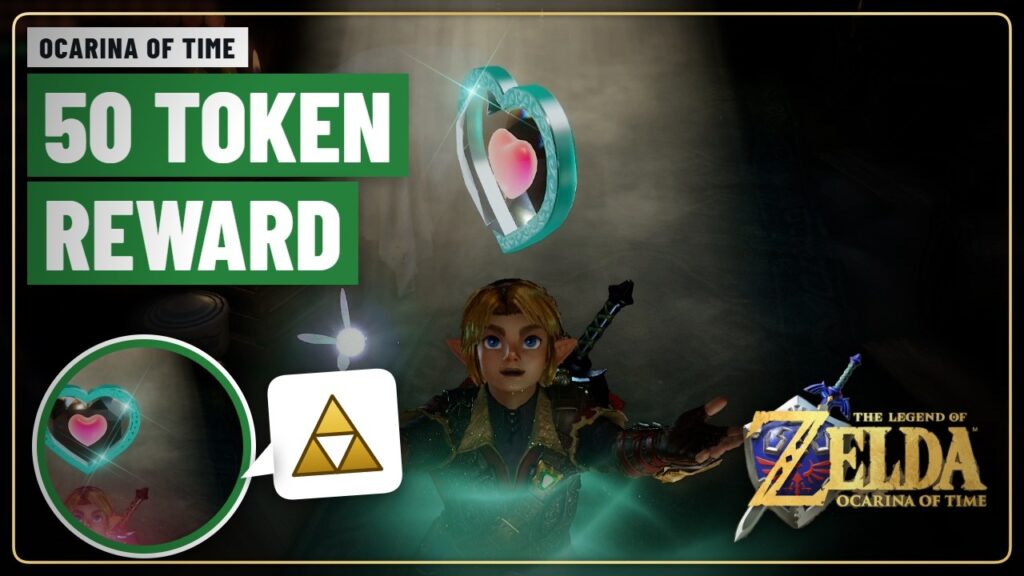
House of Skulltula 50 Tokens Reward: Piece of Heart (Ocarina of Time Switch 2) guide image
Image: TGGA
Ocarina of Time (Switch 2) House of Skulltula 50 Tokens Reward: Piece of Heart (Ocarina of Time Switch 2)

Hand in 50 Gold Skulltula Tokens at the House of Skulltula and the cursed family.

Collectibles
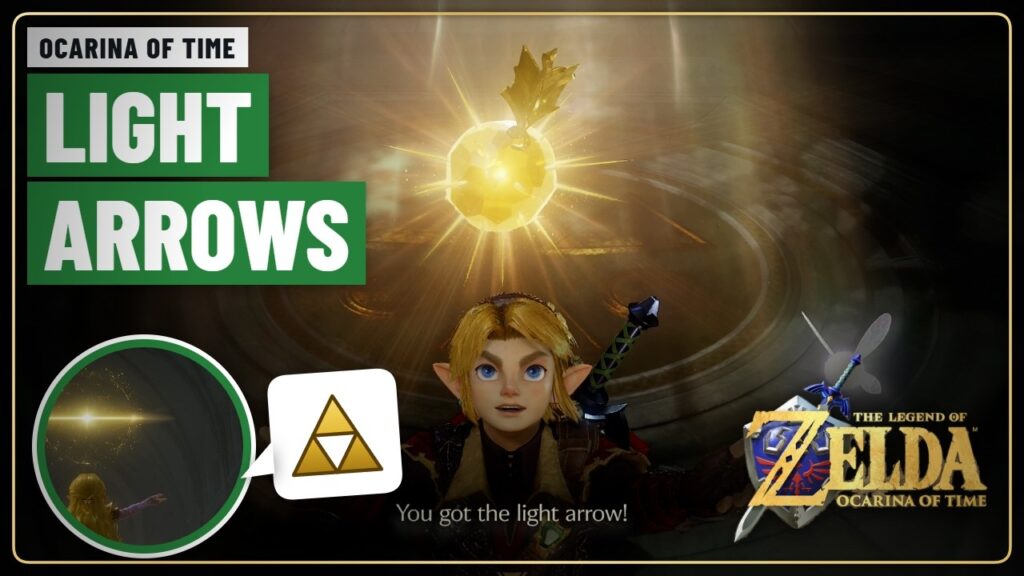
How to Get the Light Arrows (Ocarina of Time Switch 2) guide image
Image: TGGA
Ocarina of Time (Switch 2) How to Get the Light Arrows (Ocarina of Time Switch 2)

The Light Arrows are the weapon that breaks the barriers in Ganon's Castle and stuns.

Walkthrough
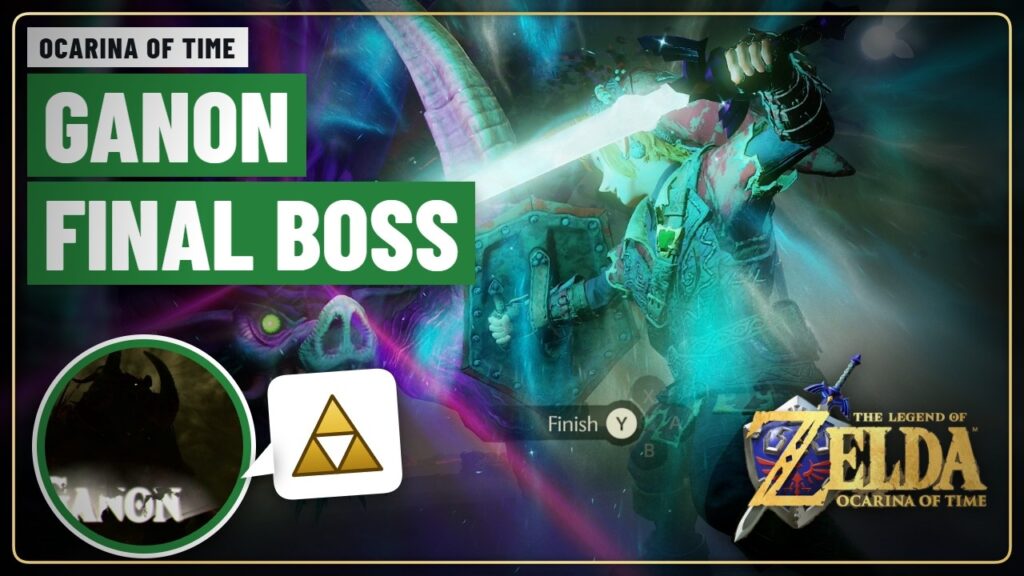
How to Beat Ganon, the Final Boss (Ocarina of Time Switch 2) guide image
Image: TGGA
Ocarina of Time (Switch 2) How to Beat Ganon, the Final Boss (Ocarina of Time Switch 2)

Ganon is the final boss of Ocarina of Time. He knocks the Master Sword out.

Boss Guides
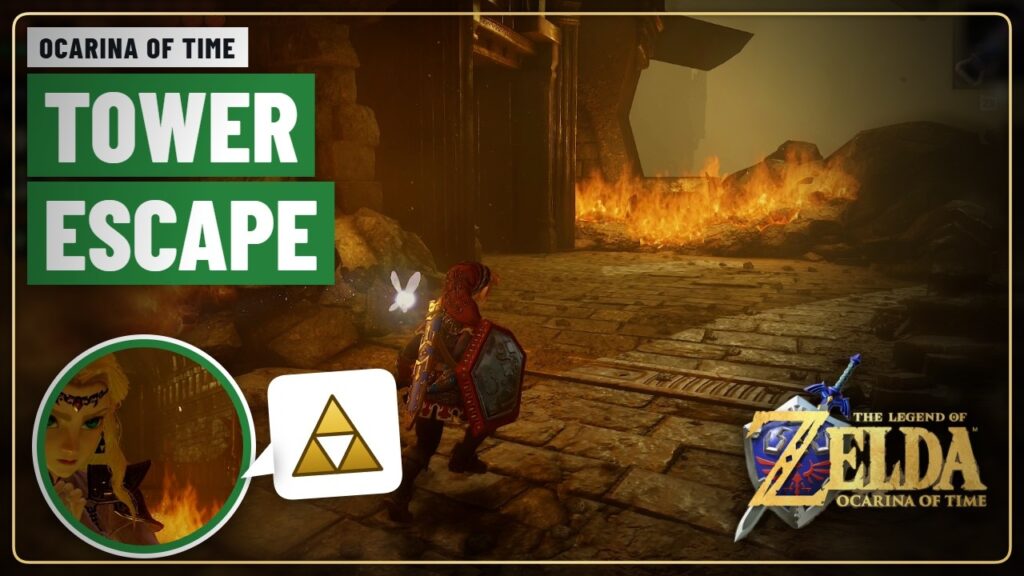
Ganon’s Tower Escape: Beat the Collapse Timer (Ocarina of Time Switch 2) guide image
Image: TGGA
Ocarina of Time (Switch 2) Ganon’s Tower Escape: Beat the Collapse Timer (Ocarina of Time Switch 2)

After you beat Ganondorf, the tower collapses and you have a few minutes to get.

Walkthrough
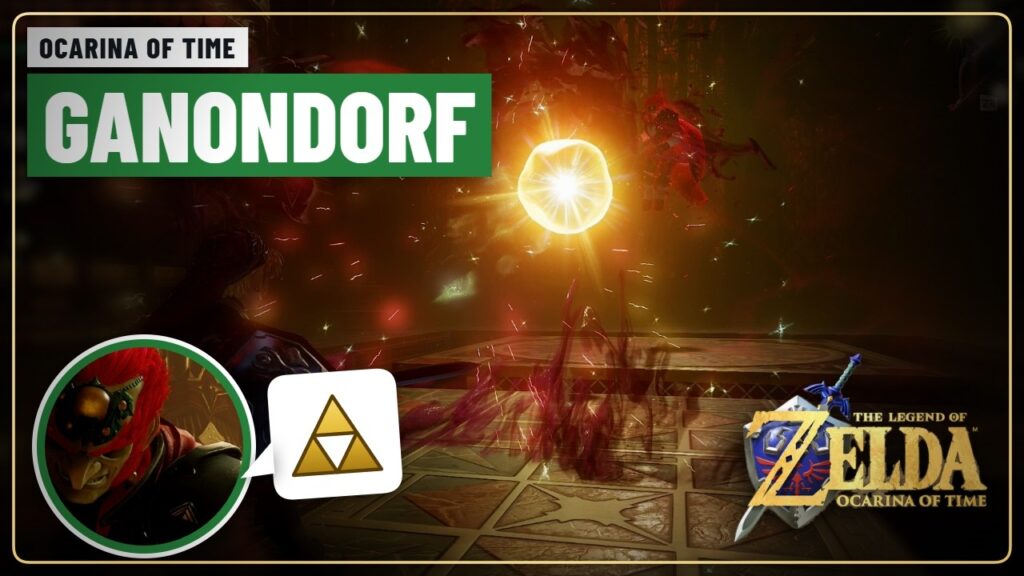
How to Beat Ganondorf (Ocarina of Time Switch 2) guide image
Image: TGGA
Ocarina of Time (Switch 2) How to Beat Ganondorf (Ocarina of Time Switch 2)

Ganondorf waits at the top of Ganon's Tower. The fight works like a game of.

Boss Guides
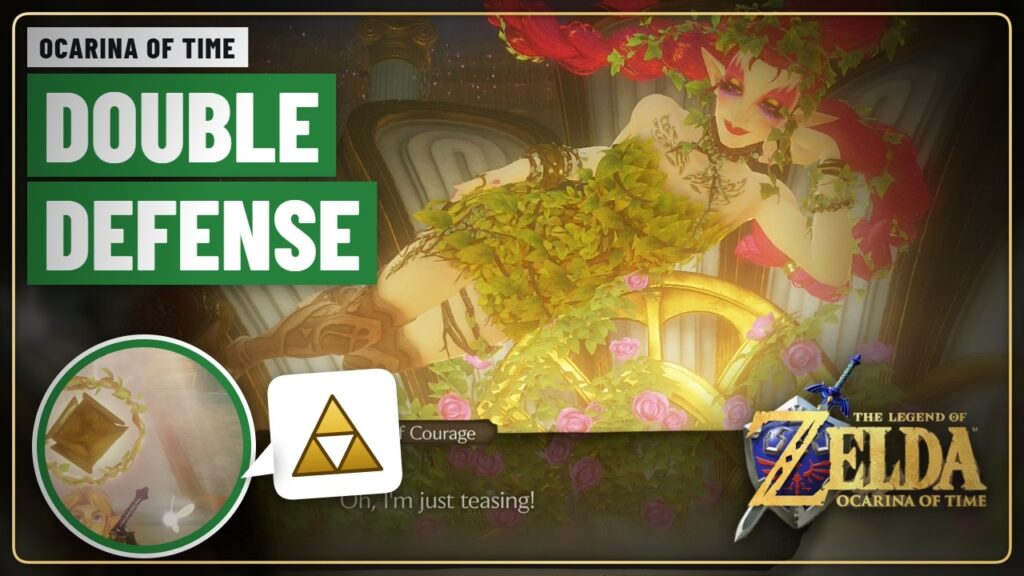
How to Get Double Defense: Great Fairy of Courage (Ocarina of Time Switch 2) guide image
Image: TGGA
Ocarina of Time (Switch 2) How to Get Double Defense: Great Fairy of Courage (Ocarina of Time Switch 2)

Double Defense halves the damage you take. It comes from the Great Fairy hidden near.

Walkthrough
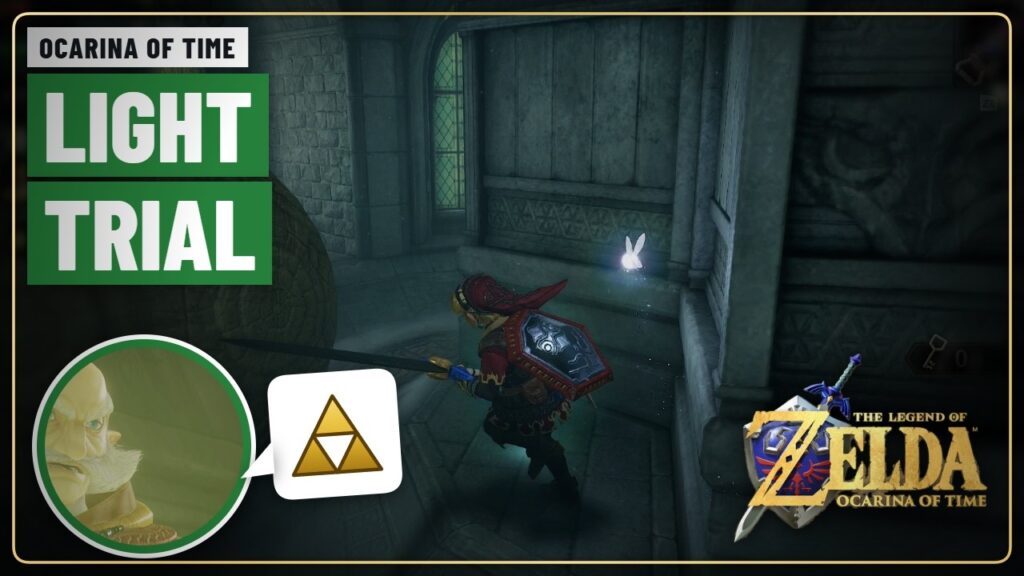
Ganon’s Castle Light Trial Guide (Ocarina of Time Switch 2) guide image
Image: TGGA
Ocarina of Time (Switch 2) Ganon’s Castle Light Trial Guide (Ocarina of Time Switch 2)

The Light Trial is the last of the six trials. It uses Zelda's Lullaby, Silver.

Walkthrough
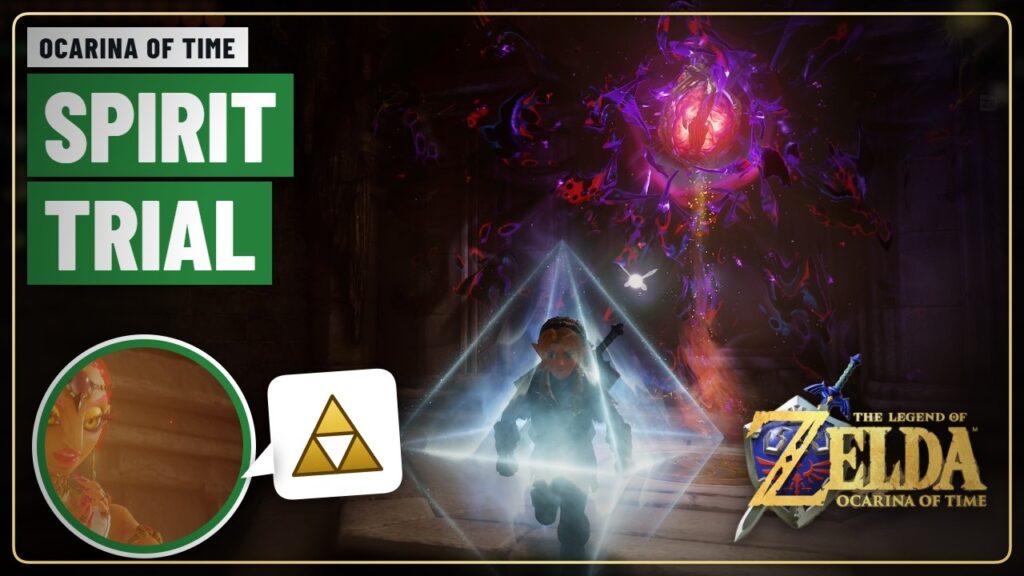
Ganon’s Castle Spirit Trial Guide (Ocarina of Time Switch 2) guide image
Image: TGGA
Ocarina of Time (Switch 2) Ganon’s Castle Spirit Trial Guide (Ocarina of Time Switch 2)

The Spirit Trial uses Silver Rupees, a Bombchu puzzle and the Mirror Shield to bounce.

Walkthrough
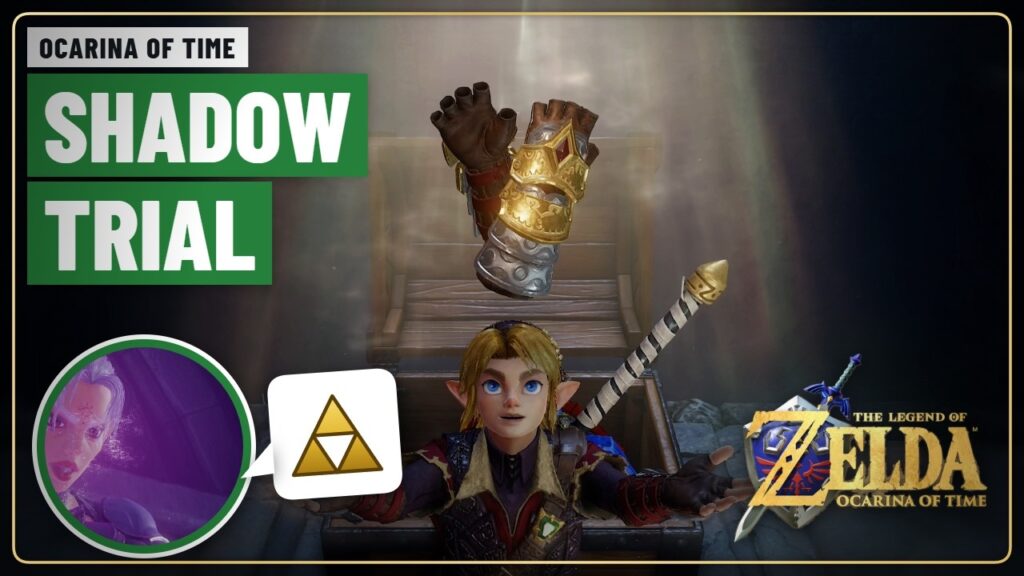
Ganon’s Castle Shadow Trial Guide (Ocarina of Time Switch 2) guide image
Image: TGGA
Ocarina of Time (Switch 2) Ganon’s Castle Shadow Trial Guide (Ocarina of Time Switch 2)

The Shadow Trial is full of invisible paths over a bottomless pit. In the Switch.

Walkthrough
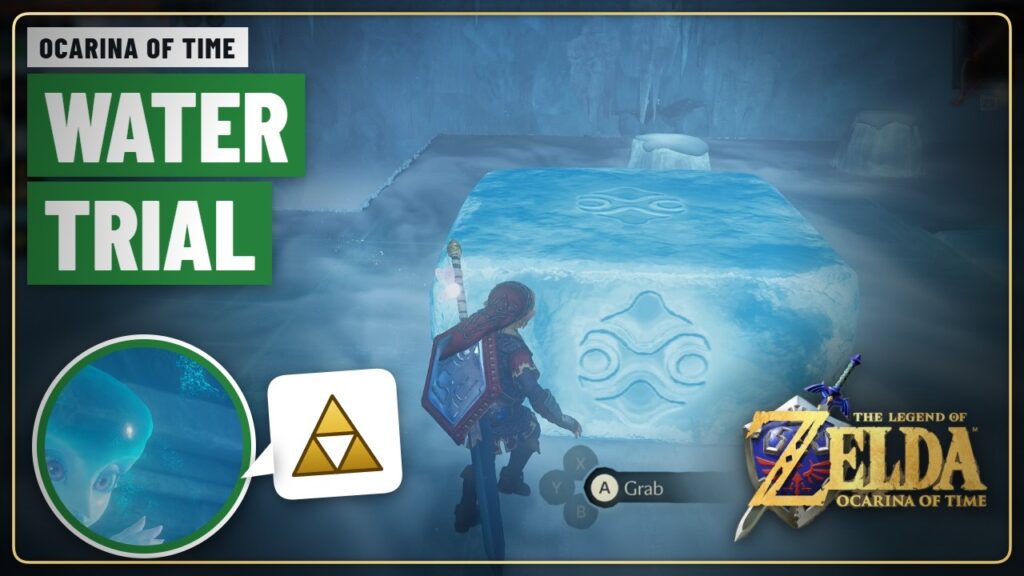
Ganon’s Castle Water Trial Guide (Ocarina of Time Switch 2) guide image
Image: TGGA
Ocarina of Time (Switch 2) Ganon’s Castle Water Trial Guide (Ocarina of Time Switch 2)

The Water Trial is an ice room with Blue Fire, red ice and an ice.

Walkthrough
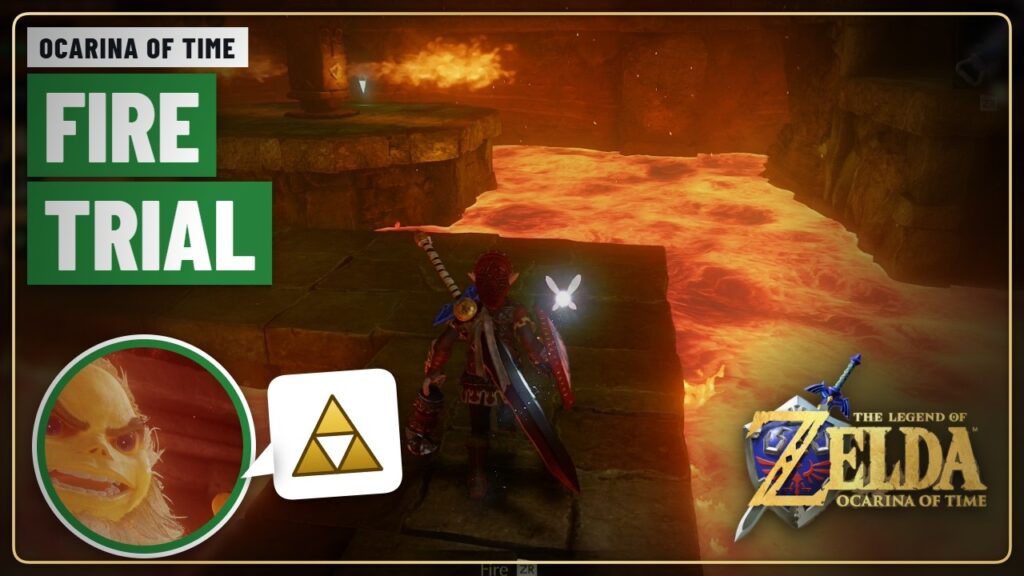
Ganon’s Castle Fire Trial Guide (Ocarina of Time Switch 2) guide image
Image: TGGA
Ocarina of Time (Switch 2) Ganon’s Castle Fire Trial Guide (Ocarina of Time Switch 2)

The Fire Trial puts you over a lake of lava. You collect Silver Rupees on.

Walkthrough
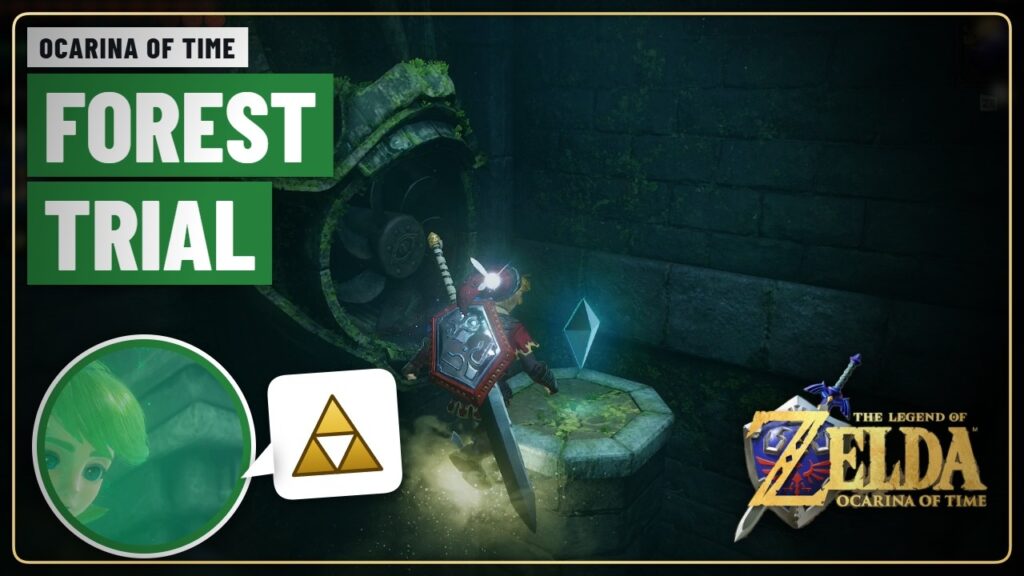
Ganon’s Castle Forest Trial Guide (Ocarina of Time Switch 2) guide image
Image: TGGA
Ocarina of Time (Switch 2) Ganon’s Castle Forest Trial Guide (Ocarina of Time Switch 2)

The Forest Trial is one of the six trials inside Ganon's Castle. It is a.

Walkthrough
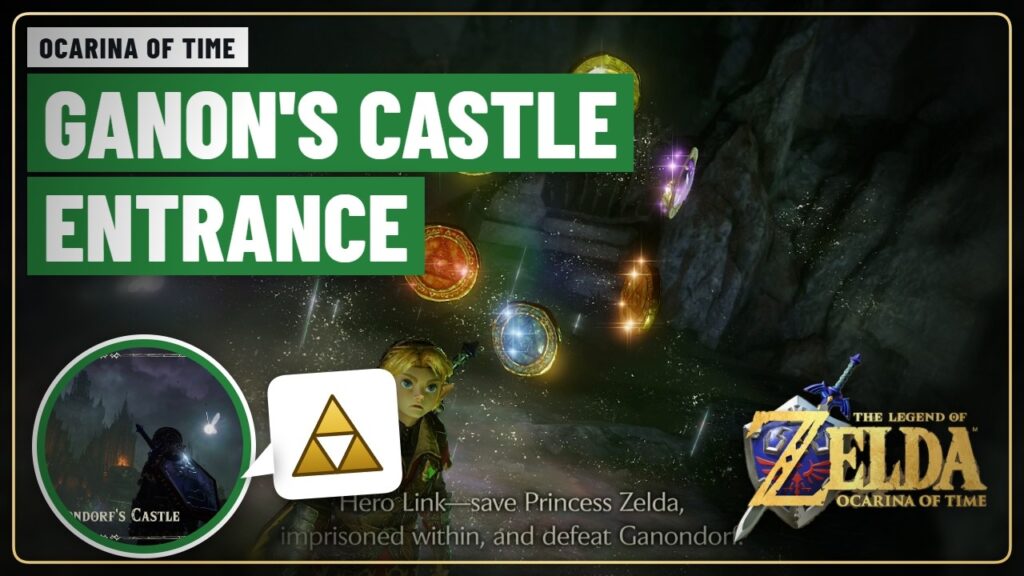
How to Get Into Ganon’s Castle: The Rainbow Bridge (Ocarina of Time Switch 2) guide image
Image: TGGA
Ocarina of Time (Switch 2) How to Get Into Ganon’s Castle: The Rainbow Bridge (Ocarina of Time Switch 2)

Ganon's Castle floats above a pit of lava where Hyrule Castle used to be. Once.

Walkthrough
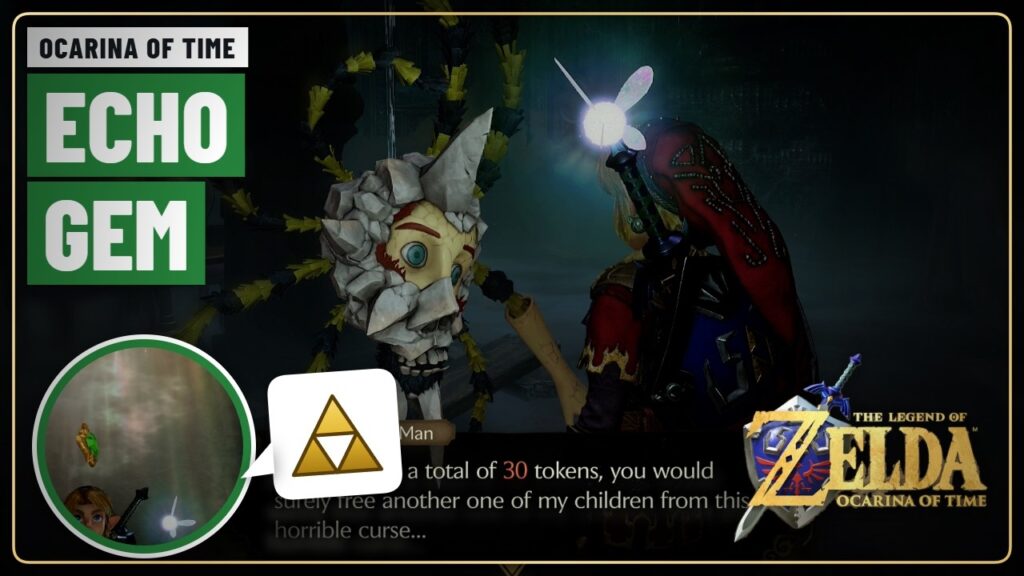
How to Get the Echo Gem (Ocarina of Time Switch 2) guide image
Image: TGGA
Ocarina of Time (Switch 2) How to Get the Echo Gem (Ocarina of Time Switch 2)

The Echo Gem is new in the Switch 2 remake. It replaces the Stone of.

Walkthrough
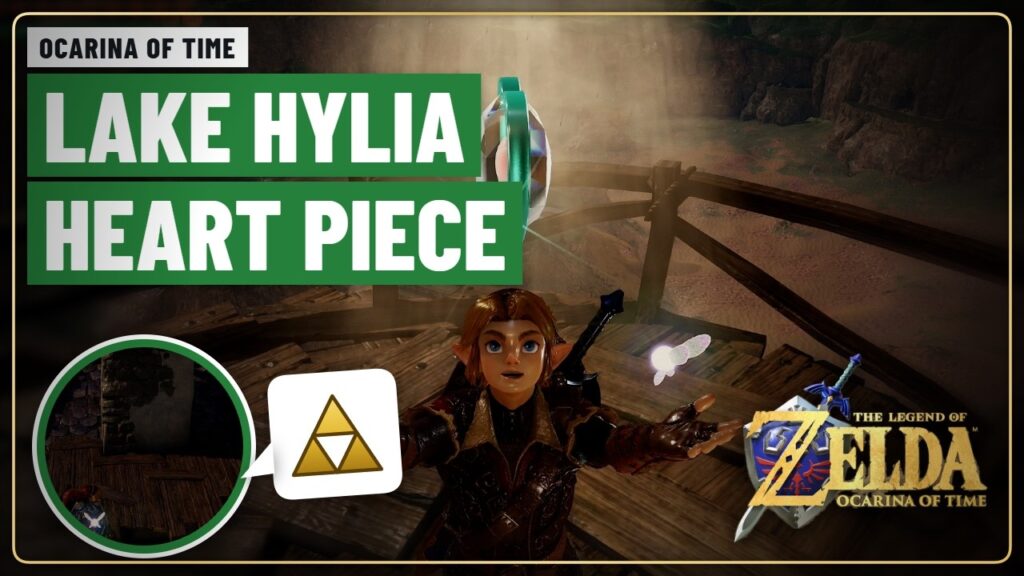
Lake Hylia Magic Bean Heart Piece (Ocarina of Time Switch 2) guide image
Image: TGGA
Ocarina of Time (Switch 2) Lake Hylia Magic Bean Heart Piece (Ocarina of Time Switch 2)

A Piece of Heart sits on top of the Lakeside Laboratory tower. A Magic Bean.

Collectibles
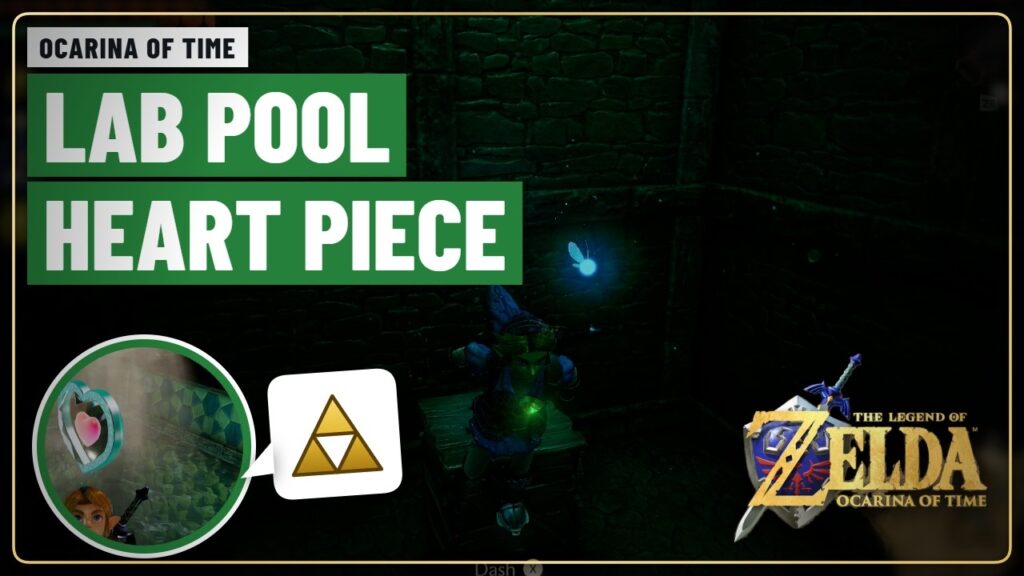
Lakeside Laboratory Heart Piece (Ocarina of Time Switch 2) guide image
Image: TGGA
Ocarina of Time (Switch 2) Lakeside Laboratory Heart Piece (Ocarina of Time Switch 2)

Inside the Lakeside Laboratory is a deep water tank. Reach the bottom as adult Link.

Collectibles
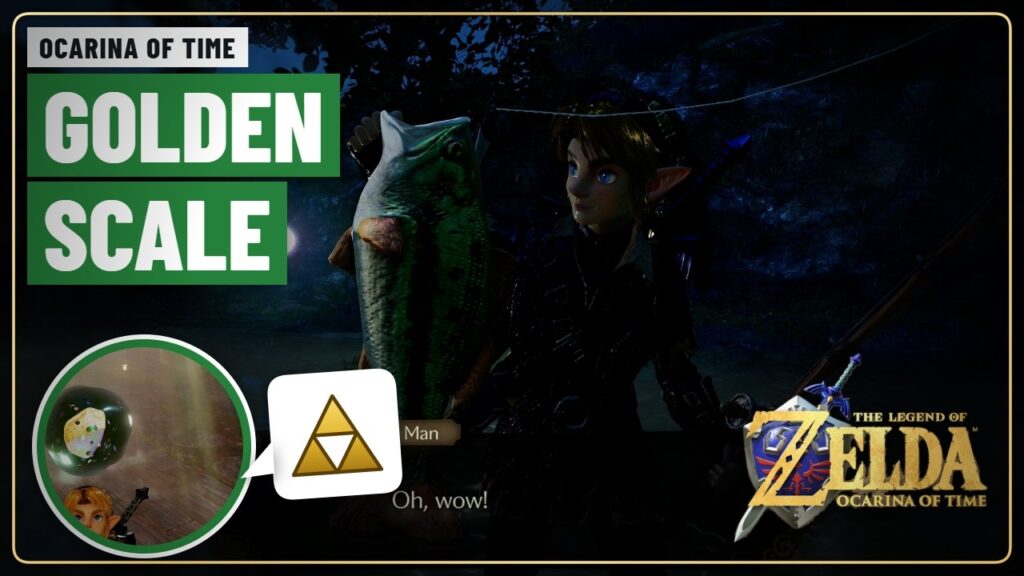
How to Get the Golden Scale (Ocarina of Time Switch 2) guide image
Image: TGGA
Ocarina of Time (Switch 2) How to Get the Golden Scale (Ocarina of Time Switch 2)

The Golden Scale lets Link dive even deeper. You get it at the Fishing Pond.

Walkthrough
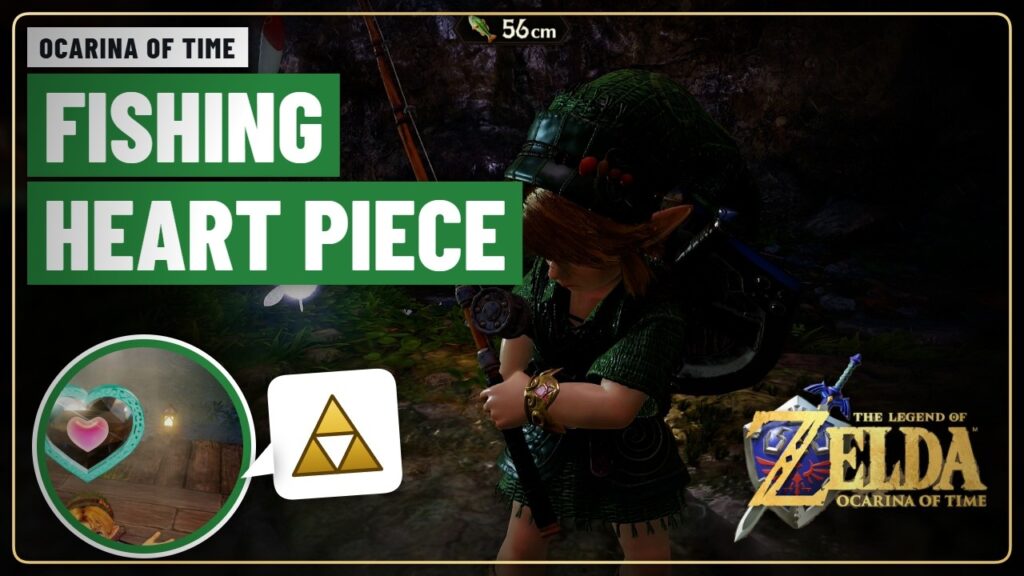
How to Get the Fishing Pond Heart Piece (Ocarina of Time Switch 2) guide image
Image: TGGA
Ocarina of Time (Switch 2) How to Get the Fishing Pond Heart Piece (Ocarina of Time Switch 2)

The Fishing Pond at Lake Hylia gives young Link a Piece of Heart for catching.

Collectibles
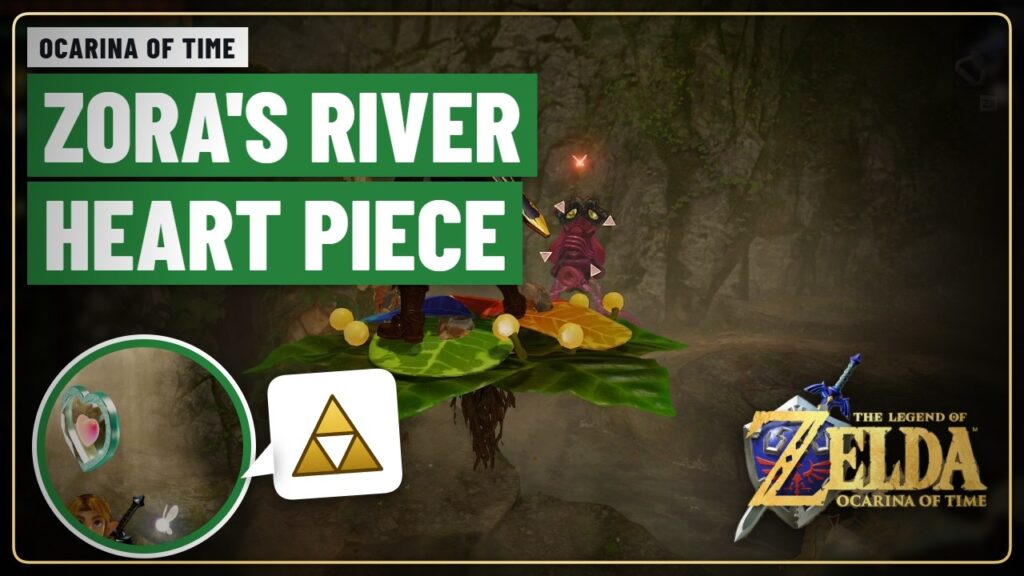
Zora’s River Magic Bean Heart Piece (Ocarina of Time Switch 2) guide image
Image: TGGA
Ocarina of Time (Switch 2) Zora’s River Magic Bean Heart Piece (Ocarina of Time Switch 2)

A Piece of Heart sits on a pillar halfway up Zora's River. The easiest way.

Collectibles
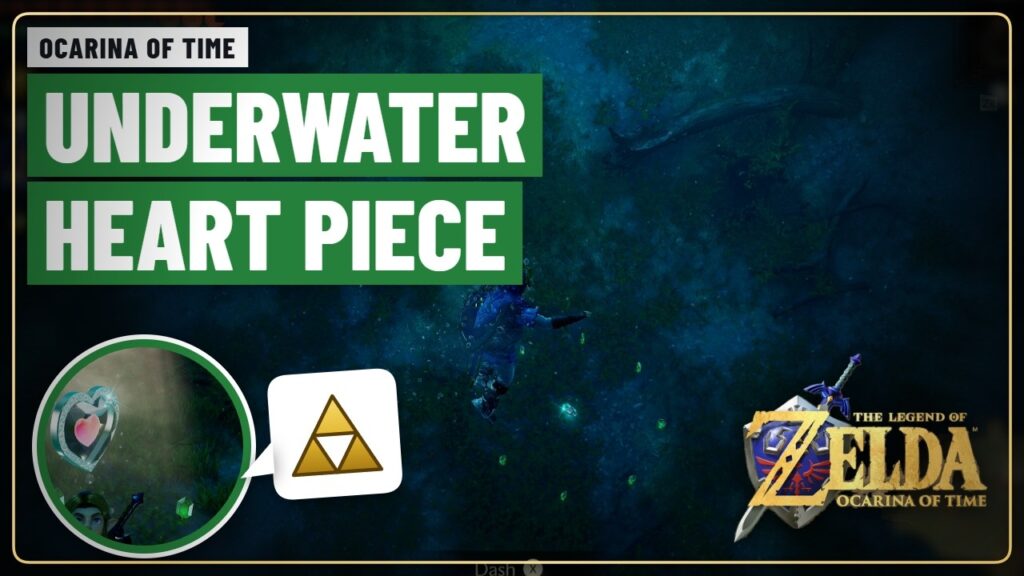
Zora’s Fountain Underwater Heart Piece (Ocarina of Time Switch 2) guide image
Image: TGGA
Ocarina of Time (Switch 2) Zora’s Fountain Underwater Heart Piece (Ocarina of Time Switch 2)

A Piece of Heart lies on the bottom of Zora's Fountain. You need the Iron.

Collectibles
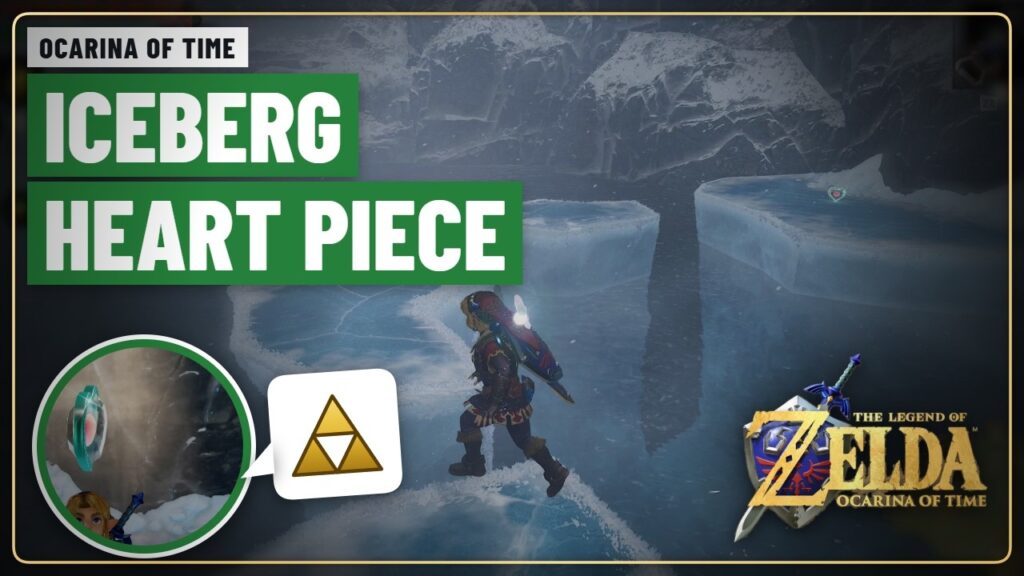
Zora’s Fountain Iceberg Heart Piece (Ocarina of Time Switch 2) guide image
Image: TGGA
Ocarina of Time (Switch 2) Zora’s Fountain Iceberg Heart Piece (Ocarina of Time Switch 2)

On the way to the Ice Cavern, a Piece of Heart sits on one of.

Collectibles
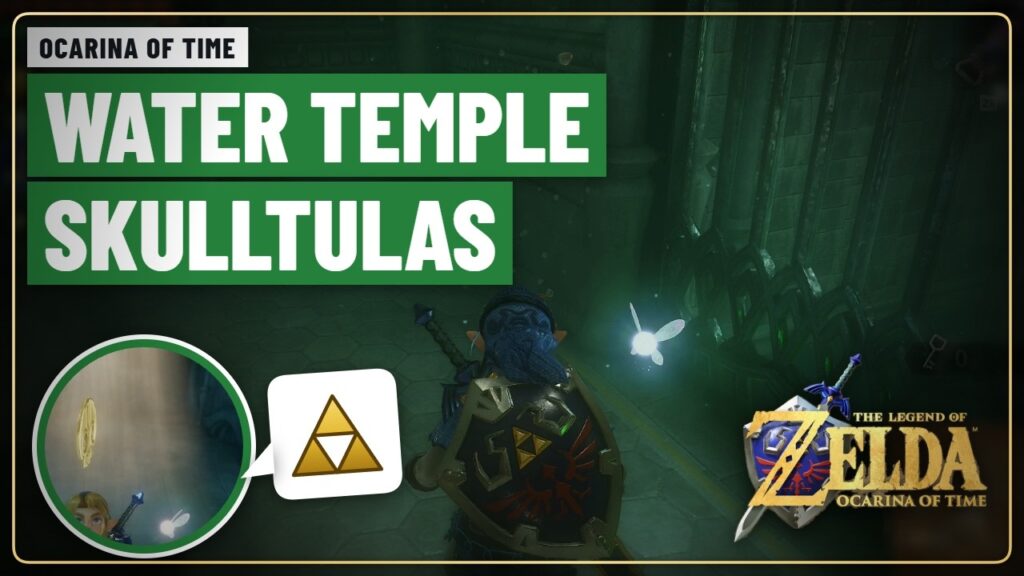
Water Temple: All 5 Gold Skulltulas (Ocarina of Time Switch 2) guide image
Image: TGGA
Ocarina of Time (Switch 2) Water Temple: All 5 Gold Skulltulas (Ocarina of Time Switch 2)

The Water Temple has five Gold Skulltulas. Several of them depend on the water level,.

Collectibles
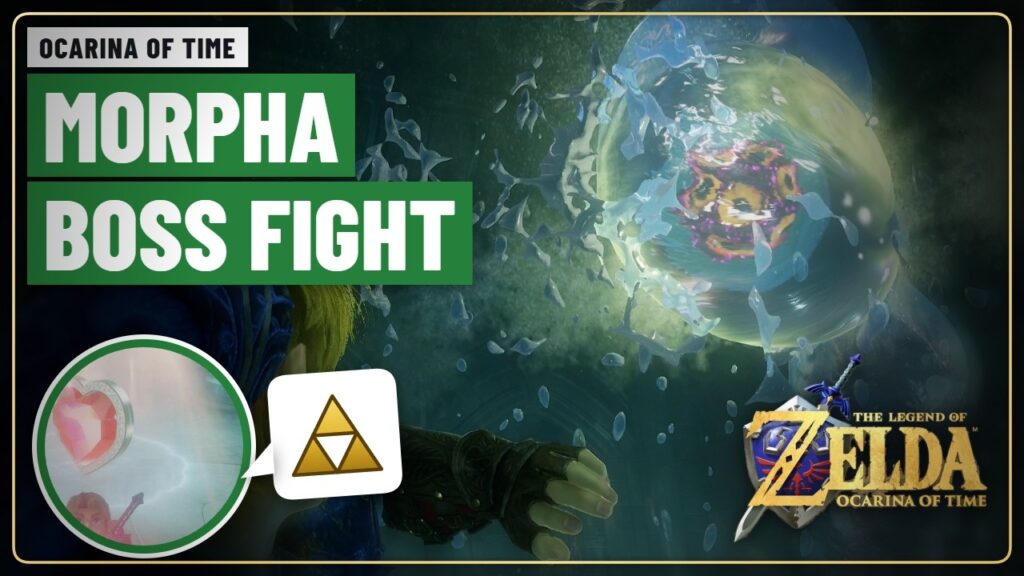
How to Beat Morpha (Ocarina of Time Switch 2) guide image
Image: TGGA
Ocarina of Time (Switch 2) How to Beat Morpha (Ocarina of Time Switch 2)

Morpha is the boss of the Water Temple. It is a living mass of water.

Boss Guides
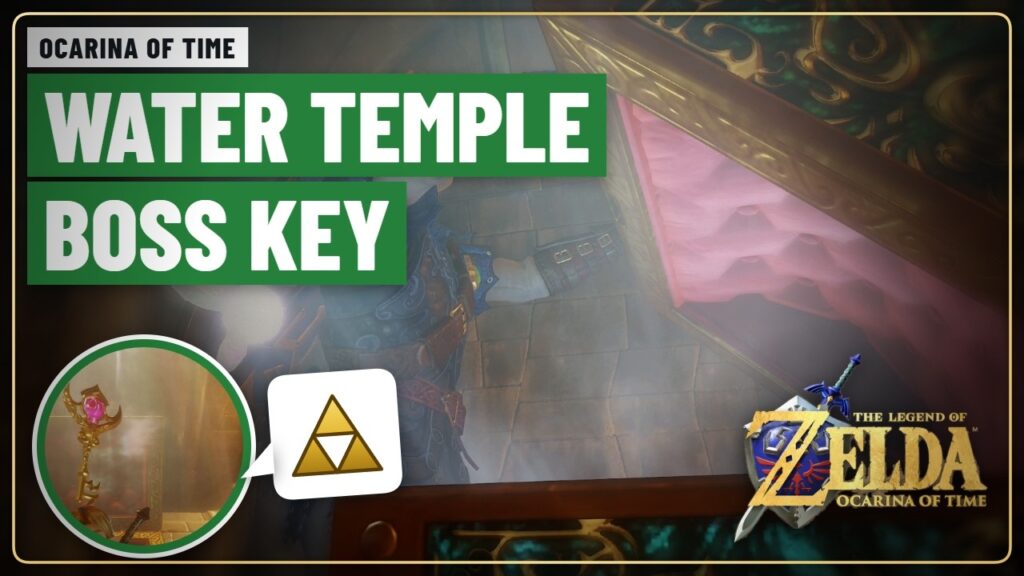
Water Temple Boss Key Location (Ocarina of Time Switch 2) guide image
Image: TGGA
Ocarina of Time (Switch 2) Water Temple Boss Key Location (Ocarina of Time Switch 2)

The Water Temple Boss Key is behind the river with the whirlpools and the rolling.

Walkthrough
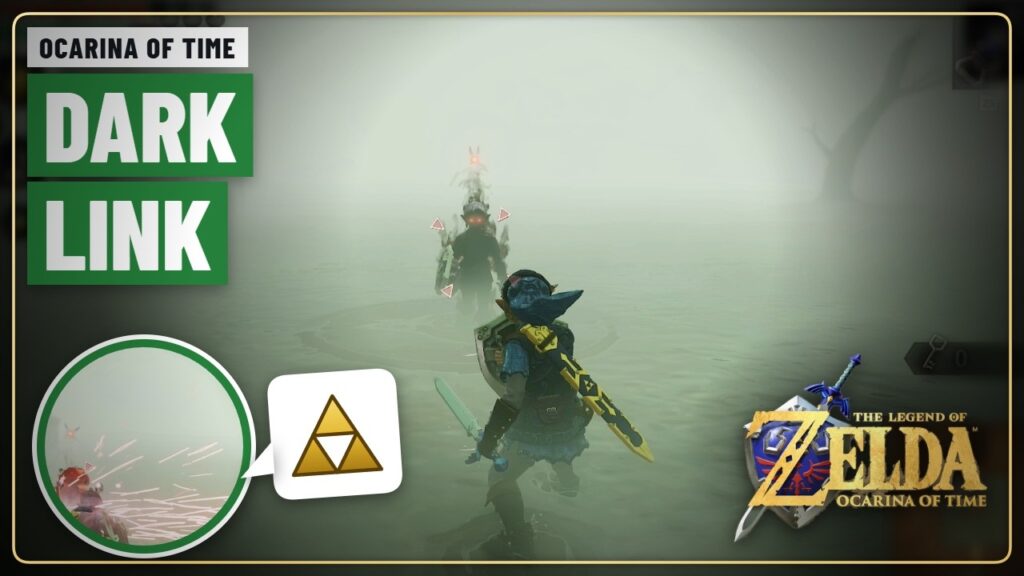
How to Beat Dark Link (Ocarina of Time Switch 2) guide image
Image: TGGA
Ocarina of Time (Switch 2) How to Beat Dark Link (Ocarina of Time Switch 2)

Dark Link is a shadow copy of Link in a misty room of the Water.

Boss Guides
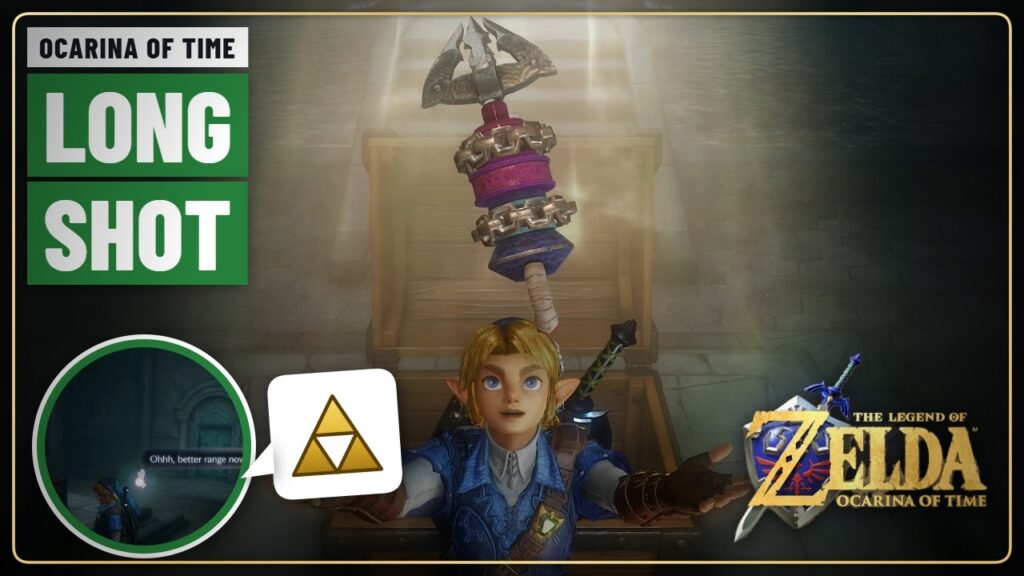
How to Get the Longshot (Ocarina of Time Switch 2) guide image
Image: TGGA
Ocarina of Time (Switch 2) How to Get the Longshot (Ocarina of Time Switch 2)

The Longshot is the upgraded Hookshot with twice the range. You get it in the.

Walkthrough
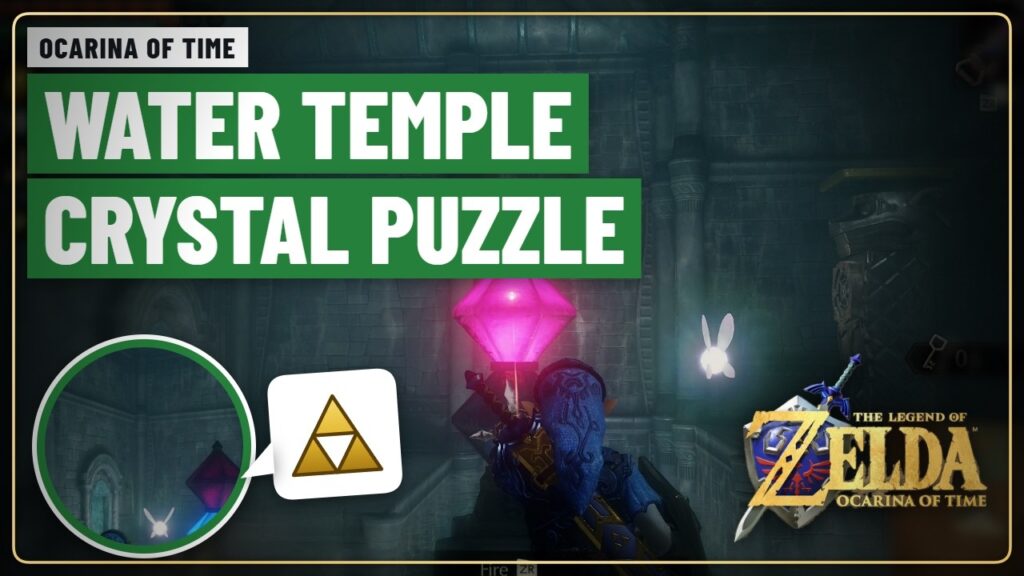
Water Temple Crystal Switch Room (Ocarina of Time Switch 2) guide image
Image: TGGA
Ocarina of Time (Switch 2) Water Temple Crystal Switch Room (Ocarina of Time Switch 2)

In this room of the Water Temple you have to hit a crystal switch to.

Walkthrough
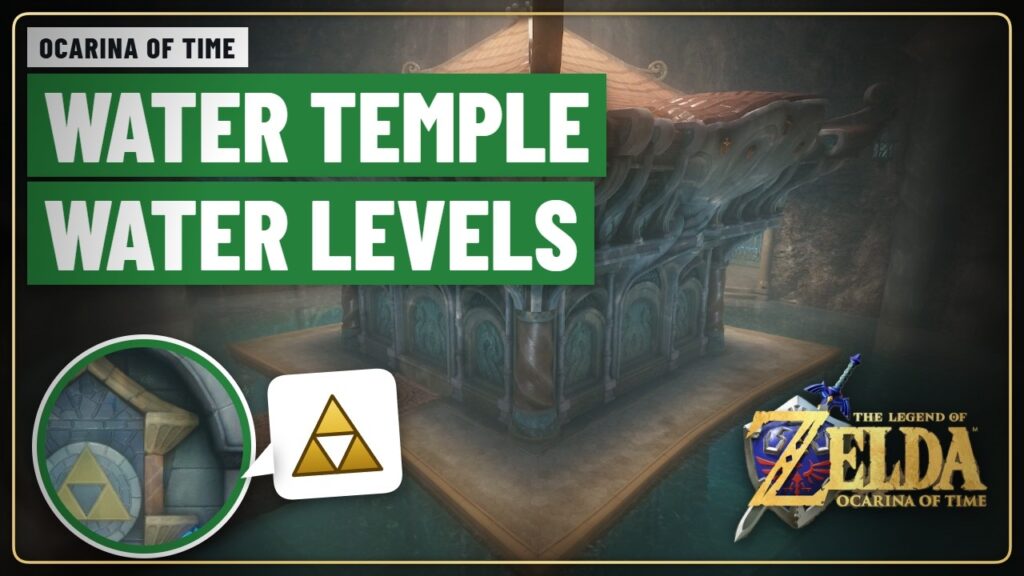
Water Temple Water Levels Guide (Ocarina of Time Switch 2) guide image
Image: TGGA
Ocarina of Time (Switch 2) Water Temple Water Levels Guide (Ocarina of Time Switch 2)

The Water Temple has three water levels: high, middle and low. You switch between them.

Walkthrough
Water Temple Walkthrough (Ocarina of Time Switch 2) guide image
Image: TGGA
Ocarina of Time (Switch 2) Water Temple Walkthrough (Ocarina of Time Switch 2)

The Water Temple is famous for being confusing. The whole dungeon is about raising and.

Walkthrough
How to Enter the Water Temple (Ocarina of Time Switch 2) guide image
Image: TGGA
Ocarina of Time (Switch 2) How to Enter the Water Temple (Ocarina of Time Switch 2)

The Water Temple sits at the bottom of Lake Hylia. You need the Iron Boots.

Walkthrough
How to Get the Serenade of Water (Ocarina of Time Switch 2) guide image
Image: TGGA
Ocarina of Time (Switch 2) How to Get the Serenade of Water (Ocarina of Time Switch 2)

The Serenade of Water warps you to Lake Hylia, right next to the Water Temple..

Walkthrough
How to Get the Zora Tunic (Ocarina of Time Switch 2) guide image
Image: TGGA
Ocarina of Time (Switch 2) How to Get the Zora Tunic (Ocarina of Time Switch 2)

The Zora Tunic lets Link breathe underwater, which you need for the Water Temple. King.

Walkthrough
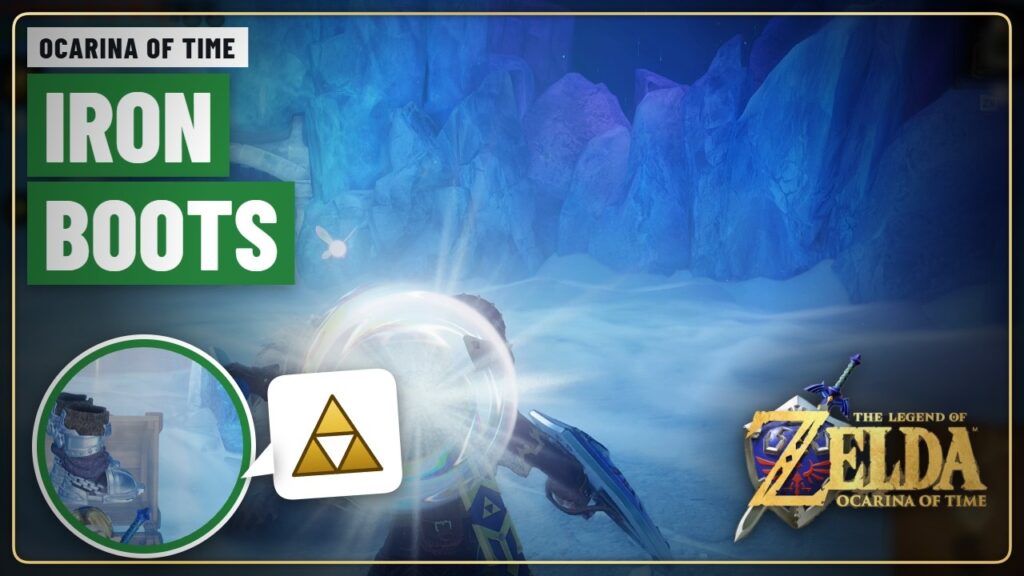
How to Get the Iron Boots (Ocarina of Time Switch 2) guide image
Image: TGGA
Ocarina of Time (Switch 2) How to Get the Iron Boots (Ocarina of Time Switch 2)

The Iron Boots let Link sink to the bottom of deep water and walk against.

Walkthrough
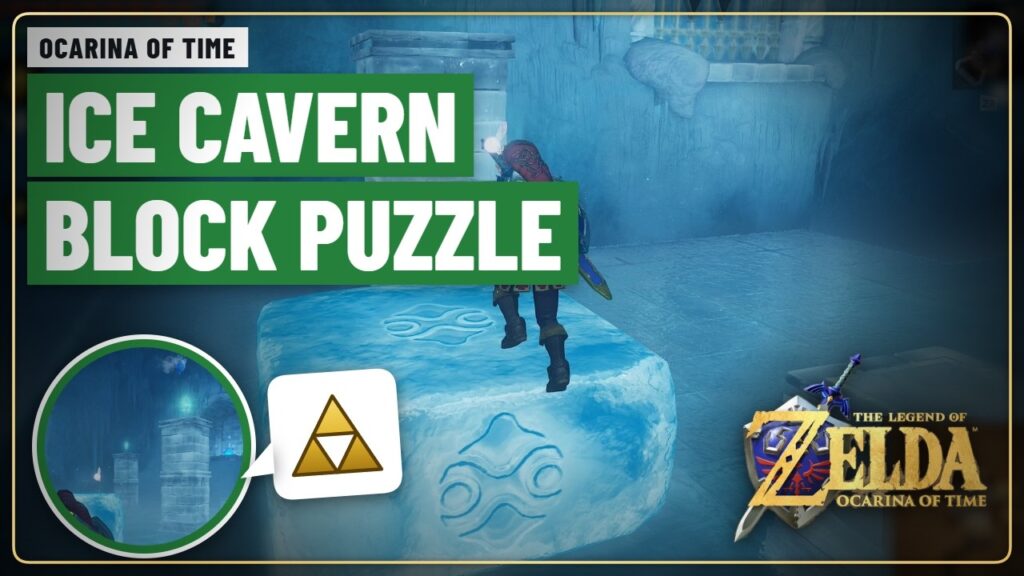
Ice Cavern Block Puzzle Solution (Ocarina of Time Switch 2) guide image
Image: TGGA
Ocarina of Time (Switch 2) Ice Cavern Block Puzzle Solution (Ocarina of Time Switch 2)

The block puzzle in the Ice Cavern uses an ice block that slides until it.

Walkthrough
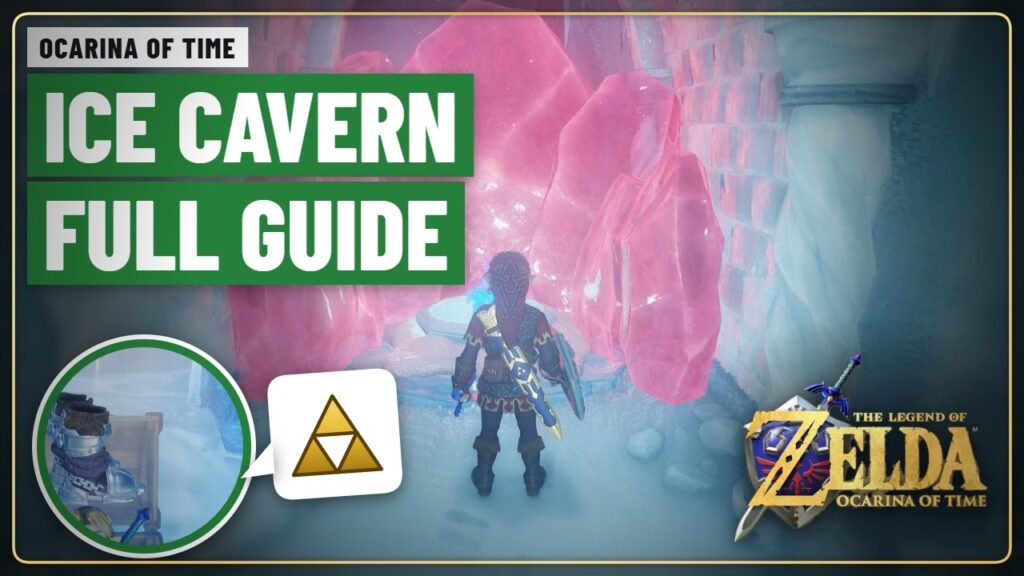
Ice Cavern Walkthrough (Ocarina of Time Switch 2) guide image
Image: TGGA
Ocarina of Time (Switch 2) Ice Cavern Walkthrough (Ocarina of Time Switch 2)

Zora's Domain is frozen when you return as adult Link. The Ice Cavern in Zora's.

Walkthrough
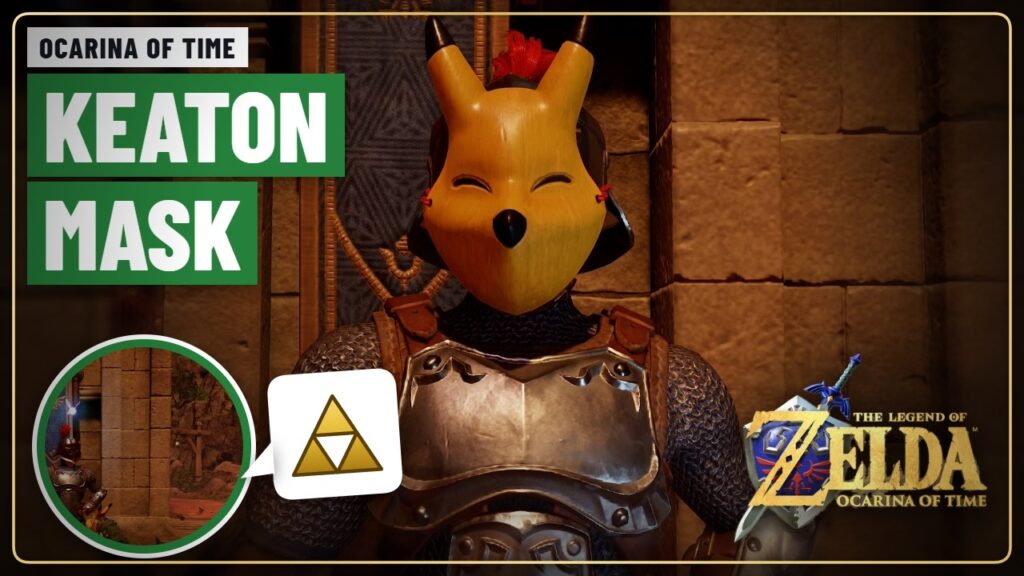
Where to Sell the Keaton Mask (Ocarina of Time Switch 2) guide image
Image: TGGA
Ocarina of Time (Switch 2) Where to Sell the Keaton Mask (Ocarina of Time Switch 2)

The Keaton Mask is the first mask you borrow from the Happy Mask Shop. Selling.

Walkthrough
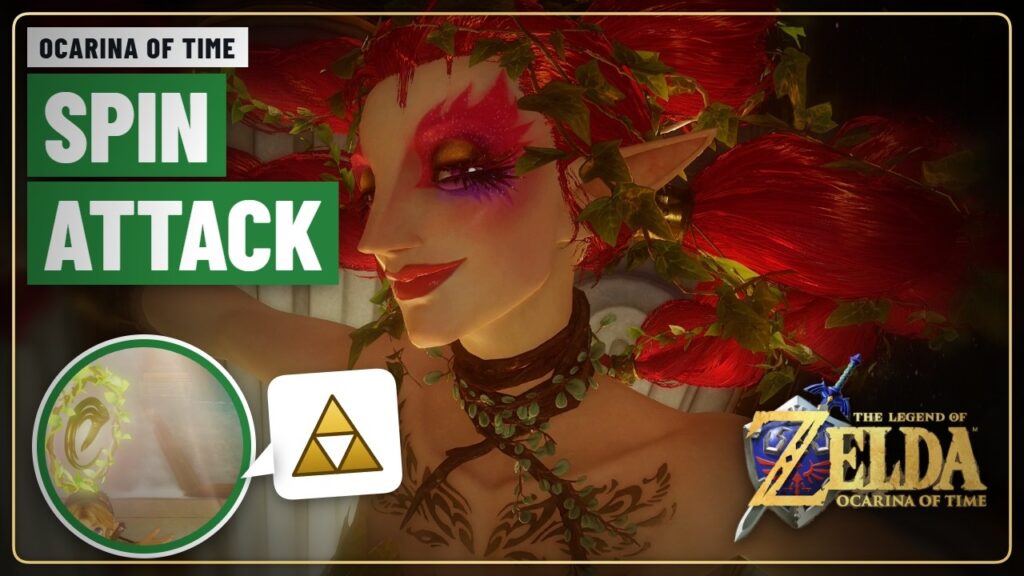
How to Get the Improved Spin Attack (Ocarina of Time Switch 2) guide image
Image: TGGA
Ocarina of Time (Switch 2) How to Get the Improved Spin Attack (Ocarina of Time Switch 2)

In the Switch 2 remake, the Great Fairy near Hyrule Castle gives you the Improved.

Walkthrough
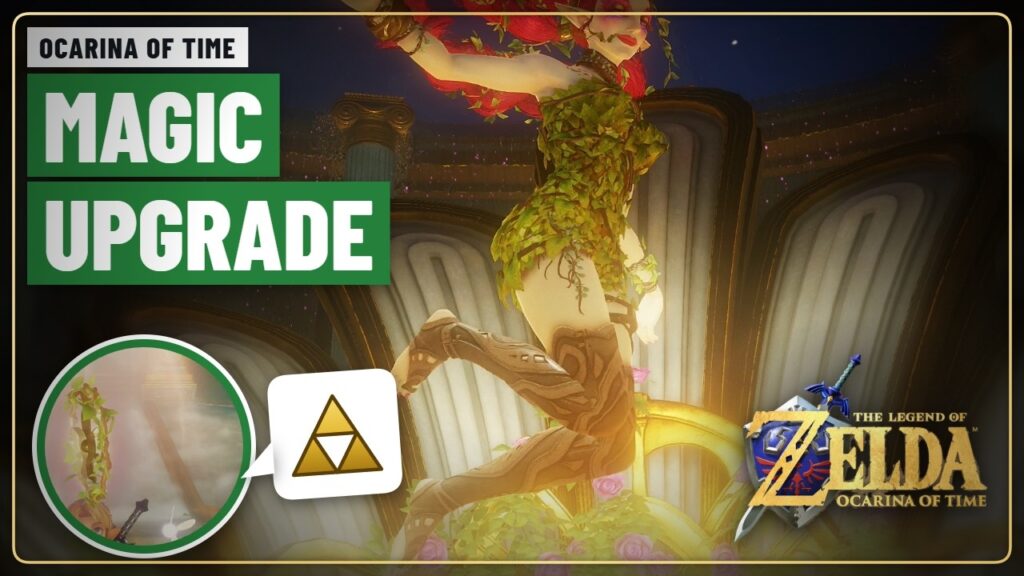
How to Get Double Magic (Ocarina of Time Switch 2) guide image
Image: TGGA
Ocarina of Time (Switch 2) How to Get Double Magic (Ocarina of Time Switch 2)

Double Magic doubles the size of your Magic Meter. The Great Fairy in Death Mountain.

Walkthrough
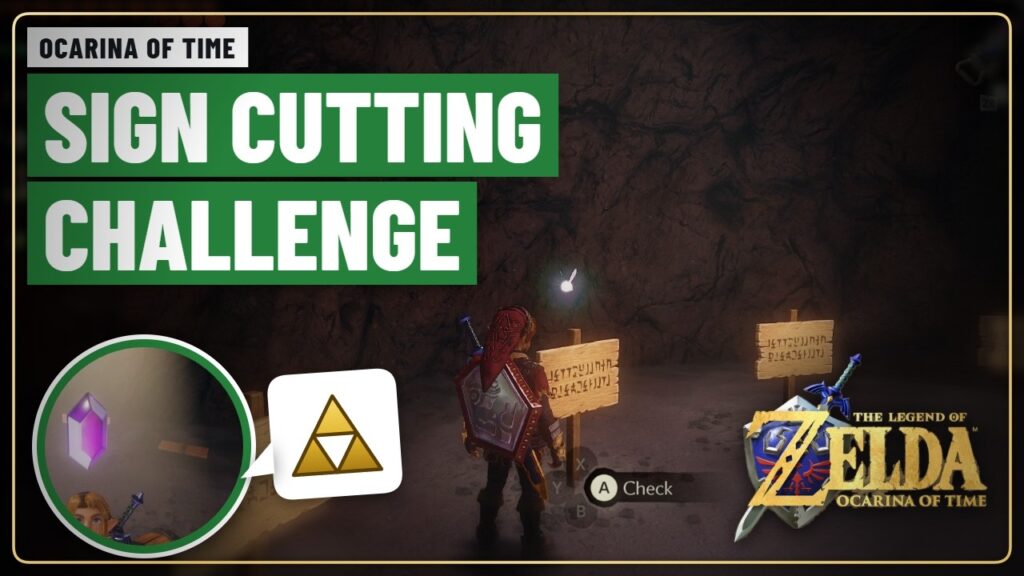
Goron City Sign Cutting Challenge (Ocarina of Time Switch 2) guide image
Image: TGGA
Ocarina of Time (Switch 2) Goron City Sign Cutting Challenge (Ocarina of Time Switch 2)

Goron City has a sign cutting challenge where you slash signs as fast as you.

Walkthrough
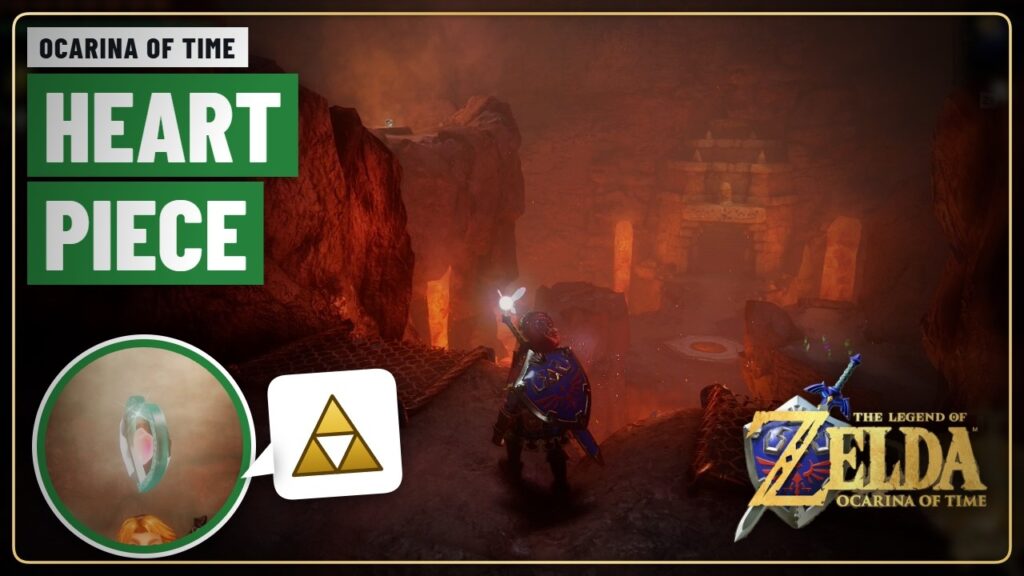
Death Mountain Crater Heart Pieces (Ocarina of Time Switch 2) guide image
Image: TGGA
Ocarina of Time (Switch 2) Death Mountain Crater Heart Pieces (Ocarina of Time Switch 2)

Death Mountain Crater holds three Pieces of Heart. The heat makes them tricky as young.

Collectibles
Death Mountain Trail Gold Skulltula with the Megaton Hammer (Ocarina of Time Switch 2) guide image
Image: TGGA
Ocarina of Time (Switch 2) Death Mountain Trail Gold Skulltula with the Megaton Hammer (Ocarina of Time Switch 2)

This Gold Skulltula on Death Mountain Trail hides behind a rock you can only break.

Collectibles
Fire Temple Gold Skulltula with the Scarecrow’s Song (Ocarina of Time Switch 2) guide image
Image: TGGA
Ocarina of Time (Switch 2) Fire Temple Gold Skulltula with the Scarecrow’s Song (Ocarina of Time Switch 2)

One Gold Skulltula in the Fire Temple is out of reach until you call Pierre.

Collectibles
How to Beat Volvagia (Ocarina of Time Switch 2) guide image
Image: TGGA
Ocarina of Time (Switch 2) How to Beat Volvagia (Ocarina of Time Switch 2)

Volvagia is the boss of the Fire Temple, a dragon that hides in the lava.

Boss Guides
Fire Temple Boss Key Location (Ocarina of Time Switch 2) guide image
Image: TGGA
Ocarina of Time (Switch 2) Fire Temple Boss Key Location (Ocarina of Time Switch 2)

You need the Fire Temple Boss Key to reach Volvagia. It sits in a big.

Walkthrough
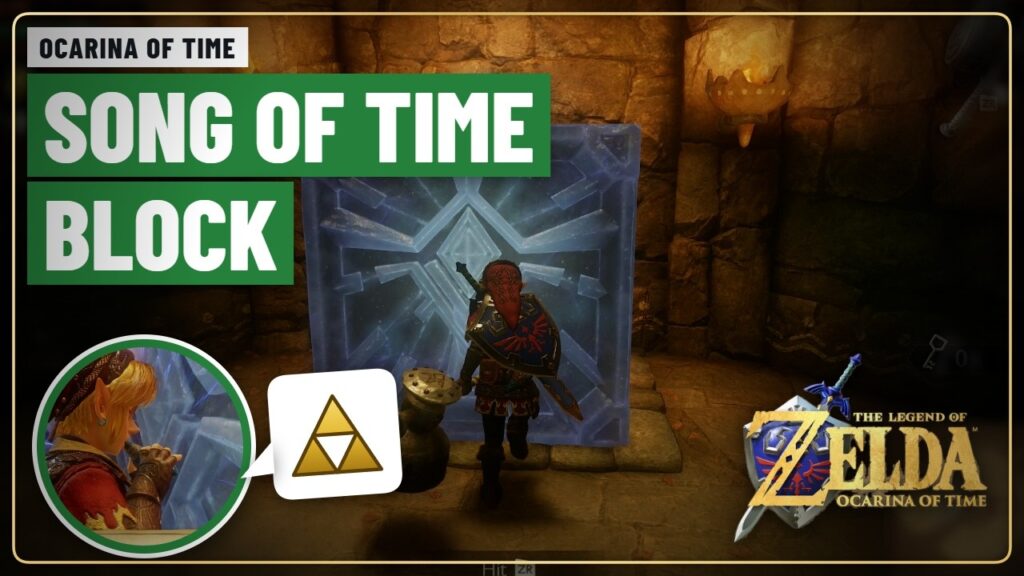
Fire Temple Song of Time Block Puzzle (Ocarina of Time Switch 2) guide image
Image: TGGA
Ocarina of Time (Switch 2) Fire Temple Song of Time Block Puzzle (Ocarina of Time Switch 2)

Somewhere in the Fire Temple a blue block stands in your way. It is a.

Walkthrough
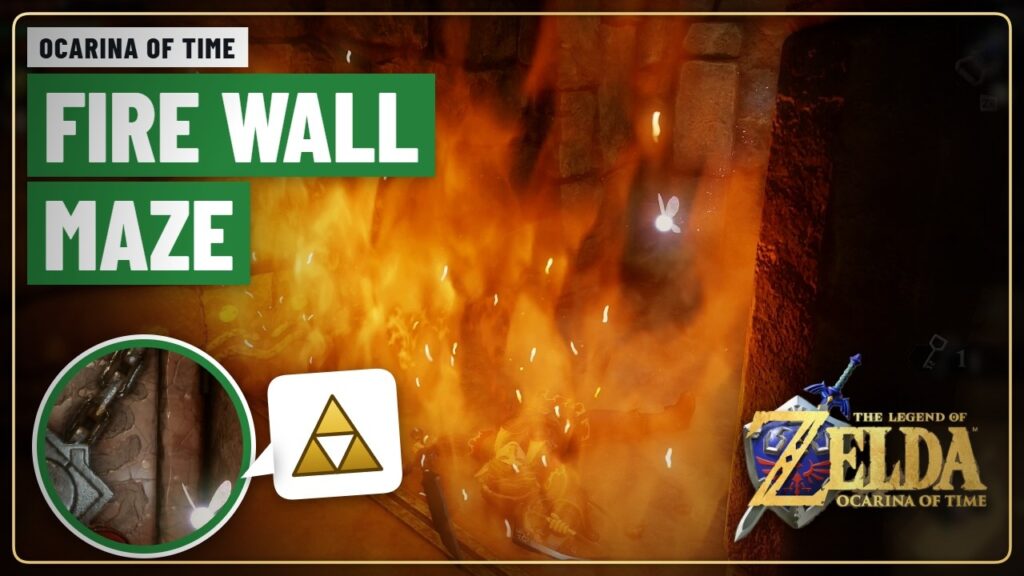
Fire Temple Fire Wall Maze Solution (Ocarina of Time Switch 2) guide image
Image: TGGA
Ocarina of Time (Switch 2) Fire Temple Fire Wall Maze Solution (Ocarina of Time Switch 2)

The fire wall maze on the upper floors of the Fire Temple is one of.

Walkthrough
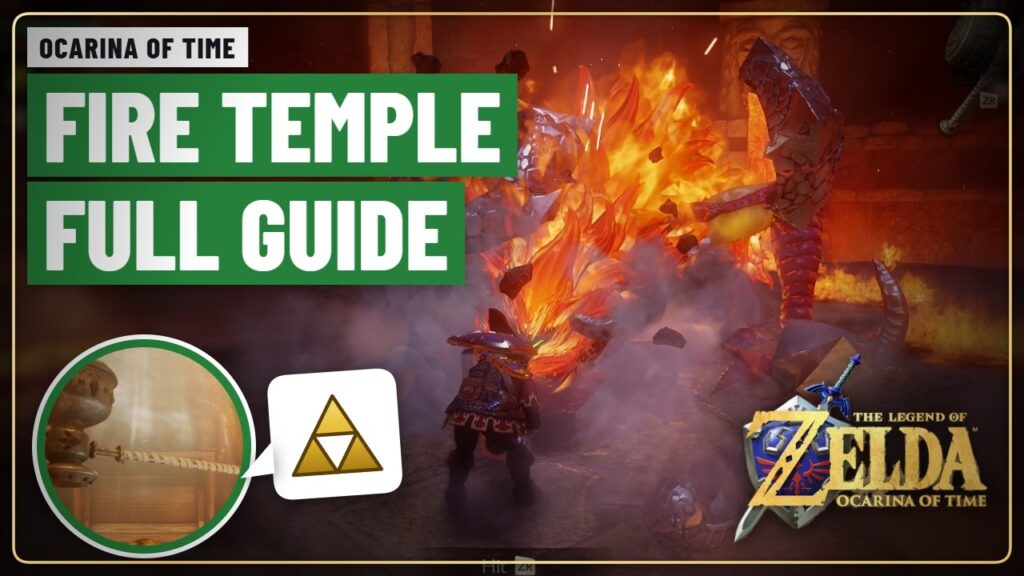
Fire Temple Walkthrough (Ocarina of Time Switch 2) guide image
Image: TGGA
Ocarina of Time (Switch 2) Fire Temple Walkthrough (Ocarina of Time Switch 2)

The Fire Temple is the second adult dungeon. Darunia has gone ahead to fight Volvagia,.

Walkthrough
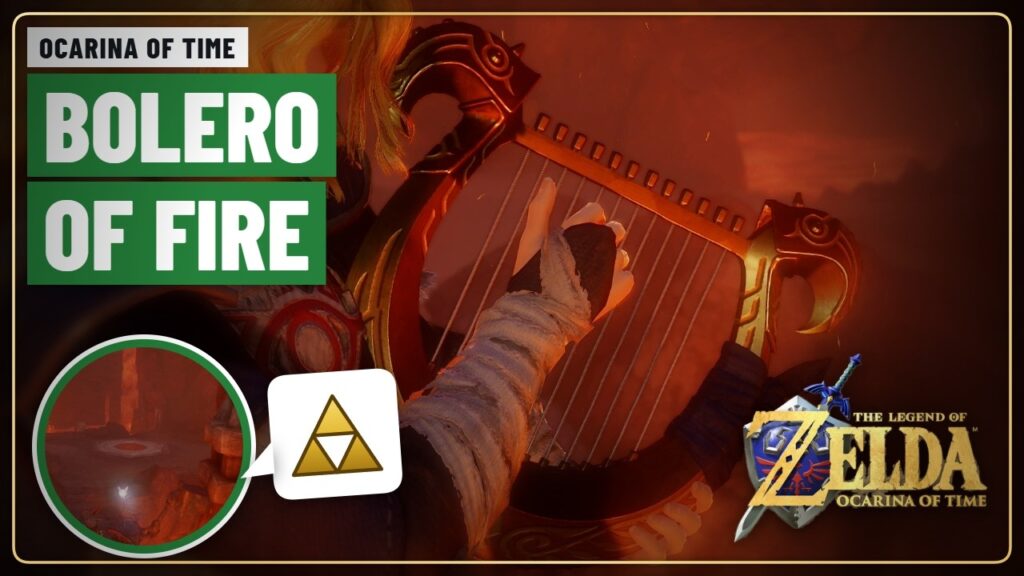
How to Get the Bolero of Fire (Ocarina of Time Switch 2) guide image
Image: TGGA
Ocarina of Time (Switch 2) How to Get the Bolero of Fire (Ocarina of Time Switch 2)

The Bolero of Fire warps you straight to Death Mountain Crater, right by the Fire.

Walkthrough
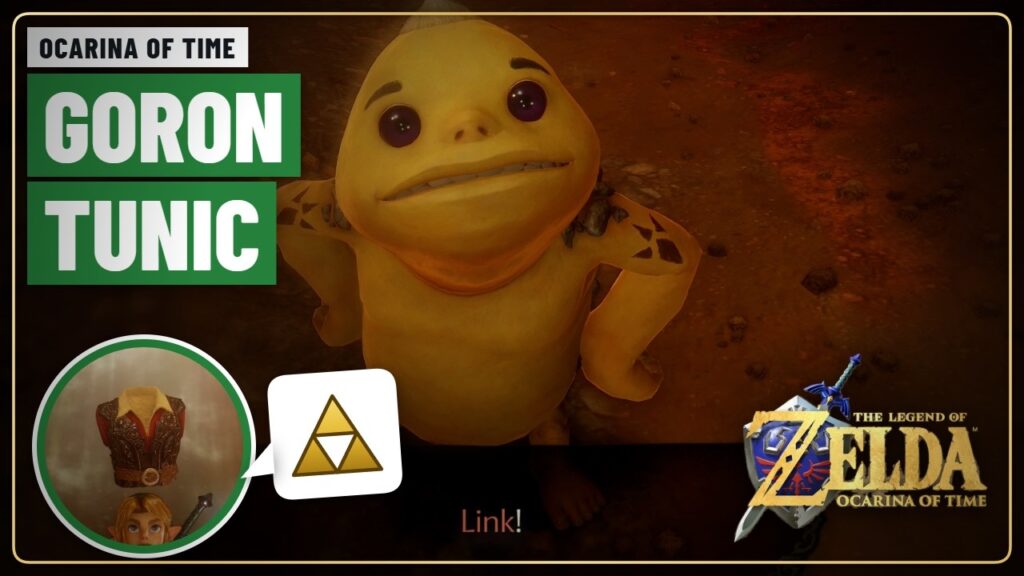
How to Get the Goron Tunic for Free (Ocarina of Time Switch 2) guide image
Image: TGGA
Ocarina of Time (Switch 2) How to Get the Goron Tunic for Free (Ocarina of Time Switch 2)

You need the Goron Tunic to survive the heat of the Fire Temple. You can.

Walkthrough
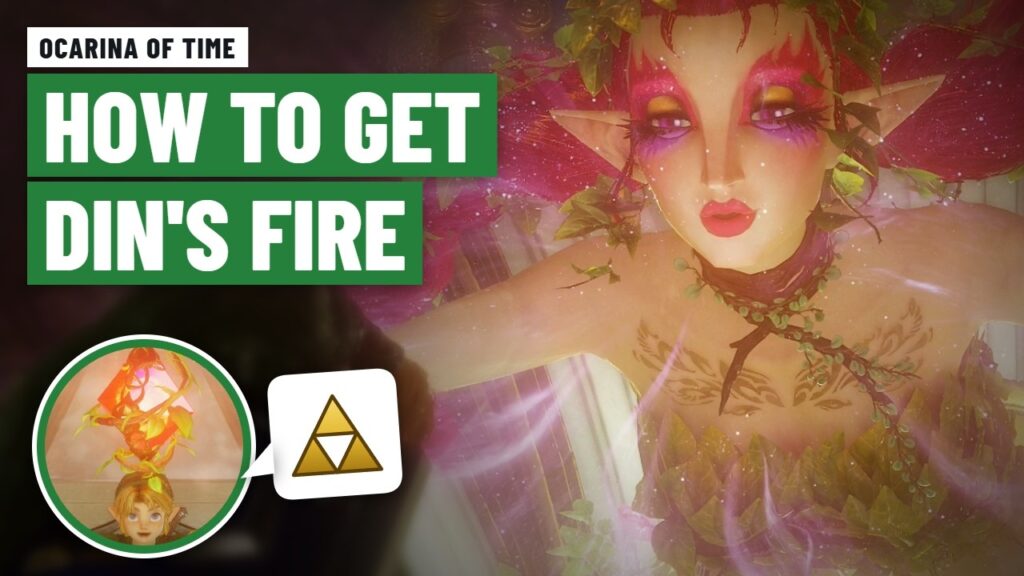
How to Get Din’s Fire (Ocarina of Time Switch 2) guide image
Image: TGGA
Ocarina of Time (Switch 2) How to Get Din’s Fire (Ocarina of Time Switch 2)

Din's Fire is a magic spell that burns everything around Link. In the Switch 2.

Walkthrough
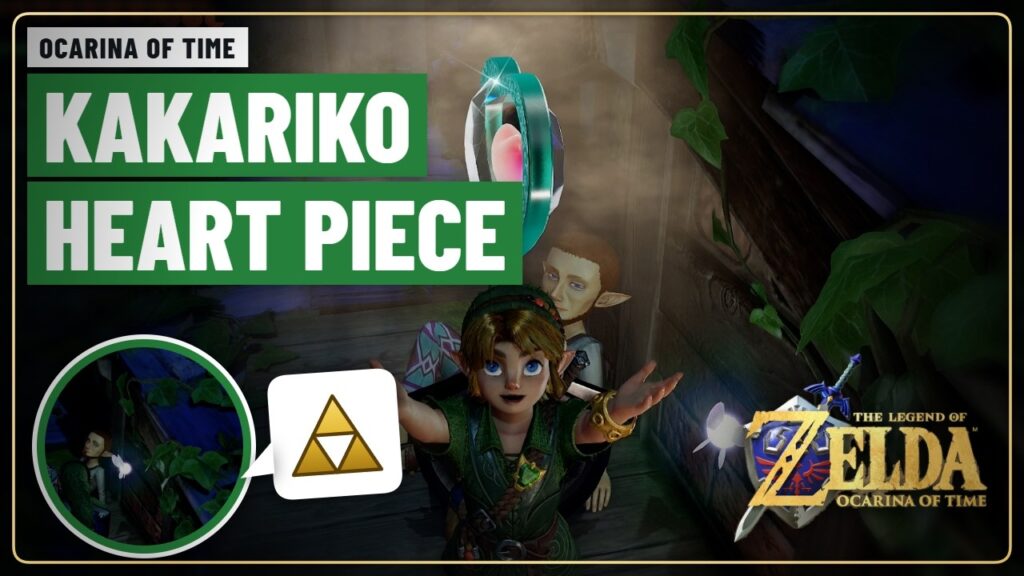
Kakariko Village Heart Piece: Man on the Roof (Ocarina of Time Switch 2) guide image
Image: TGGA
Ocarina of Time (Switch 2) Kakariko Village Heart Piece: Man on the Roof (Ocarina of Time Switch 2)

A man sits on a roof in Kakariko Village and gives a Piece of Heart.

Collectibles
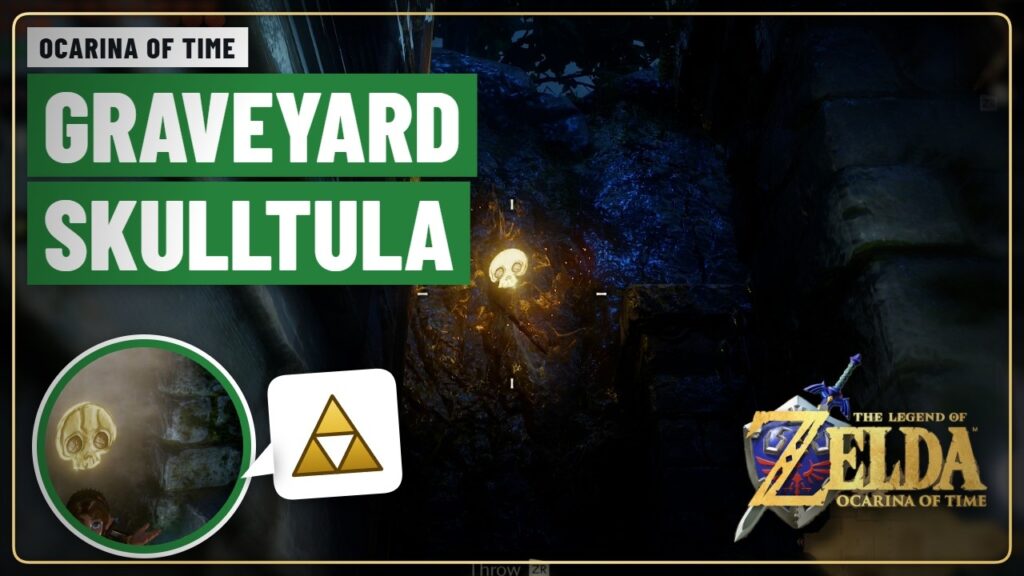
Graveyard Gold Skulltula Location (Ocarina of Time Switch 2) guide image
Image: TGGA
Ocarina of Time (Switch 2) Graveyard Gold Skulltula Location (Ocarina of Time Switch 2)

One of the Kakariko Graveyard Gold Skulltulas hides in a bug hole. Release a bug.

Collectibles
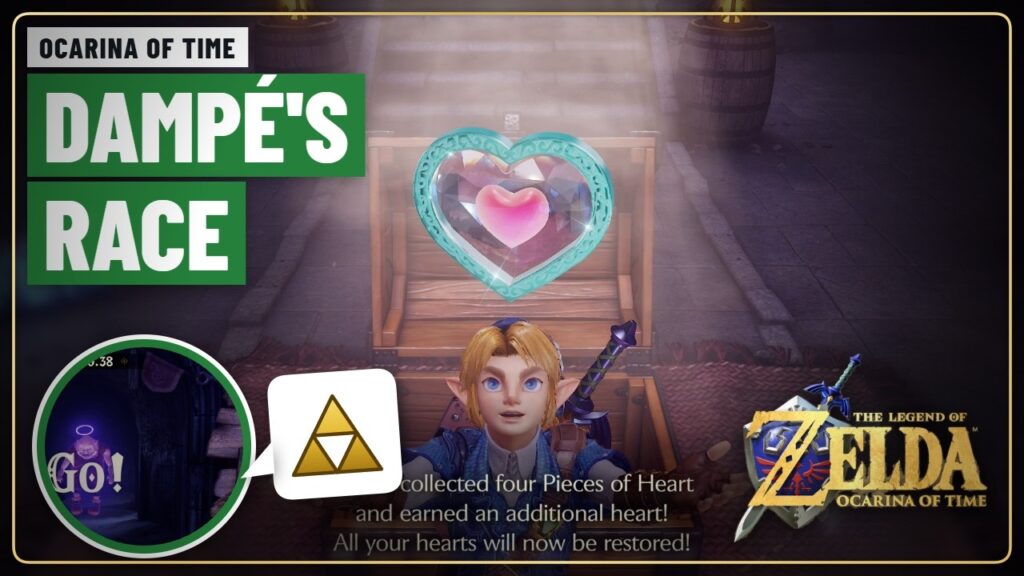
Graveyard Heart Piece: Dampé’s Race (Ocarina of Time Switch 2) guide image
Image: TGGA
Ocarina of Time (Switch 2) Graveyard Heart Piece: Dampé’s Race (Ocarina of Time Switch 2)

After you win the Hookshot from Dampé, you can race him again. Beat his time.

Collectibles
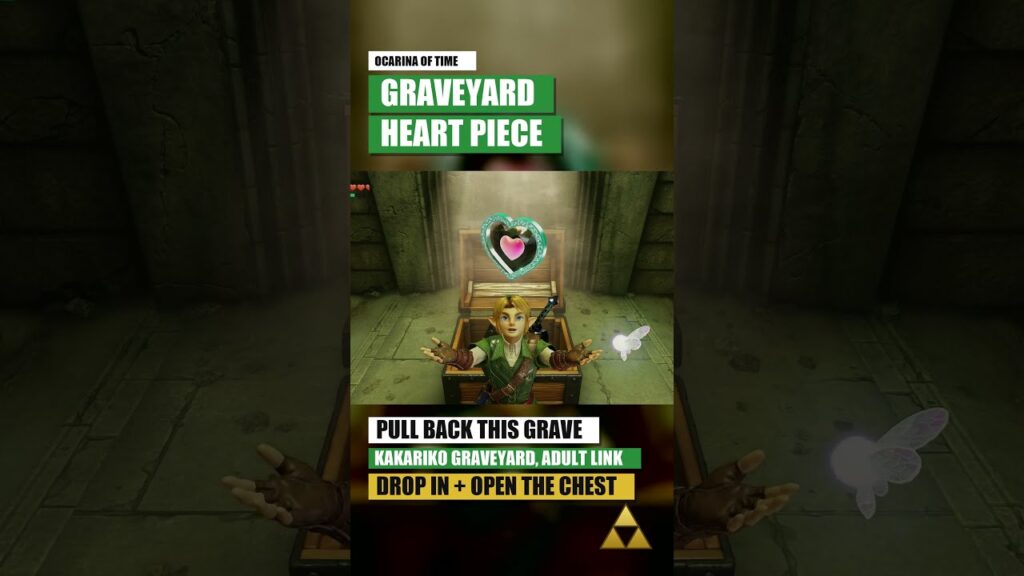
Kakariko Graveyard Heart Pieces (Ocarina of Time Switch 2) guide image
Image: TGGA
Ocarina of Time (Switch 2) Kakariko Graveyard Heart Pieces (Ocarina of Time Switch 2)

The Kakariko Graveyard holds several Pieces of Heart. Two of the easiest are the grave.

Collectibles
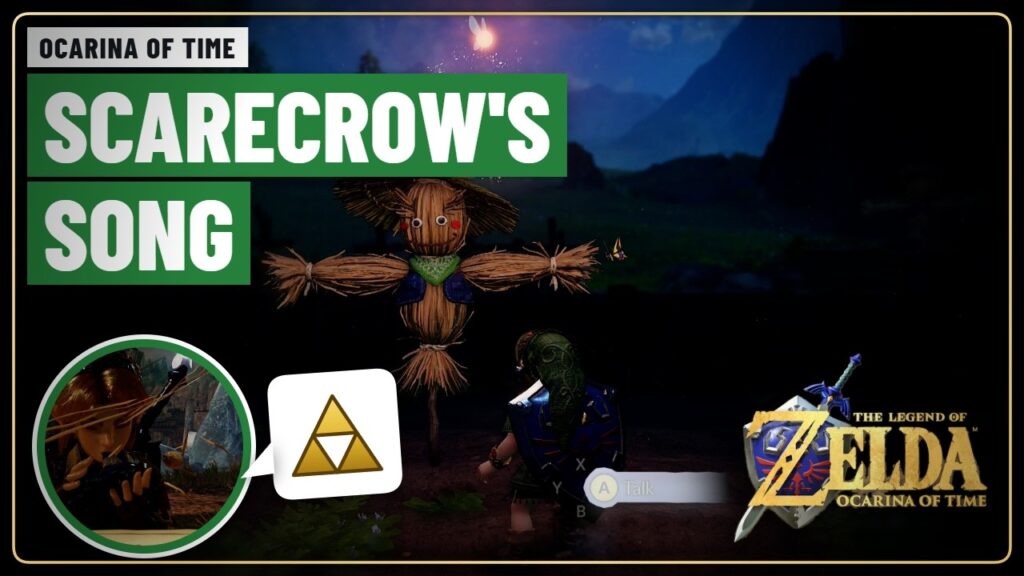
How to Get the Scarecrow’s Song (Ocarina of Time Switch 2) guide image
Image: TGGA
Ocarina of Time (Switch 2) How to Get the Scarecrow’s Song (Ocarina of Time Switch 2)

The Scarecrow's Song is a song you write yourself. Once you know it, you can.

Walkthrough
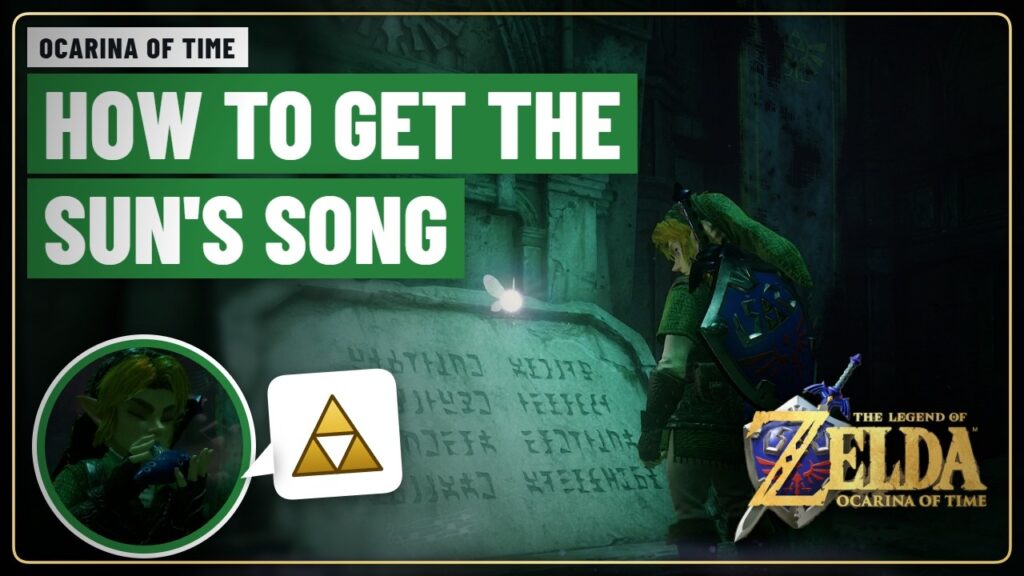
How to Get the Sun’s Song (Ocarina of Time Switch 2) guide image
Image: TGGA
Ocarina of Time (Switch 2) How to Get the Sun’s Song (Ocarina of Time Switch 2)

The Sun's Song turns day into night and back again, and it freezes ReDeads. You.

Walkthrough
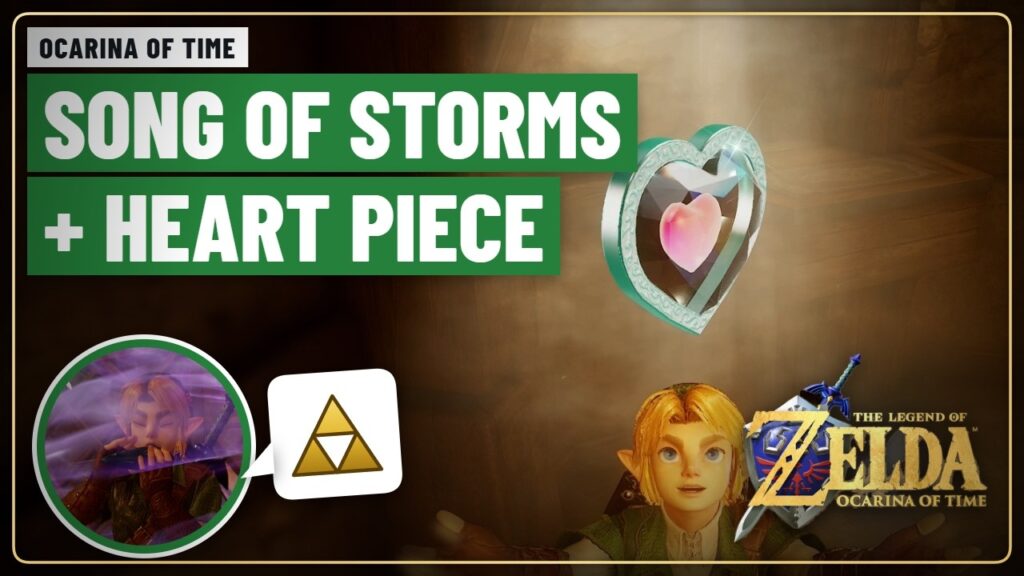
How to Get the Song of Storms and the Windmill Heart Piece (Ocarina of Time Switch 2) guide image
Image: TGGA
Ocarina of Time (Switch 2) How to Get the Song of Storms and the Windmill Heart Piece (Ocarina of Time Switch 2)

The windmill in Kakariko Village gives you two things: the Song of Storms from the.

Walkthrough
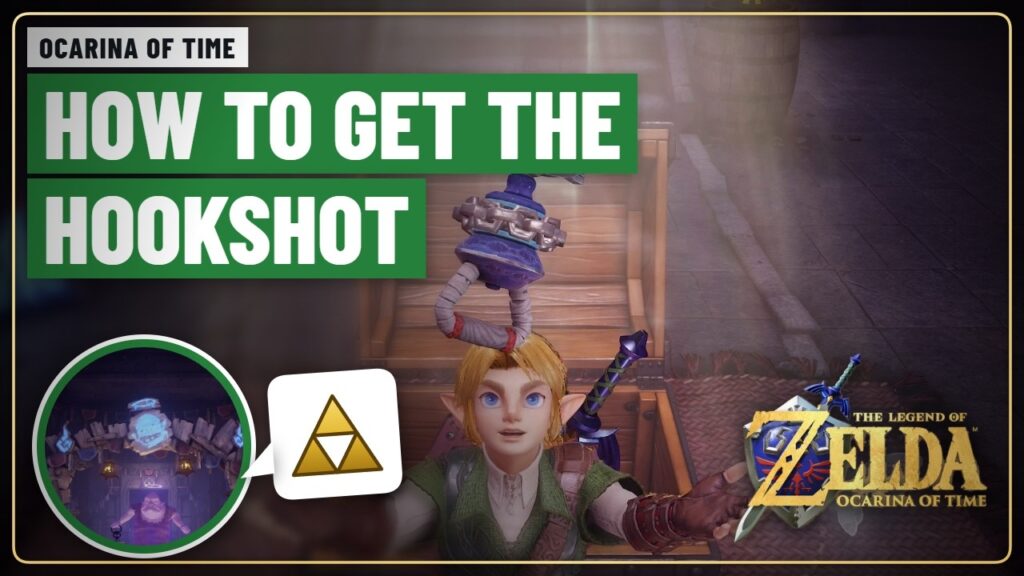
How to Get the Hookshot (Ocarina of Time Switch 2) guide image
Image: TGGA
Ocarina of Time (Switch 2) How to Get the Hookshot (Ocarina of Time Switch 2)

The Hookshot is the first big adult item. You win it from the ghost of.

Walkthrough
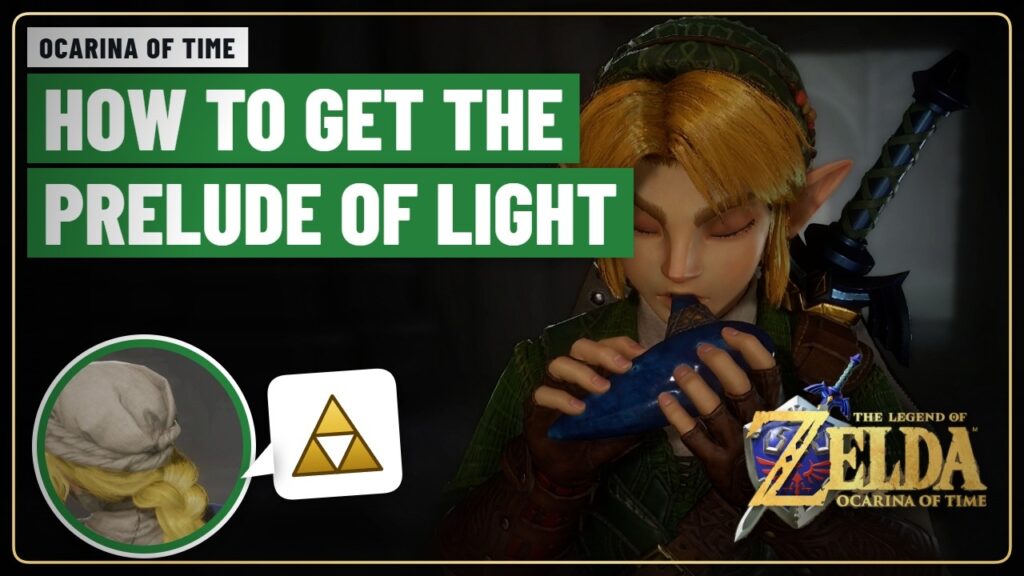
How to Get the Prelude of Light (Ocarina of Time Switch 2) guide image
Image: TGGA
Ocarina of Time (Switch 2) How to Get the Prelude of Light (Ocarina of Time Switch 2)

The Prelude of Light warps you straight to the Temple of Time. Sheik teaches it.

Walkthrough
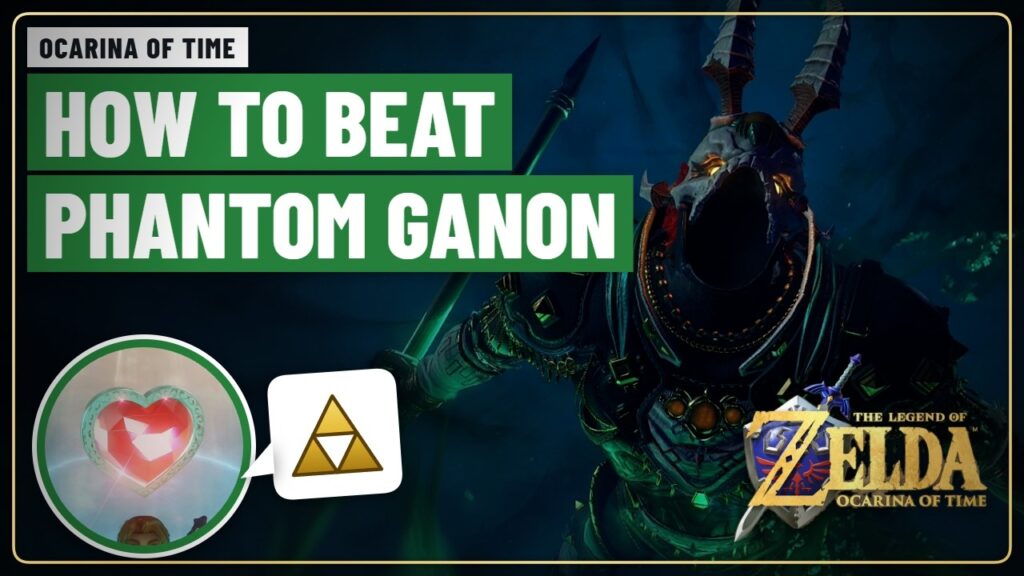
How to Beat Phantom Ganon (Ocarina of Time Switch 2) guide image
Image: TGGA
Ocarina of Time (Switch 2) How to Beat Phantom Ganon (Ocarina of Time Switch 2)

Phantom Ganon is the boss of the Forest Temple. The fight has two phases: first.

Boss Guides
Forest Temple Boss Key Location (Ocarina of Time Switch 2) guide image
Image: TGGA
Ocarina of Time (Switch 2) Forest Temple Boss Key Location (Ocarina of Time Switch 2)

Without the Boss Key you cannot open the door to Phantom Ganon. In the Forest.

Walkthrough
How to Solve the Forest Temple Block Puzzle (Ocarina of Time Switch 2) guide image
Image: TGGA
Ocarina of Time (Switch 2) How to Solve the Forest Temple Block Puzzle (Ocarina of Time Switch 2)

The block puzzle in the Forest Temple stops a lot of players. You have to.

Walkthrough
Forest Temple Walkthrough (Ocarina of Time Switch 2) guide image
Image: TGGA
Ocarina of Time (Switch 2) Forest Temple Walkthrough (Ocarina of Time Switch 2)

The Forest Temple is the first adult dungeon. Four Poe Sisters steal the flames from.

Walkthrough
How to Reach the Forest Temple (Ocarina of Time Switch 2) guide image
Image: TGGA
Ocarina of Time (Switch 2) How to Reach the Forest Temple (Ocarina of Time Switch 2)

After you pull the Master Sword, your first adult dungeon is the Forest Temple. The.

Walkthrough
How to Beat Barinade (Ocarina of Time Switch 2) guide image
Image: TGGA
Ocarina of Time (Switch 2) How to Beat Barinade (Ocarina of Time Switch 2)

Barinade is the boss of Jabu-Jabu's Belly. It is an electric creature stuck to the.

Boss Guides
Jabu-Jabu’s Belly Walkthrough (Ocarina of Time Switch 2) guide image
Image: TGGA
Ocarina of Time (Switch 2) Jabu-Jabu’s Belly Walkthrough (Ocarina of Time Switch 2)

Inside Jabu-Jabu you find Princess Ruto, who is looking for the Zora's Sapphire. You carry.

Walkthrough
How to Get Inside Jabu-Jabu (Ocarina of Time Switch 2) guide image
Image: TGGA
Ocarina of Time (Switch 2) How to Get Inside Jabu-Jabu (Ocarina of Time Switch 2)

Lord Jabu-Jabu is a giant fish god in Zora's Fountain. He swallows Link if you.

Walkthrough
How to Get the Silver Scale and Ruto’s Letter (Ocarina of Time Switch 2) guide image
Image: TGGA
Ocarina of Time (Switch 2) How to Get the Silver Scale and Ruto’s Letter (Ocarina of Time Switch 2)

To reach Jabu-Jabu you need Ruto's Letter, and to get the letter you need to.

Walkthrough
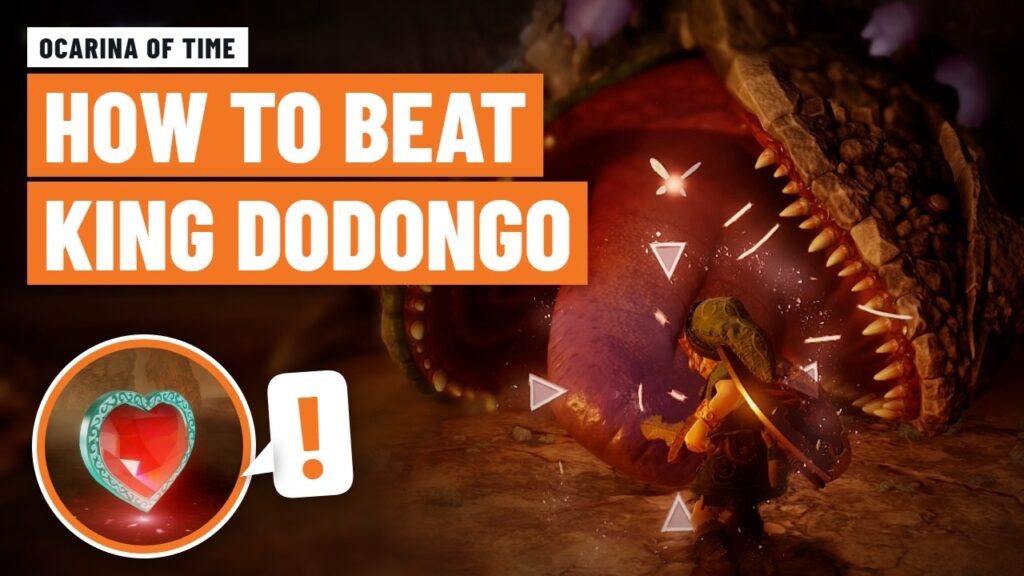
How to Beat King Dodongo (Ocarina of Time Switch 2) guide image
Image: TGGA
Ocarina of Time (Switch 2) How to Beat King Dodongo (Ocarina of Time Switch 2)

King Dodongo is the boss of Dodongo's Cavern. He is huge, but the trick is.

Boss Guides
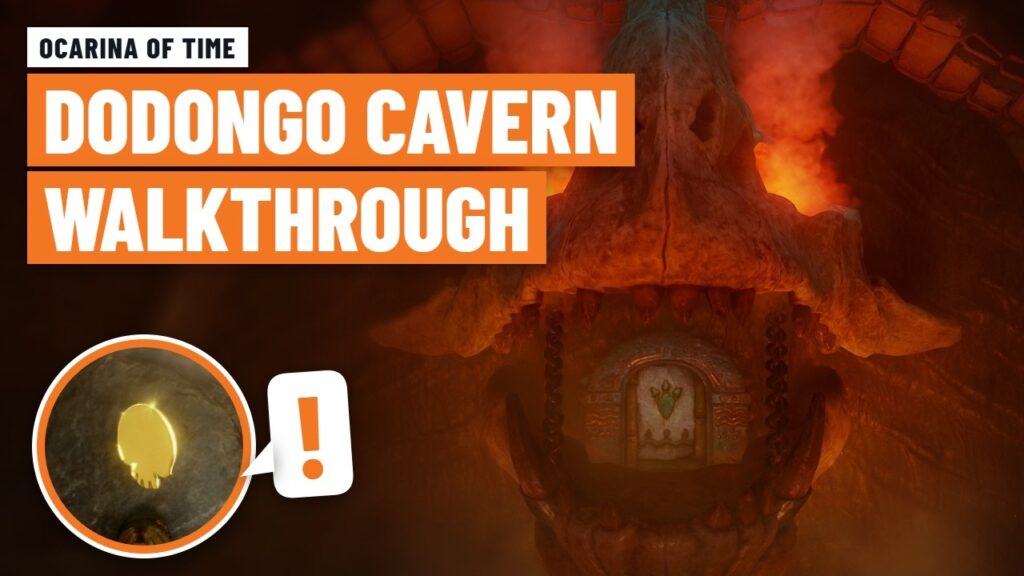
Dodongo’s Cavern Walkthrough (Ocarina of Time Switch 2) guide image
Image: TGGA
Ocarina of Time (Switch 2) Dodongo’s Cavern Walkthrough (Ocarina of Time Switch 2)

Dodongo's Cavern is the second dungeon. You use Bomb Flowers to blow up walls, find.

Walkthrough
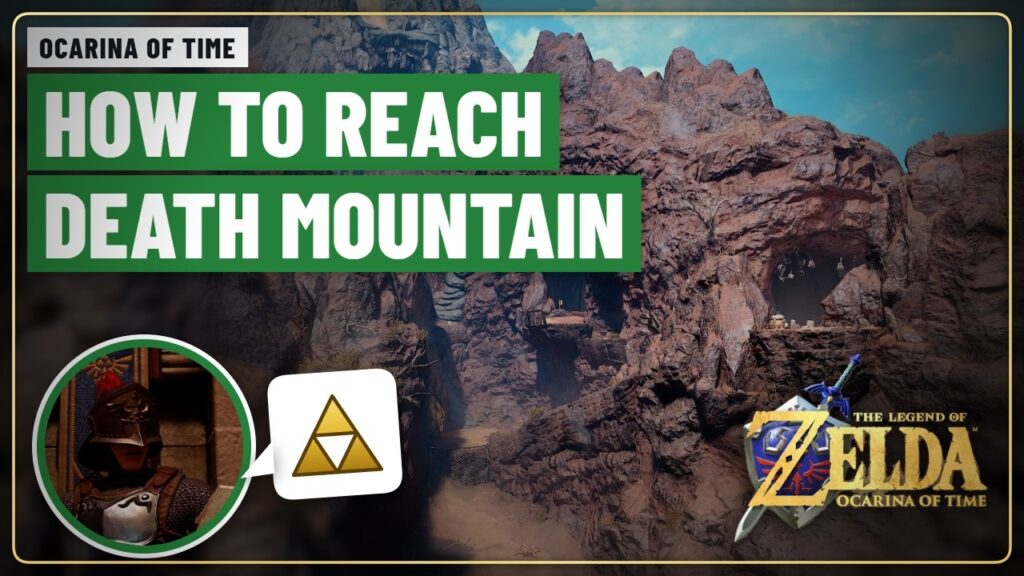
How to Reach Death Mountain (Ocarina of Time Switch 2) guide image
Image: TGGA
Ocarina of Time (Switch 2) How to Reach Death Mountain (Ocarina of Time Switch 2)

The gate to Death Mountain in Kakariko Village is guarded. You can only pass after.

Walkthrough
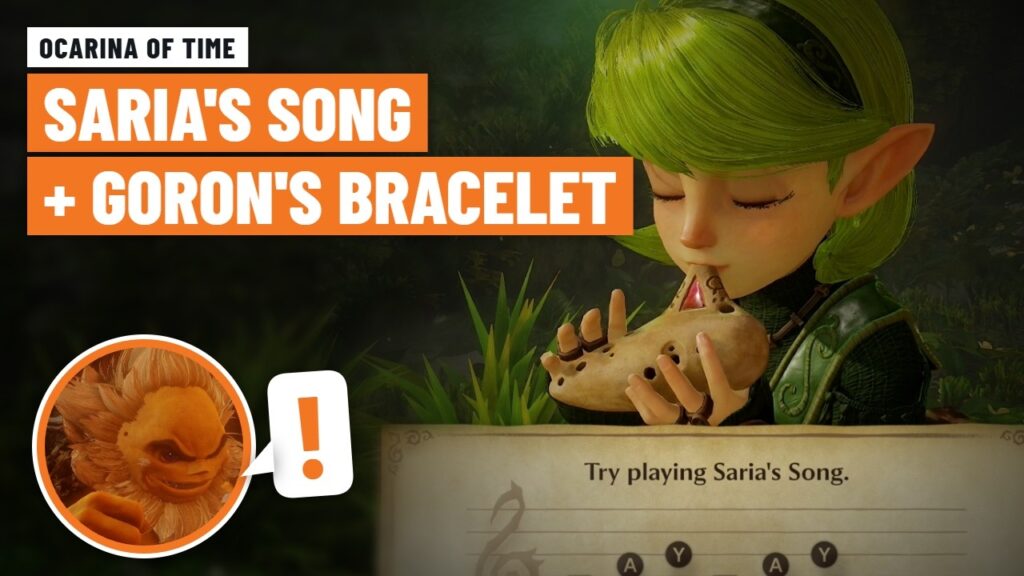
How to Get Saria’s Song and the Goron’s Bracelet (Ocarina of Time Switch 2) guide image
Image: TGGA
Ocarina of Time (Switch 2) How to Get Saria’s Song and the Goron’s Bracelet (Ocarina of Time Switch 2)

Saria's Song is the key to reaching Darunia in Goron City. You learn it from.

Walkthrough
How to Sneak Into Hyrule Castle and Meet Zelda (Ocarina of Time Switch 2) guide image
Image: TGGA
Ocarina of Time (Switch 2) How to Sneak Into Hyrule Castle and Meet Zelda (Ocarina of Time Switch 2)

To meet Princess Zelda you have to sneak past the guards at Hyrule Castle. It.

Walkthrough
Deku Tree 2-3-1 Deku Scrub Puzzle (Ocarina of Time Switch 2) guide image
Image: TGGA
Ocarina of Time (Switch 2) Deku Tree 2-3-1 Deku Scrub Puzzle (Ocarina of Time Switch 2)

Right before the boss of the Great Deku Tree, three Deku Scrubs guard the door..

Walkthrough
How to Beat Queen Gohma (Ocarina of Time Switch 2) guide image
Image: TGGA
Ocarina of Time (Switch 2) How to Beat Queen Gohma (Ocarina of Time Switch 2)

Queen Gohma is the first boss in Ocarina of Time. She is a giant spider.

Boss Guides
Great Deku Tree Walkthrough (Ocarina of Time Switch 2) guide image
Image: TGGA
Ocarina of Time (Switch 2) Great Deku Tree Walkthrough (Ocarina of Time Switch 2)

The Great Deku Tree is the first dungeon in Ocarina of Time and works as.

Walkthrough
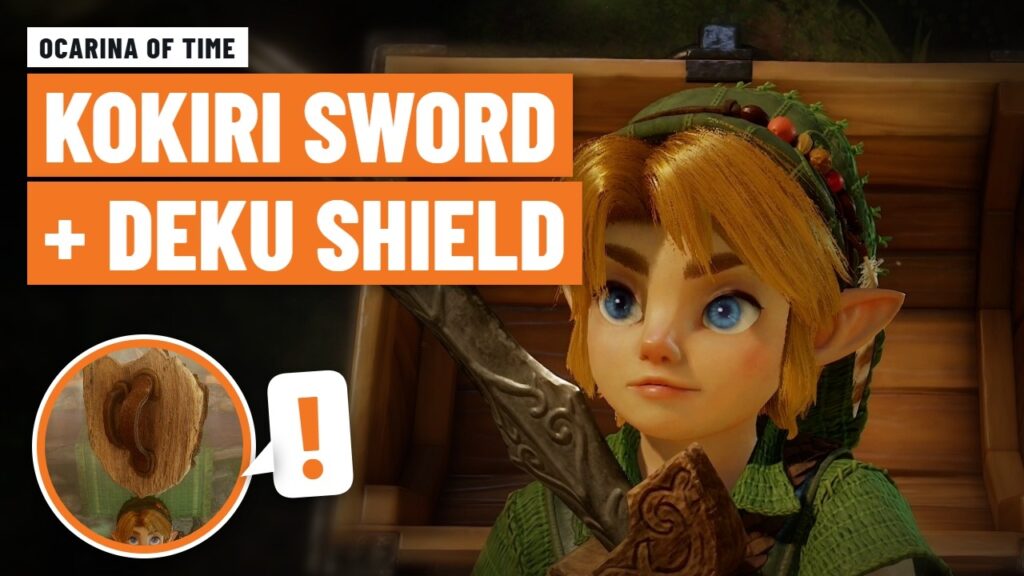
How to Get the Kokiri Sword and Deku Shield (Ocarina of Time Switch 2) guide image
Image: TGGA
Ocarina of Time (Switch 2) How to Get the Kokiri Sword and Deku Shield (Ocarina of Time Switch 2)

Mido will not let you visit the Great Deku Tree until you carry a sword.

Walkthrough

GTA 6 Meditation Spots: All 10 Locations and 18 Meditations guide image
Image: TGGA
Grand Theft Auto VI GTA 6 Meditation Spots: All 10 Locations and 18 Meditations

Where to find every GTA 6 meditation spot: 10 locations, 18 meditations for Jason and.

Collectibles
GTA 6 Cheats: How to Enter Cheat Codes and All Known Codes guide image
Image: TGGA
Grand Theft Auto VI GTA 6 Cheats: How to Enter Cheat Codes and All Known Codes

How cheats work in GTA 6, how to enter them on PS5 and Xbox, what.

Secrets
GTA 6 100% Completion Checklist: Everything You Need (and What You Can Skip) guide image
Image: TGGA
Grand Theft Auto VI GTA 6 100% Completion Checklist: Everything You Need (and What You Can Skip)

The full GTA 6 100% completion checklist: every category, how many you need, how many.

Trophy Guides
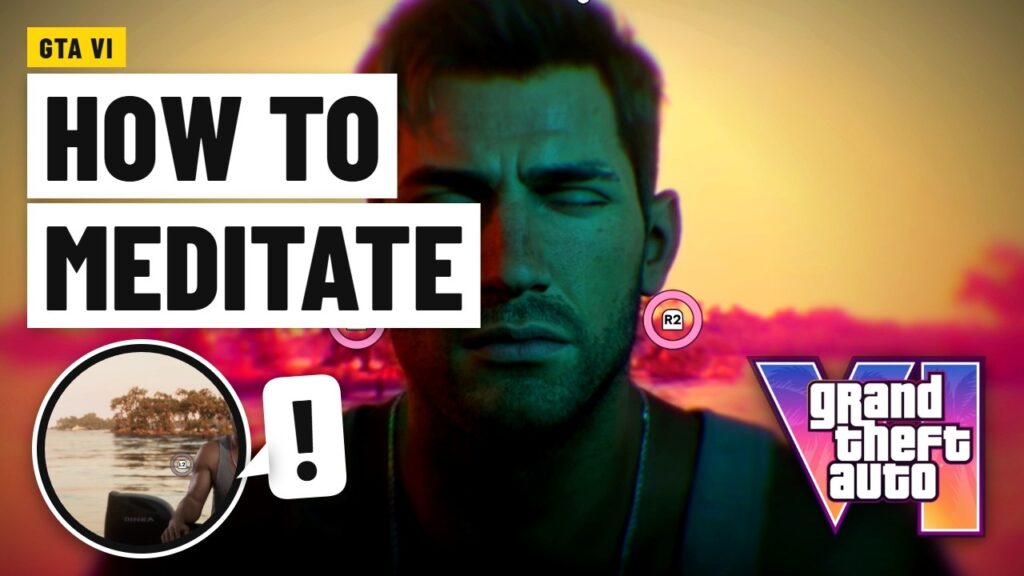
GTA 6 Trophy Guide: All 55 Trophies and Achievements, Roadmap and Missables guide image
Image: TGGA
Grand Theft Auto VI GTA 6 Trophy Guide: All 55 Trophies and Achievements, Roadmap and Missables

Every GTA 6 trophy and achievement, what it asks for and the one trophy you.

Trophy Guides
GTA 6 Stunt Jump Locations: All 130 Stunt Jumps by County (Tracker) guide image
Image: TGGA
Grand Theft Auto VI GTA 6 Stunt Jump Locations: All 130 Stunt Jumps by County (Tracker)

GTA 6 has 130 stunt jumps across Leonida. Here is how many are in each.

Collectibles

GTA 6 Down to Earth Walkthrough: The Seaplane Drug Run with Lucia guide image
Image: TGGA
Grand Theft Auto VI GTA 6 Down to Earth Walkthrough: The Seaplane Drug Run with Lucia

How to complete Down to Earth in GTA 6: meet Brian at the marina, fly.

Walkthrough

GTA 6 Island Dreams Walkthrough: Kenton’s Shipwreck Dive and All 3 Treasures guide image
Image: TGGA
Grand Theft Auto VI GTA 6 Island Dreams Walkthrough: Kenton’s Shipwreck Dive and All 3 Treasures

How to complete Island Dreams in GTA 6: start the job at Kenton's shop in.

Walkthrough
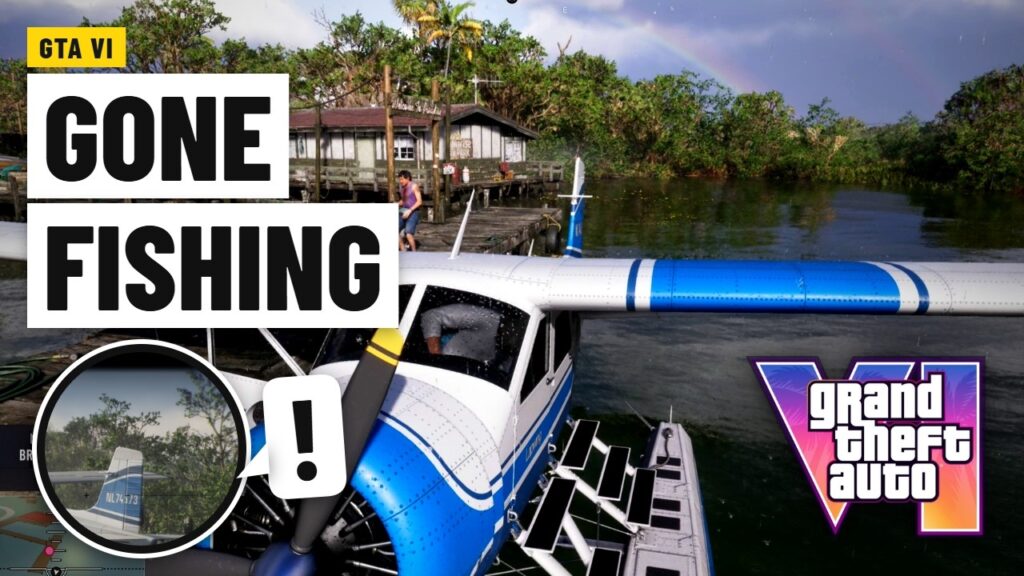
GTA 6 Gone Fishing Walkthrough: Donnie’s Drops, the Rescue and the Seaplane guide image
Image: TGGA
Grand Theft Auto VI GTA 6 Gone Fishing Walkthrough: Donnie’s Drops, the Rescue and the Seaplane

Gone Fishing is Jason's first mission in GTA 6: collect the drops from Donnie's plane.

Walkthrough
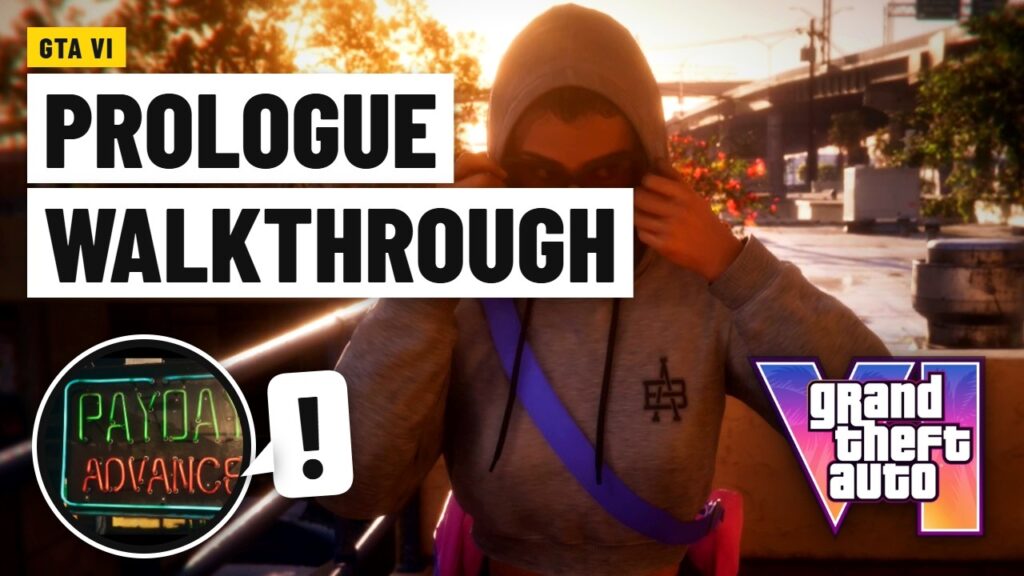
GTA 6 Prologue Walkthrough: Lucia, the Robbery and the Arrest guide image
Image: TGGA
Grand Theft Auto VI GTA 6 Prologue Walkthrough: Lucia, the Robbery and the Arrest

How the GTA 6 Prologue plays out: Lucia in Hamlet prison, the counselor talk, the.

Walkthrough
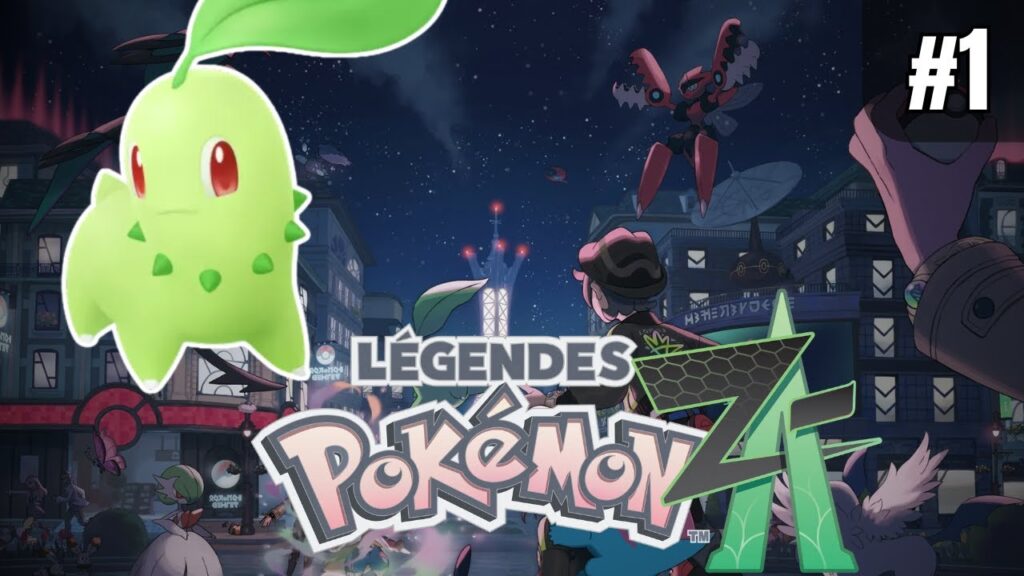
Pokémon Legends: Z-A Walkthrough, Wild Zones and Side Missions (Video Series) guide image
Image: TGGA
Pokémon Legends: Z-A Pokémon Legends: Z-A Walkthrough, Wild Zones and Side Missions (Video Series)

Our Pokémon Legends: Z-A walkthrough on Nintendo Switch 2 part by part, plus every Pokémon.

Walkthrough
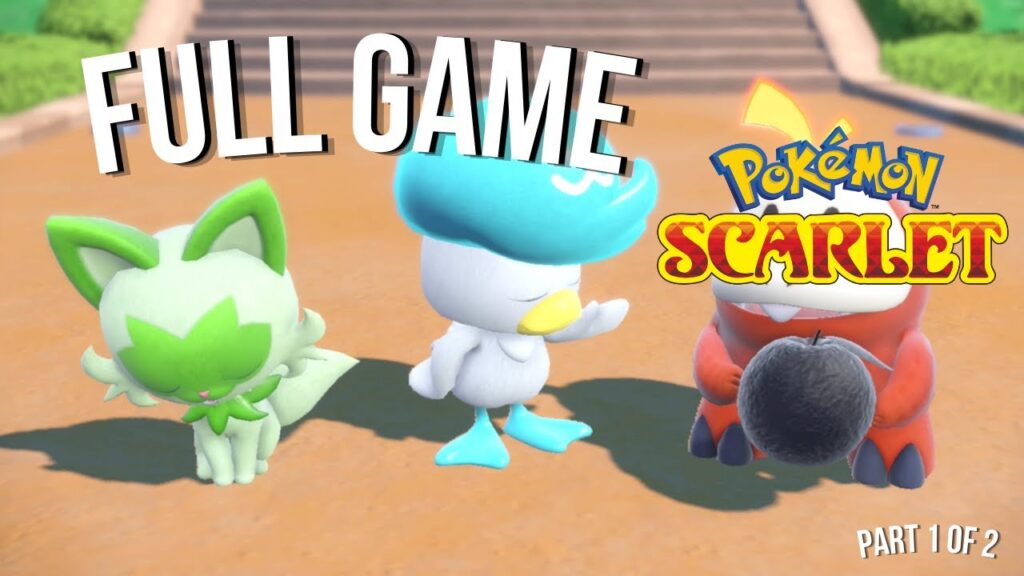
Pokémon Scarlet Walkthrough and Gym Leader Guide (Video Series) guide image
Image: TGGA
Pokémon Scarlet and Violet Pokémon Scarlet Walkthrough and Gym Leader Guide (Video Series)

Our Pokémon Scarlet walkthrough on video: the full game in two parts, the playthrough part.

Walkthrough
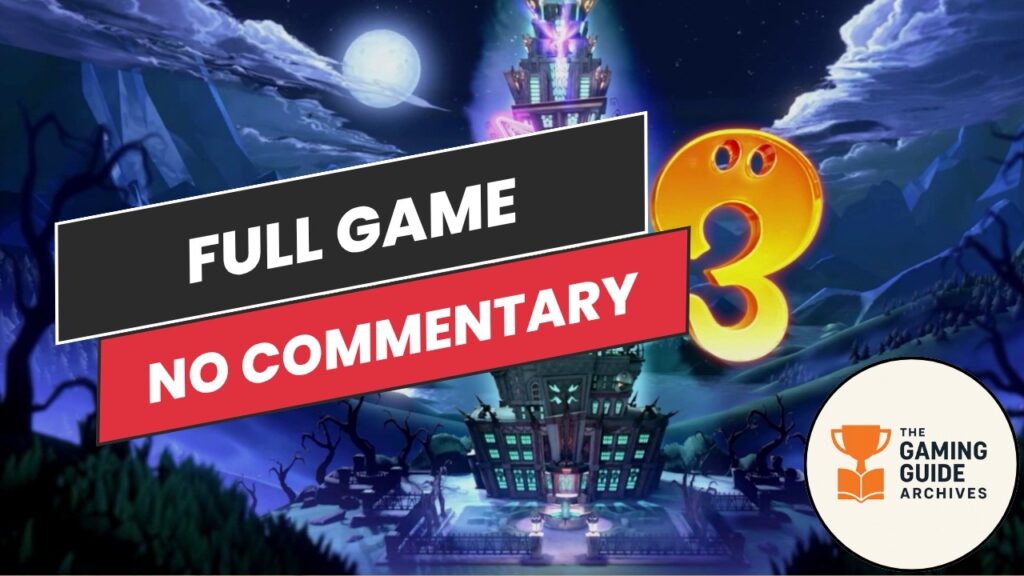
Luigi’s Mansion 3 Floors 6, 7 and 8: Walkthrough and All Gem Locations (Video) guide image
Image: TGGA
Luigi's Mansion 3 Luigi’s Mansion 3 Floors 6, 7 and 8: Walkthrough and All Gem Locations (Video)

Gem locations and 100% walkthroughs for Castle MacFrights (6F), Garden Suites (7F) and Paranormal Productions.

Collectibles
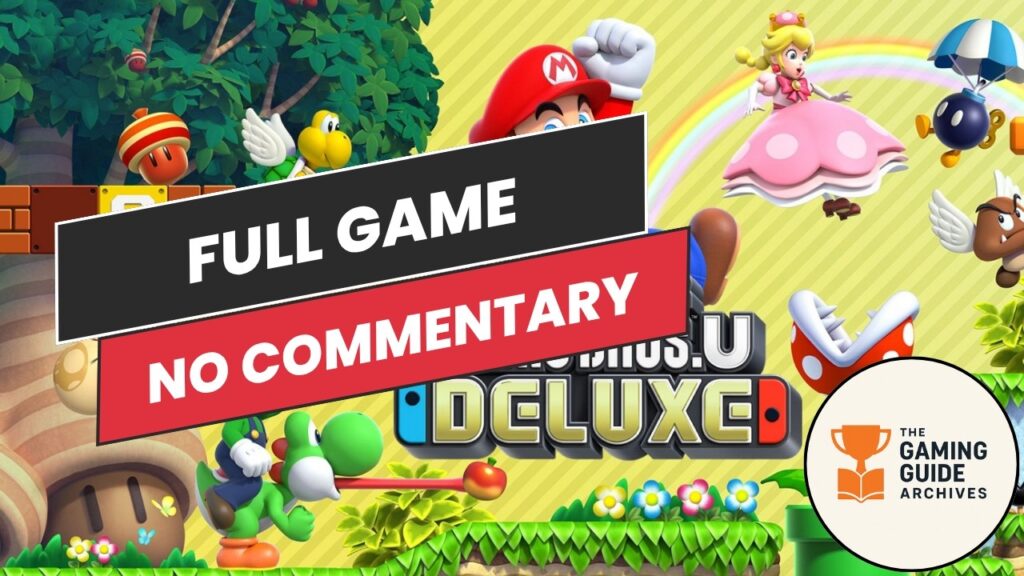
New Super Mario Bros. U Deluxe: All Star Coins, Secret Exits and Bosses (Video Guides) guide image
Image: TGGA
New Super Mario Bros. U Deluxe New Super Mario Bros. U Deluxe: All Star Coins, Secret Exits and Bosses (Video Guides)

Video guides for every Star Coin, secret exit and boss in New Super Mario Bros..

Collectibles
Super Mario World 2: Yoshi’s Island Walkthrough, Worlds 1 to 3 (Video Guides) guide image
Image: TGGA
Yoshi's Island Super Mario World 2: Yoshi’s Island Walkthrough, Worlds 1 to 3 (Video Guides)

Level-by-level videos for Super Mario World 2: Yoshi's Island, covering every level of World 1.

Walkthrough
Zelda: Skyward Sword HD Walkthrough (Video Series, Parts 1 to 24) guide image
Image: TGGA
Skyward Sword HD Zelda: Skyward Sword HD Walkthrough (Video Series, Parts 1 to 24)

Our Zelda: Skyward Sword HD walkthrough on Nintendo Switch in 24 video parts, from Skyloft.

Walkthrough
Donkey Kong Bananza Walkthrough and Boss Guides (Video) guide image
Image: TGGA
Donkey Kong Bananza Donkey Kong Bananza Walkthrough and Boss Guides (Video)

How to beat every Donkey Kong Bananza boss we fought, from Peekabruiser to King K..

Boss Guides
Donkey Kong Bananza Tempest Layer Banandium Gem Locations (Video Guides) guide image
Image: TGGA
Donkey Kong Bananza Donkey Kong Bananza Tempest Layer Banandium Gem Locations (Video Guides)

Banandium Gem locations in the Tempest Layer of Donkey Kong Bananza, with a short video.

Collectibles
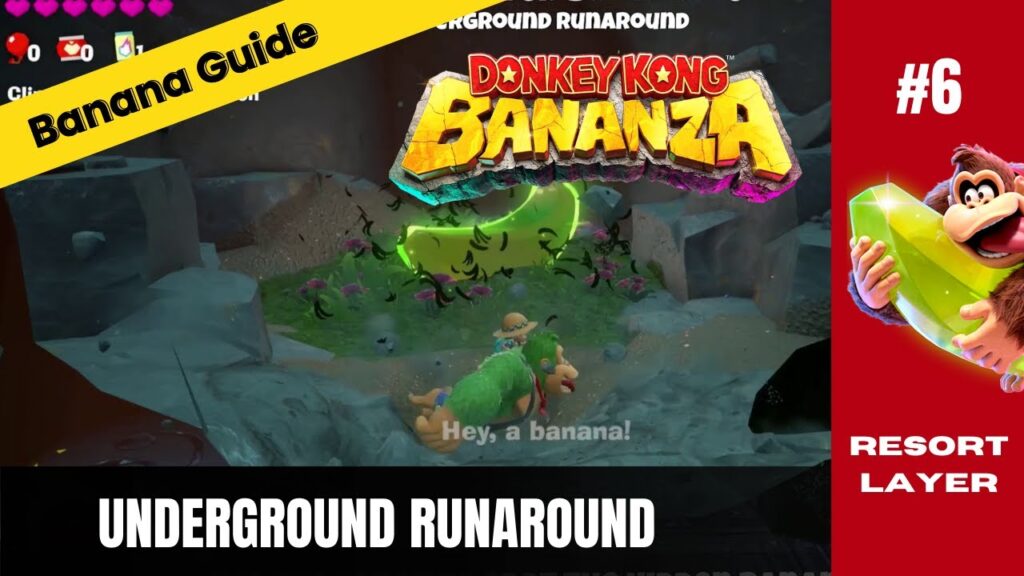
Donkey Kong Bananza Resort Layer Banandium Gem Locations (Video Guides) guide image
Image: TGGA
Donkey Kong Bananza Donkey Kong Bananza Resort Layer Banandium Gem Locations (Video Guides)

Banandium Gem locations in the Resort Layer of Donkey Kong Bananza, with a short video.

Collectibles
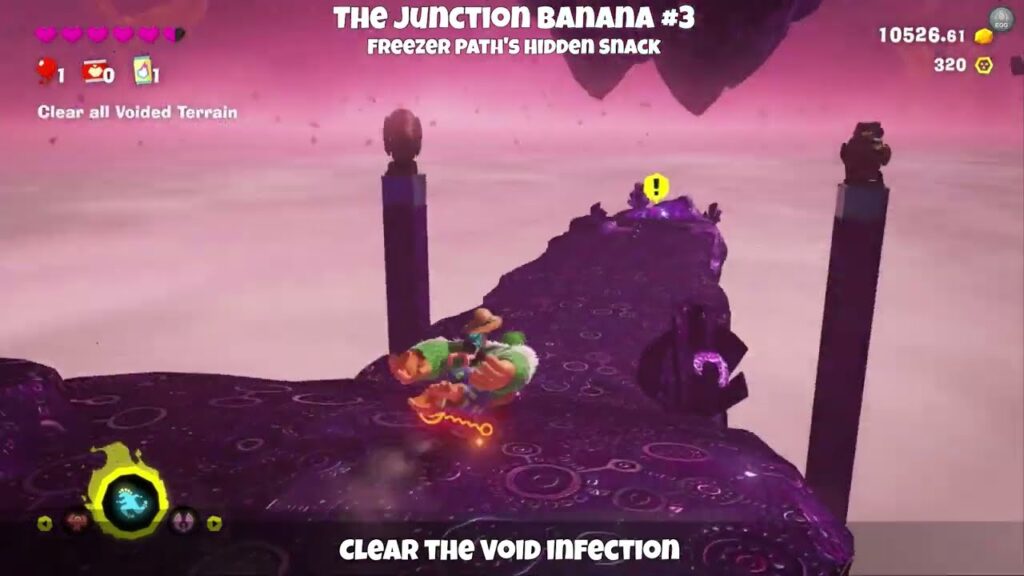
Donkey Kong Bananza Freezer Layer Banandium Gem Locations (Video Guides) guide image
Image: TGGA
Donkey Kong Bananza Donkey Kong Bananza Freezer Layer Banandium Gem Locations (Video Guides)

Banandium Gem locations in the Freezer Layer of Donkey Kong Bananza, with a short video.

Collectibles
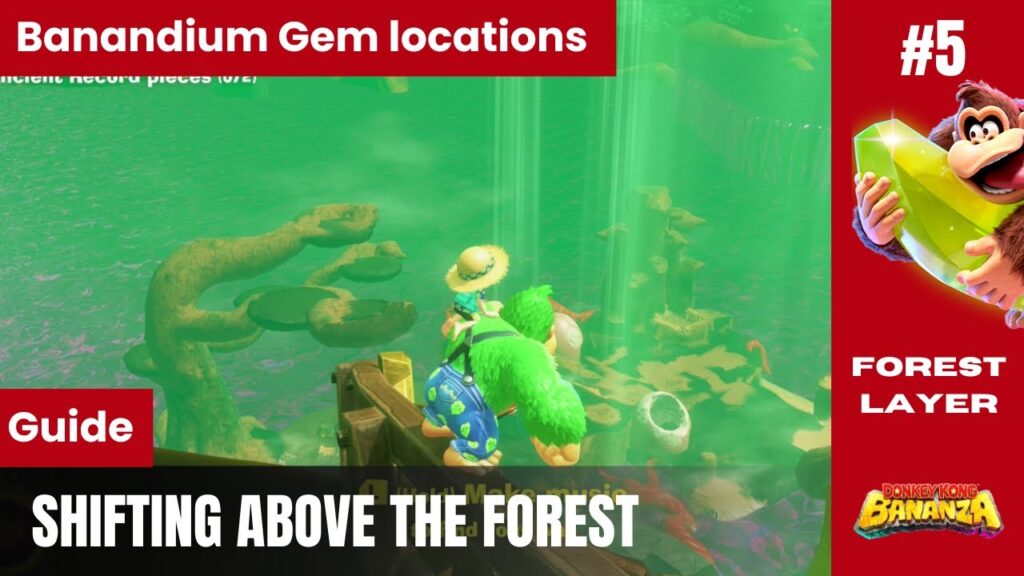
Donkey Kong Bananza Forest Layer Banandium Gem Locations (Video Guides) guide image
Image: TGGA
Donkey Kong Bananza Donkey Kong Bananza Forest Layer Banandium Gem Locations (Video Guides)

Banandium Gem locations in the Forest Layer of Donkey Kong Bananza, with a short video.

Collectibles
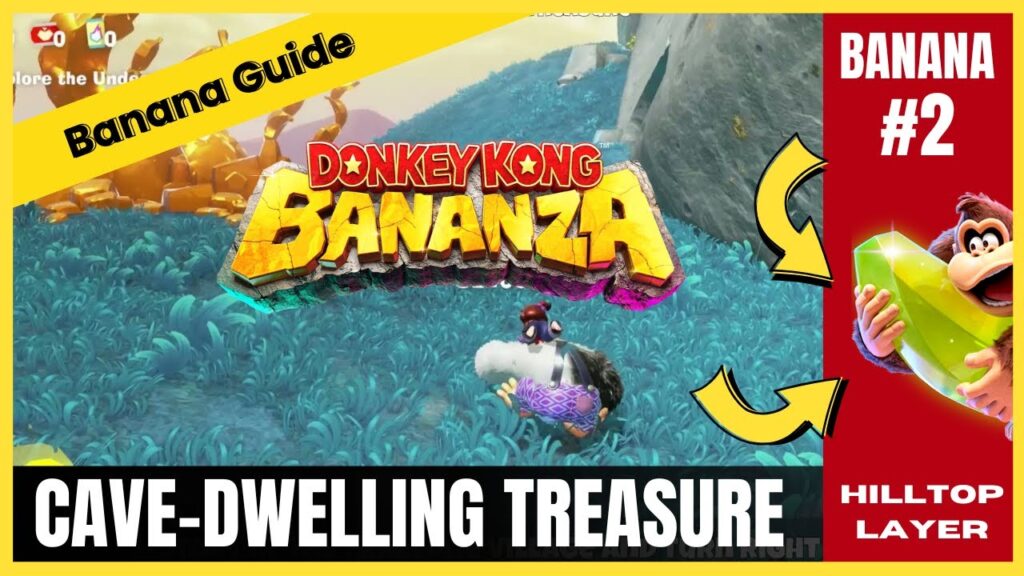
Donkey Kong Bananza Hilltop Layer Banandium Gem Locations (Video Guides) guide image
Image: TGGA
Donkey Kong Bananza Donkey Kong Bananza Hilltop Layer Banandium Gem Locations (Video Guides)

Banandium Gem locations in the Hilltop Layer of Donkey Kong Bananza, with a short video.

Collectibles
Donkey Kong Bananza Canyon Layer Banandium Gem Locations (Video Guides) guide image
Image: TGGA
Donkey Kong Bananza Donkey Kong Bananza Canyon Layer Banandium Gem Locations (Video Guides)

Banandium Gem locations in the Canyon Layer of Donkey Kong Bananza, with a short video.

Collectibles
Mario Party Superstars: All Minigames with Video Guides (A to Z) guide image
Image: TGGA
Mario Party Superstars Mario Party Superstars: All Minigames with Video Guides (A to Z)

Every Mario Party Superstars minigame from A to Z with a short video for each,.

Collectibles
Super Mario Bros. Wonder 100% Guide: Wonder Seeds, Flower Coins and Badge Challenges (Video Guides) guide image
Image: TGGA
Super Mario Bros. Wonder Super Mario Bros. Wonder 100% Guide: Wonder Seeds, Flower Coins and Badge Challenges (Video Guides)

Video guides for 100% completion in Super Mario Bros. Wonder: every Wonder Seed and 10-Flower.

Collectibles
Mario Kart World Outfits: How to Unlock Every Outfit (Video Guides) guide image
Image: TGGA
Mario Kart World Mario Kart World Outfits: How to Unlock Every Outfit (Video Guides)

How to unlock the outfits for Bowser, Luigi, Daisy, Baby Daisy, Baby Rosalina and King.

Unlockables
Mario Kart World: All 150 ? Panel Locations by Course guide image
Image: TGGA
Mario Kart World Mario Kart World: All 150 ? Panel Locations by Course

Every ? Panel location in Mario Kart World, sorted by course, with a short video.

Collectibles
Chapter 1: Wildwoods Smiley Flowers Guide guide image
Image: TGGA
Yoshi and the Mysterious Book Chapter 1: Wildwoods Smiley Flowers Guide

Find all 20 Chapter 1 Wildwoods Smiley Flowers in Yoshi and the Mysterious Book with.

Collectibles
Chapter 2: Mountaintops Smiley Flowers Guide guide image
Image: TGGA
Yoshi and the Mysterious Book Chapter 2: Mountaintops Smiley Flowers Guide

Find every Smiley Flower in Chapter 2: Mountaintops with Taggit, Milde, Peckadee, Floofly, Plumebrella and.

Collectibles
Super Mario Odyssey Cloud Kingdom Power Moon Guide: All 9 Moons guide image
Image: TGGA
Super Mario Odyssey Super Mario Odyssey Cloud Kingdom Power Moon Guide: All 9 Moons

Complete Super Mario Odyssey Cloud Kingdom Power Moon guide with all 9 moons, Picture Match.

Collectibles
Super Mario Odyssey Beginner Guide: The Best Route for New Players guide image
Image: TGGA
Super Mario Odyssey Super Mario Odyssey Beginner Guide: The Best Route for New Players

Super Mario Odyssey is easy to start, but it becomes much better when you understand.

Beginner Guides
Super Mario Odyssey Lost Kingdom Purple Coin Guide guide image
Image: TGGA
Super Mario Odyssey Super Mario Odyssey Lost Kingdom Purple Coin Guide

Find all 50 Lost Kingdom purple coins in Super Mario Odyssey with a route-based Forgotten.

Guide
Super Mario Odyssey Lake Kingdom Purple Coin Guide guide image
Image: TGGA
Super Mario Odyssey Super Mario Odyssey Lake Kingdom Purple Coin Guide

Find all 50 Lake Kingdom purple coins with 15 route-based clusters, clean arrow-marked HD screenshots,.

Collectibles
Super Mario Odyssey Wooded Kingdom Purple Coin Guide guide image
Image: TGGA
Super Mario Odyssey Super Mario Odyssey Wooded Kingdom Purple Coin Guide

Find all 100 Wooded Kingdom purple coins with 32 route-based clusters, clean shadow-free arrow screenshots,.

Guide
Super Mario Odyssey Sand Kingdom Purple Coin Guide guide image
Image: TGGA
Super Mario Odyssey Super Mario Odyssey Sand Kingdom Purple Coin Guide

Find all 100 Sand Kingdom purple coins with 31 route-based clusters, polished arrow-marked HD screenshots,.

Collectibles
Super Mario Odyssey Cascade Kingdom Purple Coin Guide guide image
Image: TGGA
Super Mario Odyssey Super Mario Odyssey Cascade Kingdom Purple Coin Guide

Find all 50 Cascade Kingdom purple coins with 16 route-based clusters, arrow-marked HD screenshots, Fast.

Collectibles
Super Mario Odyssey Mushroom Kingdom Power Moon Guide: All 104 Moons guide image
Image: TGGA
Super Mario Odyssey Super Mario Odyssey Mushroom Kingdom Power Moon Guide: All 104 Moons

Complete Super Mario Odyssey Mushroom Kingdom Power Moon guide with all 104 moons, route tips,.

Collectibles
Super Mario Odyssey Bowser’s Kingdom Power Moon Guide: All 62 Moons guide image
Image: TGGA
Super Mario Odyssey Super Mario Odyssey Bowser’s Kingdom Power Moon Guide: All 62 Moons

Complete Super Mario Odyssey Bowser's Kingdom Power Moon guide with all 62 moons, route tips,.

Collectibles
Super Mario Odyssey Luncheon Kingdom Power Moon Guide: All 68 Moons guide image
Image: TGGA
Super Mario Odyssey Super Mario Odyssey Luncheon Kingdom Power Moon Guide: All 68 Moons

Complete Super Mario Odyssey Luncheon Kingdom Power Moon guide with all 68 moons, route tips,.

Collectibles
Super Mario Odyssey Seaside Kingdom Power Moon Guide: All 71 Moons guide image
Image: TGGA
Super Mario Odyssey Super Mario Odyssey Seaside Kingdom Power Moon Guide: All 71 Moons

Complete Super Mario Odyssey Seaside Kingdom Power Moon guide with all 71 moons, route tips,.

Collectibles
Super Mario Odyssey Snow Kingdom Power Moon Guide: All 55 Moons guide image
Image: TGGA
Super Mario Odyssey Super Mario Odyssey Snow Kingdom Power Moon Guide: All 55 Moons

Complete Super Mario Odyssey Snow Kingdom Power Moon guide with all 55 moons, route tips,.

Collectibles
Super Mario Odyssey Metro Kingdom Power Moon Guide: All 81 Moons guide image
Image: TGGA
Super Mario Odyssey Super Mario Odyssey Metro Kingdom Power Moon Guide: All 81 Moons

Complete Super Mario Odyssey Metro Kingdom Power Moon guide with all 81 New Donk City.

Collectibles
Super Mario Odyssey Lost Kingdom Power Moon Guide: All 35 Moons guide image
Image: TGGA
Super Mario Odyssey Super Mario Odyssey Lost Kingdom Power Moon Guide: All 35 Moons

Complete Super Mario Odyssey Lost Kingdom Power Moon guide with all 35 moons, Tropical Wiggler.

Collectibles
Super Mario Odyssey Wooded Kingdom Power Moon Guide: All 76 Moons guide image
Image: TGGA
Super Mario Odyssey Super Mario Odyssey Wooded Kingdom Power Moon Guide: All 76 Moons

Complete Super Mario Odyssey Wooded Kingdom Power Moon guide with all 76 moons, route tips,.

Collectibles
Super Mario Odyssey Lake Kingdom Power Moon Guide: All 42 Moons guide image
Image: TGGA
Super Mario Odyssey Super Mario Odyssey Lake Kingdom Power Moon Guide: All 42 Moons

Complete Super Mario Odyssey Lake Kingdom Power Moon guide with all 42 moons, route tips,.

Collectibles
Super Mario Odyssey Sand Kingdom Power Moon Guide: All 89 Moons guide image
Image: TGGA
Super Mario Odyssey Super Mario Odyssey Sand Kingdom Power Moon Guide: All 89 Moons

Complete Super Mario Odyssey Sand Kingdom Power Moon guide with all 89 moons, image carousels,.

Collectibles
Super Mario Odyssey Cascade Kingdom Power Moon Guide: All 40 Moons guide image
Image: TGGA
Super Mario Odyssey Super Mario Odyssey Cascade Kingdom Power Moon Guide: All 40 Moons

Complete Super Mario Odyssey Cascade Kingdom Power Moon guide with all 40 moons, high-resolution guide.

Collectibles
Super Mario Odyssey Ruined Kingdom Power Moon Guide: All 10 Moons guide image
Image: TGGA
Super Mario Odyssey Super Mario Odyssey Ruined Kingdom Power Moon Guide: All 10 Moons

Complete Super Mario Odyssey Ruined Kingdom Power Moon guide with all 10 moons, route tips,.

Collectibles
House of Skulltula Rewards and Location in Ocarina of Time (Switch 2) guide image
Image: TGGA
Ocarina of Time (Switch 2) House of Skulltula Rewards and Location in Ocarina of Time (Switch 2)

Where the House of Skulltula is in Kakariko Village in the Ocarina of Time remake.

Collectibles
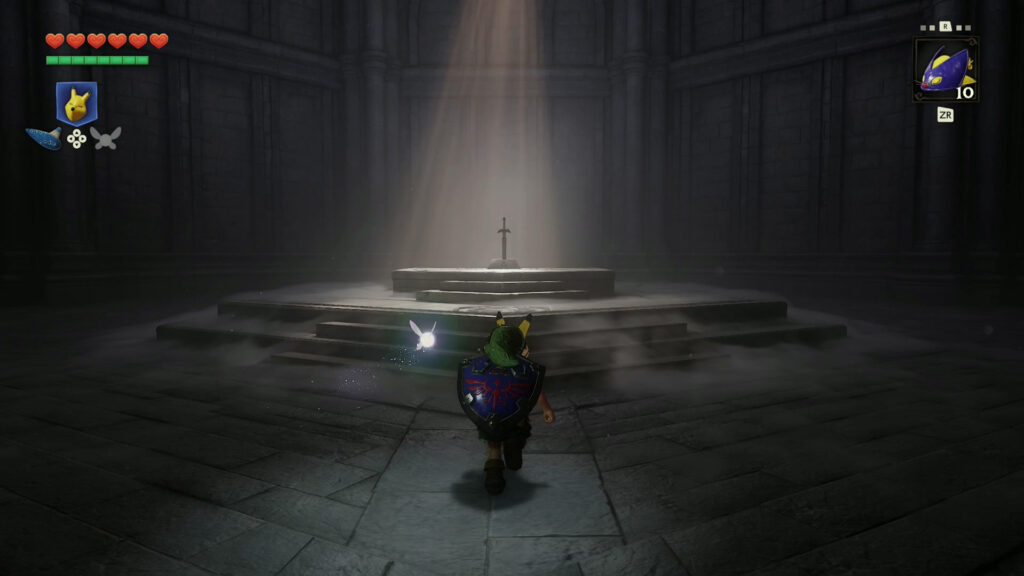
How to Get the Master Sword in Ocarina of Time (Switch 2) guide image
Image: TGGA
Ocarina of Time (Switch 2) How to Get the Master Sword in Ocarina of Time (Switch 2)

How to get the Master Sword in the Ocarina of Time remake on Switch 2:.

Walkthrough
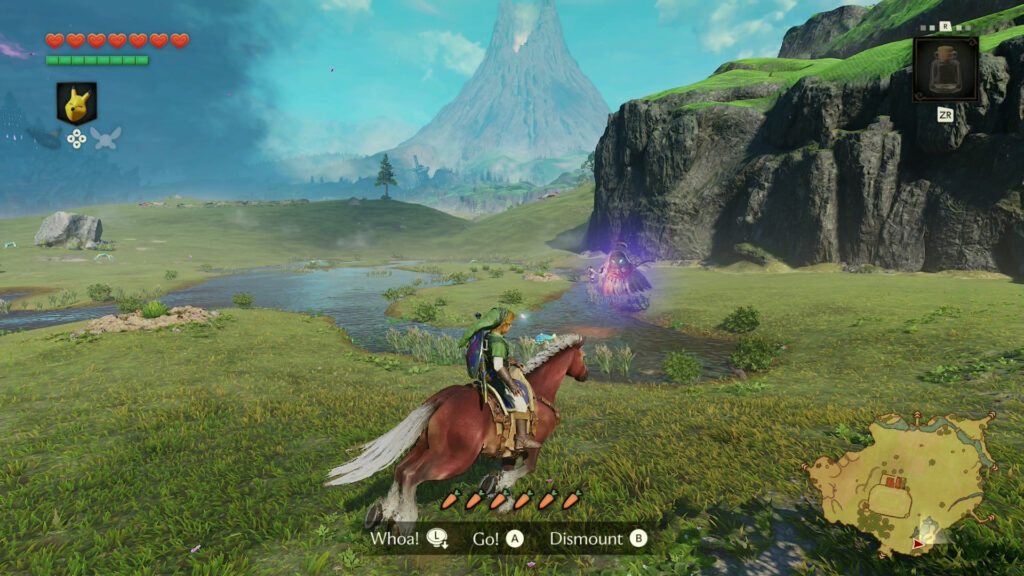
All 10 Big Poe Locations in Ocarina of Time (Switch 2) guide image
Image: TGGA
Ocarina of Time (Switch 2) All 10 Big Poe Locations in Ocarina of Time (Switch 2)

Where to find all 10 Big Poes in Hyrule Field in the Ocarina of Time.

Collectibles
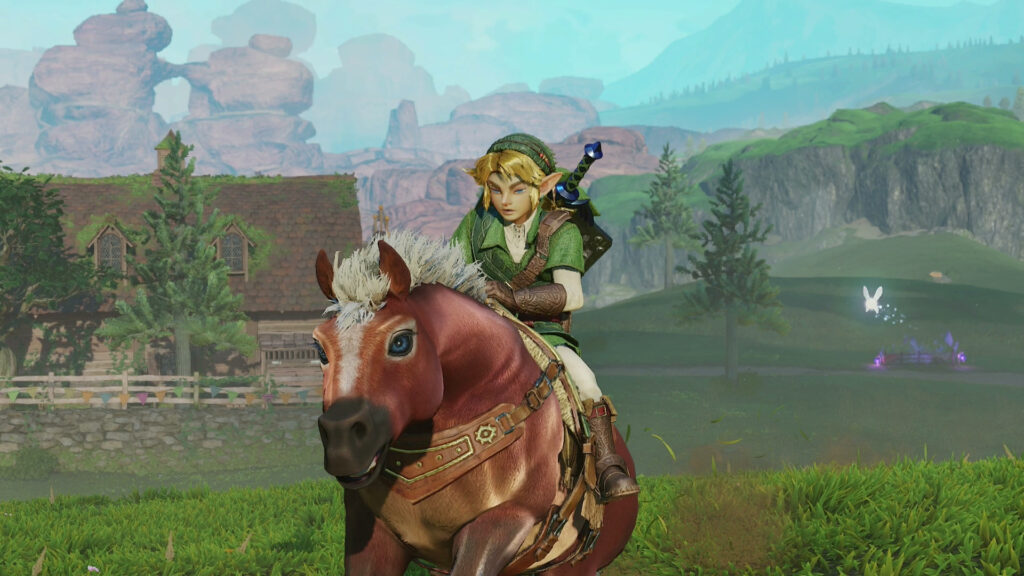
How to Get Epona in Ocarina of Time (Switch 2) guide image
Image: TGGA
Ocarina of Time (Switch 2) How to Get Epona in Ocarina of Time (Switch 2)

How to get Epona in the Ocarina of Time remake on Switch 2: learn Epona's.

Walkthrough
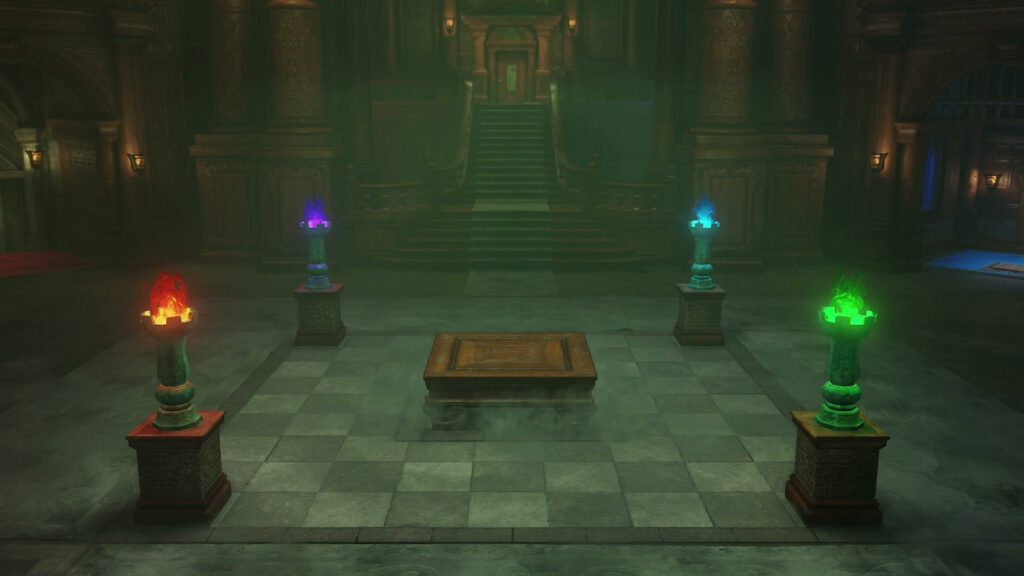
All 4 Poe Sisters Locations in the Forest Temple (Ocarina of Time Switch 2) guide image
Image: TGGA
Ocarina of Time (Switch 2) All 4 Poe Sisters Locations in the Forest Temple (Ocarina of Time Switch 2)

Where to find the red, blue, green and purple Poe Sisters in the Forest Temple.

Walkthrough
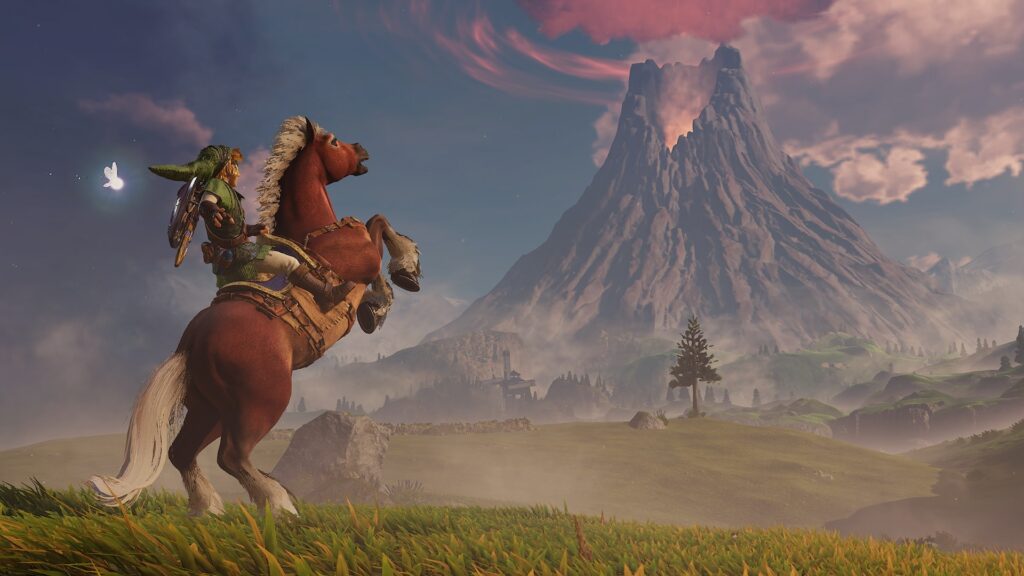
Ocarina of Time Remake (Switch 2): Release Date, Price and What Changes guide image
Image: TGGA
Ocarina of Time (Switch 2) Ocarina of Time Remake (Switch 2): Release Date, Price and What Changes

The Legend of Zelda: Ocarina of Time came out on November 5, 2026 as a.

Beginner Guides
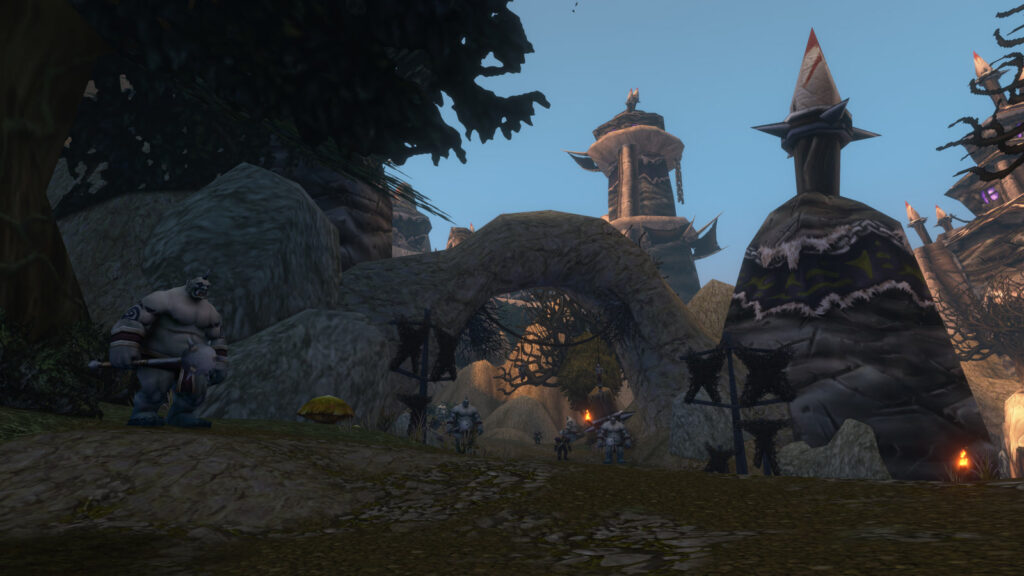
World of Warcraft: Forever Krol’dok Stronghold Dungeon Guide guide image
Image: TGGA
World of Warcraft: Forever World of Warcraft: Forever Krol’dok Stronghold Dungeon Guide

Find the Krol'dok Stronghold entrance, prepare the live quests and follow all five encounters from.

Walkthrough
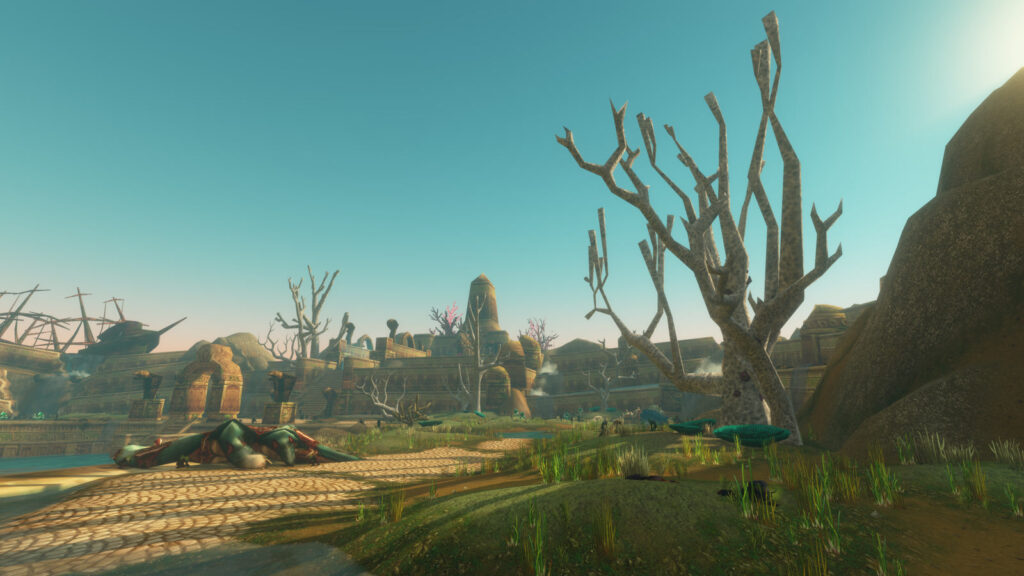
World of Warcraft: Forever The Drowned City Dungeon Guide guide image
Image: TGGA
World of Warcraft: Forever World of Warcraft: Forever The Drowned City Dungeon Guide

Find The Drowned City entrance, prepare Alliance or Horde quests and clear all six encounters.

Walkthrough
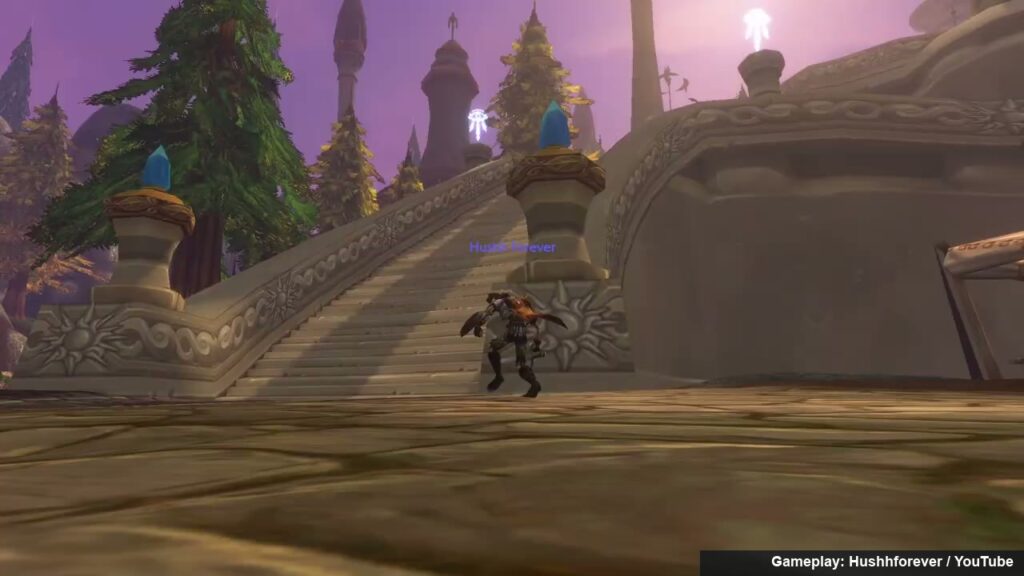
World of Warcraft: Forever City of Dalaran Dungeon Guide guide image
Image: TGGA
World of Warcraft: Forever World of Warcraft: Forever City of Dalaran Dungeon Guide

Unlock City of Dalaran for Alliance or Horde, complete every dungeon quest and clear all.

Walkthrough
World of Warcraft: Forever Hall of Thanes Dungeon Guide guide image
Image: TGGA
World of Warcraft: Forever World of Warcraft: Forever Hall of Thanes Dungeon Guide

Unlock Hall of Thanes, collect all five Alliance quests and clear Faldrim, Magmatus, Plunder and.

Walkthrough
World of Warcraft: Forever Excavation Site: Wetlands Dungeon Guide guide image
Image: TGGA
World of Warcraft: Forever World of Warcraft: Forever Excavation Site: Wetlands Dungeon Guide

Clear Excavation Site: Wetlands with faction quest preparation, entrance directions, tall-grass safety and all four.

Walkthrough
World of Warcraft: Forever Ruins of Lordaeron Dungeon Guide guide image
Image: TGGA
World of Warcraft: Forever World of Warcraft: Forever Ruins of Lordaeron Dungeon Guide

Clear all six Ruins of Lordaeron bosses with faction quest preparation, entrance directions, route order.

Walkthrough
World of Warcraft: Forever Teldrassil and Early Darkshore Questline Guide guide image
Image: TGGA
World of Warcraft: Forever World of Warcraft: Forever Teldrassil and Early Darkshore Questline Guide

Complete the WoW Forever Night Elf starting route through Teldrassil, Darnassus and the first Darkshore.

Walkthrough
World of Warcraft: Forever Westfall Questline Guide guide image
Image: TGGA
World of Warcraft: Forever World of Warcraft: Forever Westfall Questline Guide

Complete the WoW Forever Westfall quest route through the farms, Sentinel Hill, People's Militia, Defias.

Walkthrough
World of Warcraft: Forever Darkshore Questline Guide guide image
Image: TGGA
World of Warcraft: Forever World of Warcraft: Forever Darkshore Questline Guide

Complete the WoW Forever Darkshore quest route through Auberdine, Bashal'Aran, Ameth'Aran, the Master's Glaive and.

Walkthrough

World of Warcraft: Forever Loch Modan Questline Guide guide image
Image: TGGA
World of Warcraft: Forever World of Warcraft: Forever Loch Modan Questline Guide

Complete the WoW Forever Loch Modan quest route through the Valley of Kings, Thelsamar, troggs,.

Walkthrough
World of Warcraft: Forever Zephras Isle Questline Guide guide image
Image: TGGA
World of Warcraft: Forever World of Warcraft: Forever Zephras Isle Questline Guide

Complete the WoW Forever Zephras Isle questline with a practical Skyborne route through every major.

Walkthrough
World of Warcraft: Forever Elwynn Forest Questline Guide guide image
Image: TGGA
World of Warcraft: Forever World of Warcraft: Forever Elwynn Forest Questline Guide

Complete the WoW Forever Elwynn Forest questline from Northshire to Goldshire, Hogger, Eastvale and the.

Walkthrough
World of Warcraft: Forever Dun Morogh Questline Guide guide image
Image: TGGA
World of Warcraft: Forever World of Warcraft: Forever Dun Morogh Questline Guide

Complete the WoW Forever Dun Morogh questline through Coldridge, Kharanos, Brewnall and the Hall of.

Walkthrough
Petal Isles Wonder Seed Locations guide image
Image: TGGA
Super Mario Bros. Wonder Petal Isles Wonder Seed Locations

Find every Petal Isles Wonder Seed in Super Mario Bros. Wonder with 34 placeholders grouped.

Collectibles
Assassin’s Creed Black Flag Resynced Outfits, Weapons and Crafting Guide guide image
Image: TGGA
Assassin's Creed Black Flag Resynced Assassin’s Creed Black Flag Resynced Outfits, Weapons and Crafting Guide

Unlock Black Flag Resynced outfits, fill the sword and pistol displays, and craft every personal.

Unlockables
Assassin’s Creed Black Flag Resynced Assassin Contracts and Templar Hunts Guide guide image
Image: TGGA
Assassin's Creed Black Flag Resynced Assassin’s Creed Black Flag Resynced Assassin Contracts and Templar Hunts Guide

Complete all 30 Assassin Contracts and every Templar Hunt in Black Flag Resynced with bonus.

Walkthrough
Assassin’s Creed Black Flag Resynced Dark Animus and Data Fragments Guide guide image
Image: TGGA
Assassin's Creed Black Flag Resynced Assassin’s Creed Black Flag Resynced Dark Animus and Data Fragments Guide

Complete all four Dark Animus quests and learn how Data Fragments, rotating anomalies, Animus Projects.

Secrets
Assassin’s Creed Black Flag Resynced Mayan Stone Locations guide image
Image: TGGA
Assassin's Creed Black Flag Resynced Assassin’s Creed Black Flag Resynced Mayan Stone Locations

Find and solve all 16 Mayan Stone locations in Black Flag Resynced with coordinates, alignment.

Collectibles
Assassin’s Creed Black Flag Resynced Sea Shanty Song Sheet Locations guide image
Image: TGGA
Assassin's Creed Black Flag Resynced Assassin’s Creed Black Flag Resynced Sea Shanty Song Sheet Locations

Find all 28 Sea Shanty Song Sheets in Black Flag Resynced, including the hidden Great.

Collectibles
Assassin’s Creed Black Flag Resynced Collectibles Guide guide image
Image: TGGA
Assassin's Creed Black Flag Resynced Assassin’s Creed Black Flag Resynced Collectibles Guide

Complete the Black Flag Resynced collectible route with direct guides for all 28 shanties, 16.

Collectibles
Assassin’s Creed Black Flag Resynced Dilettante Trophy Guide guide image
Image: TGGA
Assassin's Creed Black Flag Resynced Assassin’s Creed Black Flag Resynced Dilettante Trophy Guide

Unlock Dilettante in Assassin's Creed Black Flag Resynced with all manor requirements, 19 Fleet Art.

Trophy Guides
Assassin’s Creed Black Flag Resynced Treasure Maps and Buried Chests Guide guide image
Image: TGGA
Assassin's Creed Black Flag Resynced Assassin’s Creed Black Flag Resynced Treasure Maps and Buried Chests Guide

Find all 27 Black Flag Resynced treasure hunts with every map source, buried chest coordinate,.

Collectibles
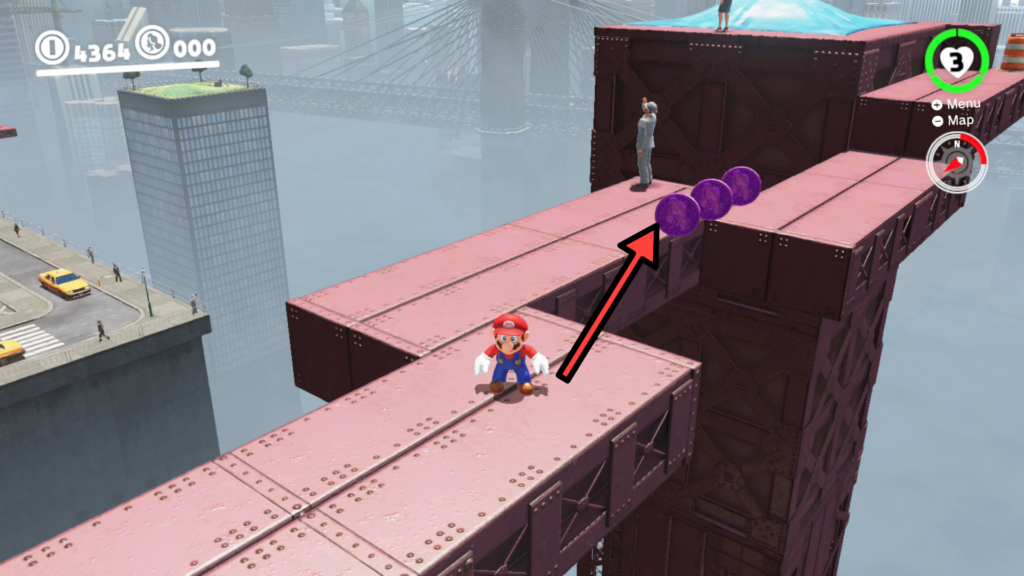
Super Mario Odyssey Metro Kingdom Purple Coin Guide guide image
Image: TGGA
Super Mario Odyssey Super Mario Odyssey Metro Kingdom Purple Coin Guide

Find all 100 Metro Kingdom purple coins with 36 screenshot-matched clusters, clear red-and-black location arrows,.

Guide
Super Mario Odyssey Purple Coins | All Kingdoms Guide Hub guide image
Image: TGGA
Super Mario Odyssey Super Mario Odyssey Purple Coins | All Kingdoms Guide Hub

Complete Super Mario Odyssey purple coin guide hub for all 13 kingdoms with regional coins,.

Collectibles
Super Mario Odyssey Cap Kingdom Purple Coin Guide guide image
Image: TGGA
Super Mario Odyssey Super Mario Odyssey Cap Kingdom Purple Coin Guide

Find all 50 Cap Kingdom purple coins in Super Mario Odyssey with route-based clusters, Cap.

Guide
Super Mario Odyssey Mushroom Kingdom Purple Coin Guide guide image
Image: TGGA
Super Mario Odyssey Super Mario Odyssey Mushroom Kingdom Purple Coin Guide

Find all 100 Mushroom Kingdom purple coins in Super Mario Odyssey with route-based clusters, checkpoint.

Guide
Super Mario Odyssey Moon Kingdom Purple Coin Guide guide image
Image: TGGA
Super Mario Odyssey Super Mario Odyssey Moon Kingdom Purple Coin Guide

Find all 50 Moon Kingdom purple coins in Super Mario Odyssey with route-based clusters, checkpoint.

Collectibles
Super Mario Odyssey Bowser’s Kingdom Purple Coin Guide guide image
Image: TGGA
Super Mario Odyssey Super Mario Odyssey Bowser’s Kingdom Purple Coin Guide

Find all 100 Bowser's Kingdom purple coins in Super Mario Odyssey with route-based clusters, checkpoint.

Guide
Super Mario Odyssey Luncheon Kingdom Purple Coin Guide guide image
Image: TGGA
Super Mario Odyssey Super Mario Odyssey Luncheon Kingdom Purple Coin Guide

Find all 100 Luncheon Kingdom purple coins in Super Mario Odyssey with route-based clusters, checkpoint.

Guide
Super Mario Odyssey Snow Kingdom Purple Coin Guide guide image
Image: TGGA
Super Mario Odyssey Super Mario Odyssey Snow Kingdom Purple Coin Guide

Find all 50 Snow Kingdom purple coins in Super Mario Odyssey with route-based Shiveria clusters,.

Guide
Super Mario Odyssey Seaside Kingdom Purple Coin Guide guide image
Image: TGGA
Super Mario Odyssey Super Mario Odyssey Seaside Kingdom Purple Coin Guide

Find all 100 Seaside Kingdom purple coins in Super Mario Odyssey with route-based clusters, checkpoint.

Guide
1F Grand Lobby Gem Locations in Luigi’s Mansion 3 guide image
Image: TGGA
Luigi's Mansion 3 1F Grand Lobby Gem Locations in Luigi’s Mansion 3

Find all 6 1F Grand Lobby Gems in Luigi's Mansion 3 with Dark-Light, Suction Shot,.

Collectibles
2F Mezzanine Gem Locations in Luigi’s Mansion 3 guide image
Image: TGGA
Luigi's Mansion 3 2F Mezzanine Gem Locations in Luigi’s Mansion 3

Use this 2F Mezzanine Gem guide to collect all 6 Gems in Luigi’s Mansion 3..

Collectibles
Assassin’s Creed Black Flag Resynced Trophy Guide & Roadmap guide image
Image: TGGA
Assassin's Creed Black Flag Resynced Assassin’s Creed Black Flag Resynced Trophy Guide & Roadmap

Plan every Assassin's Creed Black Flag Resynced trophy with the full PS5 list, achievement checklist,.

Trophy Guides
Assassin’s Creed Black Flag Resynced Cartographer Trophy Guide guide image
Image: TGGA
Assassin's Creed Black Flag Resynced Assassin’s Creed Black Flag Resynced Cartographer Trophy Guide

Visit all 57 Black Flag Resynced locations for Cartographer with every regional coordinate, story gate,.

Trophy Guides
Assassin’s Creed Black Flag Resynced Naval Combat and Jackdaw Upgrades Guide guide image
Image: TGGA
Assassin's Creed Black Flag Resynced Assassin’s Creed Black Flag Resynced Naval Combat and Jackdaw Upgrades Guide

Master naval combat in Assassin's Creed Black Flag Resynced with Jackdaw upgrade priorities, ship battle.

Tips and Tricks
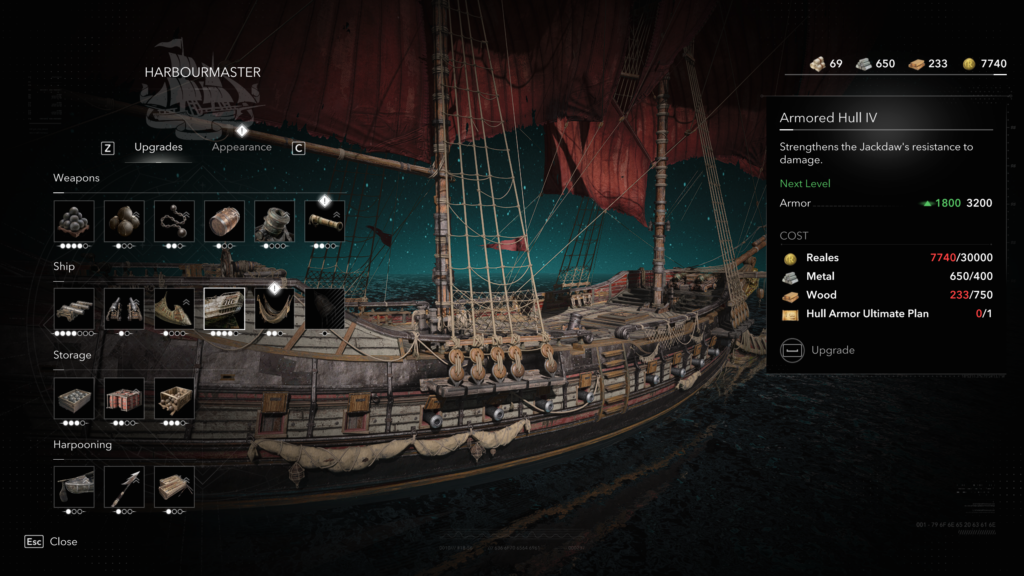
Assassin’s Creed Black Flag Resynced Ship This Trophy Guide guide image
Image: TGGA
Assassin's Creed Black Flag Resynced Assassin’s Creed Black Flag Resynced Ship This Trophy Guide

Fully upgrade the Jackdaw for Ship This with all 12 Ultimate Plan locations, current coordinates,.

Trophy Guides
Assassin’s Creed Black Flag Resynced Grandmaster Trophy Guide guide image
Image: TGGA
Assassin's Creed Black Flag Resynced Assassin’s Creed Black Flag Resynced Grandmaster Trophy Guide

Win Checkers, Nine-Man Morris and Fanorona for Grandmaster with the easiest 1-star locations, rules, strategies.

Trophy Guides
Assassin’s Creed Black Flag Resynced Blow the Man Down Trophy Guide guide image
Image: TGGA
Assassin's Creed Black Flag Resynced Assassin’s Creed Black Flag Resynced Blow the Man Down Trophy Guide

Find and shoot all three hanging bodies in Long Bay with the exact route from.

Trophy Guides
Assassin’s Creed Black Flag Resynced Davy Jones’s Locker Trophy Guide guide image
Image: TGGA
Assassin's Creed Black Flag Resynced Assassin’s Creed Black Flag Resynced Davy Jones’s Locker Trophy Guide

Unlock Davy Jones's Locker in Assassin's Creed Black Flag Resynced with The Black Trench location,.

Trophy Guides
Assassin’s Creed Black Flag Resynced Legendary Ships Guide guide image
Image: TGGA
Assassin's Creed Black Flag Resynced Assassin’s Creed Black Flag Resynced Legendary Ships Guide

Defeat all five Legendary Ships in Assassin's Creed Black Flag Resynced with locations, the best.

Trophy Guides
Assassin’s Creed Black Flag Resynced Last To Leave Trophy Guide guide image
Image: TGGA
Assassin's Creed Black Flag Resynced Assassin’s Creed Black Flag Resynced Last To Leave Trophy Guide

Unlock Last To Leave in Assassin's Creed Black Flag Resynced with the fastest Burning Ship.

Trophy Guides
Super Mario World Secret Exit Guide: All 24 Secret Exits guide image
Image: TGGA
Super Mario World Super Mario World Secret Exit Guide: All 24 Secret Exits

Find every Super Mario World secret exit, including Switch Palaces, Star Road paths, Forest of.

Secrets
Assassin’s Creed Black Flag Resynced Main Story Walkthrough guide image
Image: TGGA
Assassin's Creed Black Flag Resynced Assassin’s Creed Black Flag Resynced Main Story Walkthrough

Follow the Assassin's Creed Black Flag Resynced main story in a spoiler-light order with campaign.

Walkthrough
Assassin’s Creed Black Flag Resynced Beginner Guide and Best Settings guide image
Image: TGGA
Assassin's Creed Black Flag Resynced Assassin’s Creed Black Flag Resynced Beginner Guide and Best Settings

Start Assassin's Creed Black Flag Resynced with the best beginner settings, accessibility options, first-hour route,.

Beginner Guides
Super Mario World Star Road Guide: How to Unlock Star Road and Special World guide image
Image: TGGA
Super Mario World Super Mario World Star Road Guide: How to Unlock Star Road and Special World

Unlock every Star Road path in Super Mario World, open Special World from Star World.

Secrets
Super Mario World Walkthrough: Complete World-by-World Route guide image
Image: TGGA
Super Mario World Super Mario World Walkthrough: Complete World-by-World Route

A complete Super Mario World walkthrough route through Dinosaur Land, including world order, Switch Palaces,.

Walkthrough
Chapter 4: Settled Valley Smiley Flowers Guide guide image
Image: TGGA
Yoshi and the Mysterious Book Chapter 4: Settled Valley Smiley Flowers Guide

Find every Smiley Flower in Chapter 4: Settled Valley with Loopdeecoop, Detonut, Shy Guy, Bugya,.

Collectibles
Chapter 5: Bug Country Smiley Flowers Guide guide image
Image: TGGA
Yoshi and the Mysterious Book Chapter 5: Bug Country Smiley Flowers Guide

Find every Smiley Flower in Chapter 5: Bug Country with Behedger, Swirm, Stickiwick, Mawstalk, Slugarang.

Collectibles
Chapter 6: Remote Isle Smiley Flowers Guide guide image
Image: TGGA
Yoshi and the Mysterious Book Chapter 6: Remote Isle Smiley Flowers Guide

Find every Smiley Flower in Chapter 6: Remote Isle with Goonie, Huffin Puffin, Jetty Jelly,.

Collectibles
Chapter 3: Seaside Smiley Flowers Guide guide image
Image: TGGA
Yoshi and the Mysterious Book Chapter 3: Seaside Smiley Flowers Guide

Find every Smiley Flower in Chapter 3: Seaside with Weewoo, Ouchin, Casterway, Bafloonder, Snurfboard and.

Collectibles
All Smiley Flower Locations in Yoshi and the Mysterious Book guide image
Image: TGGA
Yoshi and the Mysterious Book All Smiley Flower Locations in Yoshi and the Mysterious Book

Find every Smiley Flower by chapter and level in Yoshi and the Mysterious Book. Use.

Collectibles
8F Paranormal Productions Gem Locations in Luigi’s Mansion 3 guide image
Image: TGGA
Luigi's Mansion 3 8F Paranormal Productions Gem Locations in Luigi’s Mansion 3

Use this 8F Paranormal Productions Gem guide to collect all 6 Gems in Luigi’s Mansion.

Collectibles
All Gem Locations in Luigi’s Mansion 3 guide image
Image: TGGA
Luigi's Mansion 3 All Gem Locations in Luigi’s Mansion 3

Use this Luigi's Mansion 3 Gem Locations hub to jump to every planned floor guide,.

Collectibles
9F Museum Gem Locations in Luigi’s Mansion 3 guide image
Image: TGGA
Luigi's Mansion 3 9F Museum Gem Locations in Luigi’s Mansion 3

Use this 9F Museum Gem guide to collect all 6 Gems in Luigi’s Mansion 3..

Collectibles
6F Castle MacFrights Gem Locations in Luigi’s Mansion 3 guide image
Image: TGGA
Luigi's Mansion 3 6F Castle MacFrights Gem Locations in Luigi’s Mansion 3

Use this 6F Castle MacFrights Gem guide to collect all 6 Gems in Luigi’s Mansion.

Collectibles
4F The Great Stage Gem Locations in Luigi’s Mansion 3 guide image
Image: TGGA
Luigi's Mansion 3 4F The Great Stage Gem Locations in Luigi’s Mansion 3

Use this 4F The Great Stage Gem guide to collect all 6 Gems in Luigi’s.

Collectibles
5F RIP Suites Gem Locations in Luigi’s Mansion 3 guide image
Image: TGGA
Luigi's Mansion 3 5F RIP Suites Gem Locations in Luigi’s Mansion 3

Use this 5F RIP Suites Gem guide to collect all 6 Gems in Luigi’s Mansion.

Collectibles
3F Hotel Shops Gem Locations in Luigi’s Mansion 3 guide image
Image: TGGA
Luigi's Mansion 3 3F Hotel Shops Gem Locations in Luigi’s Mansion 3

Use this 3F Hotel Shops Gem guide to collect all 6 Gems in Luigi’s Mansion.

Collectibles
Deep Magma Bog Wonder Seed Locations guide image
Image: TGGA
Super Mario Bros. Wonder Deep Magma Bog Wonder Seed Locations

Deep Magma Bog is World 6 in Super Mario Bros. Wonder, a fiery world of.

Collectibles
Fungi Mines Wonder Seed Locations guide image
Image: TGGA
Super Mario Bros. Wonder Fungi Mines Wonder Seed Locations

Fungi Mines is World 5 in Super Mario Bros. Wonder, a glowing underground world of.

Collectibles
Sunbaked Desert Wonder Seed Locations guide image
Image: TGGA
Super Mario Bros. Wonder Sunbaked Desert Wonder Seed Locations

Sunbaked Desert is World 4 in Super Mario Bros. Wonder, a sprawling sandy world of.

Collectibles
7F Garden Suites Gem Locations in Luigi’s Mansion 3 guide image
Image: TGGA
Luigi's Mansion 3 7F Garden Suites Gem Locations in Luigi’s Mansion 3

Use this 7F Garden Suites Gem guide to collect all 6 Gems in Luigi’s Mansion.

Collectibles
Special World Wonder Seed Locations guide image
Image: TGGA
Super Mario Bros. Wonder Special World Wonder Seed Locations

The Special World in Super Mario Bros. Wonder unlocks after you finish the main adventure.

Collectibles
Shining Falls Wonder Seed Locations Super Mario Bros. Wonder guide image
Image: TGGA
Super Mario Bros. Wonder Shining Falls Wonder Seed Locations Super Mario Bros. Wonder

Find all 20 Shining Falls Wonder Seed locations in Super Mario Bros. Wonder with HD.

Collectibles
Fluff-Puff Peaks Wonder Seed Locations guide image
Image: TGGA
Super Mario Bros. Wonder Fluff-Puff Peaks Wonder Seed Locations

Fluff-Puff Peaks is World 2 in Super Mario Bros. Wonder, a snowy world built around.

Collectibles
Pipe-Rock Plateau Wonder Seed Locations guide image
Image: TGGA
Super Mario Bros. Wonder Pipe-Rock Plateau Wonder Seed Locations

Find the first 12 Wonder Seeds in Pipe-Rock Plateau with step-by-step routes for the first.

Collectibles
All 10-Flower Coin Locations in Super Mario Bros. Wonder guide image
Image: TGGA
Super Mario Bros. Wonder All 10-Flower Coin Locations in Super Mario Bros. Wonder

Find all 306 large 10-Flower Coins in Super Mario Bros. Wonder with world-by-world course routes,.

Collectibles
All Wonder Seed Locations in Super Mario Bros. Wonder guide image
Image: TGGA
Super Mario Bros. Wonder All Wonder Seed Locations in Super Mario Bros. Wonder

Find all 225 Wonder Seeds with world-by-world guide cards, route status, secret exits and dedicated.

Collectibles
Pipe-Rock Plateau 10-Flower Coin Locations | Super Mario Bros. Wonder guide image
Image: TGGA
Super Mario Bros. Wonder Pipe-Rock Plateau 10-Flower Coin Locations | Super Mario Bros. Wonder

Find all 15 large purple 10-Flower Coins in the first five Pipe-Rock Plateau courses with.

Collectibles
Anno 117: Pax Romana Beginner Guide: How to Start Strong guide image
Image: TGGA
Anno 117: Pax Romana Anno 117: Pax Romana Beginner Guide: How to Start Strong

Build a strong Anno 117: Pax Romana settlement with practical beginner tips for layouts, supply.

Beginner Guides
Where Winds Meet Beginner Guide: How to Start Strong guide image
Image: TGGA
Where Winds Meet Where Winds Meet Beginner Guide: How to Start Strong

Start strong in Where Winds Meet with practical beginner guidance for combat, weapons, exploration, health,.

Beginner Guides
Breath of the Wild Shrine Guide: All 120 Shrine Locations guide image
Image: TGGA
Breath of the Wild Breath of the Wild Shrine Guide: All 120 Shrine Locations

Find every Breath of the Wild shrine with a region-by-region shrine route, cleanup order, Spirit.

Collectibles
Breath of the Wild Korok Seed Guide: Best Cleanup Route guide image
Image: TGGA
Breath of the Wild Breath of the Wild Korok Seed Guide: Best Cleanup Route

Plan your Breath of the Wild Korok Seed cleanup with a practical route for useful.

Collectibles
Breath of the Wild Beginner Route: What To Do First guide image
Image: TGGA
Breath of the Wild Breath of the Wild Beginner Route: What To Do First

A beginner-friendly Breath of the Wild route covering the Great Plateau, Kakariko Village, hearts vs.

Beginner Guides
Ocarina of Time Walkthrough: Complete Dungeon Order and Route guide image
Image: TGGA
Ocarina of Time Ocarina of Time Walkthrough: Complete Dungeon Order and Route

Follow the full Ocarina of Time walkthrough route with child Link progression, adult temple order,.

Walkthrough
Ocarina of Time Gold Skulltula Guide: All 100 Tokens guide image
Image: TGGA
Ocarina of Time Ocarina of Time Gold Skulltula Guide: All 100 Tokens

Plan your Ocarina of Time Gold Skulltula cleanup with all reward thresholds, child and adult.

Collectibles
Ocarina of Time Heart Piece Guide: All 36 Locations guide image
Image: TGGA
Ocarina of Time Ocarina of Time Heart Piece Guide: All 36 Locations

Plan your Ocarina of Time Heart Piece cleanup with all 36 Pieces of Heart, child.

Collectibles
A Link to the Past Walkthrough: Complete Dungeon Order and Route guide image
Image: TGGA
A Link to the Past A Link to the Past Walkthrough: Complete Dungeon Order and Route

Follow the full A Link to the Past walkthrough route with Light World dungeons, Dark.

Walkthrough
Astro Bot Locations Guide Hub guide image
Image: TGGA
Astro Bot Astro Bot Locations Guide Hub

Browse every Astro Bot level by galaxy and jump to available Bot and Puzzle Piece.

Beginner Guides
Super Mario Odyssey Costumes Guide: How to Unlock Every Outfit guide image
Image: TGGA
Super Mario Odyssey Super Mario Odyssey Costumes Guide: How to Unlock Every Outfit

Find every Super Mario Odyssey costume and outfit, including story rewards, regional coin outfits, Crazy.

Unlockables
B1 Basement Gem Locations in Luigi’s Mansion 3 guide image
Image: TGGA
Luigi's Mansion 3 B1 Basement Gem Locations in Luigi’s Mansion 3

Find all 6 B1 Basement Gems in Luigi's Mansion 3 with Garage, Laundry Room, Service.

Collectibles
Donkey Kong Bananza Beginner Guide: Best Early Tips Before You Dig Too Deep guide image
Image: TGGA
Donkey Kong Bananza Donkey Kong Bananza Beginner Guide: Best Early Tips Before You Dig Too Deep

Donkey Kong Bananza is built around momentum, destruction, and exploration. The game rewards players who.

Beginner Guides
Chapter 9: Miniworld Smiley Flowers Guide guide image
Image: TGGA
Yoshi and the Mysterious Book Chapter 9: Miniworld Smiley Flowers Guide

Miniworld Smiley Flower guide page prepared for verified chapter data, screenshots and level routes once.

Collectibles
Chapter 7: The Underground Smiley Flowers Guide guide image
Image: TGGA
Yoshi and the Mysterious Book Chapter 7: The Underground Smiley Flowers Guide

Track verified and pending Smiley Flower routes for Chapter 7: The Underground, including Tumball, Wiggaline,.

Collectibles
Chapter 8: Tallest of Trees Smiley Flowers Guide guide image
Image: TGGA
Yoshi and the Mysterious Book Chapter 8: Tallest of Trees Smiley Flowers Guide

Track verified and pending Smiley Flower routes for Chapter 8: Tallest of Trees, including Piranha.

Collectibles
Chapter 10: The Moon Smiley Flowers Guide guide image
Image: TGGA
Yoshi and the Mysterious Book Chapter 10: The Moon Smiley Flowers Guide

The Moon Smiley Flower guide page prepared for verified chapter data, screenshots and level routes.

Collectibles
Astro Bot Sky Garden Bots and Puzzle Pieces Guide guide image
Image: TGGA
Astro Bot Astro Bot Sky Garden Bots and Puzzle Pieces Guide

Find all 7 Bots and 3 Puzzle Pieces in Astro Bot Sky Garden with HD.

Collectibles
Super Mario Odyssey Dark Side and Darker Side Power Moon Guide guide image
Image: TGGA
Super Mario Odyssey Super Mario Odyssey Dark Side and Darker Side Power Moon Guide

Complete Super Mario Odyssey Dark Side Power Moon guide with all 24 Rabbit Ridge moons,.

Collectibles
Super Mario Odyssey Moon Kingdom Power Moon Guide: All 38 Moons guide image
Image: TGGA
Super Mario Odyssey Super Mario Odyssey Moon Kingdom Power Moon Guide: All 38 Moons

Complete Super Mario Odyssey Moon Kingdom Power Moon guide with all 38 moons, route tips,.

Collectibles
Super Mario Odyssey Cap Kingdom Power Moon Guide: All 31 Moons guide image
Image: TGGA
Super Mario Odyssey Super Mario Odyssey Cap Kingdom Power Moon Guide: All 31 Moons

Find all 31 Cap Kingdom Power Moons in Super Mario Odyssey. Step-by-step guide for every.

Collectibles
How Long Does Super Mario Odyssey Take to Beat? guide image
Image: TGGA
Super Mario Odyssey How Long Does Super Mario Odyssey Take to Beat?

How long is Super Mario Odyssey? Main story takes 12-15 hours. Completionist run takes 40+.

FAQ
How to Beat Mechawiggler – Super Mario Odyssey Boss Guide guide image
Image: TGGA
Super Mario Odyssey How to Beat Mechawiggler – Super Mario Odyssey Boss Guide

How to beat Mechawiggler in Super Mario Odyssey. Full boss guide with attack patterns, phase.

Boss Guides