
Ruined Kingdom, Crumbleden, is a Super Mario Odyssey kingdom with 10 Power Moons to collect. This guide uses a practical checklist format with route notes, tips and visual references for every moon.
Quick Overview
| Game | Super Mario Odyssey |
|---|---|
| Kingdom | Ruined Kingdom – Crumbleden |
| Total Power Moons | 10 |
| Main Mechanics | Dragon boss, lightning arena, hidden ledges, Moon Rock cleanup |
| Best Route | Clear the story path first, then sweep nearby side areas, challenge rooms, NPC moons, races, shop moons and Moon Rock cleanup when they become available. |
Ruined Kingdom Power Moon Guide: All 10 Moons
Use the cards below as your full checklist. Each moon includes the core location, what to do, and a practical tip to keep the route clear.

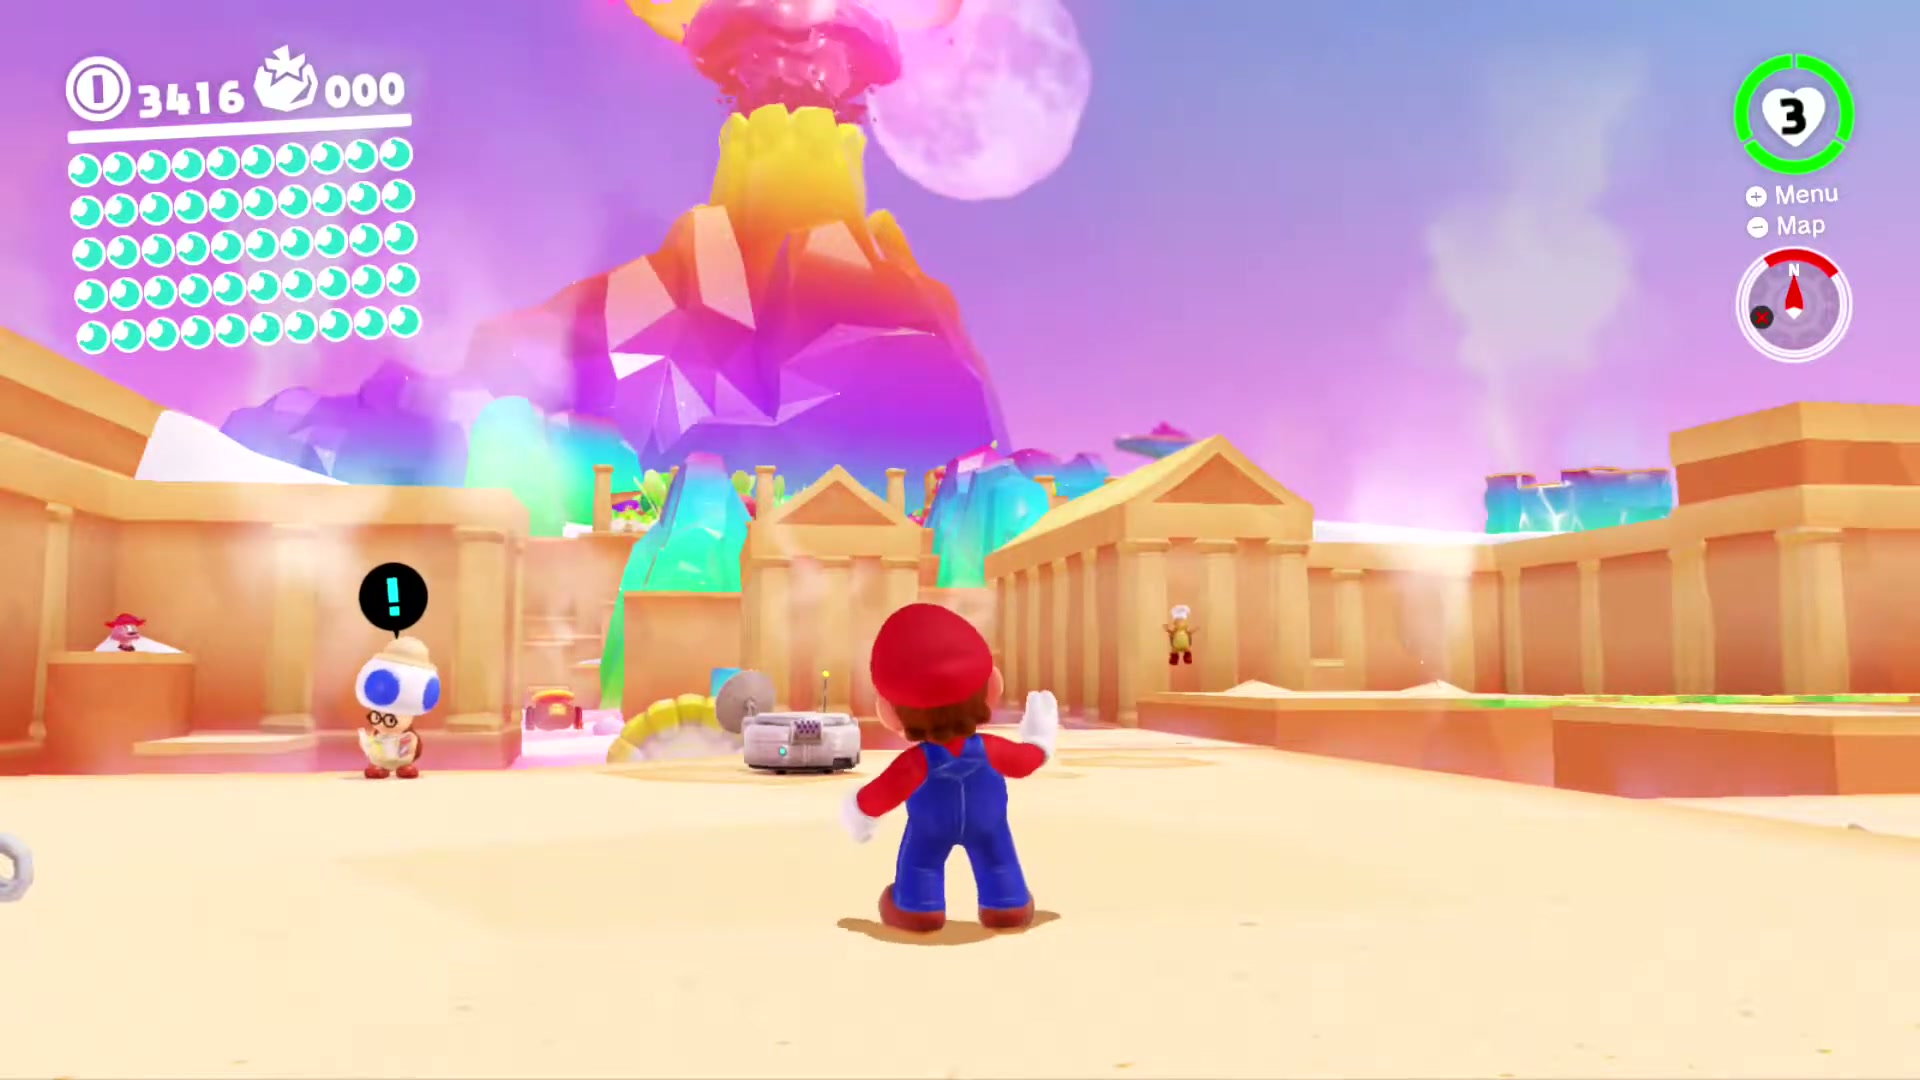
Battle with the Lord of Lightning!
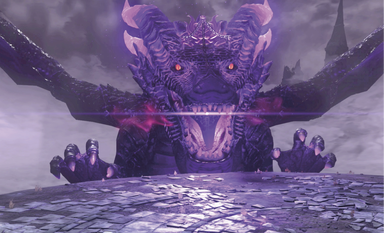
After exiting the Odyssey, Mario should make his way up the stairs and pull the sword out of the ground using Cappy. A spark pylon will appear that Mario can capture and ride up to the tall tower. A boss fight with the Ruined Dragon will ensue and will reward Mario with a Multi Moon when defeated.


In the Ancient Treasure Chest
To the left of the stairs that lead to the spark pylon, there is a ledge that Mario can hold on to. At the end of the ledge is a treasure chest that contains a moon.


Roulette Tower: Climbed
A Mini Rocket on the battlefield will lead Mario to a roulette block challenge area. After climbing the tower, Mario is rewarded with a moon.


Roulette Tower: Stopped
Inside the Roulette Tower in the section to the left of where the red Koopa Troopas are. Check the nearby ledges, walls, NPCs and alternate paths before leaving this part of Ruined Kingdom, because many moons sit just off the main route.
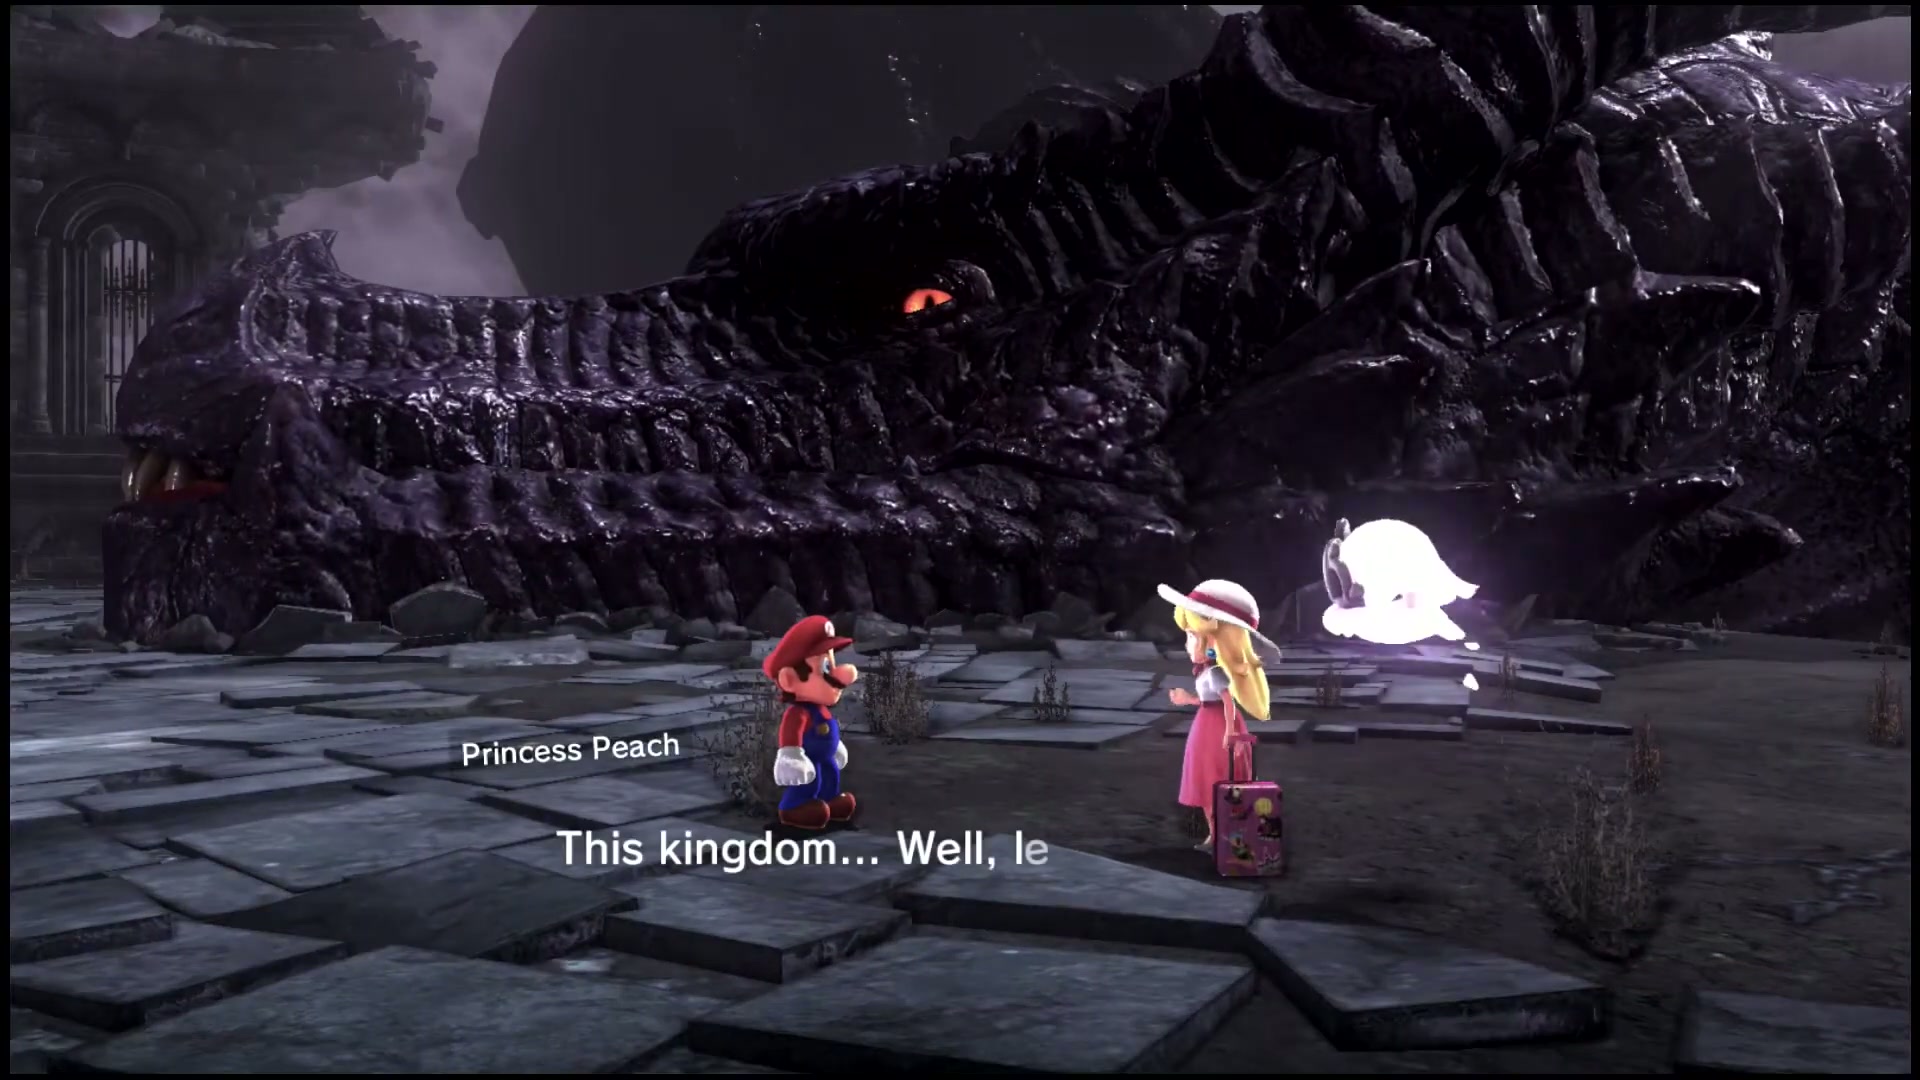
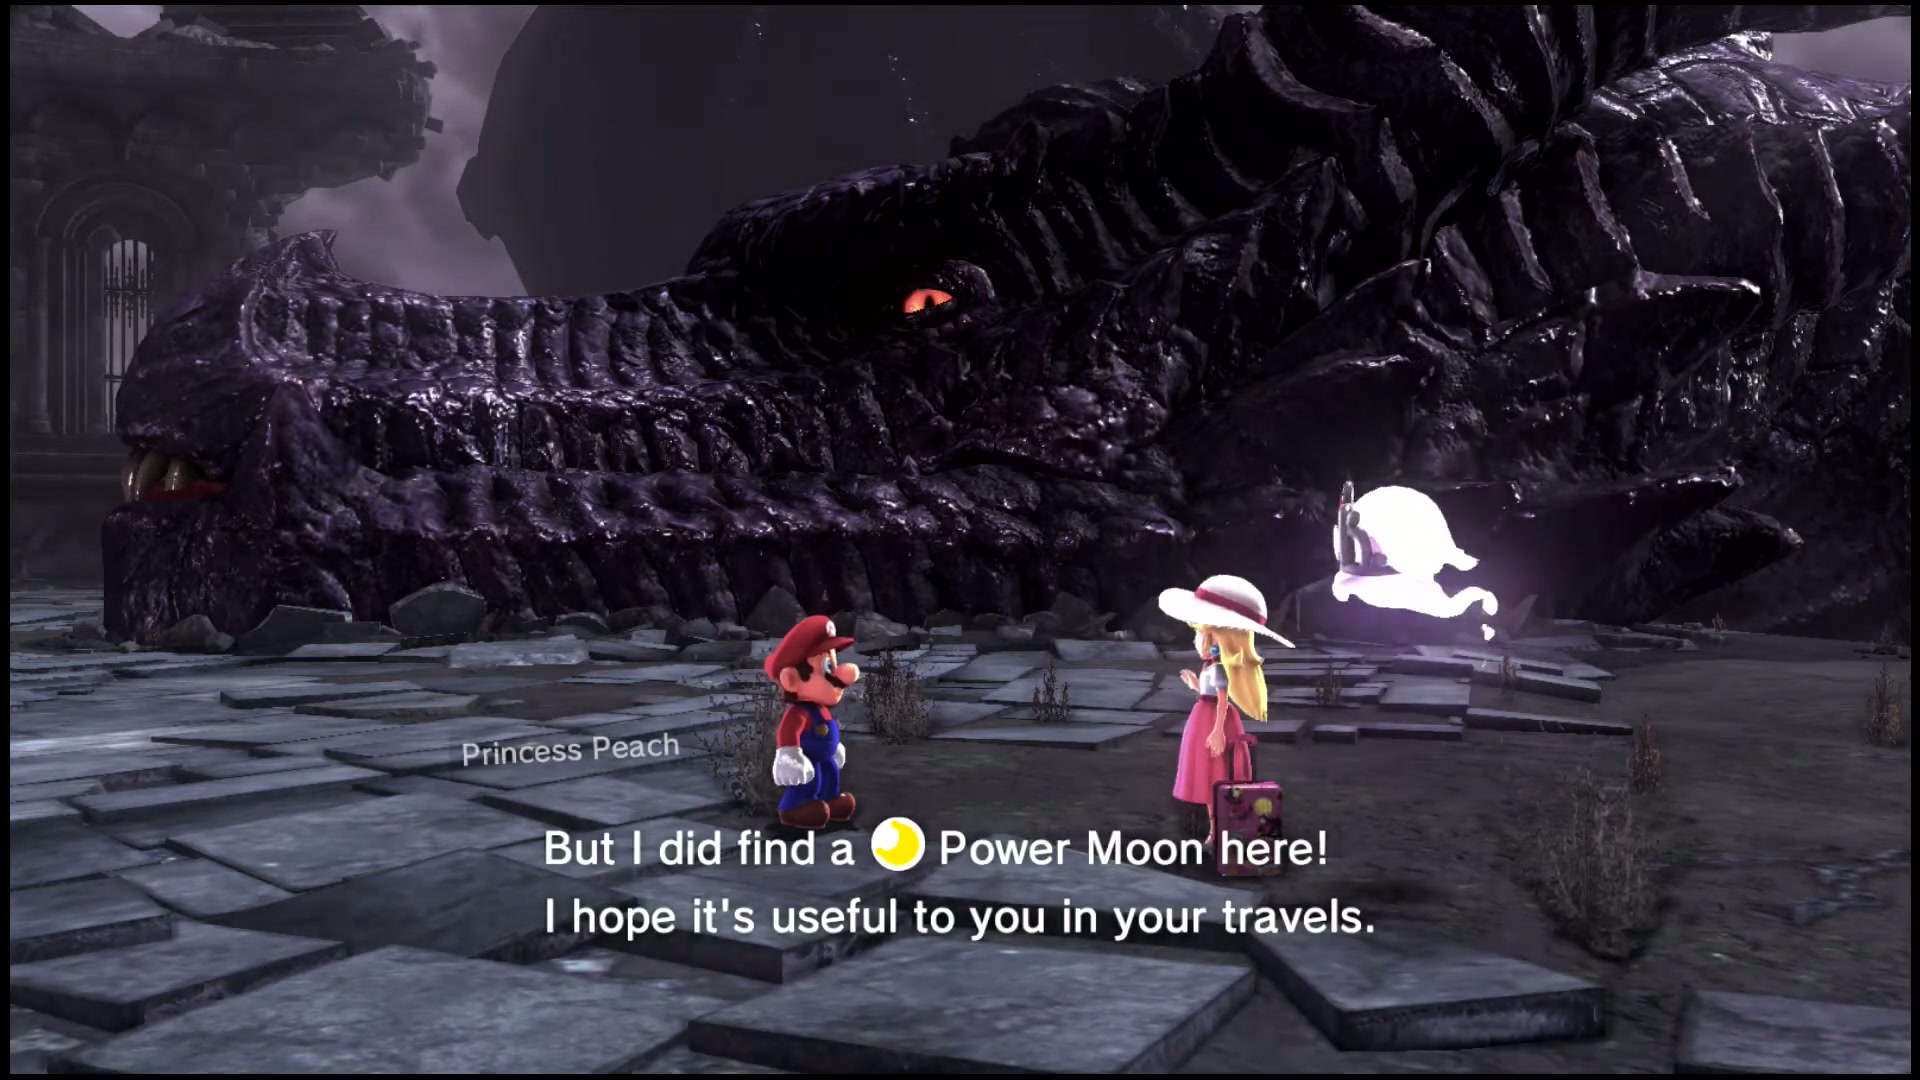
Peach in the Ruined Kingdom
Peach and Tiara are on the battlefield, to the right of the dragon. Check the nearby ledges, walls, NPCs and alternate paths before leaving this part of Ruined Kingdom, because many moons sit just off the main route.
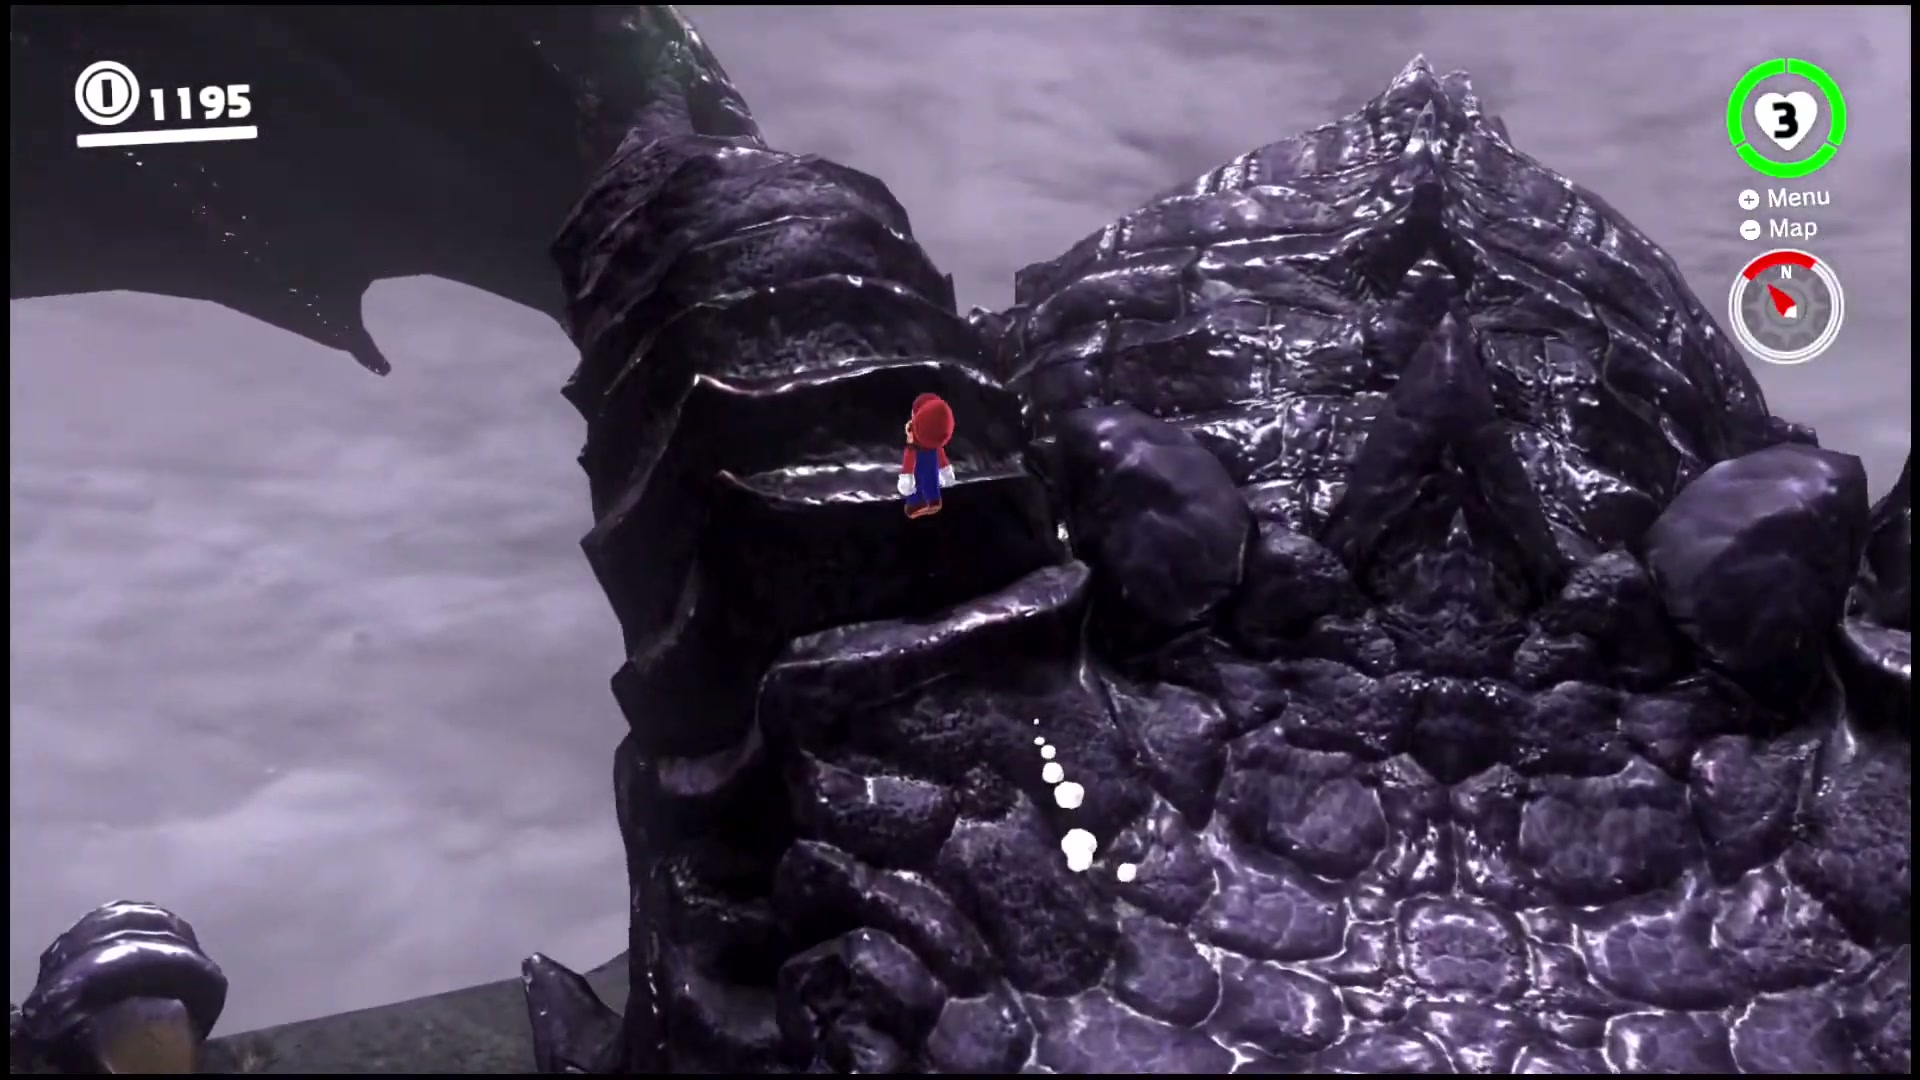

Caught on a Big Horn
Obtained by throwing Cappy onto the dragon's left horn and holding him there until the moon appears. Check the nearby ledges, walls, NPCs and alternate paths before leaving this part of Ruined Kingdom, because many moons sit just off the main route.


Upon the Broken Arch
On top of the broken arch on the right side of the staircase. Check the nearby ledges, walls, NPCs and alternate paths before leaving this part of Ruined Kingdom, because many moons sit just off the main route.
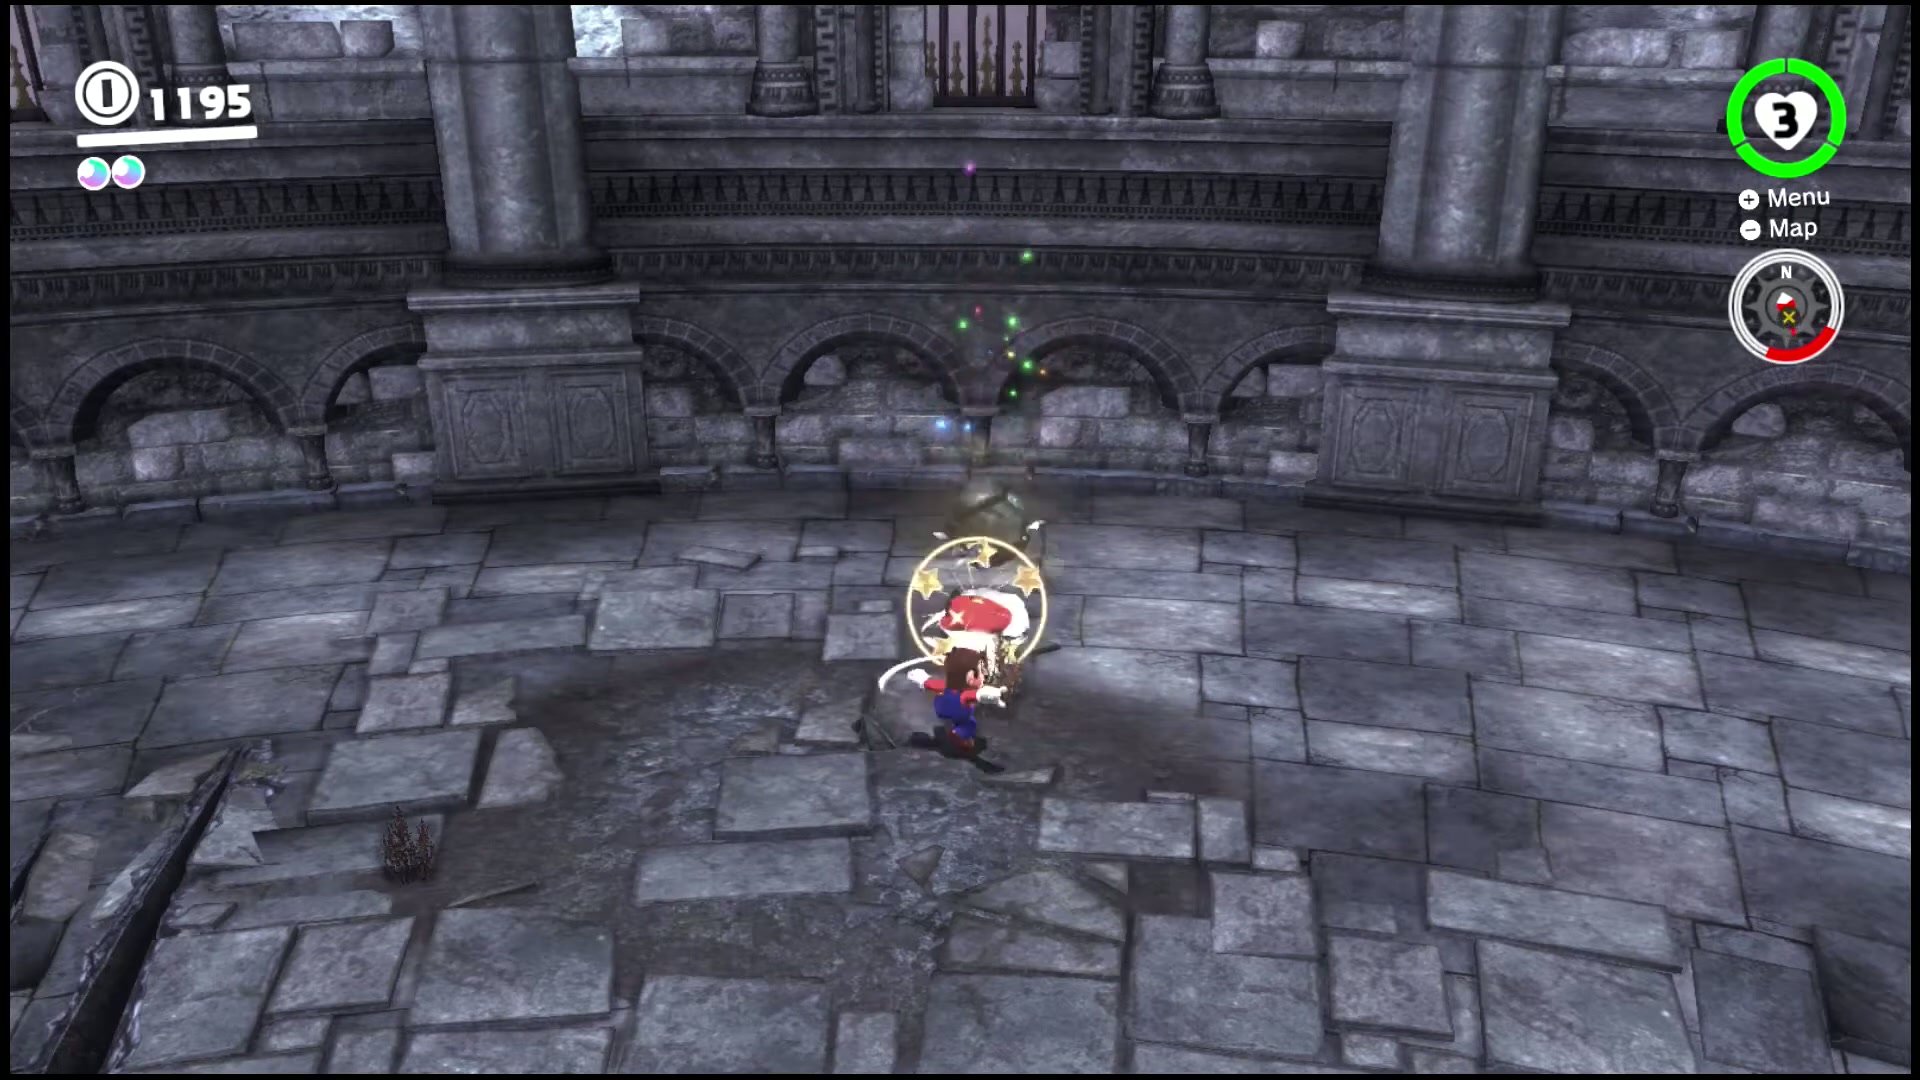
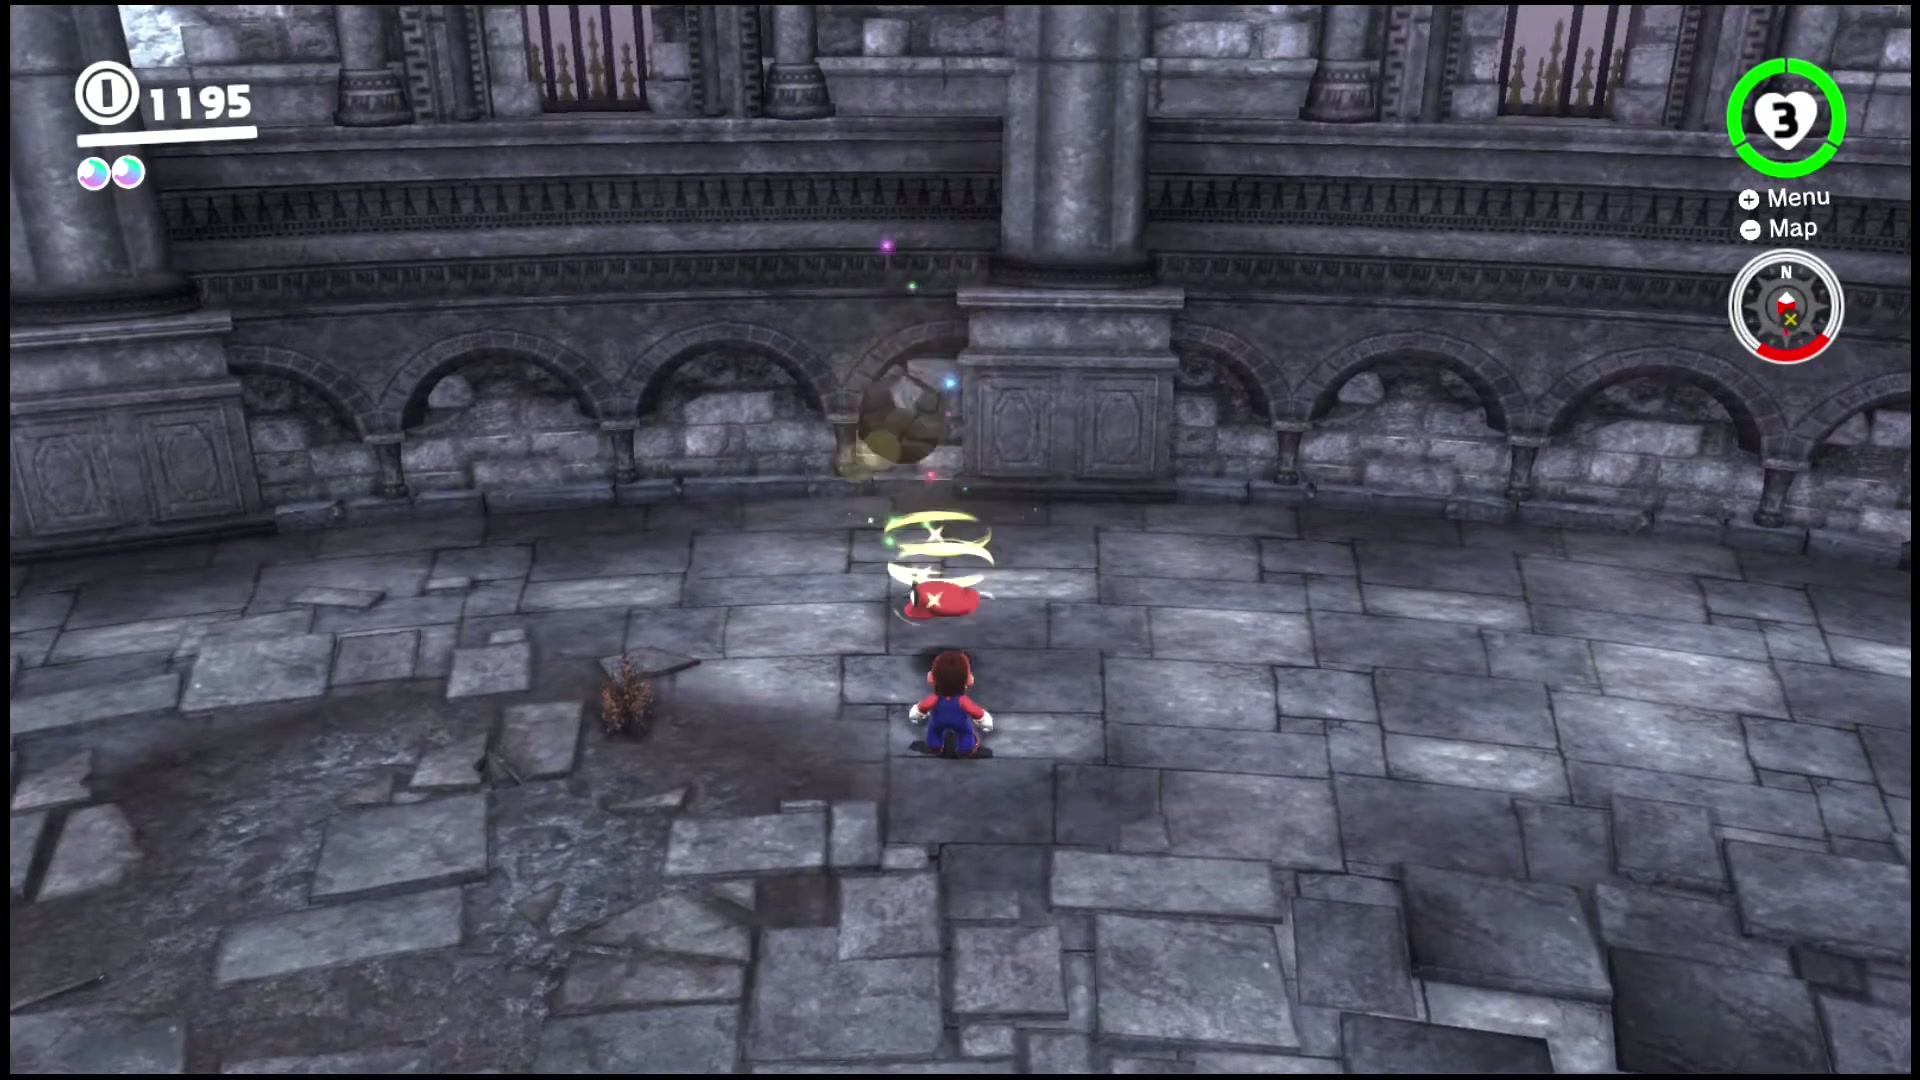
Rolling Rock on the Battlefield
On the battlefield, there is a loose rock that must be thrown 50 times or hit another rock near the Ruined Dragon to reveal a moon. Check the nearby ledges, walls, NPCs and alternate paths before leaving this part of Ruined Kingdom, because many moons sit just off the main route.
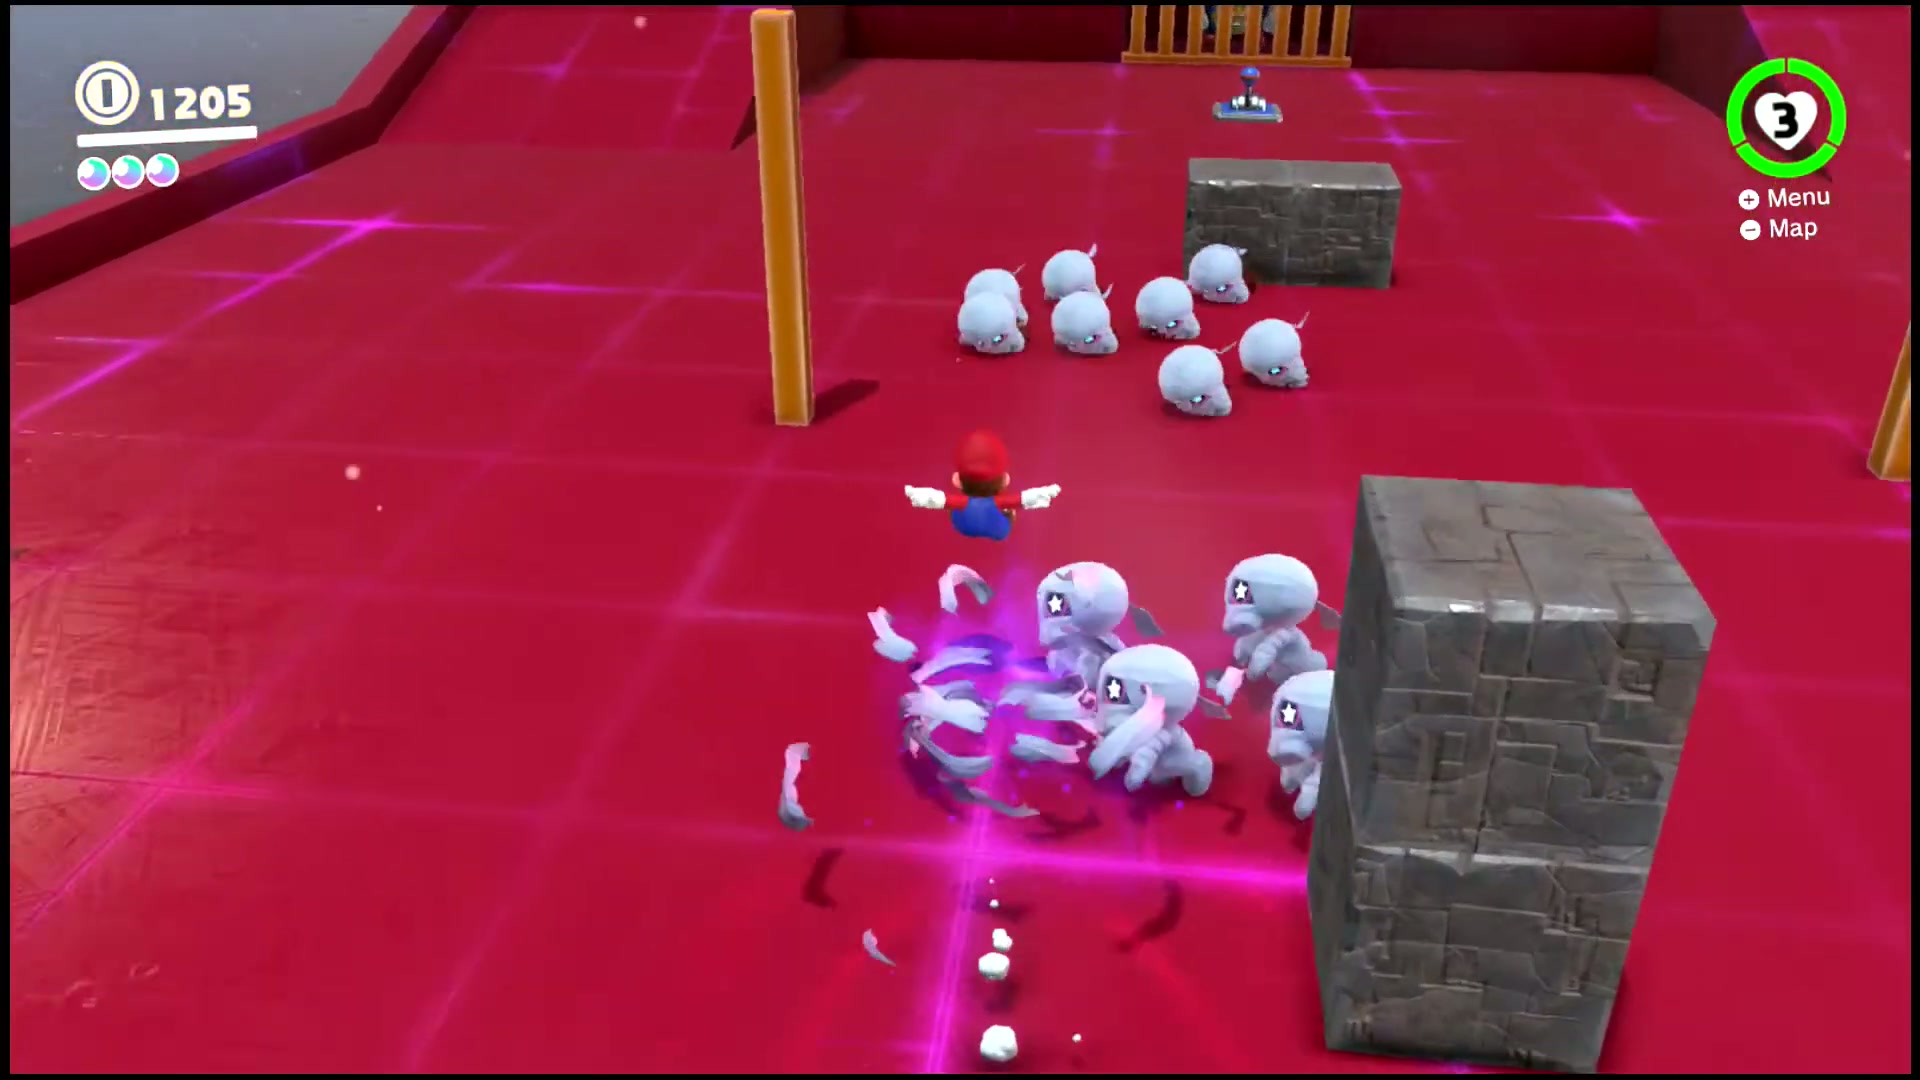
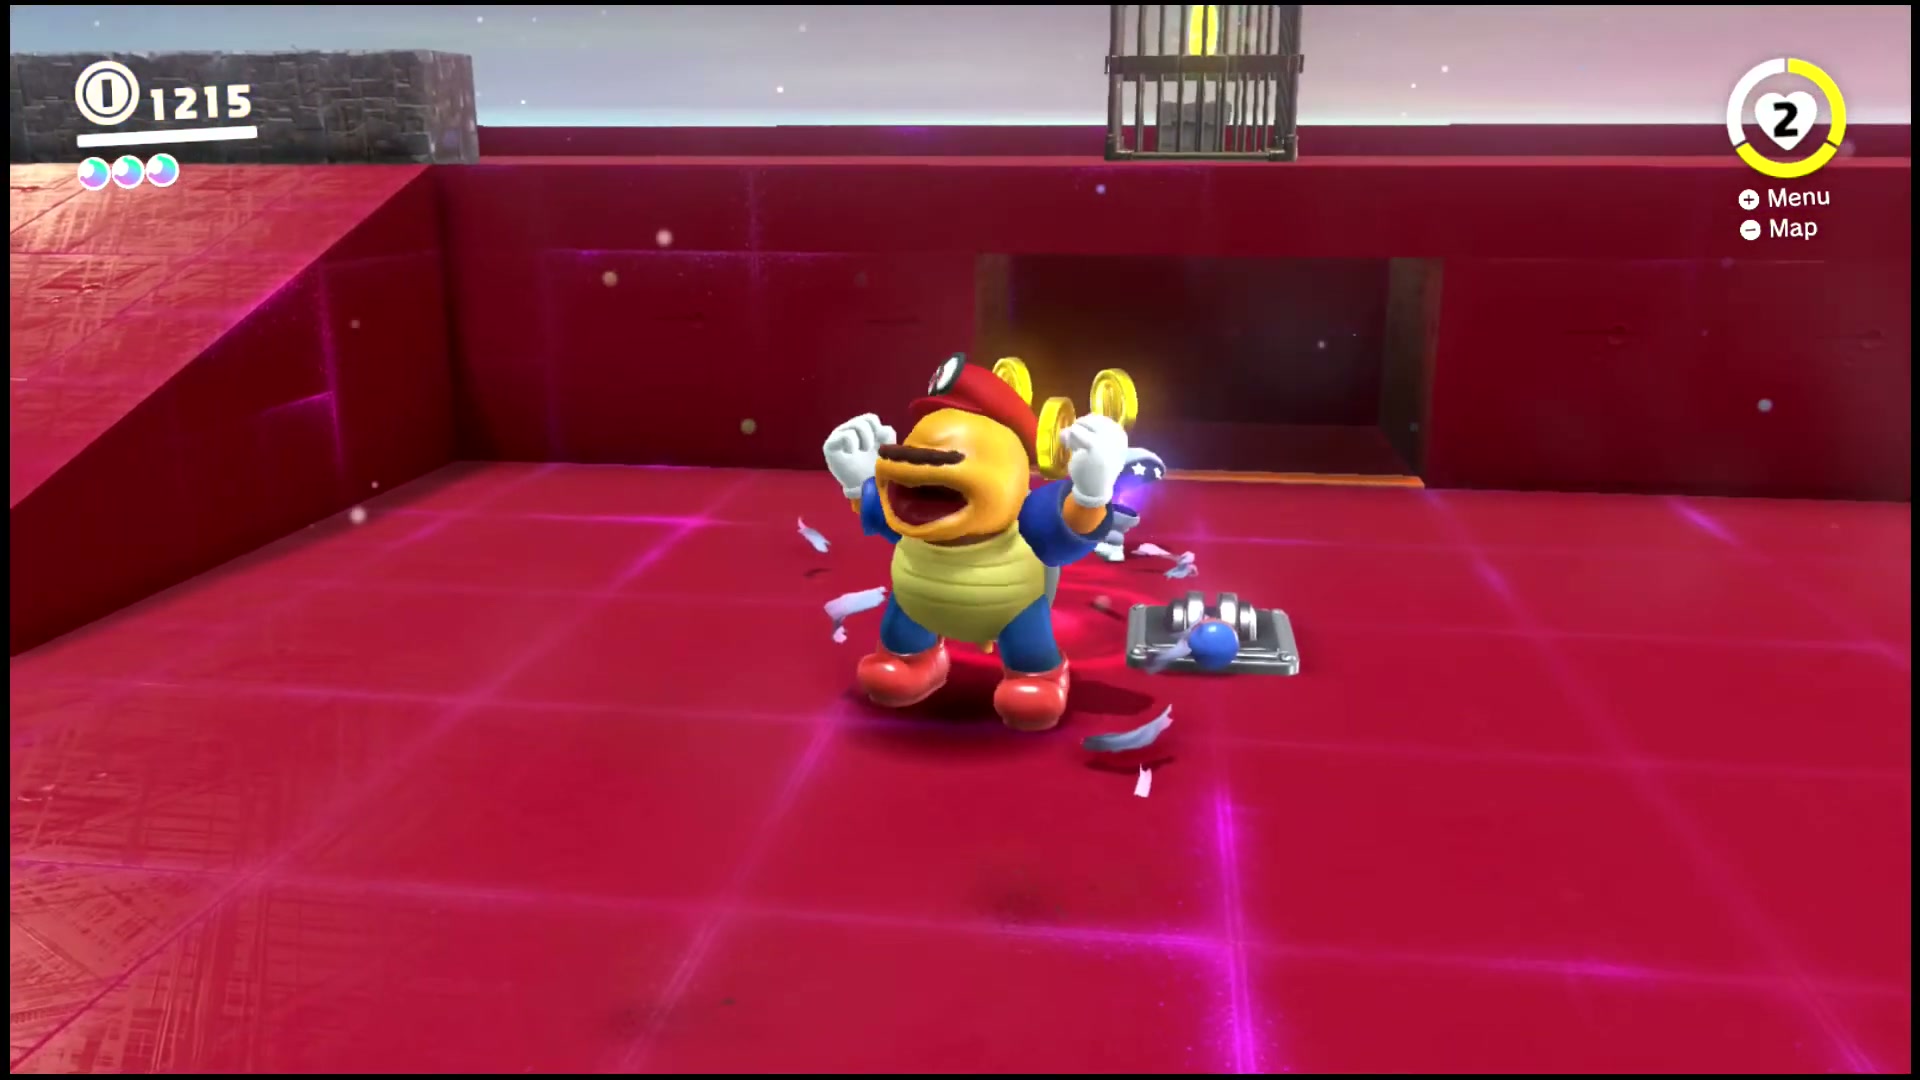
Charging Through an Army
Inside a Moon Pipe that appears next to the Odyssey. The pipe leads to an area where Mario must bust open a cage by capturing a Chargin' Chuck.


The Mummy Army's Curse
In the area led to by the Moon Pipe; after the Chinchos start appearing, Mario must return to the beginning of the area, where a sparkling Chincho will spawn. Defeating it reveals the moon.
Image Sources and Credits
Moon names, checklist order and reference screenshots are cross-checked against Super Mario Wiki and the in-game Ruined Kingdom list order. Each uploaded media item includes source page credit in WordPress.
More Super Mario Odyssey videos are available on The Gaming Guide Archives YouTube channel.
FAQ
How many Power Moons are in
Ruined Kingdom has 10 listed Power Moons.
Can every Ruined Kingdom moon be collected on the first visit?
No. Some moons require later story progress, post-game access, Moon Rock unlocks, races, shop access, NPC conditions or challenge rooms.
What is the best way to clean up
Work by area and checkpoint. Clear nearby moons together, then use the Moon Rock markers and this checklist for the late cleanup pass.