
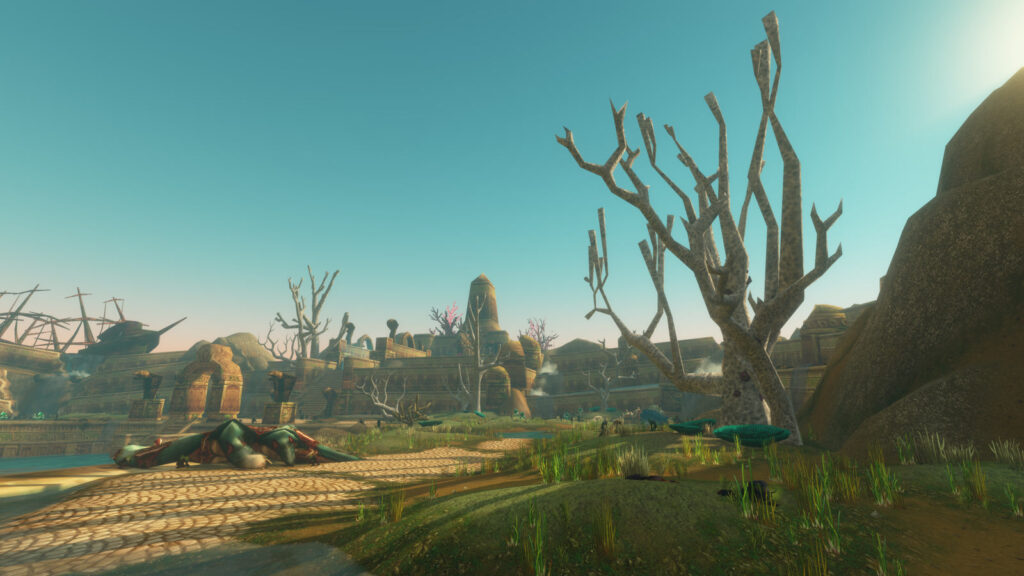
Reach The Drowned City below the sea west of Stranglethorn Vale, prepare the currently documented faction quests and clear all six encounters from Zul’Alai to Min’loth the Serpent.
Quick Overview
| Game | World of Warcraft: Forever |
|---|---|
| Factions | Alliance and Horde |
| Location | Sunken Hollow, underwater west of Stranglethorn Vale and Grom’gol Base Camp |
| Official level range | 35-40; level 37 or higher is a comfortable target for a first full clear |
| Bosses | Zul’Alai, Var’Taka, Captain Dreadrise, Deathless Guardians, Primeval Elemental and Min’loth the Serpent |
| Group | 5 players: tank, healer and three damage dealers |
| Main risks | Dense patrols, Fear near extra packs, drowning bubbles, repeated add waves and a two-phase final boss |
Before You Start
Prepare for a long open-air route with underwater access, several enemy factions and limited recovery space.
- Bring a normal five-player group with reliable interrupts. A curse or poison removal, Fear protection and an emergency resurrection are especially useful.
- Repair, clear bag space and carry food and water. Healers need mana for Zul’Alai’s final stretch, Captain Dreadrise’s party damage and both Min’loth phases.
- Underwater Breathing, water-walking and swim-speed effects make the trip to Sunken Hollow easier, but none is a confirmed dungeon requirement.
- Do not mass-pull the opening Makrura and Chasm Crawlers. Stacking Sunder Armor and Muscle Tear can turn an ordinary pack into lethal tank damage.
- The launch journal confirms the six encounters and their order. Questgiver locations and some late-boss ability details are still being documented, so verify every dungeon quest in your own log before entering.
The Drowned City Route at a Glance
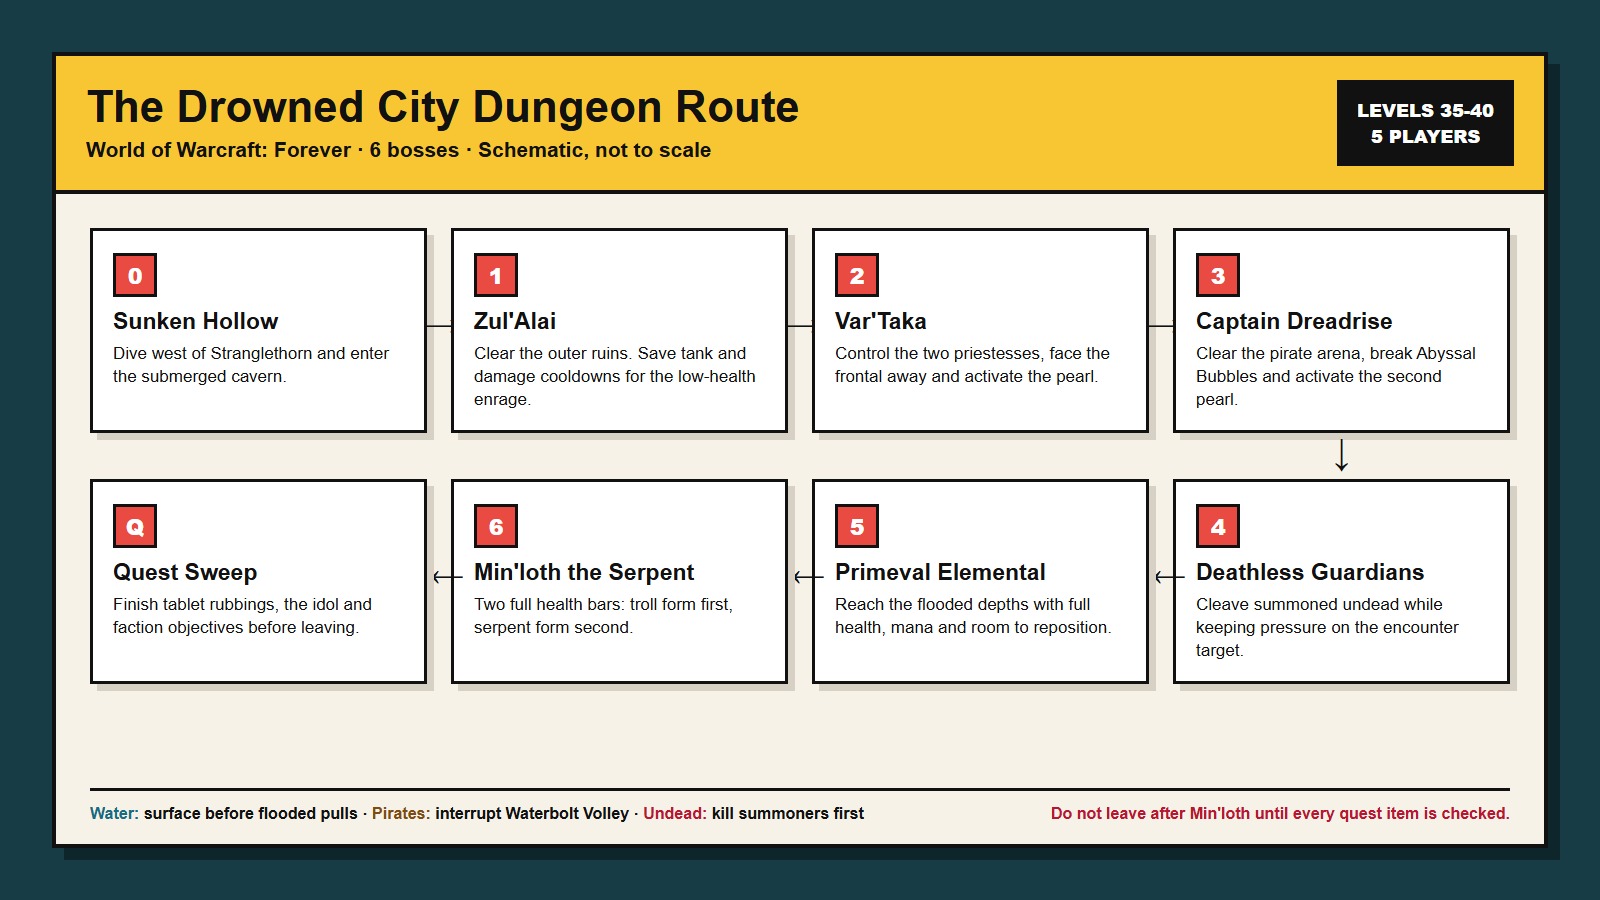
Use this order for all six encounters, both barrier pearls and the final quest sweep.
Travel west of Stranglethorn, dive to the cavern and regroup before the instance portal.
Control the crab packs, kill summoners first and save cooldowns for Zul’Alai’s enrage.
Control the priestesses, avoid the frontal attack and use the pearl after the kill.
Clear the pirate arena, break Abyssal Bubbles and interrupt Waterbolt Volley.
Cleave summoned undead while maintaining pressure on the main encounter target.
Enter the flooded section with full resources and keep the arena clear for repositioning.
Beat the troll form, then immediately handle Fear and poison in the serpent form.
Confirm tablets, idol, boss objectives and loot before the party leaves.
The Drowned City Dungeon Map
This original schematic keeps the confirmed boss order and the two barrier pearls in one readable route.
The Drowned City Quests by Faction
Choose your faction to see the safest current pre-run checklist. Live quest records are still filling in after launch.
Alliance Quest Prep
Current public quest records list Magics of the Drowned City and Take Two With Water, but their complete post-launch giver route is not yet consistently documented.
- Check Stormwind, Booty Bay and any quest NPCs outside Sunken Hollow before the group enters.
- Accept every quest marked for The Drowned City and read the objectives in your own log before the first pull.
- Keep any Voodoo-Infused Artifact or water-related quest item until the related objective updates.
Horde Quest Prep
Three dungeon quests are present in current client records: The Only Good Brinescale…, Ancient Gurubashi Idol and The Drowned City.
- The Only Good Brinescale… requires Var’Taka.
- The Drowned City uses hide and charcoal to make rubbings of four I’lalai tablets. Keep both quest items in your bags.
- Ancient Gurubashi Idol requires the idol from inside. Check Grom’gol and related Darkspear or Earthen Ring contacts before swimming west.
Stage 1 of 8
Find the Underwater Entrance at Sunken Hollow
The portal is below the water west of Stranglethorn Vale, not on the visible island shoreline.
- Horde players can take the zeppelin to Grom’gol Base Camp; Alliance players can use Booty Bay or Darkshire, depending on available flight paths.
- Travel west into the ocean toward the far island and dive near Sunken Hollow. Current entrance videos place the approach around 21.4, 27.9.
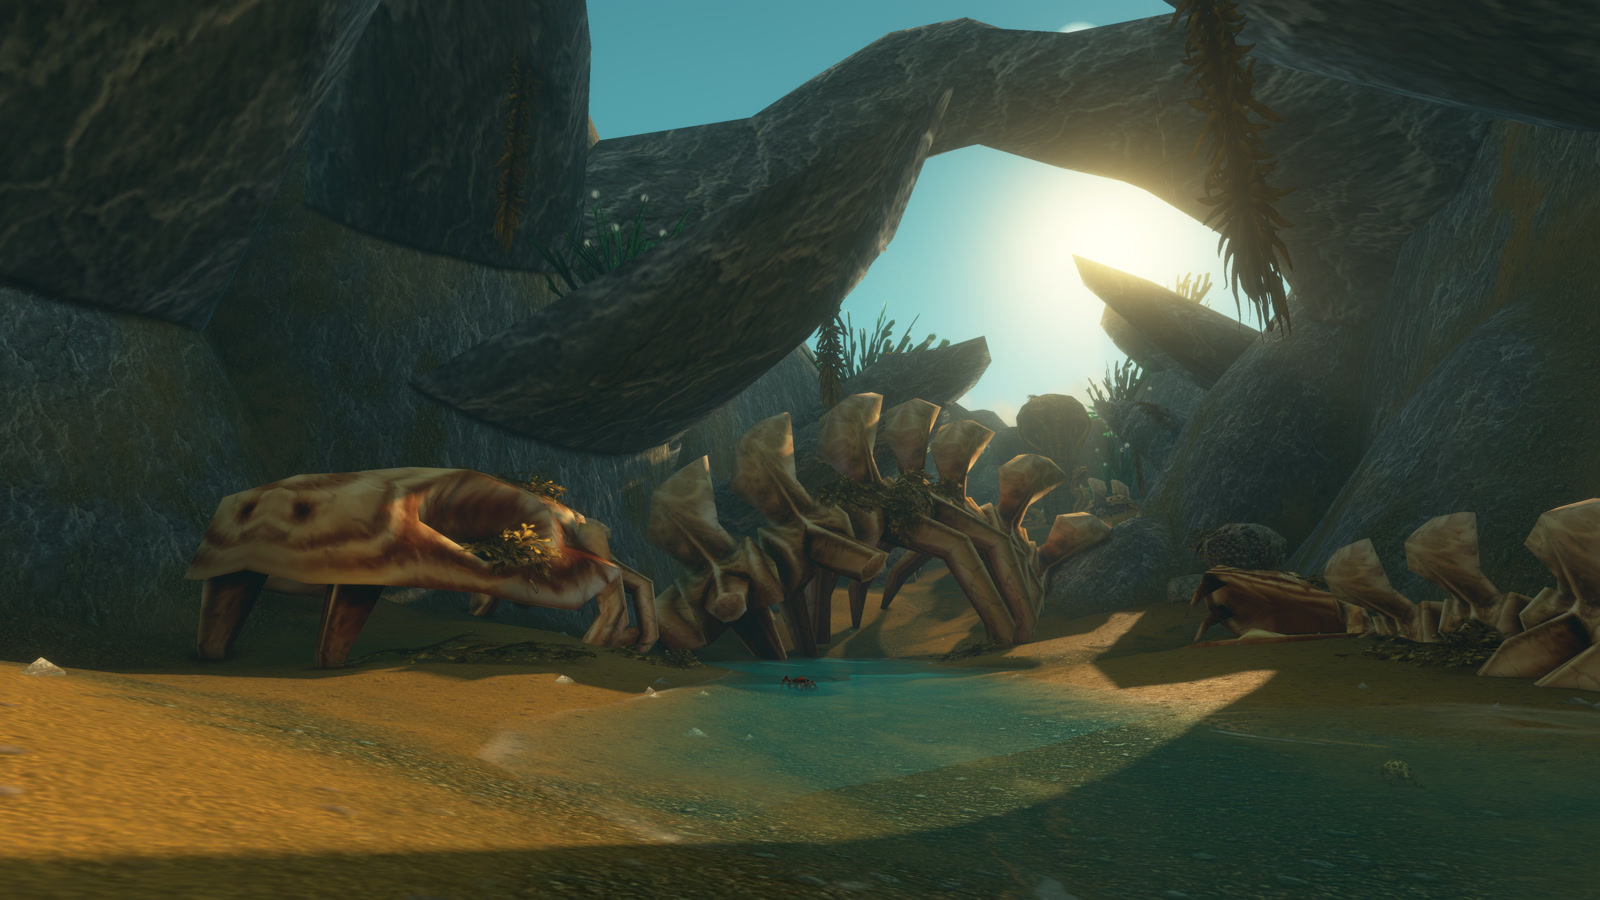
- Swim into the underwater cavern beside the large stonework and crab remains. Stay together so nobody loses the group in the low-visibility water.
- Regroup at the portal, restore breath and confirm every quest before zoning in.
Common mistake: Searching the island surface. The instance approach is underwater; dive before circling the coastline again.
Stage 2 of 8
Clear the Outer Ruins and Defeat Zul’Alai
The first section teaches the pull size the rest of the dungeon expects.
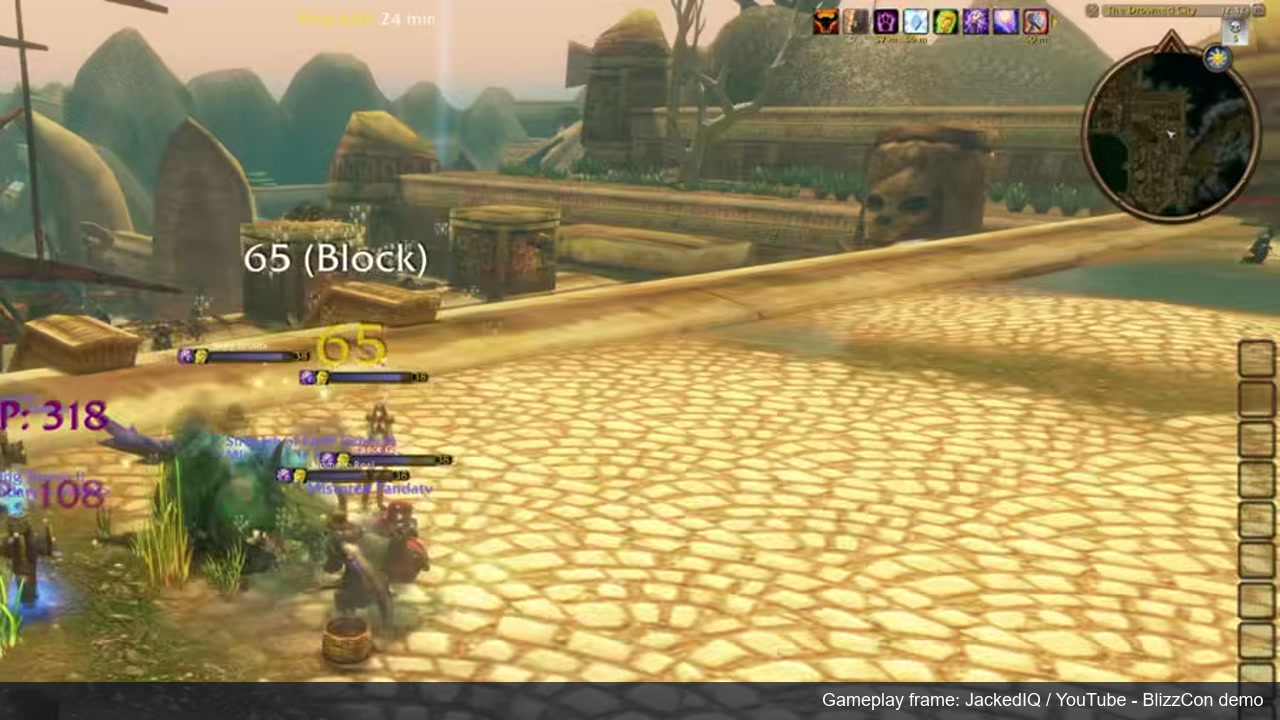
- Pull Makrura Snappers and Chasm Crawlers in small groups. Let Sunder Armor and Muscle Tear fade before the next pack if the tank is taking heavy damage.
- Against Risen Sentries and Profane Necros, stack the party away from extra enemies and kill the Necro before it can create more Drowned Spirits.
- Clear Zul’Alai’s full fighting space, then tank the boss away from the party.
- Keep tank and healer cooldowns for the final 30 percent. Public encounter notes report a heavy physical pattern, Monstrous Slam and a dangerous low-health enrage.
Common mistake: Spending every major cooldown on the pull. Zul’Alai becomes most dangerous near death, so the group needs its strongest defensive and damage tools for the finish.
Stage 3 of 8
Defeat Var’Taka and Activate the First Pearl
Control the two priestesses before their healing turns the encounter into a long mana fight.
- Clear the patrols on both sides of the naga arena before engaging Var’Taka.
- Crowd-control one Brinescale Priestess and focus the other, or kill both quickly. Interrupt healing first and Frostbolt second.
- The tank faces Var’Taka away from the party for Arcing Smash or Cleave. Ranged players stay spread enough that Harpoon does not pull someone through another player or pack.
- After the kill, interact with the Glowing Pearl to disrupt the first barrier and verify The Only Good Brinescale… where applicable.
Common mistake: Leaving both priestesses active while attacking Var’Taka. Their heals extend the encounter and the extra Frostbolts overwhelm the tank or healer.
Stage 4 of 8
Captain Dreadrise and the Second Pearl
The pirate encounter is won by freeing bubbled players and preventing party-wide spell damage.
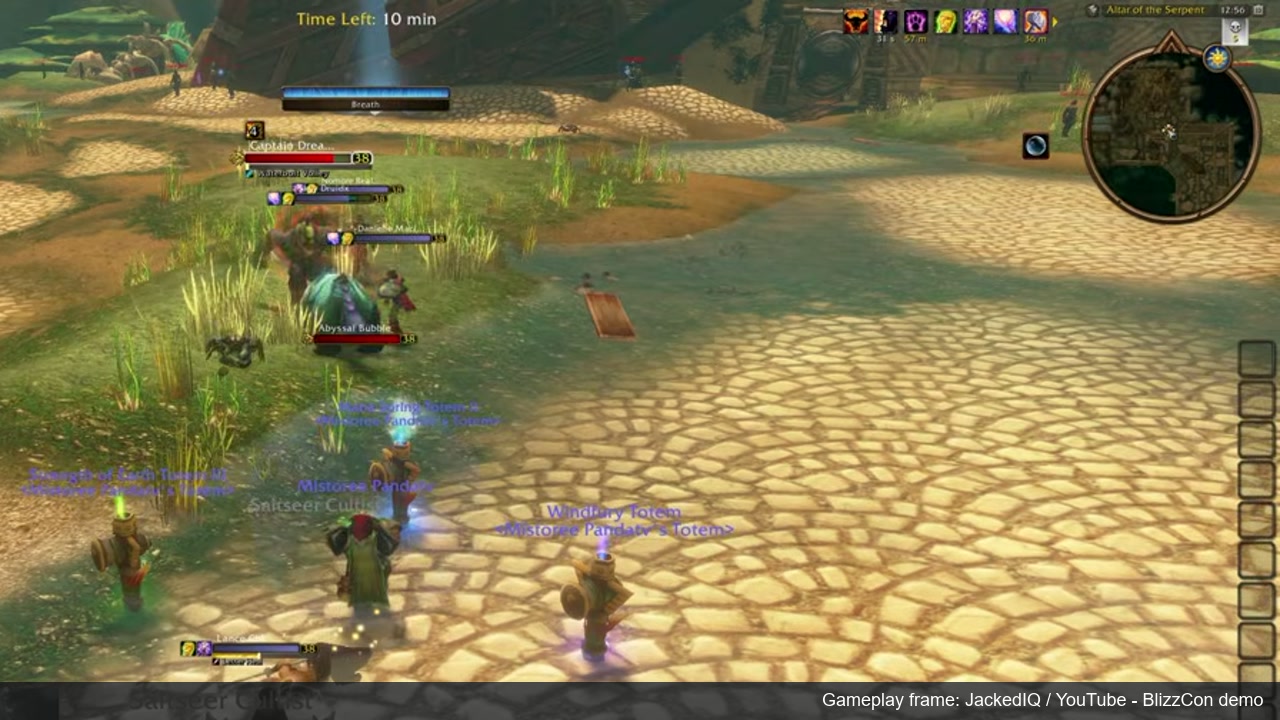
- Clear the entire pirate arena and wait for patrols. Dreadrise moves enough that an uncleared edge can join the fight.
- Interrupt Waterbolt Volley whenever possible; it damages the whole group and quickly consumes healer mana.
- When Embrine traps a player in an Abyssal Bubble, every available damage dealer switches to the bubble until it breaks.
- After Captain Dreadrise dies, activate the second Glowing Pearl before moving deeper into the ruins.
Common mistake: Continuing to attack the boss while a party member is bubbled. The bubble is the immediate priority, even during a strong damage cooldown.
Stage 5 of 8
Survive the Deathless Guardians
This encounter combines the main target with repeated Deathless Guard and Sorcerer waves.
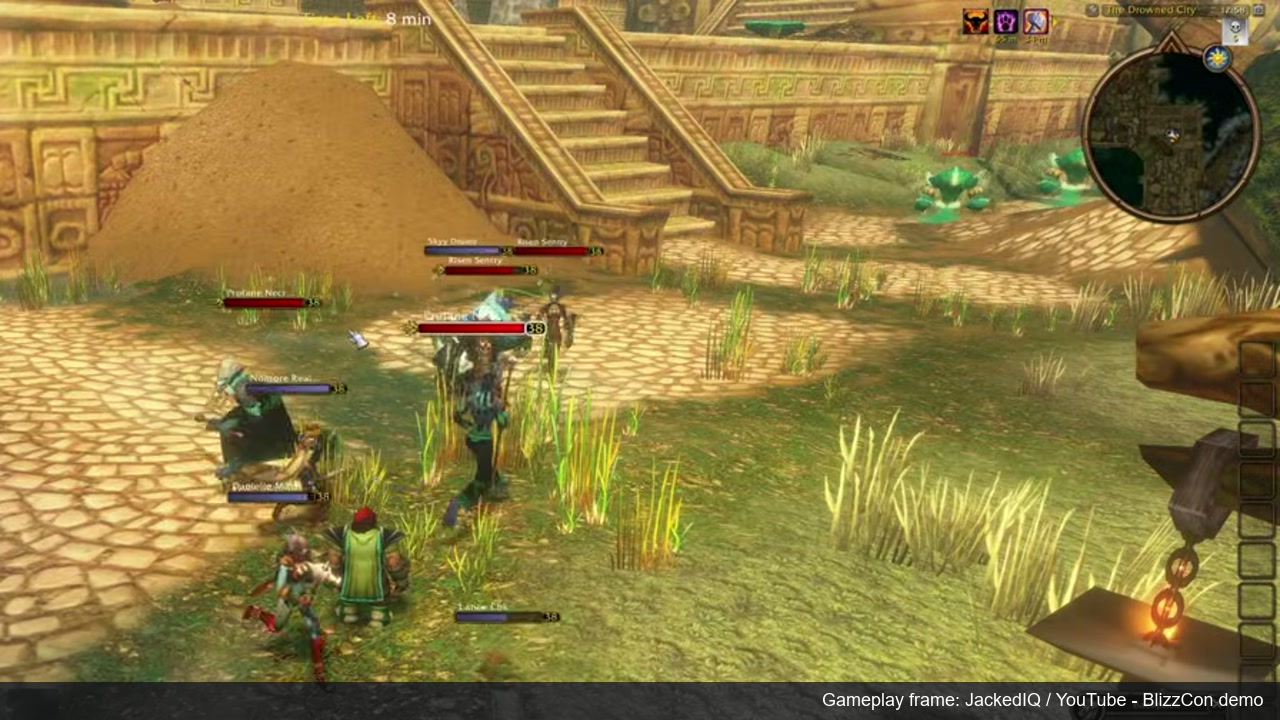
- Clear nearby Profane Necros and Risen Sentries before starting the encounter. A knockback into another pack is usually unrecoverable.
- Tank the main encounter target where incoming adds can be gathered for cleave damage.
- Interrupt Bloodbolt when possible and kill Deathless Sorcerers before melee guards if the caster pressure is high.
- Cleave adds while keeping steady damage on the encounter target; chasing every add individually allows the waves to accumulate.
Common mistake: Fully swapping to every add wave and never returning to the main target. The waves continue until the encounter ends, so balanced cleave is the safer plan.
Stage 6 of 8
Primeval Elemental in the Flooded Depths
Public live records confirm the encounter and order, but a complete ability list is still being documented.
- Finish nearby tablet, idol or artifact interactions before entering the flooded arena so the party does not have to backtrack alone.
- Surface for breath, restore health and mana and assign an add or interrupt priority before activating the encounter.
- Tank the elemental on stable ground when possible and keep ranged players spread with a clear route back to the group.
- React to visible ground effects and summoned enemies first. Do not assume pre-launch names such as Gill or Deathless Marrow represent separate live bosses; the launch journal lists Primeval Elemental here.
Common mistake: Starting the encounter while one player is still underwater or completing an interaction. Regroup on dry footing and pull only when every role is ready.
Stage 7 of 8
Defeat Min’loth the Serpent
The final encounter has two full health bars and changes from troll form to serpent form.
- Clear the final arena and enter with full mana, cooldowns and poison removal available.
- In troll form, keep the tank healthy through Drench and interrupt or heal through the channelled party damage from Deluge.
- At zero health, Min’loth transforms and returns to full health. Do not treat the first health bar as the end of the fight.
- In serpent form, remove the party-wide poison quickly and keep feared players away from uncleared edges. Use remaining damage cooldowns to shorten this second phase.
Common mistake: Emptying the healer’s mana on the first health bar. The serpent phase begins immediately with a fresh boss health bar and more dangerous control effects.
Stage 8 of 8
Complete the Final Quest and Loot Check
Stay inside until every player confirms the dungeon objectives that were available to their faction.
- Loot Min’loth and any nearby quest object before leaving the final arena.
- Horde players verify Var’Taka, the Ancient Gurubashi Idol and all four I’lalai tablet rubbings.
- Alliance players compare every accepted Drowned City quest against the log and check for any remaining artifact or water objective.
- Use the map and route anchors to backtrack as a group if one interaction is missing. Do not send a single player through respawned patrols.
Common mistake: Leaving as soon as Min’loth dies. Boss credit does not prove that every tablet, idol or faction quest item was collected.
The Drowned City Dungeon FAQ
What level is The Drowned City in WoW Forever?
Blizzard lists The Drowned City for levels 35-40. A balanced level 37 or higher group has more room for error on the tank-heavy pulls and two-phase final boss.
Where is The Drowned City entrance?
The entrance is underwater west of Stranglethorn Vale and Grom’gol. Dive toward Sunken Hollow around 21.4, 27.9 and follow the submerged cavern to the portal.
How many bosses are in The Drowned City?
The launch journal lists six in order: Zul’Alai, Var’Taka, Captain Dreadrise, Deathless Guardians, Primeval Elemental and Min’loth the Serpent.
Which The Drowned City quests should Horde players bring?
Current client records include The Only Good Brinescale…, Ancient Gurubashi Idol and The Drowned City. Keep the hide and charcoal required for the four I’lalai tablet rubbings.
What do the Glowing Pearls do?
Interact with a Glowing Pearl after Var’Taka and another after Captain Dreadrise. They disrupt barriers that block the deeper route.
How do I free a player from Embrine?
Captain Dreadrise traps a player in an Abyssal Bubble. Damage dealers should immediately switch to the bubble and destroy it before the player drowns.
Is Deathless Marrow a separate boss?
Not in the current launch journal. Earlier guides used Deathless Marrow for part of the encounter, but the live six-boss list names Deathless Guardians followed by Primeval Elemental.
Why does Min’loth return to full health?
That is the intended phase change. After the troll form reaches zero, Min’loth becomes a serpent and begins a second full health bar with Fear and party-wide poison.