
Dark Side, Rabbit Ridge, is a Super Mario Odyssey kingdom with 24 Power Moons to collect. This guide uses a practical checklist format with route notes, tips and visual references for every moon.
Quick Overview
| Game | Super Mario Odyssey |
|---|---|
| Kingdom | Dark Side – Rabbit Ridge |
| Total Power Moons | 24 |
| Main Mechanics | Broodal rematches, Yoshi routes, challenge rooms, shop moon, picture art and post-game cleanup |
| Best Route | Clear the story path first, then sweep nearby side areas, challenge rooms, NPC moons, races, shop moons and Moon Rock cleanup when they become available. |
Dark Side Power Moon Guide: All 24 Moons
Use the cards below as your full checklist. Each moon includes the core location, what to do, and a practical tip to keep the route clear.


Arrival at Rabbit Ridge!
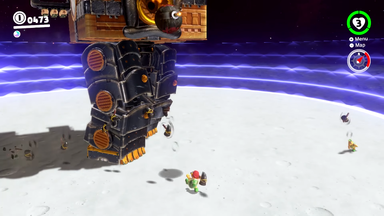
Mario needs to defeat all four of the Broodals and then defeat RoboBrood at the top of the kingdom to obtain a Multi Moon. Check the nearby ledges, walls, NPCs and alternate paths before leaving this part of Dark Side, because many moons sit just off the main route.

Captain Toad on the Dark Side!
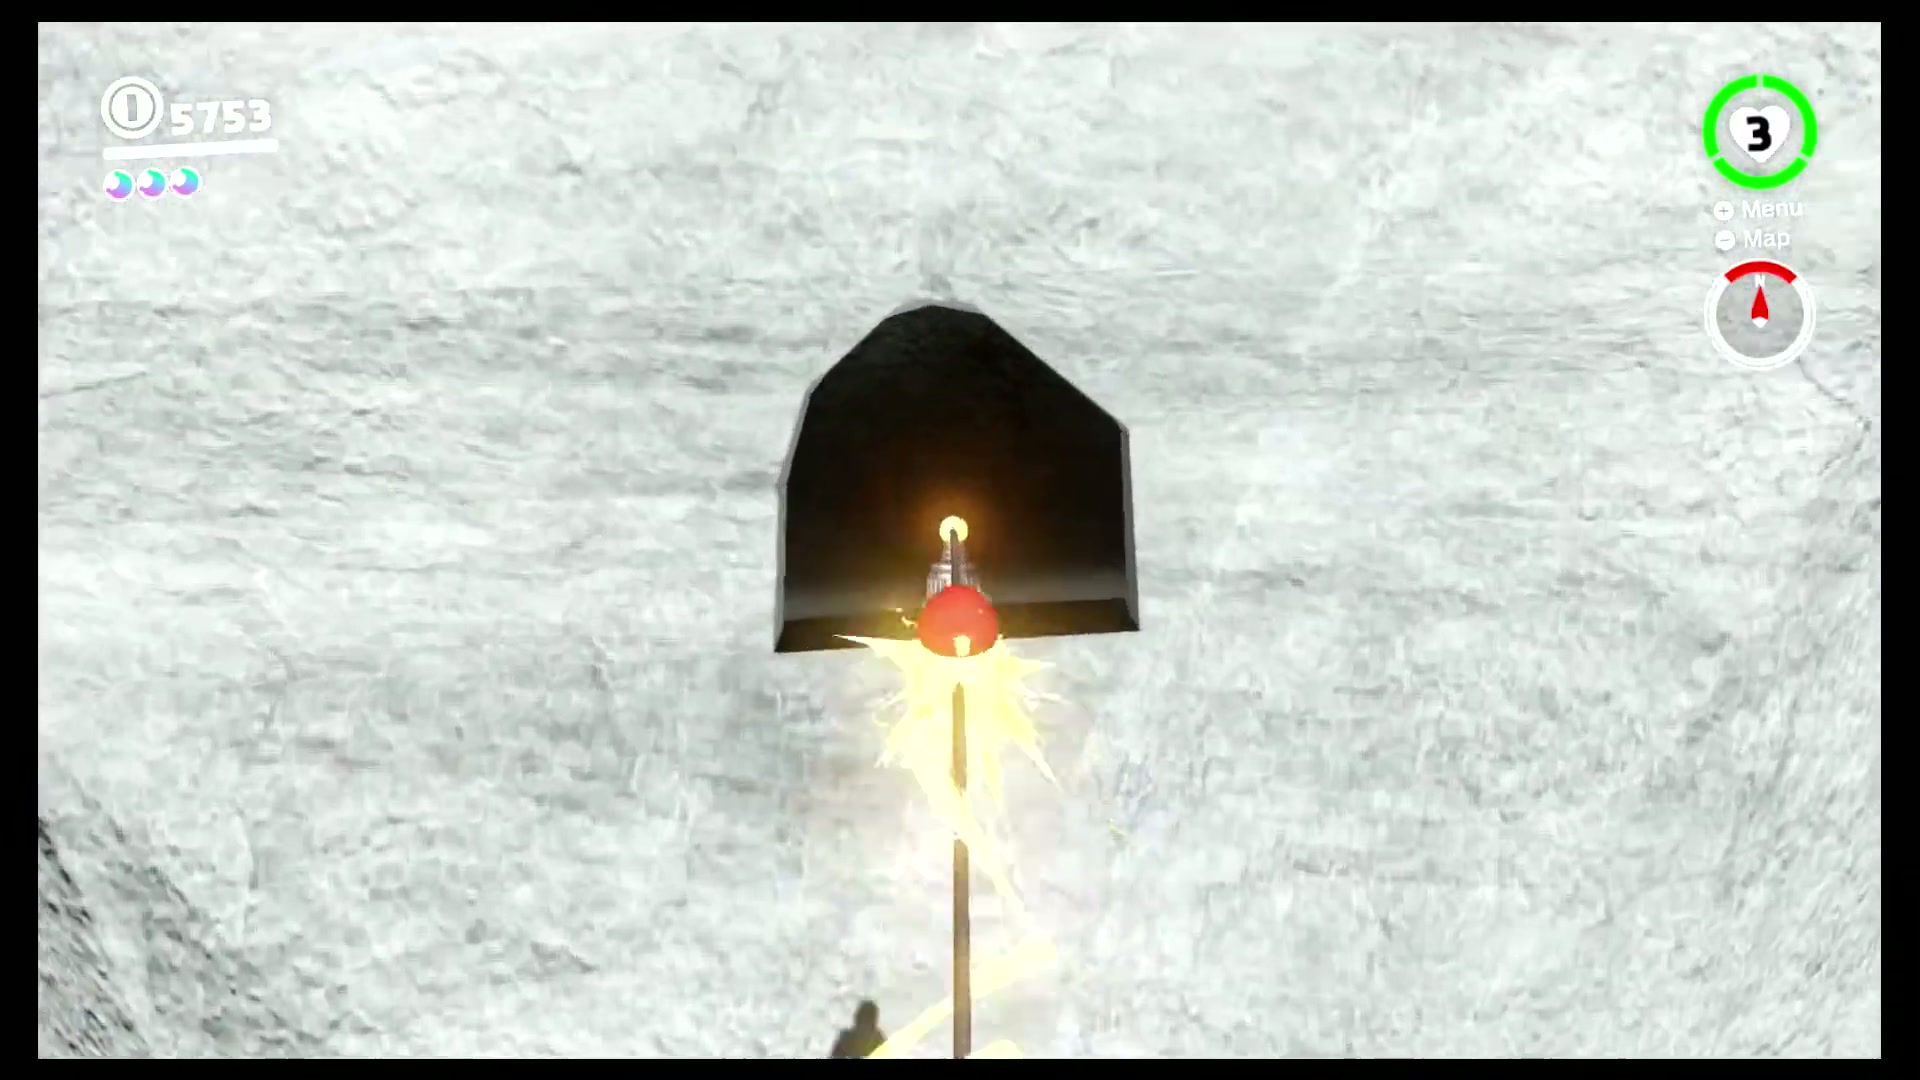
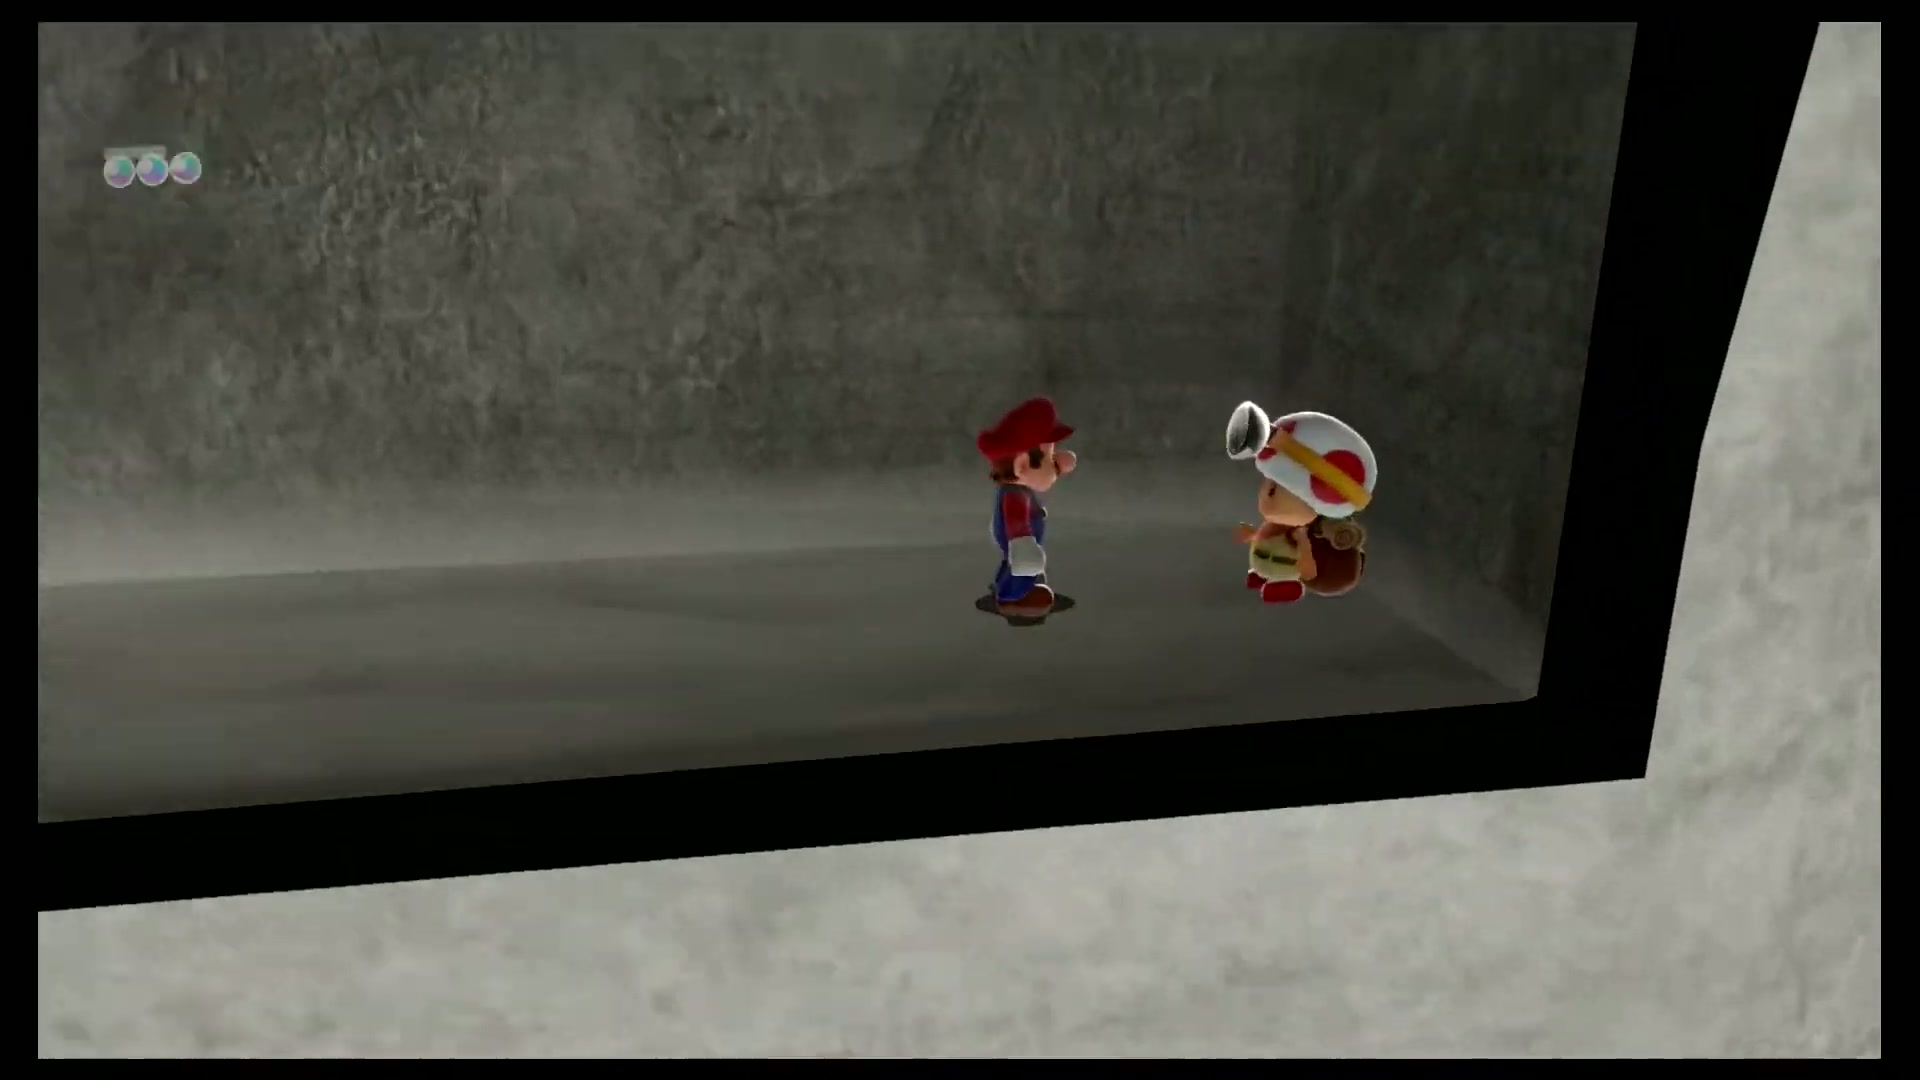
Before you enters the Warp Pipe to the RoboBrood fight, they can find Captain Toad in a hidden alcove to the right of the pipe. After being spoken to, Captain Toad will reward Mario with the moon.
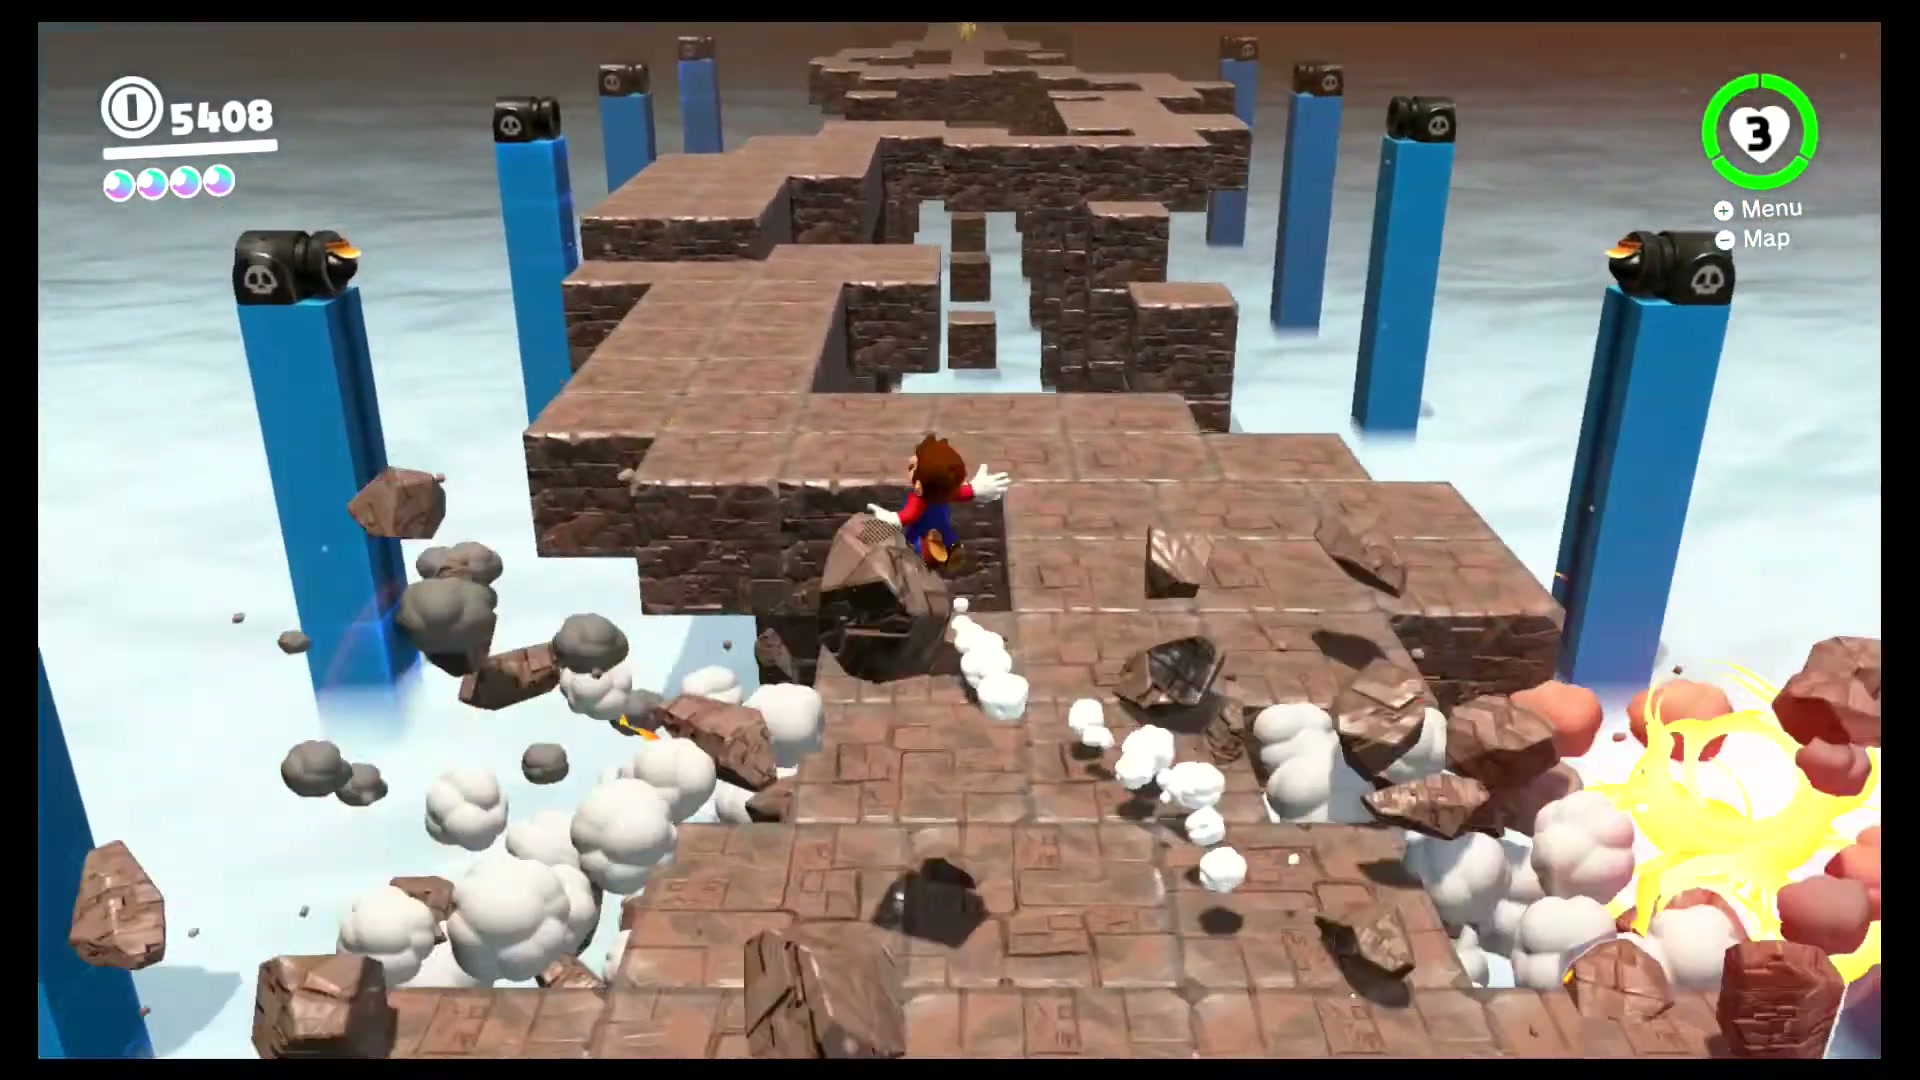

Breakdown Road: Hurry!
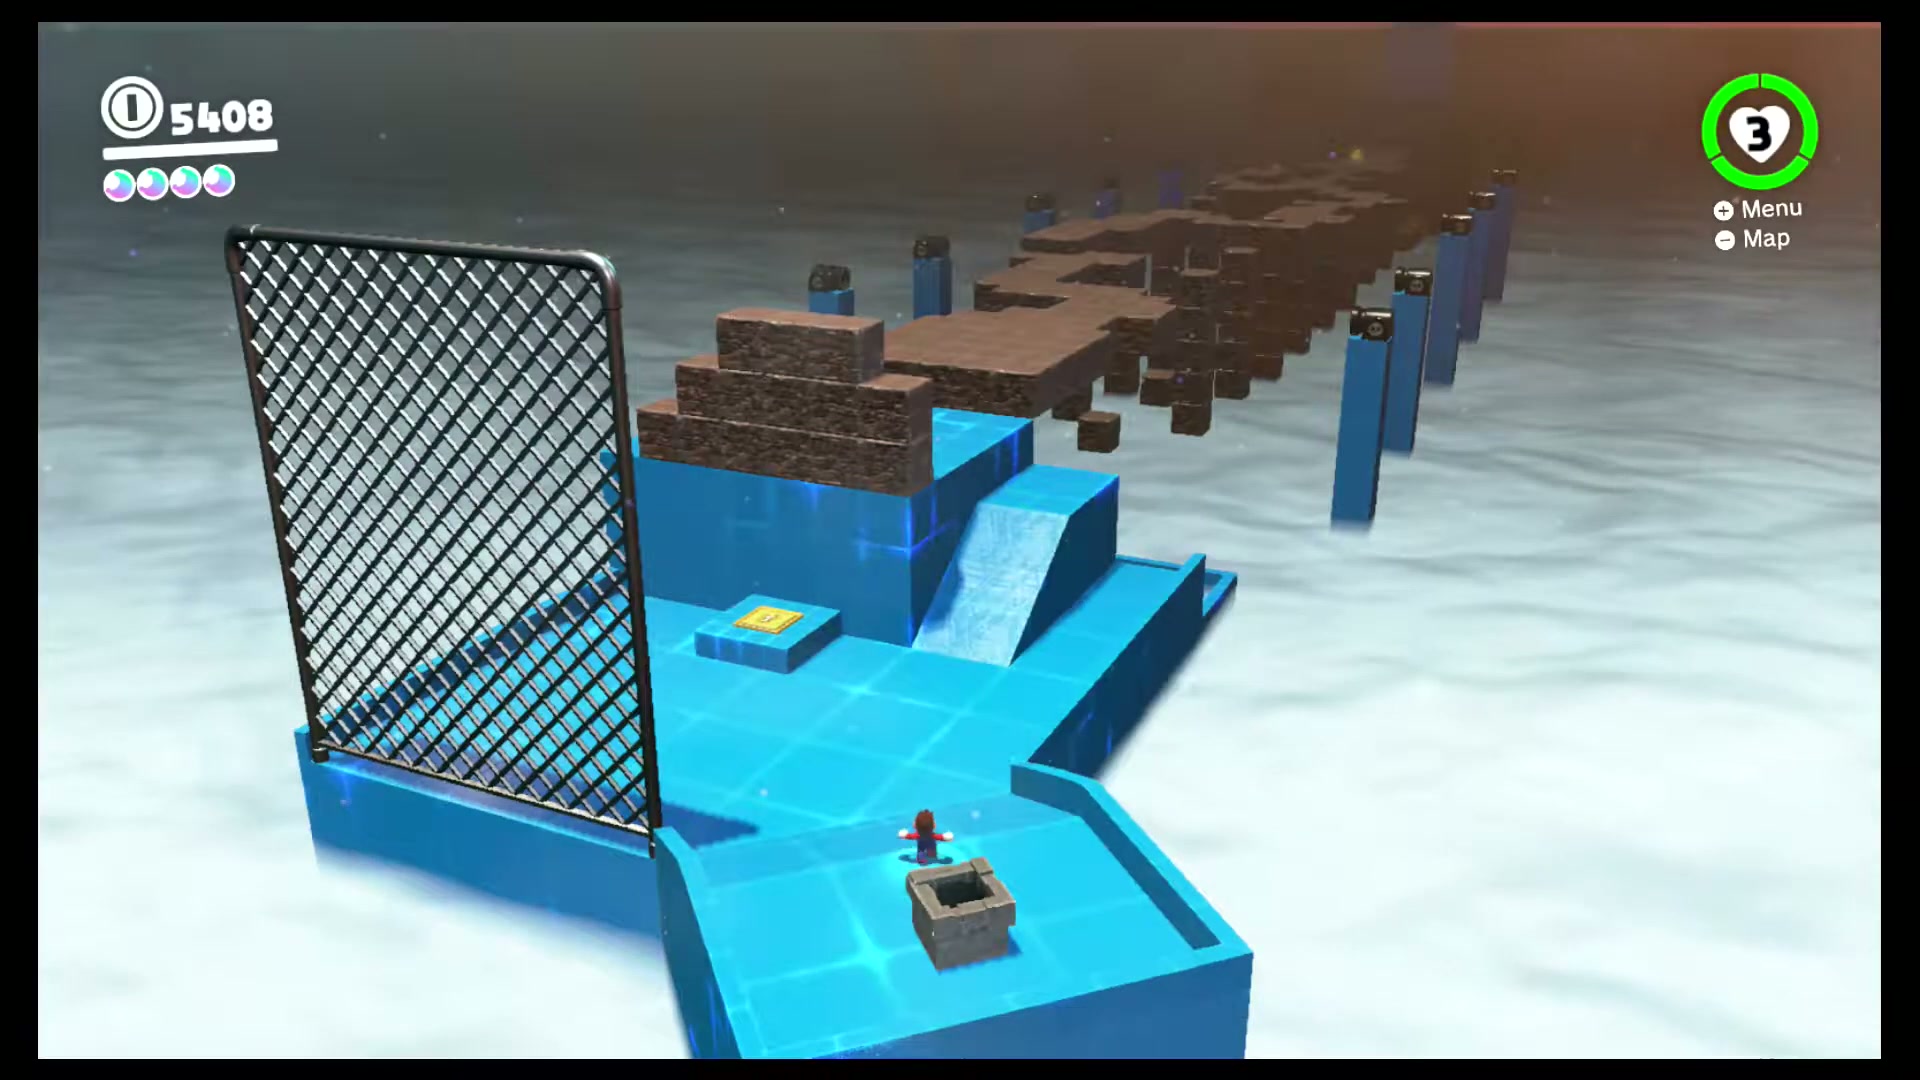
Behind the Odyssey on a lower platform, you can find a door that must be opened with a scarecrow, which leads to a bonus area. In this bonus area, Mario must complete the same objective as the "Down and Back Breakdown Road" moon from the Wooded Kingdom, but you cannot capture any of the Bullet Bills or Banzai Bills. To accommodate the change, the Keyhole Pedestal is in a slightly different location.
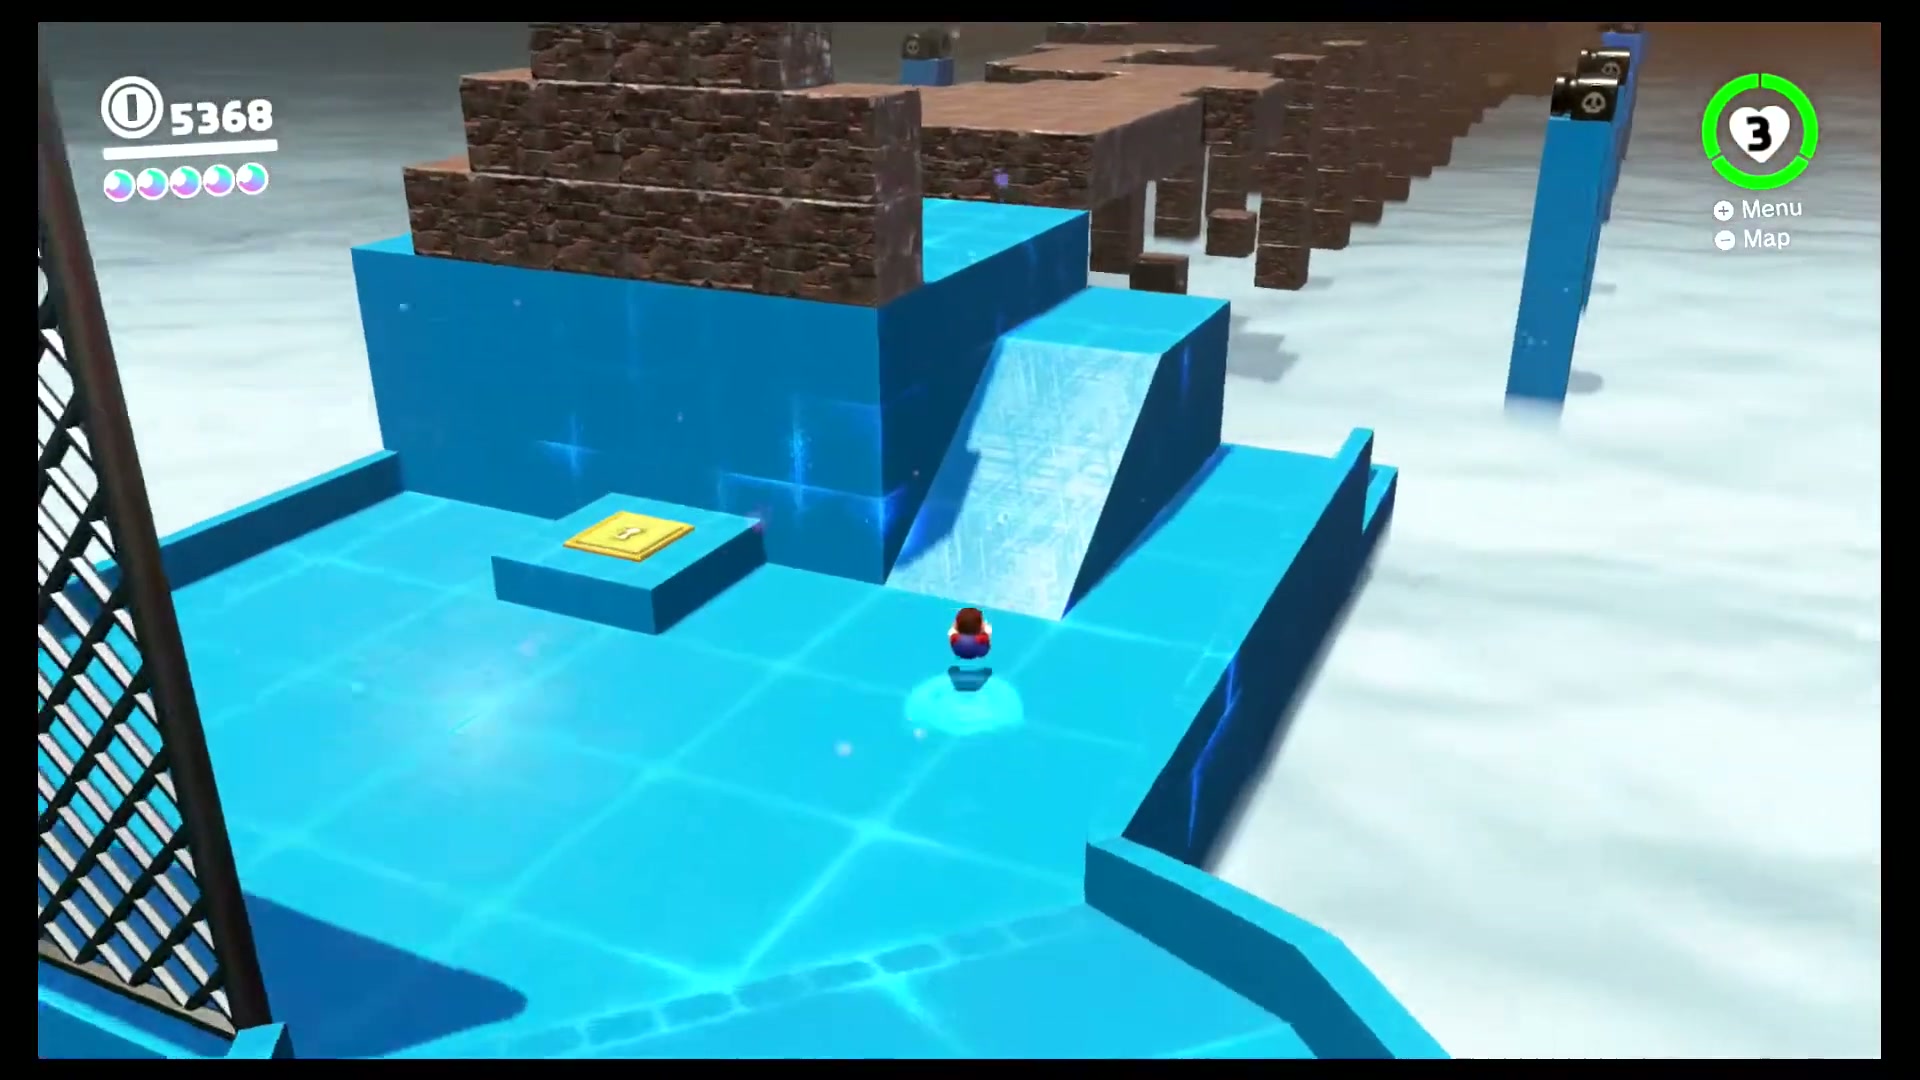


Breakdown Road: Final Challenge!
In the area with the "Breakdown Road: Hurry!" moon, Mario must complete the same objective as the "Below Breakdown Road" moon from the Wooded Kingdom, but you cannot capture any of the Bullet Bills or Banzai Bills. To accommodate the change, new blocks are placed below the path. The only means of breaking the blocks blocking the moon is to lure the Banzai Bill across the road.
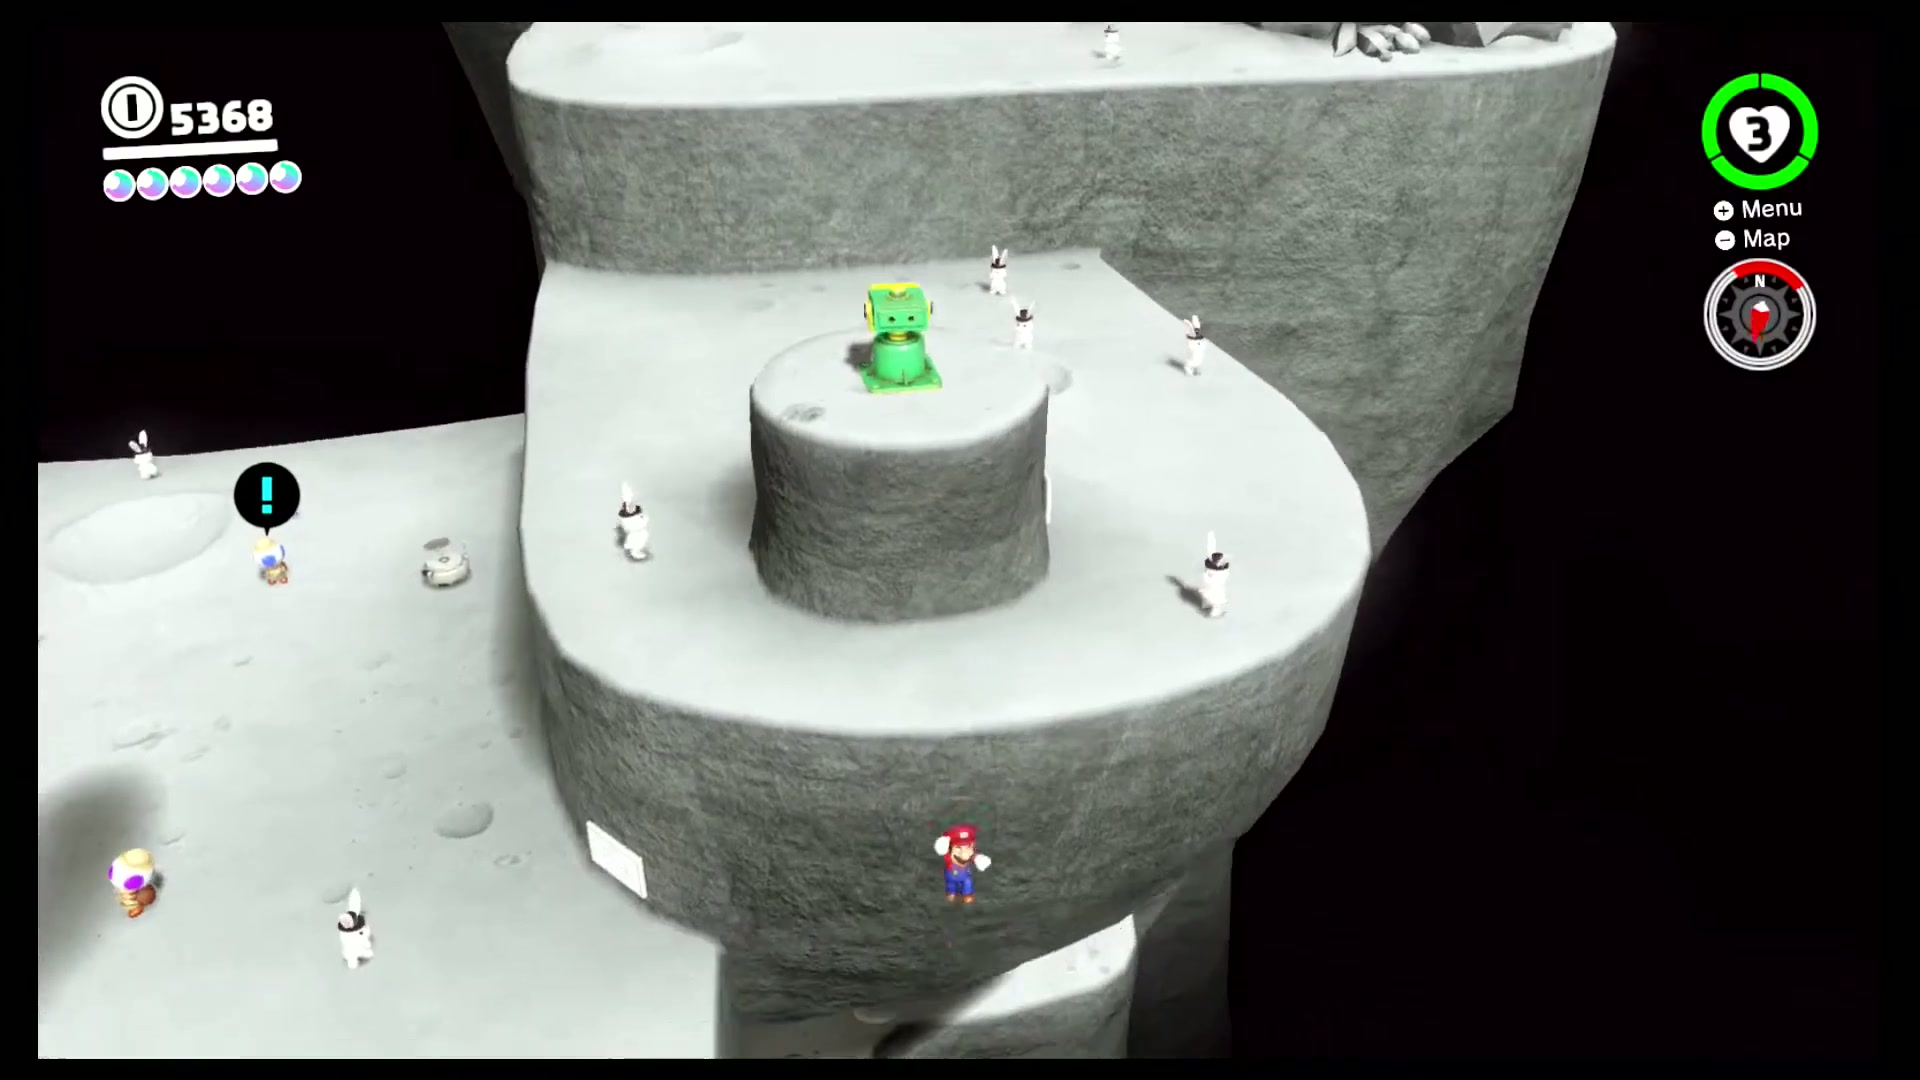
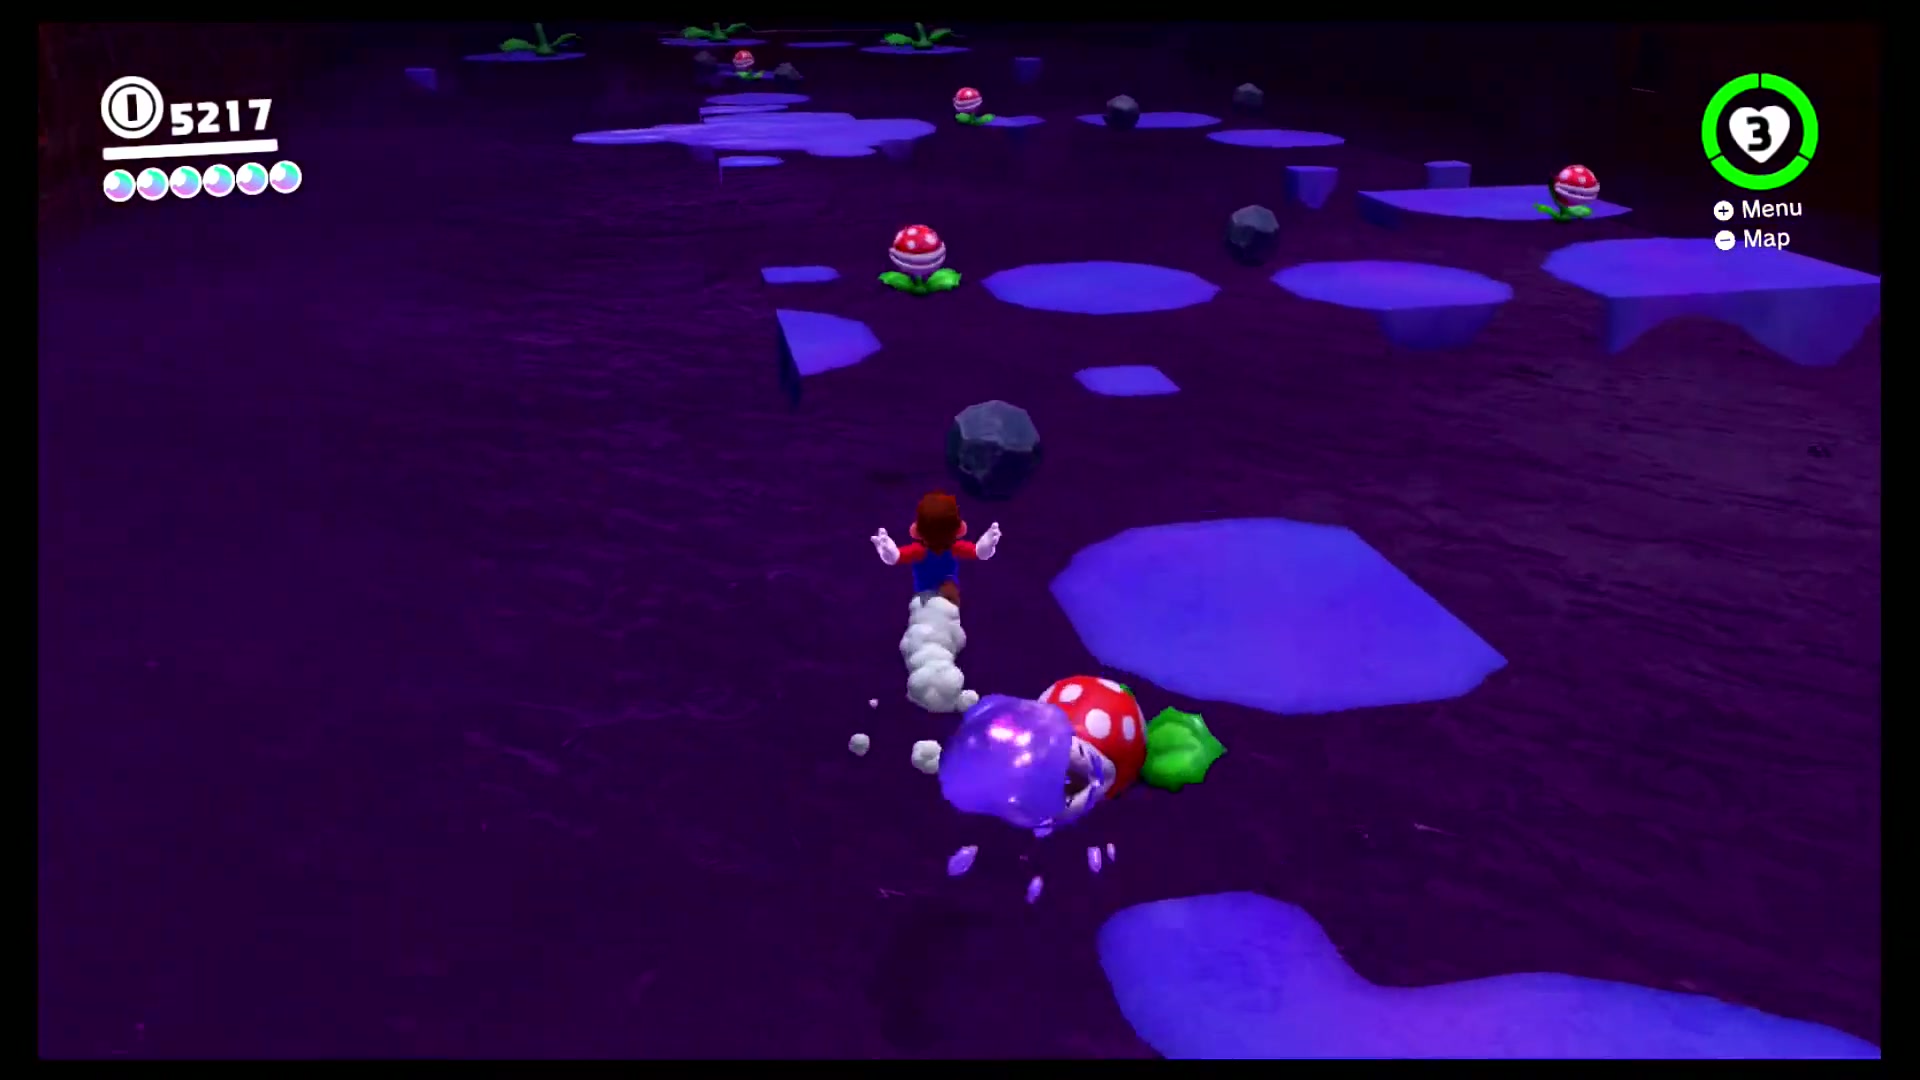
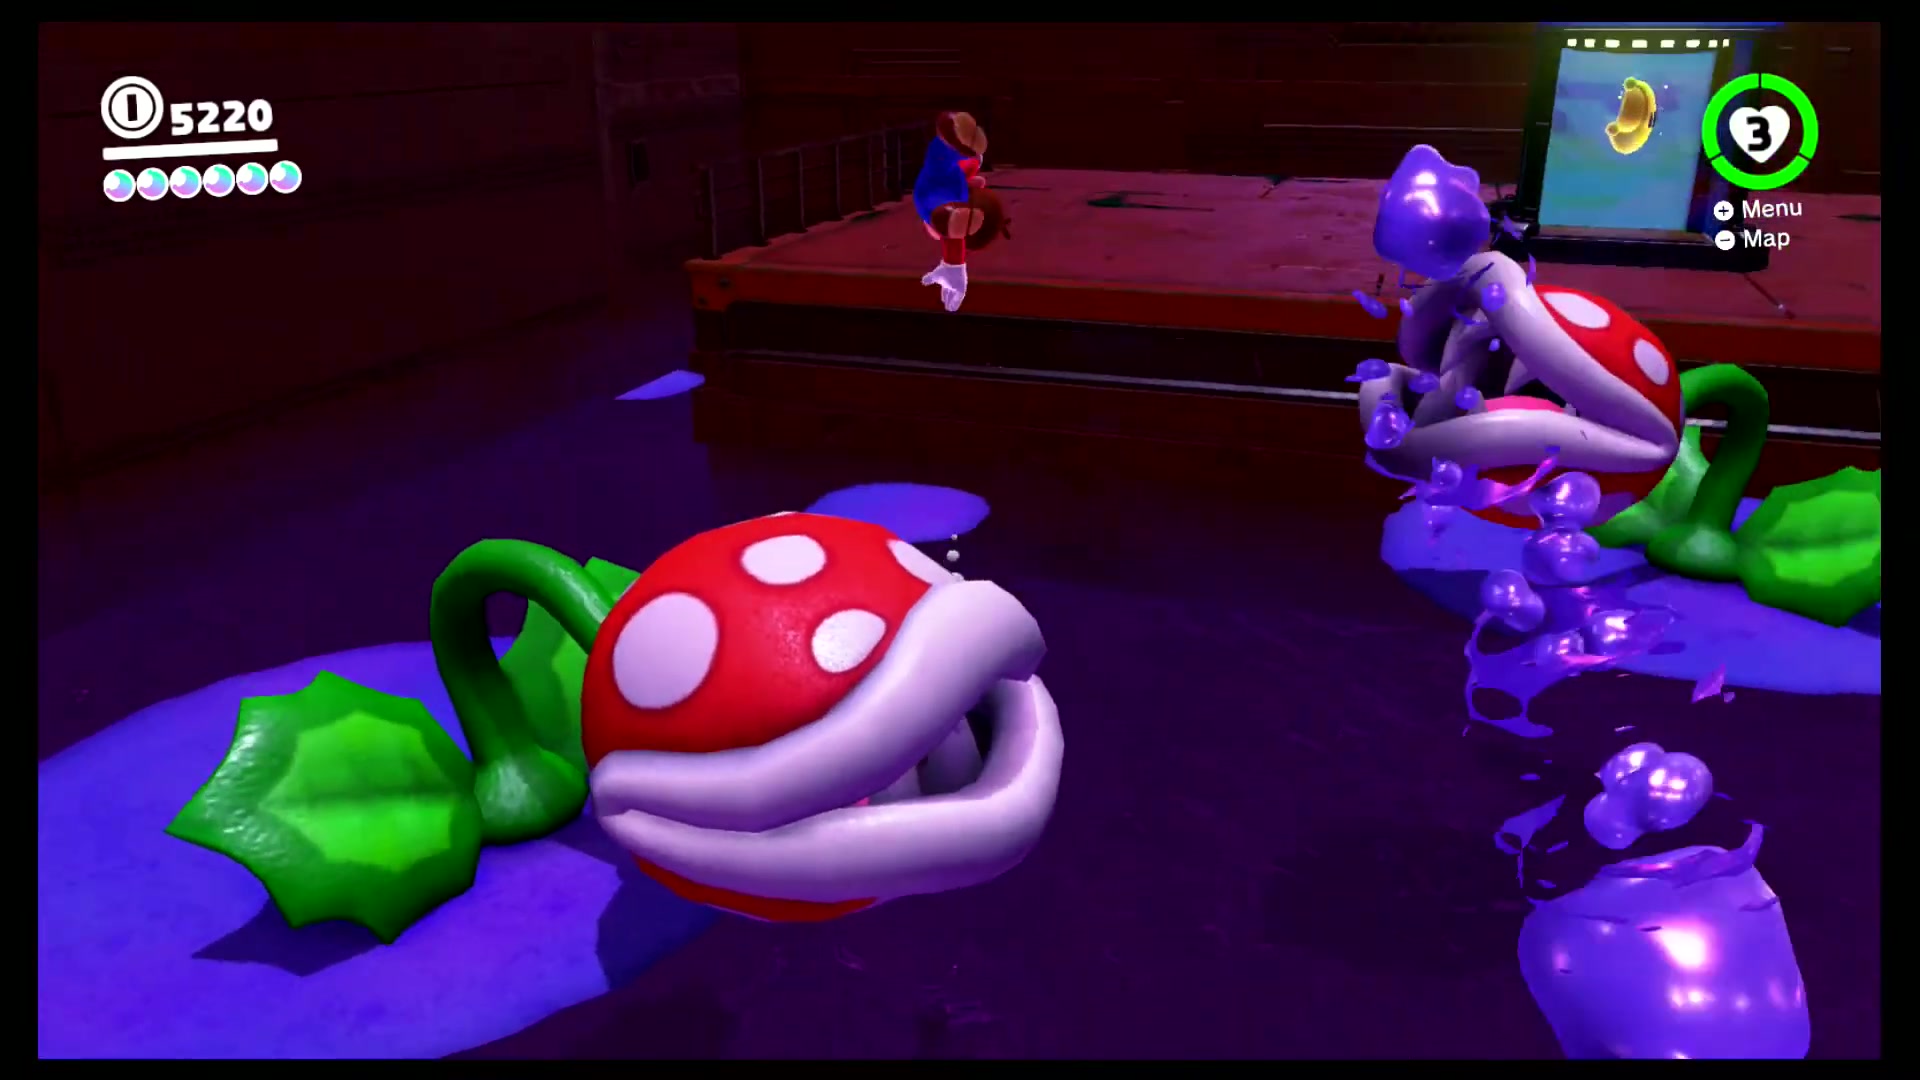
Invisible Road: Rush!
By dropping off to an area below the Binoculars in the main area, you can find a door that must be opened with a scarecrow, which leads to a bonus area. In this bonus area, Mario must complete the same objective as the "Invisible Road: Danger!" moon from the Wooded Kingdom, but Mario does not have Cappy to defeat the Piranha Plants or get rid of the puddles of poisoned water.


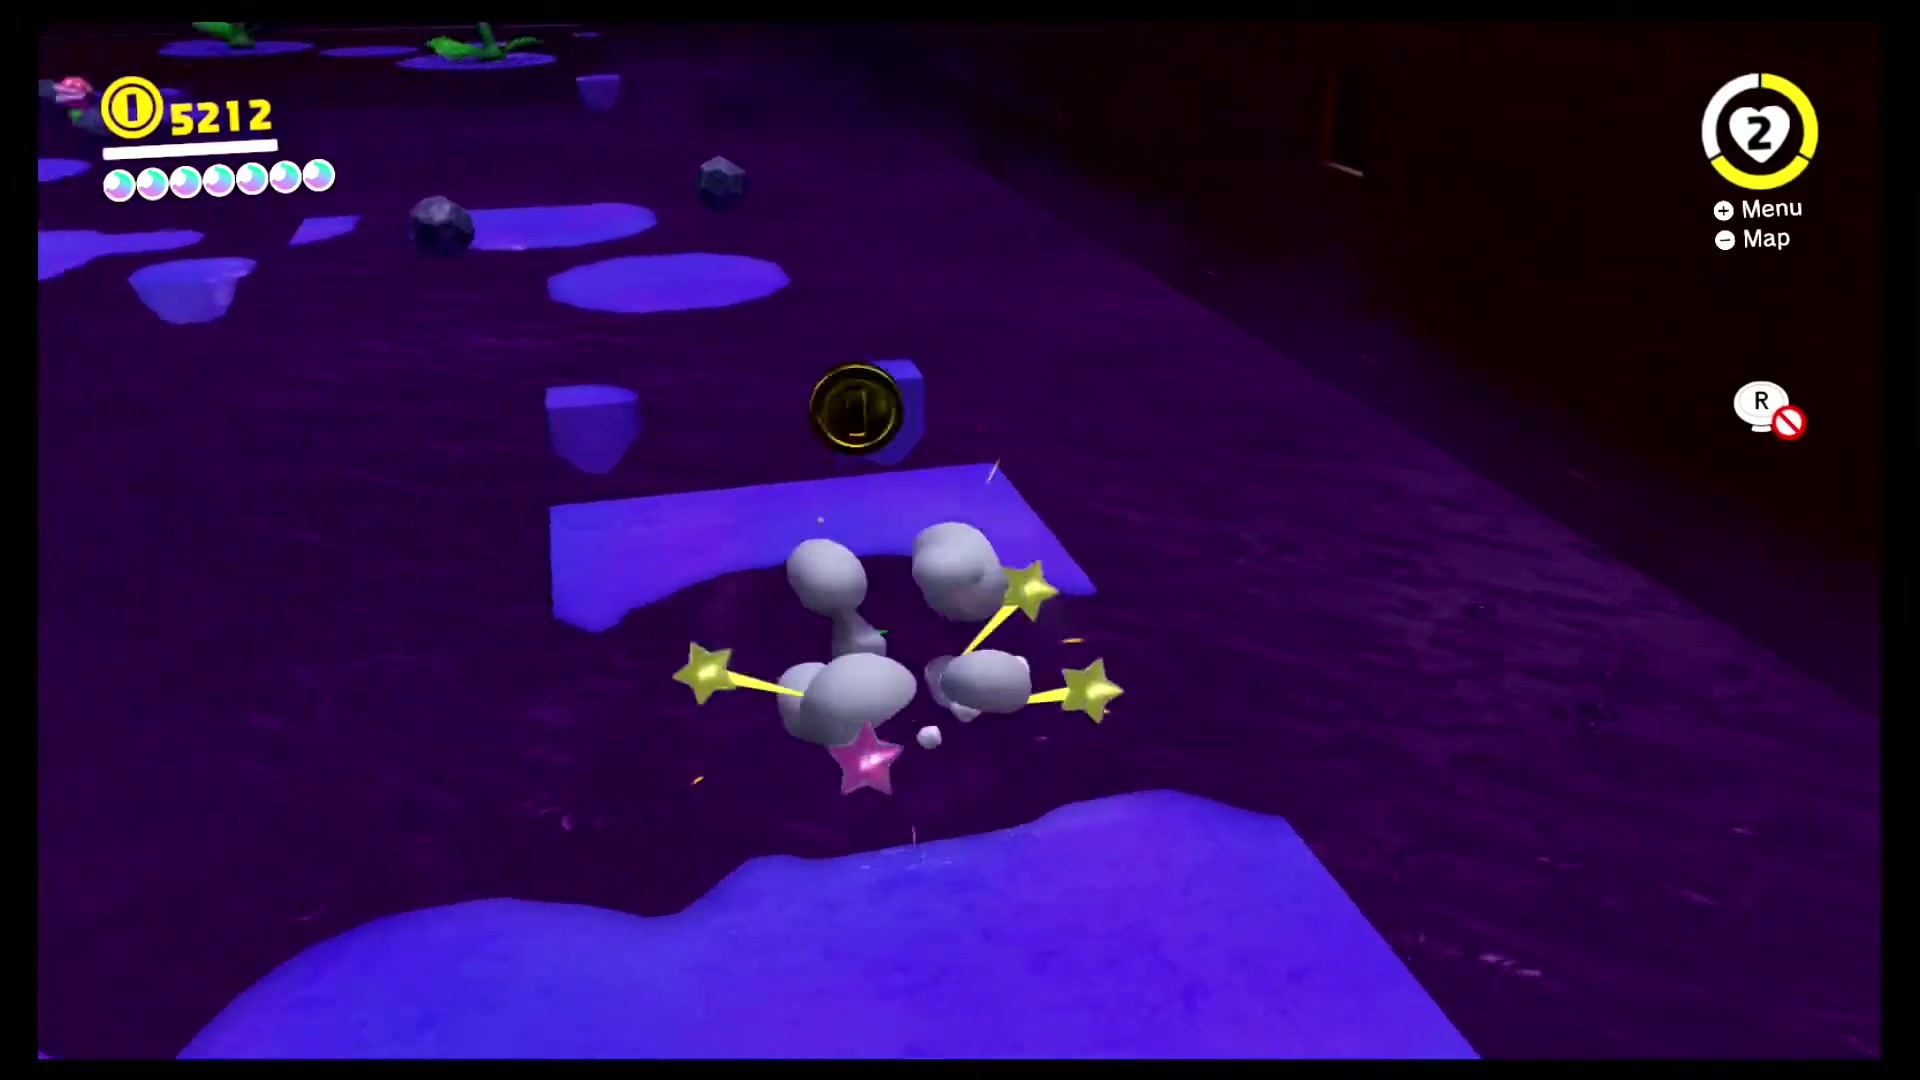
Invisible Road: Secret!
In the area with the "Invisible Road: Rush!" moon, Mario must complete the same objective as the "Invisible Road: Hidden Room" moon from the Wooded Kingdom, but Mario does not have Cappy to defeat the Piranha Plants or get rid of the puddles of poisoned water.
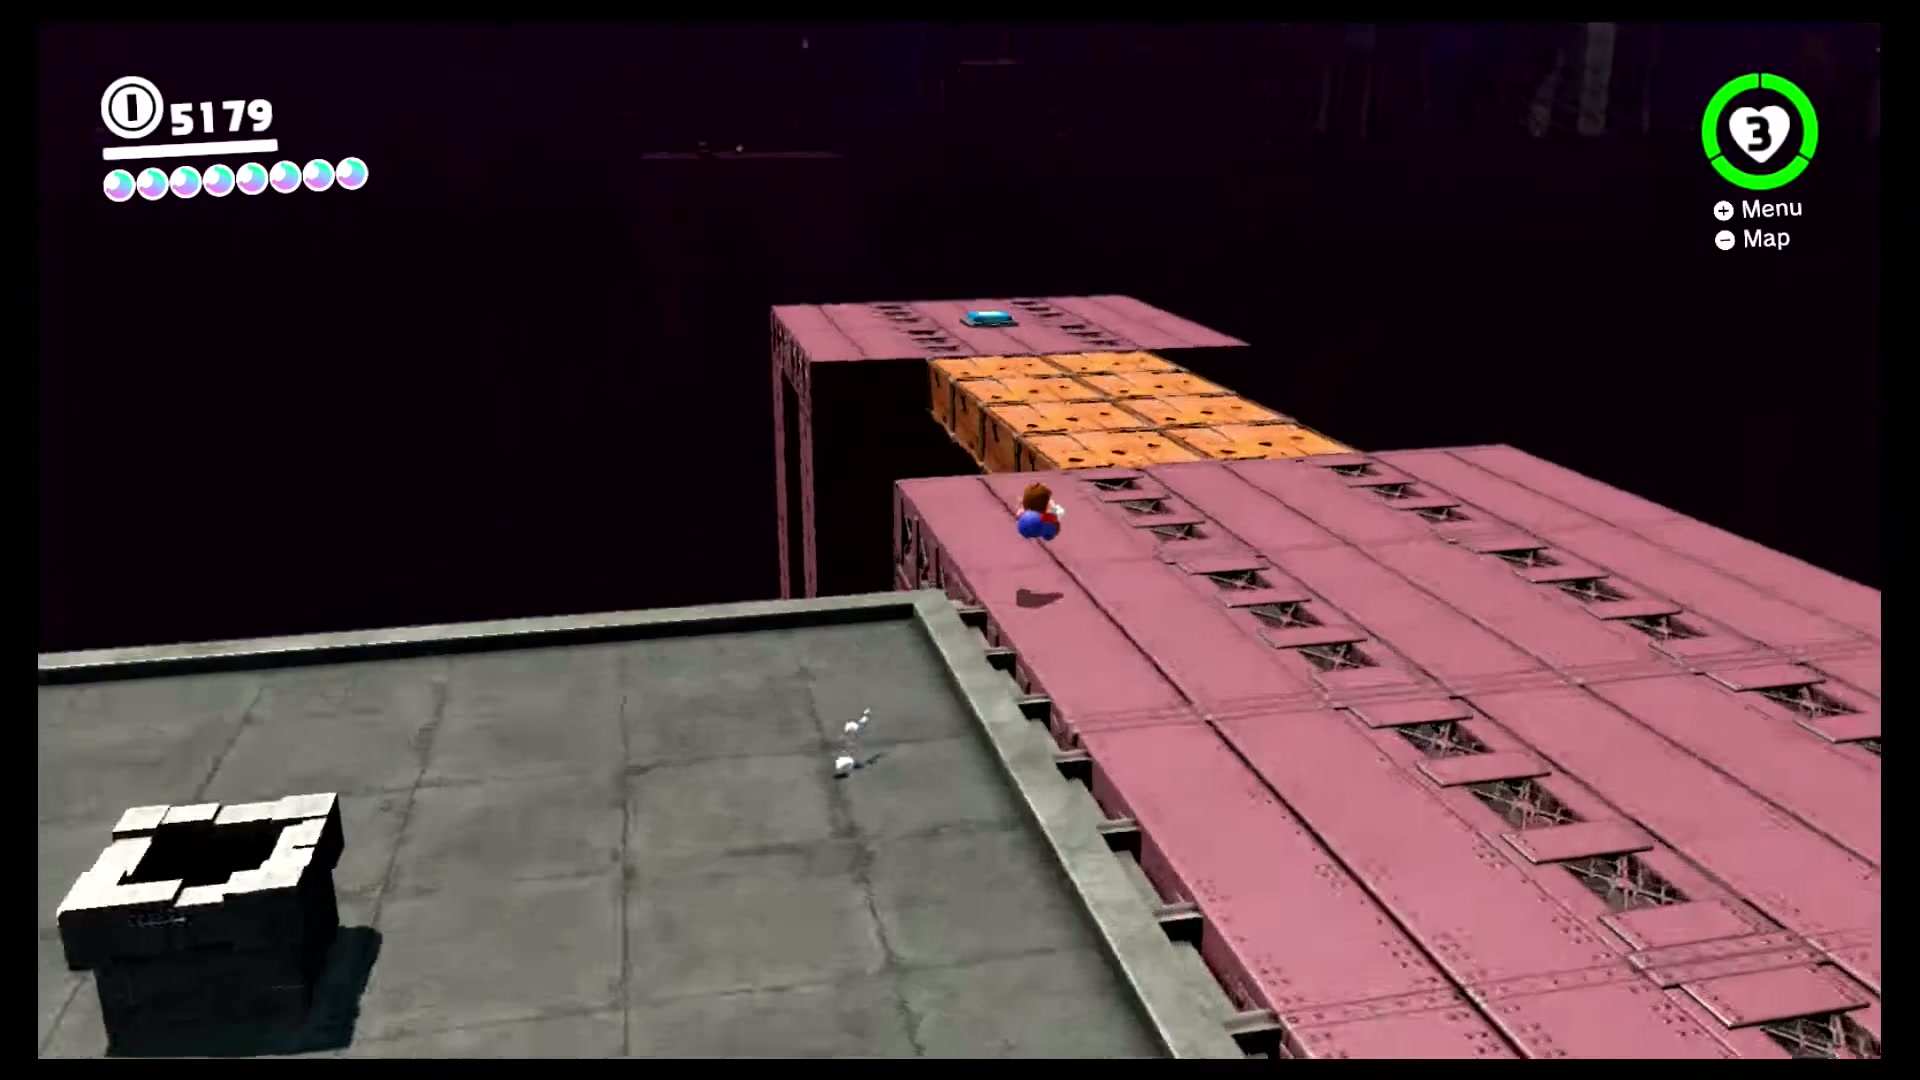
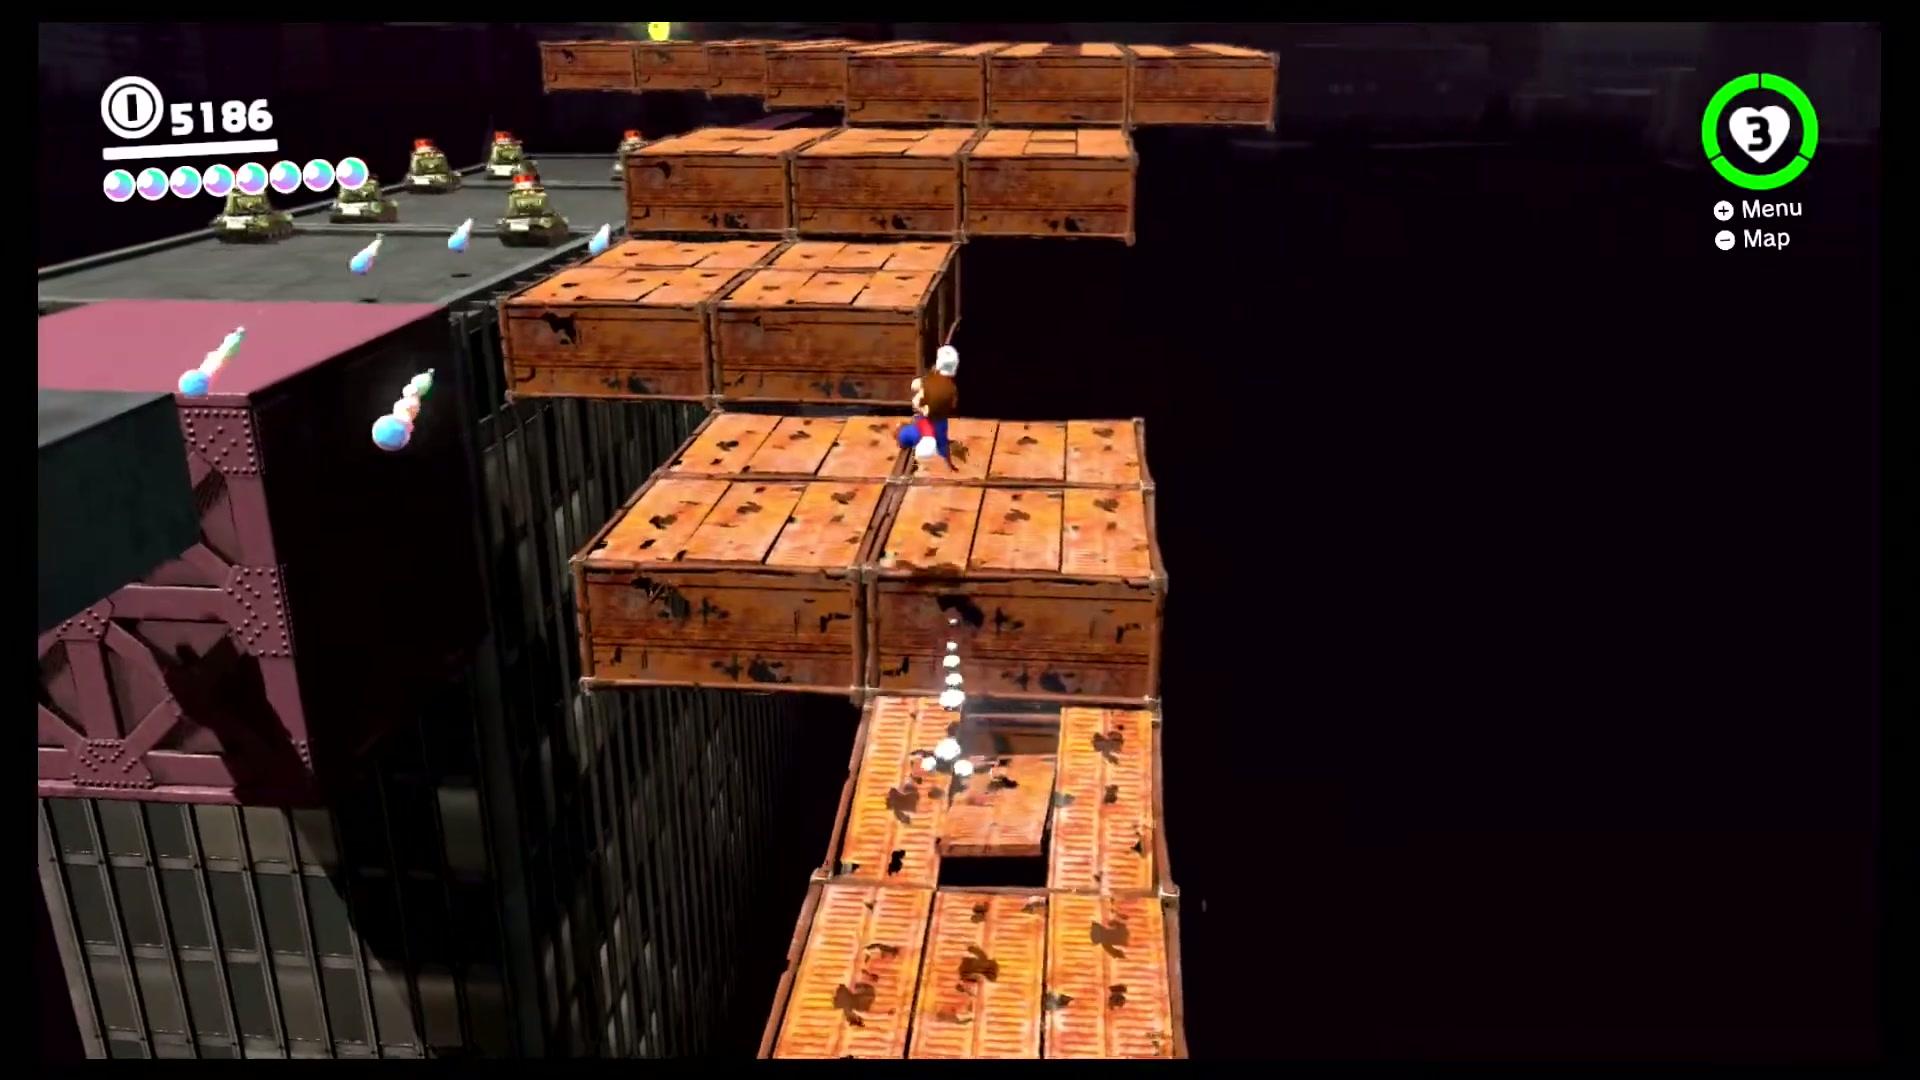
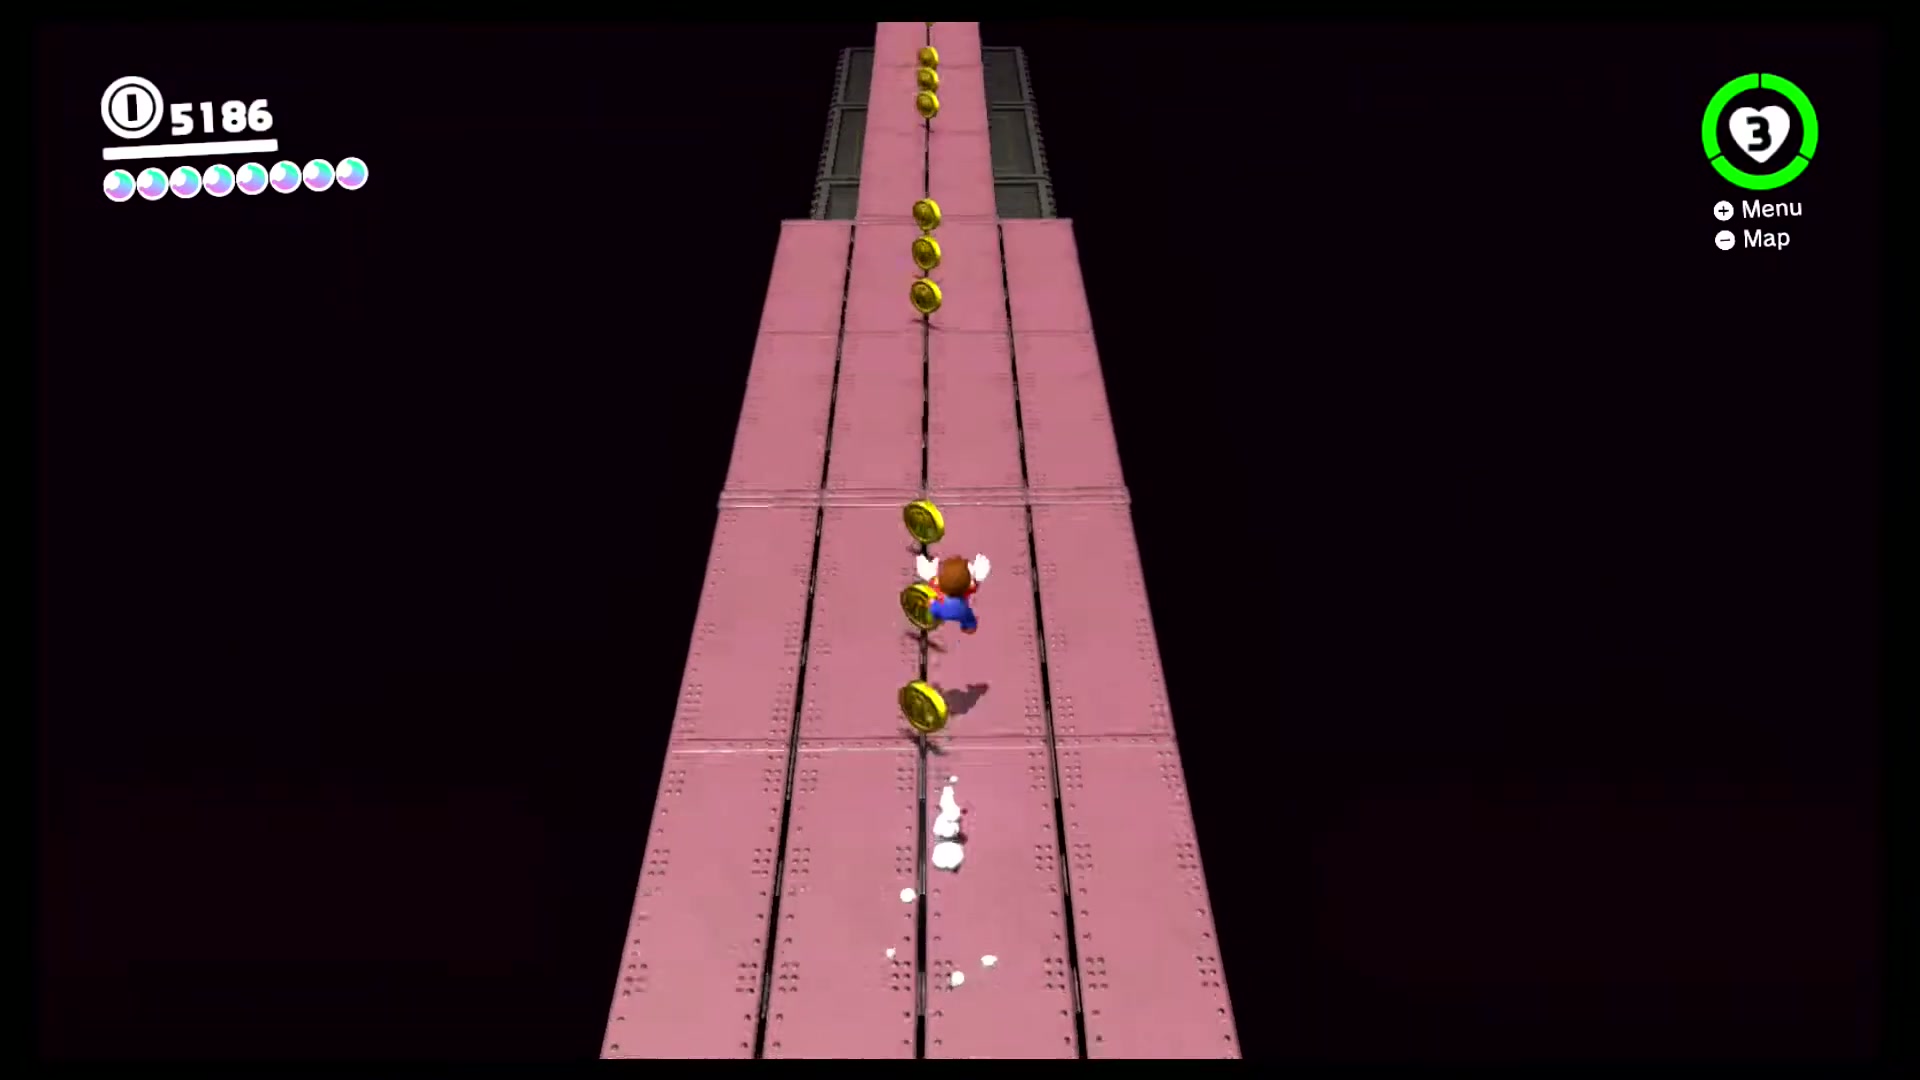
Vanishing Road Rush
In an alcove behind one of the sets of large vegetables, you can find a door that must be opened with a scarecrow, which leads to a bonus area. In this bonus area, Mario must complete the same objective as the "Motor Scooter Daredevil!" moon from the Metro Kingdom, but Mario does not have Cappy or the motor scooters to use for the area.

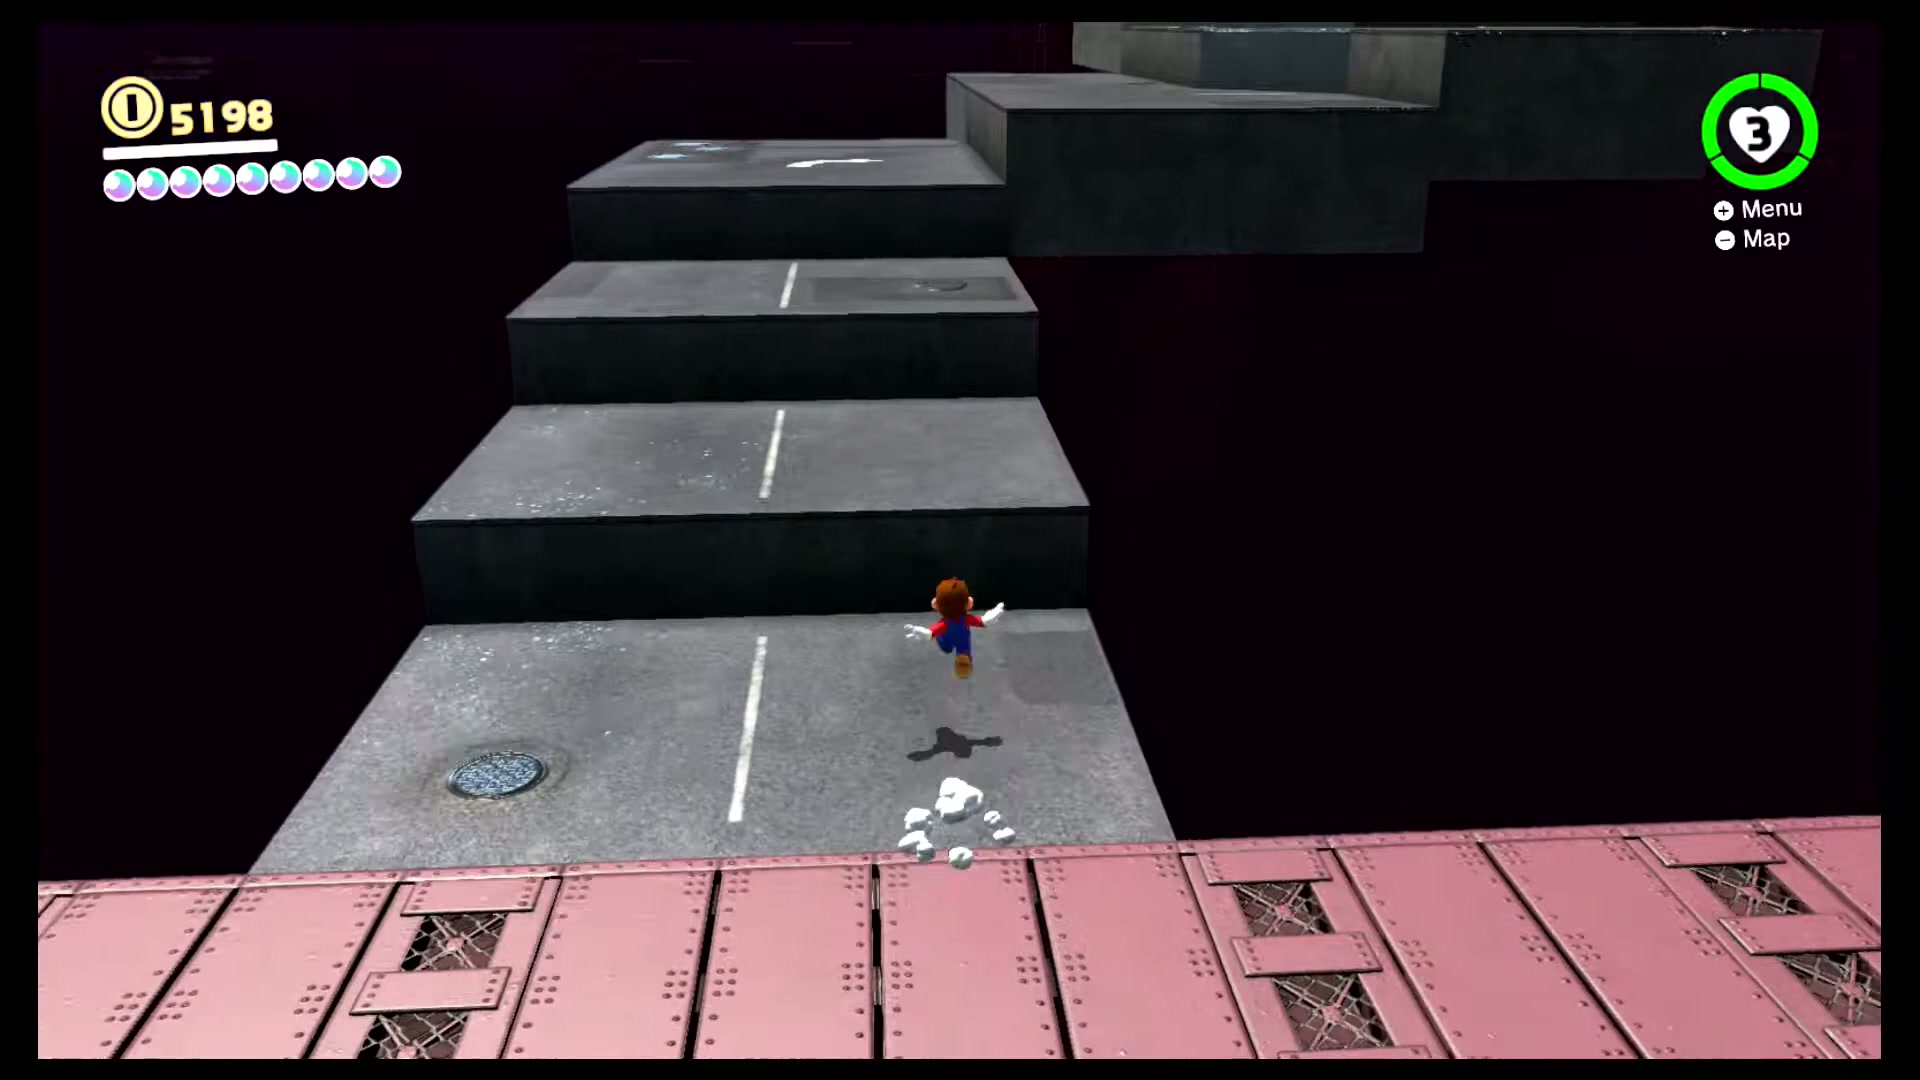

Vanishing Road Challenge
In the area with the "Vanishing Road Rush" moon, Mario must complete the same objective as the "Full-Throttle Scooting!" moon from the Metro Kingdom, but Mario does not have Cappy or the motor scooters to use for the area.
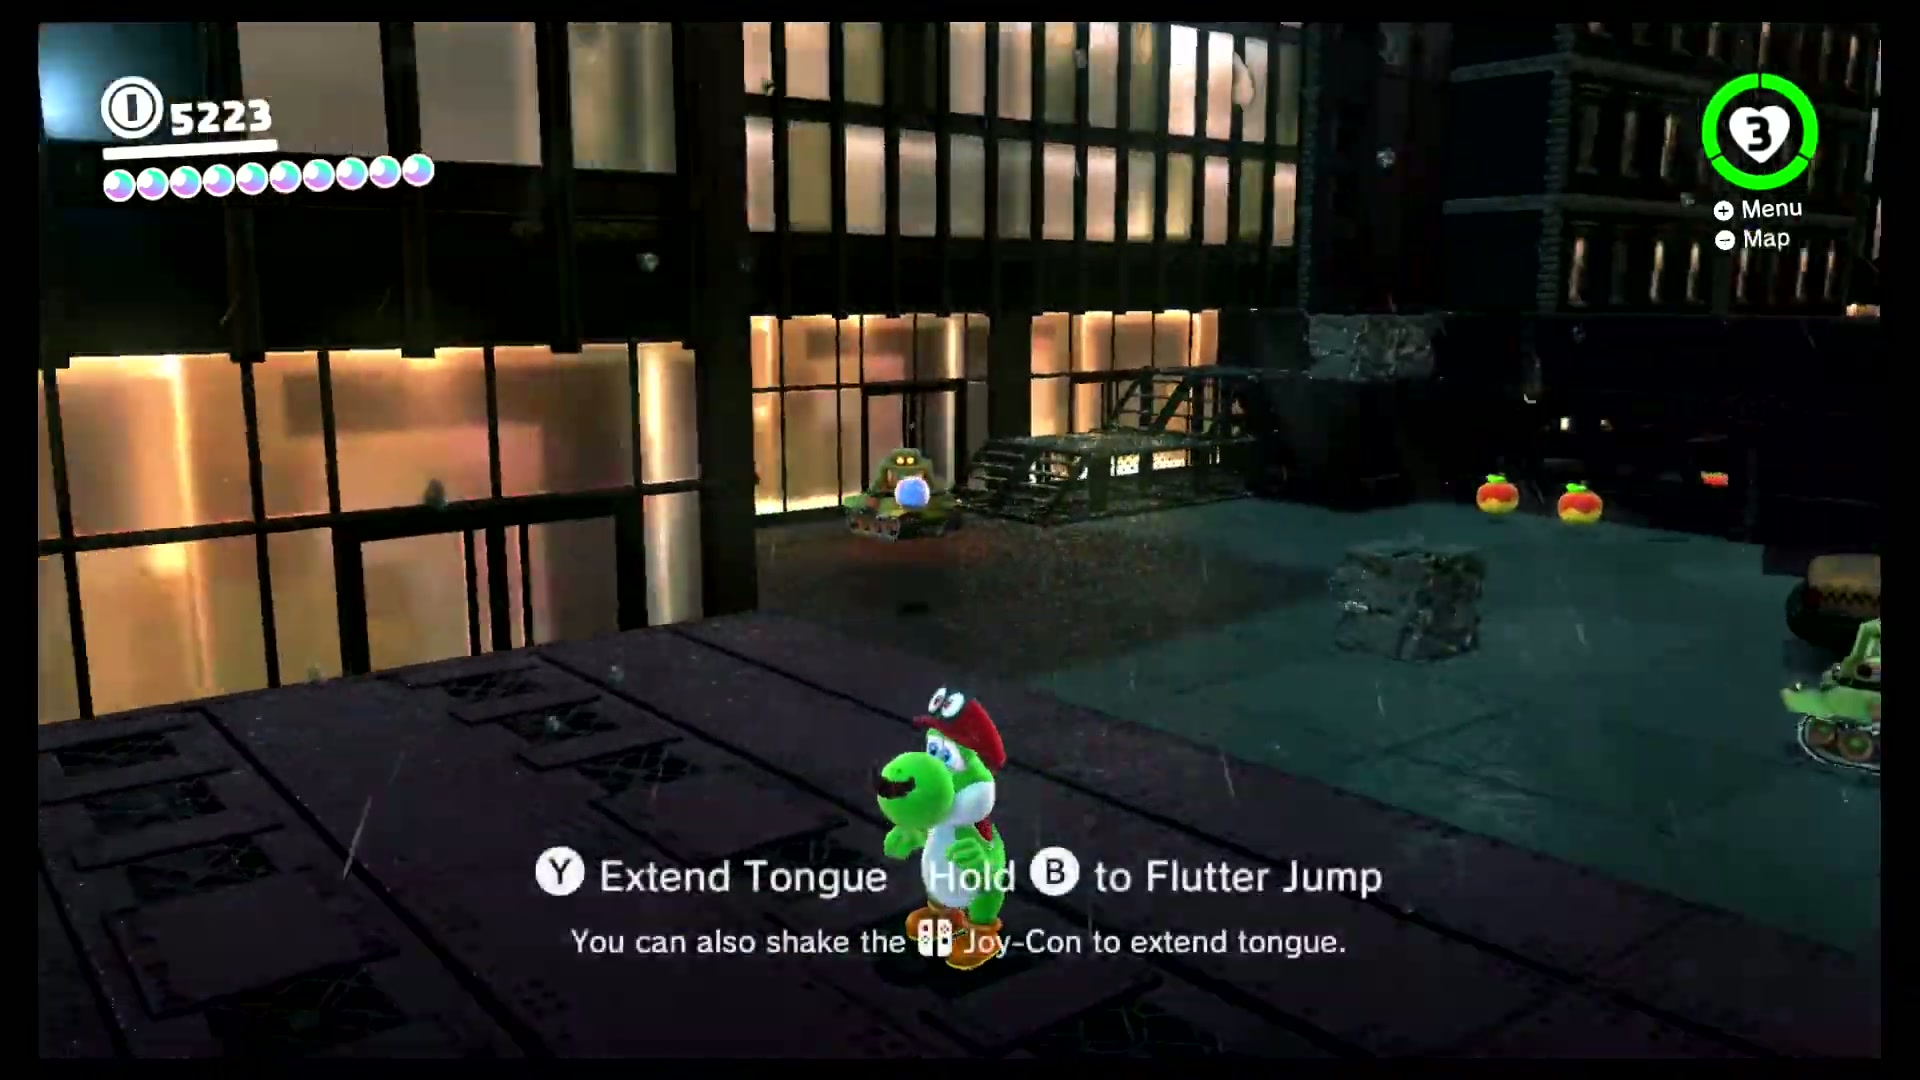

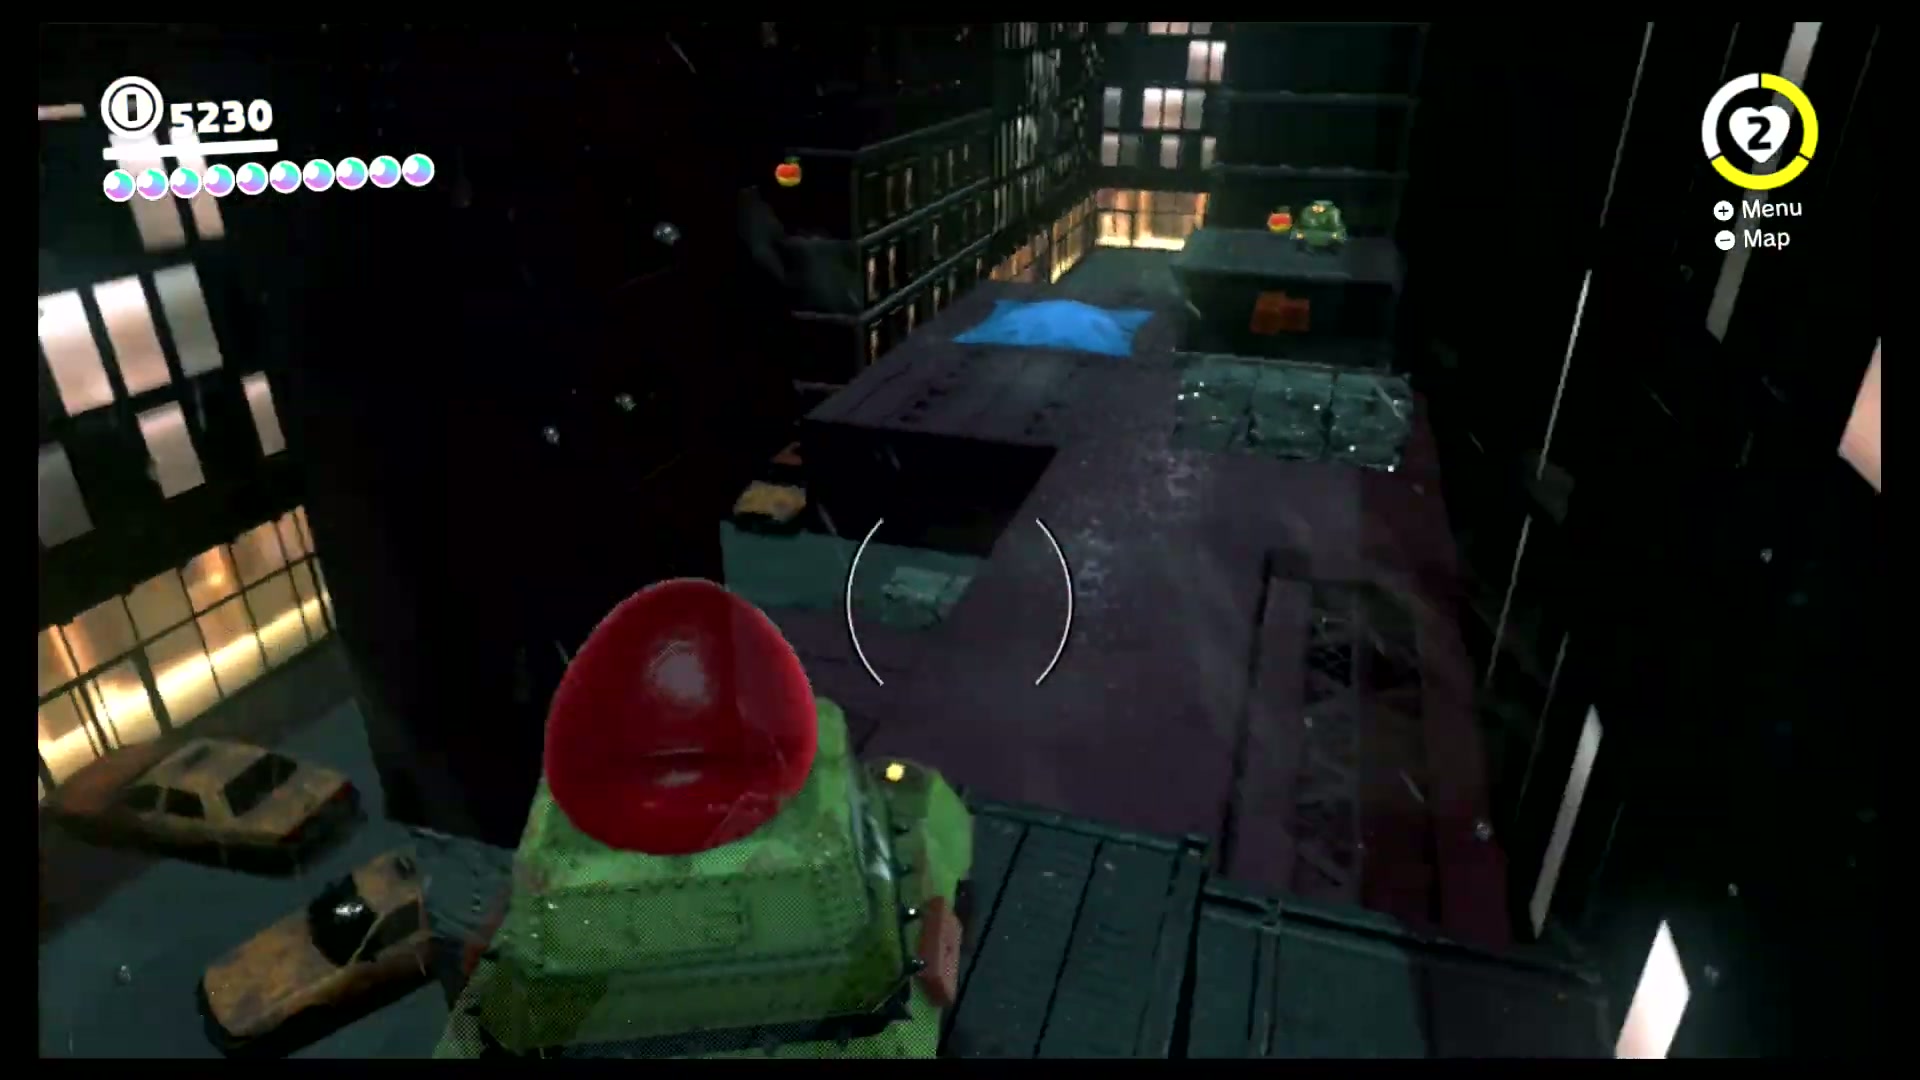
Yoshi Under Siege
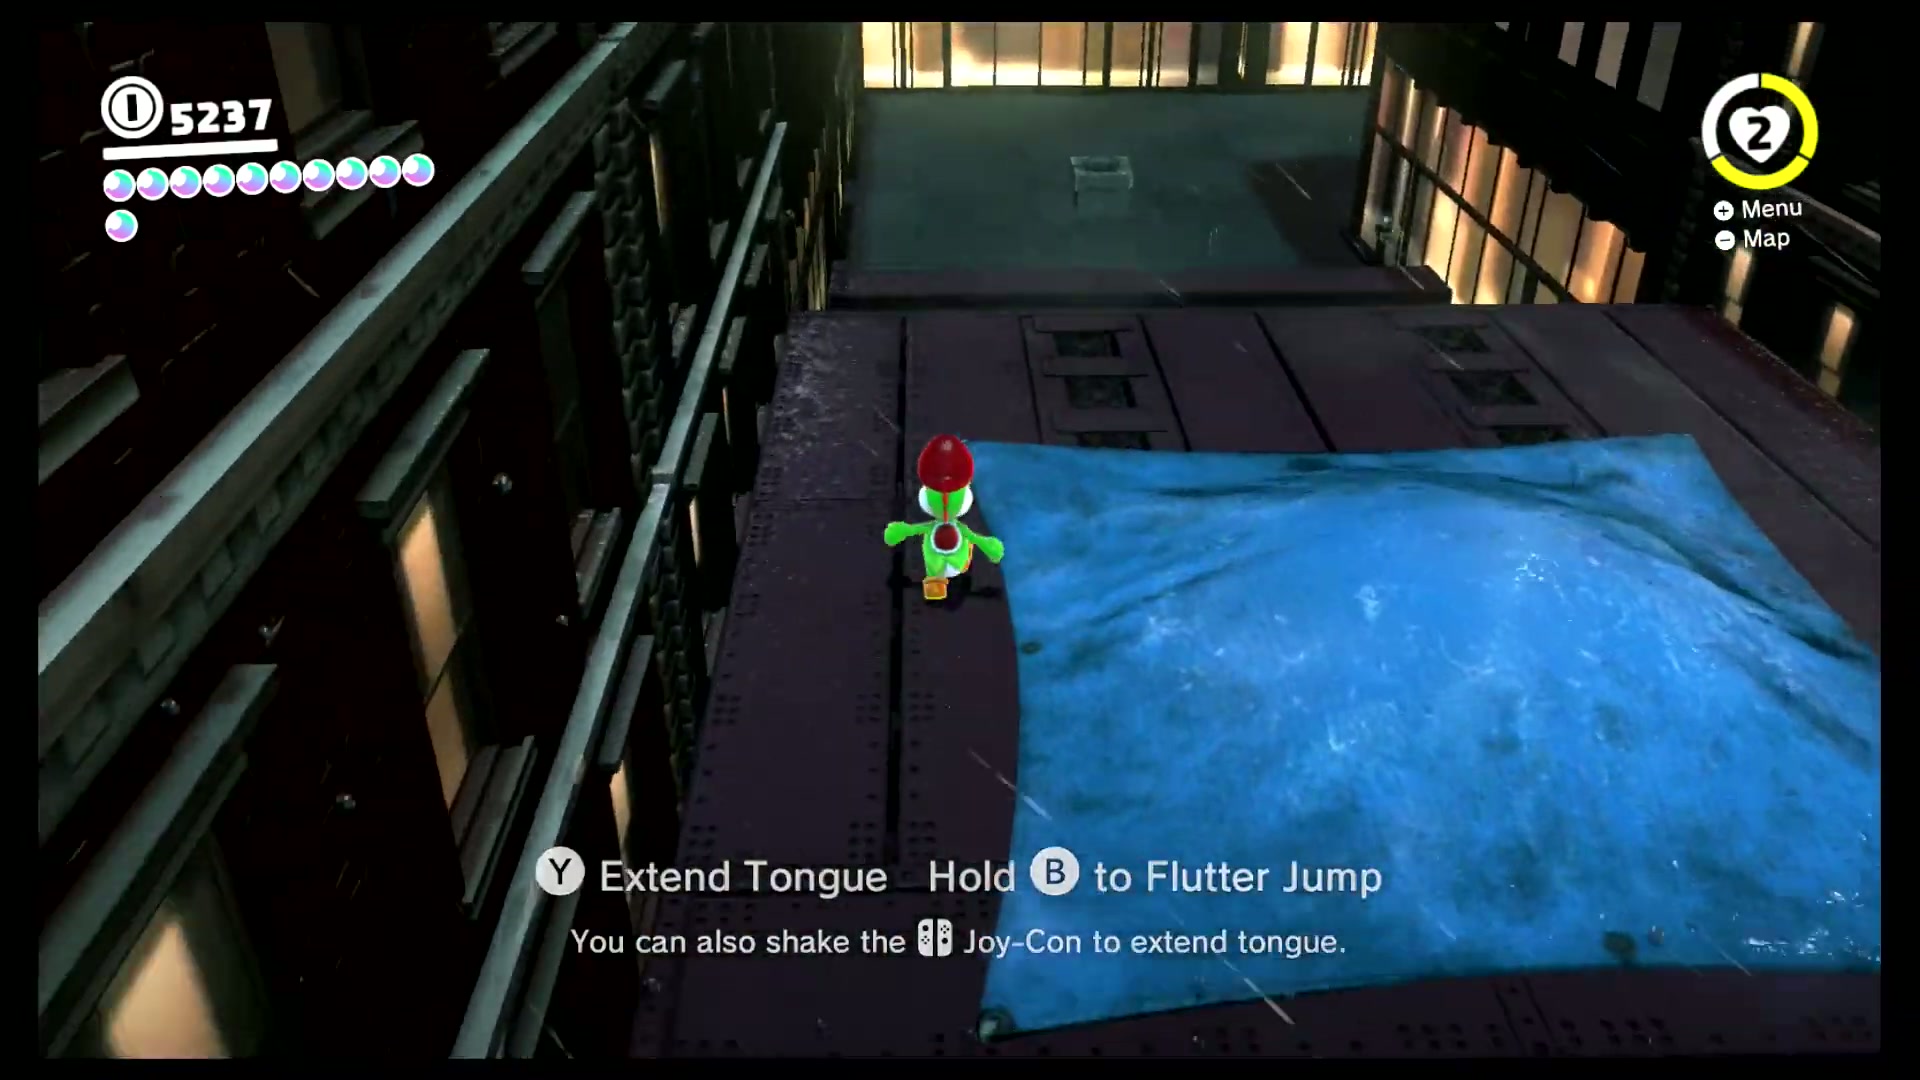
In an alcove behind one of the sets of large vegetables, you can find a Moon Pipe which leads to a bonus area. In this bonus area, Mario must fill up Yoshi's fruit meter with fruits once in the same area as the "Moon Shards Under Siege" and "Sharpshooting Under Siege" moons from the Metro Kingdom.


Fruit Feast Under Siege
In the area with the "Yoshi Under Siege" moon, Mario must fill up Yoshi's fruit meter with fruits a second time. Check the nearby ledges, walls, NPCs and alternate paths before leaving this part of Dark Side, because many moons sit just off the main route.

Yoshi on the Sinking Island
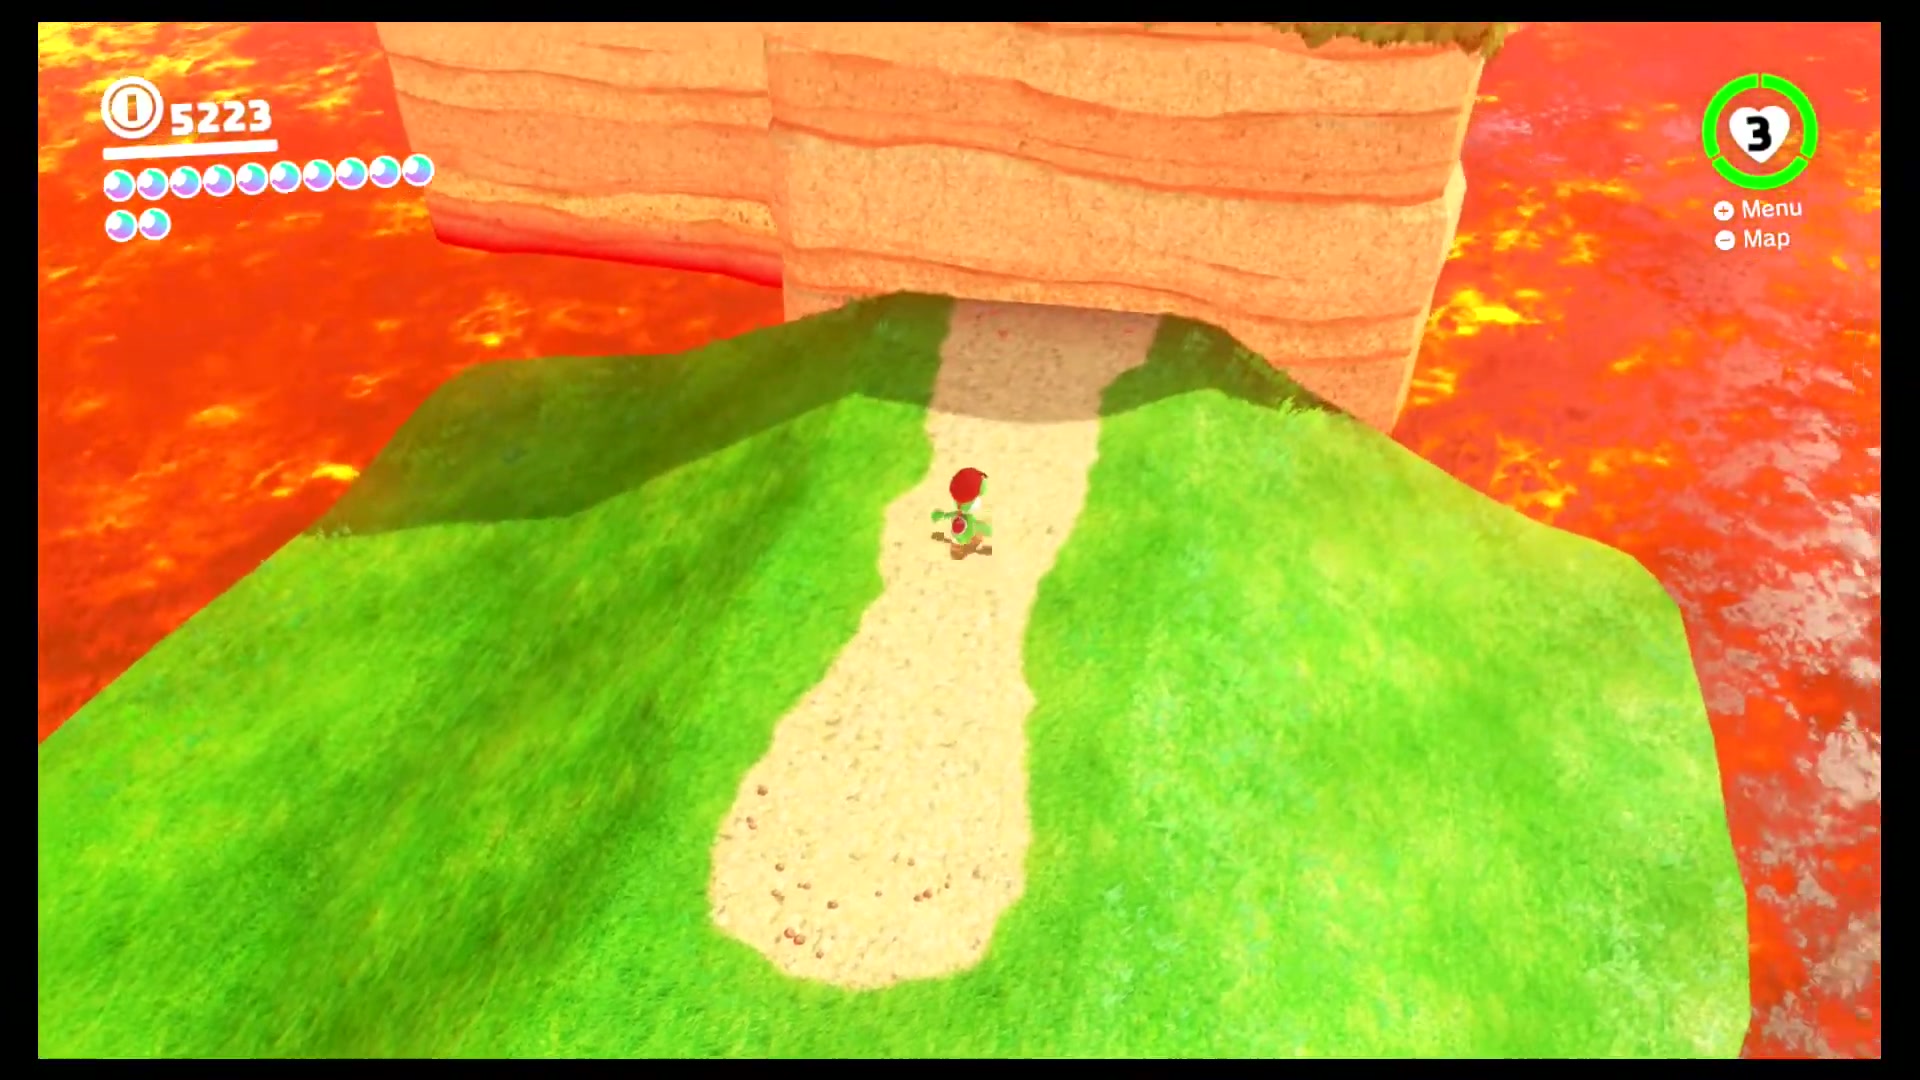
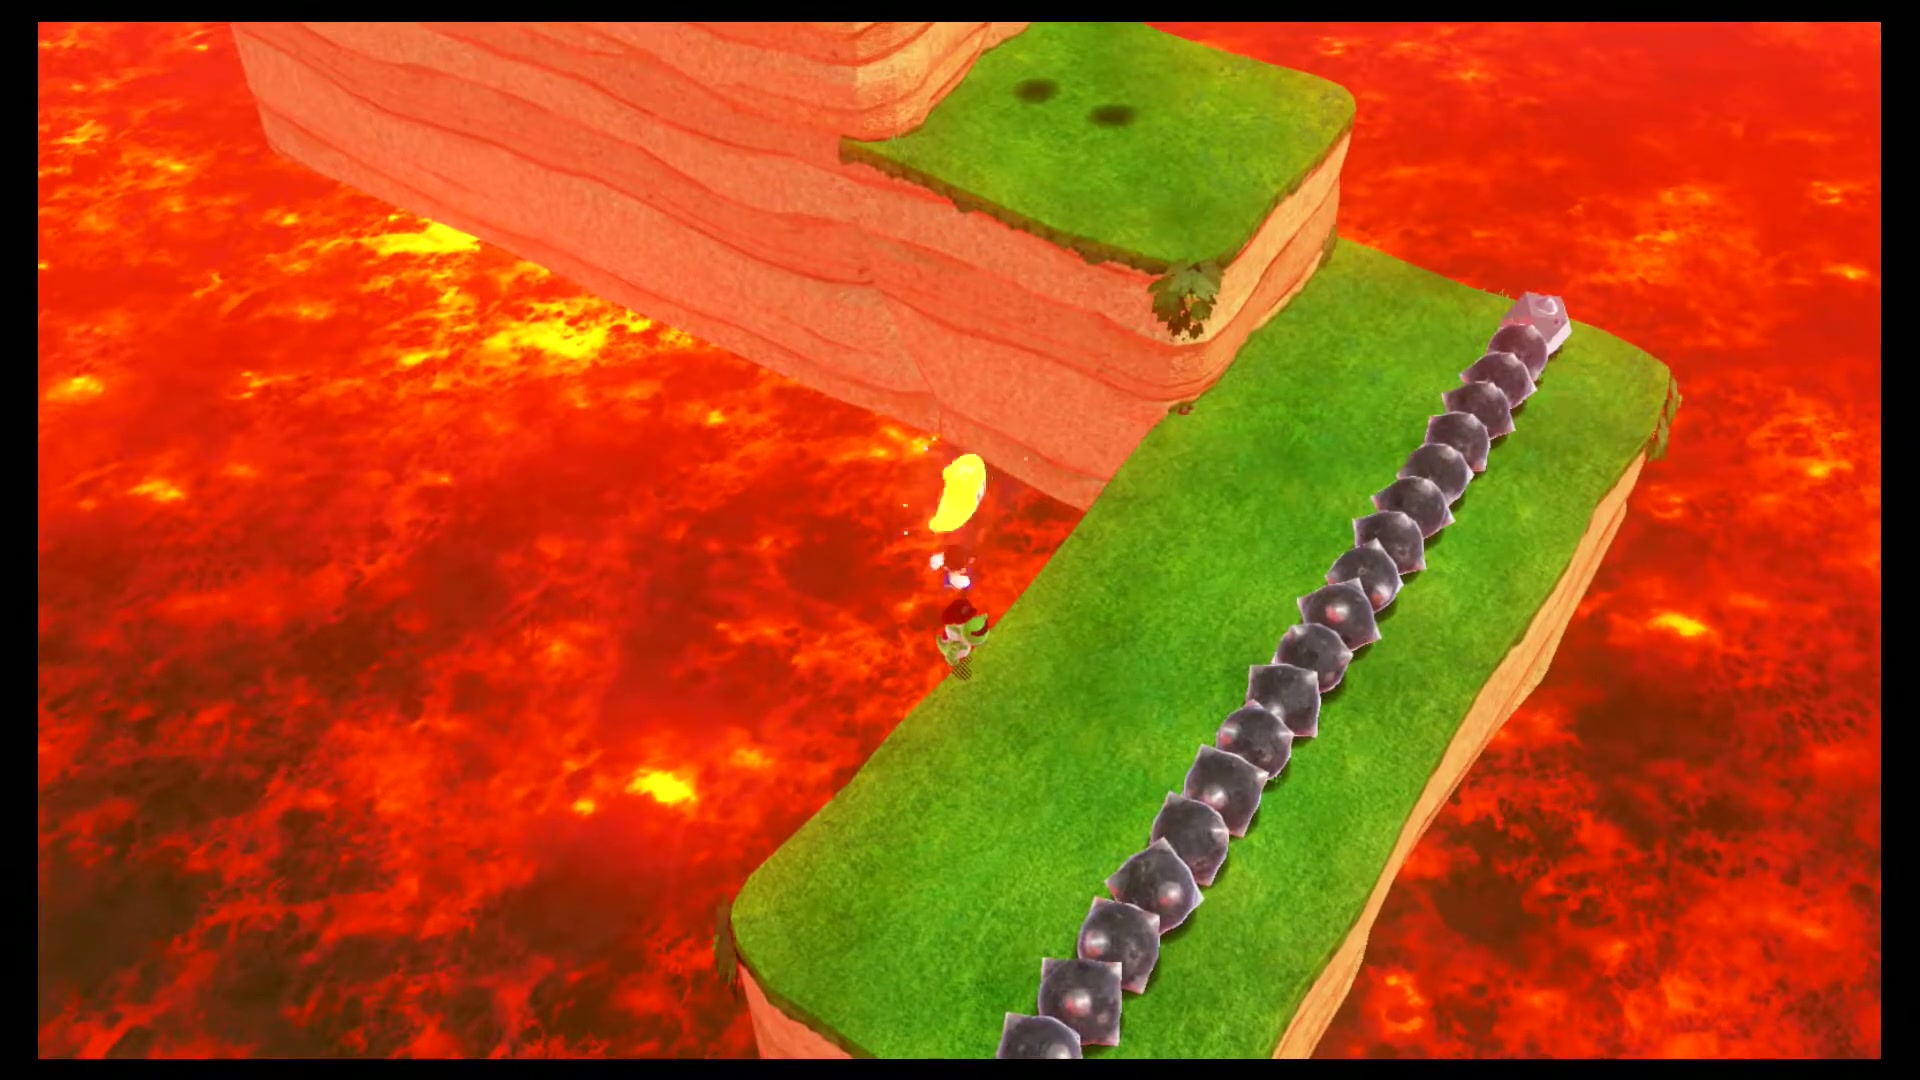
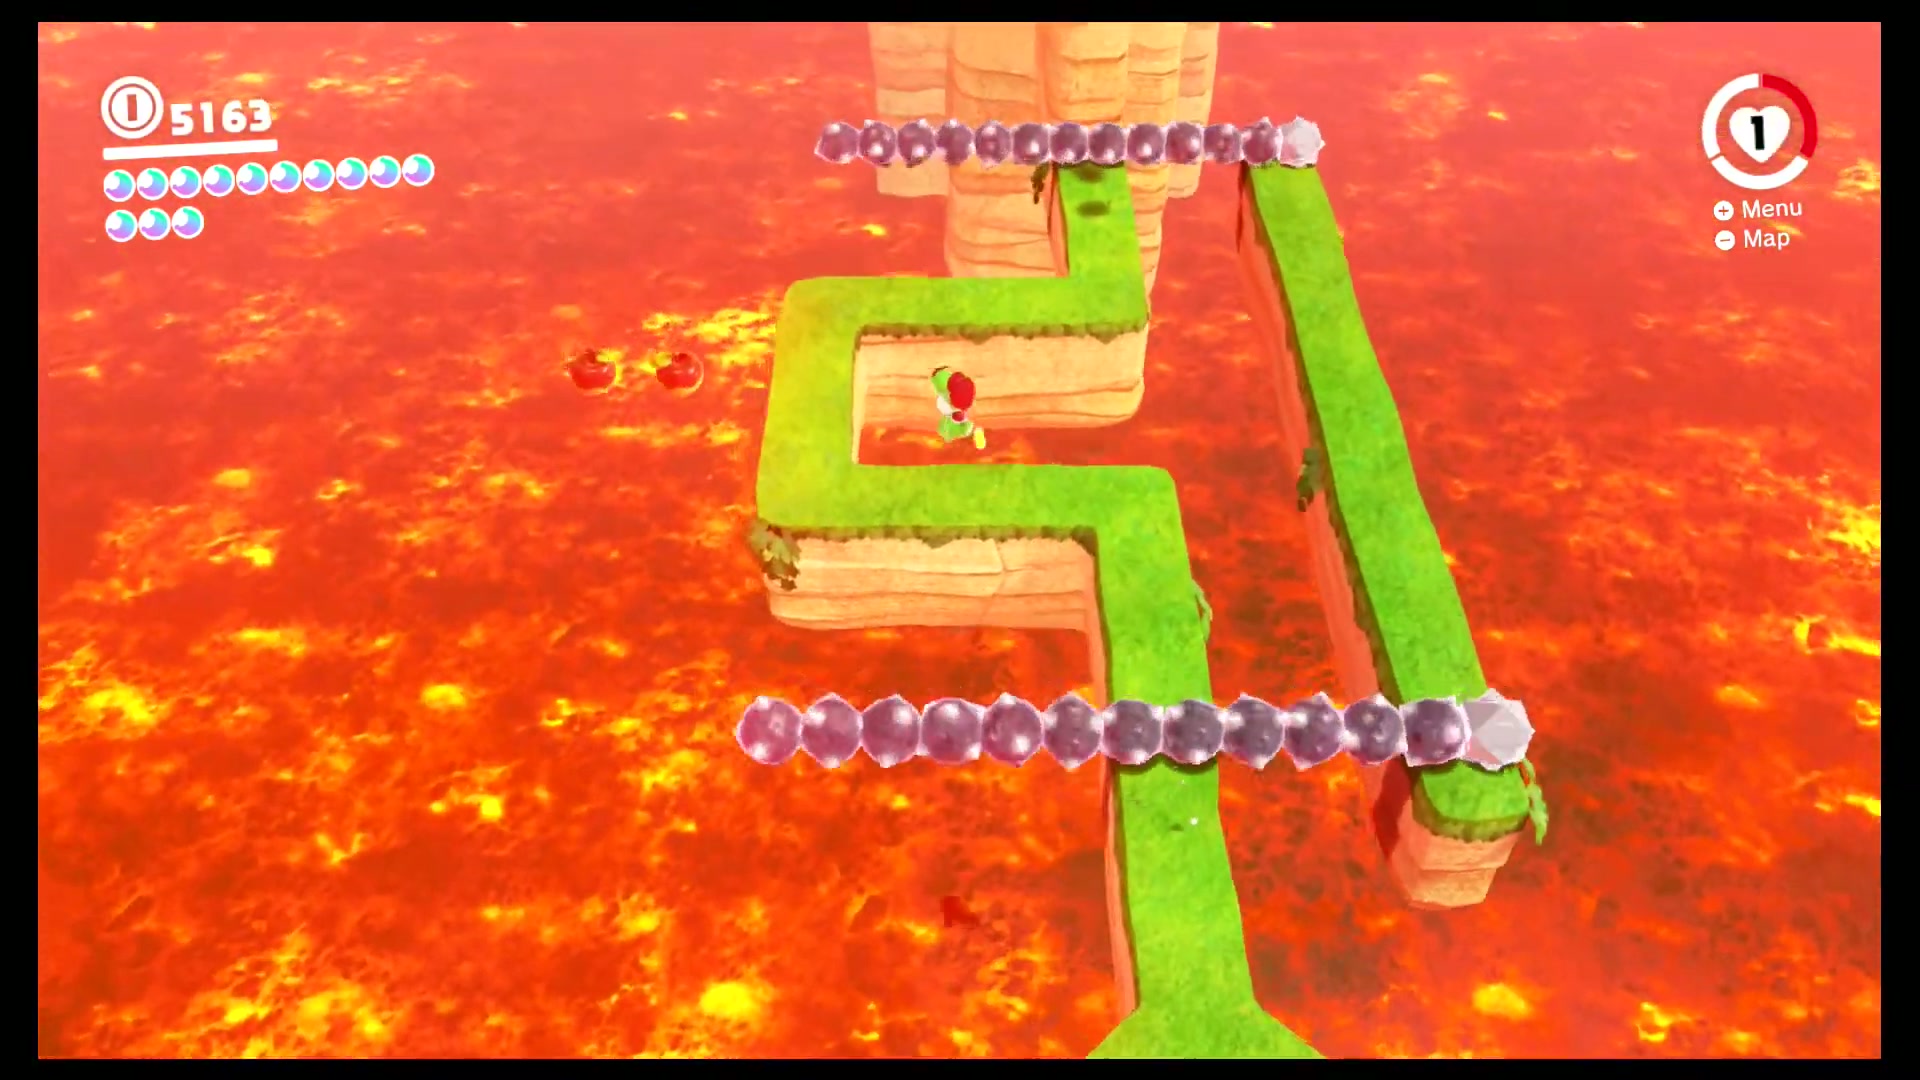
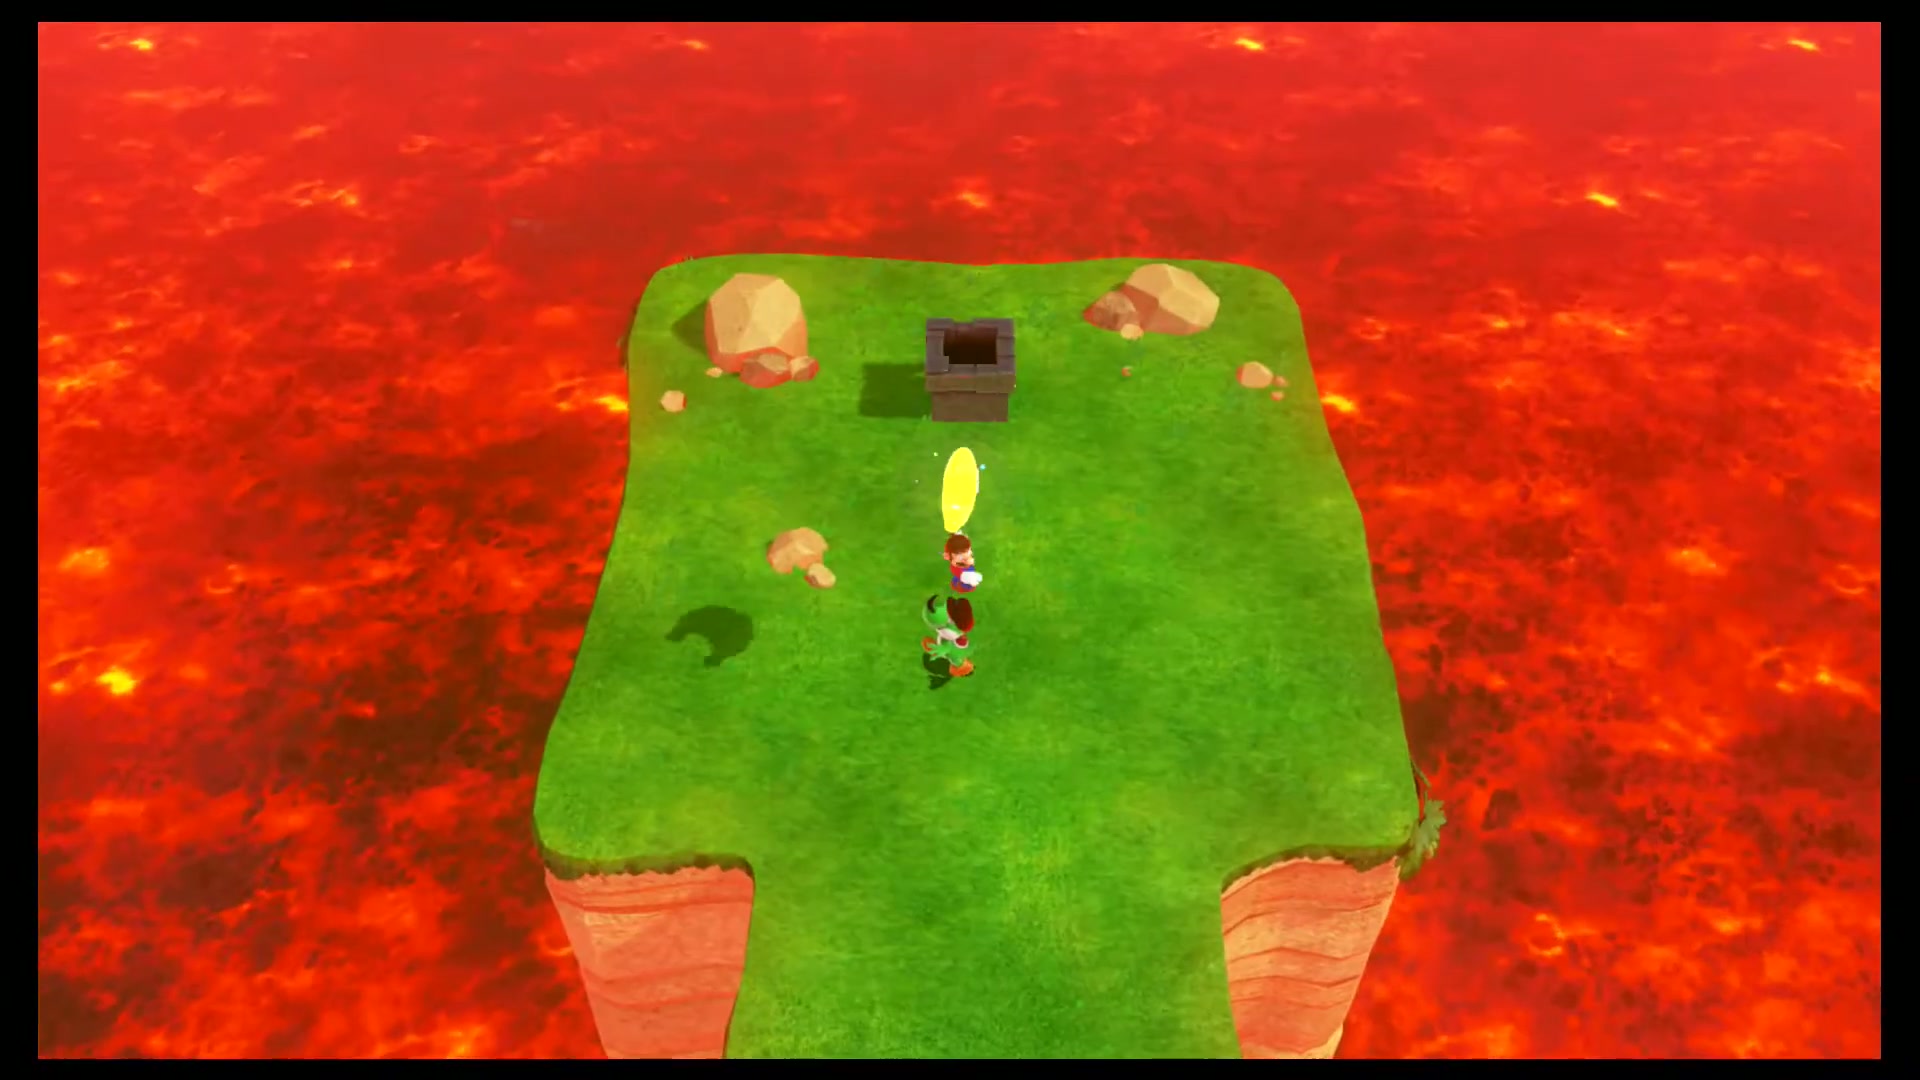
On a lower platform to the left side of the lowest part of the main area, you can find a Moon Pipe which leads to a bonus area. In this bonus area, Mario must fill up Yoshi's fruit meter with fruits once in the same area as the "Hurry and Stretch" and "Stretch on the Side Path" moons from the Seaside Kingdom.
Fruit Feast on the Sinking Island
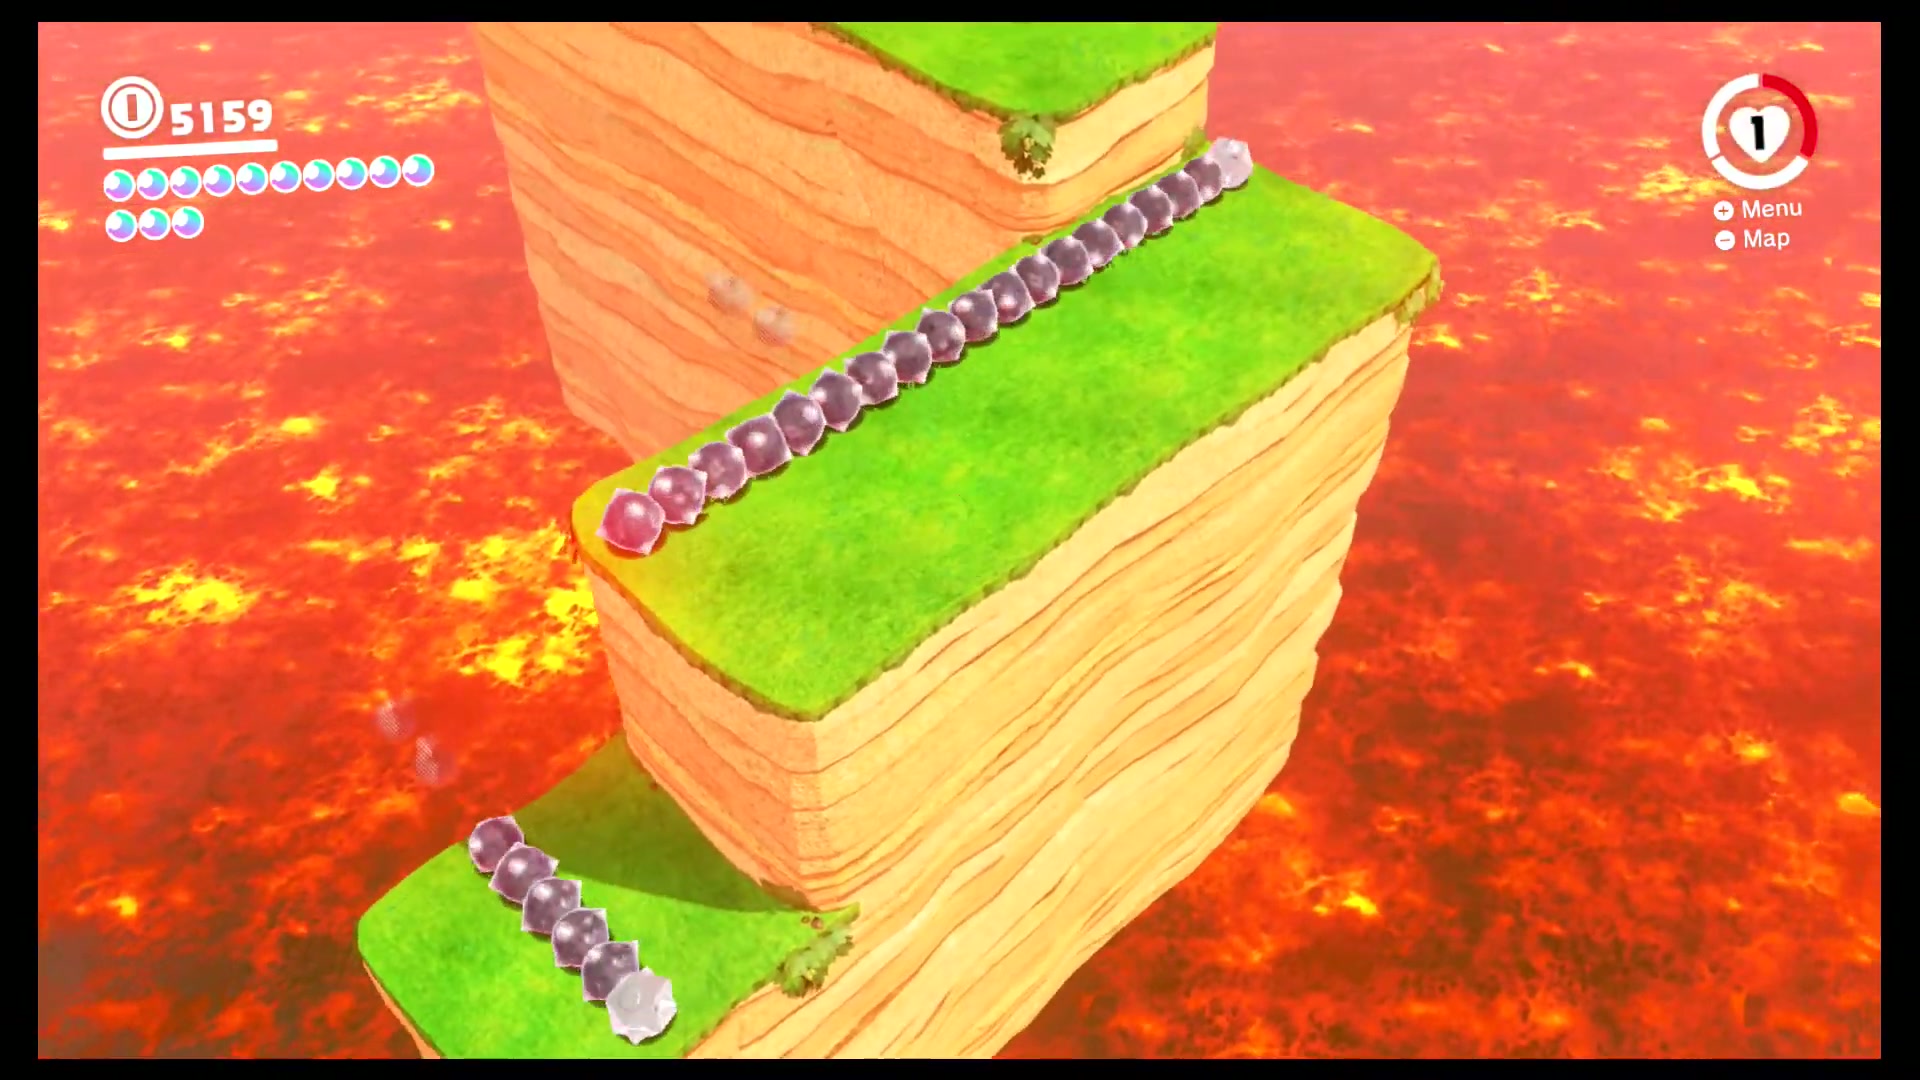
In the area with the "Yoshi on the Sinking Island" moon, Mario must fill up Yoshi's fruit meter with fruits a second time. Check the nearby ledges, walls, NPCs and alternate paths before leaving this part of Dark Side, because many moons sit just off the main route.
Yoshi's Magma Swamp
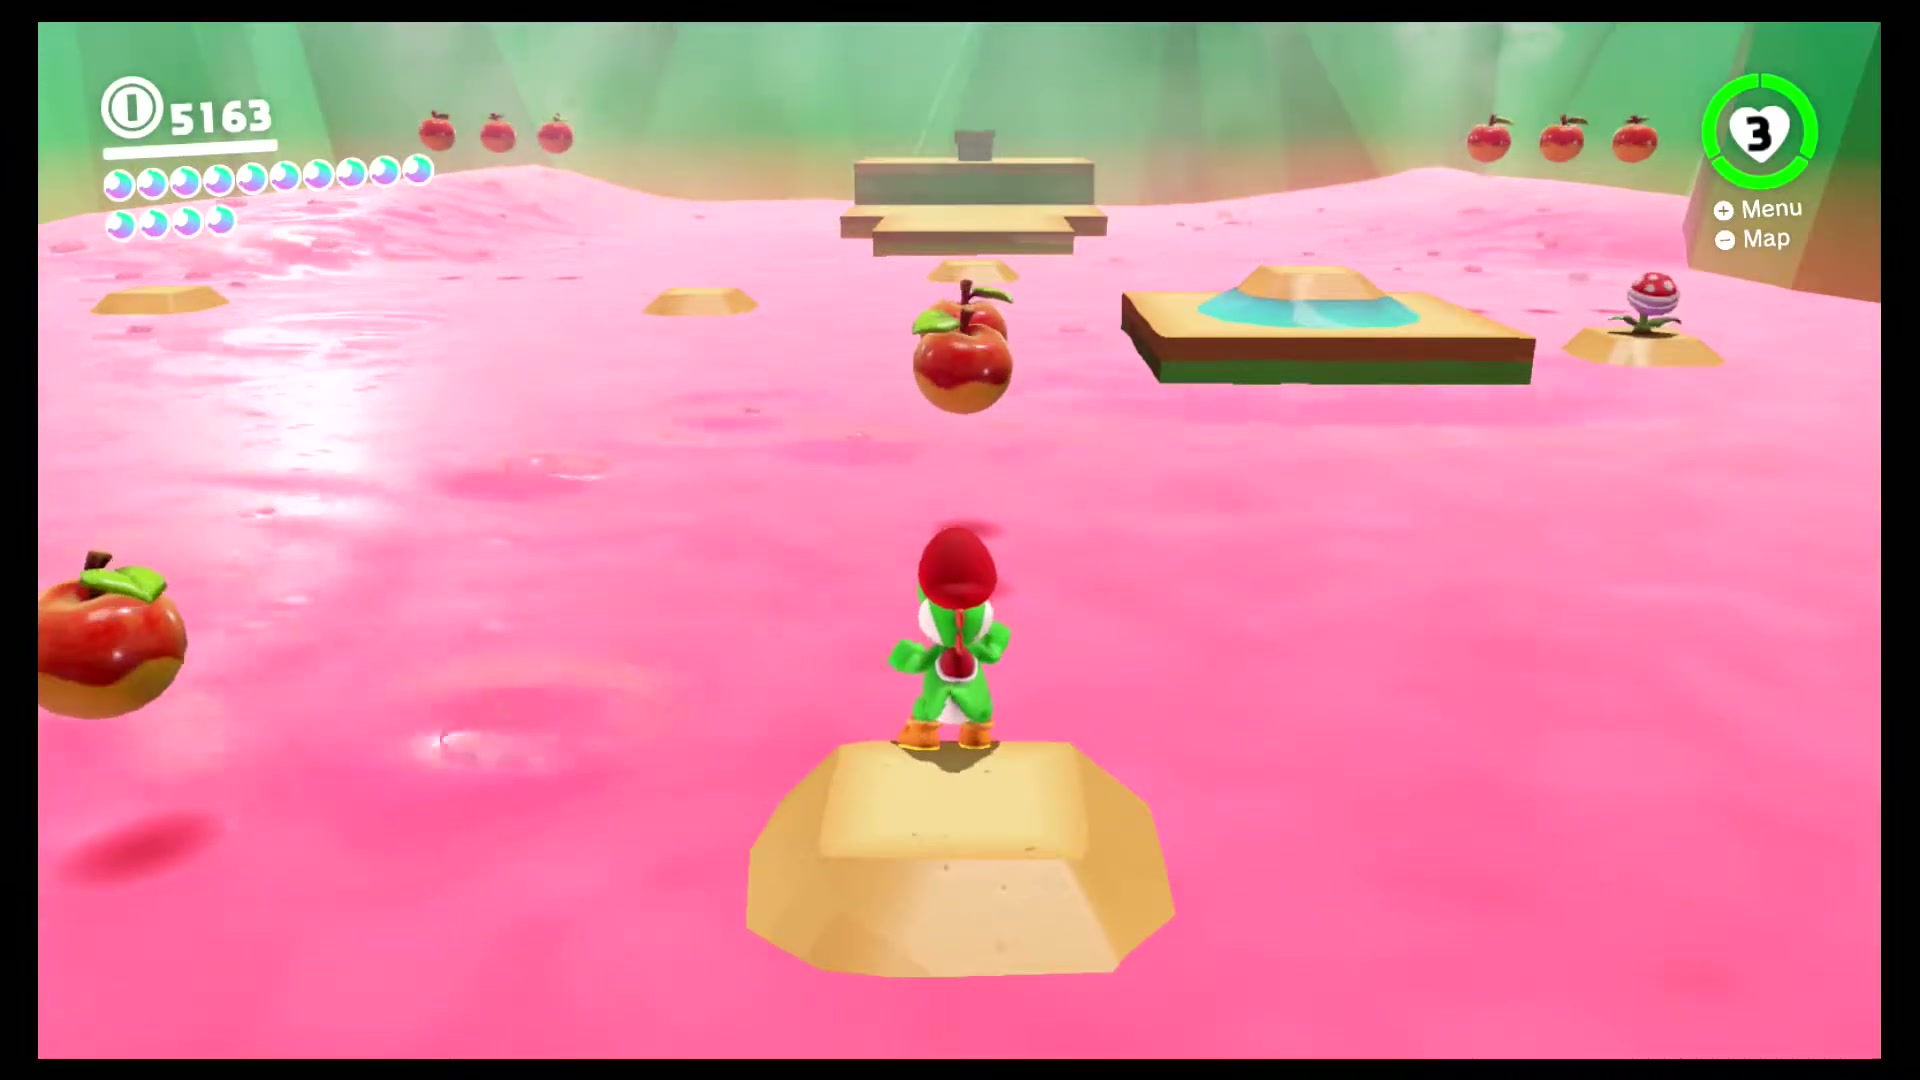
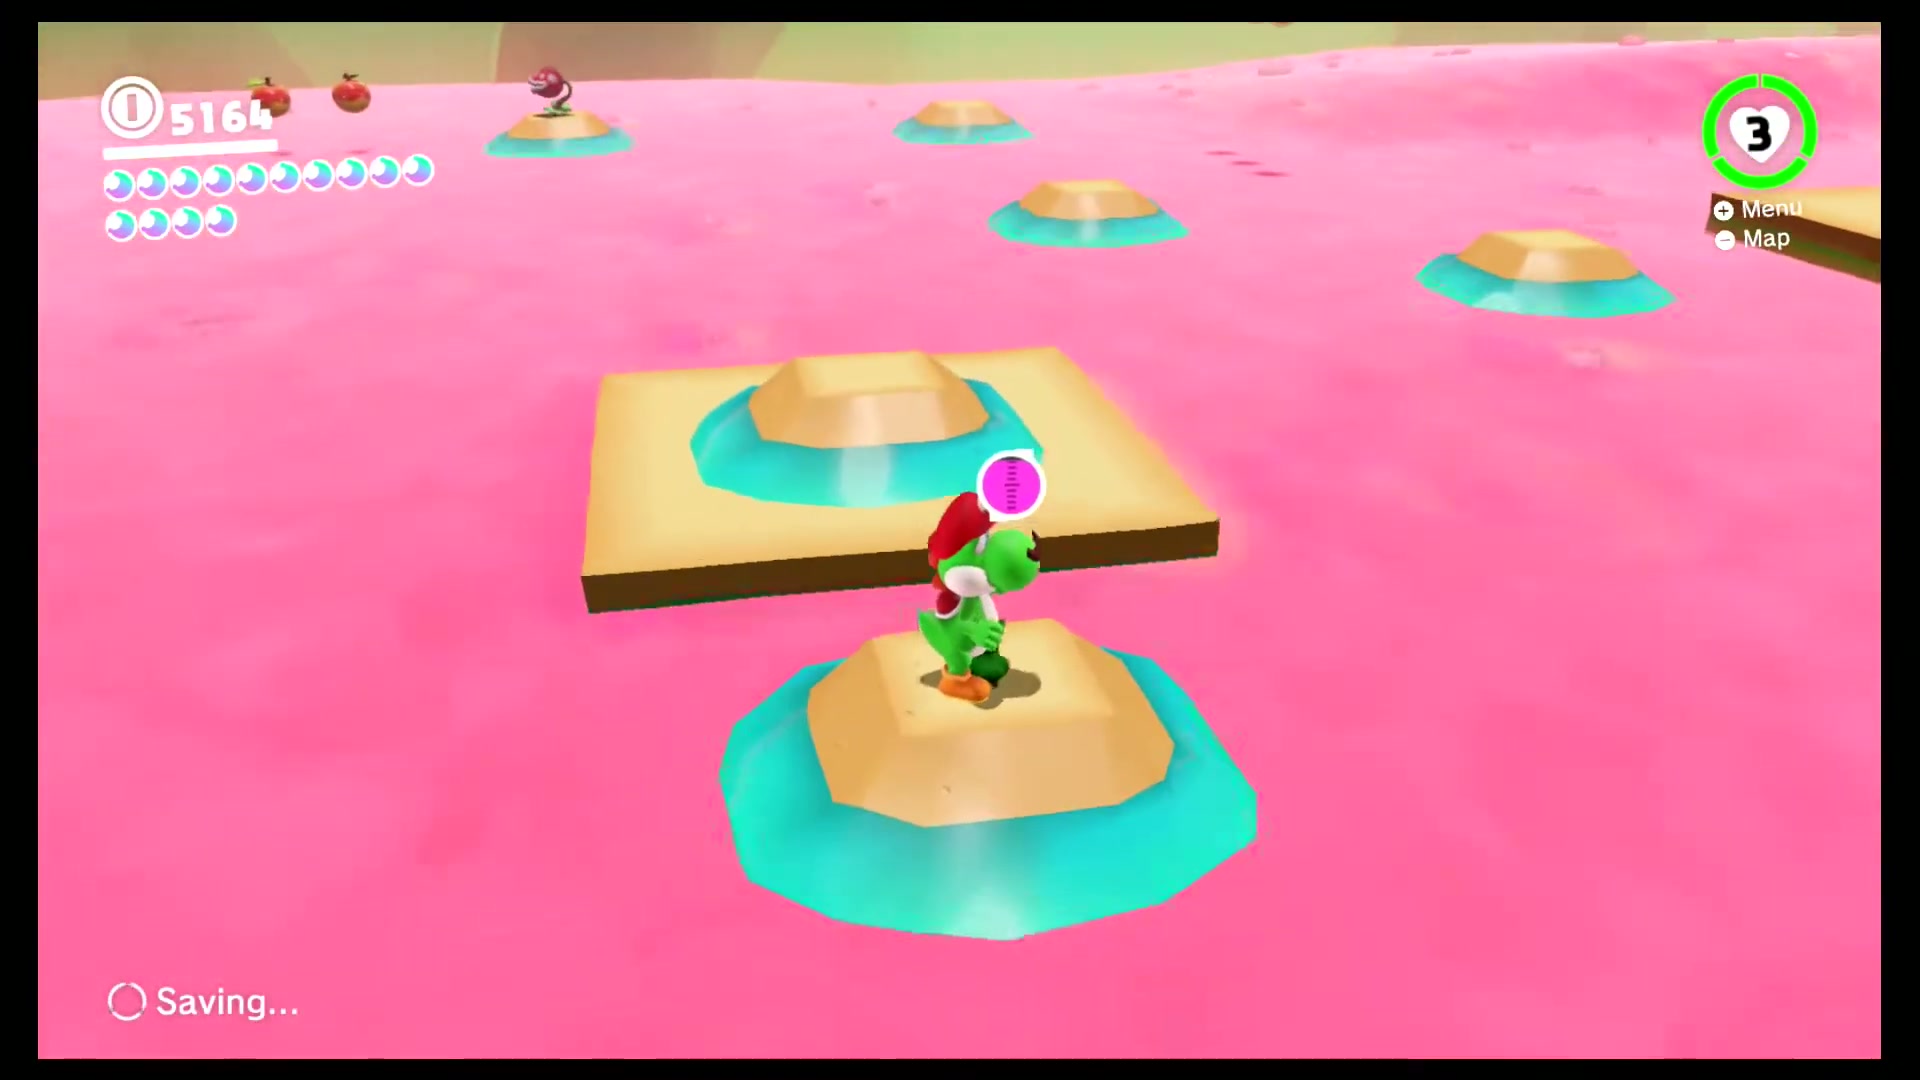
Behind a set of vegetables to the right side of the lowest part of the main area, you can find a Moon Pipe which leads to a bonus area. In this bonus area, Mario must fill up Yoshi's fruit meter with fruits once in the same area as the "Magma Swamp: Floating and Sinking" and "Corner of the Magma Swamp" moons from the Luncheon Kingdom.


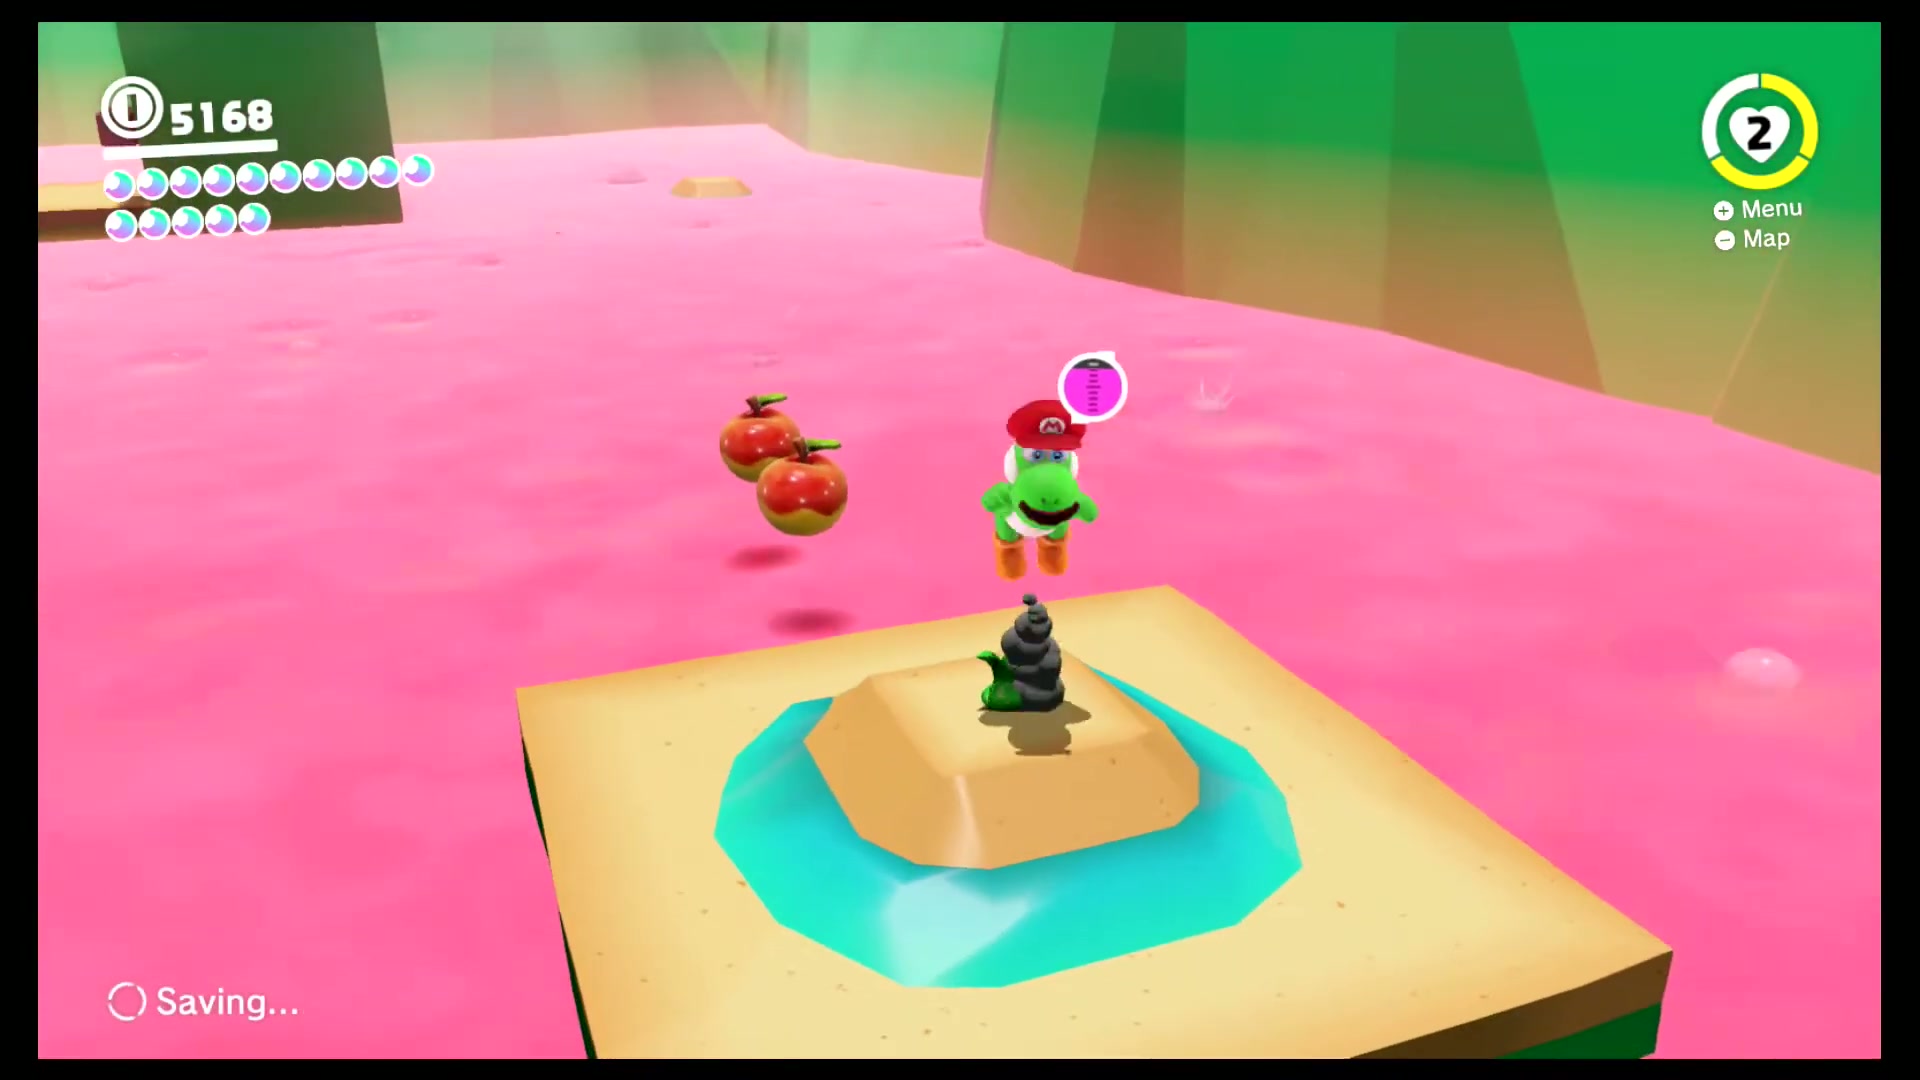
Fruit Feast in the Magma Swamp!
In the area with the "Yoshi's Magma Swamp" moon, Mario must fill up Yoshi's fruit meter with fruits a second time. Check the nearby ledges, walls, NPCs and alternate paths before leaving this part of Dark Side, because many moons sit just off the main route.
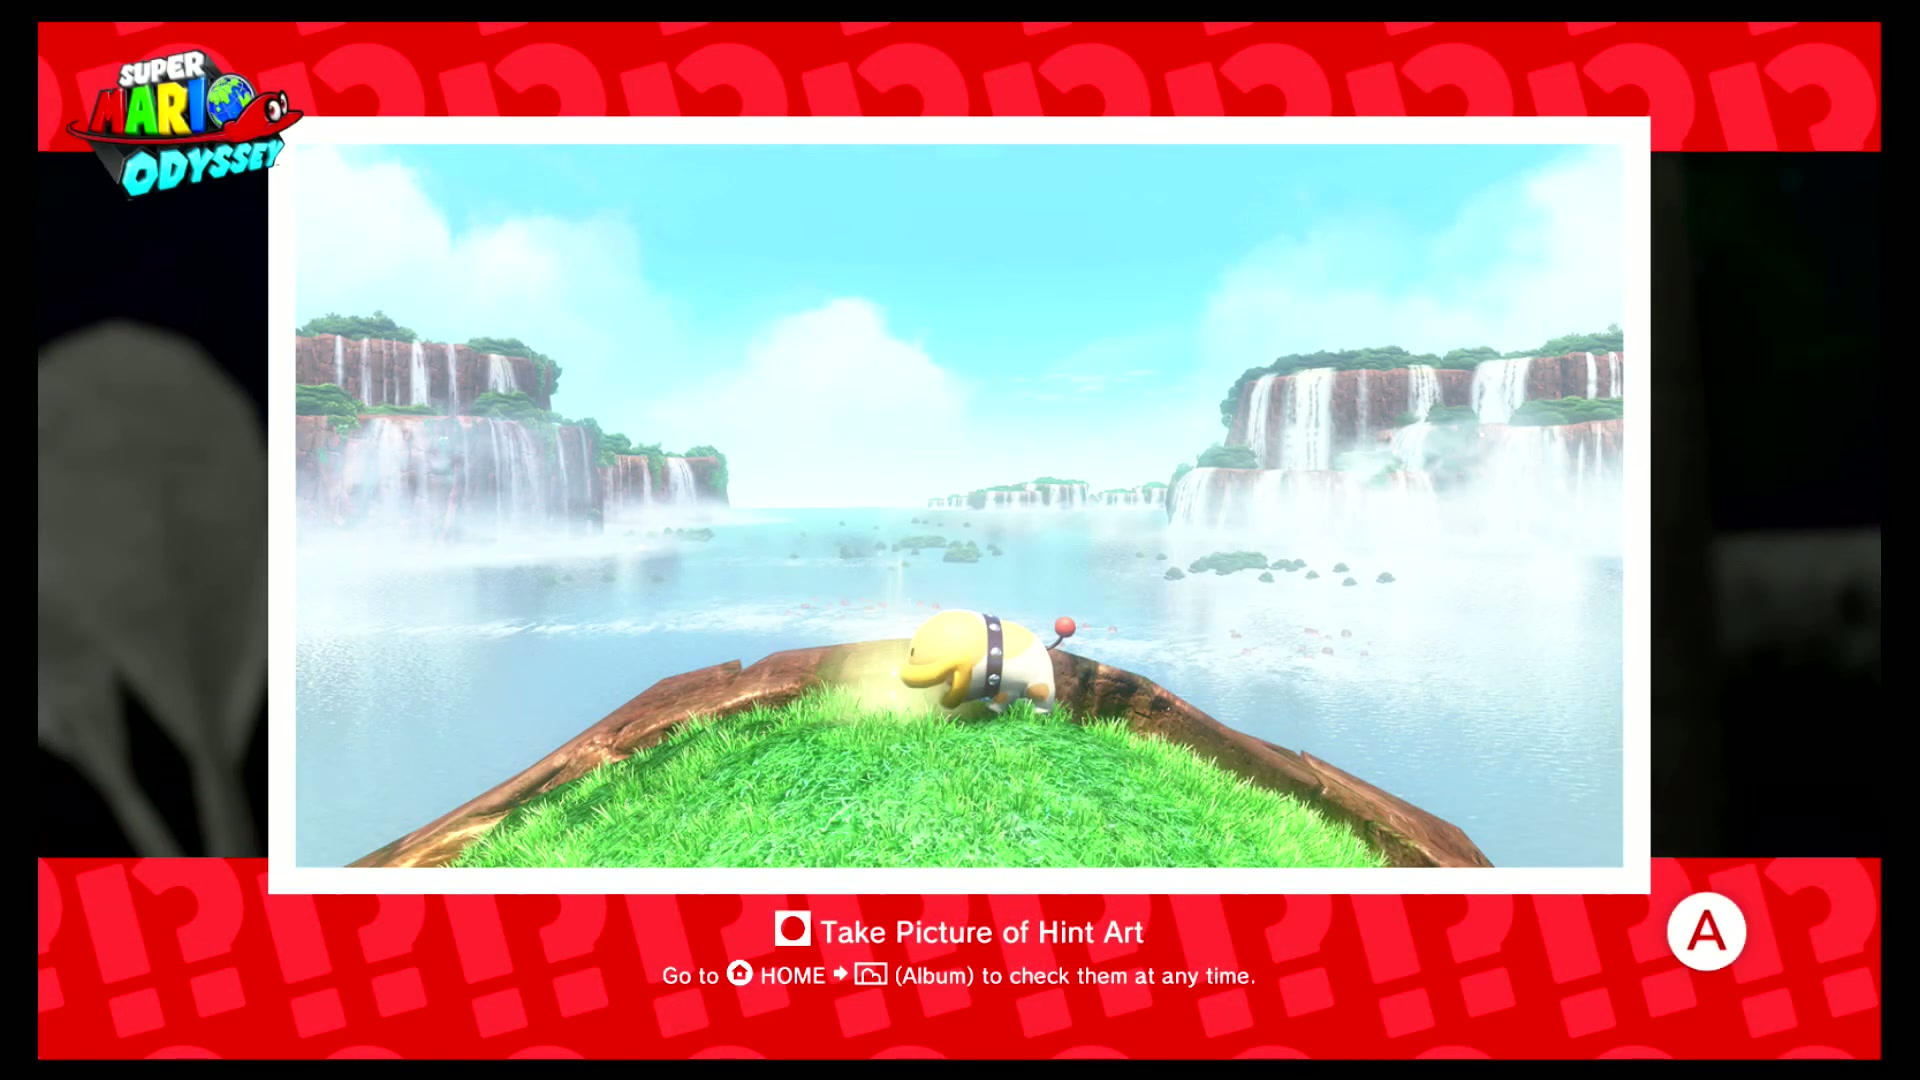


Found with Dark Side Art 1
On one of the vegetables on the bottom part of the main area, you can find a piece of Hint Art. The Hint Art shows Poochy digging on a glowing spot in the Cascade Kingdom. If Mario travels to the Cascade Kingdom and ground pounds the spot shown by the Hint Art, he will be rewarded with a moon.
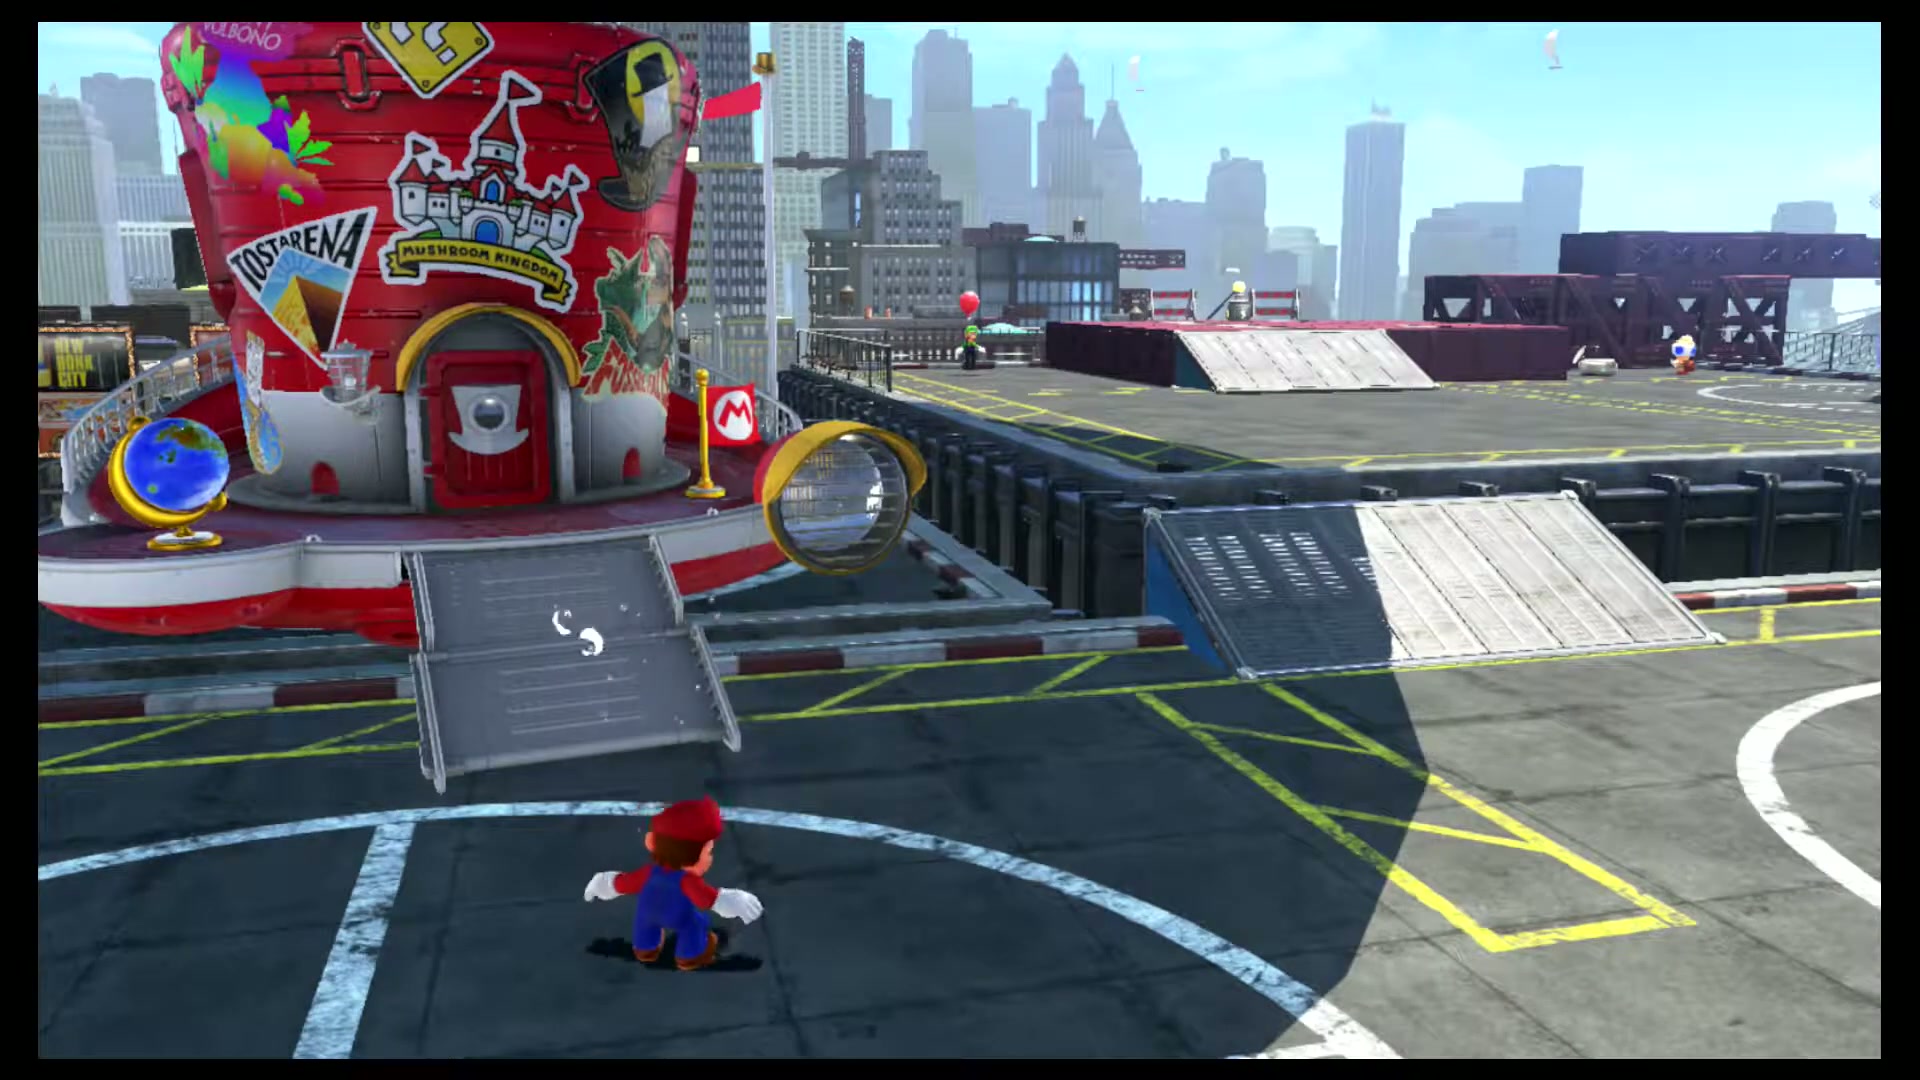

Found with Dark Side Art 2
Behind one of the vegetables on the bottom part of the main area, you can find a piece of Hint Art. The Hint Art shows a helipad with a moon shown above a yellow object. Mario must travel back to the Metro Kingdom and warp to the Helipad. If he ground pounds the yellow design on the ground next to the Helipad, he will be rewarded with a moon.

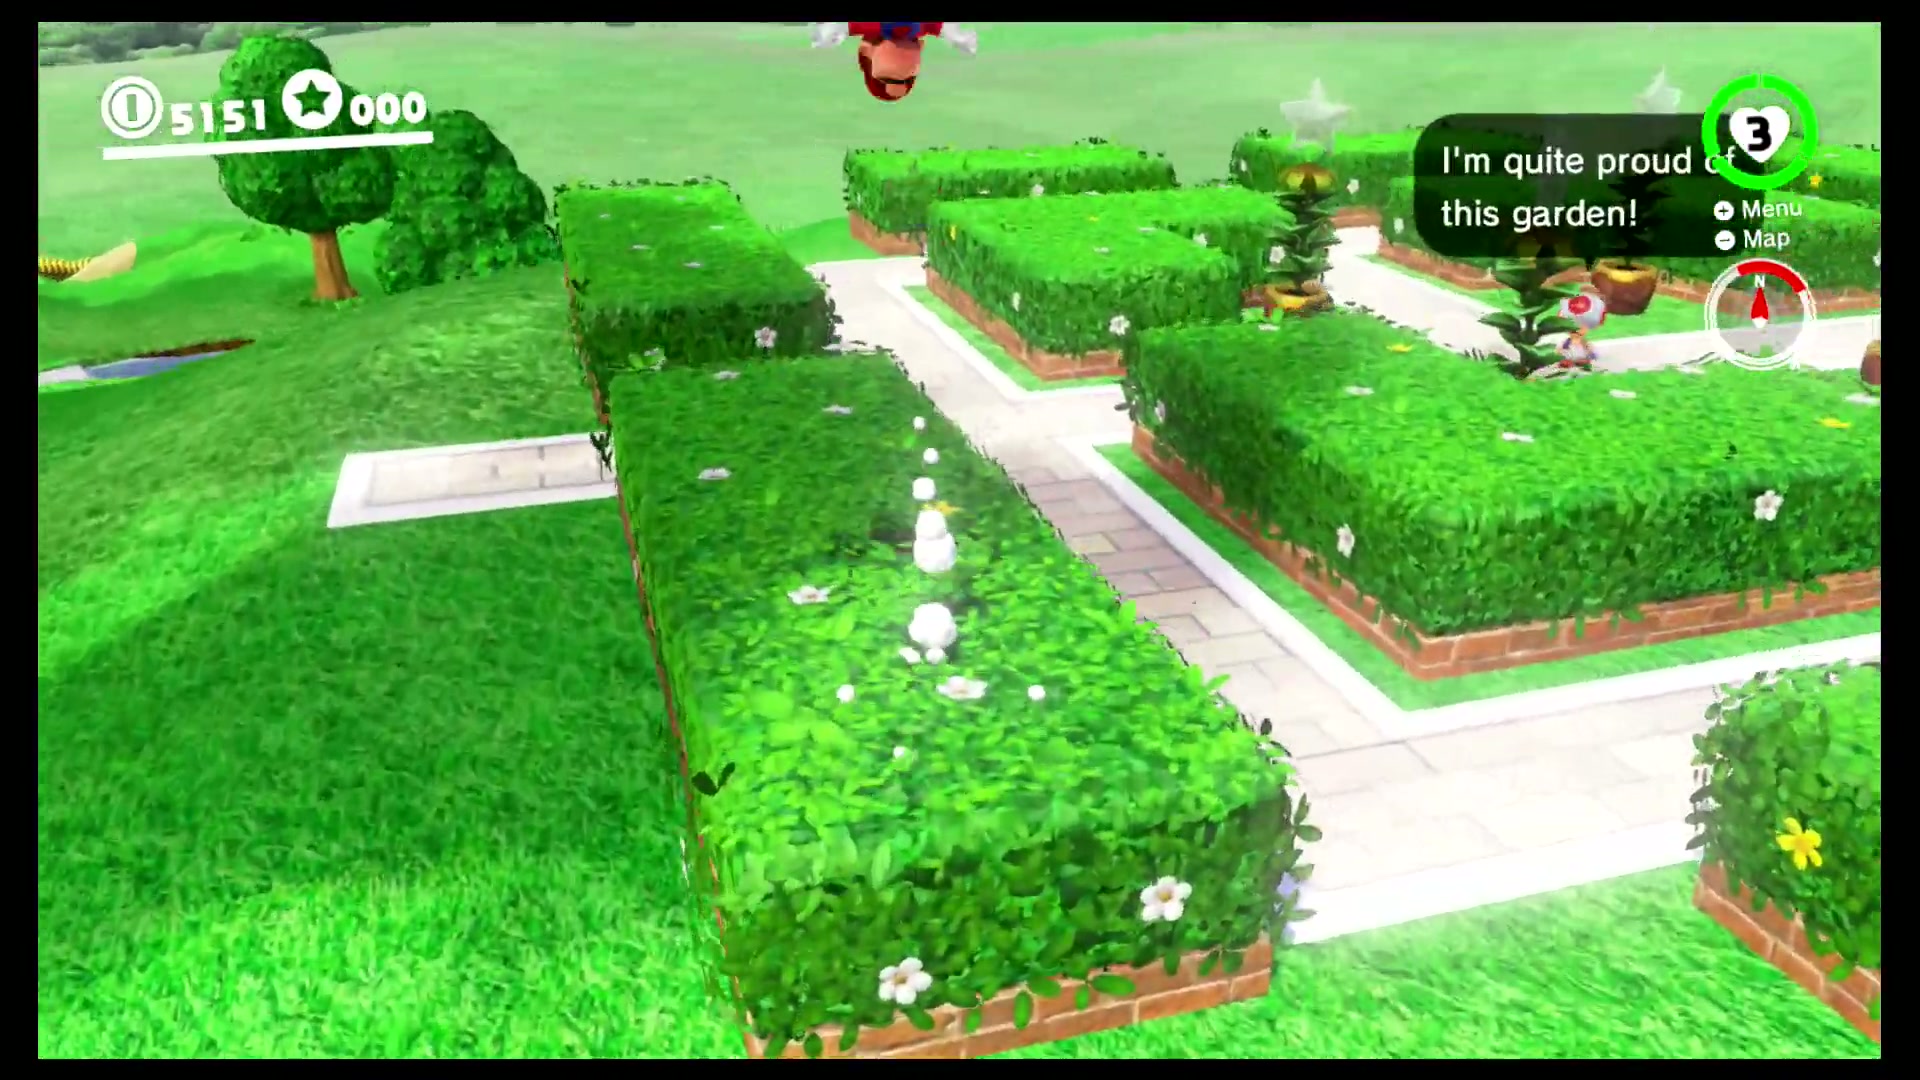
Found with Dark Side Art 3
Behind one of the vegetables on the bottom part of the main area, you can find a piece of Hint Art. The Hint Art shows a large square with two regional coins and a moon on the left side. Mario must travel back to the Mushroom Kingdom and ground pound a specific spot in the garden to be rewarded with a moon.
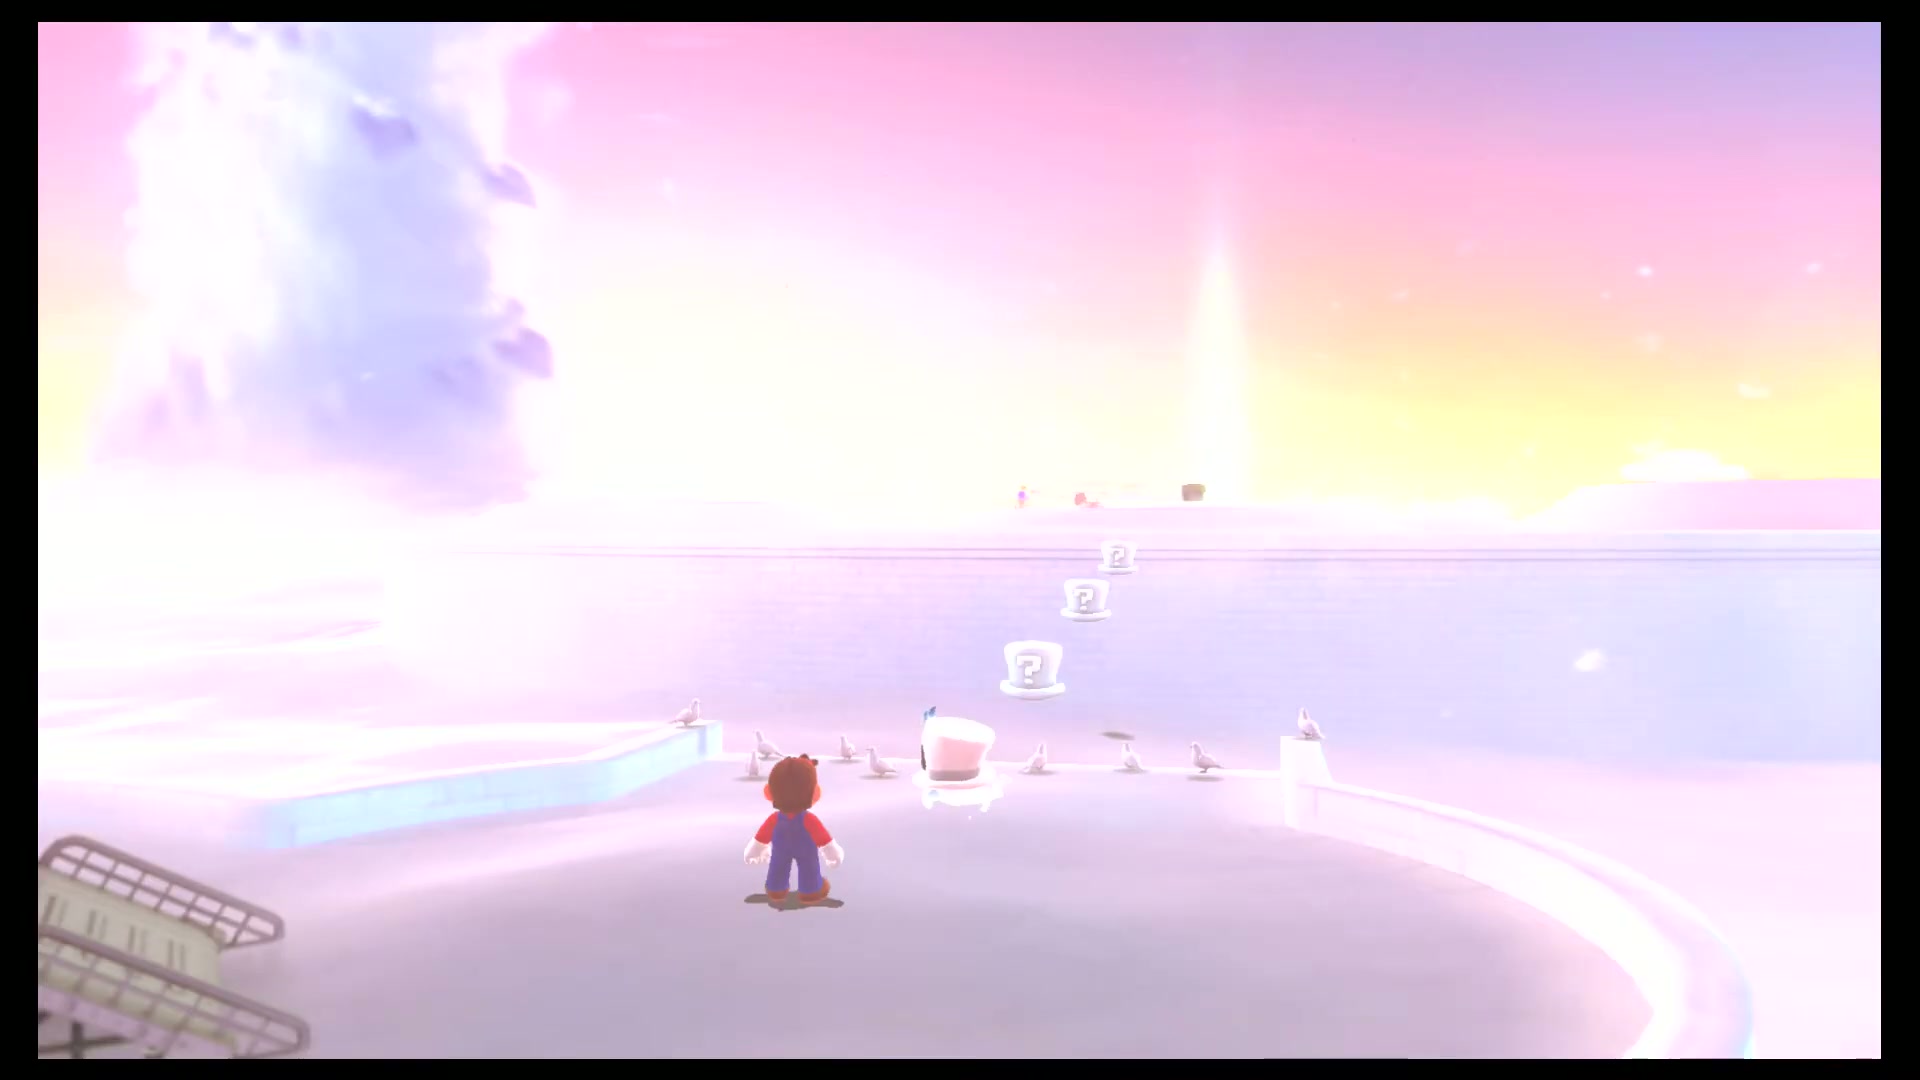
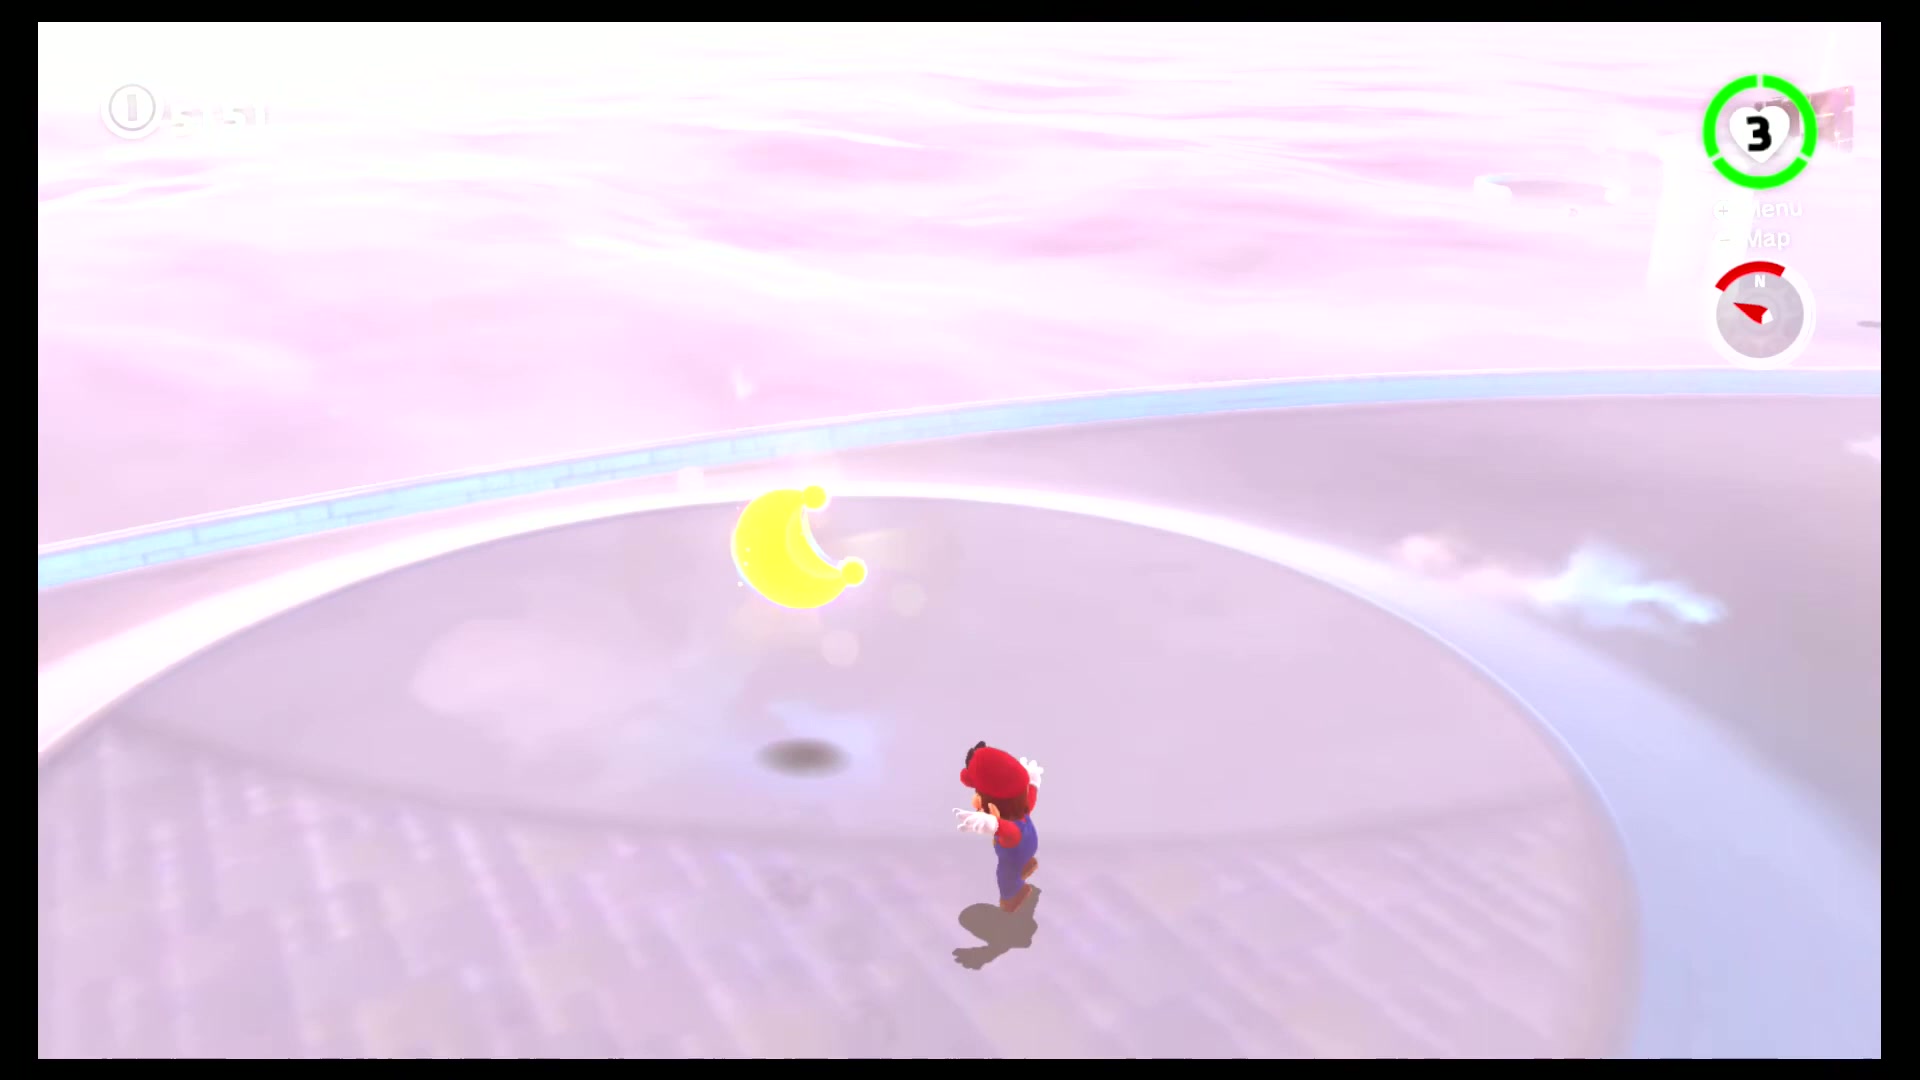
Found with Dark Side Art 4
On a wall on the bottom part of the main area near the Binoculars, you can find a piece of Hint Art. The Hint Art shows a large circle along with eight smaller circles and a moon in one of the smaller circles. Mario must travel back to the Cloud Kingdom and ground pound the middle of a circle sticking out of the ground in the northwest of the main area to be rewarded with a moon.

Found with Dark Side Art 5
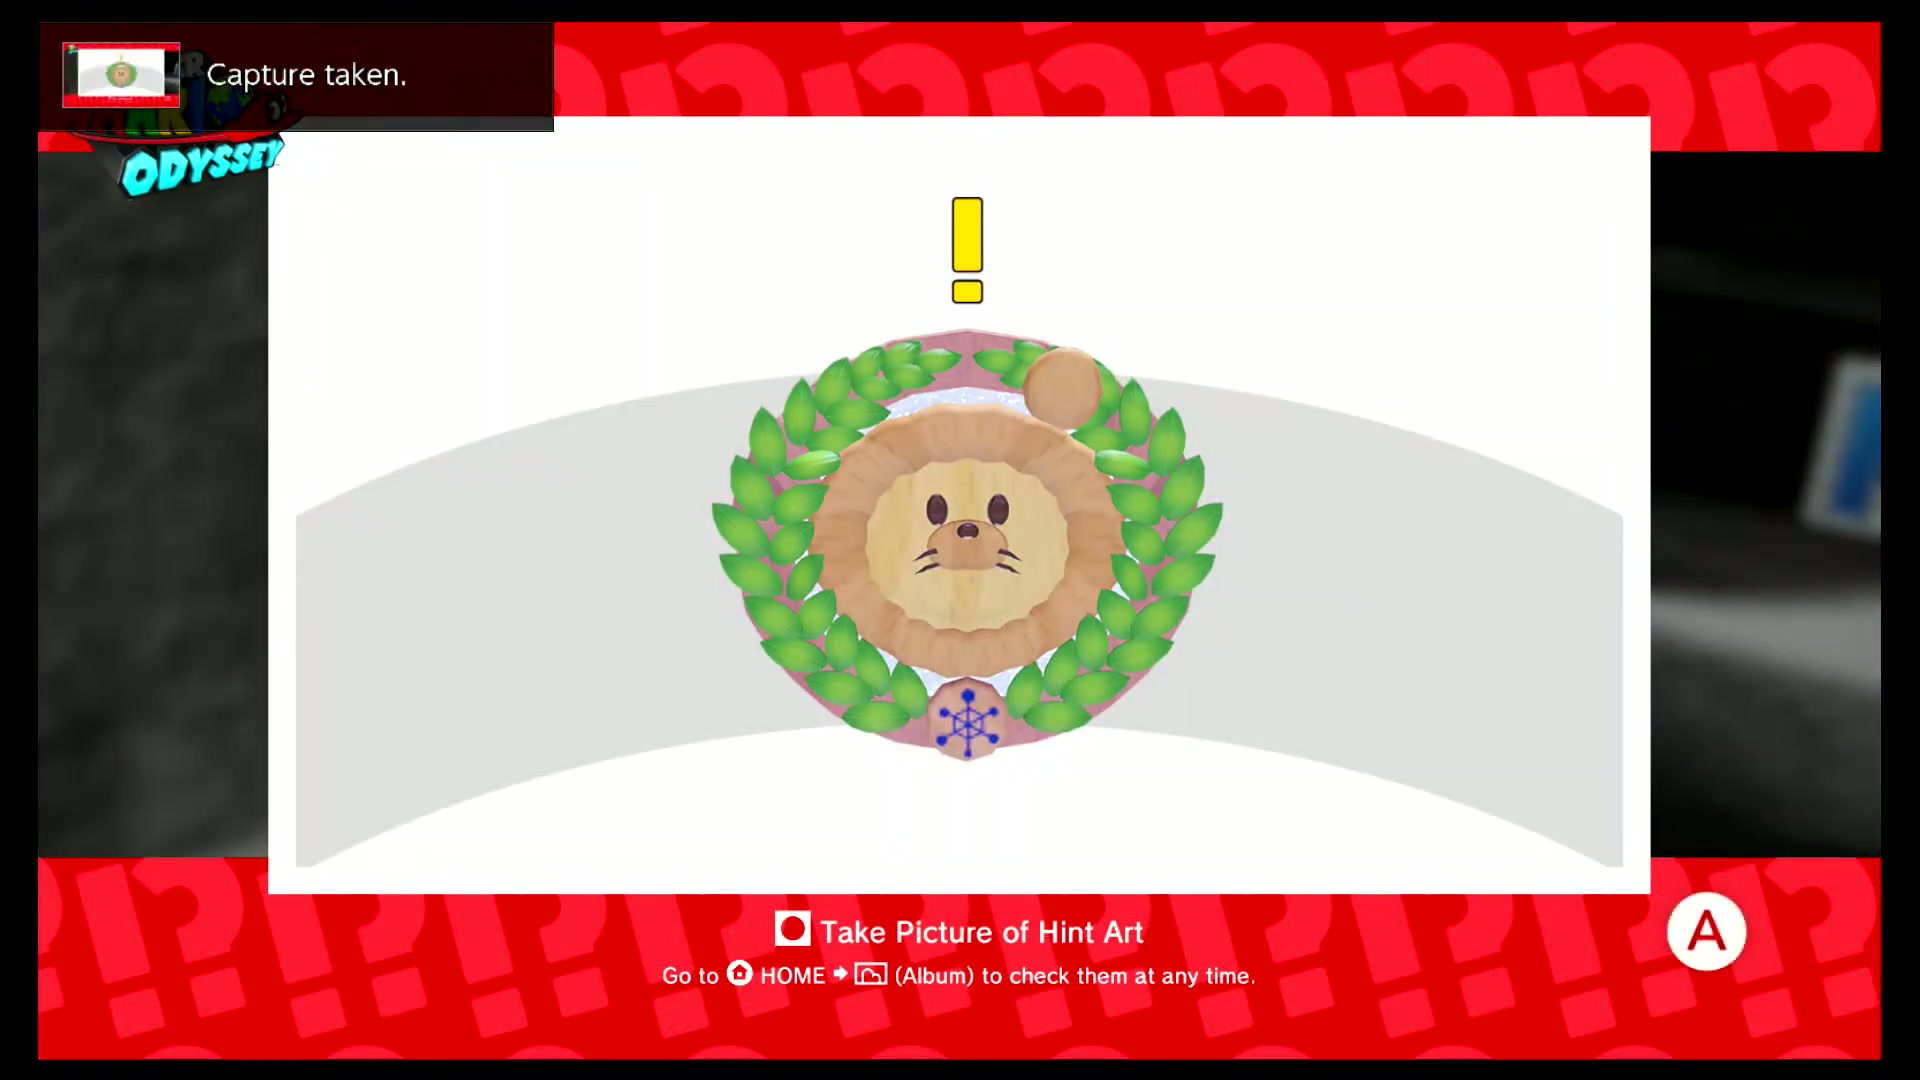
By dropping off to an area below the Binoculars in the main area, you can find a piece of Hint Art. The Hint Art shows a wooden Shiverian sign with an exclamation mark above it. Mario must travel back to the Snow Kingdom and must ground pound the top of the wooded arch found in the Snowline Circuit to be rewarded with a moon.

Found with Dark Side Art 6
On the second part of the main area on the wall of the platform with the Binoculars, you can find a piece of Hint Art. The Hint Art shows four boxes: One with a pair of Binoculars, one with three umbrellas, one with Talkatoo, and one with two columns and an "X" in the middle of the columns. Mario must travel back to the Seaside Kingdom and ground pound the space between two columns near the Rolling Canyon checkpoint to be rewarded with a moon.

Found with Dark Side Art 7
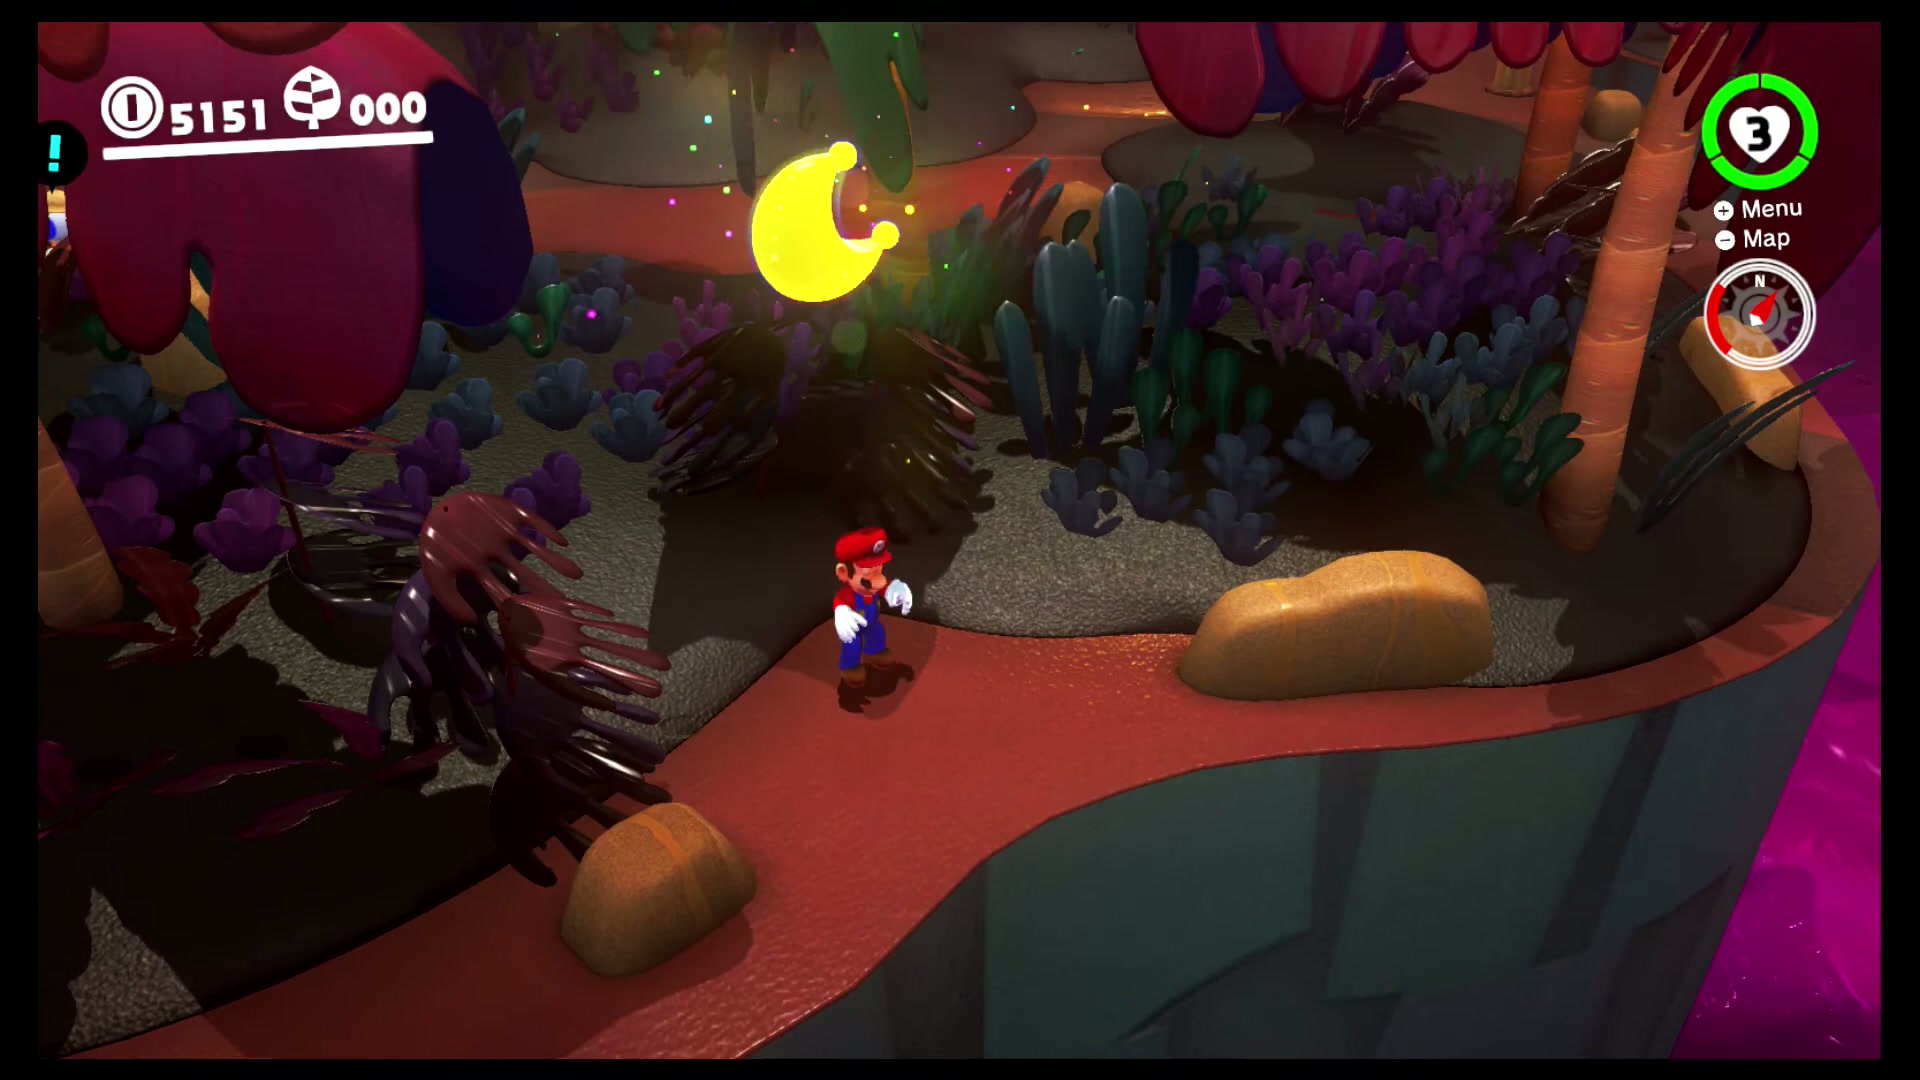
Behind a pile of vegetables on the third part of the main area, you can find a piece of Hint Art. The Hint Art shows the corner of an area in the Lost Kingdom. Mario must travel back to the Lost Kingdom and ground pound a corner of the ground between the red terrain and the dark brown terrain near the Odyssey to be rewarded with a moon.
Found with Dark Side Art 8
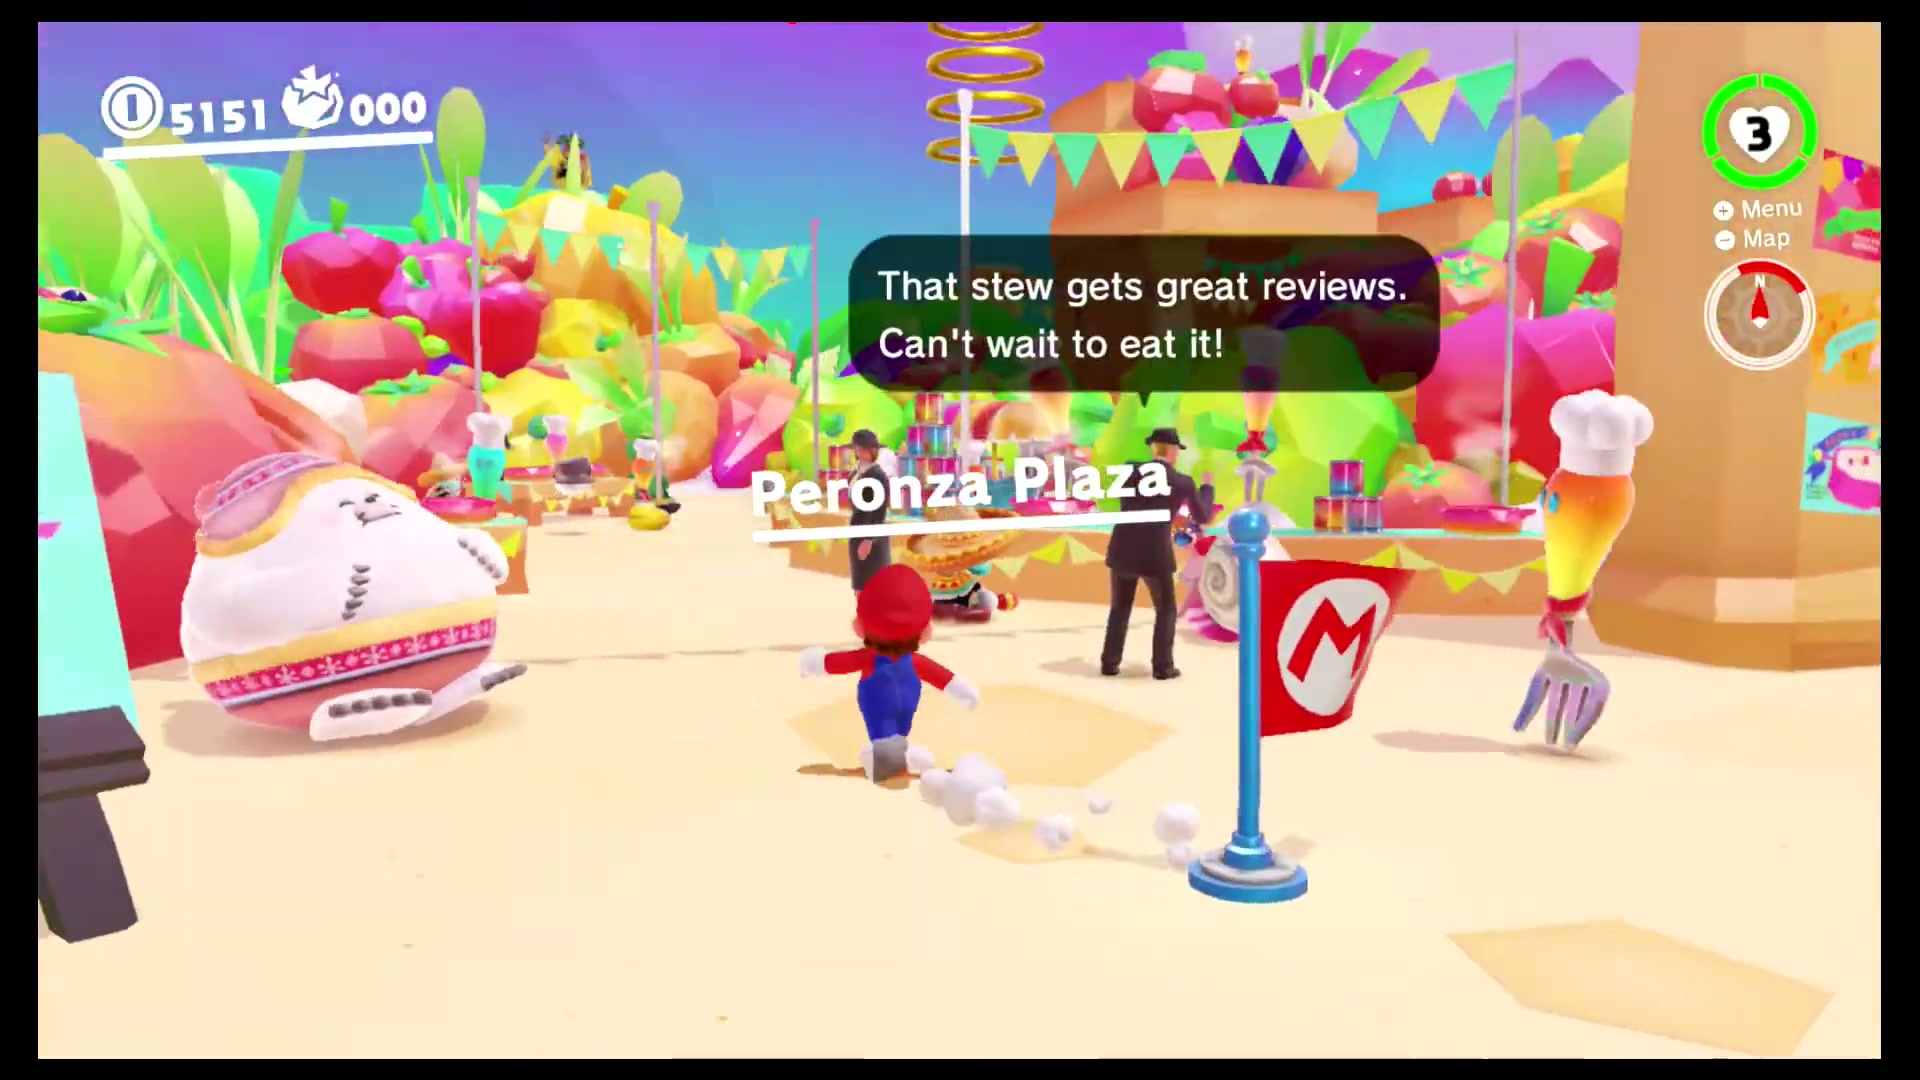
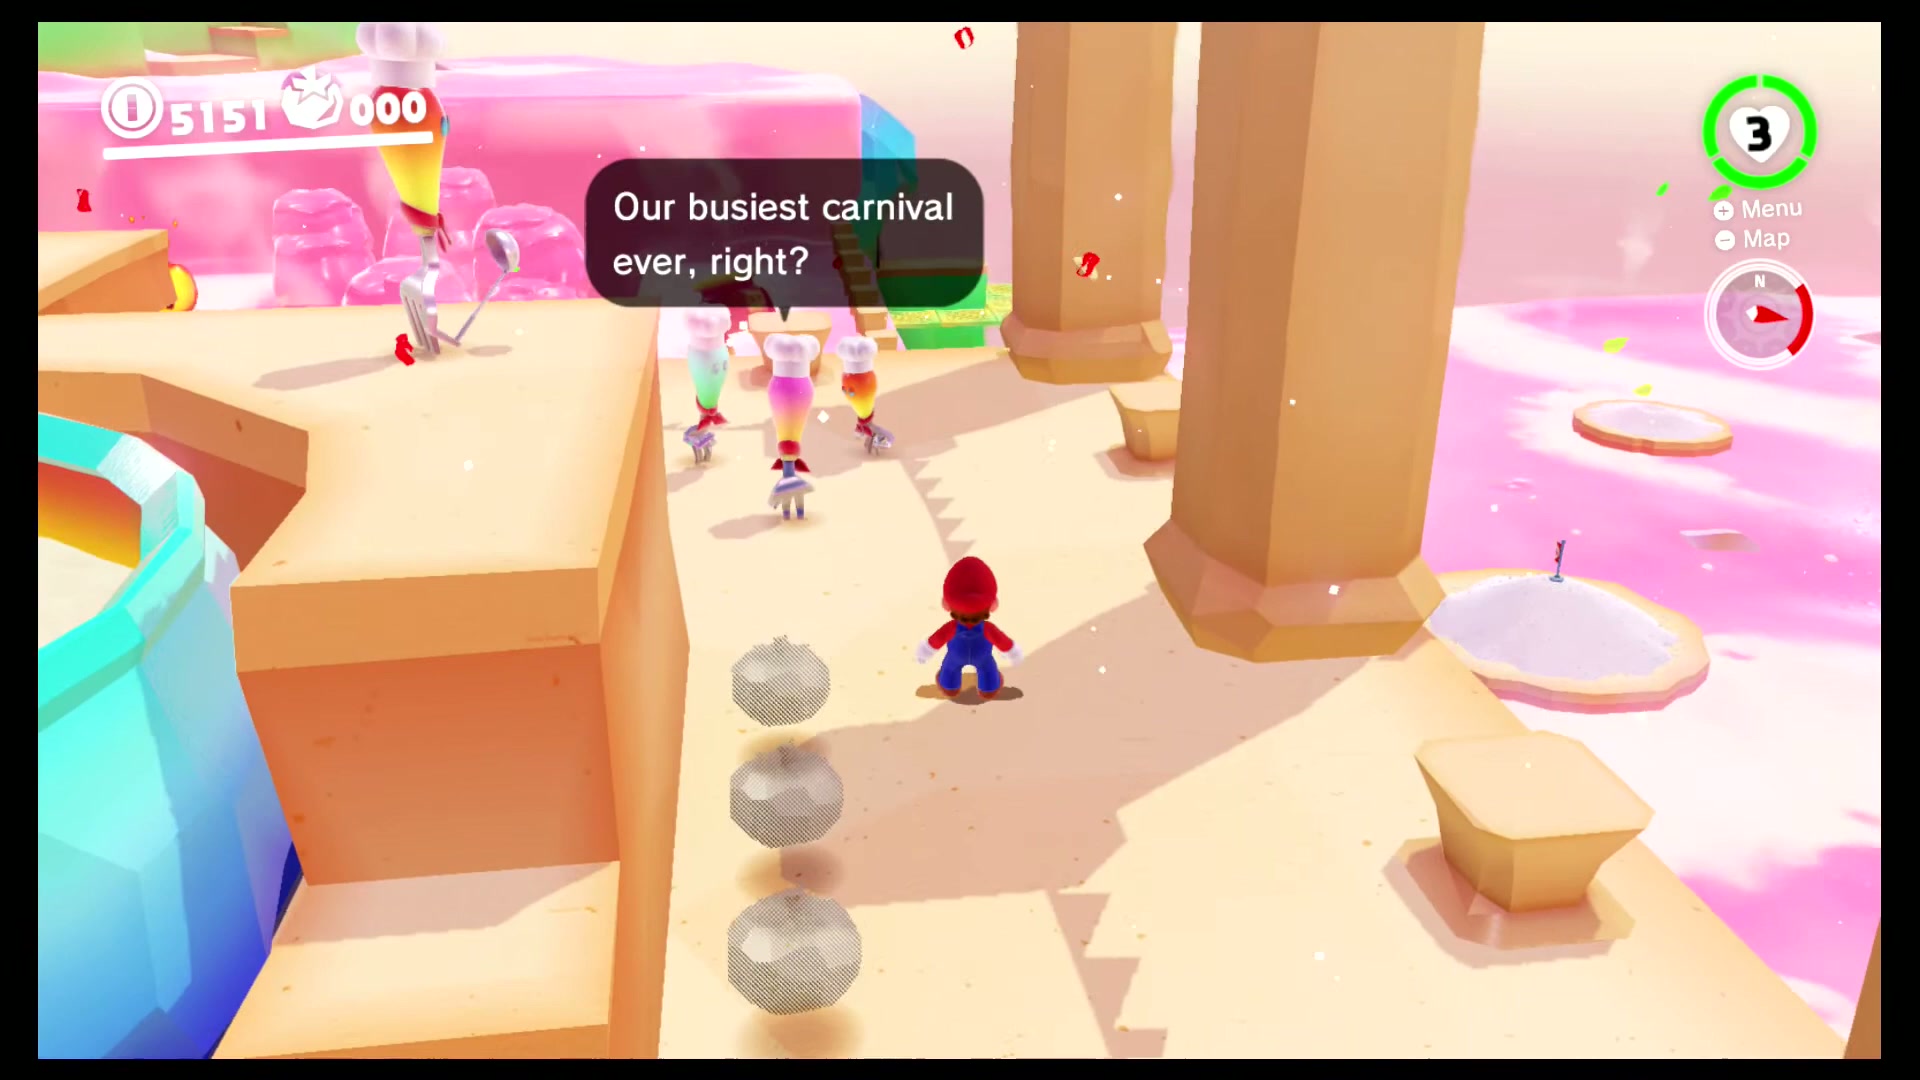
To the left side of the wall between the third and fourth parts of the main area, you can find a piece of Hint Art. The Hint Art shows two overhead shots of the Peronza Plaza in the Luncheon Kingdom. Mario must travel back to the Luncheon Kingdom and ground pound next to one of the columns in the Peronza Plaza to be rewarded with a moon.
Found with Dark Side Art 9
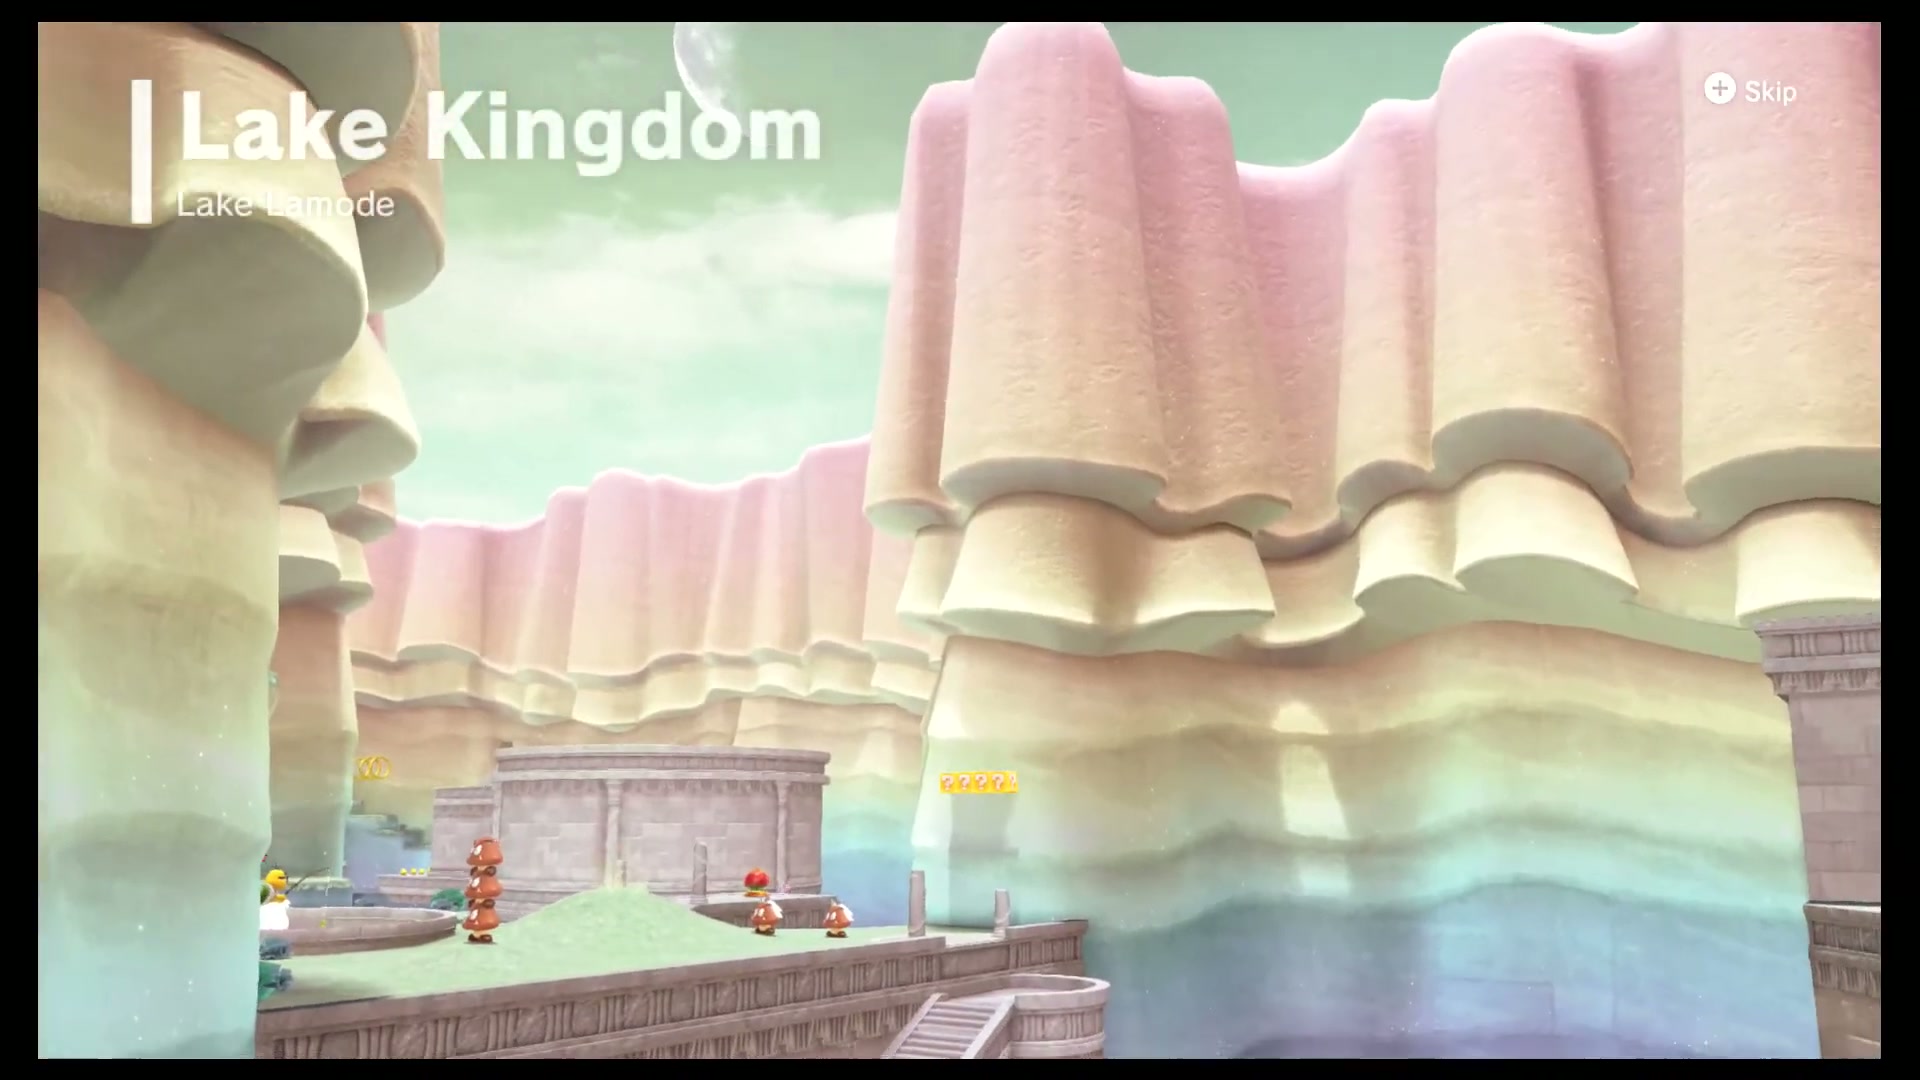
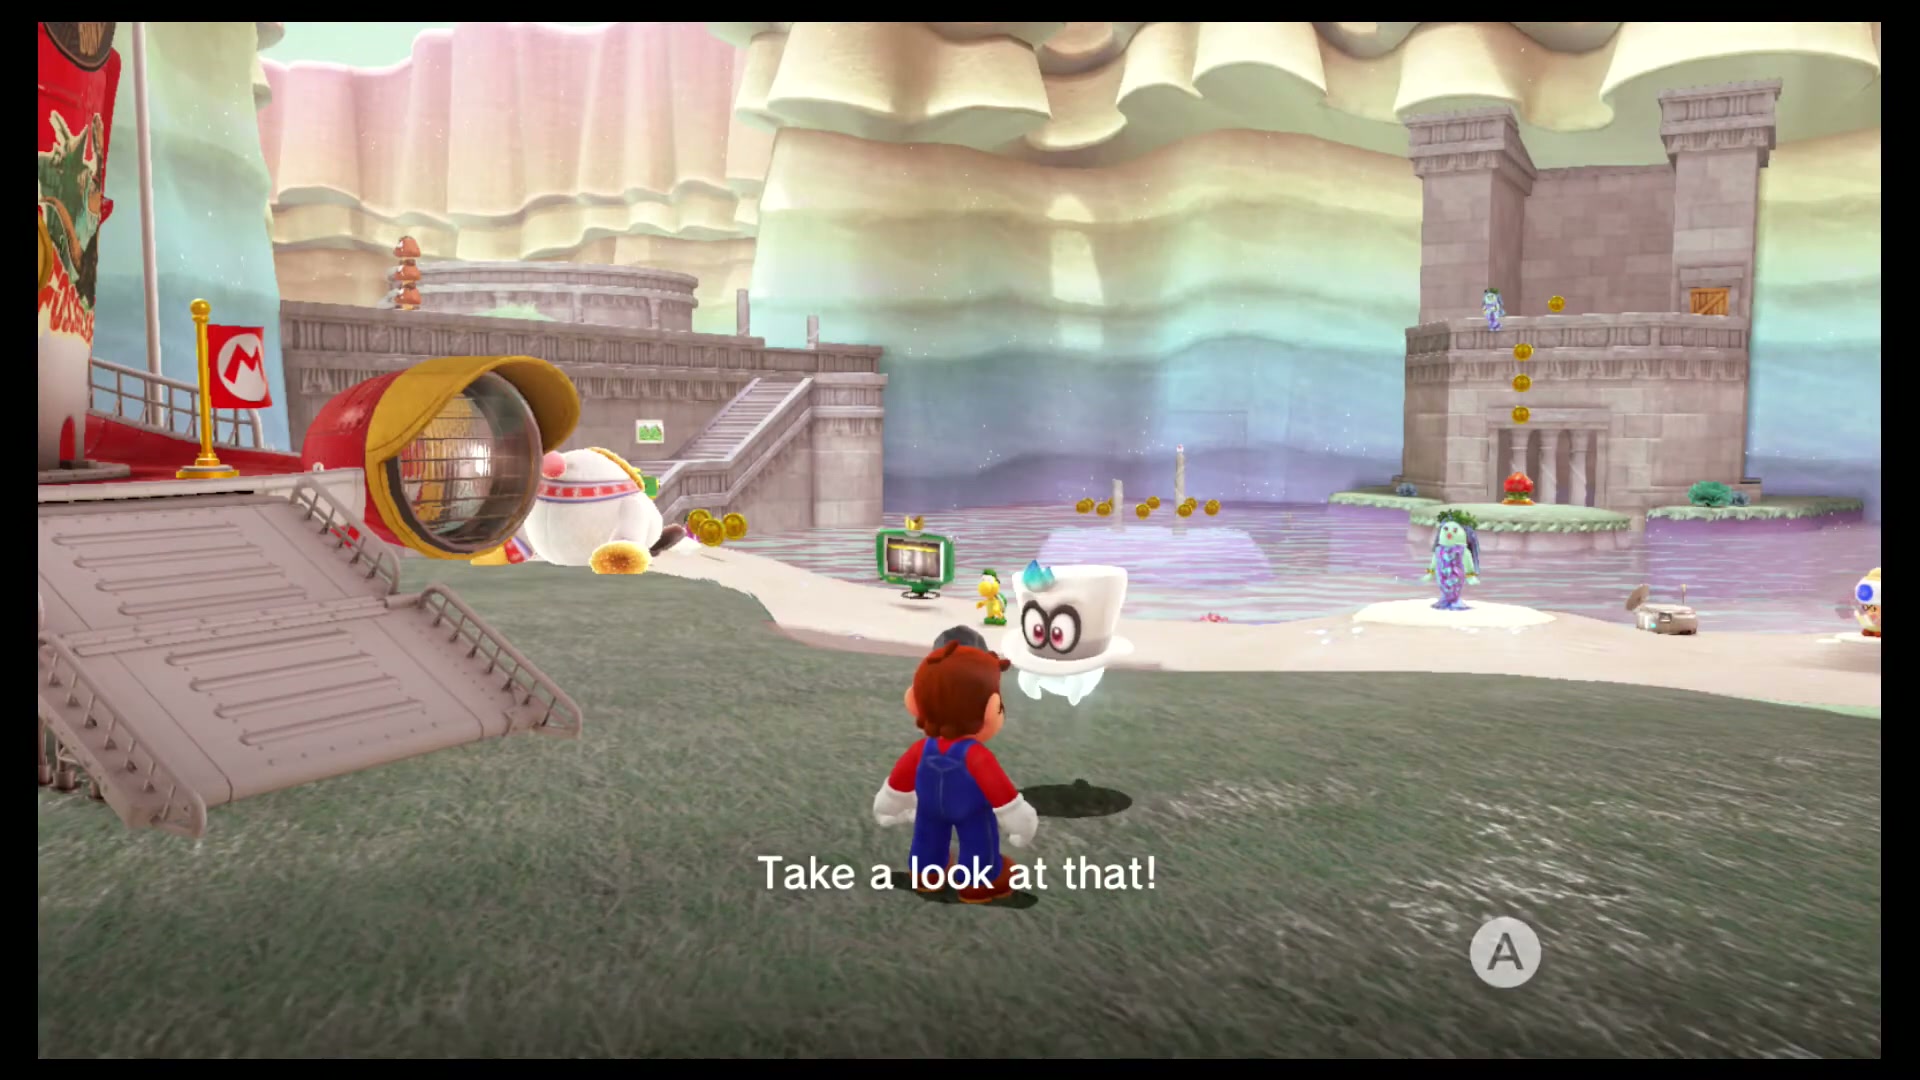
To the right side of the wall between the third and fourth parts of the main area, you can find a piece of Hint Art. The Hint Art shows eight columns with the last three being broken and a moon found between the last two. Mario must travel back to the Lake Kingdom and ground pound between two columns with one missing at the Water Plaza Entrance to be rewarded with a moon.
Found with Dark Side Art 10
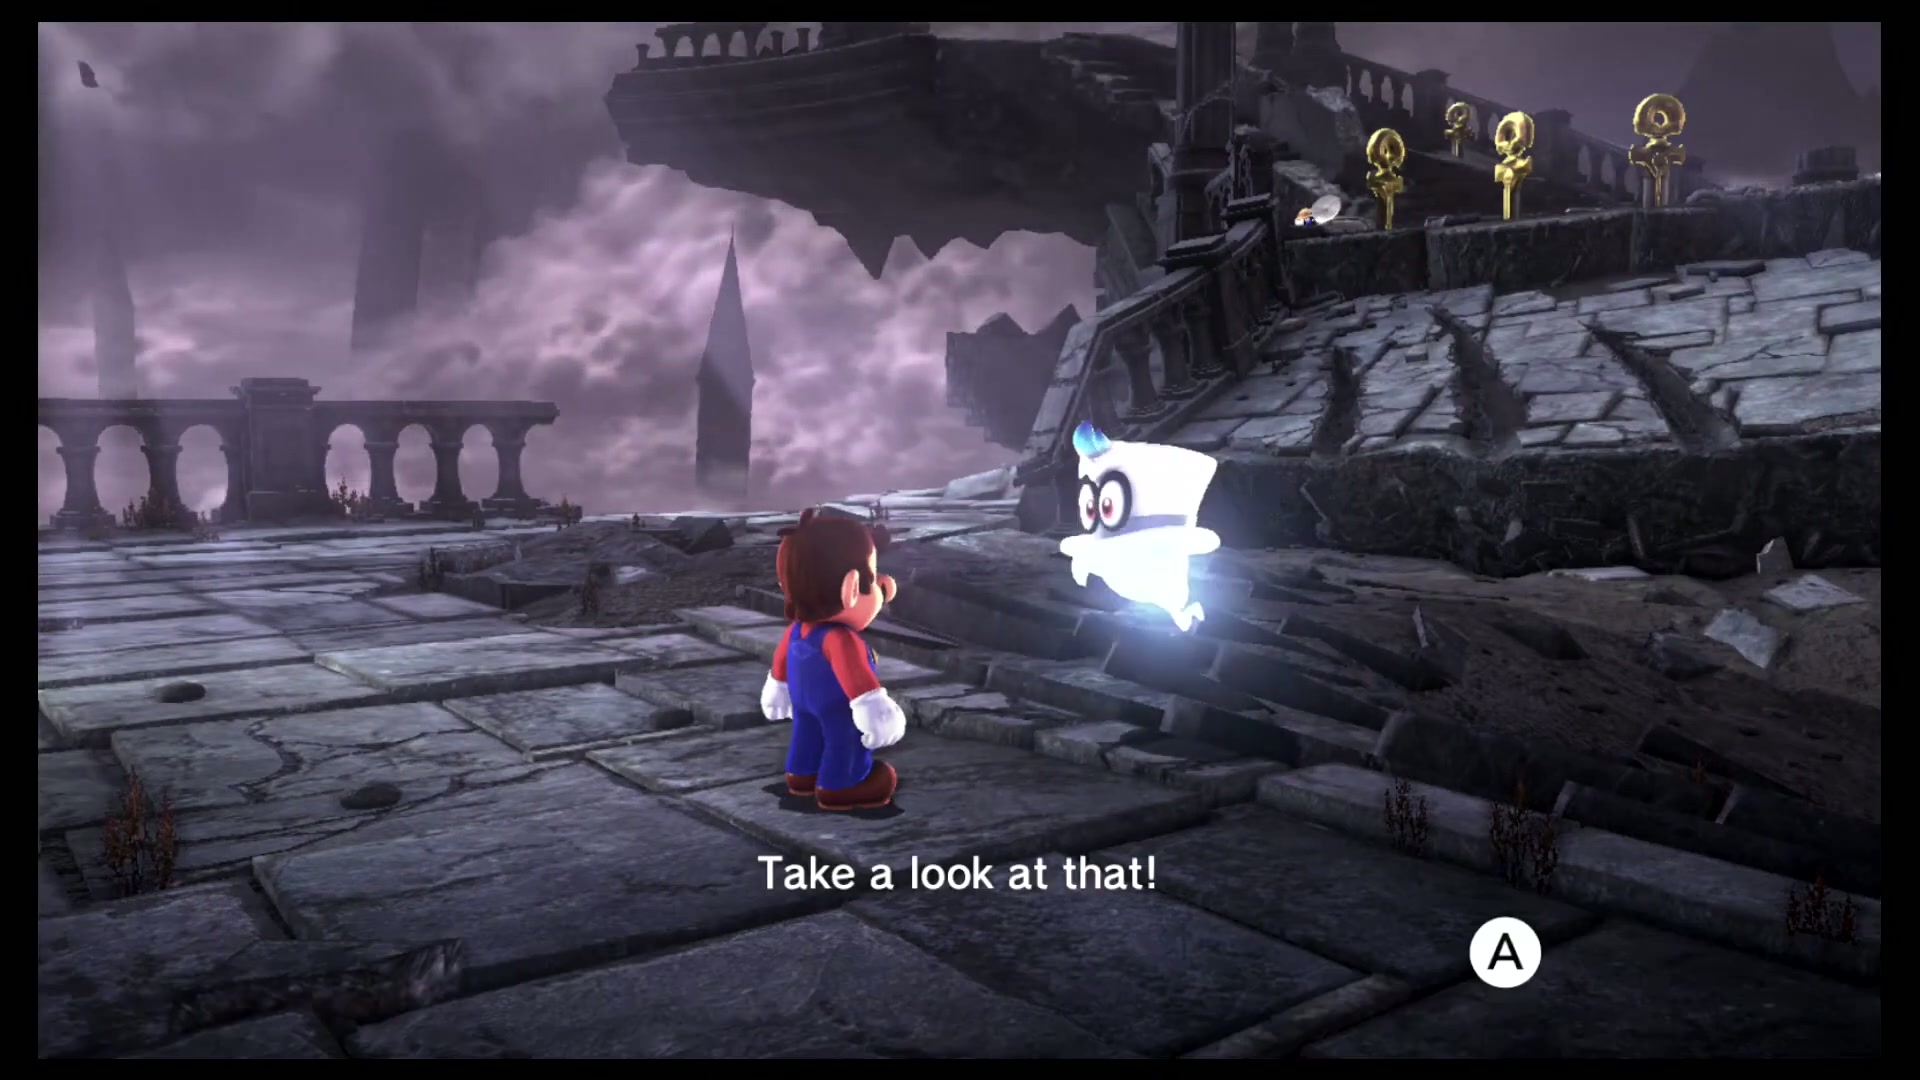
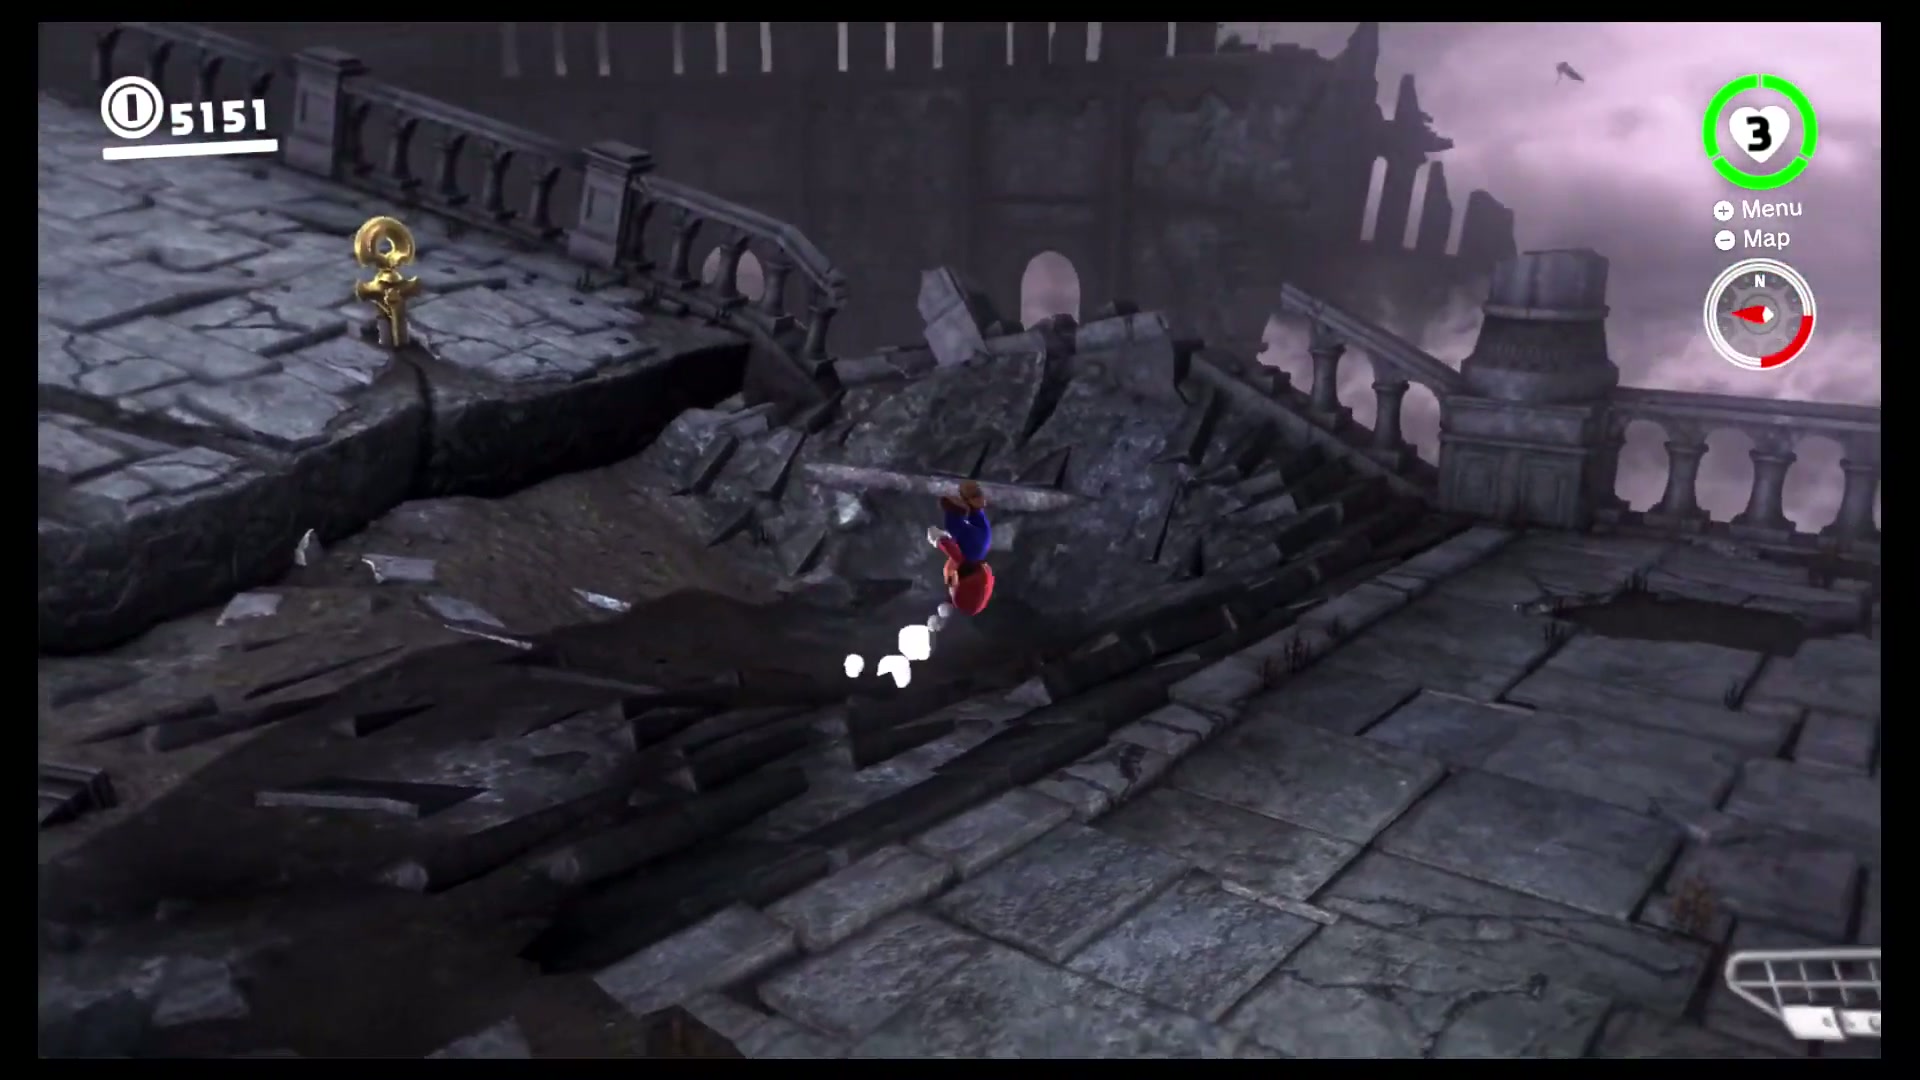
Behind a pile of vegetables on the fourth part of the main area on the floor, you can find a piece of Hint Art. The Hint Art shows Poochy digging on a glowing spot in the Ruined Kingdom. Mario must travel back to the Ruined Kingdom and ground pound the spot shown by the Hint Art to be rewarded with a moon.
Image Sources and Credits
Moon names, checklist order and reference screenshots are cross-checked against Super Mario Wiki and the in-game Dark Side list order. Each uploaded media item includes source page credit in WordPress.
More Super Mario Odyssey videos are available on The Gaming Guide Archives YouTube channel.
FAQ
How many Power Moons are in
Dark Side has 24 listed Power Moons.
Can every Dark Side moon be collected on the first visit?
No. Some moons require later story progress, post-game access, Moon Rock unlocks, races, shop access, NPC conditions or challenge rooms.
What is the best way to clean up
Work by area and checkpoint. Clear nearby moons together, then use the Moon Rock markers and this checklist for the late cleanup pass.
Darker Side: Long Journey’s End
Darker Side is the final Super Mario Odyssey challenge kingdom and unlocks after collecting 500 Power Moons. It does not use a long numbered moon checklist like the other kingdoms. Instead, the goal is to survive one extended gauntlet that tests captures, movement, timing and patience from across the whole game.
How to prepare for Darker Side
Before entering Culmina Crater, buy a Life-Up Heart if available, practice long jumps, cap dives and capture transitions, and make sure you are comfortable with Yoshi, Pokio, Glydon, Lava Bubble and tank-style sections. Treat the level like a marathon: take safe jumps, wait for cycles and avoid rushing after a mistake.
Darker Side reward
Reaching the end rewards the final major completion moon, Long Journey’s End. If you are struggling, break the gauntlet into sections and practice the parts where you lose health most often instead of trying to speed through the full route.