

Lost Kingdom, Forgotten Isle, is a compact but tricky Super Mario Odyssey kingdom filled with poison swamp routes, Tropical Wiggler stretches, Fuzzy hazards, stone blocks and Moon Rock cleanup. This guide covers all 35 Lost Kingdom Power Moons in checklist order.
Quick Overview
| Game | Super Mario Odyssey |
|---|---|
| Kingdom | Lost Kingdom – Forgotten Isle |
| Total Power Moons | 35 |
| Main Capture | Tropical Wiggler |
| Best Route | Clear the mountain path, sweep Swamp Hill and Rocky Mountain Summit, finish Wiggler routes, then return for Moon Rock, races and challenge-room moons. |
Lost Kingdom Power Moon Guide: All 35 Moons
Use the cards below as your route checklist. Each moon includes the core location, the action required and a practical tip for avoiding the poison, Fuzzies and awkward cliff angles around Forgotten Isle.
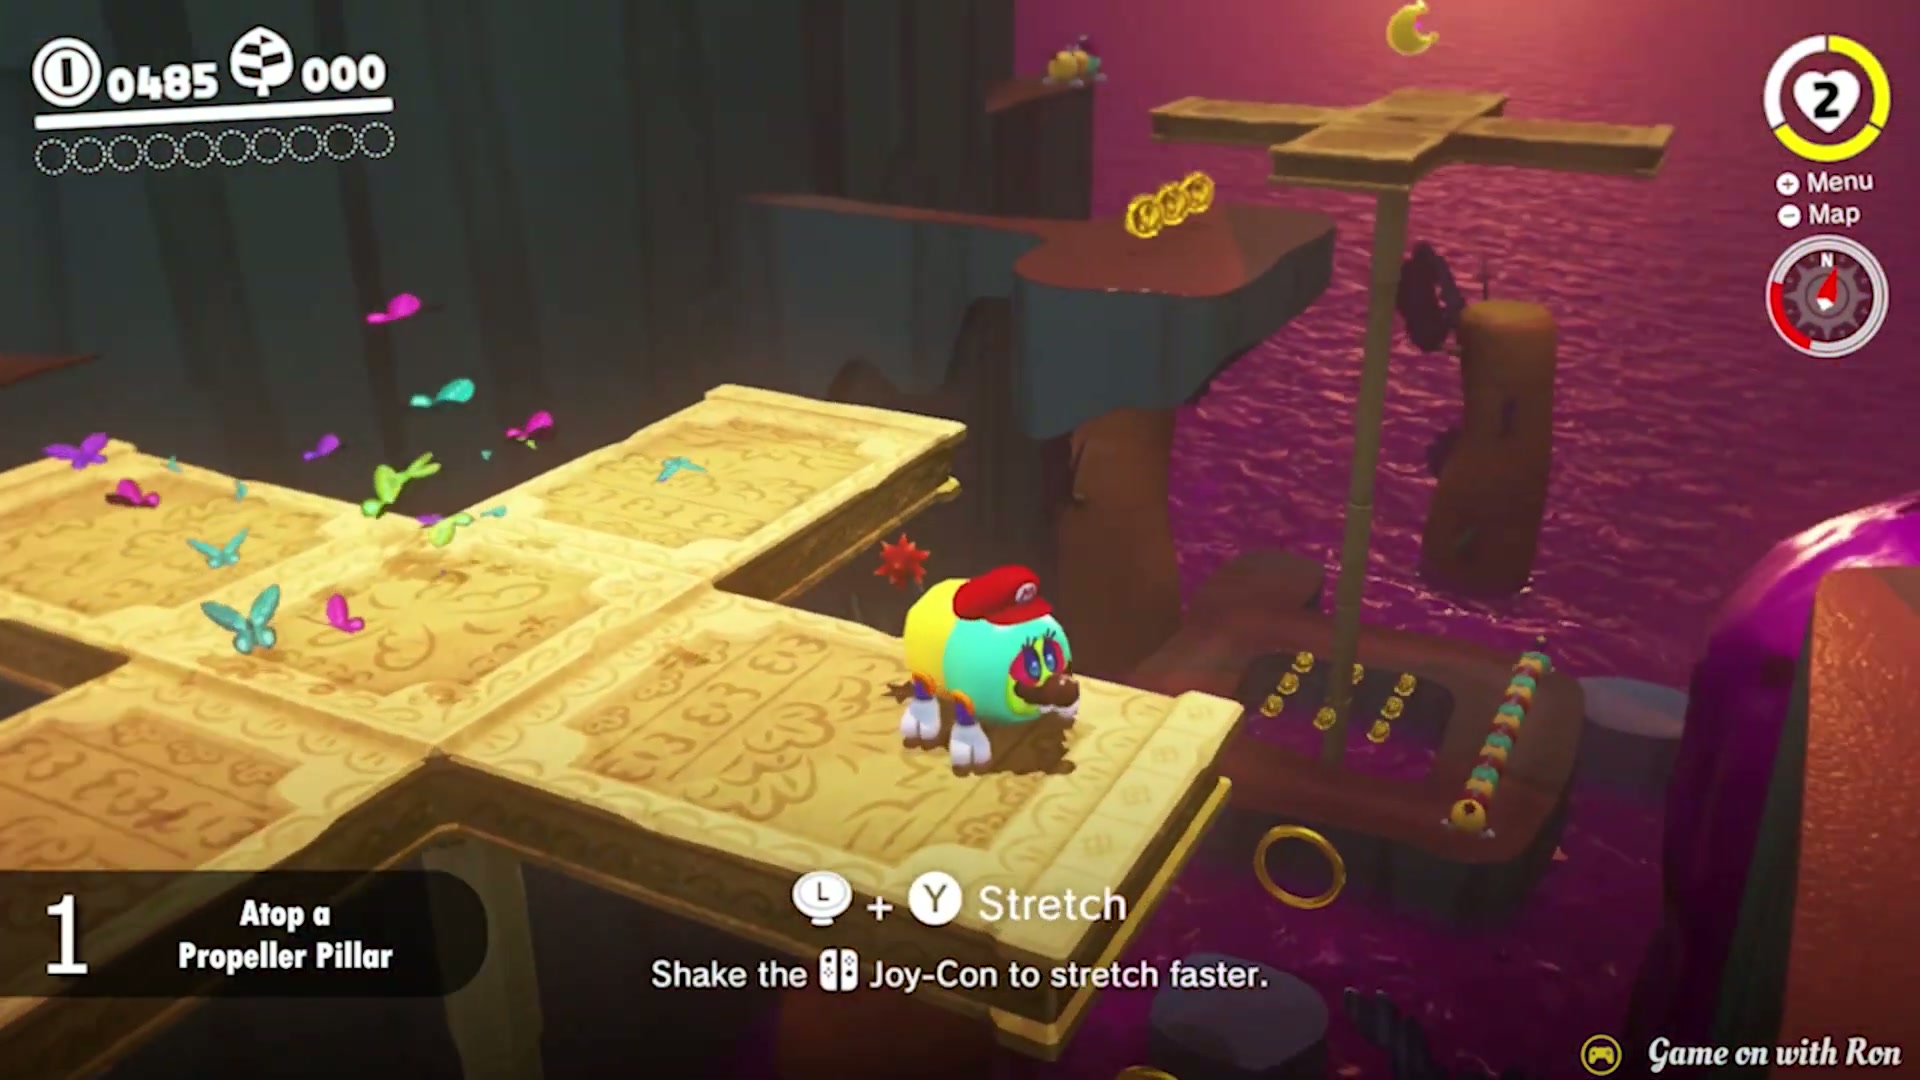

Power Moon #1 – Atop a Propeller Pillar
- Start from the Swamp Hill side of Forgotten Isle and look for the Tropical Wiggler near the red path and poison swamp.
- Capture the Tropical Wiggler, then stretch carefully toward the propeller-shaped stone platforms instead of trying to jump the poison gap as Mario.
- Line up each stretch before releasing the control stick. The safest route is to move from the red ground to the nearest propeller platform, then continue across to the higher pillar.
- Once you are on the propeller pillar with the Power Moon, uncapture or move Mario onto the top surface and collect the Moon.
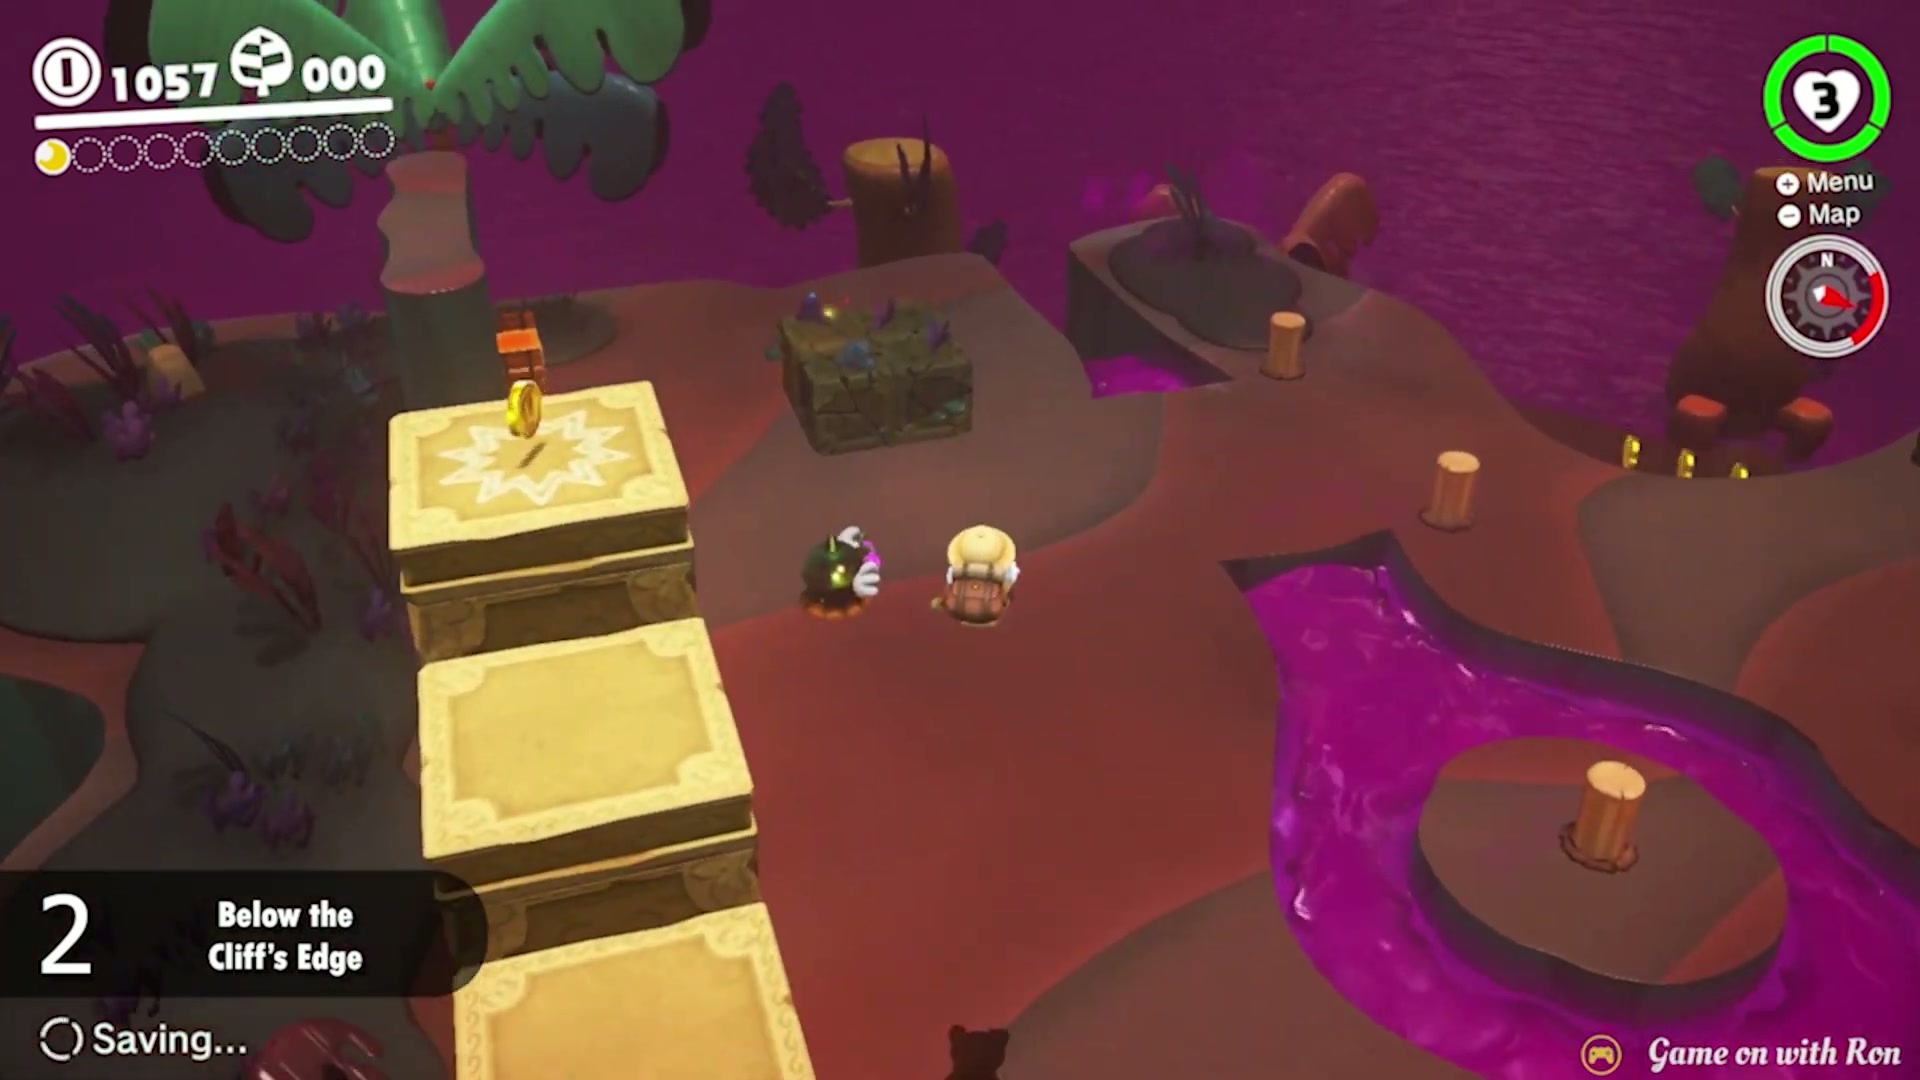
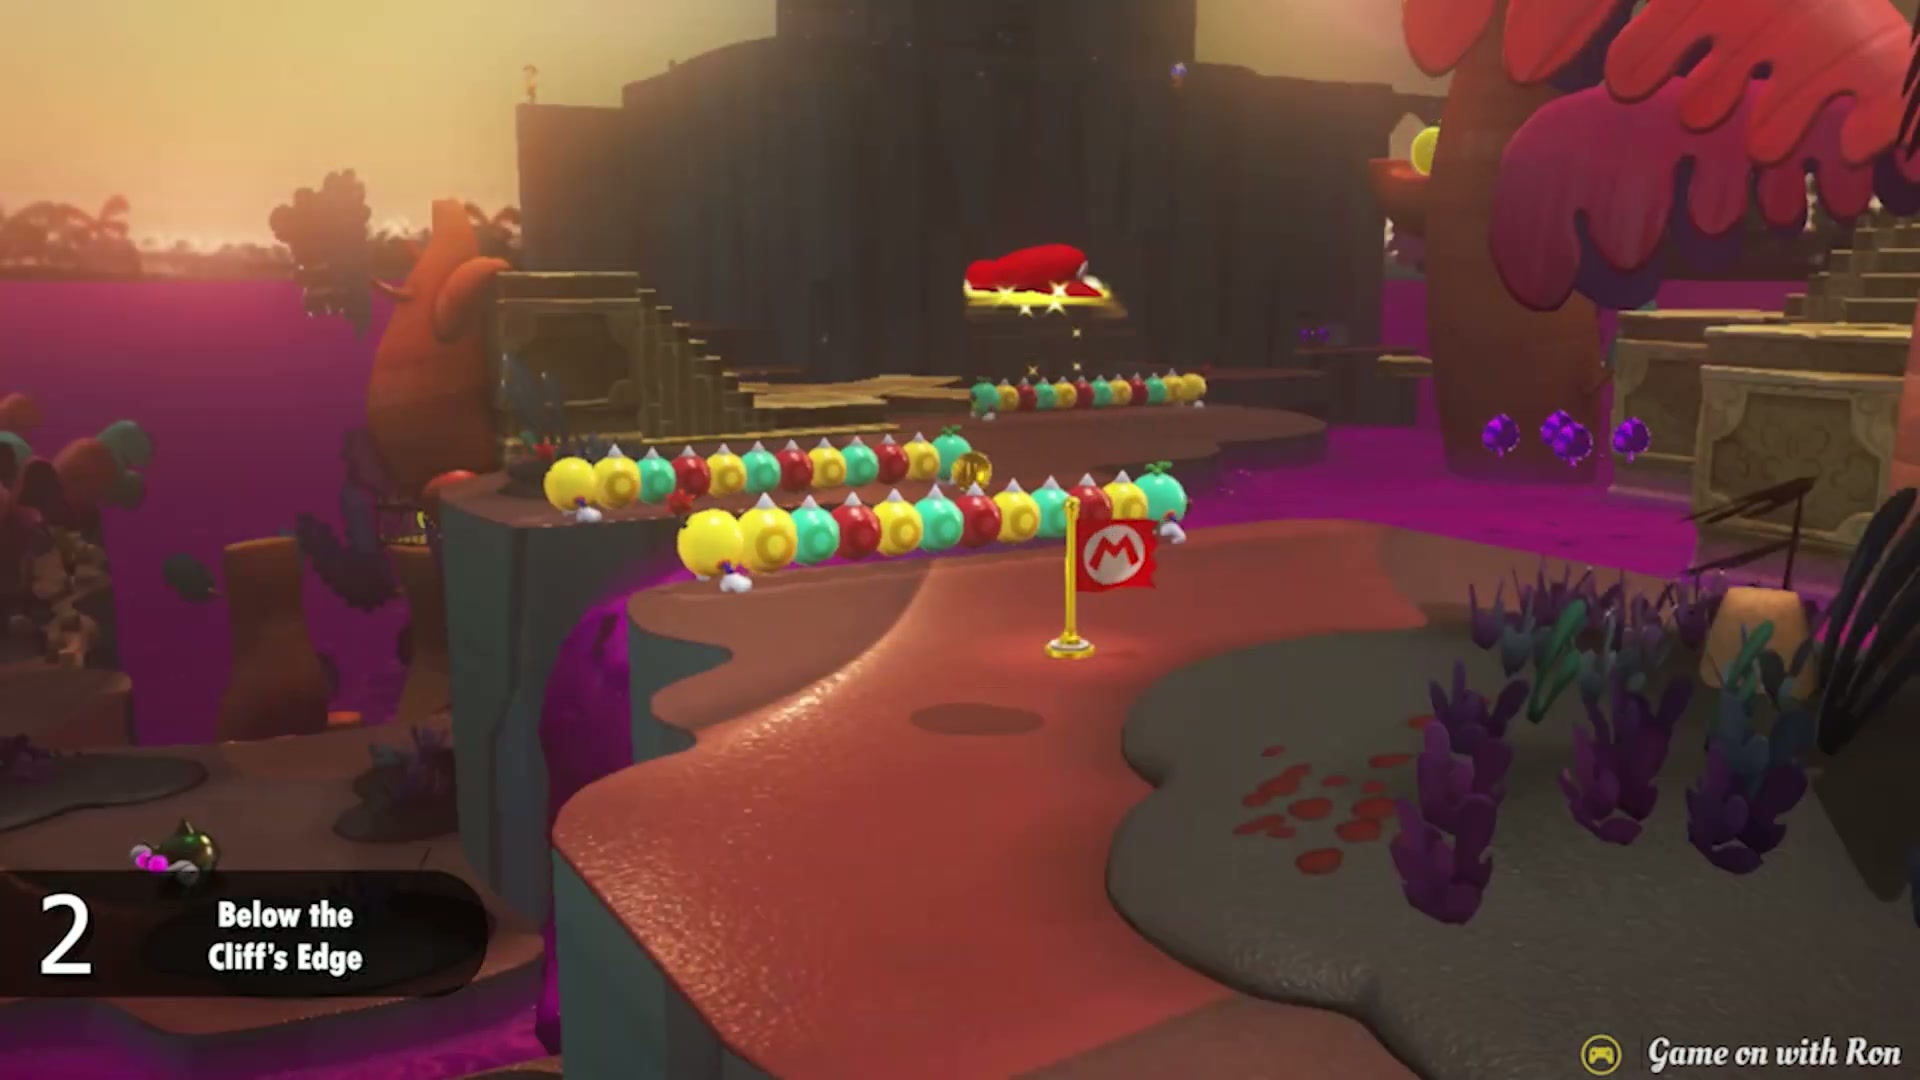
Power Moon #2 – Below the Cliff’s Edge
- Start near the Swamp Hill checkpoint and capture one of the Tropical Wigglers moving around the red path.
- Face the cliff edge and use the Wiggler’s stretch to move safely across the gap instead of dropping into the poison.
- Work your way down toward the narrow ledge below the main path. Keep the camera angled downward so you can see the safe landing spot.
- Stretch onto the ledge with the Power Moon, then move Mario onto the platform and grab it before returning to the main route.
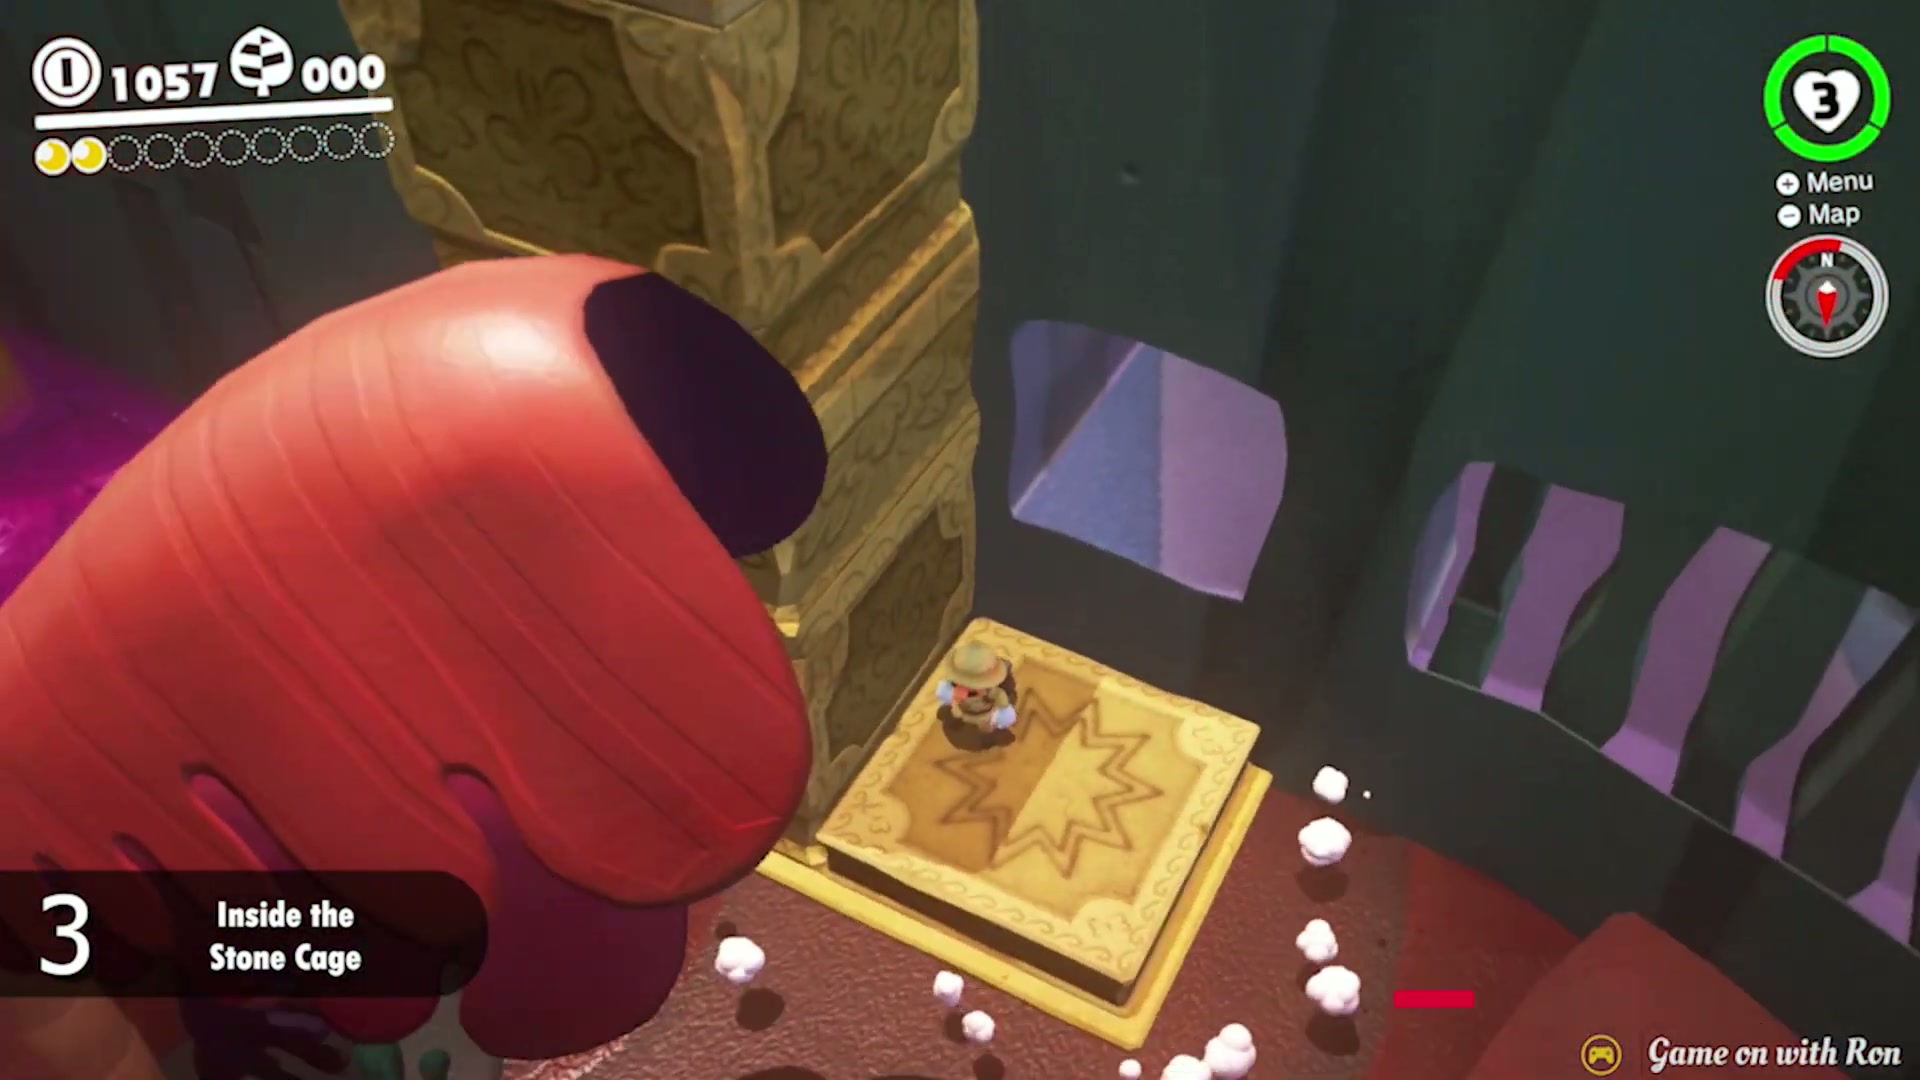
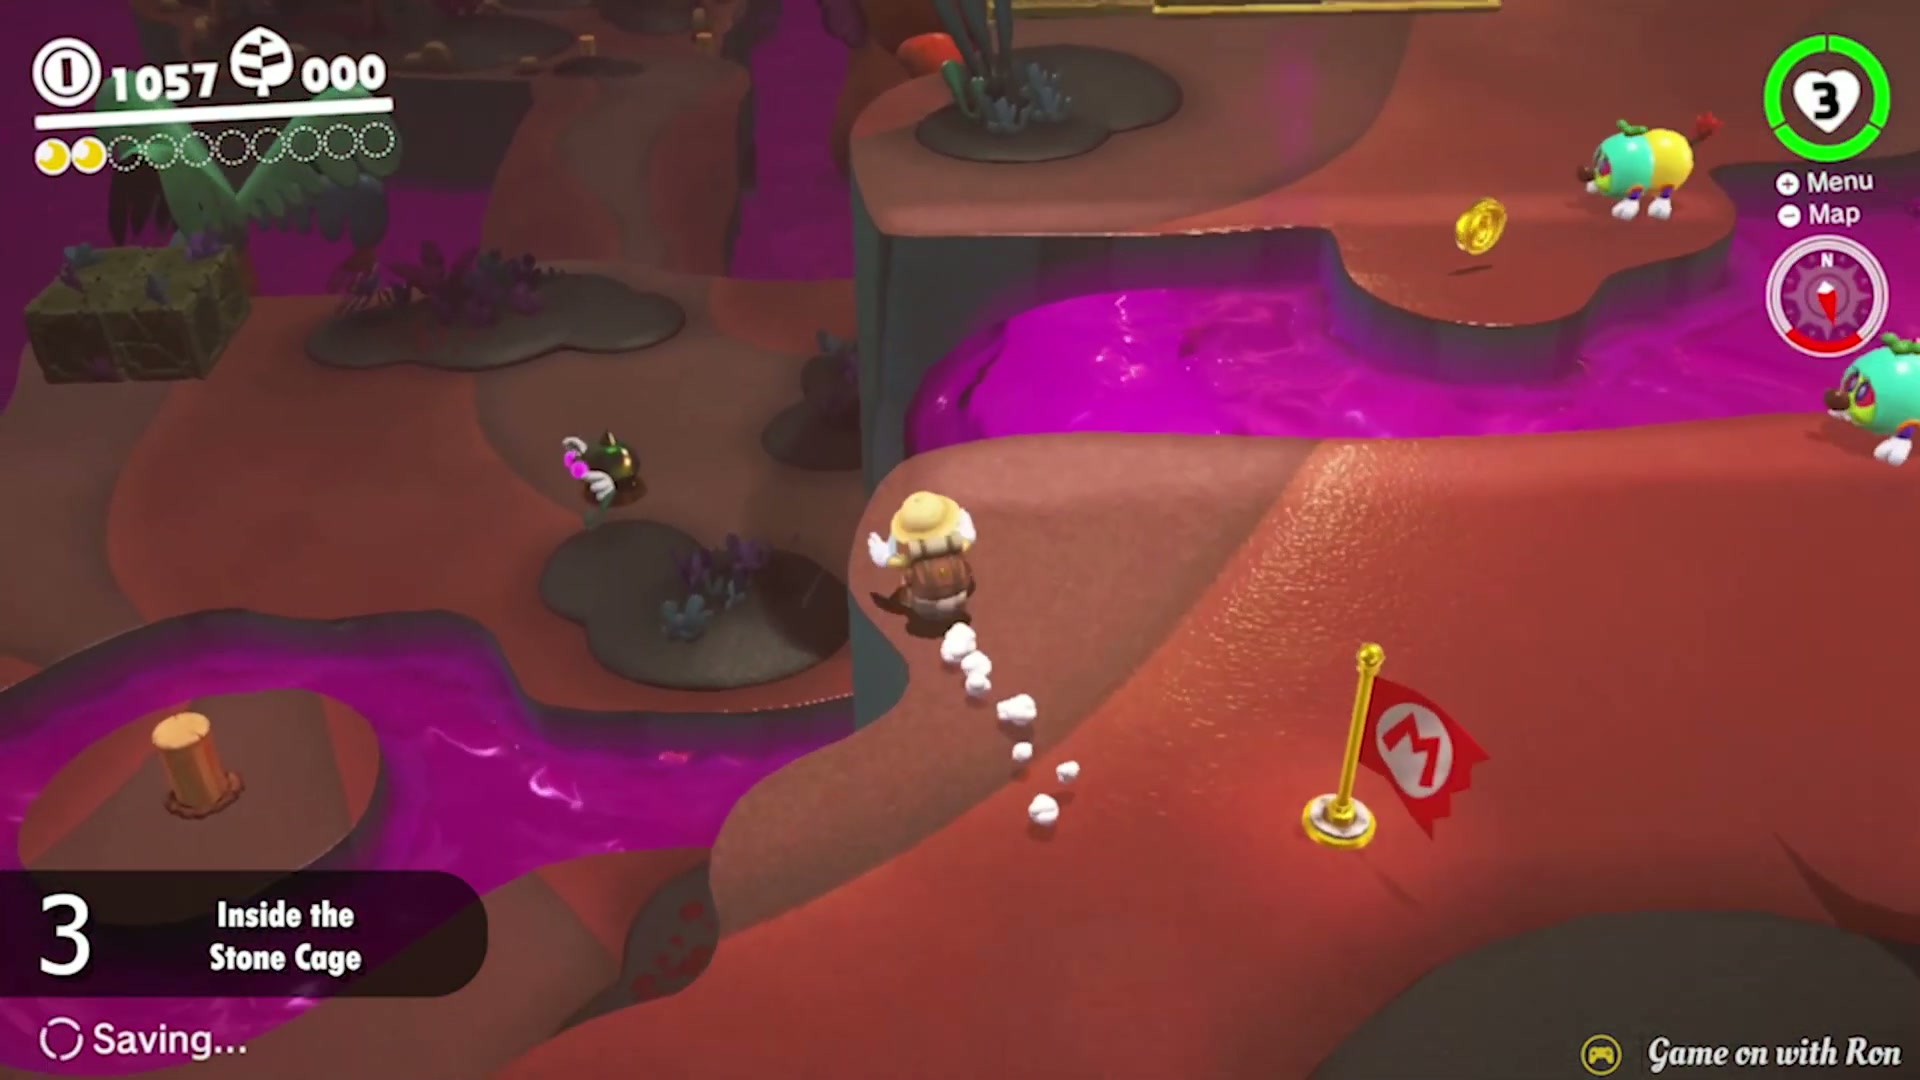
Power Moon #3 – Inside the Stone Cage
- From the Swamp Hill route, head toward the square stone cage structure near the poison and propeller platforms.
- Do not only check the front of the cage. Move around the side and angle the camera so you can see the hidden opening behind the wall and foliage.
- Drop or climb carefully into the cage opening, keeping Mario away from the poison below.
- Once inside the stone cage, walk to the glowing Power Moon and collect it before returning to the main path.
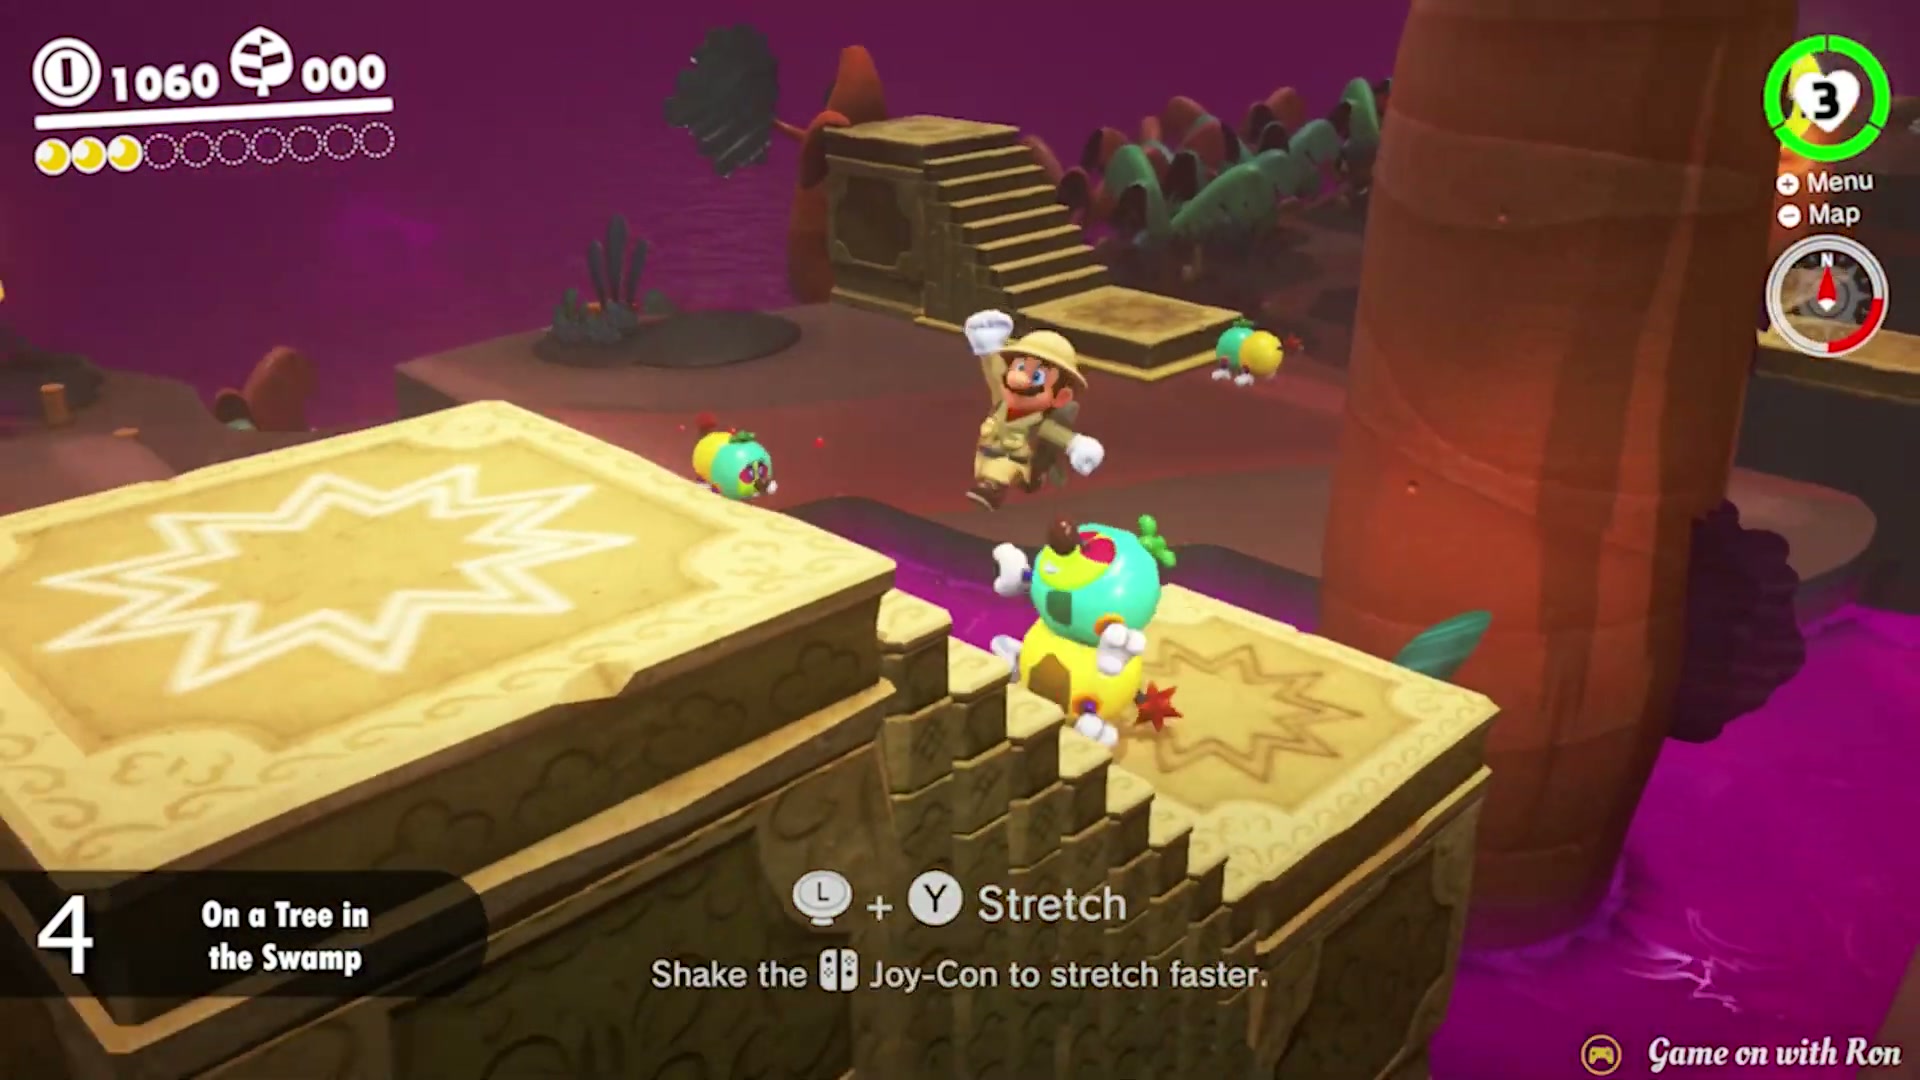
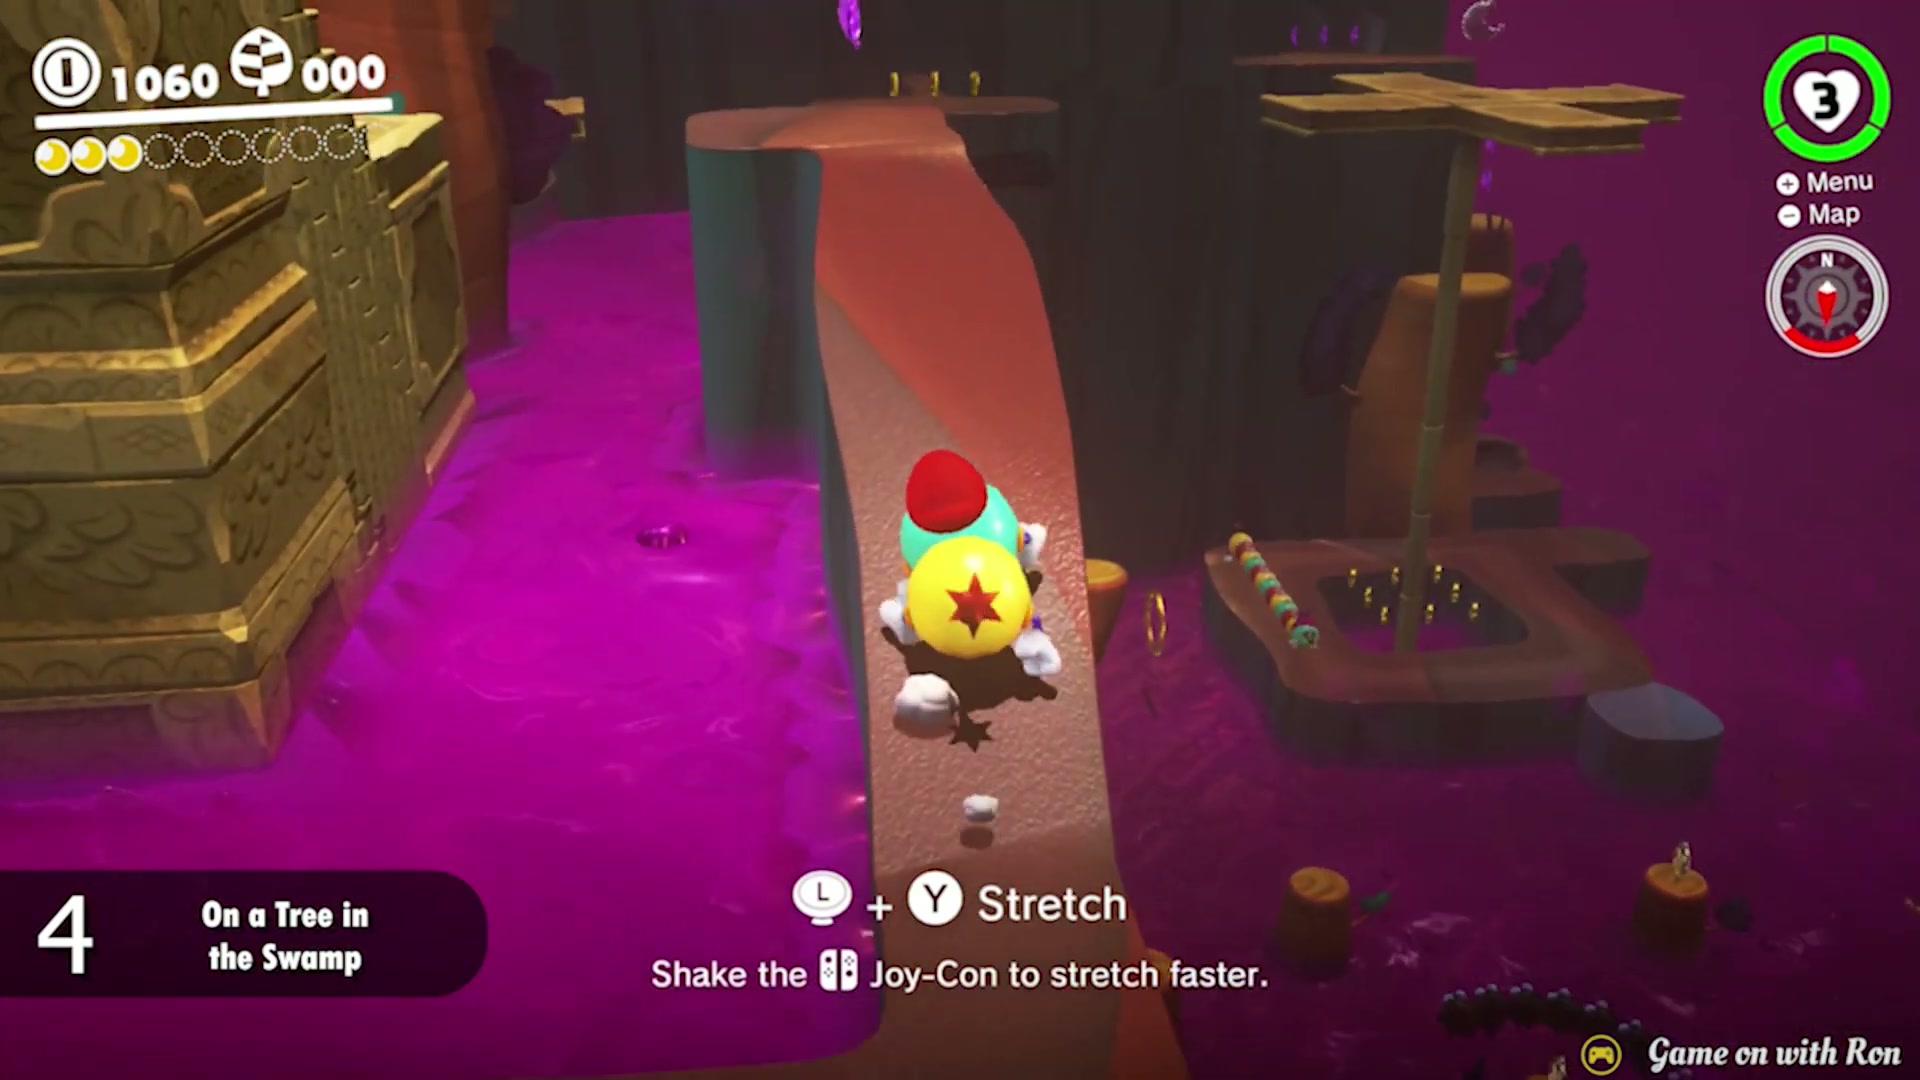
Power Moon #4 – On a Tree in the Swamp
- Capture a Tropical Wiggler near the Swamp Hill path and climb onto the higher red walkway.
- Look for the tall tree trunk standing beside the poison swamp. The Moon is not on the main path, so rotate the camera around the tree.
- Stretch around the trunk with the Tropical Wiggler and aim for the safe ledge near the hidden Moon.
- Release the stretch only when the landing is lined up, then collect the Power Moon on the tree before moving on.
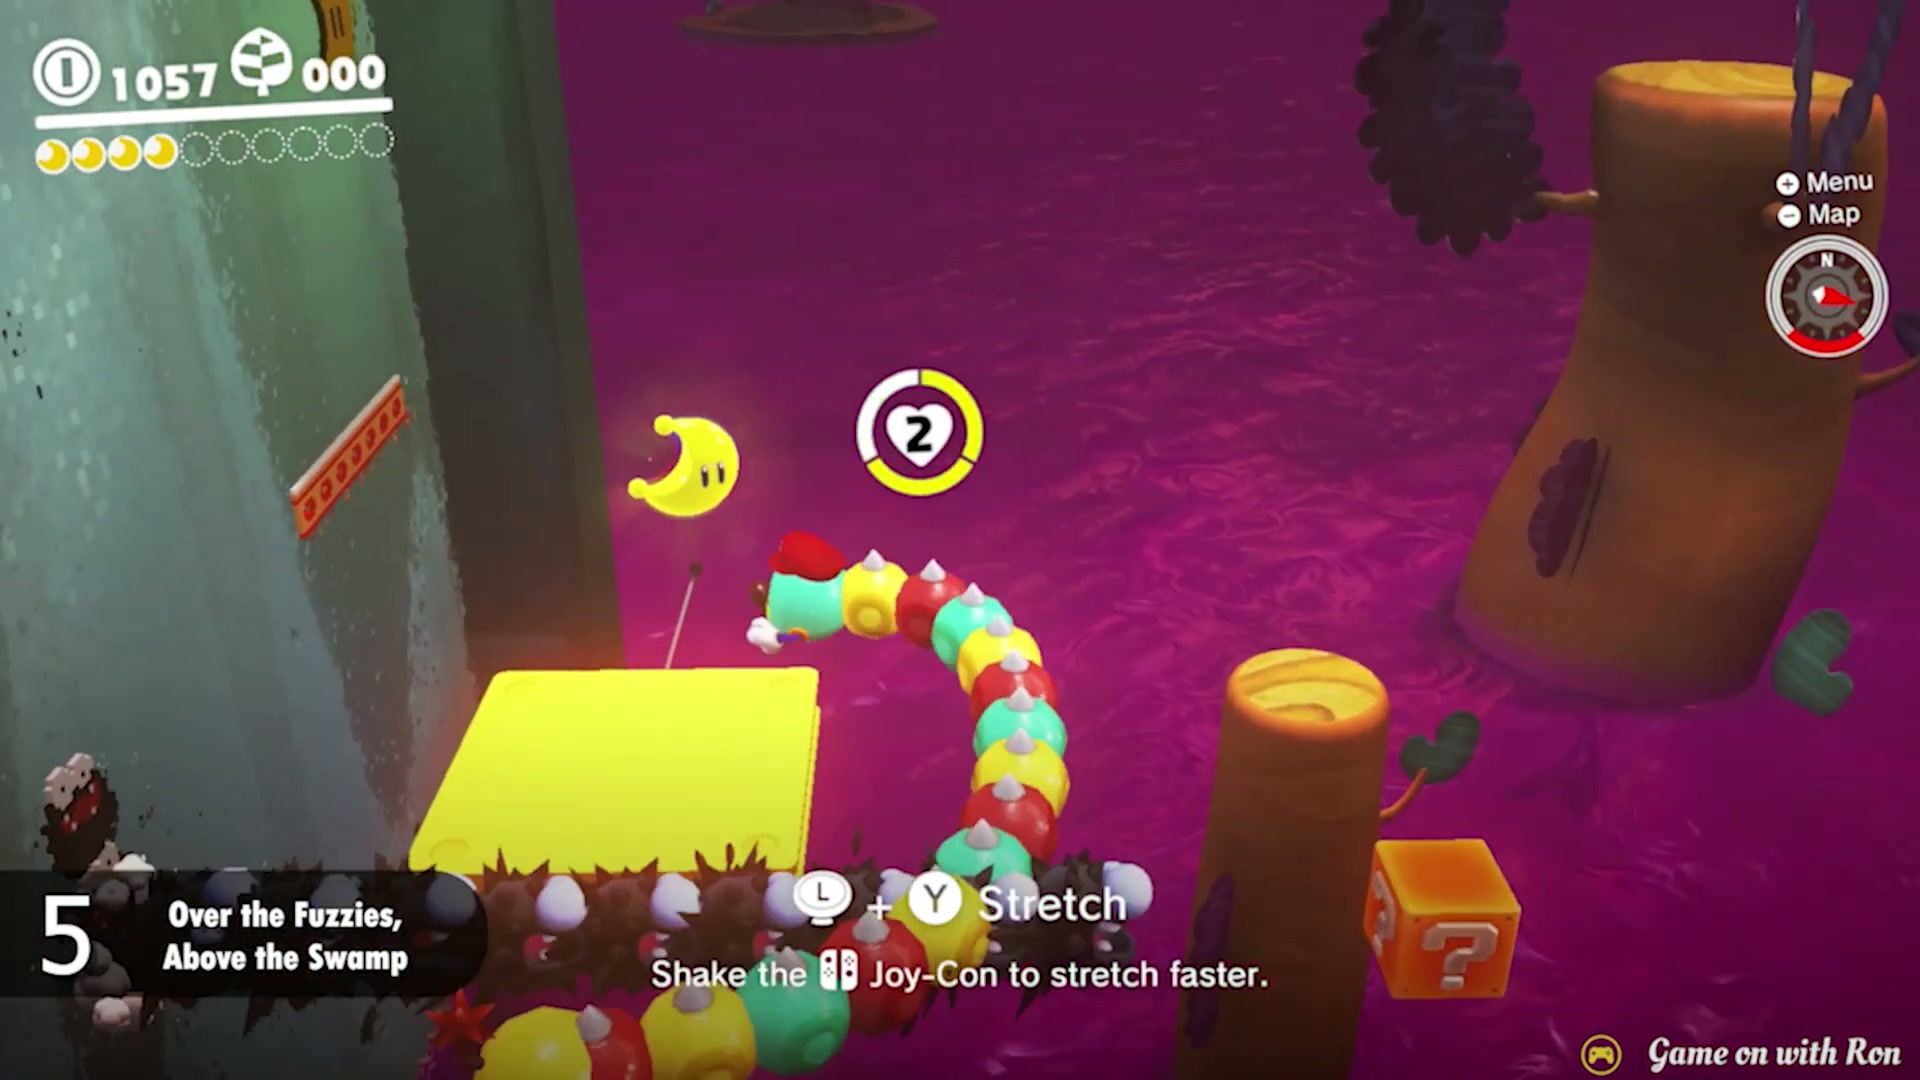
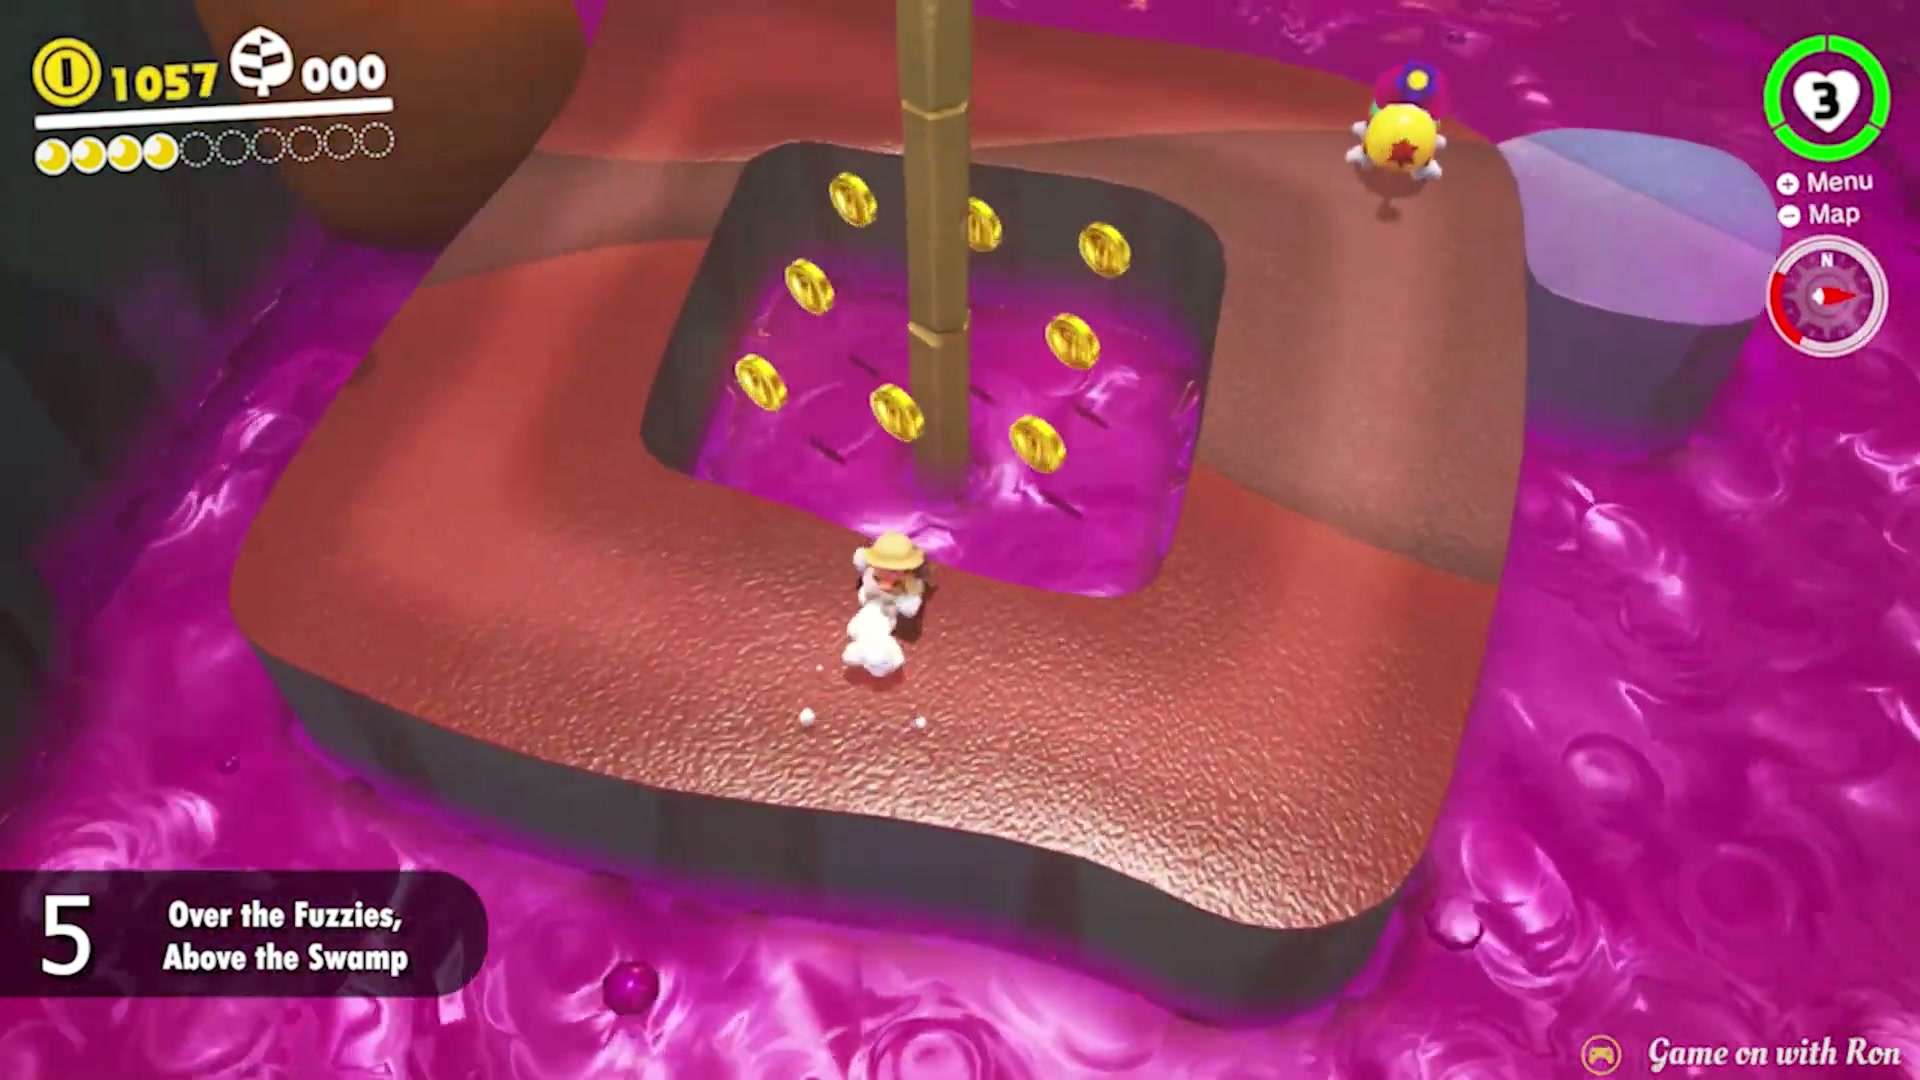
Power Moon #5 – Over the Fuzzies, Above the Swamp
- Capture a Tropical Wiggler and follow the route toward the wall with the moving Fuzzies above the poison.
- Wait for a clear gap before stretching. If you rush, the Fuzzies can knock you down and force you to repeat the approach.
- Stretch from safe point to safe point, using the yellow platform as your final target.
- Reach the platform above the swamp and collect the Power Moon after the Fuzzy crossing.
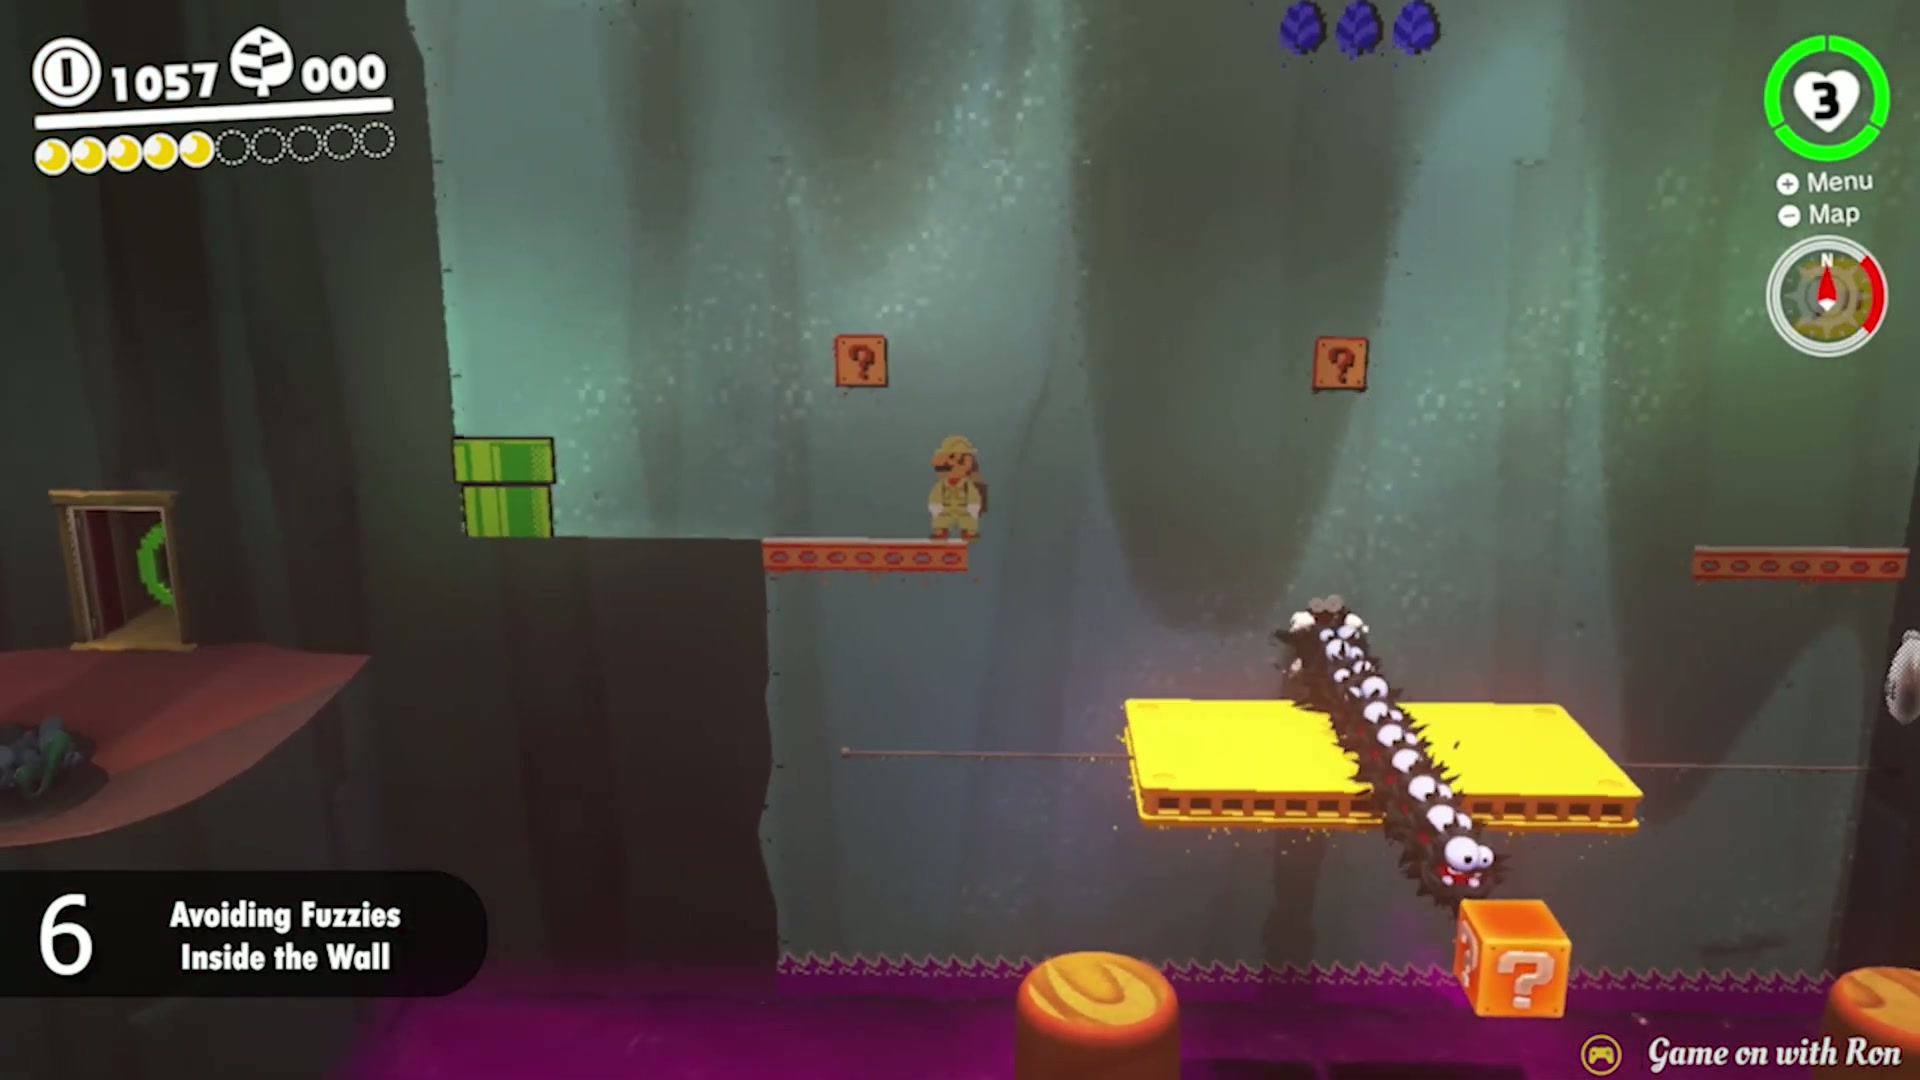
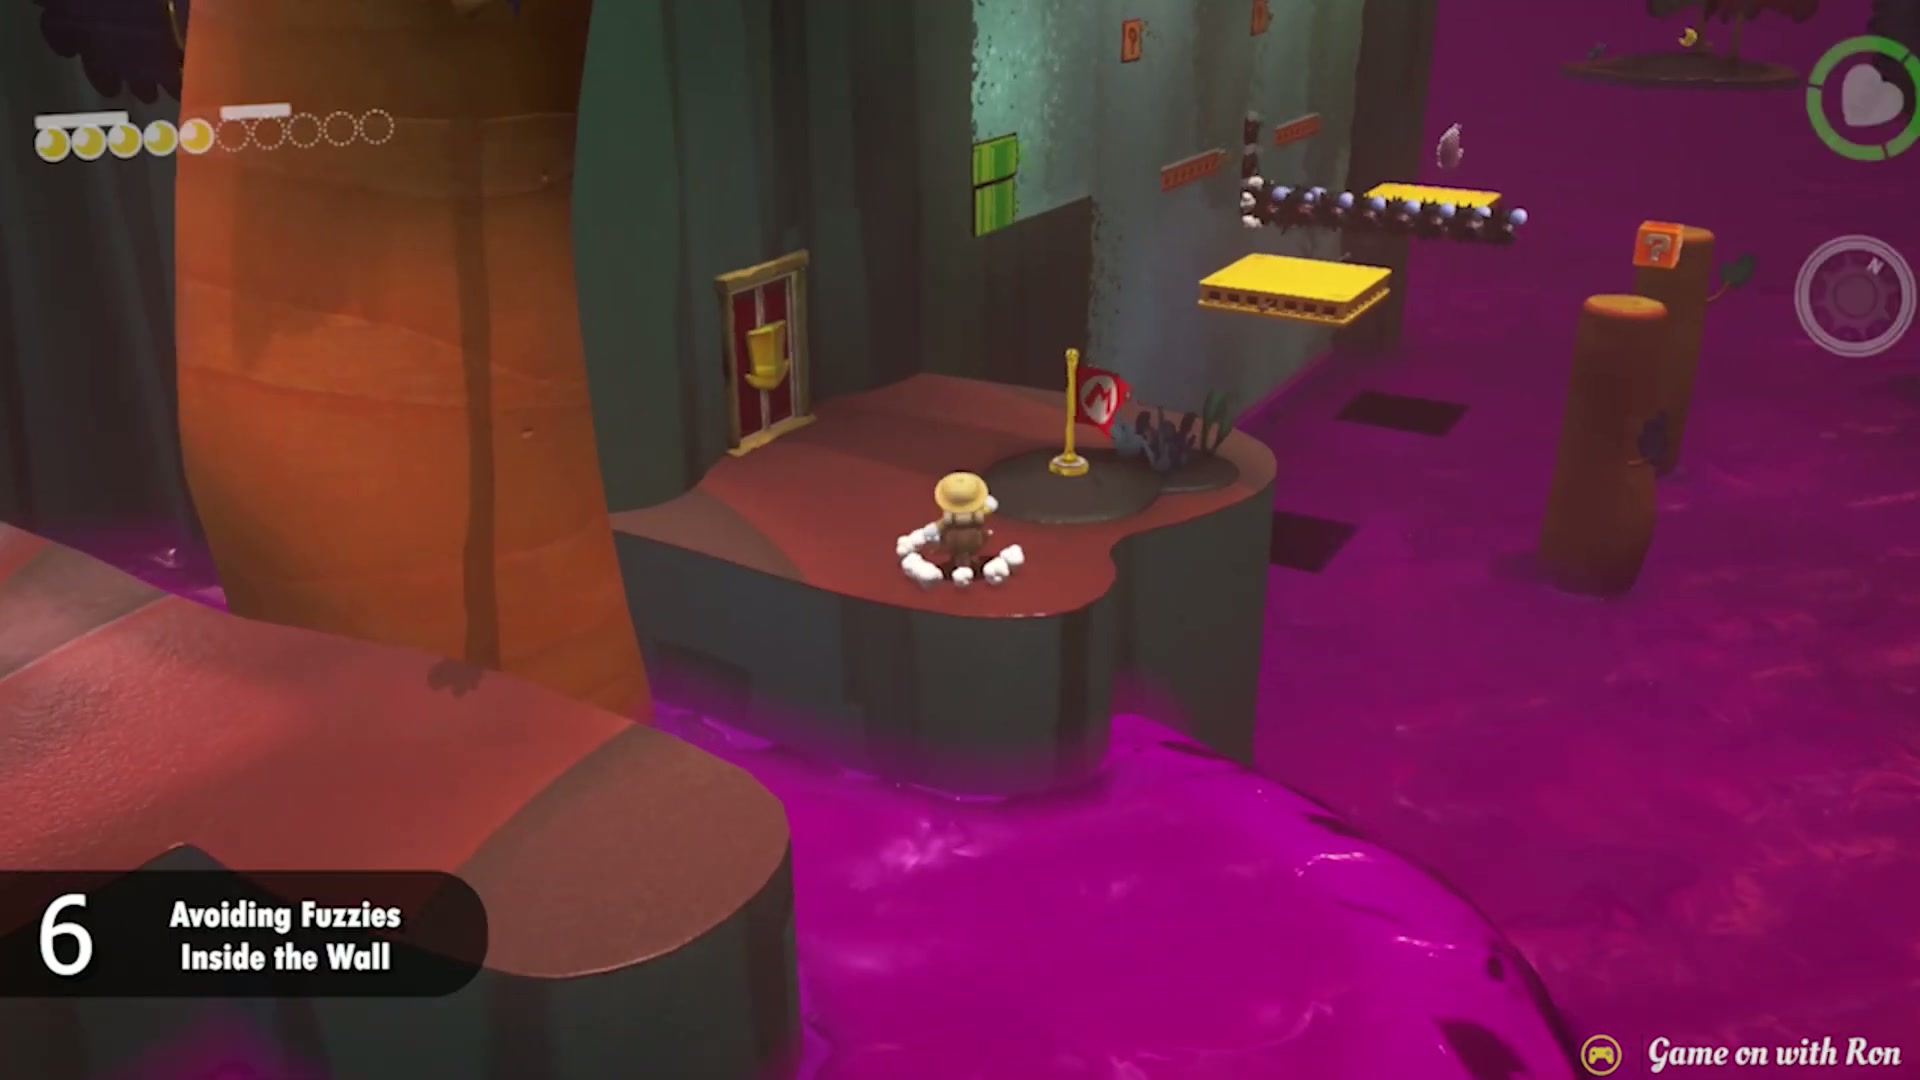
Power Moon #6 – Avoiding Fuzzies Inside the Wall
- Start from the Mountainside Platform side of Lost Kingdom and look for the red Cappy door built into the cliff wall.
- Open the door and enter the 8-bit pipe behind it. This sends you into the flat wall section with moving platforms, purple poison below and lines of Fuzzies crossing the route.
- Wait for each platform cycle instead of rushing. Jump only when the Fuzzy line has passed, then land near the center of the platform so you have room to correct your next jump.
- Keep climbing through the 2D room until the Power Moon appears at the far end. Grab it before leaving through the exit pipe.
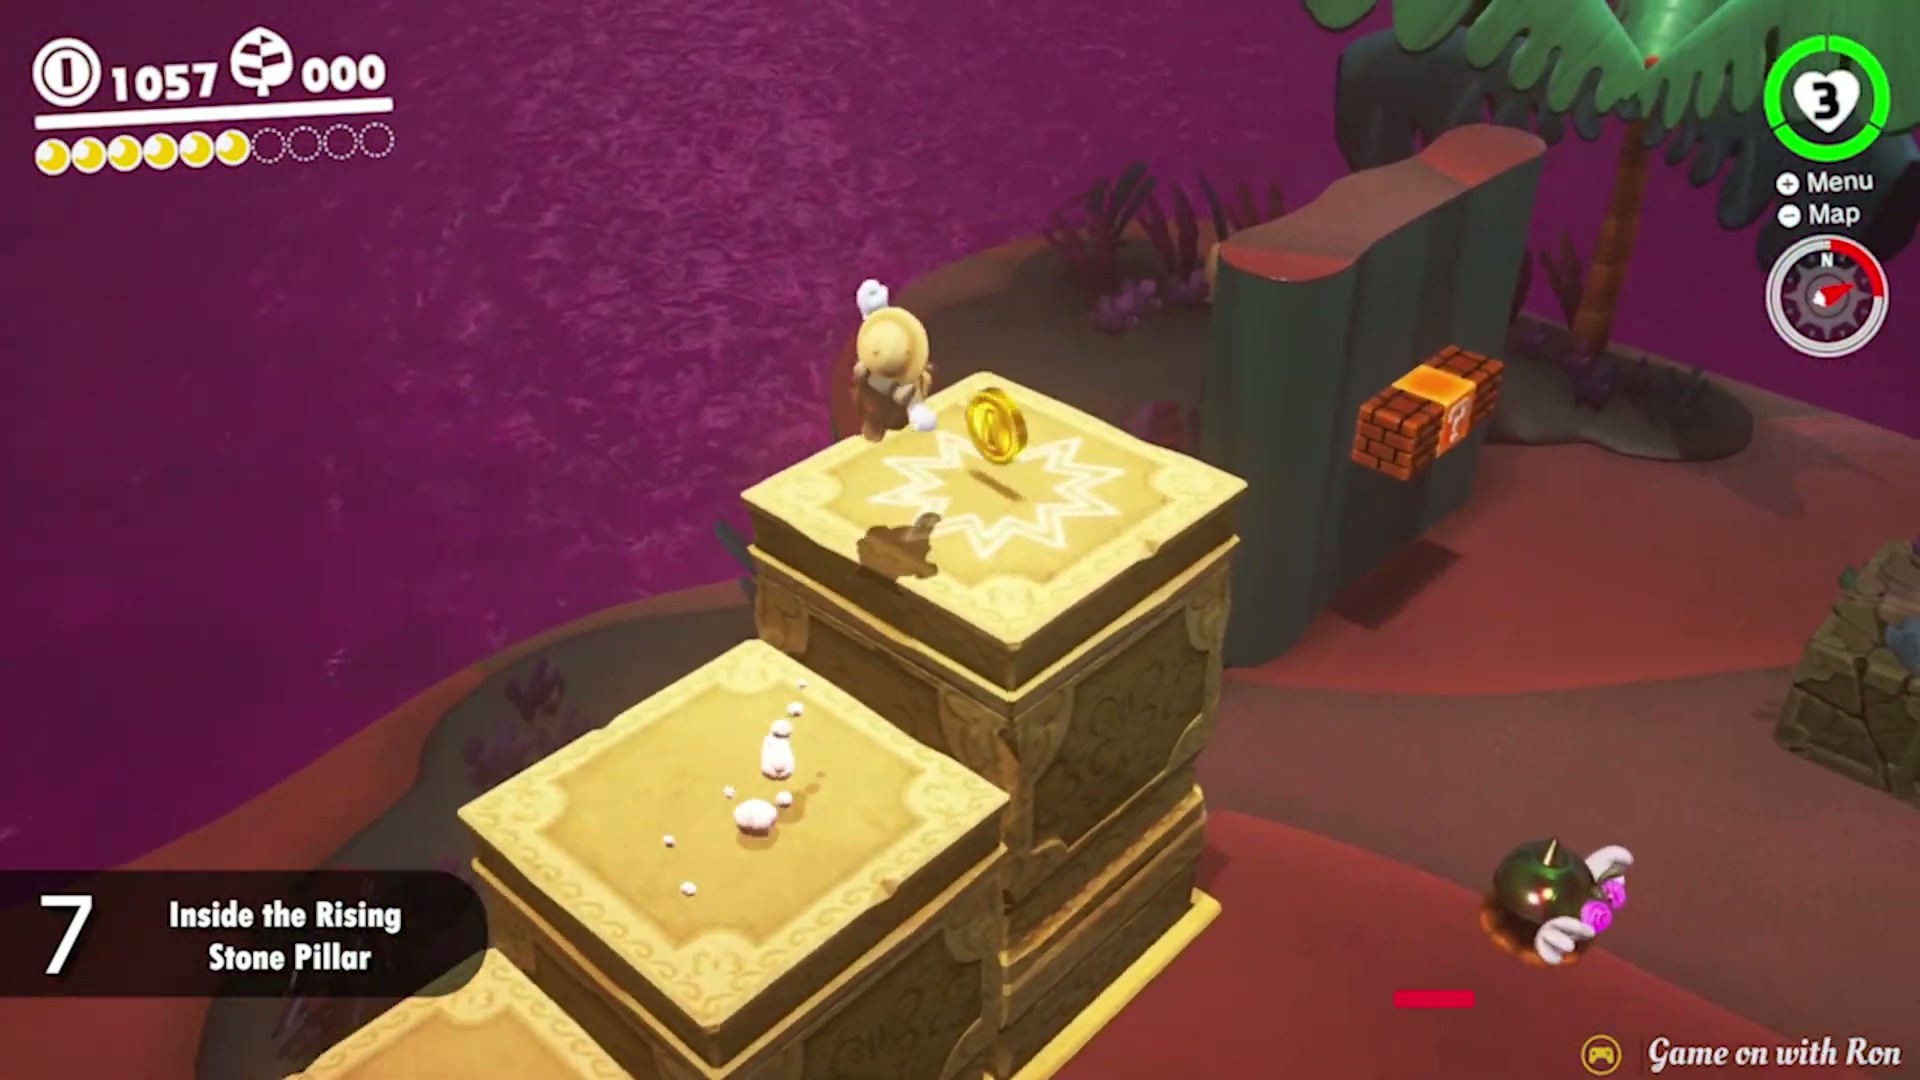

Power Moon #7 – Inside the Rising Stone Pillar
- From the Swamp Hill approach, find the stack of stone pillars that rise and lower near the purple poison.
- Step onto the lowest pillar and let the movement lift you upward. Do not jump off early; the platforms line up cleanly when the cycle reaches the top.
- Move from pillar to pillar until you can see the Power Moon sitting on the highest raised block.
- Jump onto the top platform while it is fully raised and collect the Moon before the blocks drop back down.
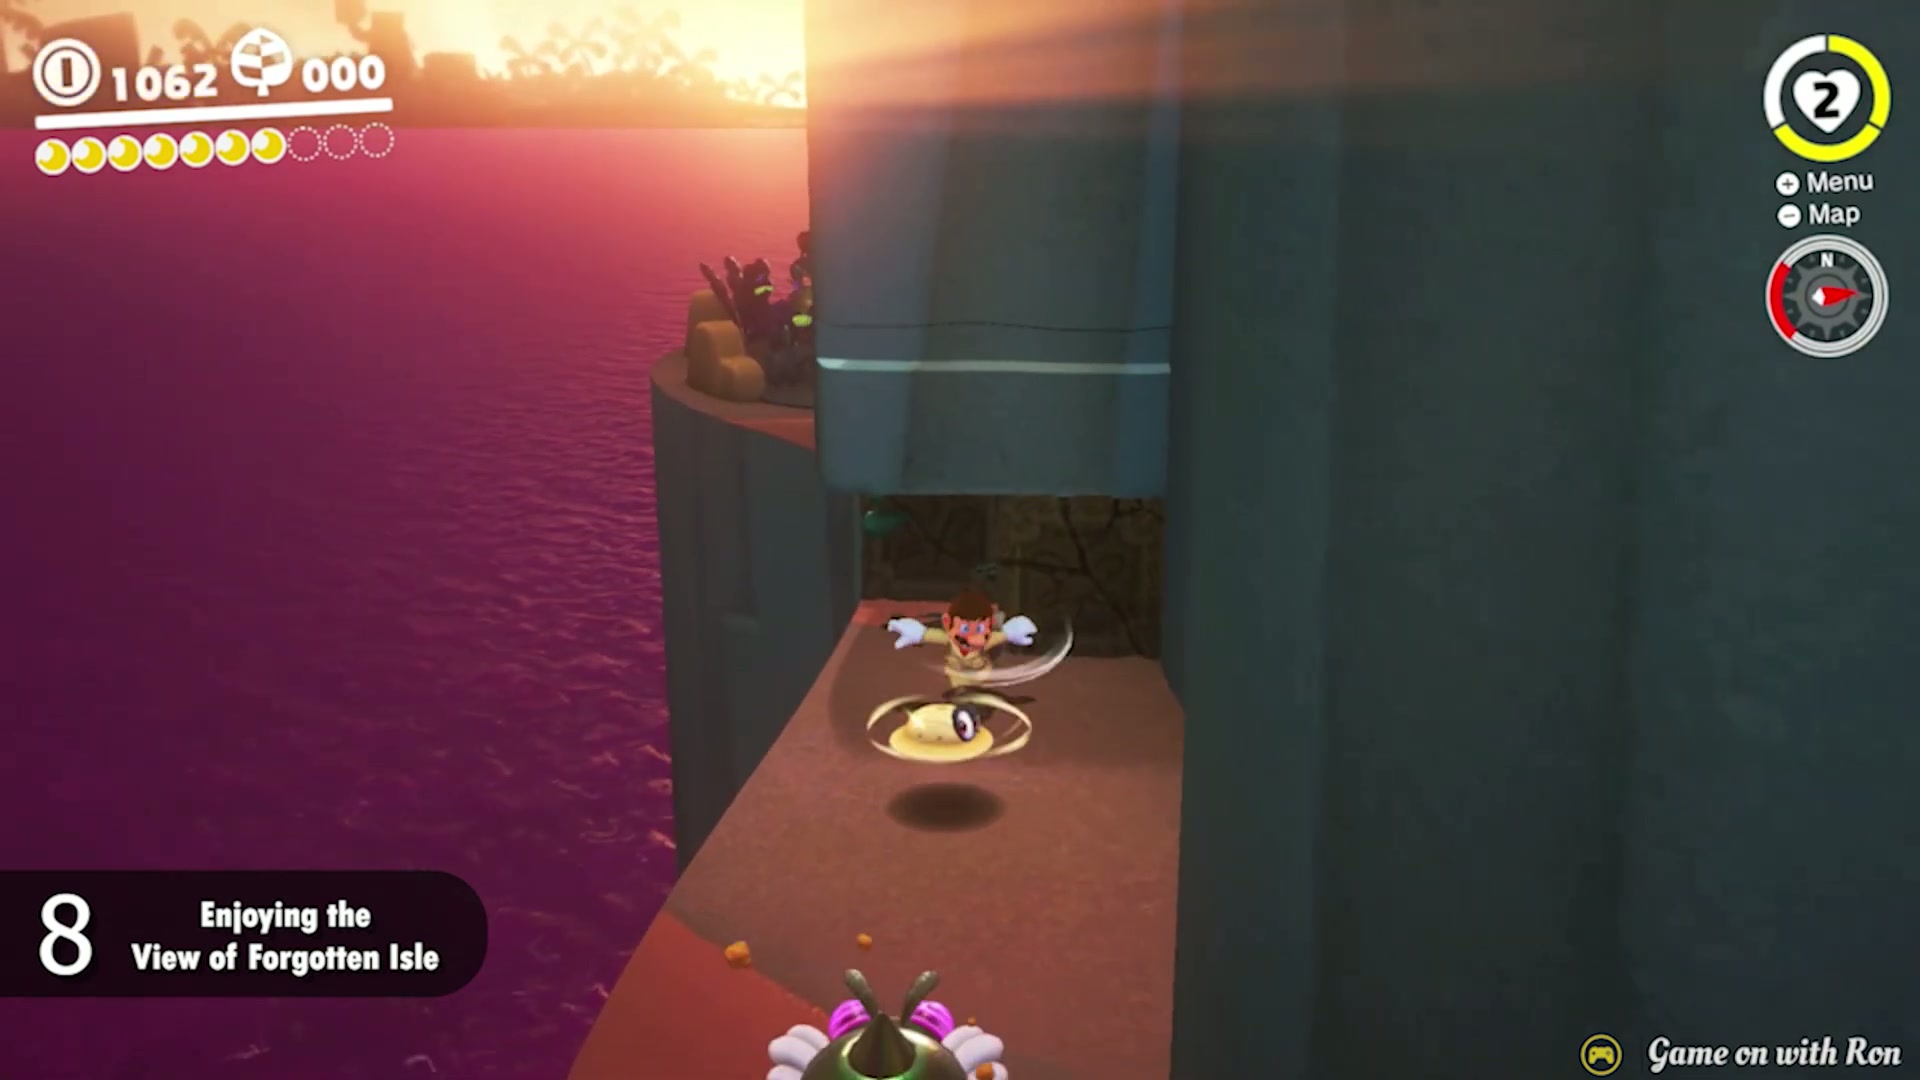
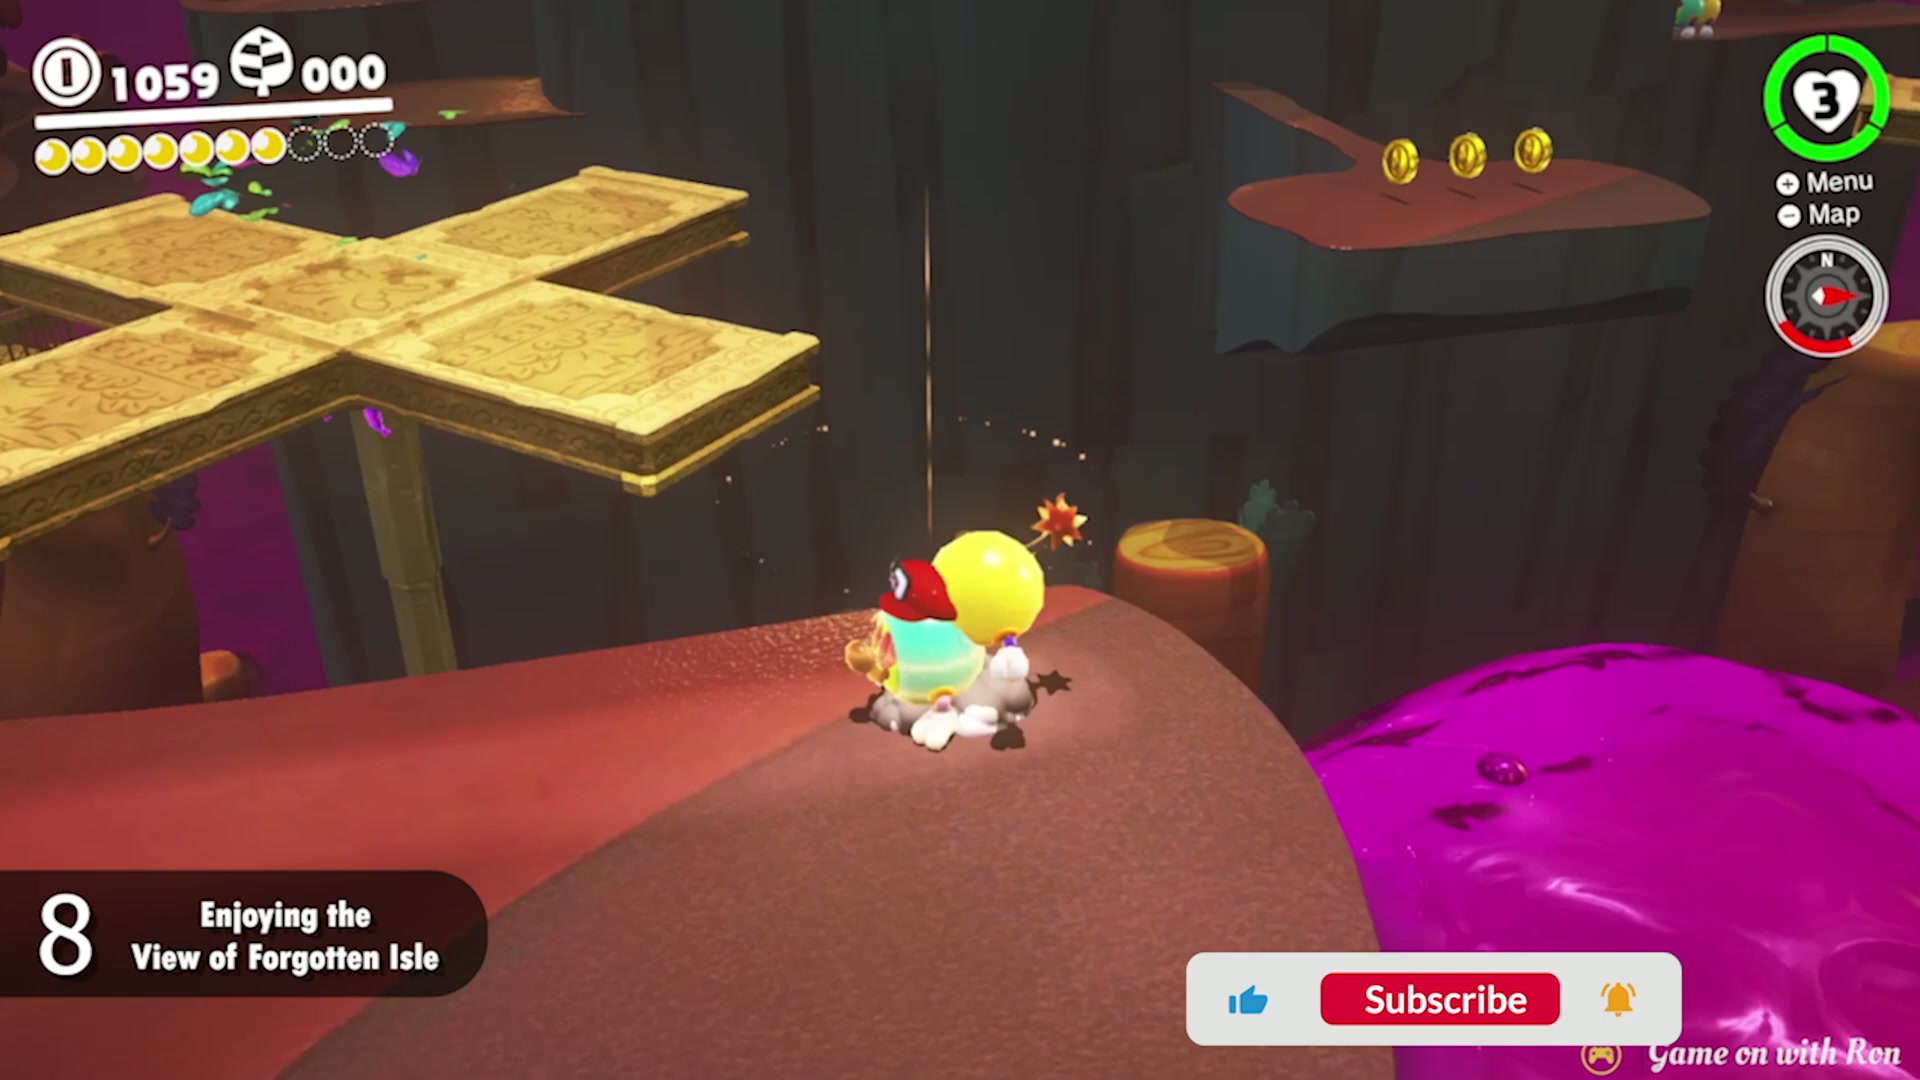
Power Moon #8 – Enjoying the View of Forgotten Isle
- Capture a Tropical Wiggler on the upper Lost Kingdom route near the stone platforms.
- Use the Wiggler stretch to cross the wide gaps around the cliffside instead of trying to jump them as Mario.
- Follow the high path toward the small lookout area. The route bends away from the main mountain climb, so keep the camera turned toward the outer edge of the island.
- Reach the viewpoint platform and collect the Power Moon waiting at the end of the stretch route.
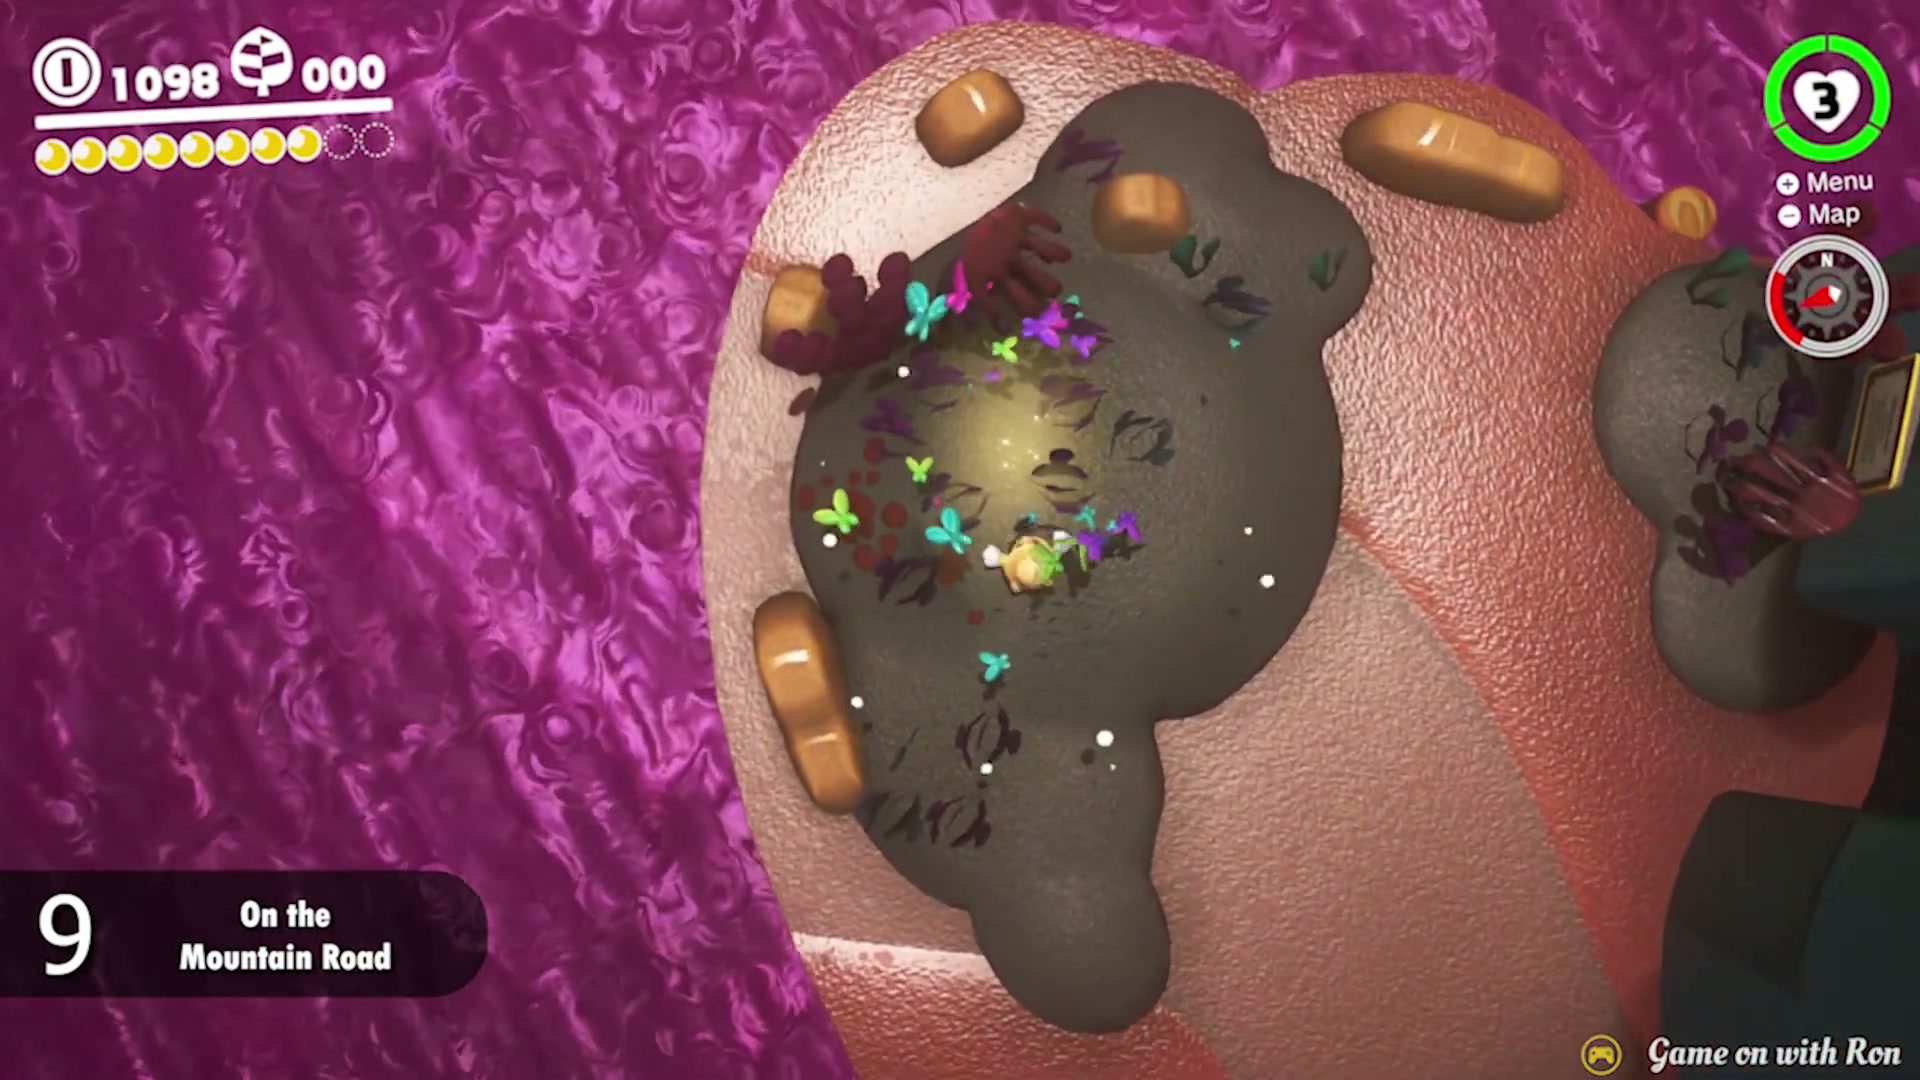
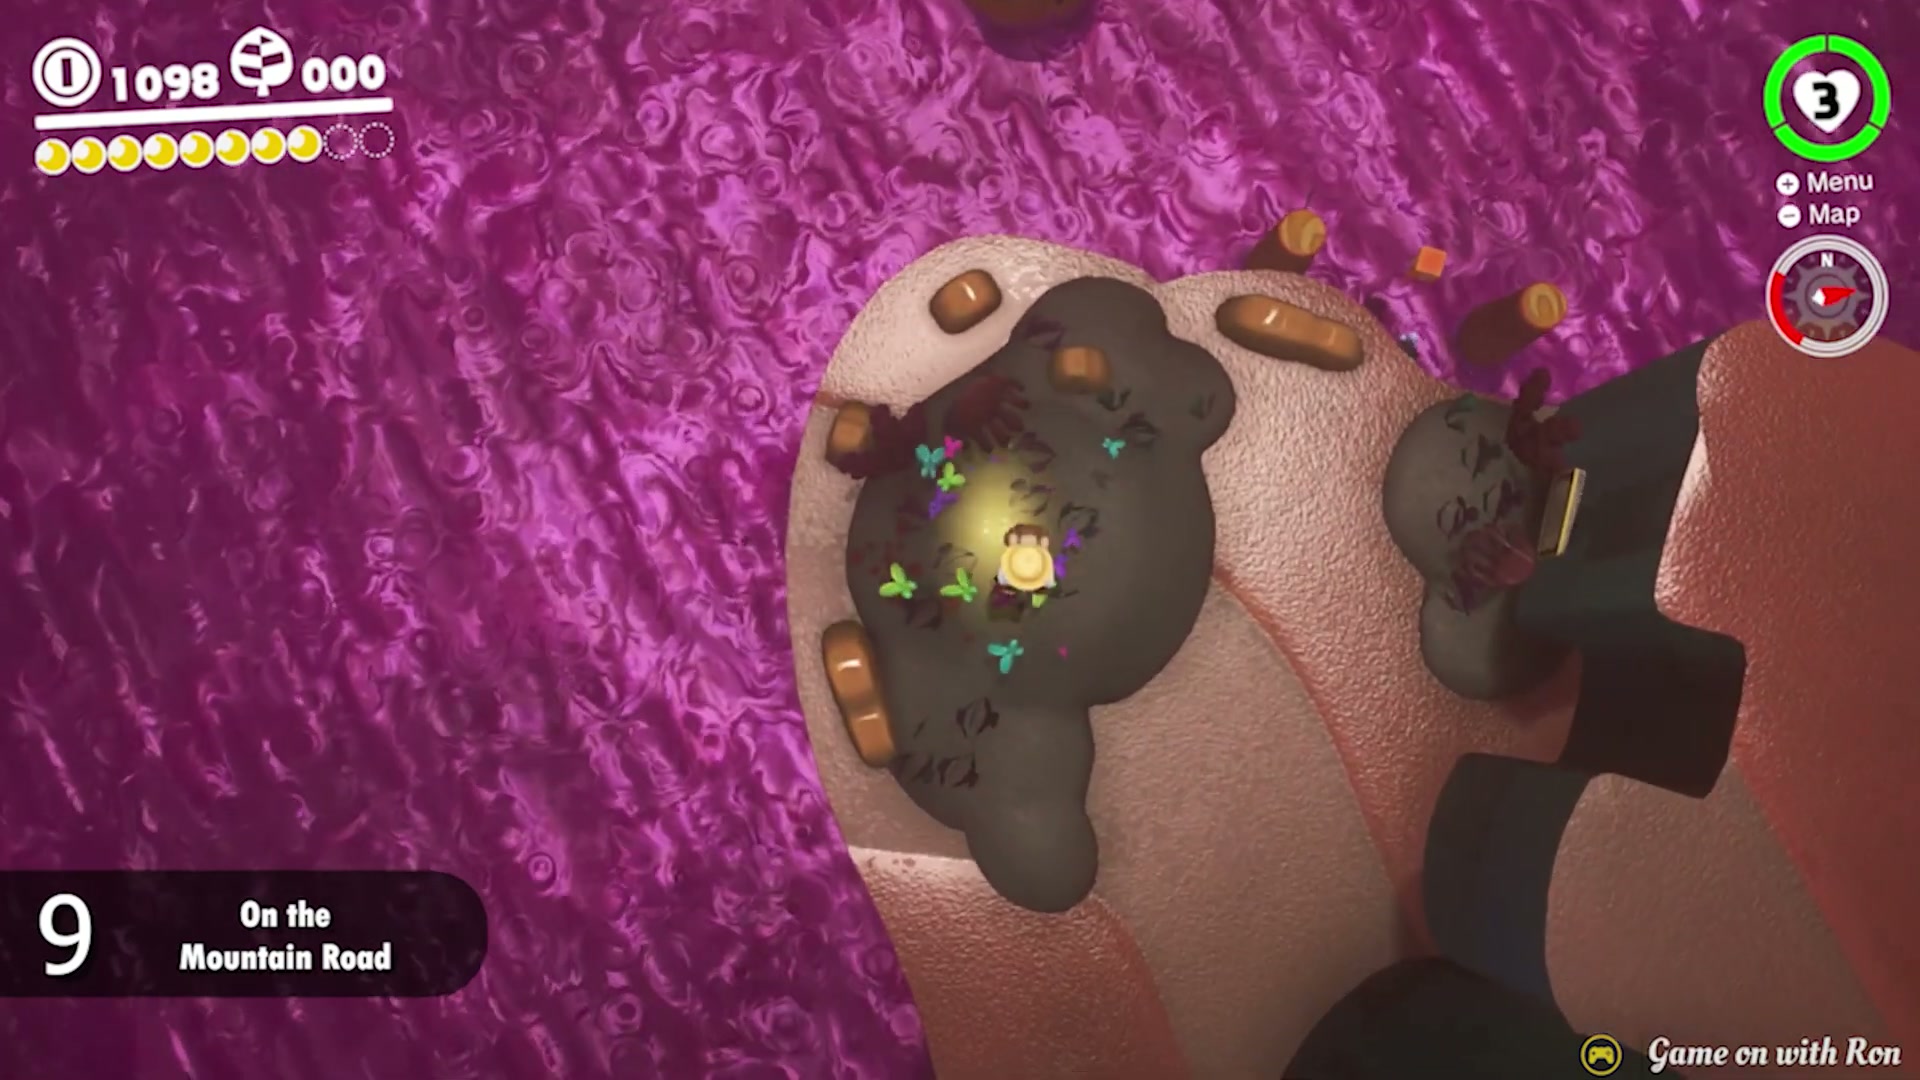
Power Moon #9 – On the Mountain Road
- Climb the central mountain road that leads up through the middle of Lost Kingdom.
- Watch the ground for a bright, sparkling spot near the path. It is easy to pass because the route pulls your attention toward the next platform.
- Stand directly on the glowing spot and perform a ground pound.
- The Power Moon pops out of the ground immediately. Collect it before continuing toward the upper mountain route.
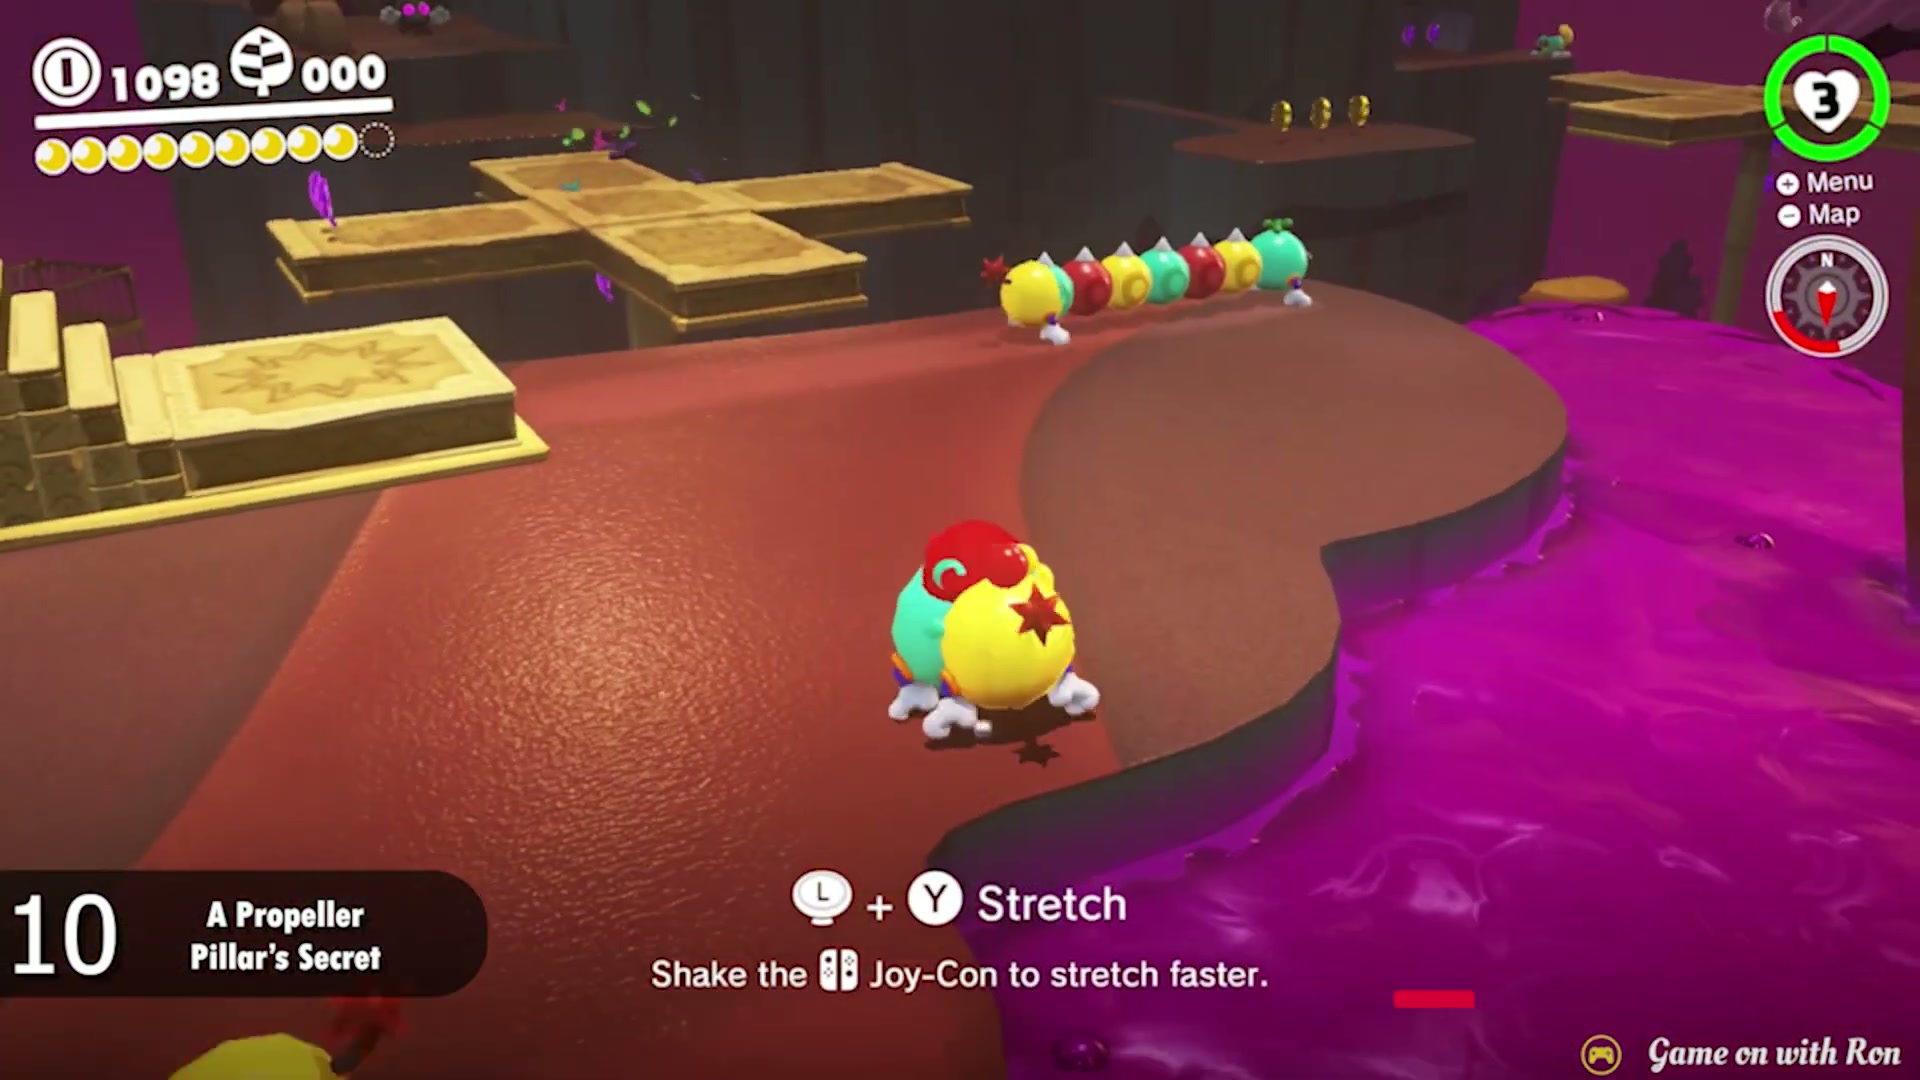
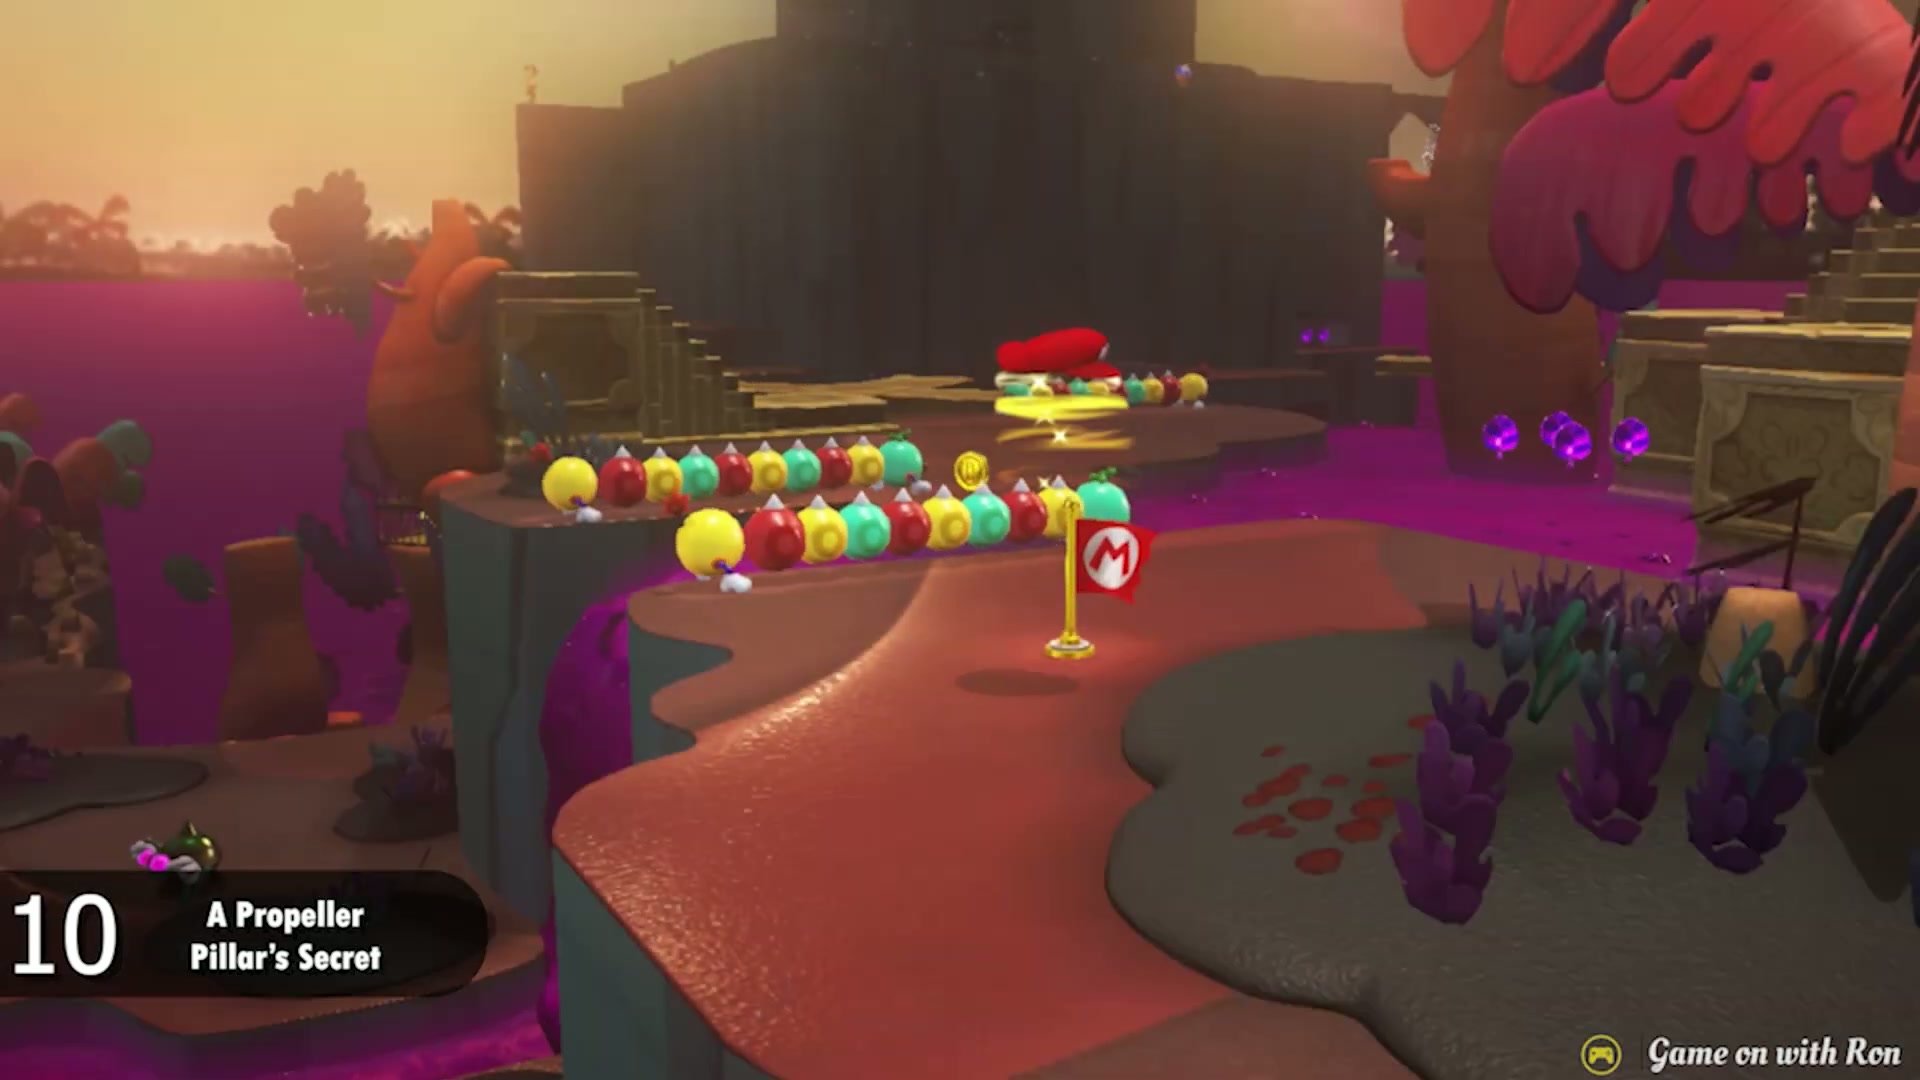
Power Moon #10 – A Propeller Pillar’s Secret
- Capture a Tropical Wiggler near the Swamp Hill side of the kingdom.
- Stretch across the poison toward the propeller-shaped stone platform. Aim for the flat center of the pillar, not the narrow arms around the edge.
- Release the capture once you are safely on the pillar, then stand in the middle of the propeller shape.
- Ground pound the center of the stone design to make the hidden Power Moon appear.
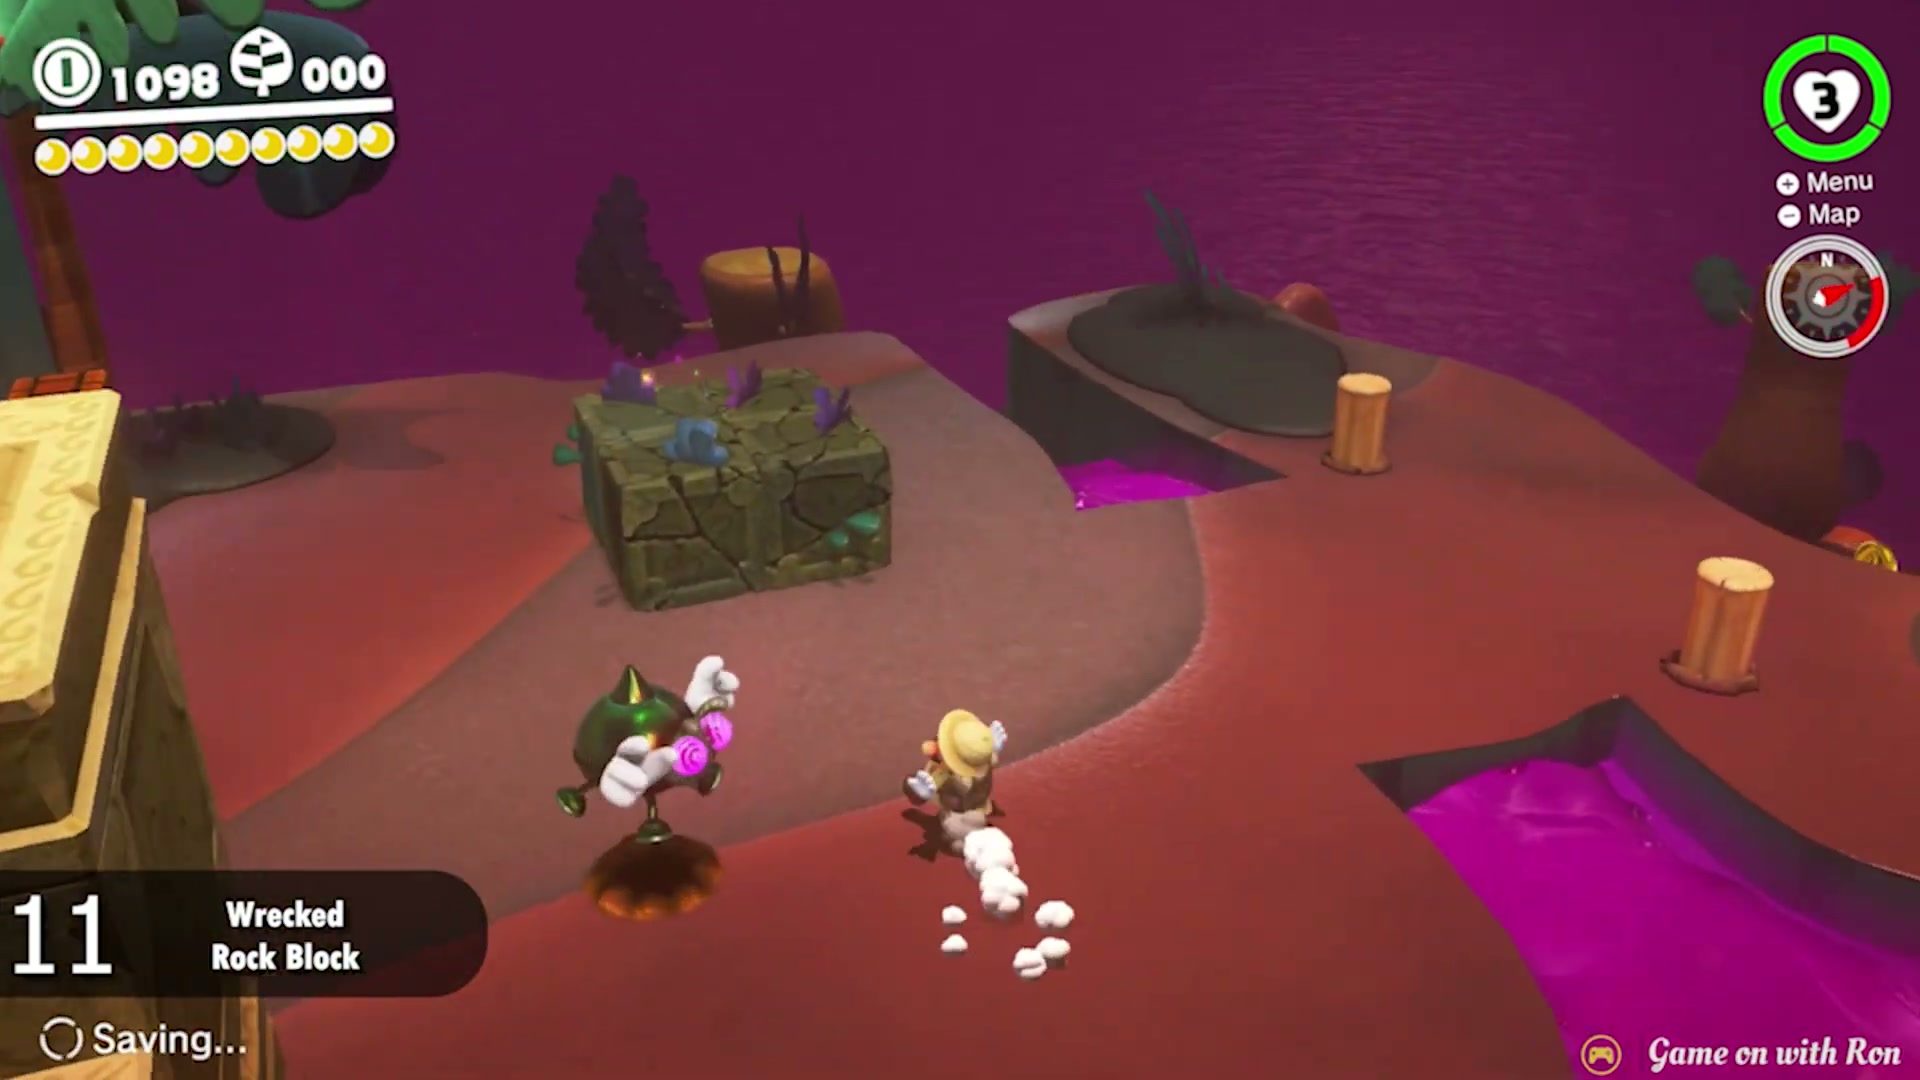

Power Moon #11 – Wrecked Rock Block
- Go to the north-east side of Lost Kingdom and find the shiny stone block sitting near the small enemy area.
- Do not attack the Trapeetle immediately. Stand so the enemy lines up with the cracked block, then throw Cappy to trigger its charge.
- Move out of the way as the Trapeetle rushes forward. If it explodes close enough to the shiny block, the block breaks open.
- Collect the Power Moon from the broken block, then leave the enemy area carefully so you do not fall into the poison.
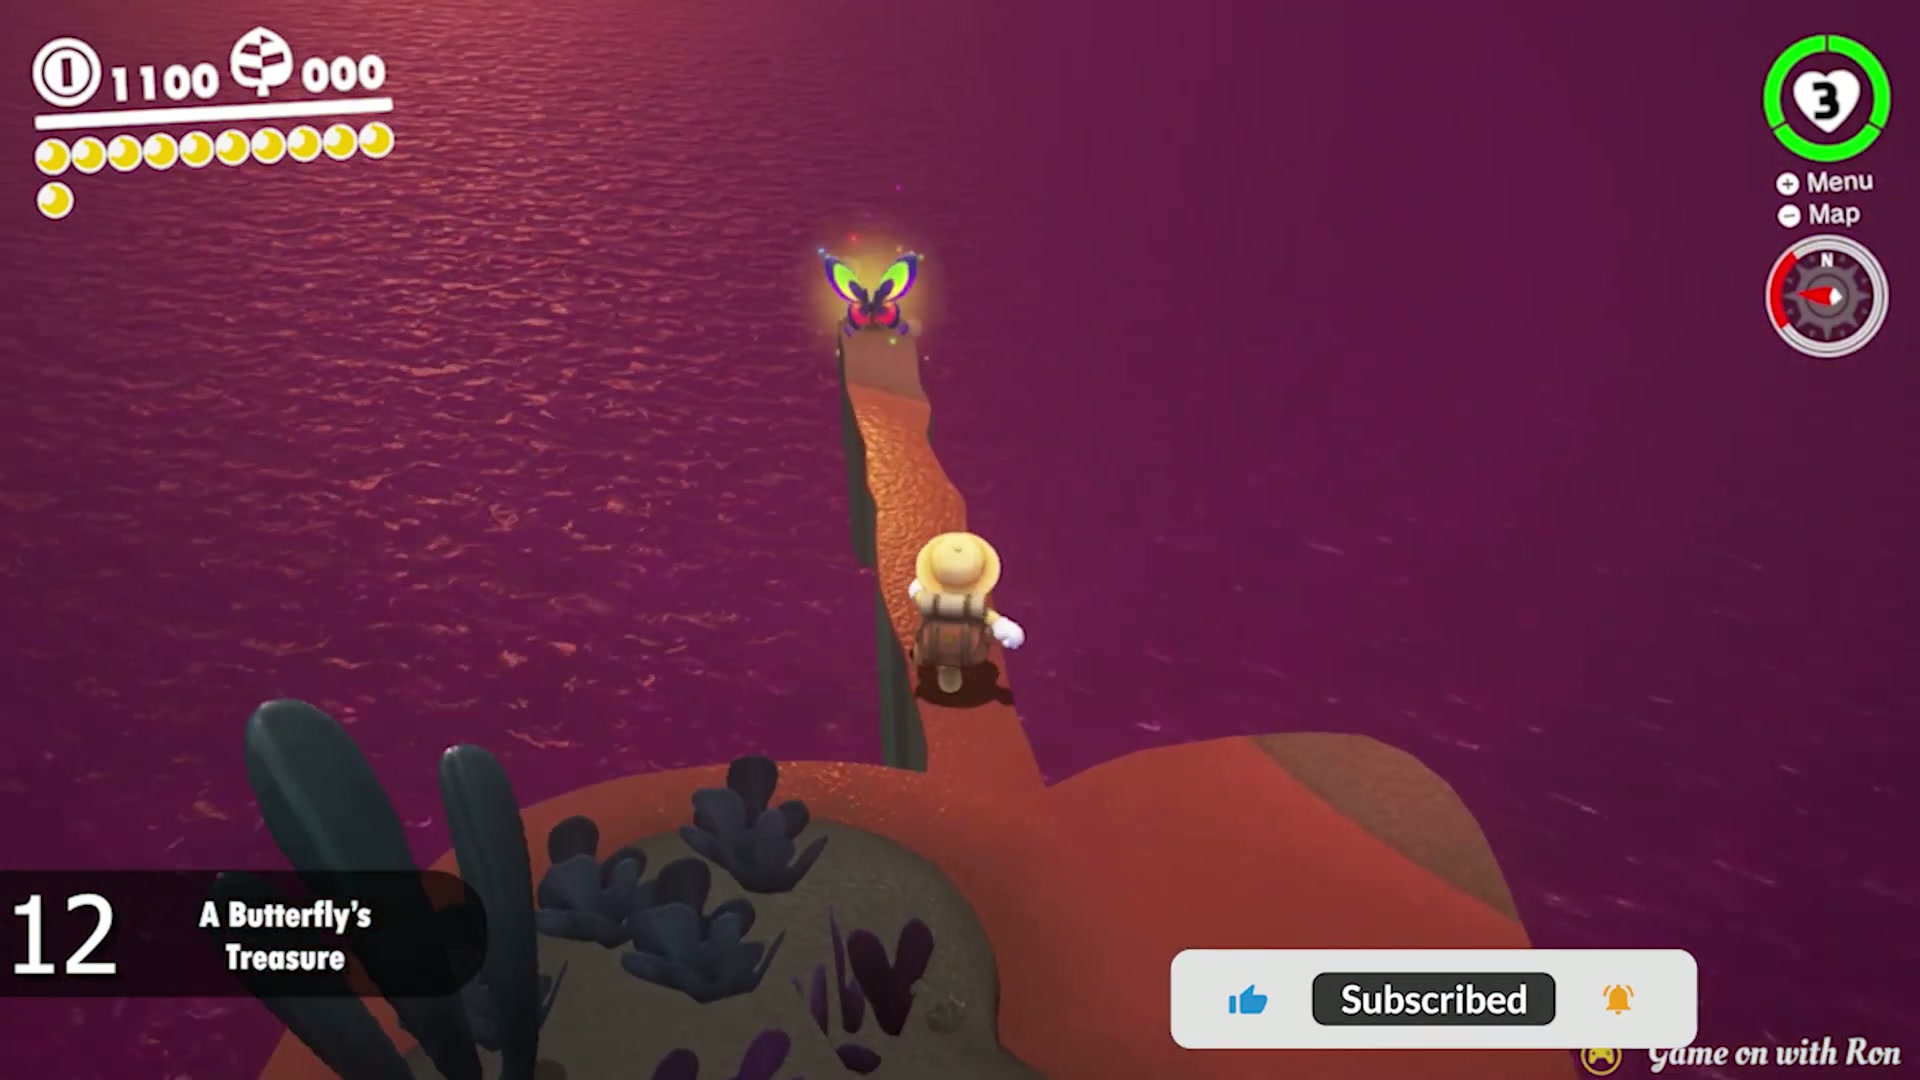
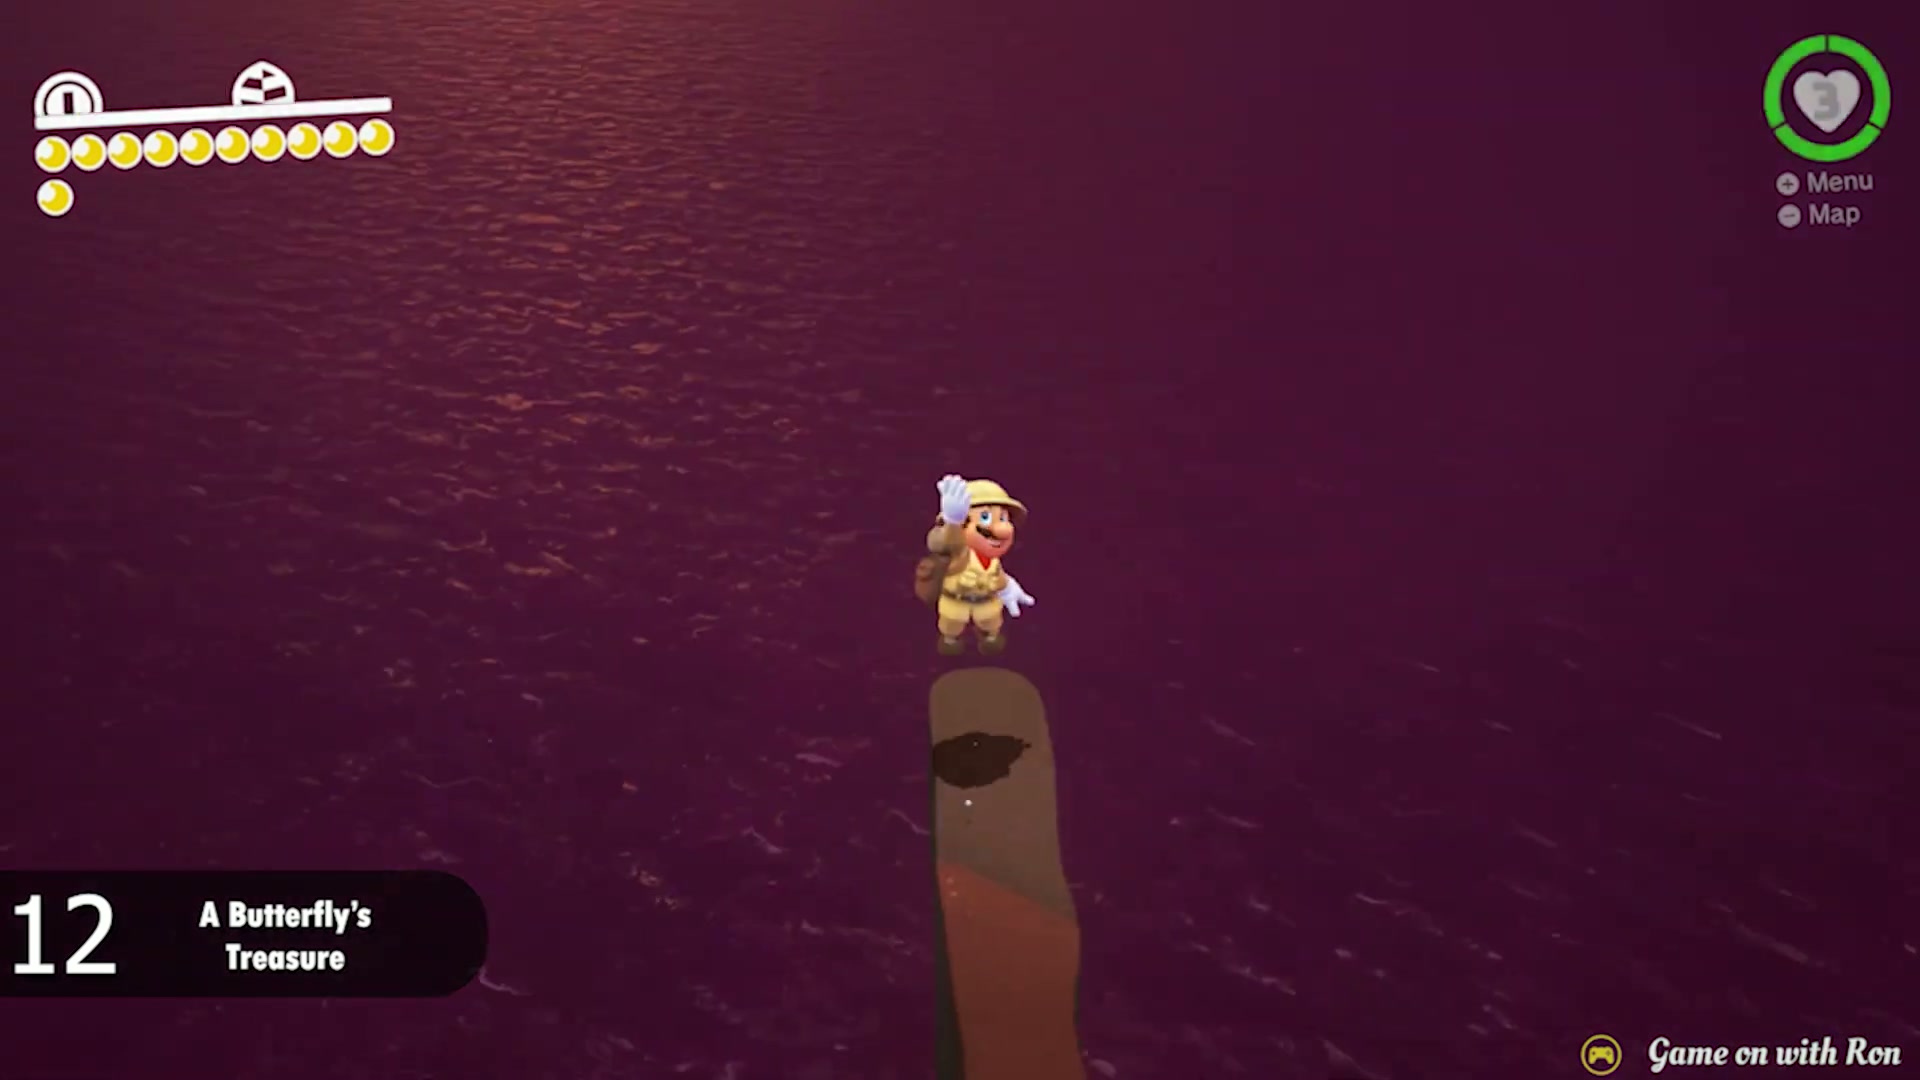
Power Moon #12 – A Butterfly’s Treasure
- From the mountain route, look for the narrow pillar with the glowing butterfly sitting on top of it.
- Use the nearby platforms and ledges to reach the pillar safely. Line up your jump before crossing, because the top is narrow and surrounded by poison.
- Once you are close to the butterfly, throw Cappy at it or touch it before it gets away.
- The butterfly releases the Power Moon above the pillar. Grab it while you are still balanced on the platform.
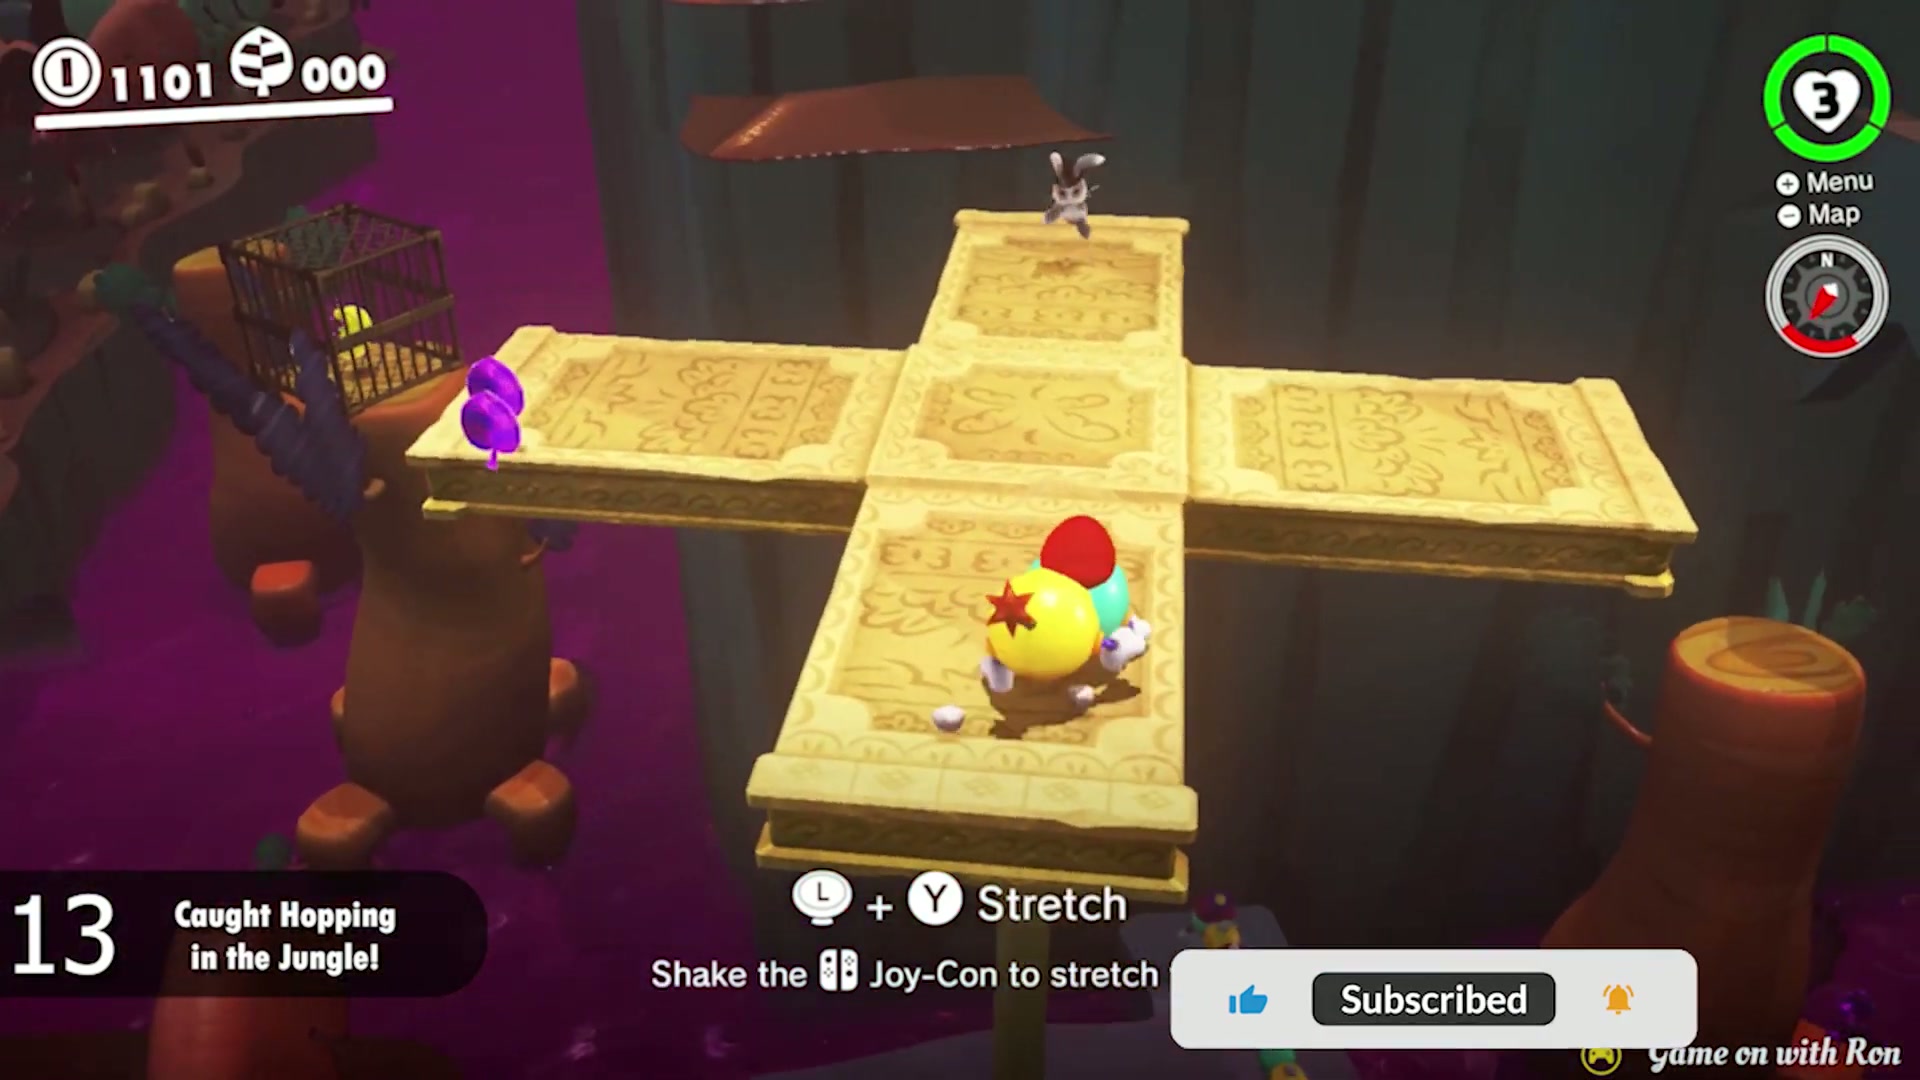
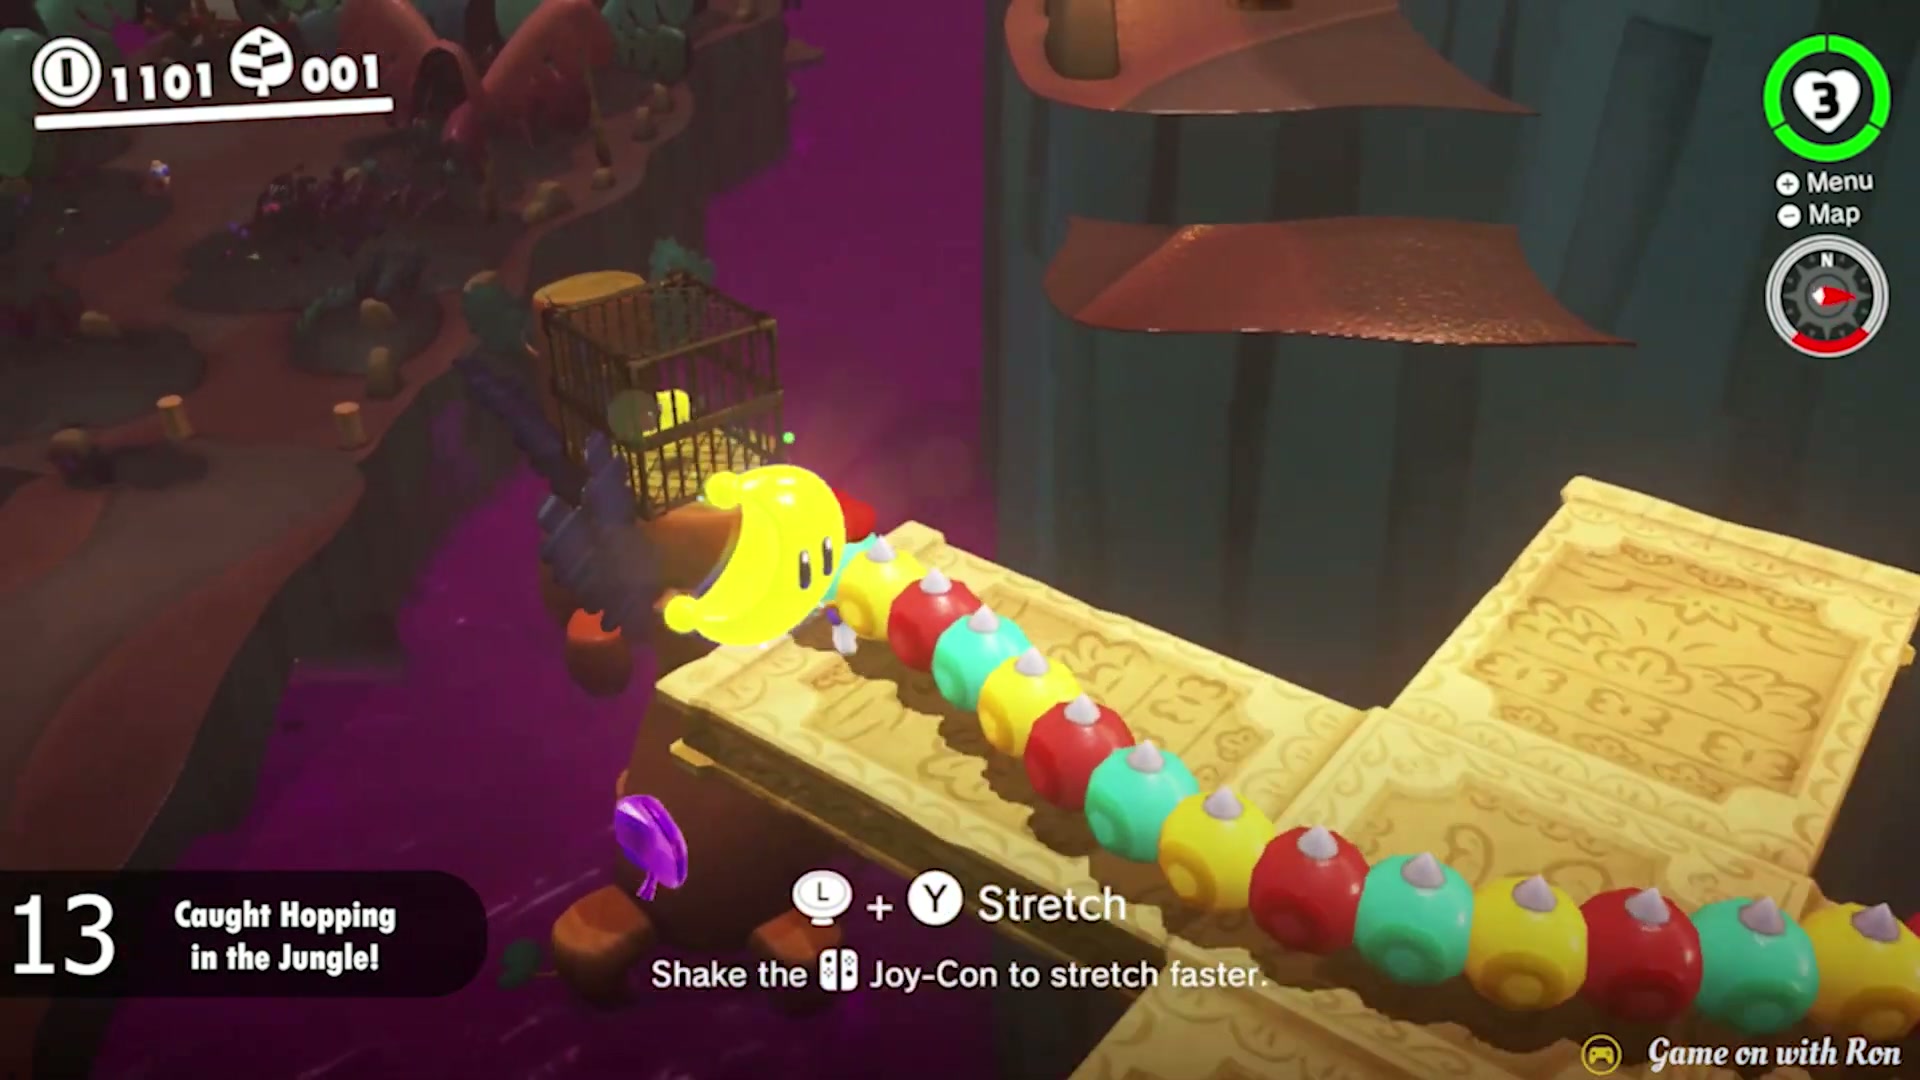
Power Moon #13 – Caught Hopping in the Jungle!
- Head to the propeller-shaped pillar near the Swamp Hill checkpoint and look for the rabbit running around the platform.
- Chase the rabbit toward an edge or corner of the propeller shape so it has less room to turn away.
- Use Cappy throws to slow it down, then cut across its path instead of following directly behind it.
- Touch the rabbit once it is stunned or boxed in. It drops the Power Moon immediately.
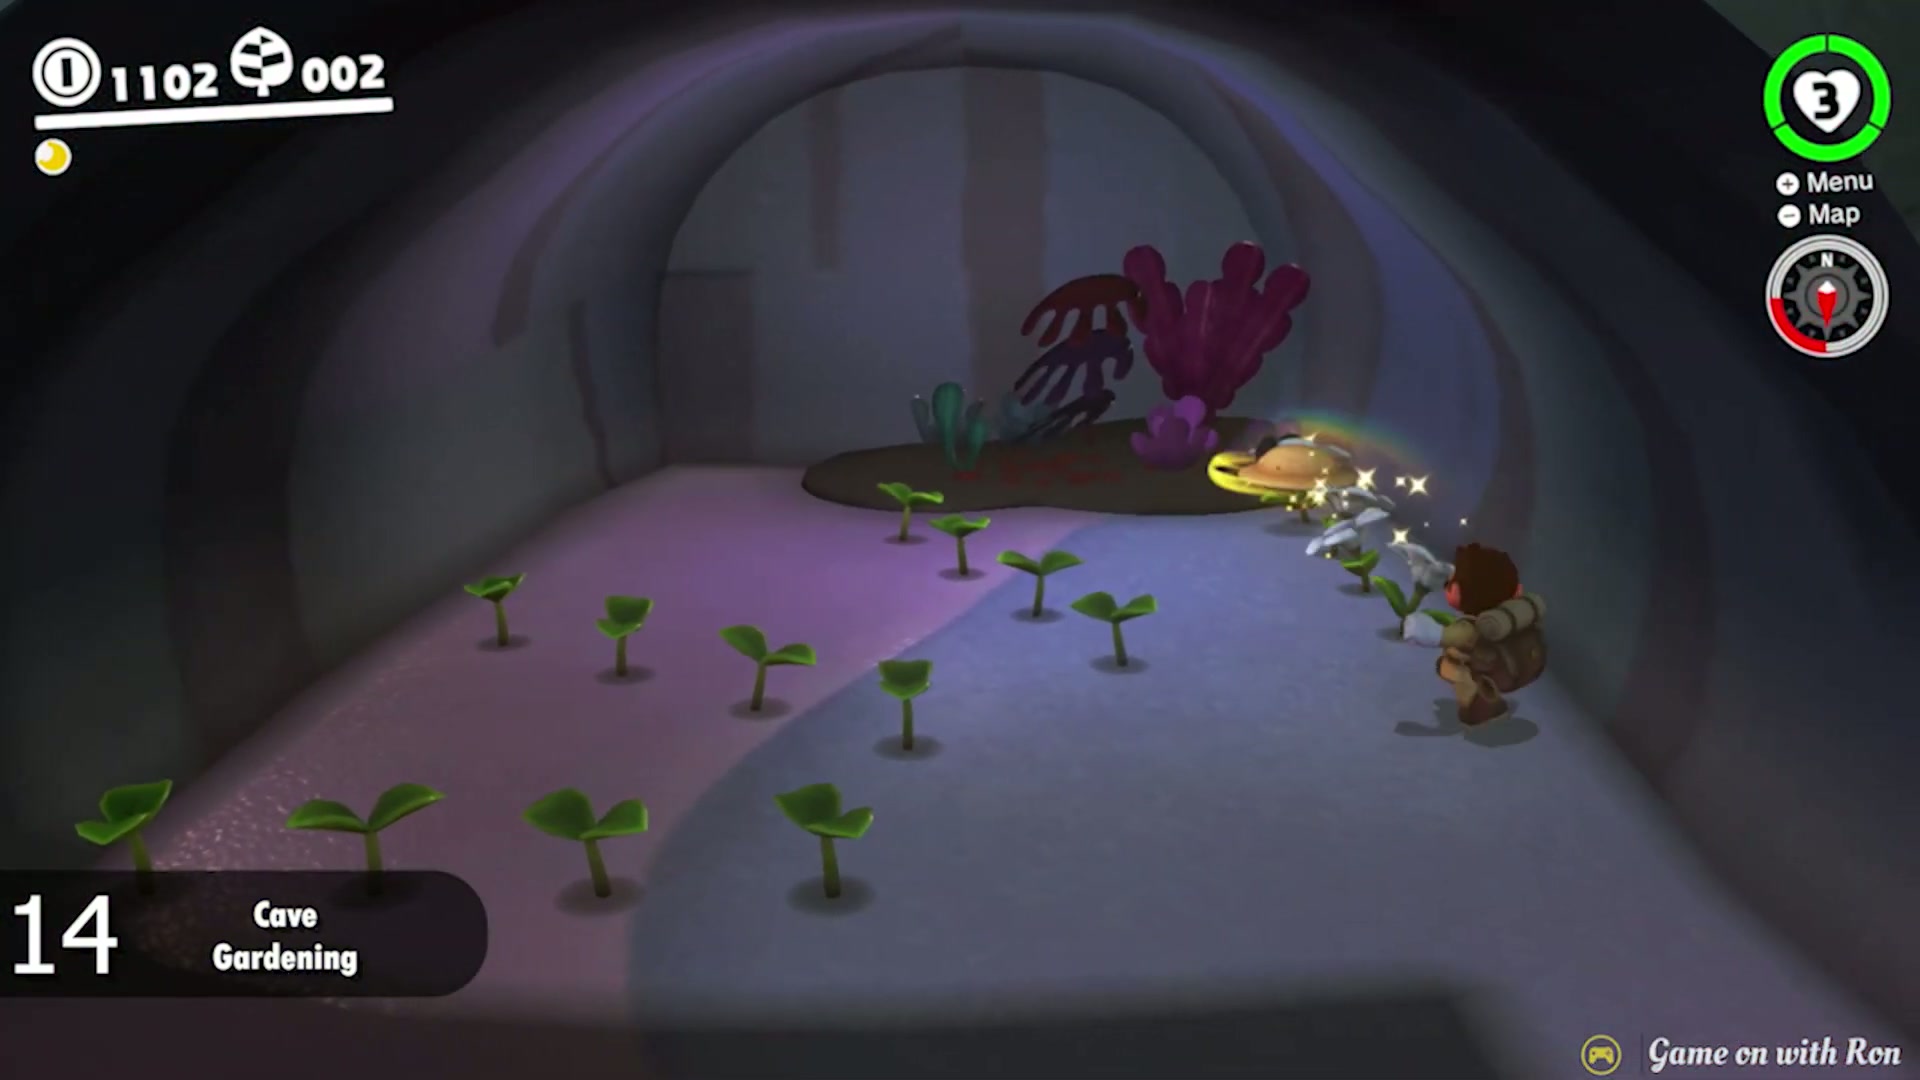
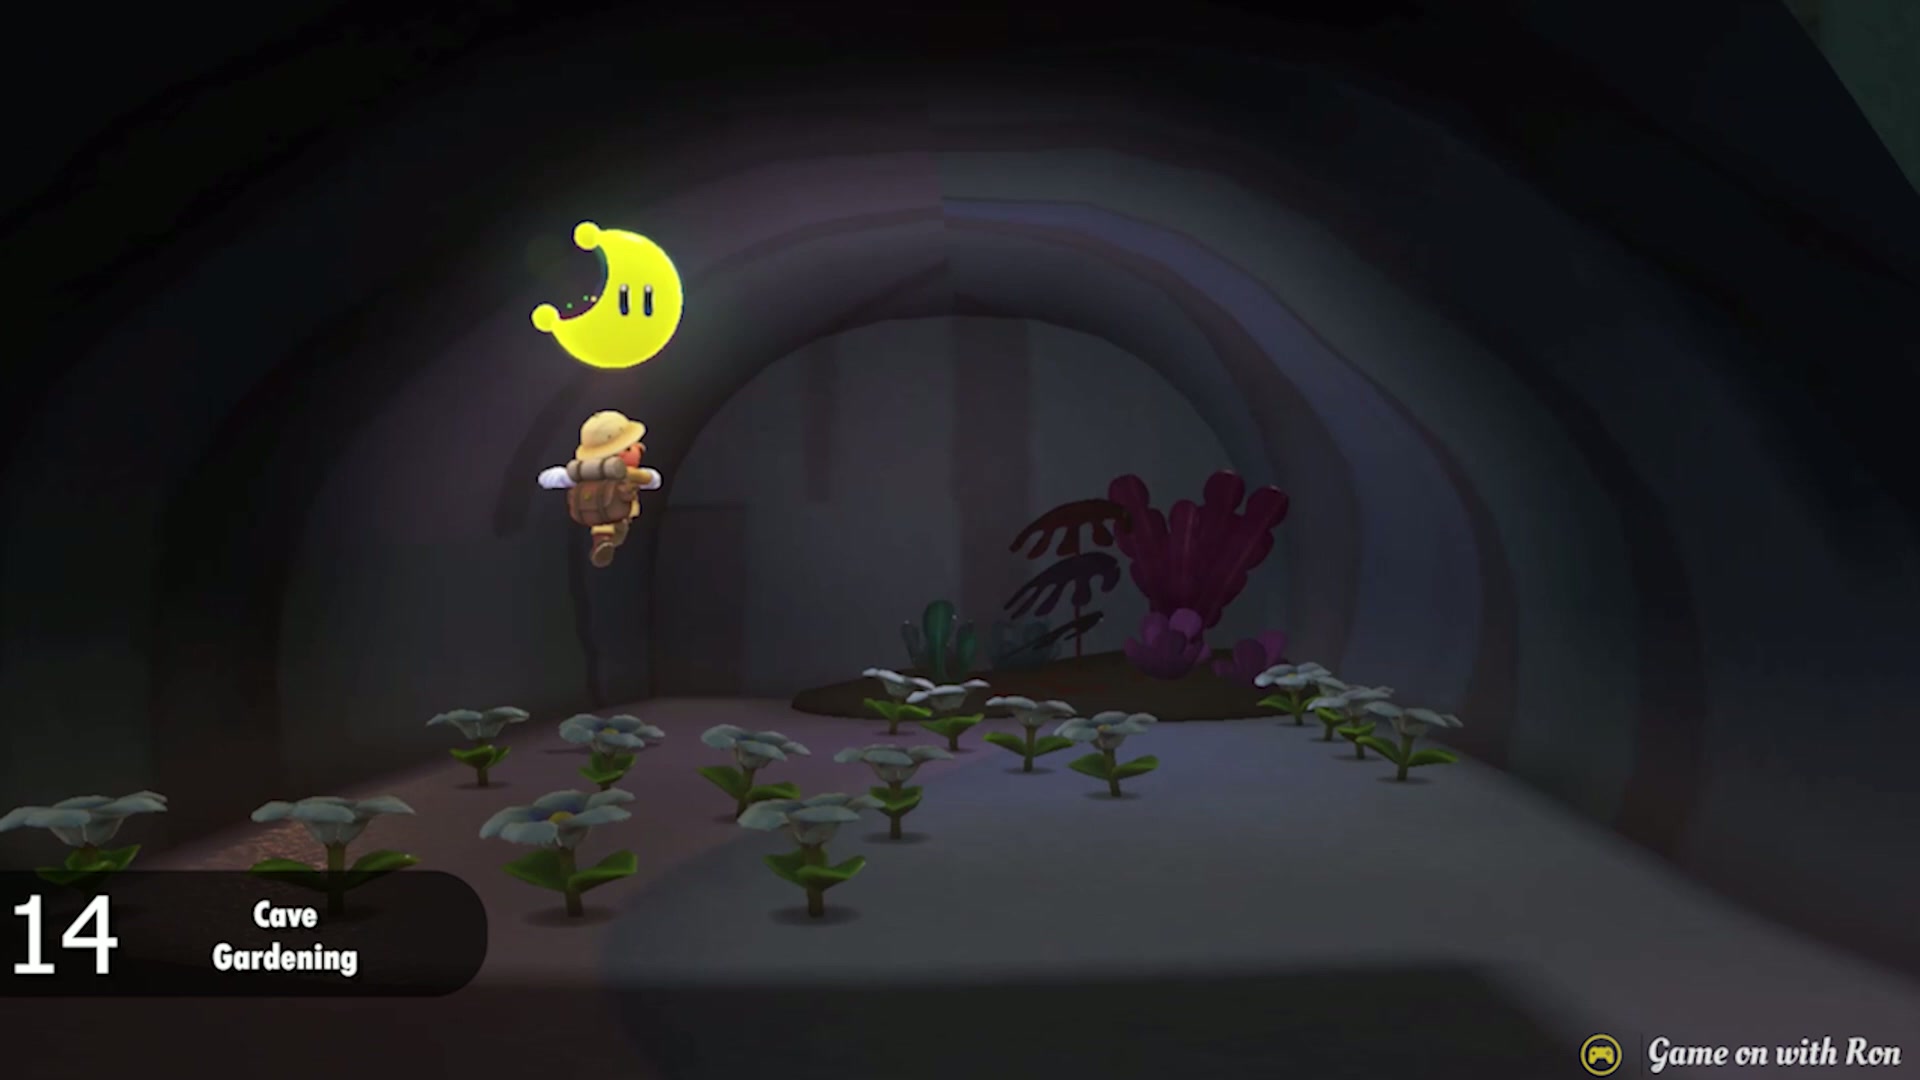
Power Moon #14 – Cave Gardening
- Near the ground-pound switch route toward the mountain summit, move around the back side of the mountain and enter the hidden cave.
- Inside the cave, look for the small flower sprouts spread across the floor.
- Throw Cappy at each sprout to make it bloom. Sweep the whole cave from one side to the other so you do not miss a sprout tucked near the wall.
- When every flower has bloomed, the Power Moon appears inside the cave.
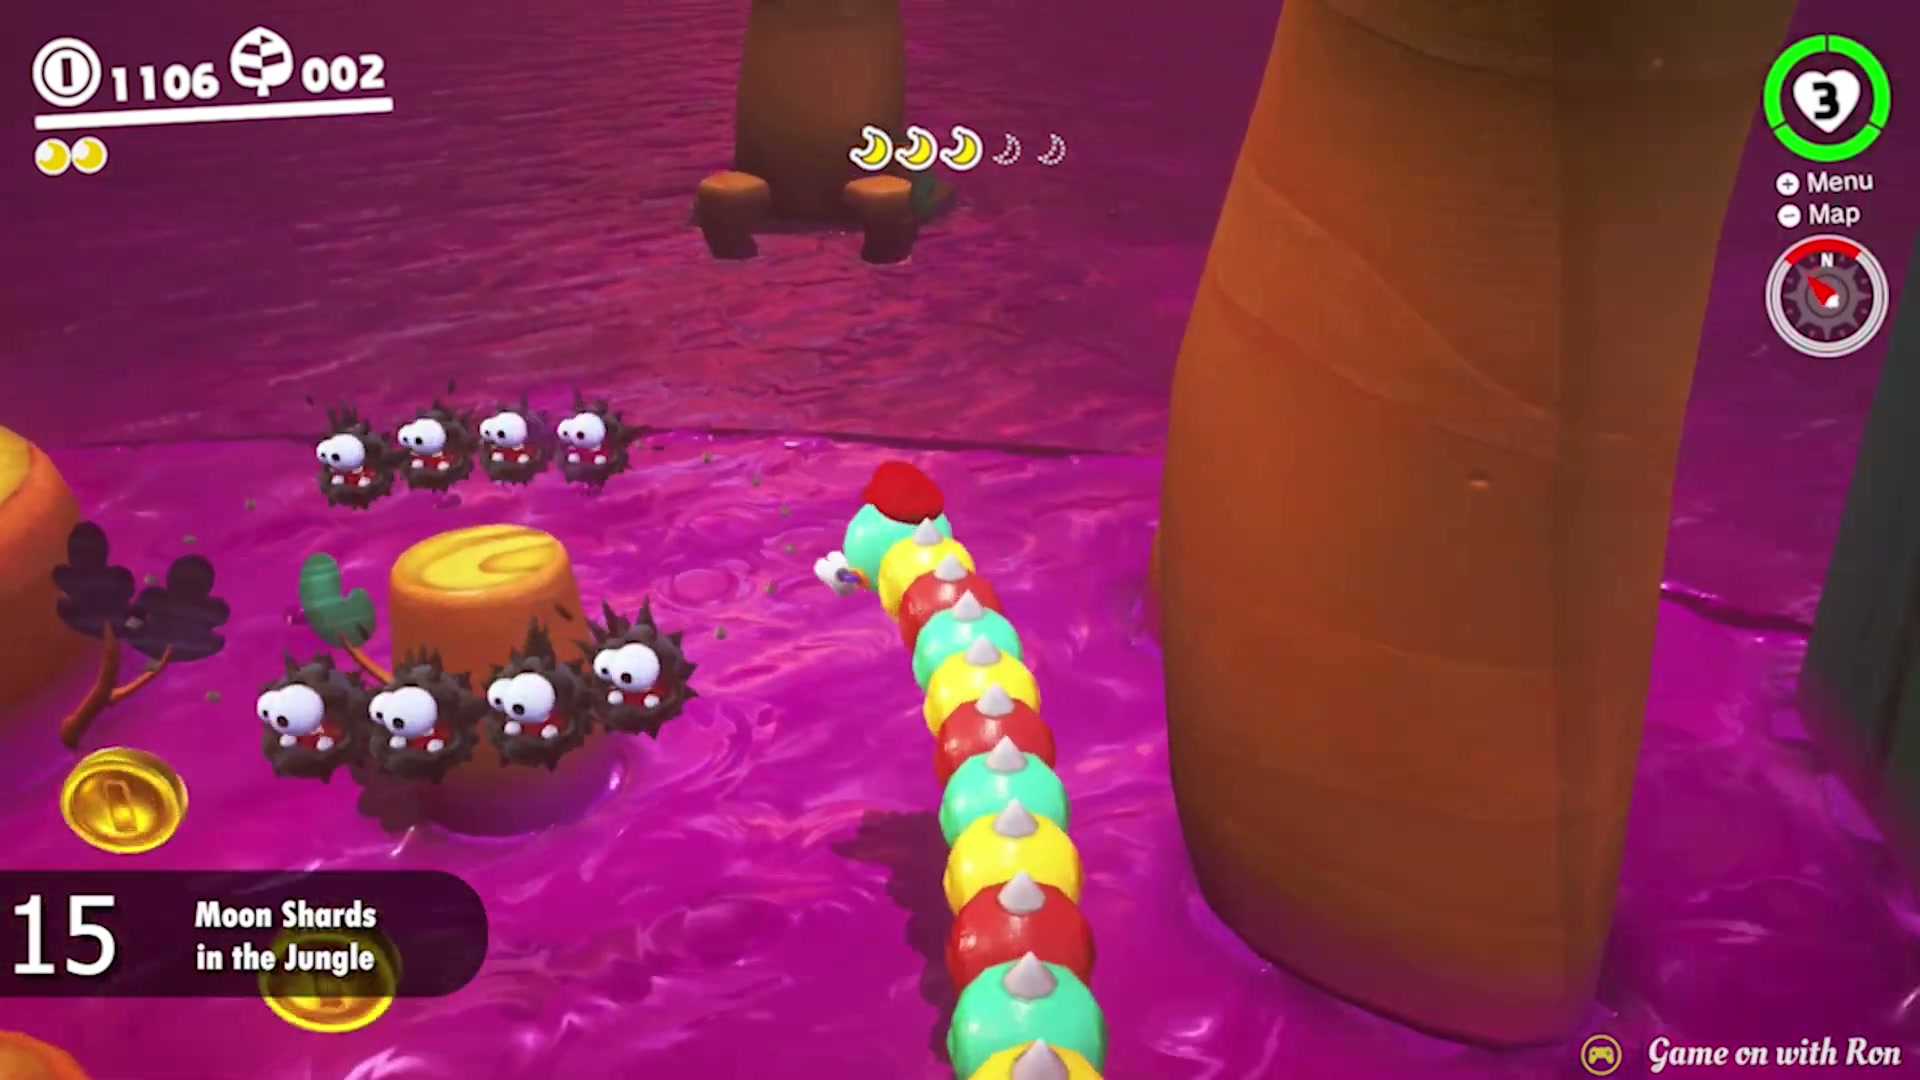
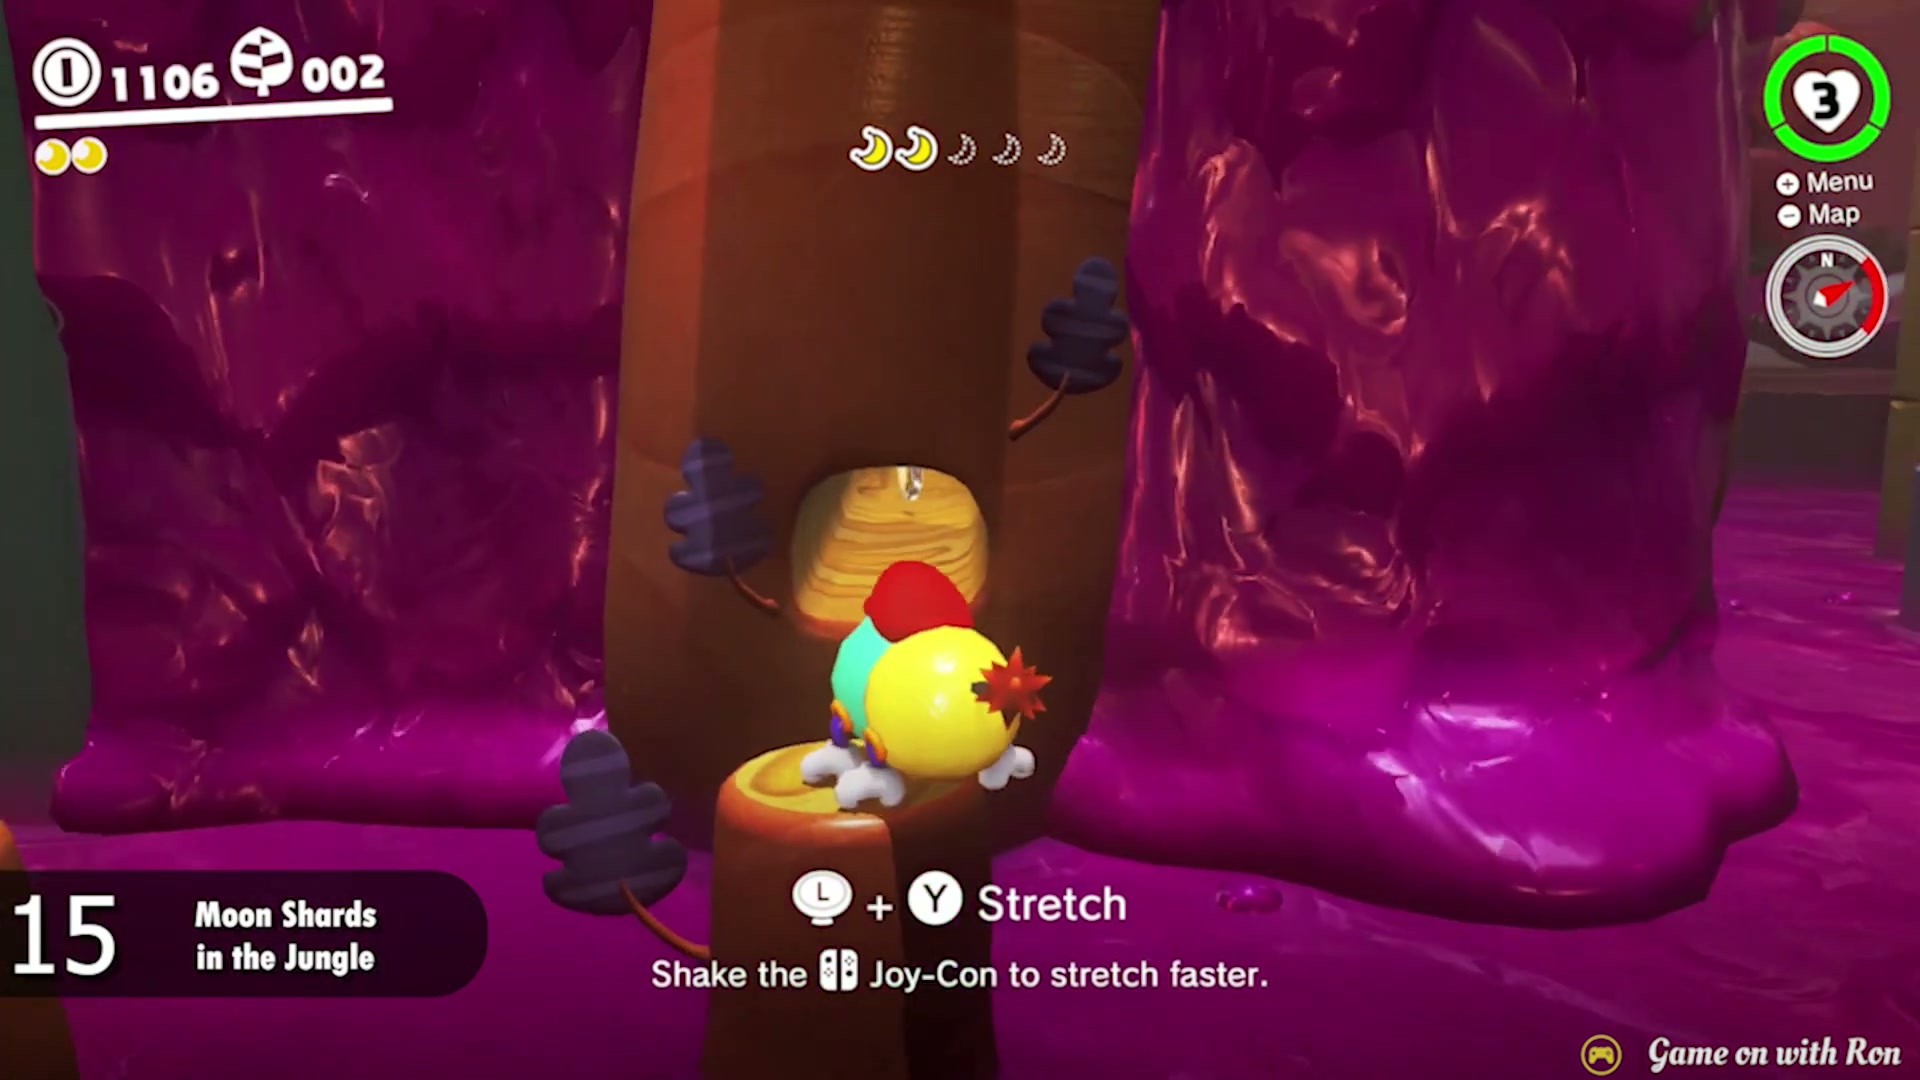
Power Moon #15 – Moon Shards in the Jungle
- Go to the western side of Lost Kingdom near the Mountainside Platform route and capture a Tropical Wiggler.
- Follow the shard trail over the poison, using the Wiggler stretch to reach the logs, stumps and small safe platforms.
- Collect each Moon Shard before moving on. The route loops around the swamp, so turn the camera often and check both sides of every log cluster.
- Watch for Fuzzies while stretched out. Wait for them to pass, then retract or stretch again only when the path is clear.
- After the fifth shard, the Power Moon appears on the reward platform. Stretch back safely and collect it.
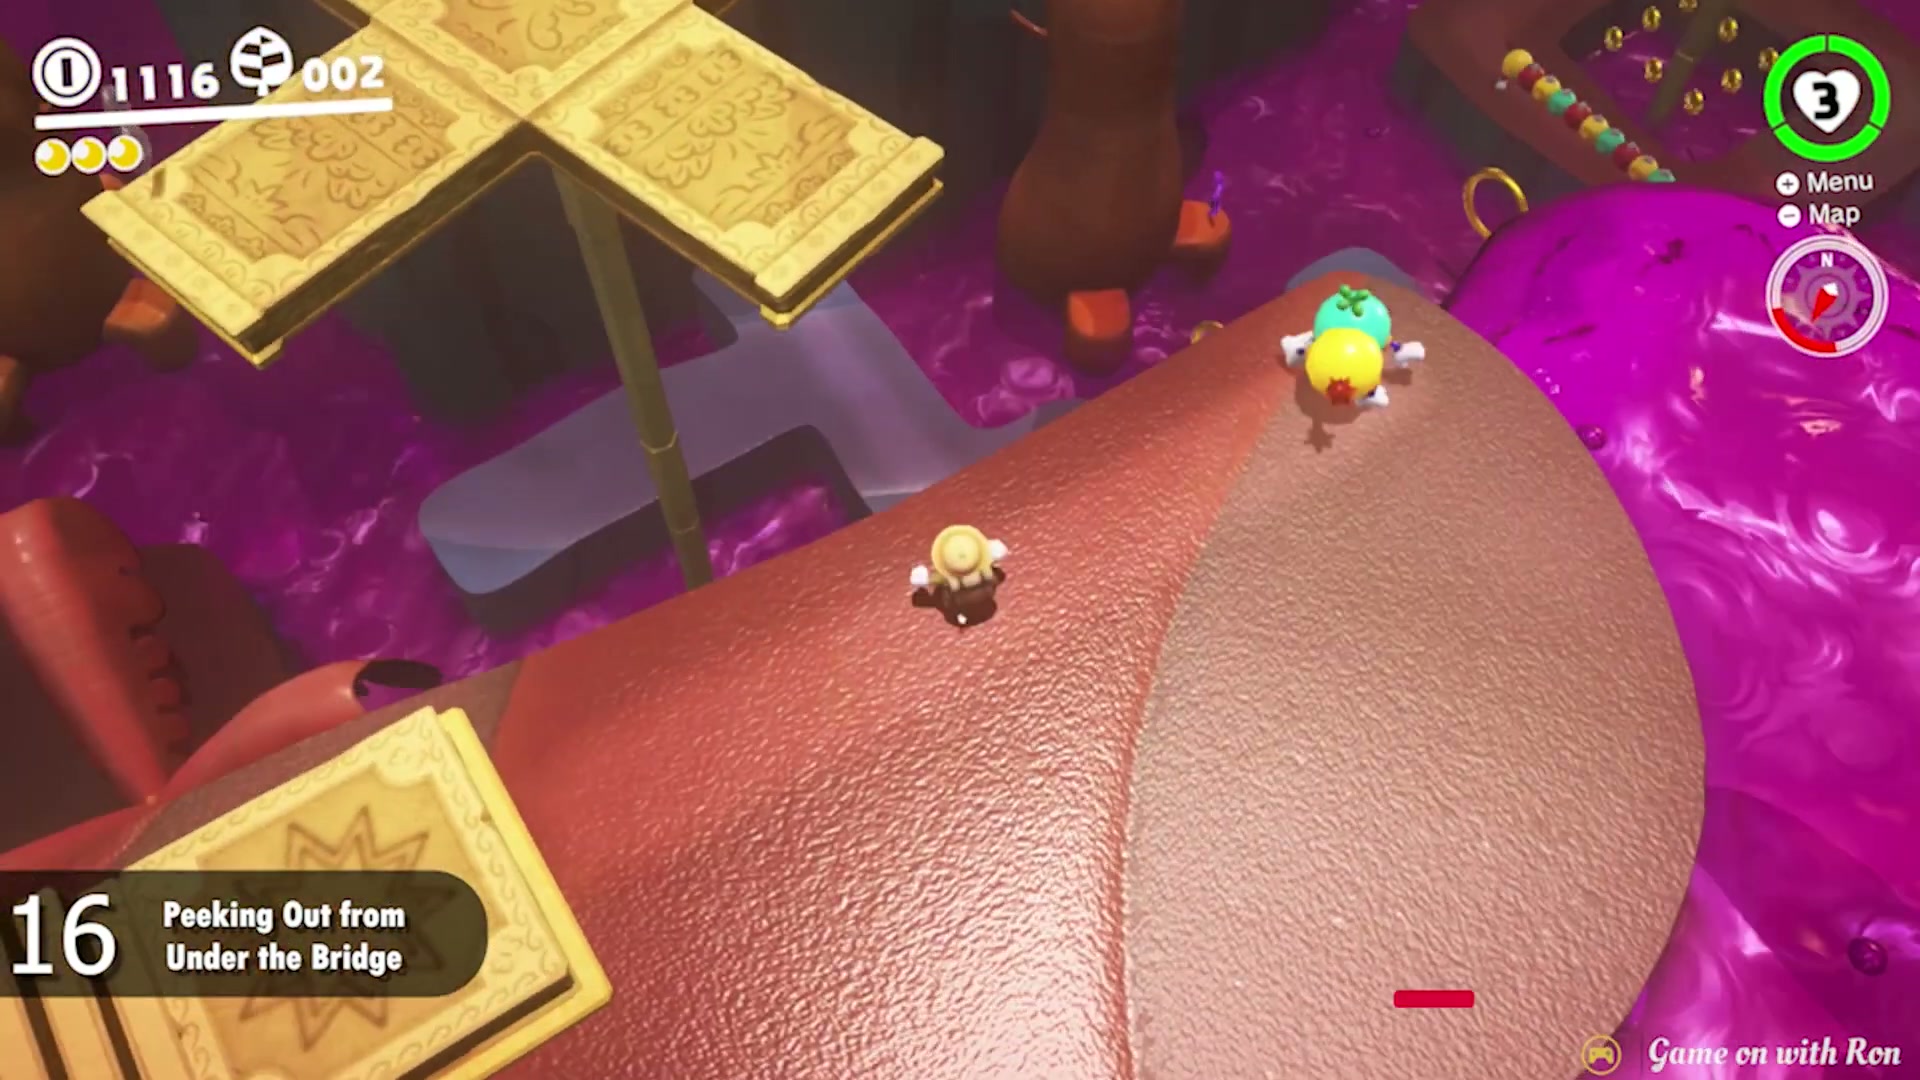

Power Moon #16 – Peeking Out from Under the Bridge
- Return to the lower bridge area near the start of Lost Kingdom and capture a Tropical Wiggler.
- Move to the safe ledge beside the bridge, then stretch the Wiggler under the bridge instead of crossing over it.
- Keep the body extended long enough to line up with the Power Moon tucked below the bridge.
- Touch the Moon with the end of the Wiggler body, then retract safely back to the platform.
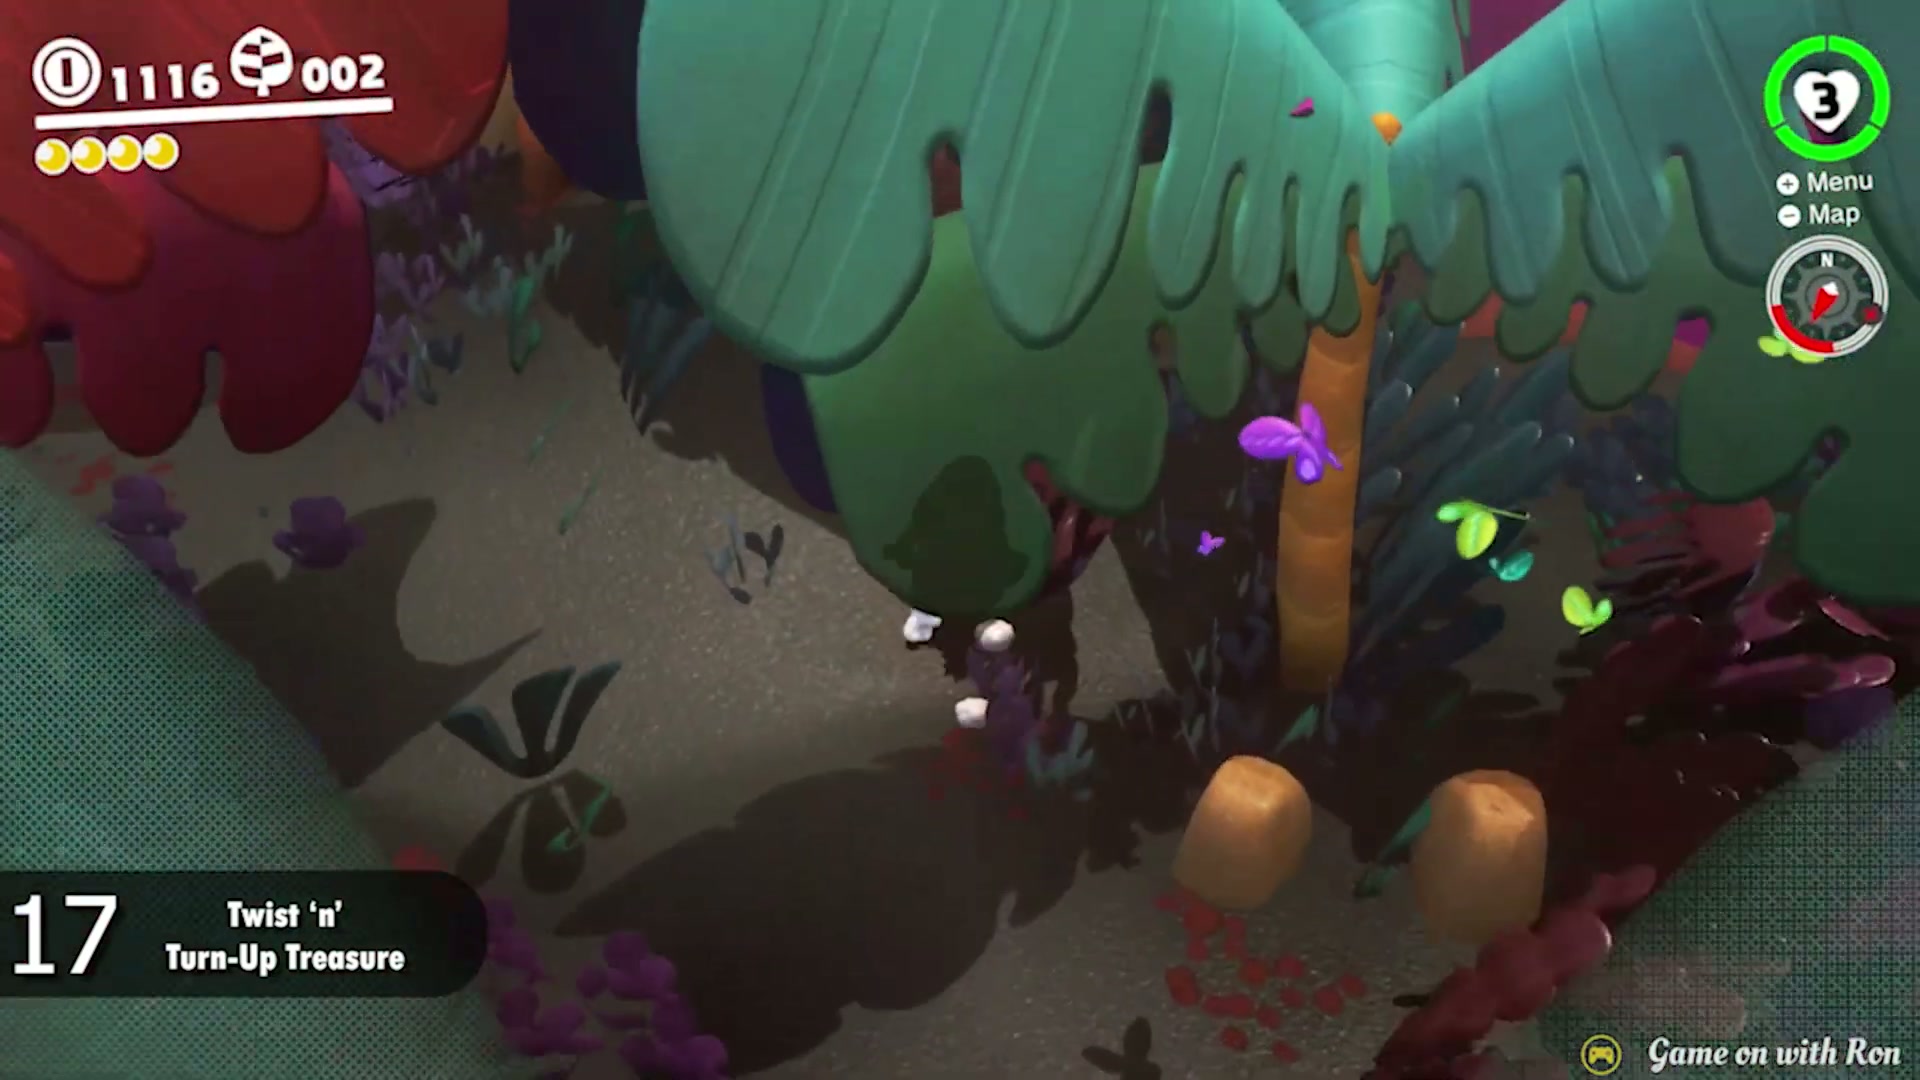
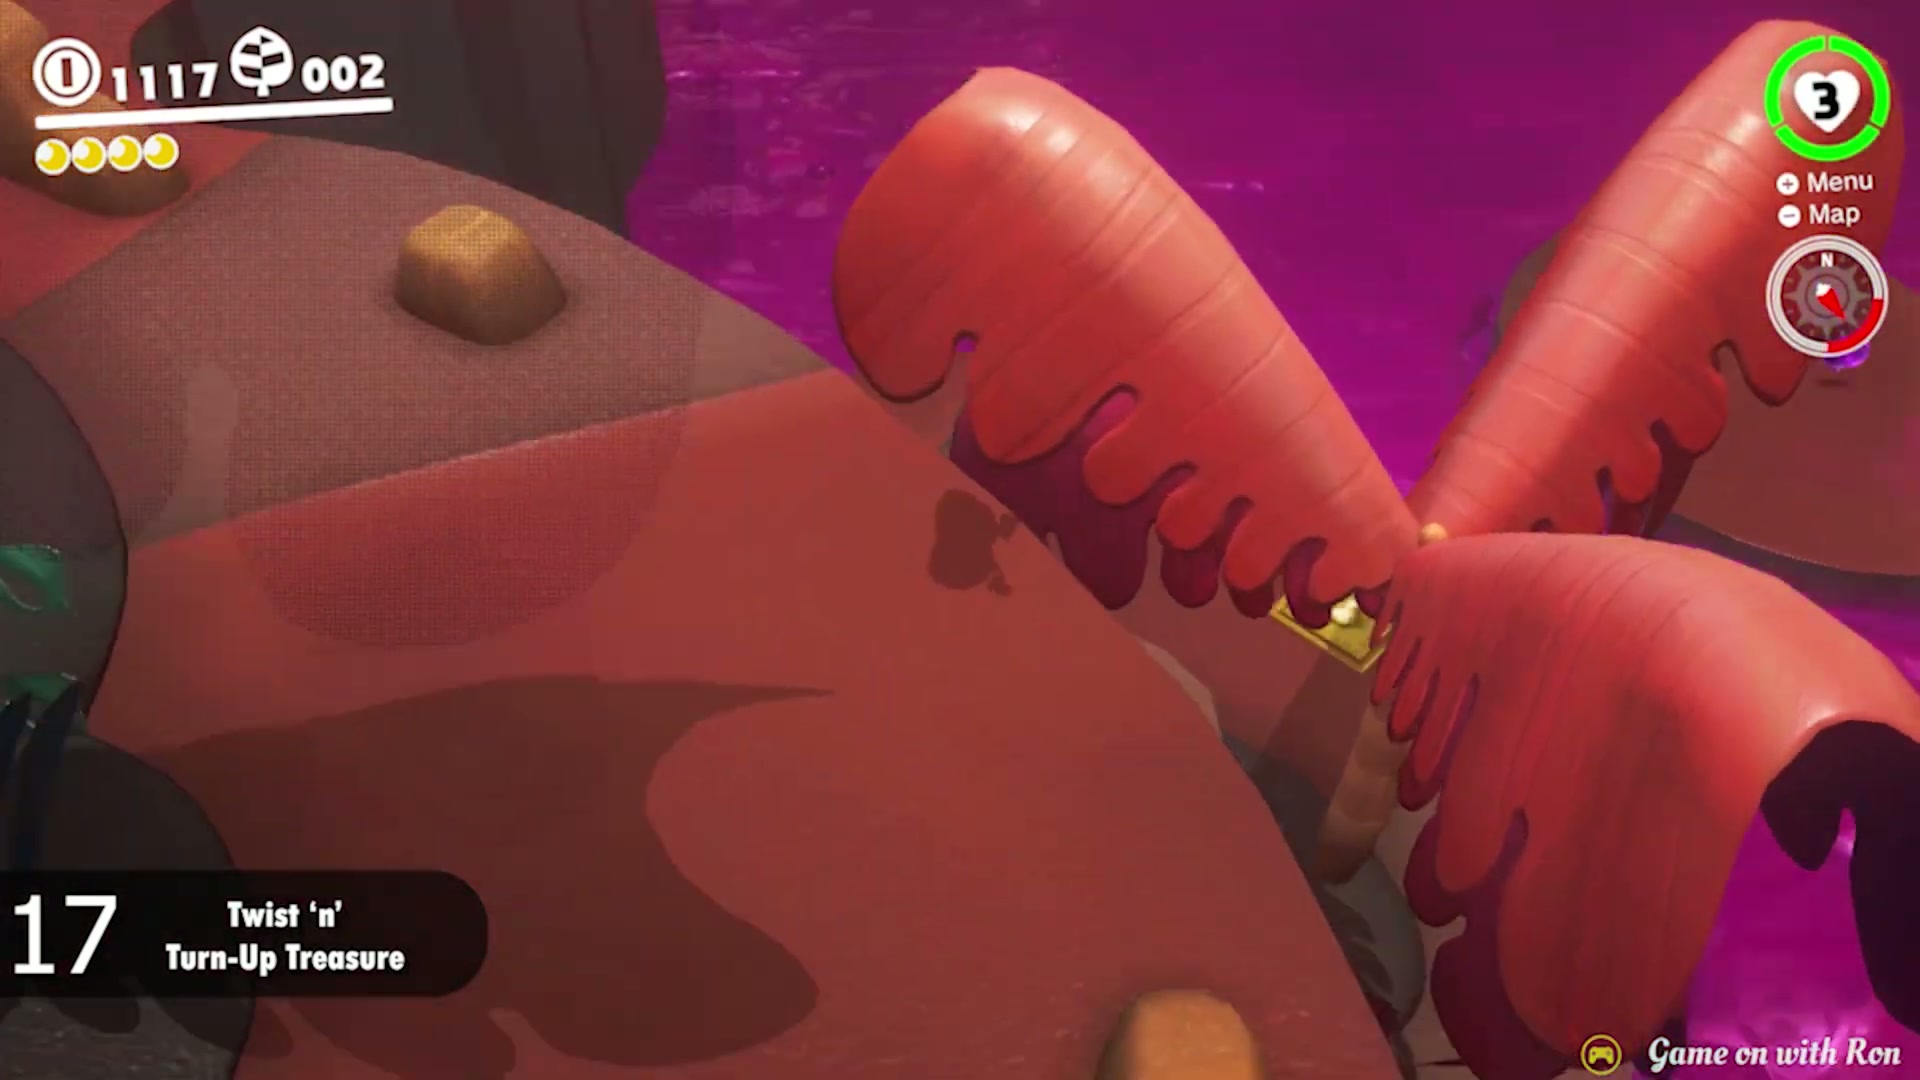
Power Moon #17 – Twist ‘n’ Turn-Up Treasure
- From the opening area, look for the low ledge with the keyhole south of where you first land in Lost Kingdom.
- Capture a Tropical Wiggler and stretch out over the poison toward the floating key.
- Touch the key with the Wiggler body, then carefully return to the ledge with the keyhole.
- Stand by the keyhole to unlock it and reveal the Power Moon.
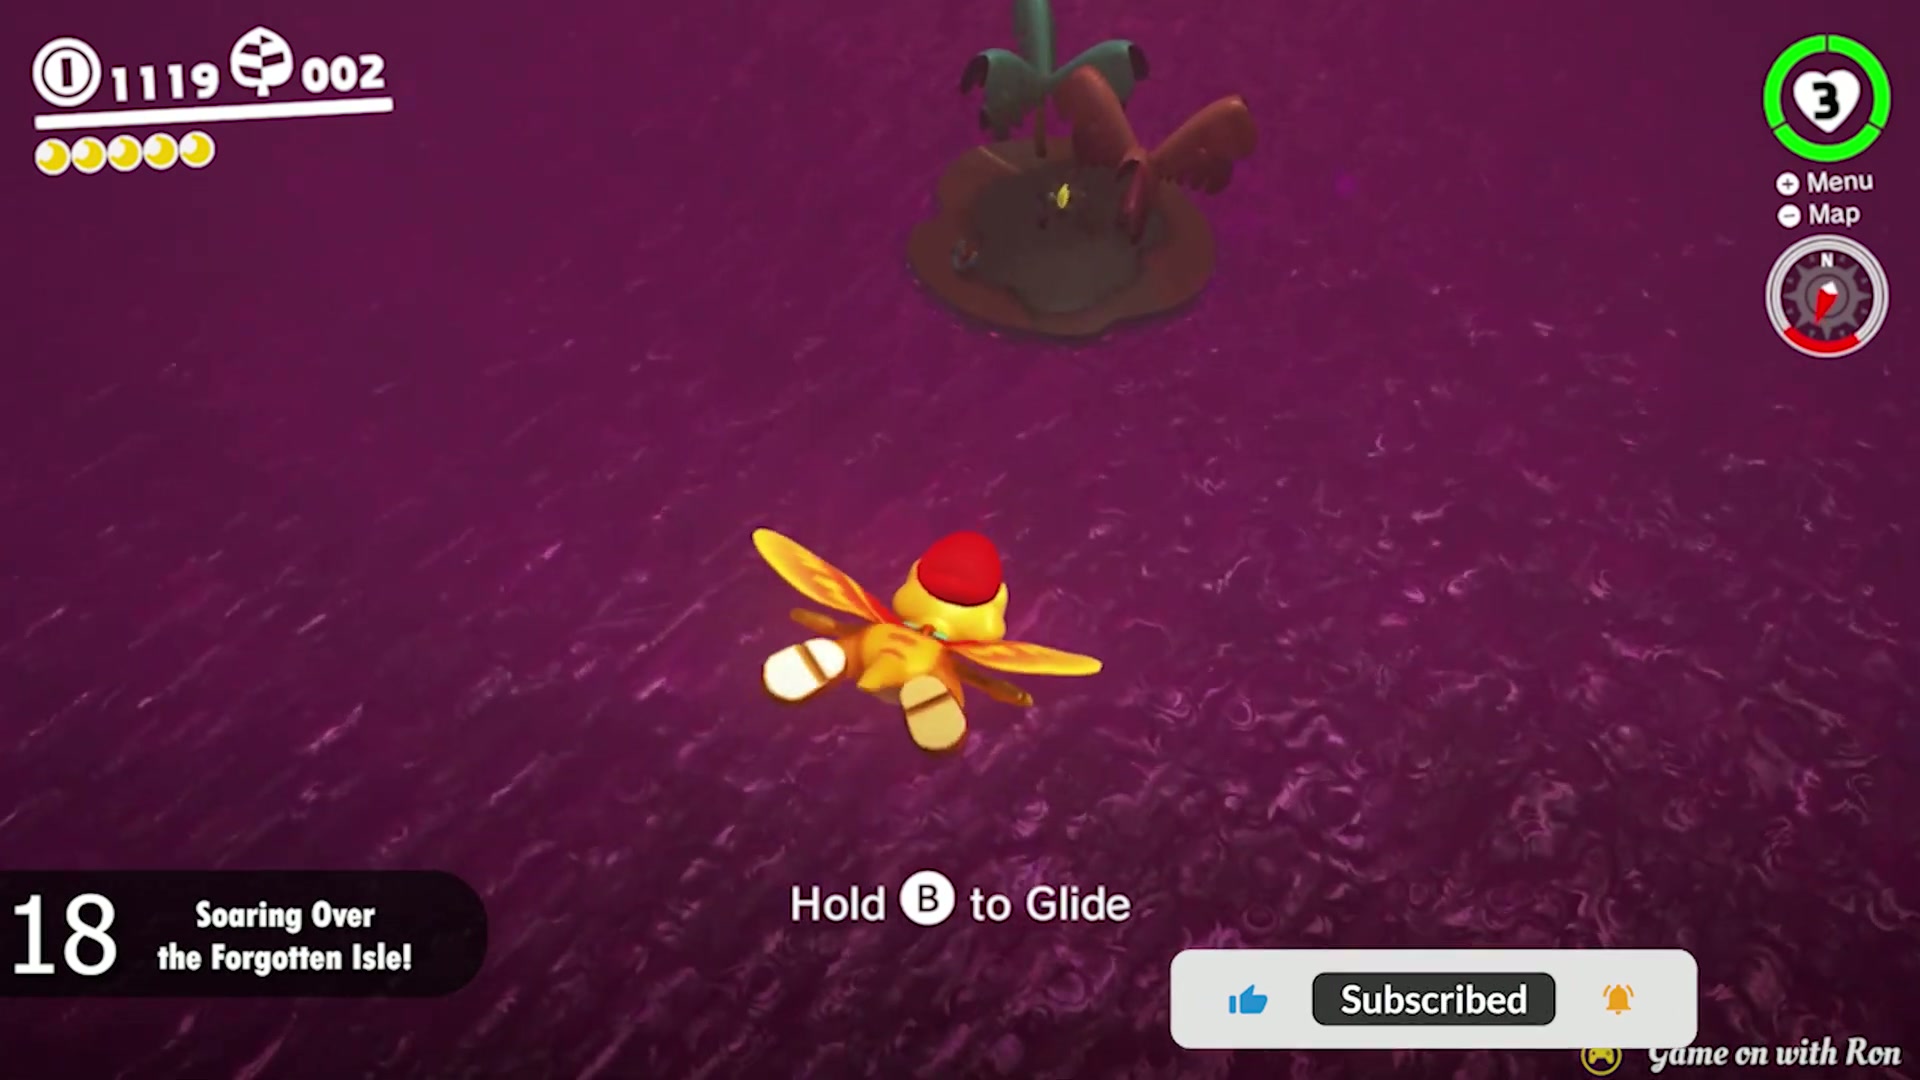
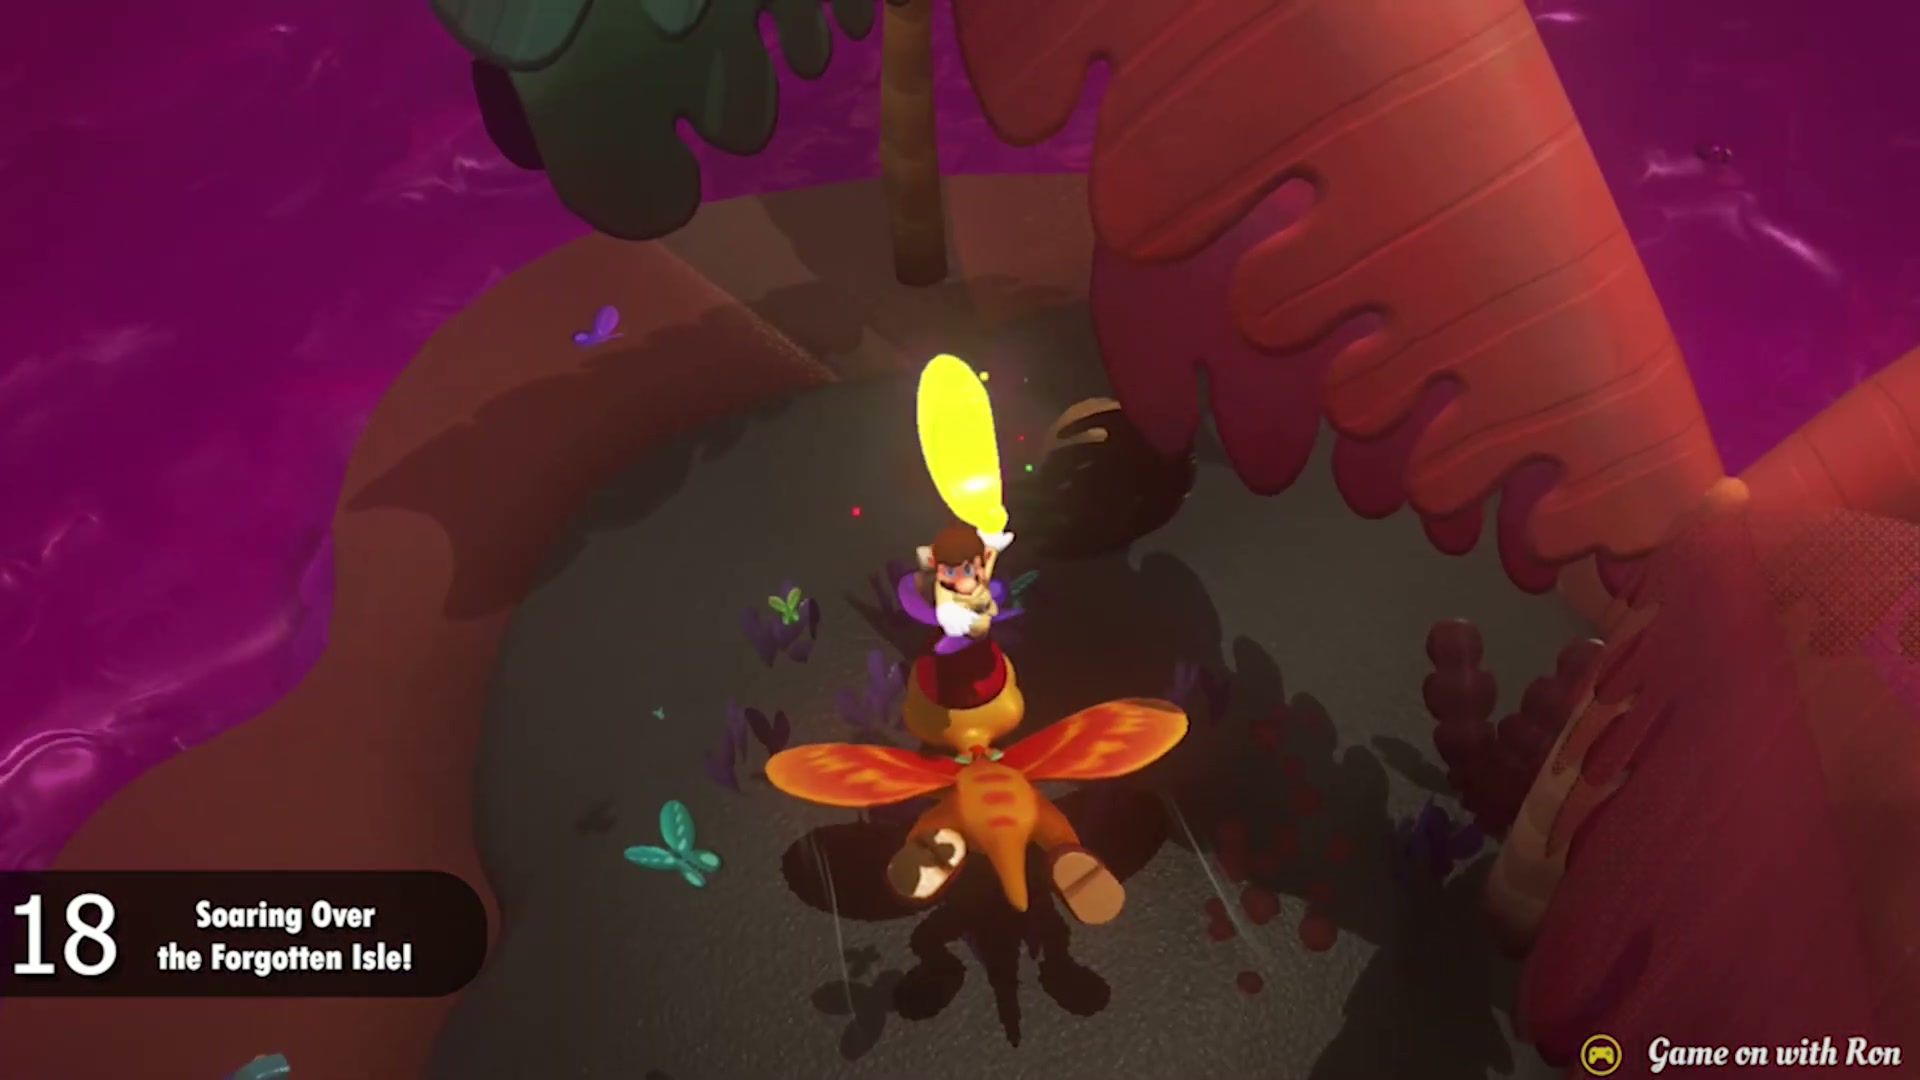
Power Moon #18 – Soaring Over Forgotten Isle!
- Climb to the Rocky Mountain Summit and capture Glydon.
- Face the isolated island south of the main landmass before jumping. You need a clean glide angle, so do not leap while turned toward the main path.
- Glide steadily toward the island and avoid diving too early. Hold your line until the landing platform is directly below you.
- Land on the island and collect the Power Moon waiting there.
Power Moon #19 – The Caged Gold
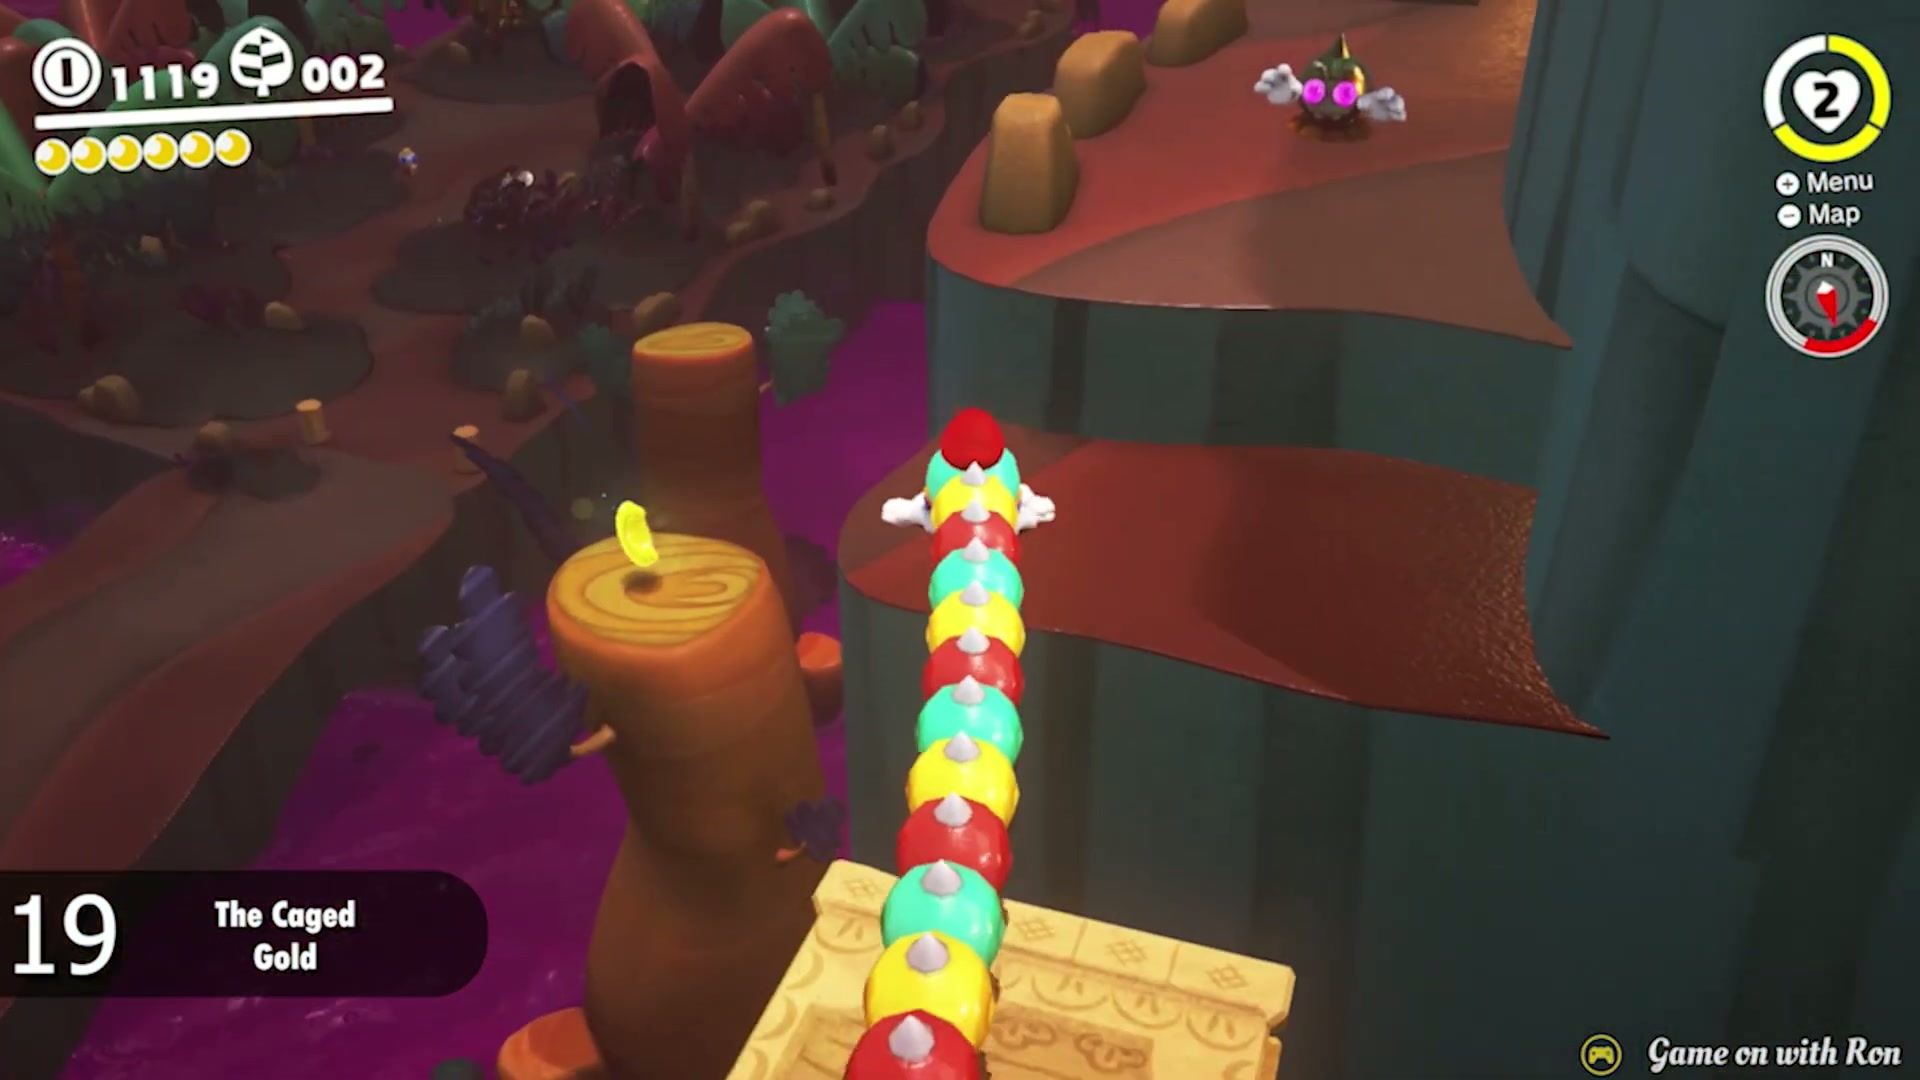
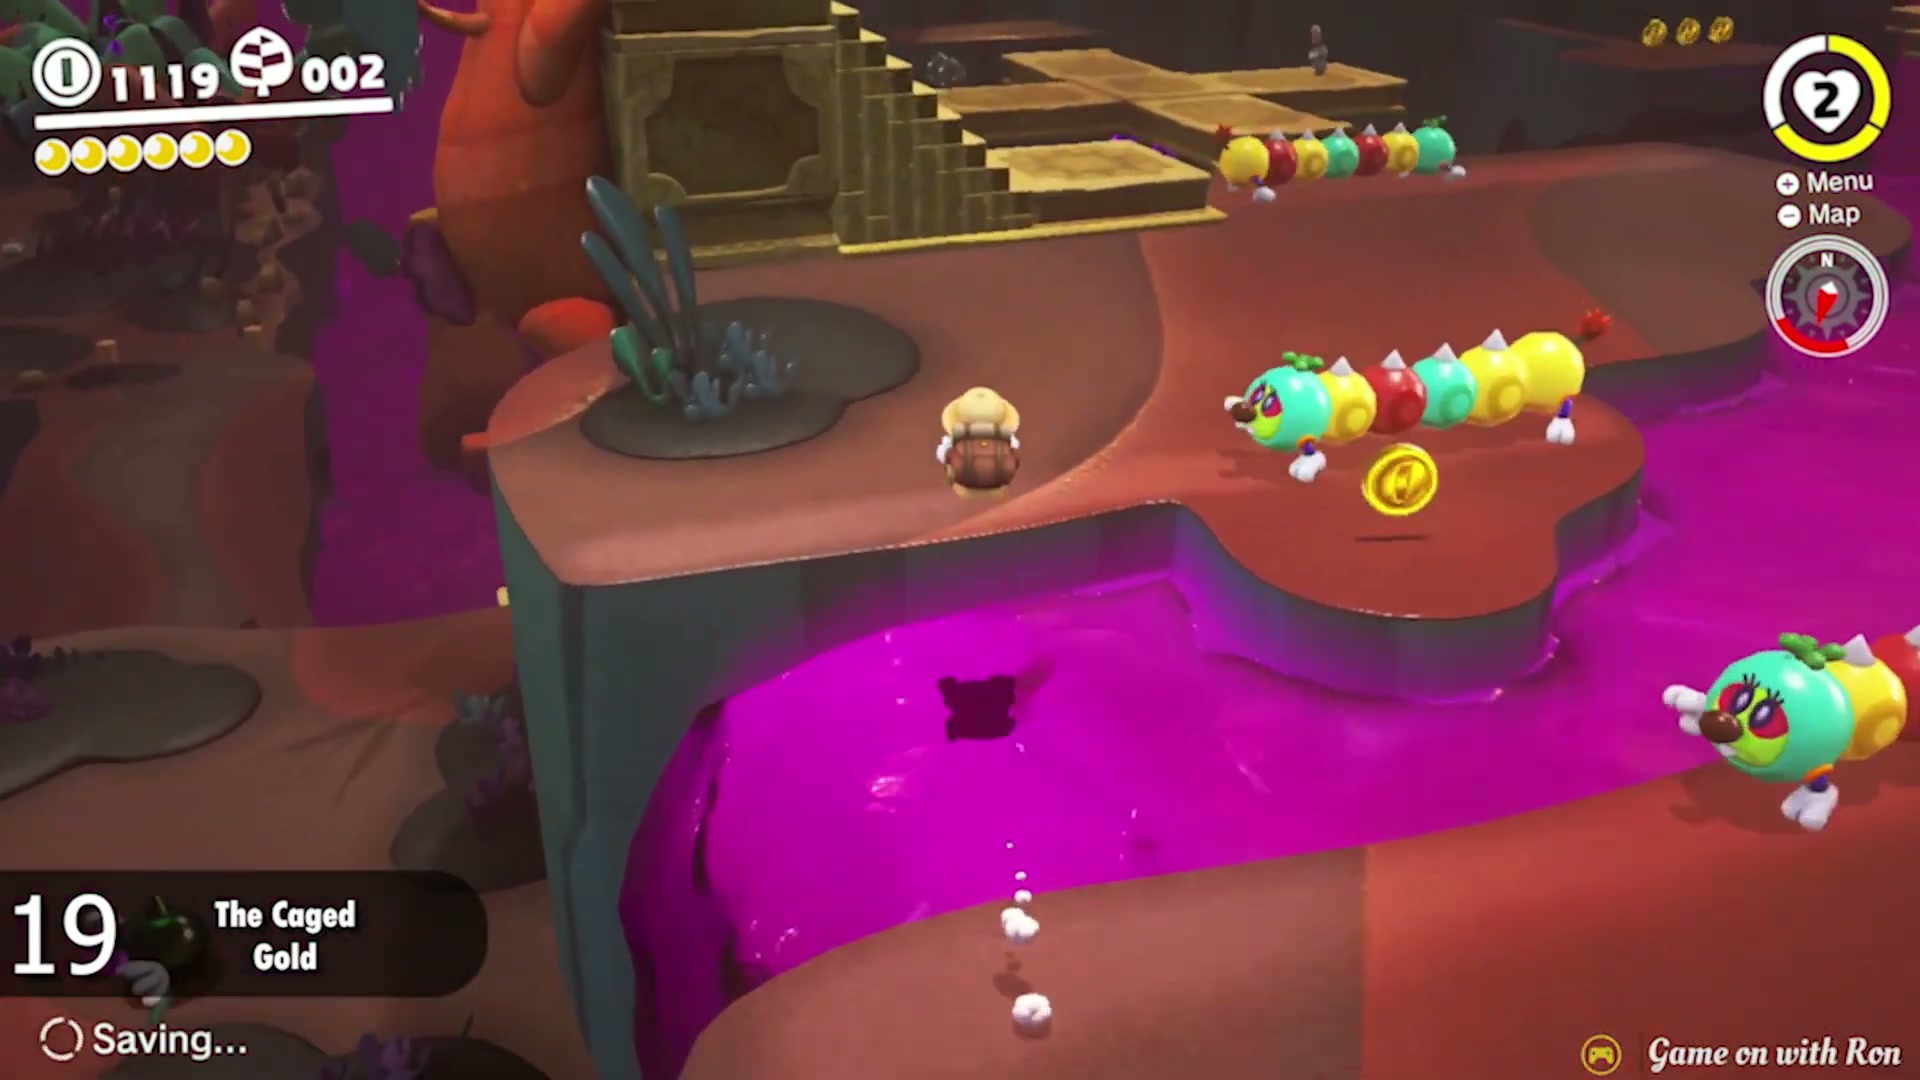
- Near the starting side of Lost Kingdom, look for the Power Moon trapped in a cage on top of a tree.
- Find the Trapeetle on the nearby northern ledge and stand so the cage is in its charge path.
- Throw Cappy at the Trapeetle, then sidestep as it launches forward. The explosion must hit the cage to break it open.
- Once the cage is gone, climb or cross back to the tree and collect the Power Moon.

Power Moon #20 – Get Some Rest, Captain Toad
- Capture a Tropical Wiggler near the Mountainside Platform route.
- Cross the tree stumps and poison path used for the Moon Shards route, then keep moving toward the cliffside opening on the far end.
- Stretch carefully into the opening and release the capture only when you are safely inside.
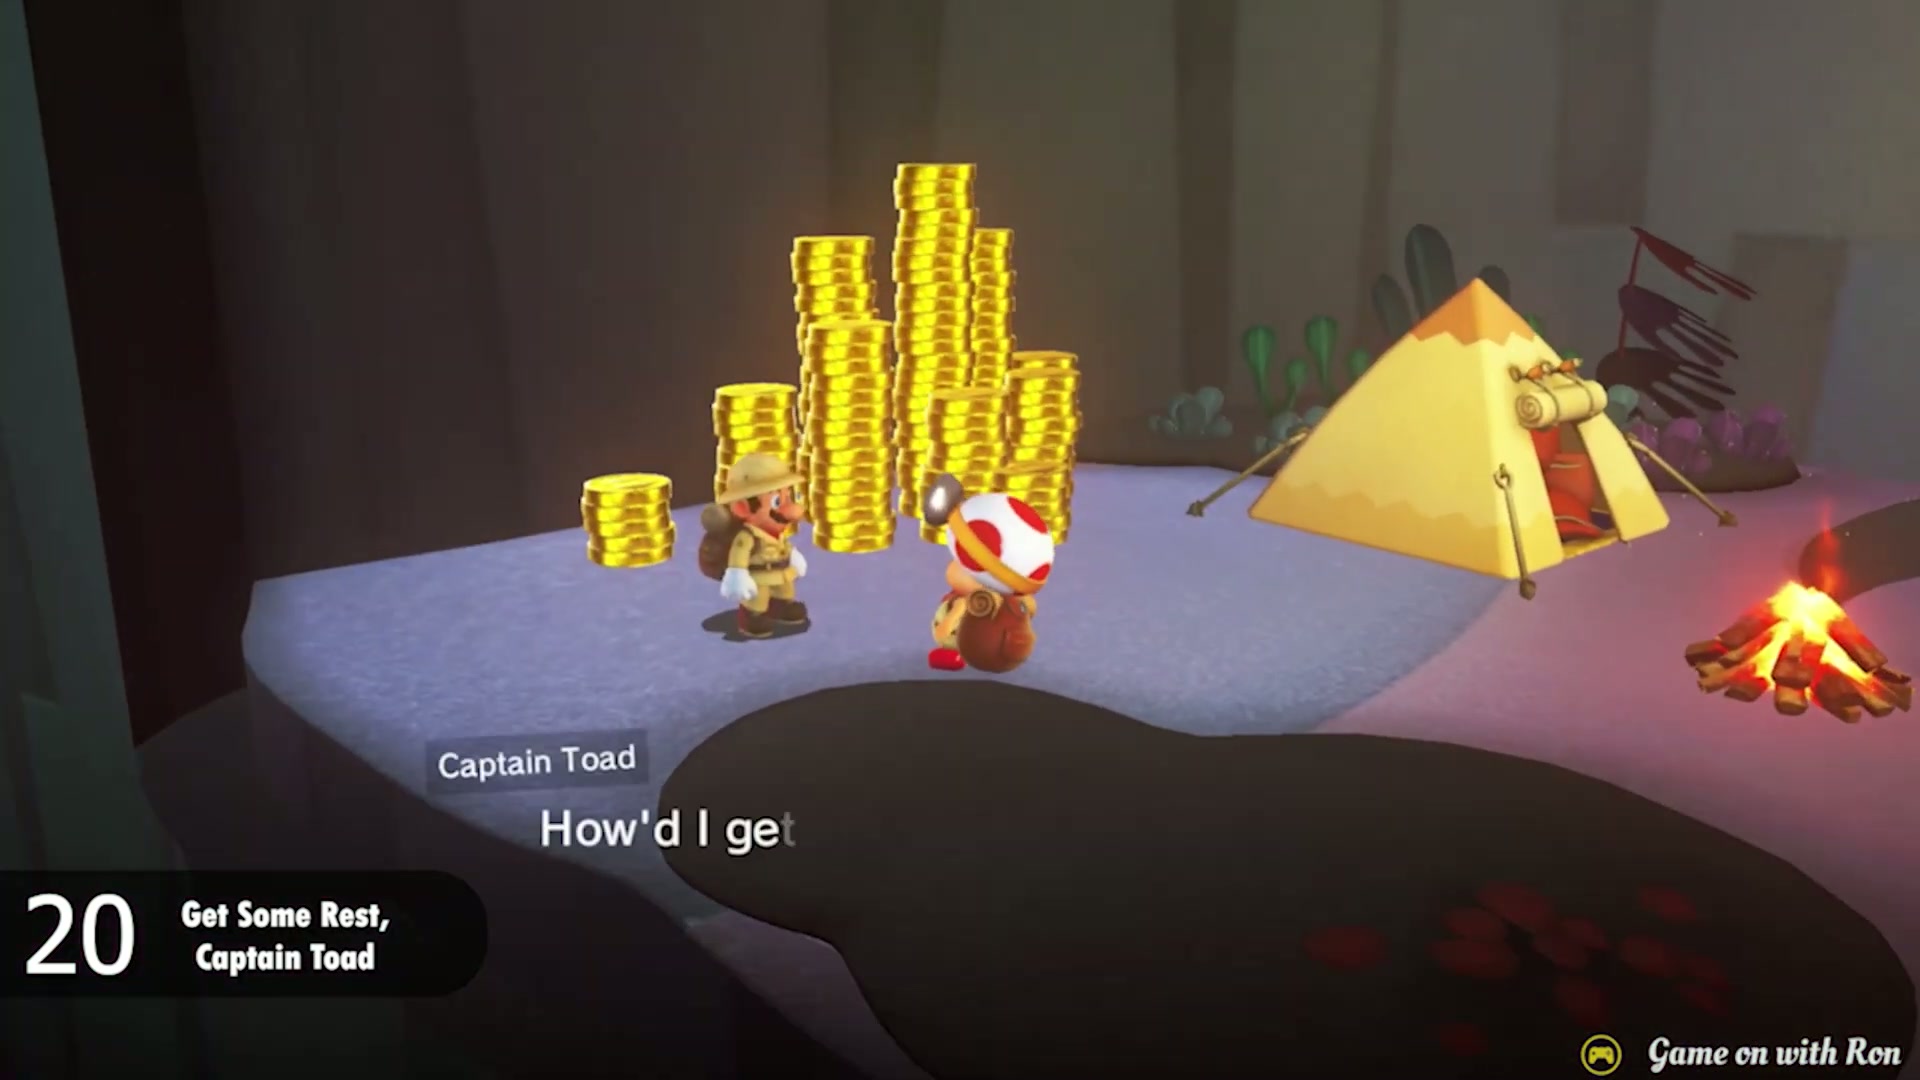
- Talk to Captain Toad in the hidden resting spot to receive the Power Moon.


Power Moon #21 – Shopping on Forgotten Isle
- Go to the Crazy Cap shop in Lost Kingdom after the shop is available.
- Open the yellow coin shop menu and select the Power Moon. It costs 100 yellow coins.
- Confirm the purchase. This Moon is not hidden in the kingdom route; it is collected directly from the shop menu.
- If you are short on coins, clear nearby rings and small coin lines around the platforms, then return to the shop.


Power Moon #22 – Taxi Flying Through Forgotten Isle
- Find the binoculars in Lost Kingdom and capture them with Cappy.
- Look out over the sky instead of scanning the ground. The target is the flying taxi, not a Moon sitting on a platform.
- Zoom in and keep the taxi centered long enough for the game to recognize it.
- Once the taxi is identified, the Power Moon reward triggers for the list entry.

Power Moon #23 – I Met a Tropical Wiggler!
- After the post-game unlock, look for the Bonneter NPC who wants to see a Tropical Wiggler.
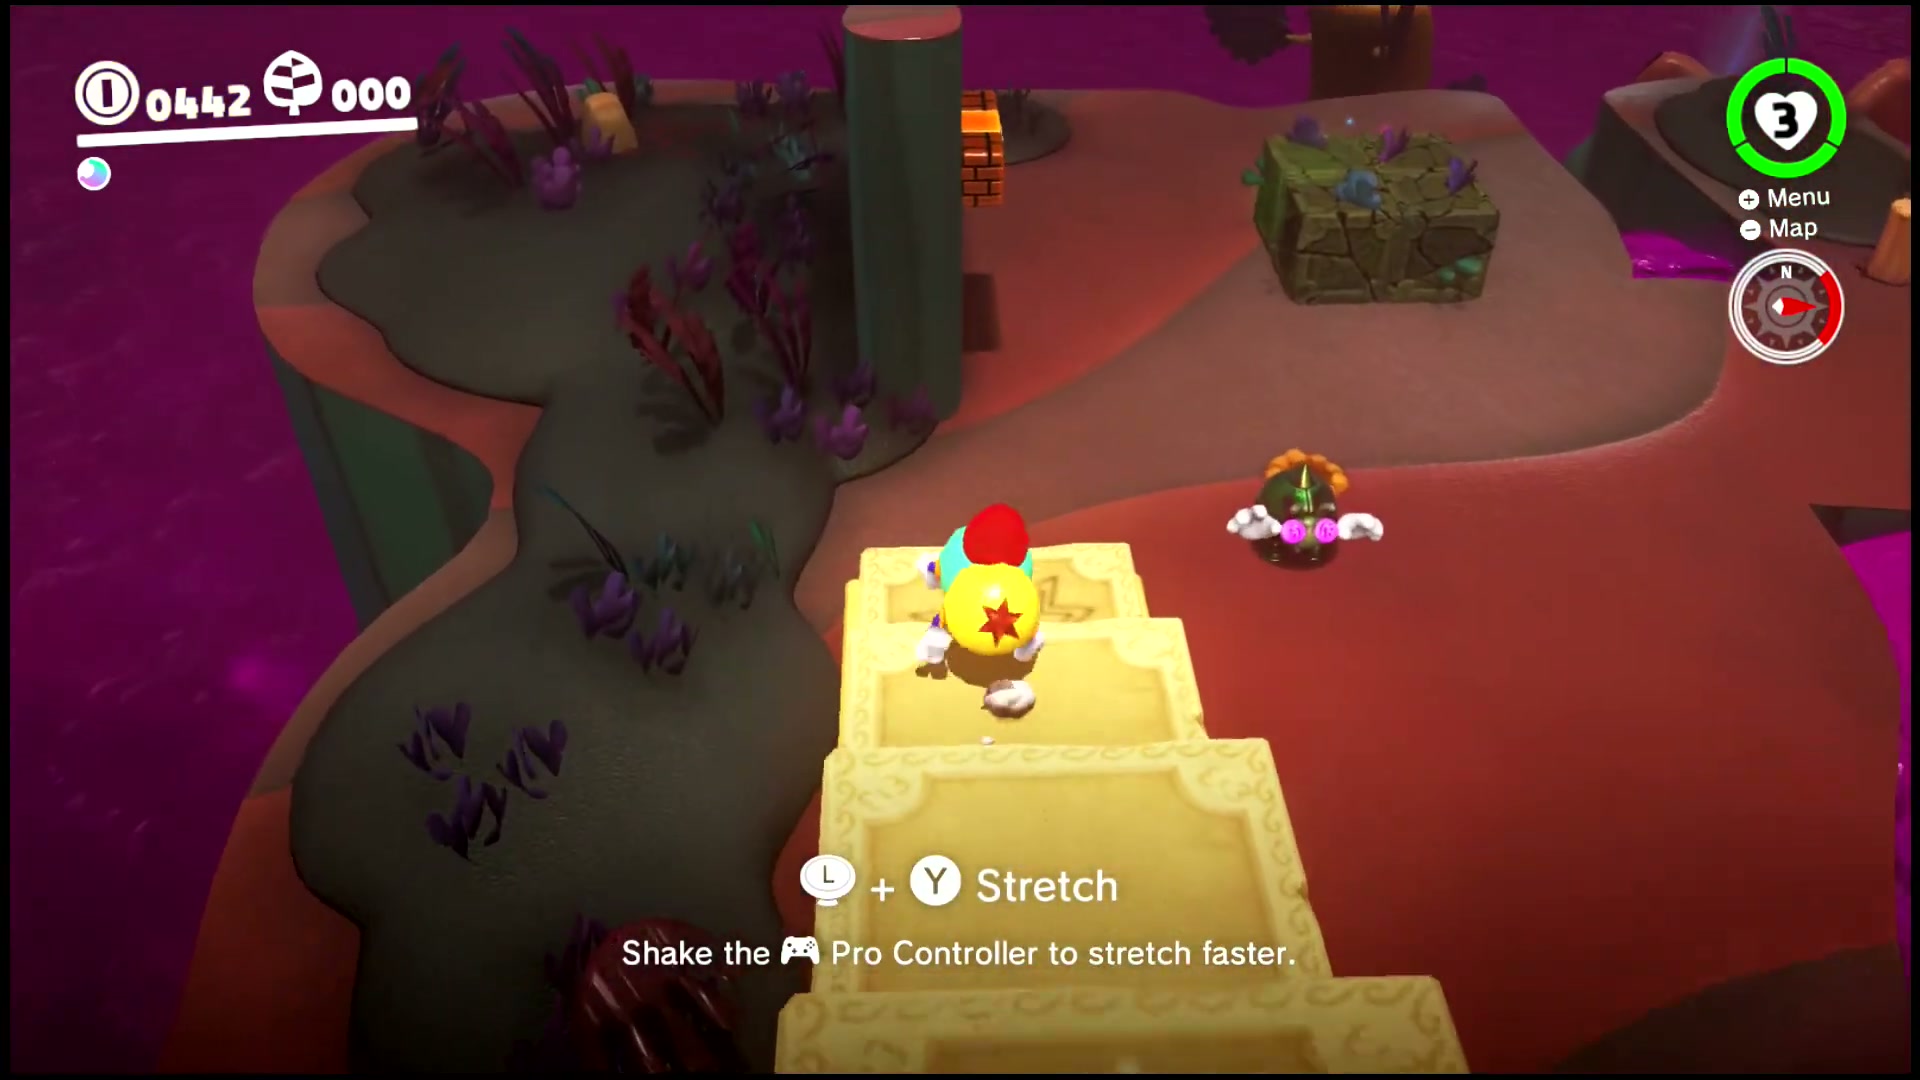
- Capture a Tropical Wiggler nearby and carefully stretch back toward the NPC’s platform.
- Bring the capture close enough for the Bonneter to react. You do not need to fight anything; the task is simply showing the creature.
- When the dialogue finishes, the Power Moon is awarded.
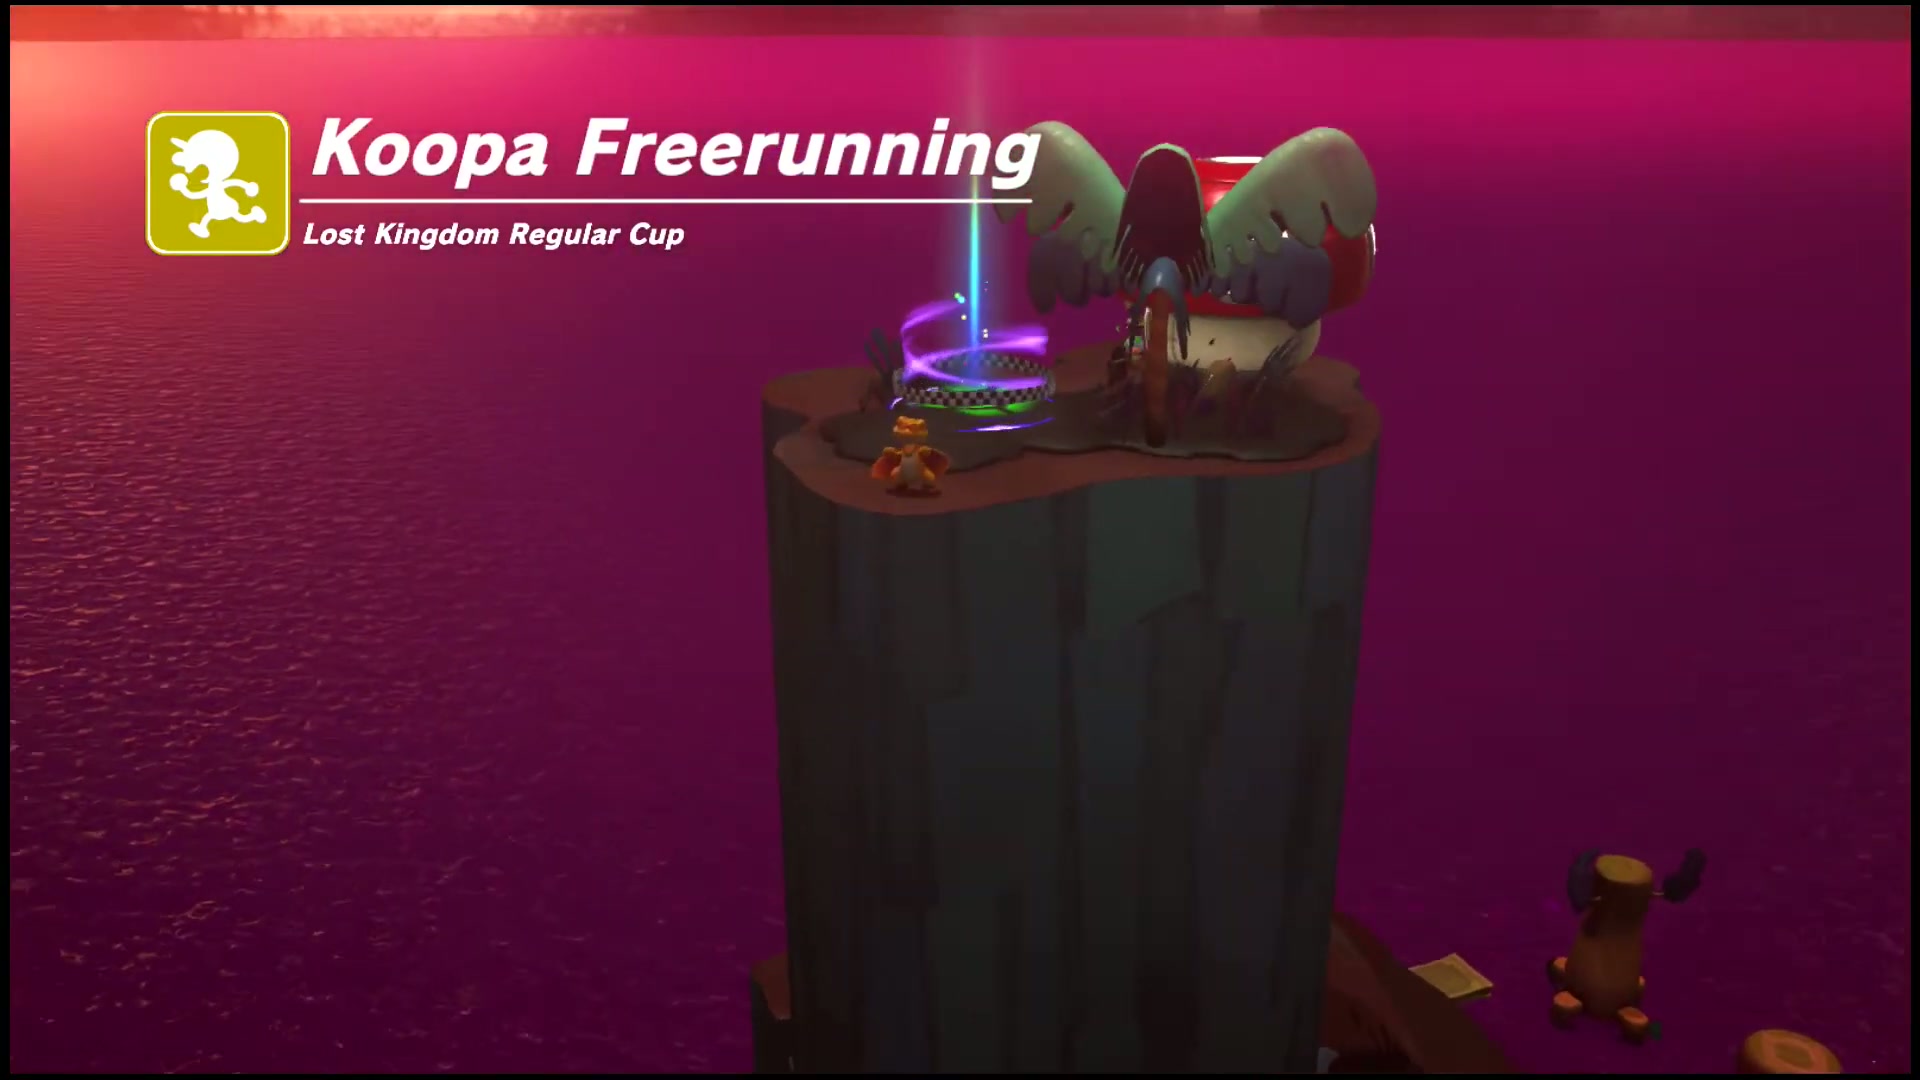
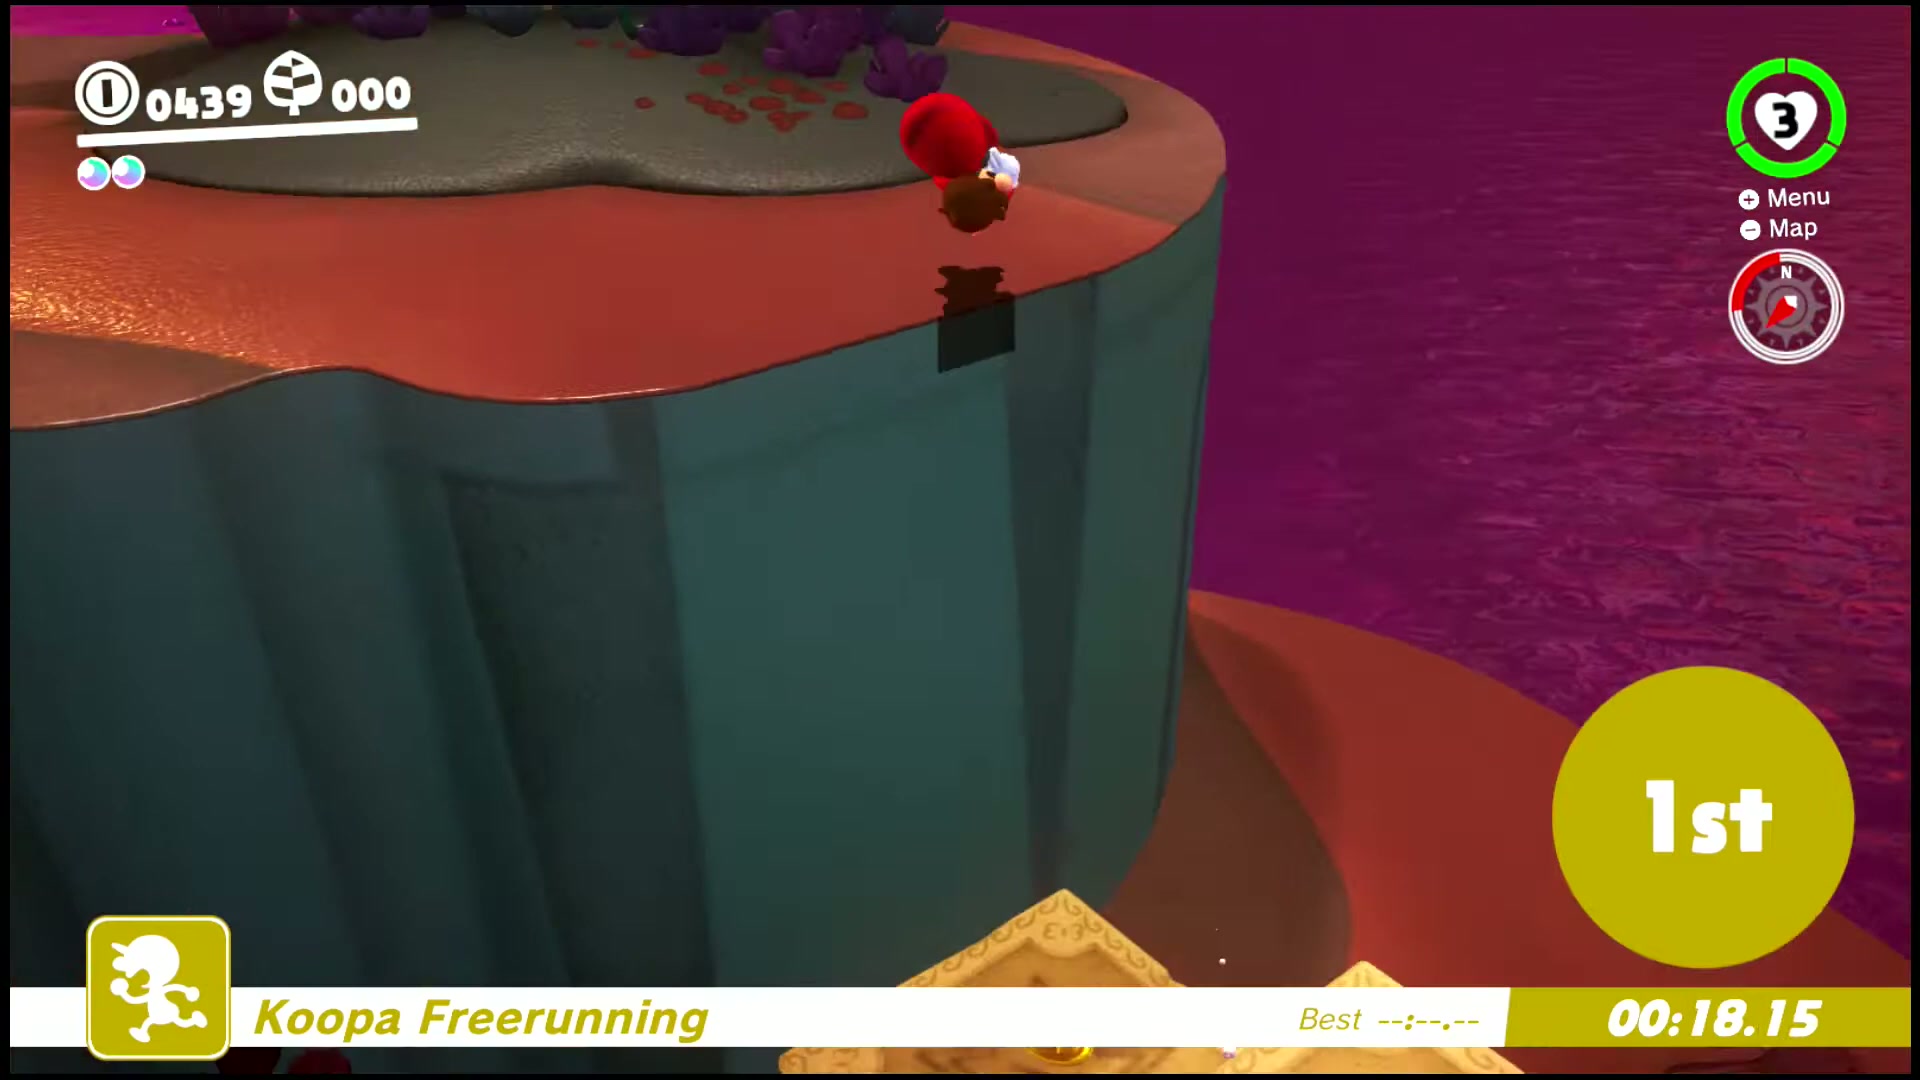
Power Moon #24 – Lost Kingdom Regular Cup
- Talk to Koopa Freerunning in Lost Kingdom and choose the Regular Cup.
- At the start, move immediately toward the main route and use long jumps or rolls on safe ground to build speed.
- Avoid wide detours around the poison. The race is won by keeping a clean line, not by stopping for coins or enemies.
- Reach the goal in first place and talk through the finish dialogue to receive the Power Moon.
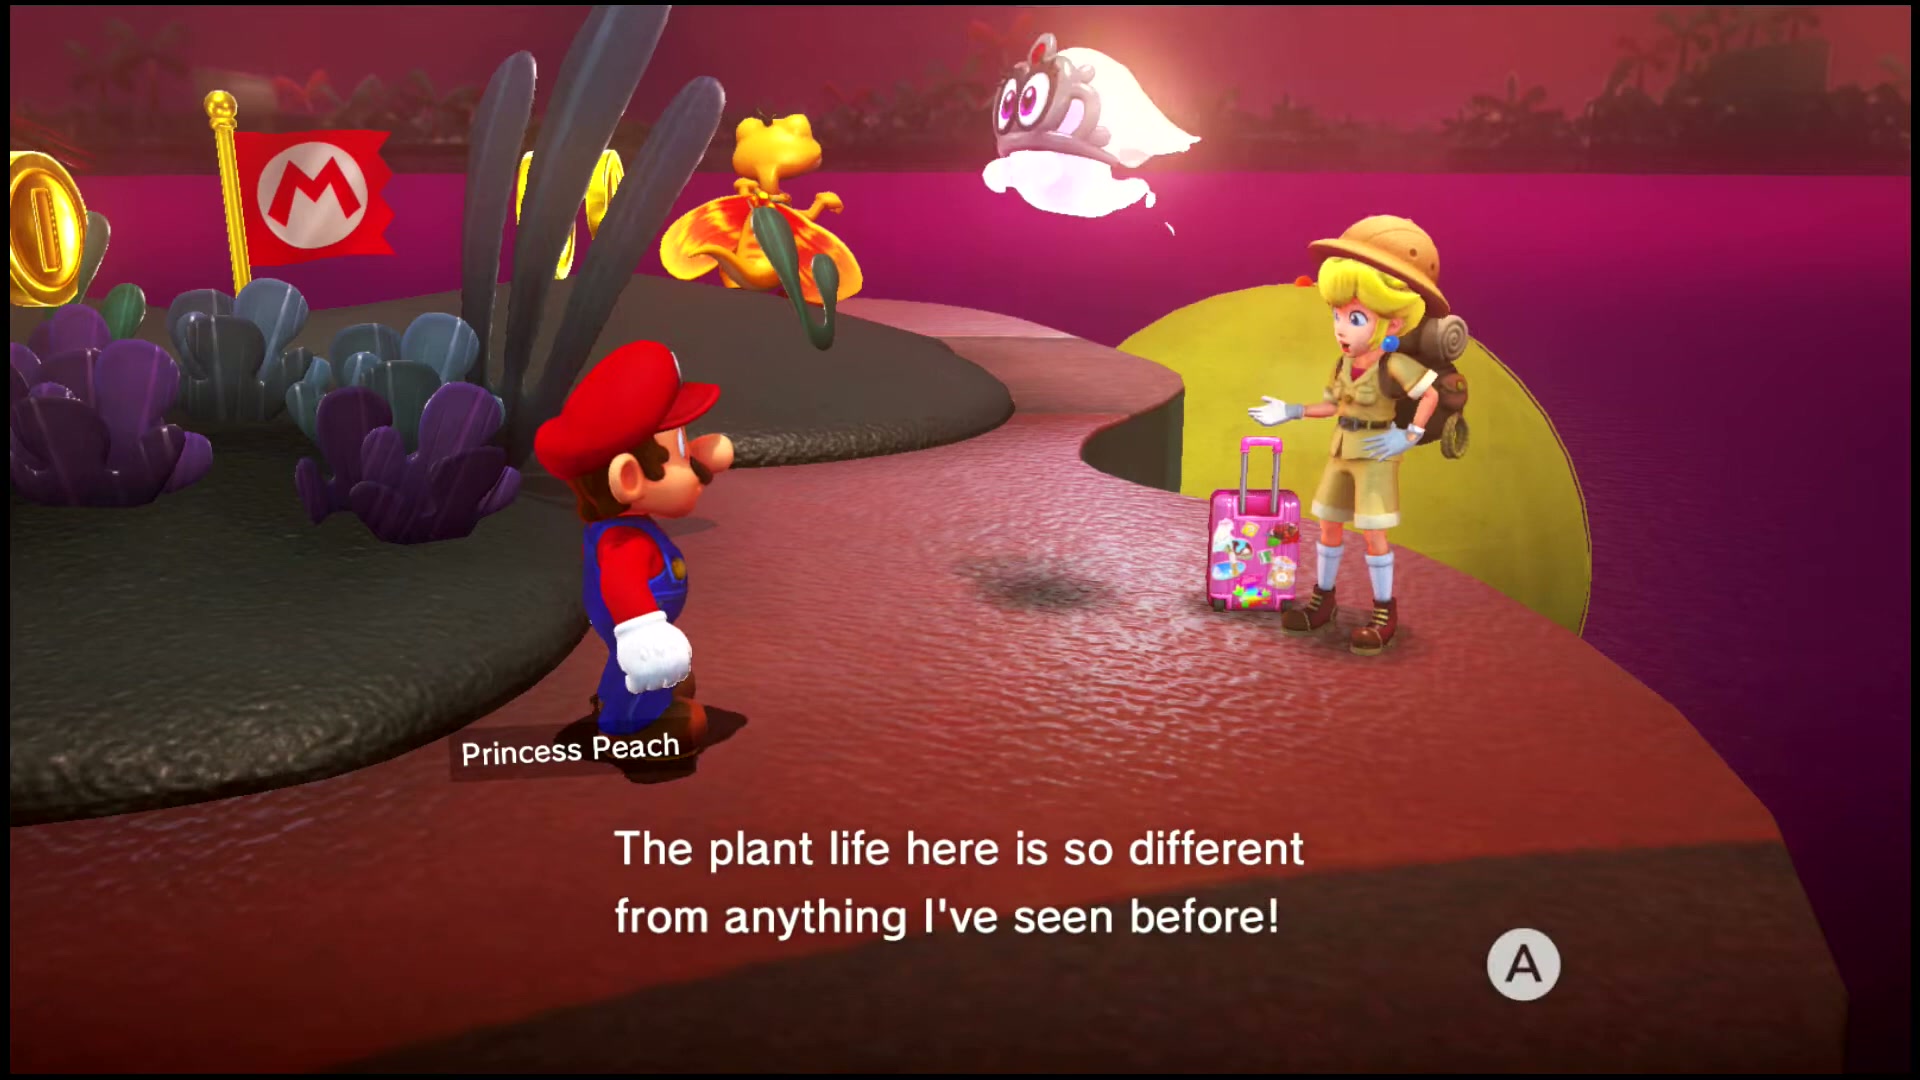
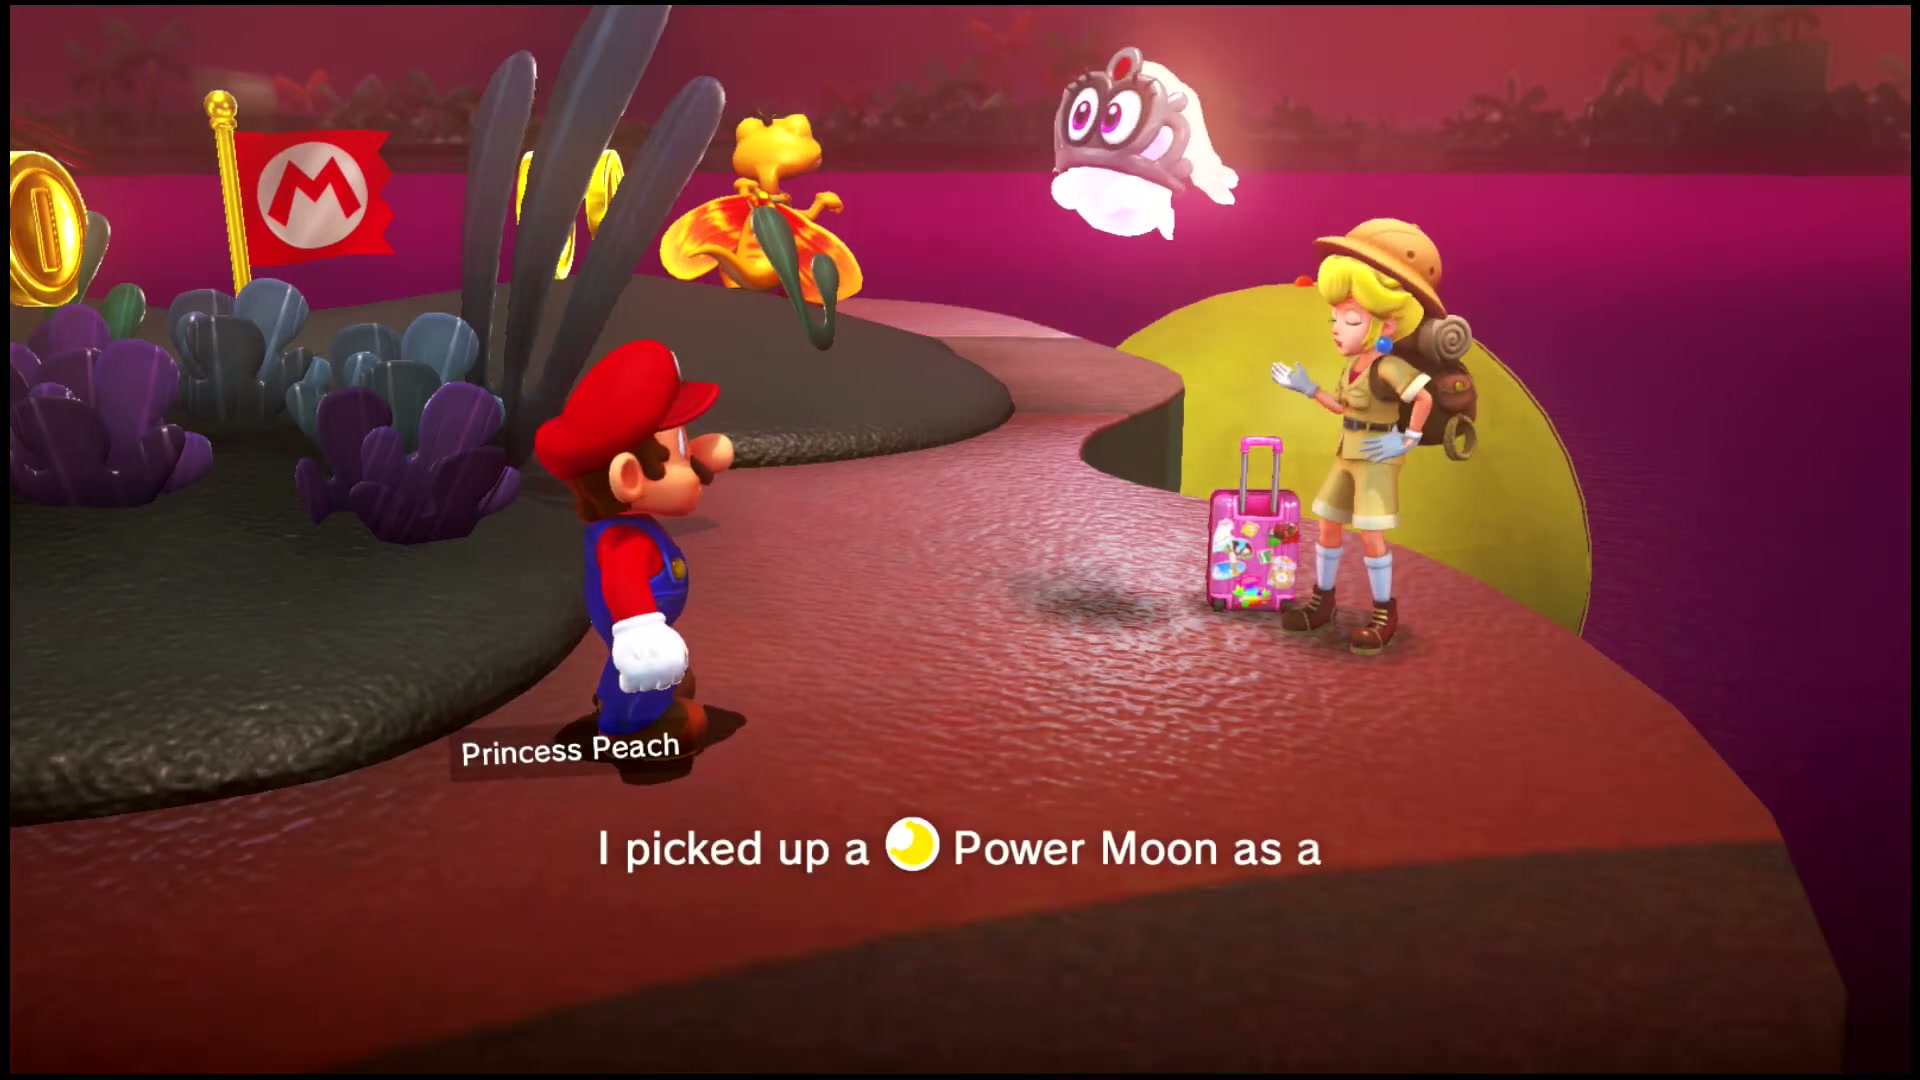
Power Moon #25 – Peach in the Lost Kingdom
- Finish the main story, then return to Lost Kingdom during Peach’s post-game travel route.
- Look for Peach and Tiara on the upper Lost Kingdom path near the main route landmarks.
- Talk to Peach. She comments on the kingdom and then gives Mario the Power Moon.
- If Peach is not there yet, keep checking her travel sequence in other kingdoms and return later.

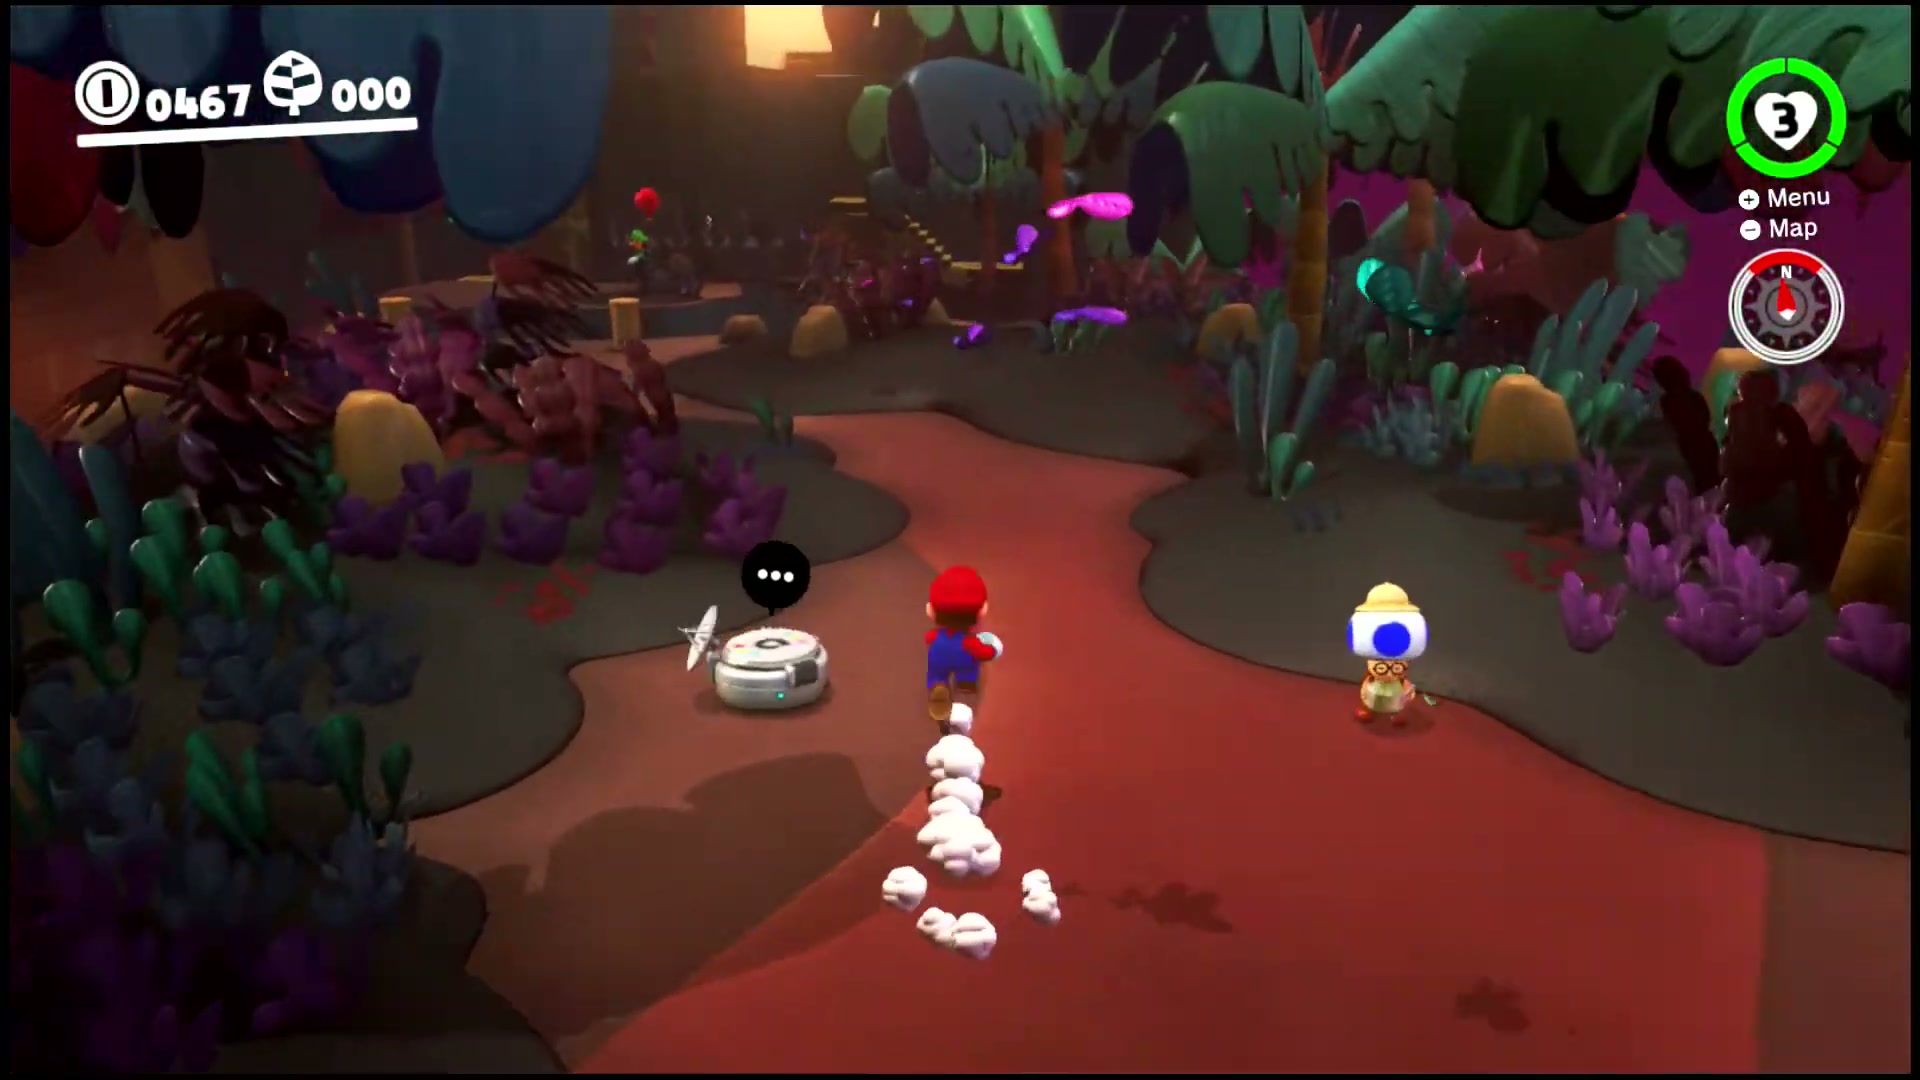
Power Moon #26 – The Shining Fruit
- Return to the area north of the Odyssey and east of Luigi, where the red-leaved palm trees sit above the lower path.
- Look for the fruit that glows more brightly than the regular scenery on the side of the tree.
- Get close enough to target it, then hit the shining fruit with Cappy or Mario.
- The fruit breaks open and releases the Power Moon near the tree.


Power Moon #27 – Jump Down to the Top of a Tree
- Climb to Swamp Hill or Rocky Mountain Summit so you are above the tree trunk west of the hill.
- Turn the camera downward and find the flat tree top with the Power Moon on it.
- Either drop carefully from the ledge or capture Glydon and glide down for a safer landing.
- Land on the tree top and collect the Power Moon before returning to the main path.
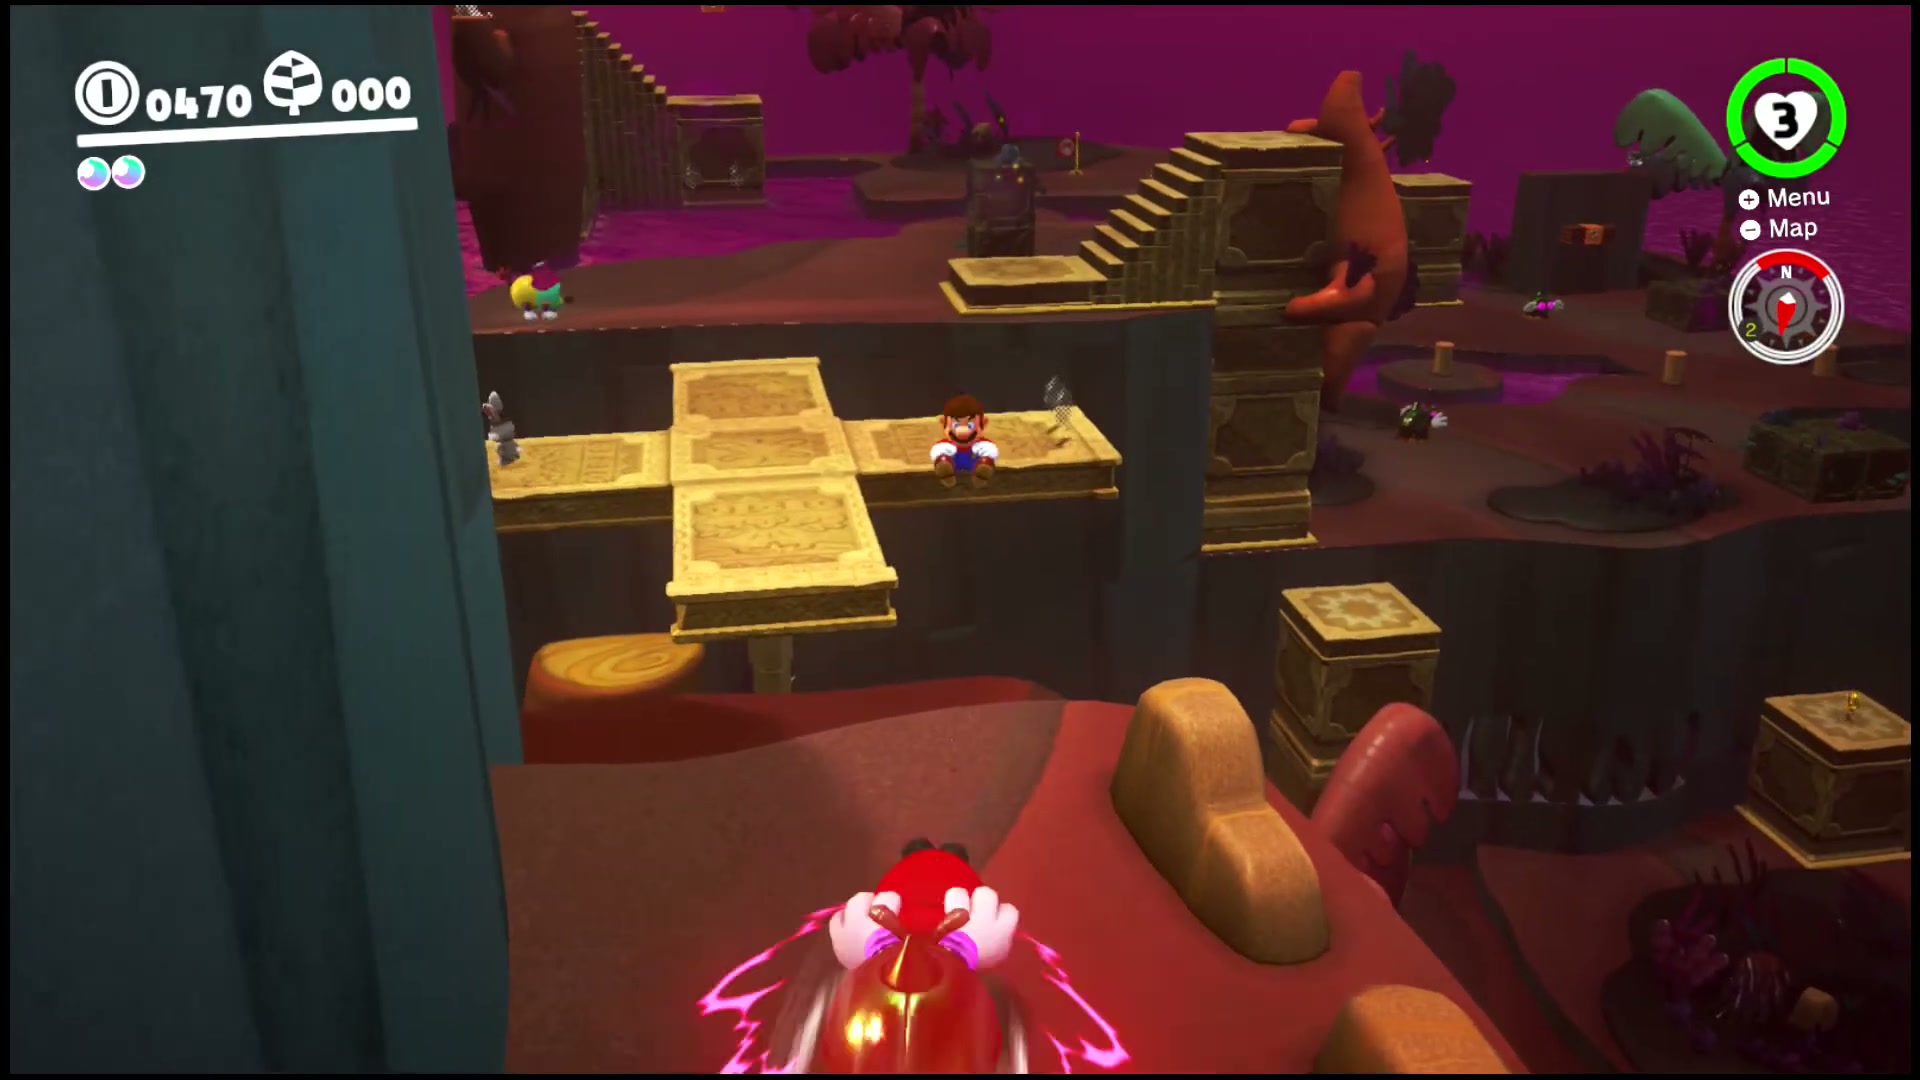

Power Moon #28 – Line It Up, Blow It Up
- Go to the southeast side of Swamp Hill and reveal the block stack near the ground-poundable staircase.
- Move to the Rocky Mountain side where you can reach a Trapeetle.
- Stand so the Trapeetle’s charge path points toward the block stack, then throw Cappy at it.
- Let the Trapeetle explode into the blocks. When the upper block breaks, collect the Power Moon it was hiding.
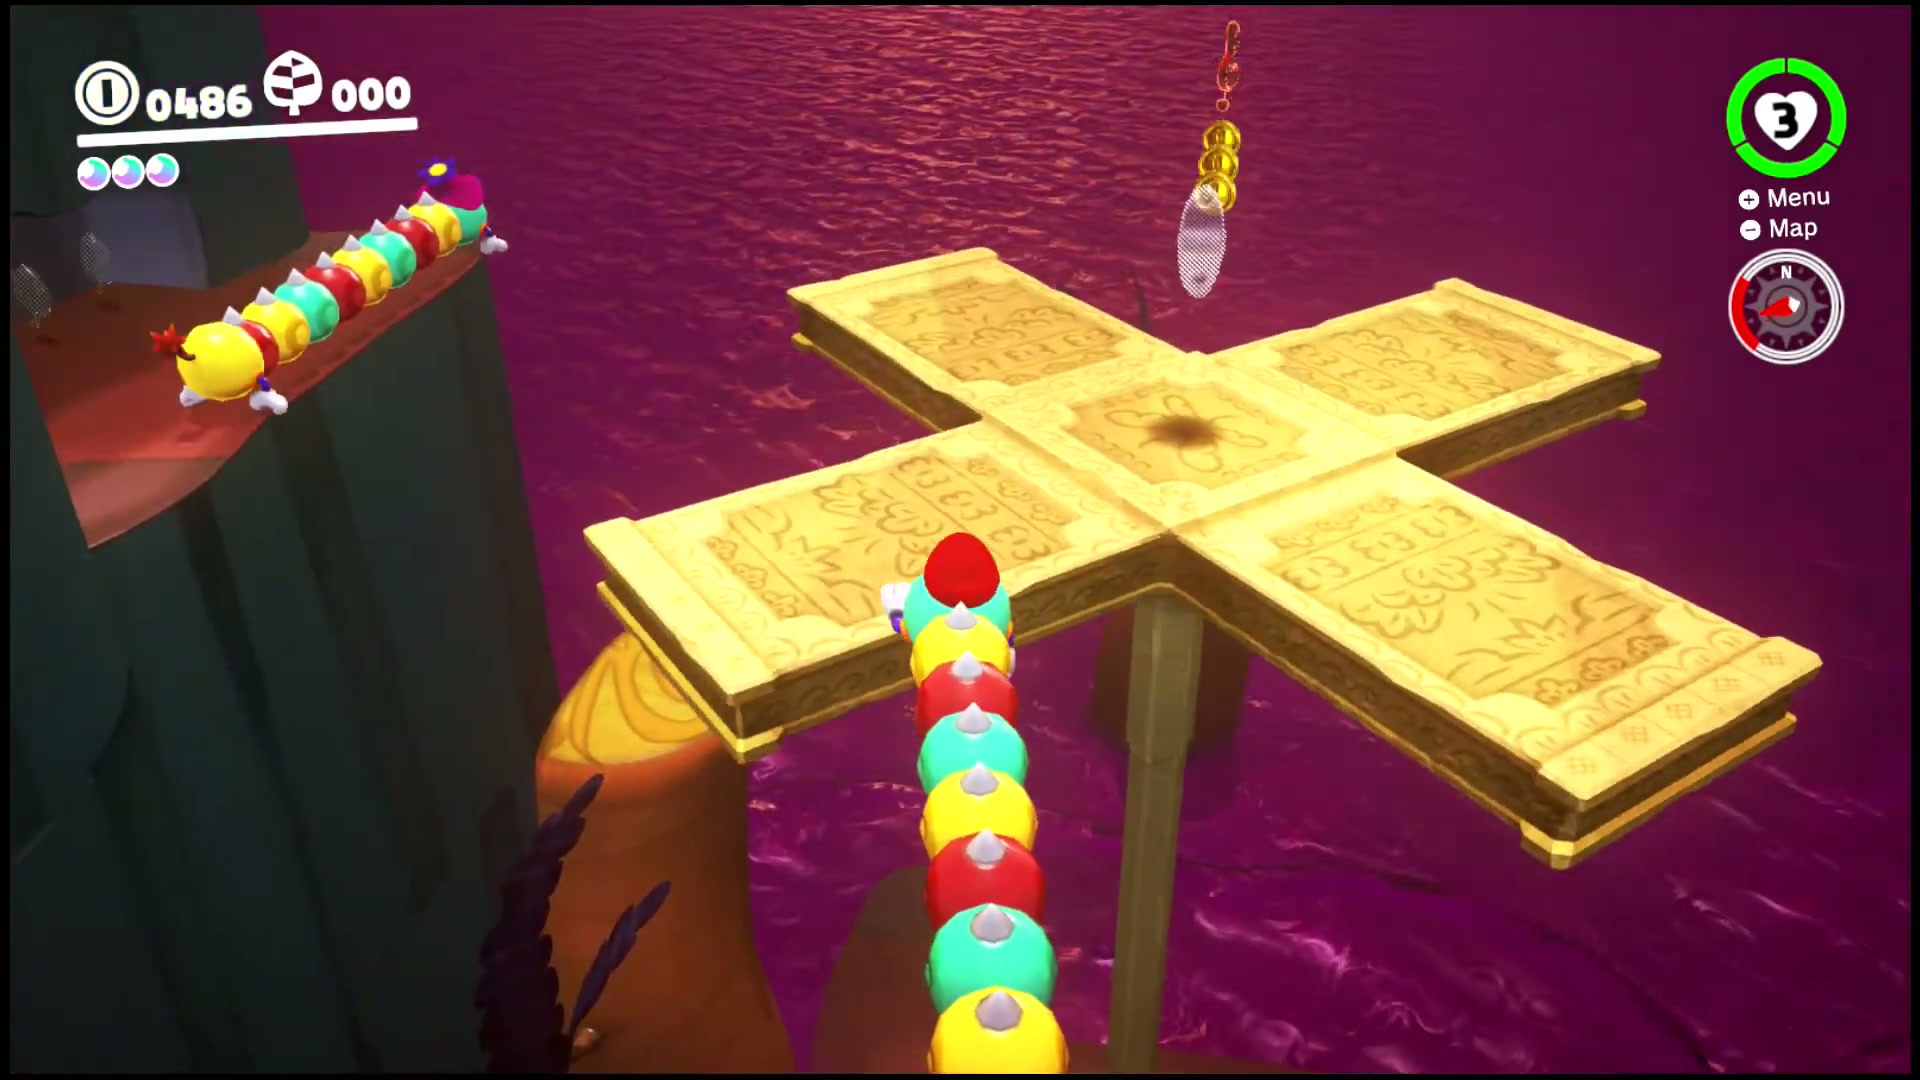
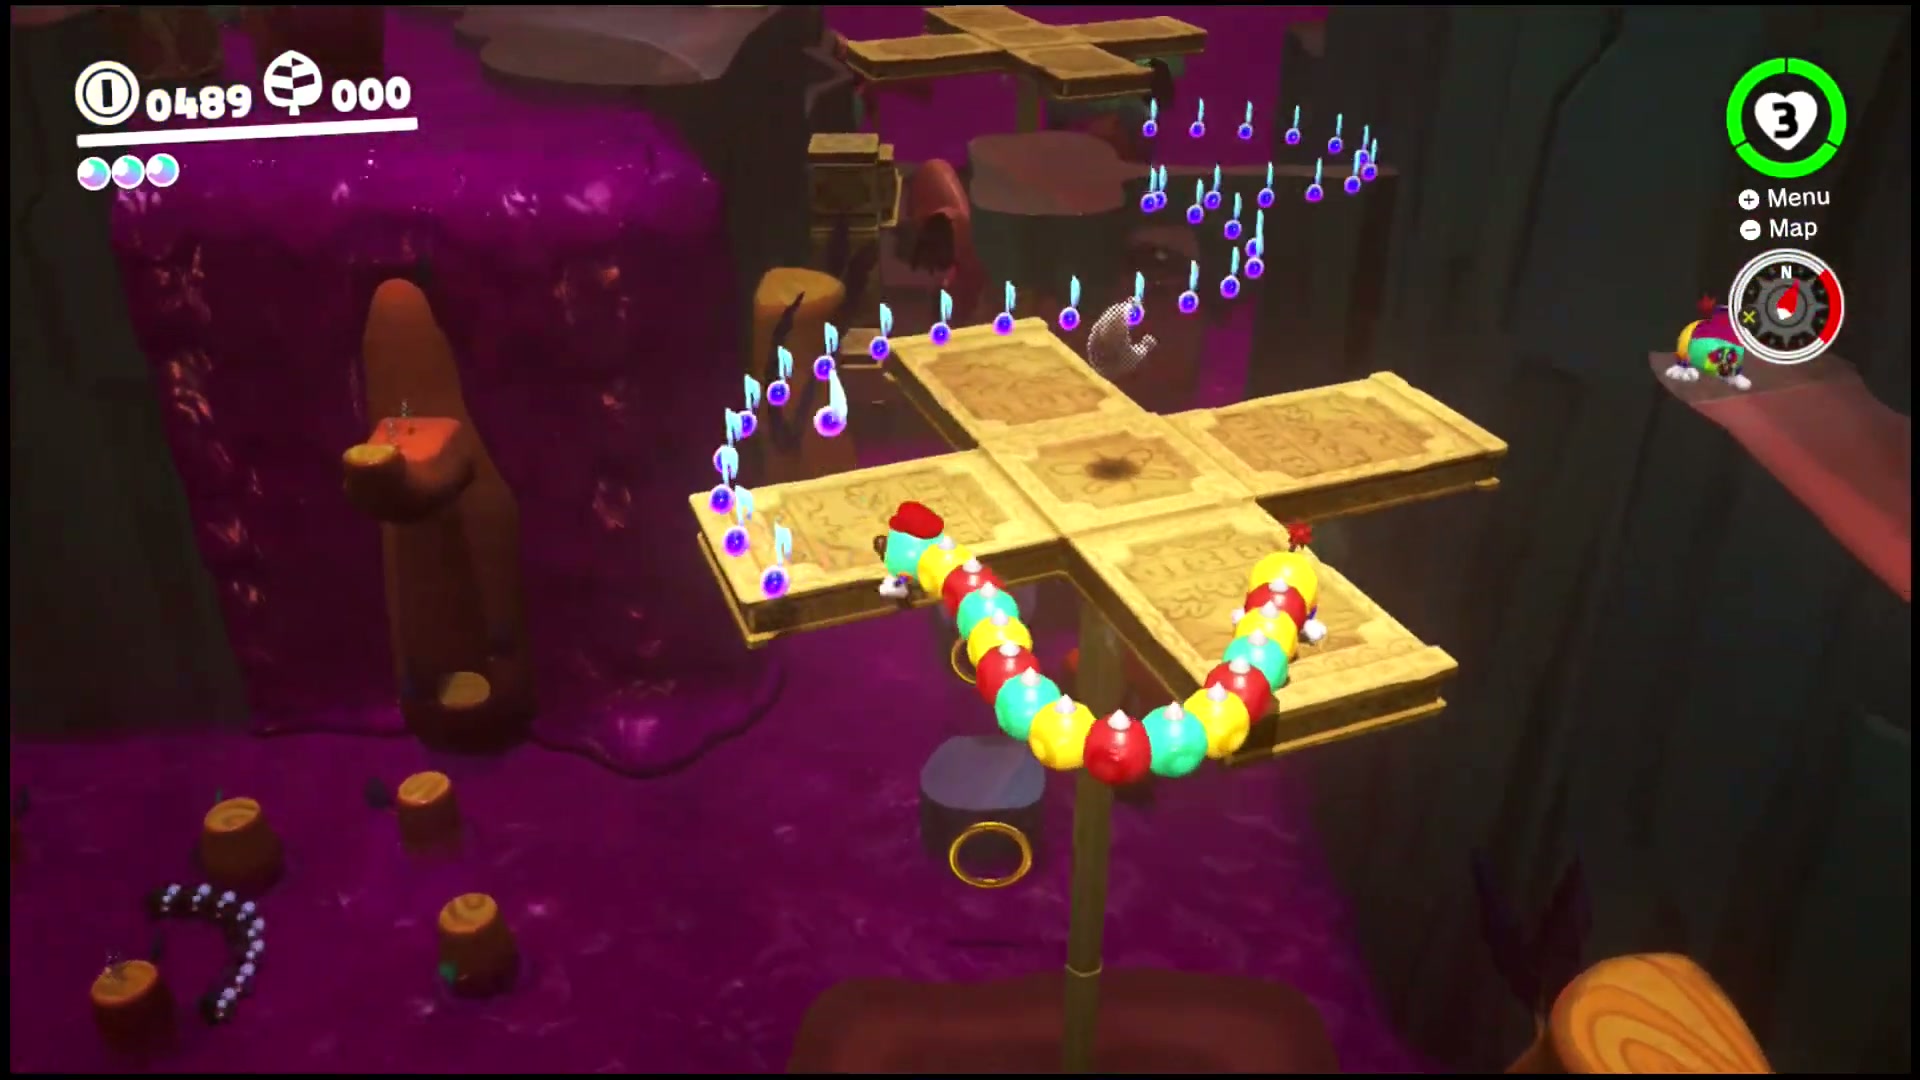
Power Moon #29 – Taking Notes: Stretch and Shrink
- Capture a Tropical Wiggler and reach the rainbow treble clef west of the western propeller pillar.
- Touch the treble clef to start the timed note route.
- Stretch to grab the far notes, then retract quickly so you can turn and line up the next group.
- Collect every note before the timer ends. The Power Moon appears on the platform between the propeller pillars.
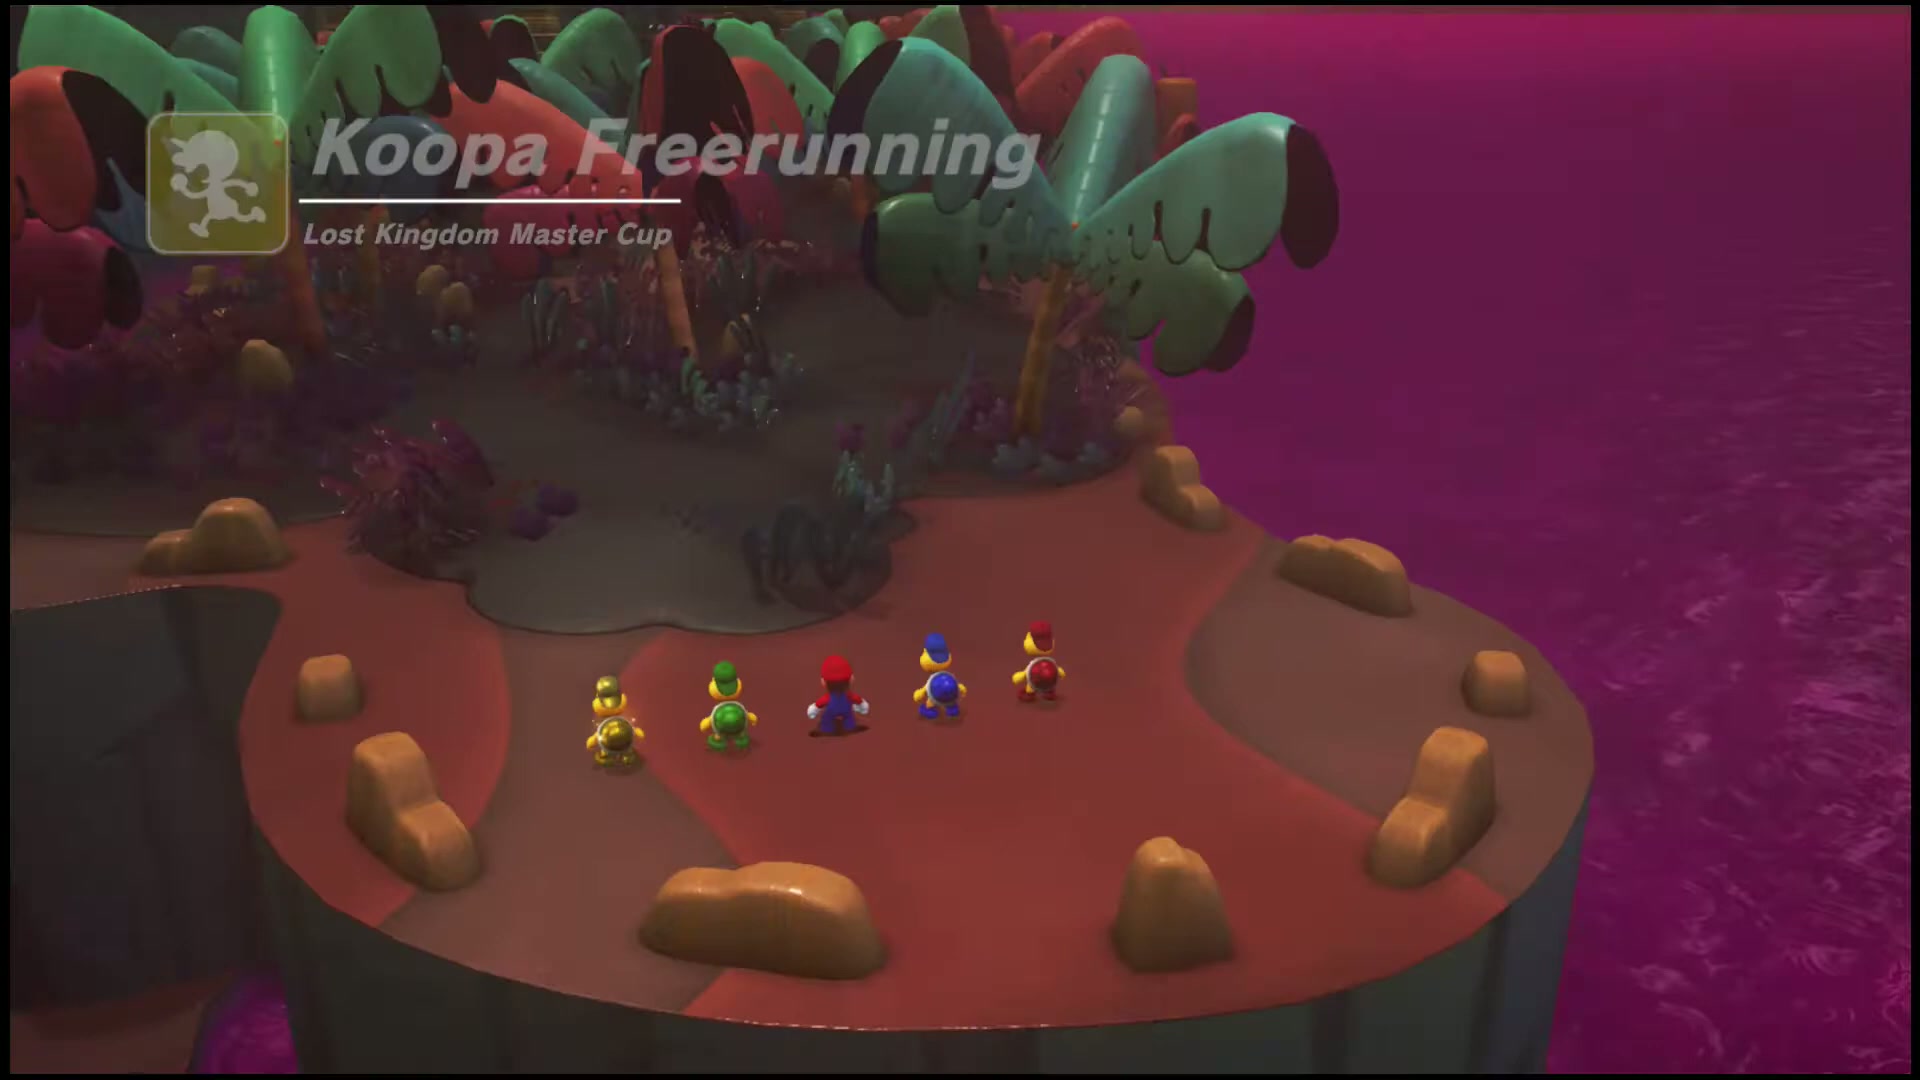

Power Moon #30 – Lost Kingdom Master Cup
- Talk to Koopa Freerunning again after the Regular Cup is complete and choose the Master Cup.
- Use the same general route, but tighten every movement: roll or long jump on straight sections and avoid unnecessary turns.
- Do not stop for coins or safe detours. The Master Cup ghost is faster, so clean movement matters more than exploration.
- Finish in first place and collect the Power Moon from Koopa.
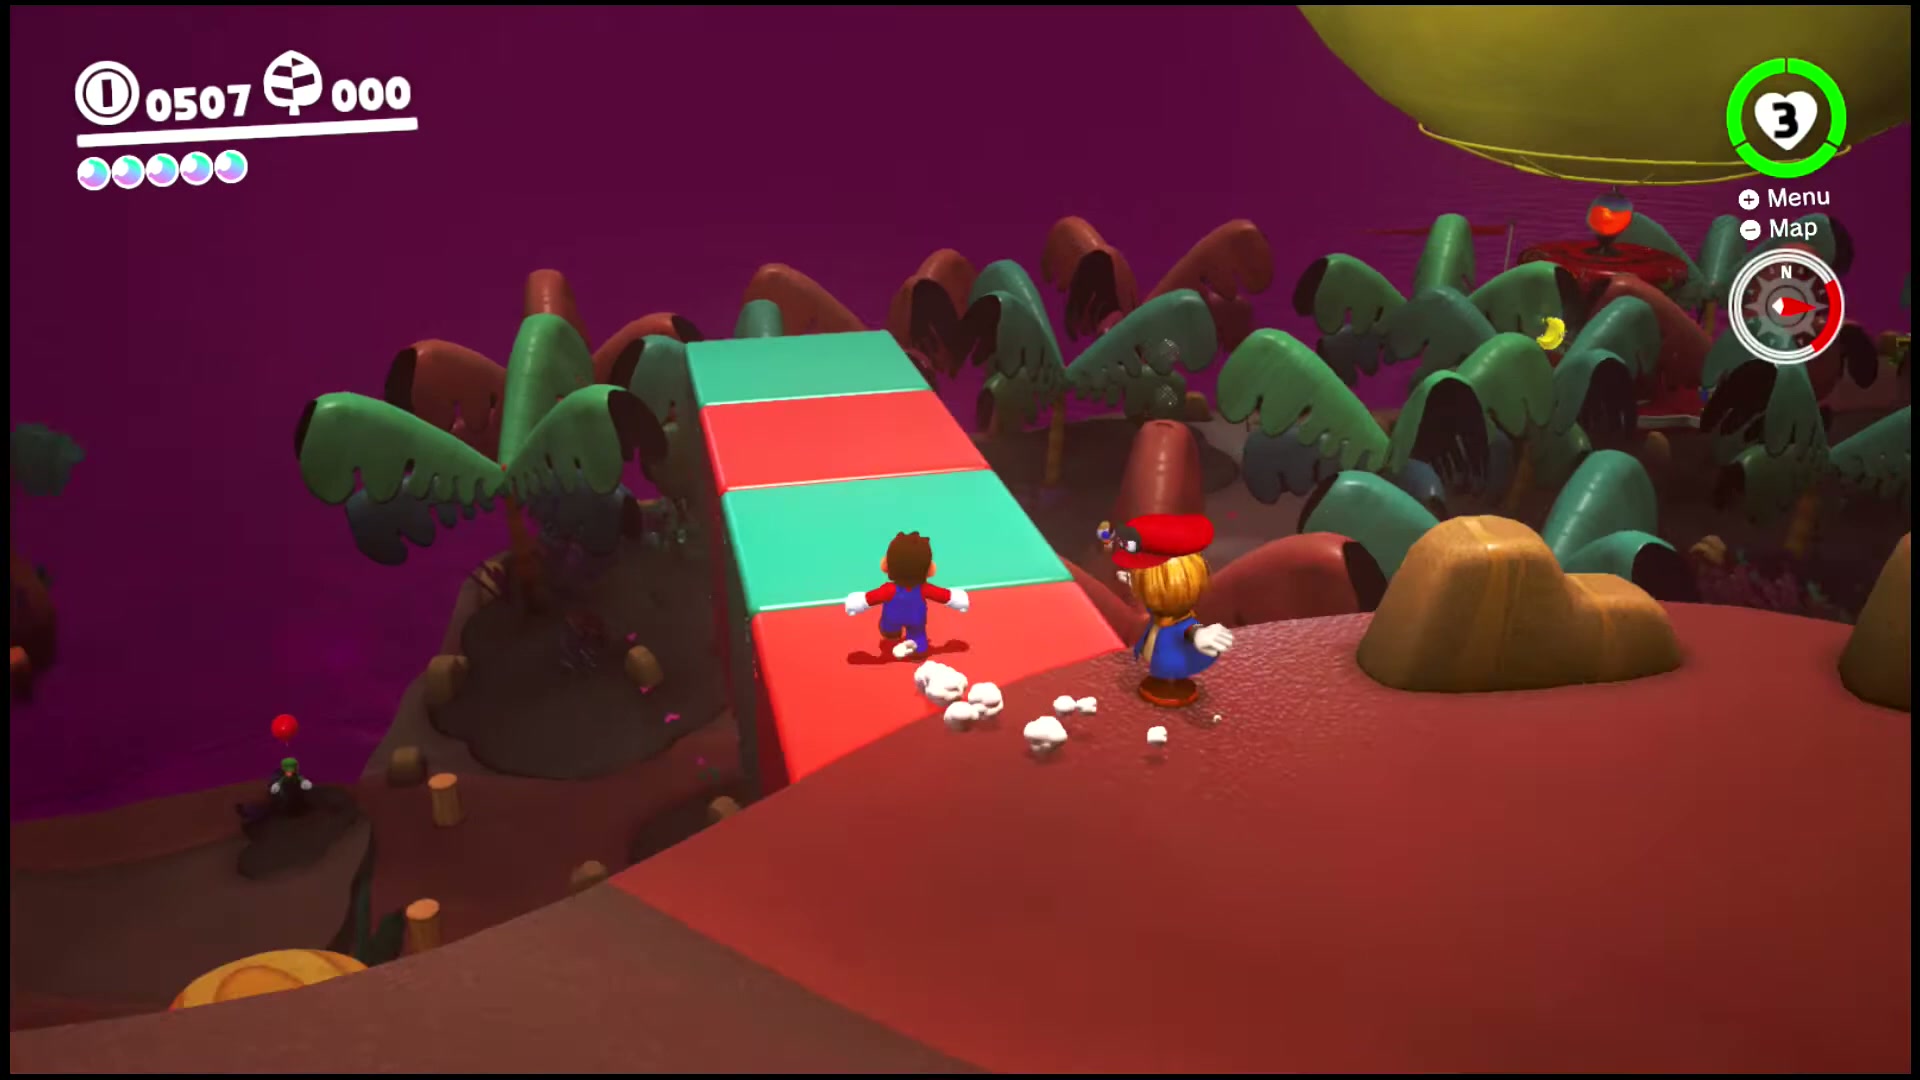
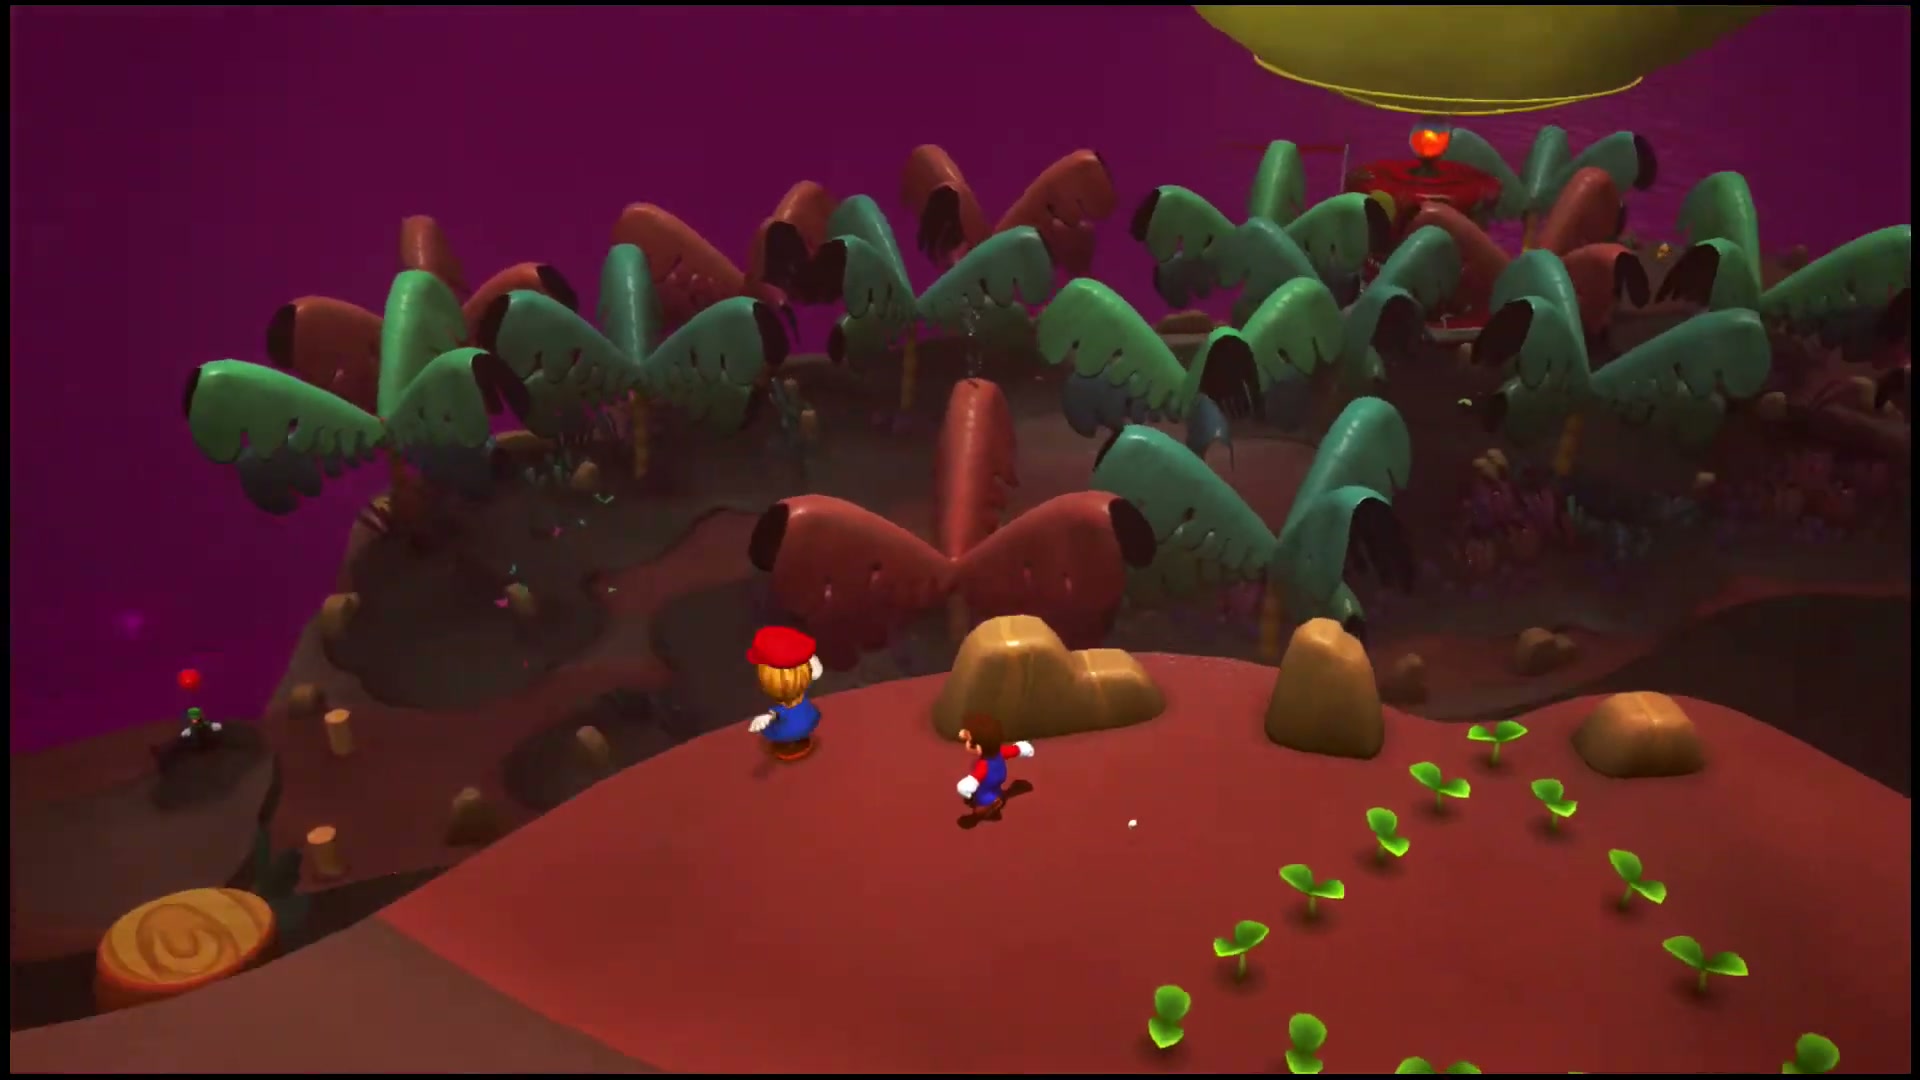
Power Moon #31 – Lost Kingdom Timer Challenge
- Find the scarecrow on the southeast corner of Rocky Mountain.
- Throw Cappy onto the scarecrow to start the timer and reveal the temporary route.
- Run back toward the southeast peninsula without stopping. Use direct jumps and avoid correcting the camera too much.
- Reach the green-leaved palm tree northwest of the Odyssey and grab the Power Moon before the timer expires.
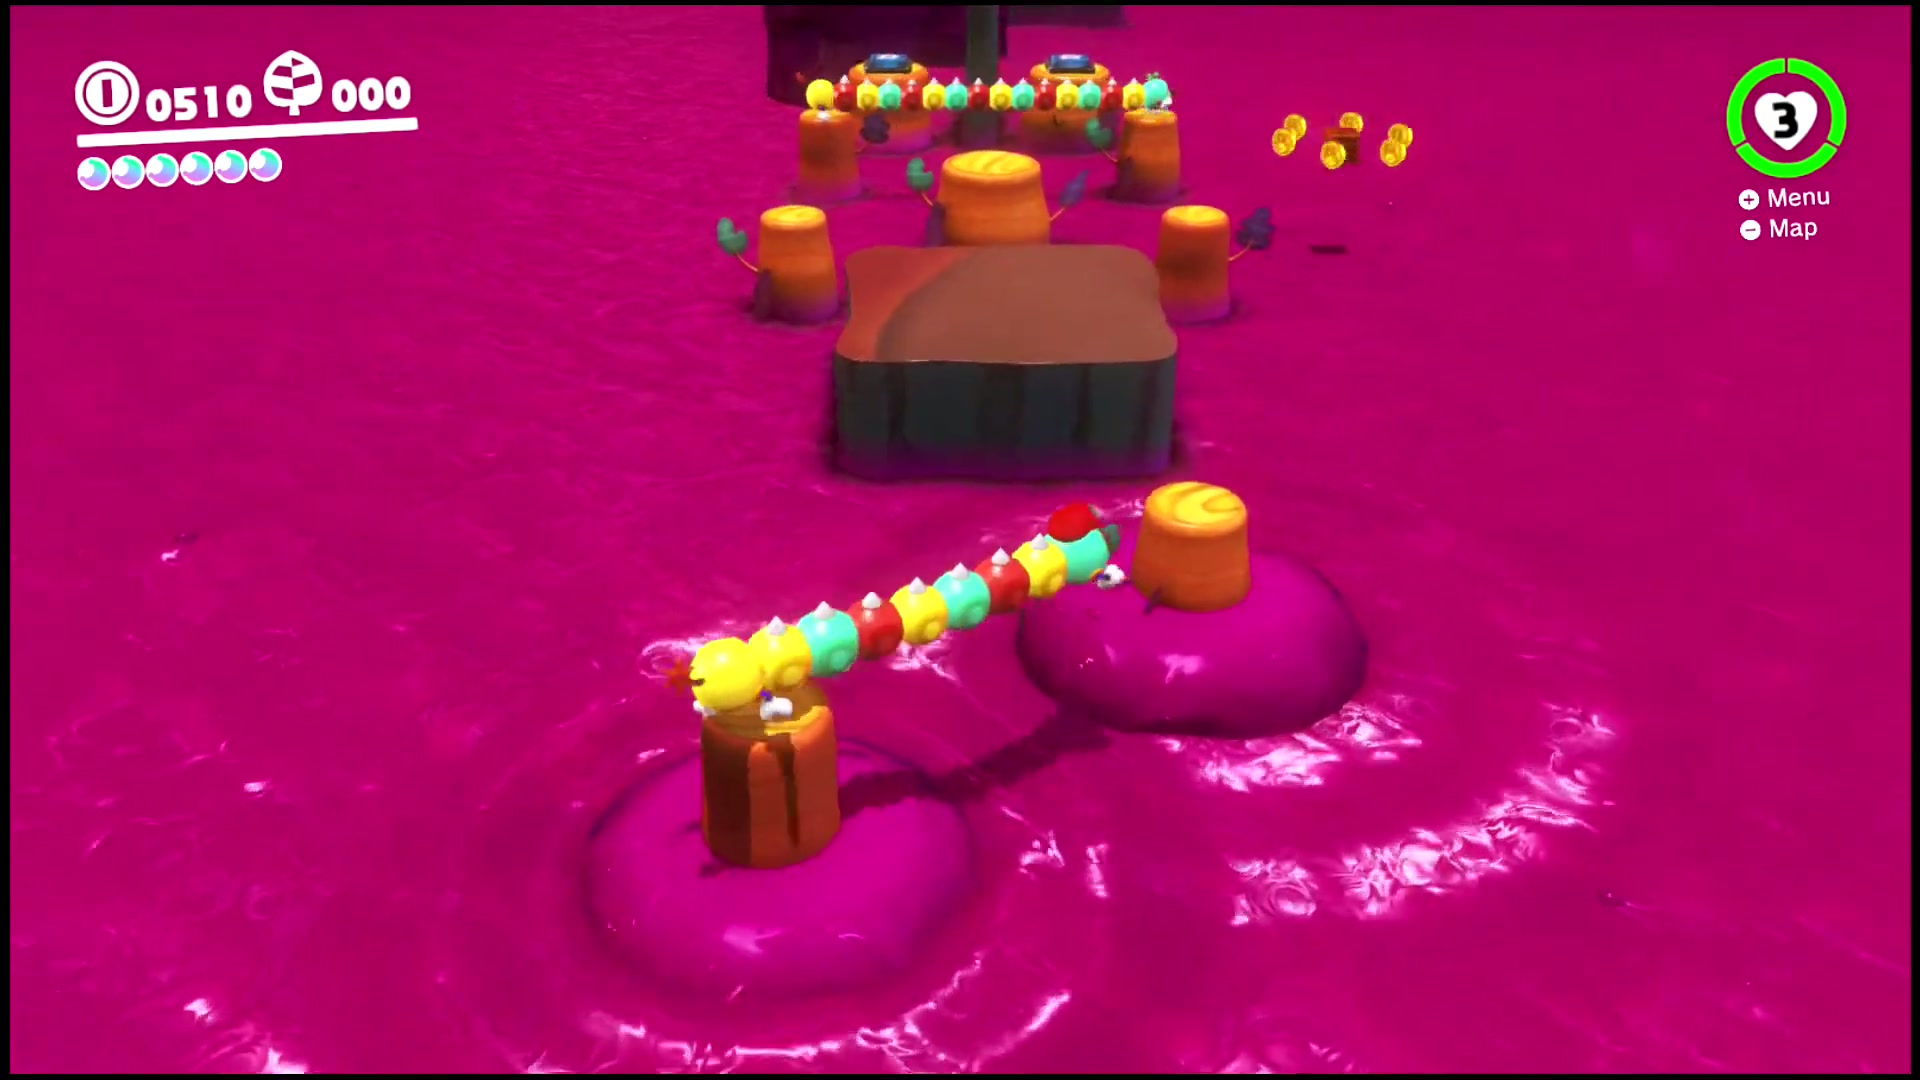
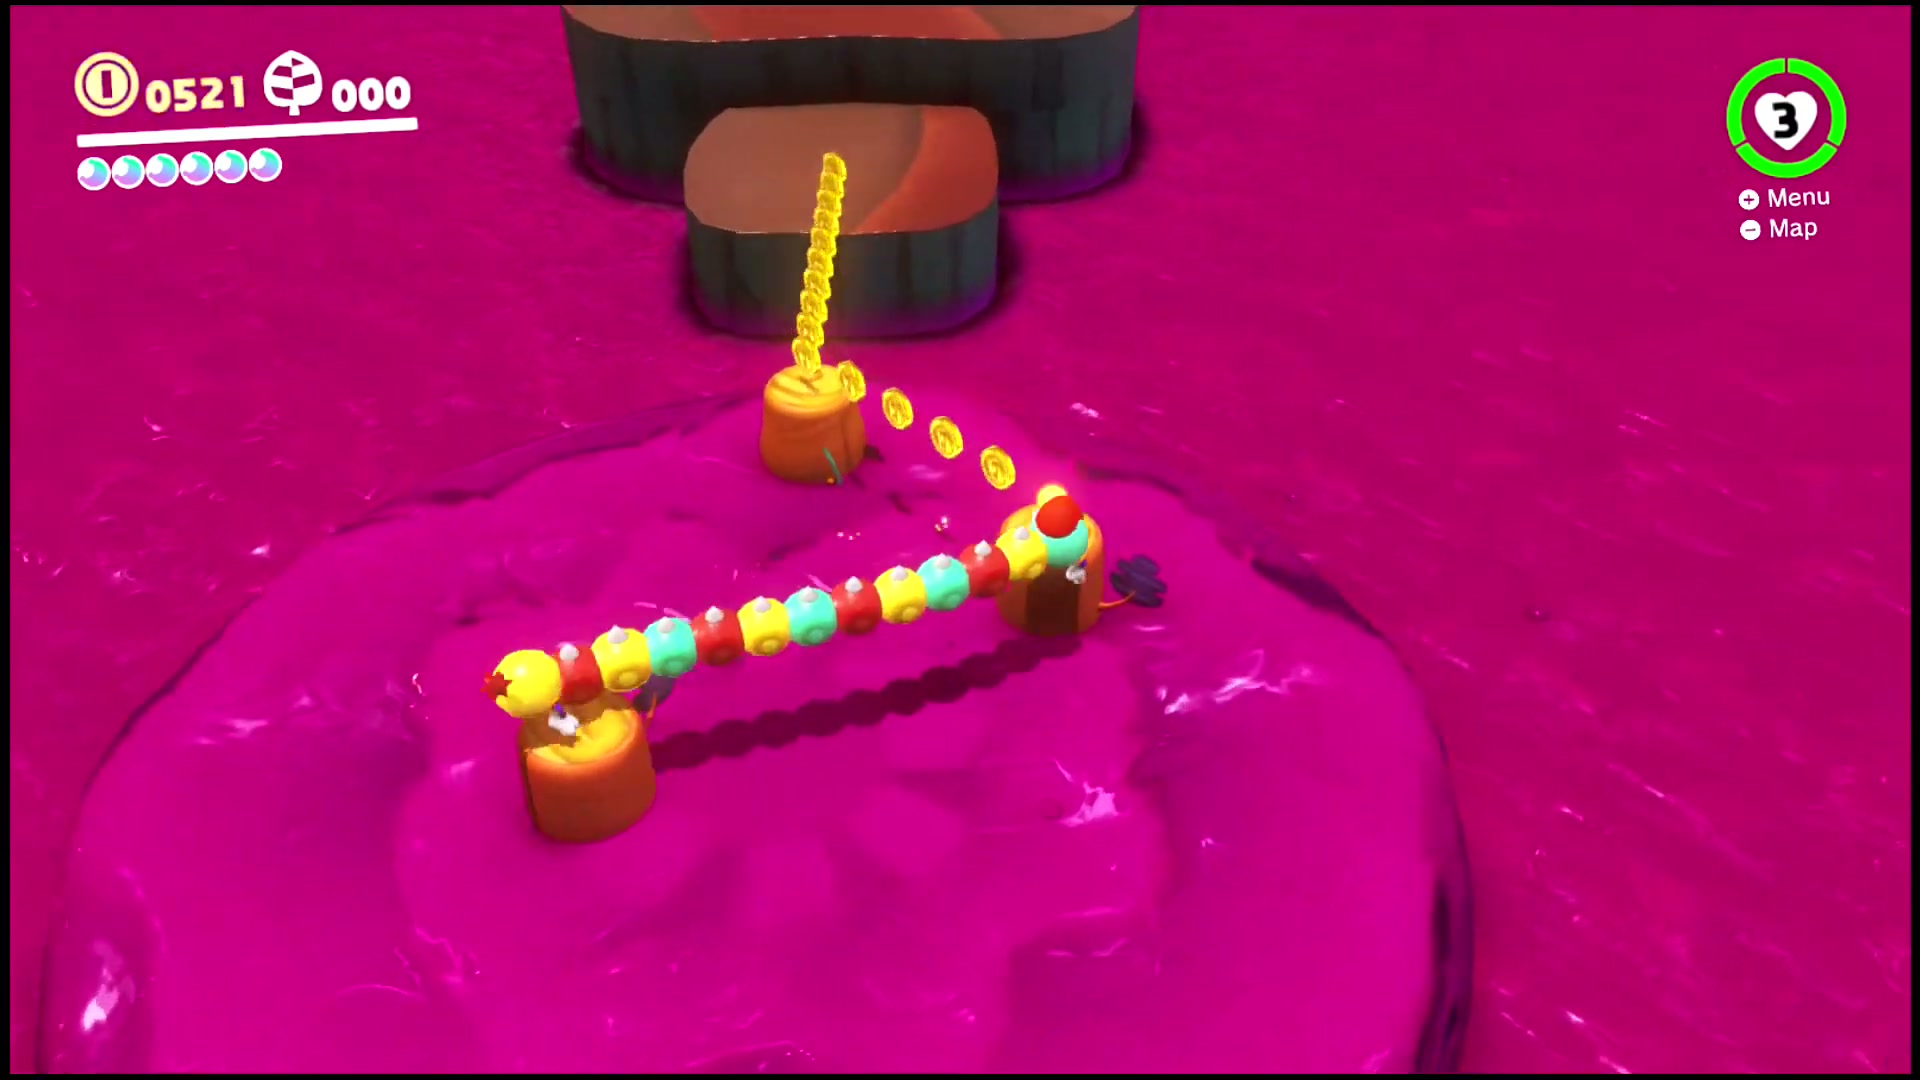
Power Moon #32 – Stretch and Traverse the Jungle
- Enter the Moon Pipe near the Odyssey to reach the bonus room.
- Capture the Tropical Wiggler and use its stretch to cross the poison gaps and narrow platforms.
- Step on P Switches when needed, then move quickly while the poison walls are lowered.
- Keep following the obstacle course through the Fire Piranha Plant section until you reach the final Power Moon.
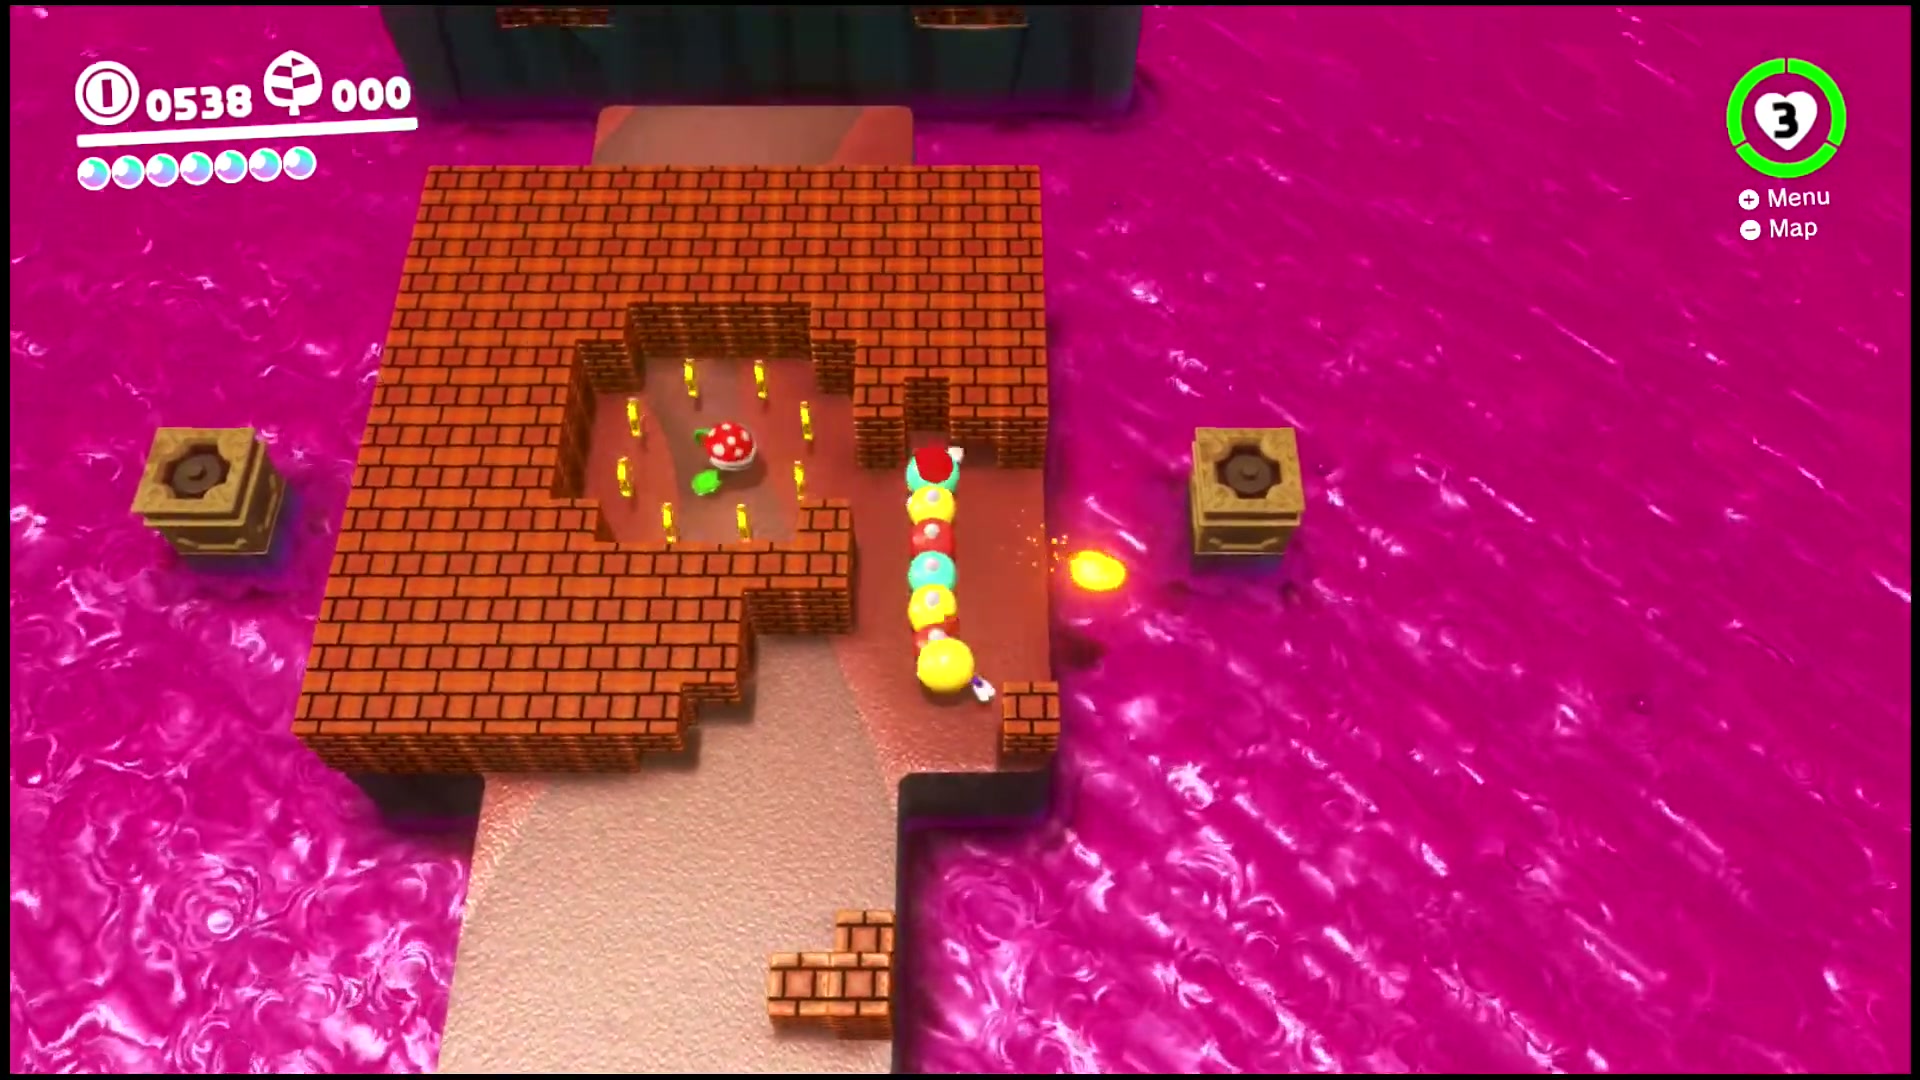
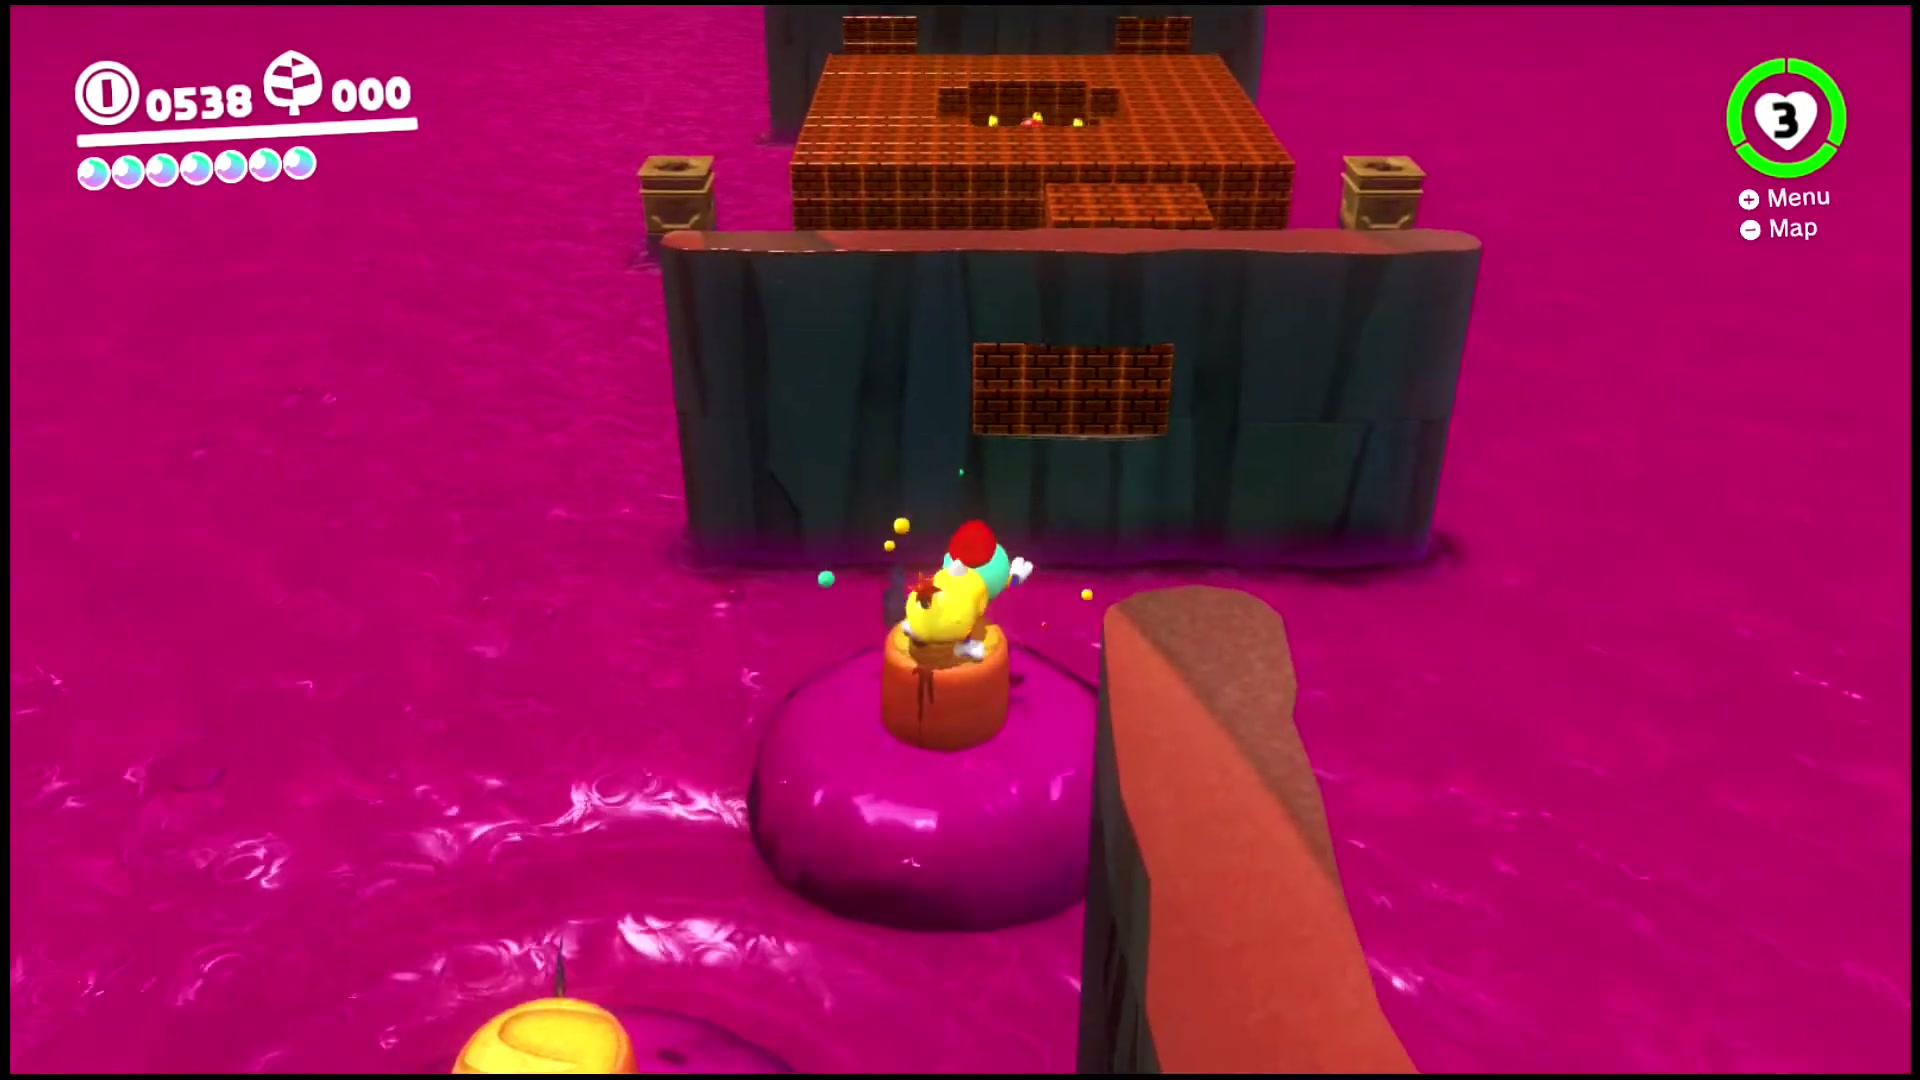
Power Moon #33 – Aglow in the Jungle
- Inside the Stretch and Traverse the Jungle bonus room, continue until you reach the Fire Piranha Plant and brick block section.
- Do not defeat the Fire Piranha Plant right away. You need its fireballs for the torch puzzle.
- Stand so the plant shoots toward the torches on the left and right sides of the area.
- After both torches are lit, collect the Power Moon that appears.

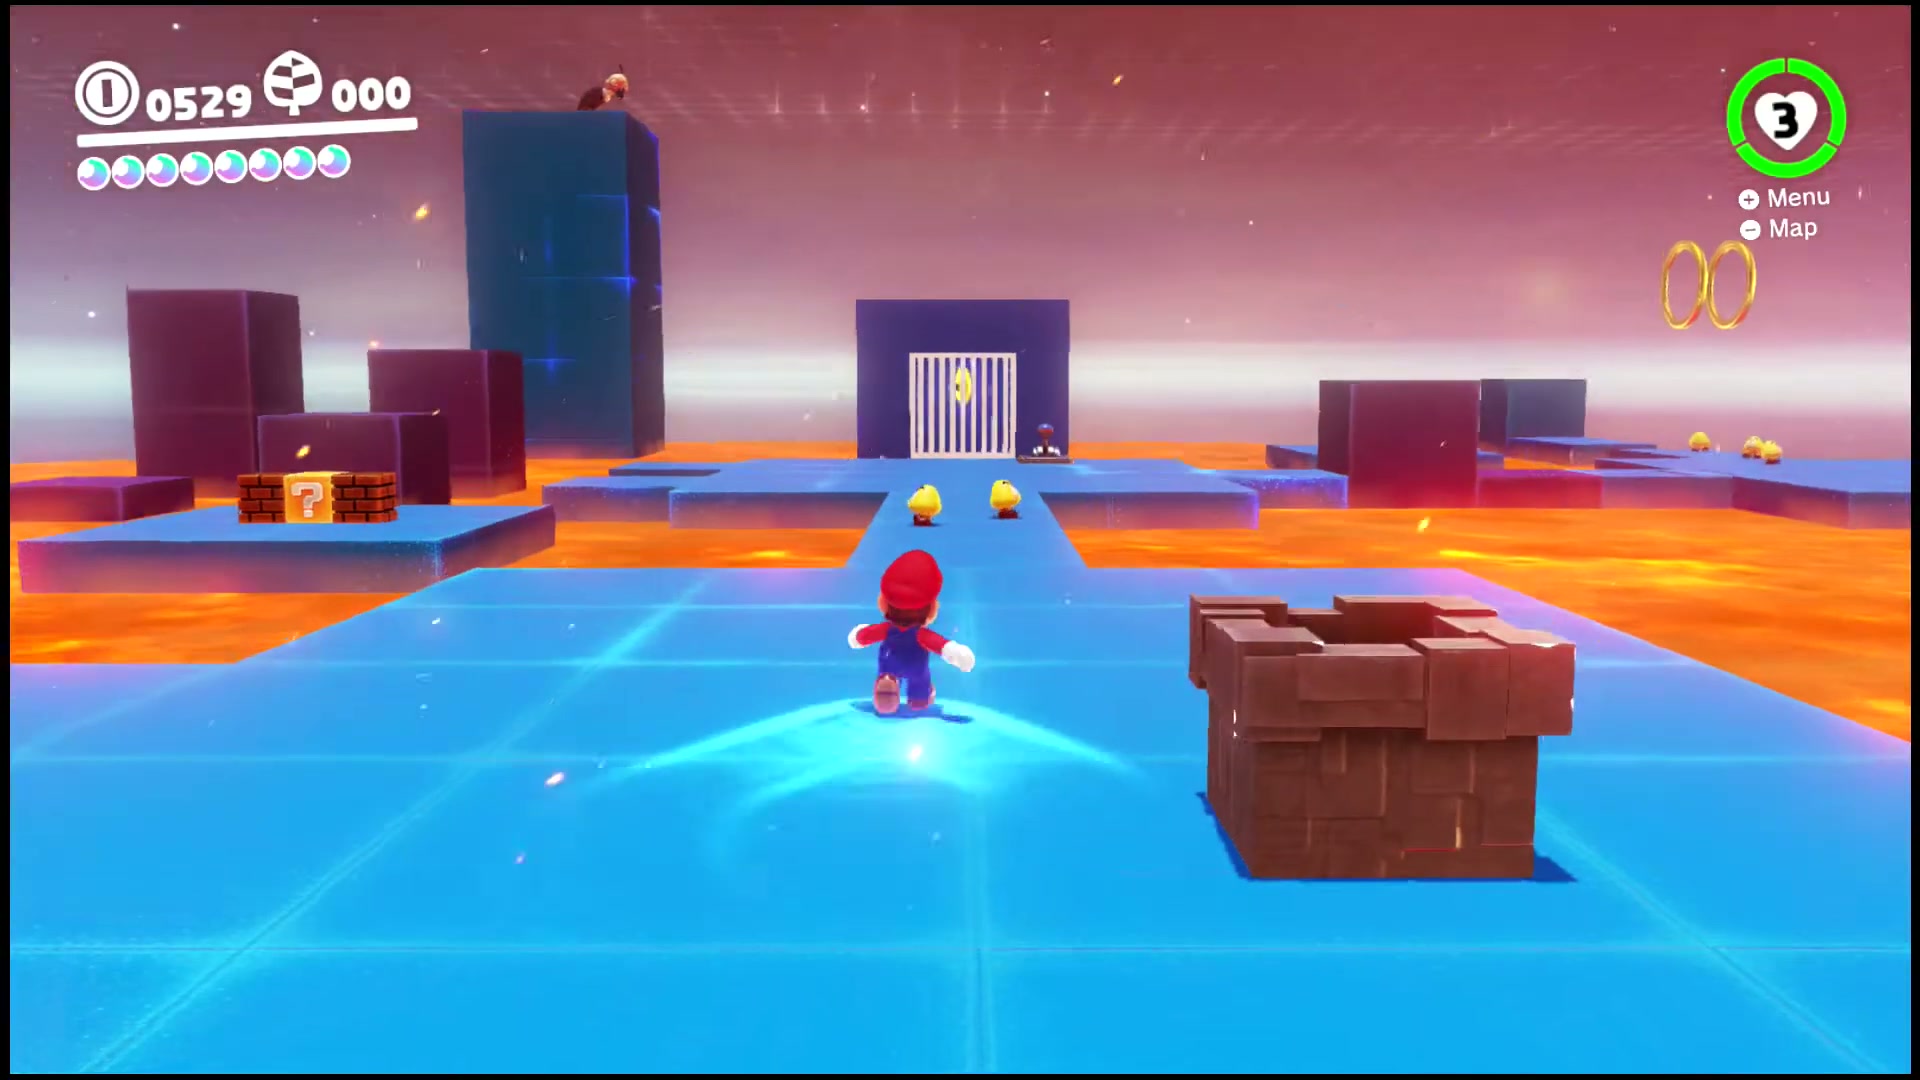
Power Moon #34 – Chasing Klepto
- Drop from the Rocky Mountain Summit side with the tree and enter the Moon Pipe below.
- Klepto steals Cappy again inside the bonus room, so cross the lava route carefully while avoiding Lava Bubbles and Mini Goombas.
- Catch Klepto to recover Cappy, then use Cappy on the lever switch near the cage.
- When the cage opens, collect the Power Moon inside.
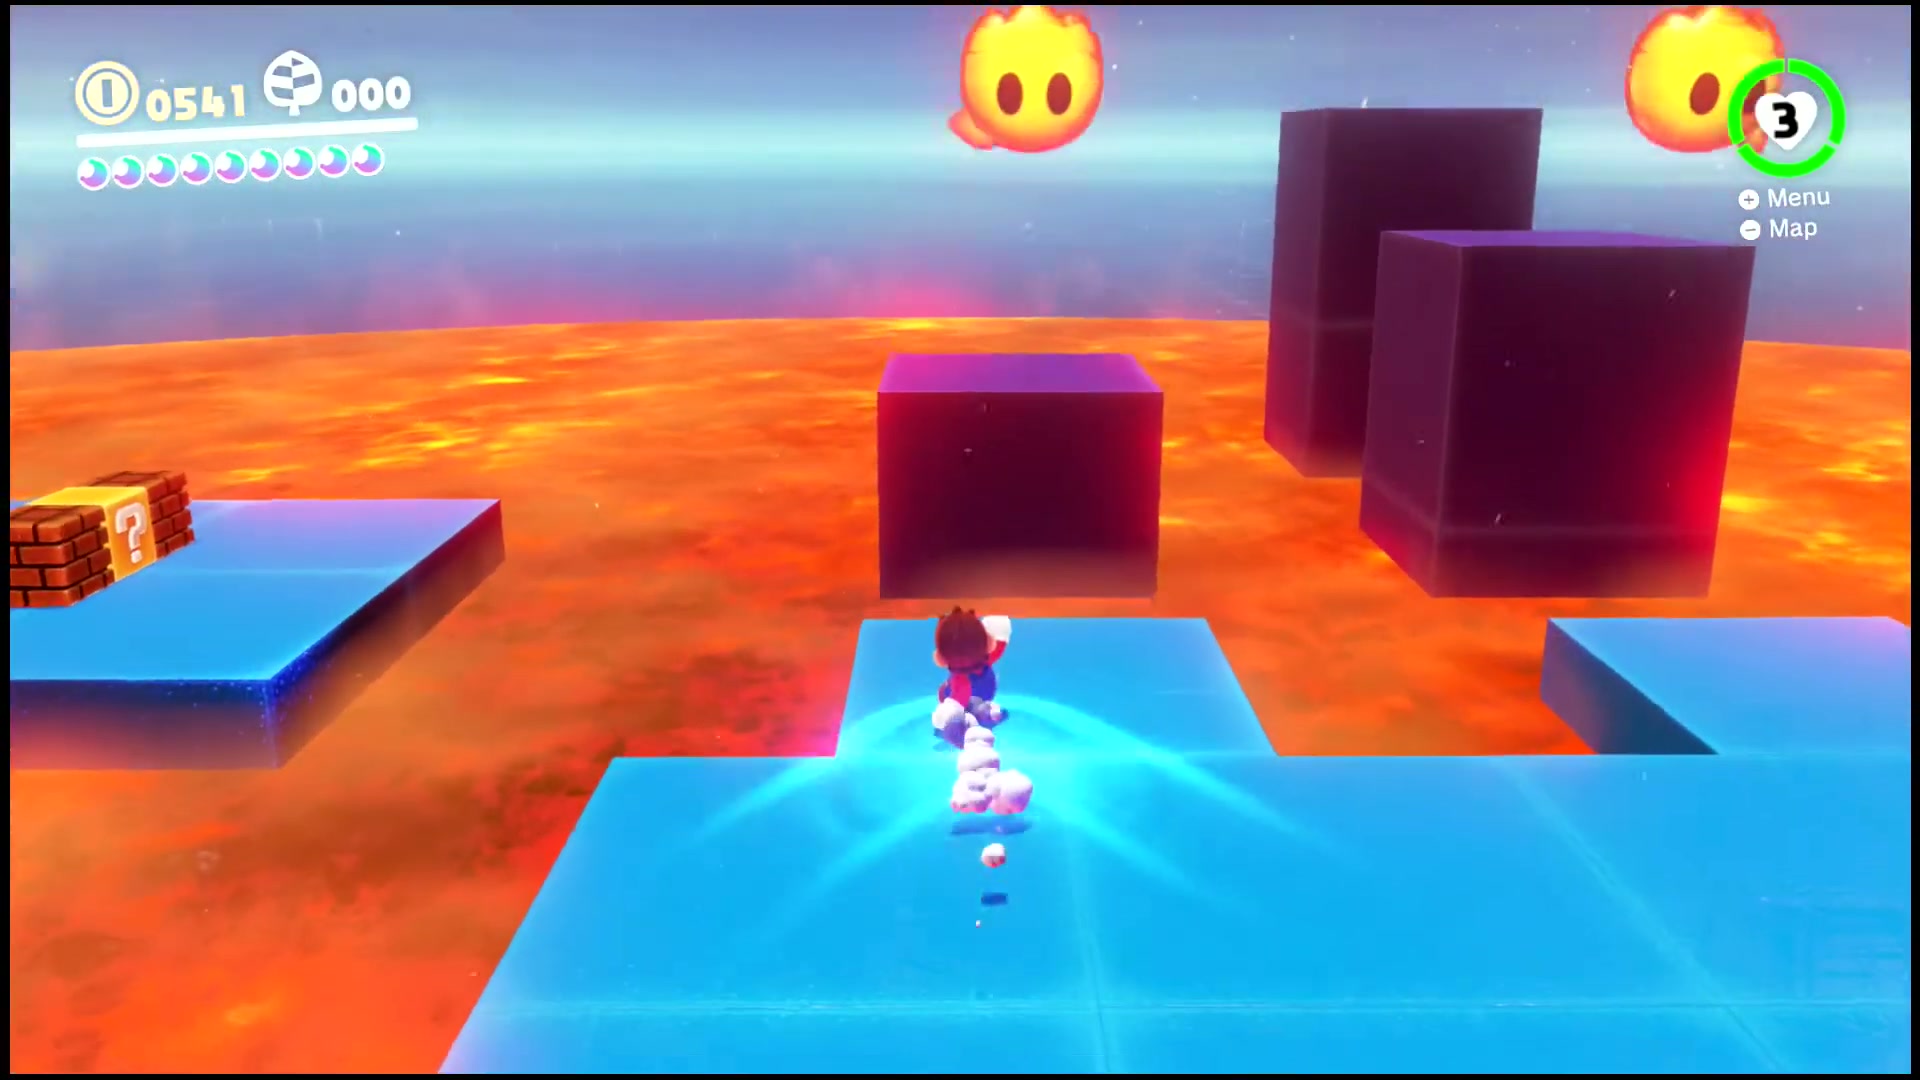

Power Moon #35 – Extremely Hot Bath
- In the same bonus room as Chasing Klepto, capture a Lava Bubble.
- Swim through the lava toward the far-right side of the room.
- Look behind the pillar instead of following only the main Klepto route.
- Jump as the Lava Bubble to touch the hidden Power Moon behind the pillar.
Image Sources and Credits
Moon names, checklist order and reference screenshots are cross-checked against Super Mario Wiki, the in-game Lost Kingdom list order and matching gameplay footage. Primary screenshots are sourced from The Gaming Guide Archives on YouTube where available. Supplemental screenshots on this page are credited to Andruidus and 1bj on YouTube where a matching TGGA capture was not available.
More Super Mario Odyssey videos are available on The Gaming Guide Archives YouTube channel.
FAQ
How many Power Moons are in Lost Kingdom?
Lost Kingdom has 35 listed Power Moons.
What capture is most important in Lost Kingdom?
The Tropical Wiggler is the key capture. It lets Mario stretch across poison, reach tree branches and cross gaps that are impossible on foot.
Can every Lost Kingdom moon be collected on the first visit?
No. Some moons require later story progress, post-game access, Moon Rock unlocks or specific challenge rooms.