

Cap Kingdom — Bonneton — is the first kingdom in Super Mario Odyssey and has 31 Power Moons to collect. This guide covers every moon with step-by-step instructions, a specific tip for each one, and a recommended cleanup order so you can clear the whole kingdom efficiently.
Quick Overview
| Game | Super Mario Odyssey |
|---|---|
| Kingdom | Cap Kingdom — Bonneton |
| Total Power Moons | 31 |
| Main Mechanics | Frog capture, Paragoomba flight, hat-platform jumps, poison-tide areas, Moon Rock moons |
| Best Route | Follow the story path first, then sweep nearby side areas. Return after clearing more kingdoms for races, NPC moons, the shop moon and Moon Rock moons. |
Start Here
Follow the main story through Cap Kingdom and pick up every moon you see along the route. On return visits you will have access to additional captures, the Crazy Cap Shop, post-game NPCs, Moon Rock markers and race opponents. Group nearby moons into small area loops — clearing the Top-Hat Tower cluster, then the Central Plaza, then the outer fog ring — so you do not cross the whole kingdom repeatedly.
Cap Kingdom Power Moon Guide: All 31 Moons
Use the cards below as your full checklist. Each entry includes the location, what to do and a specific tip.
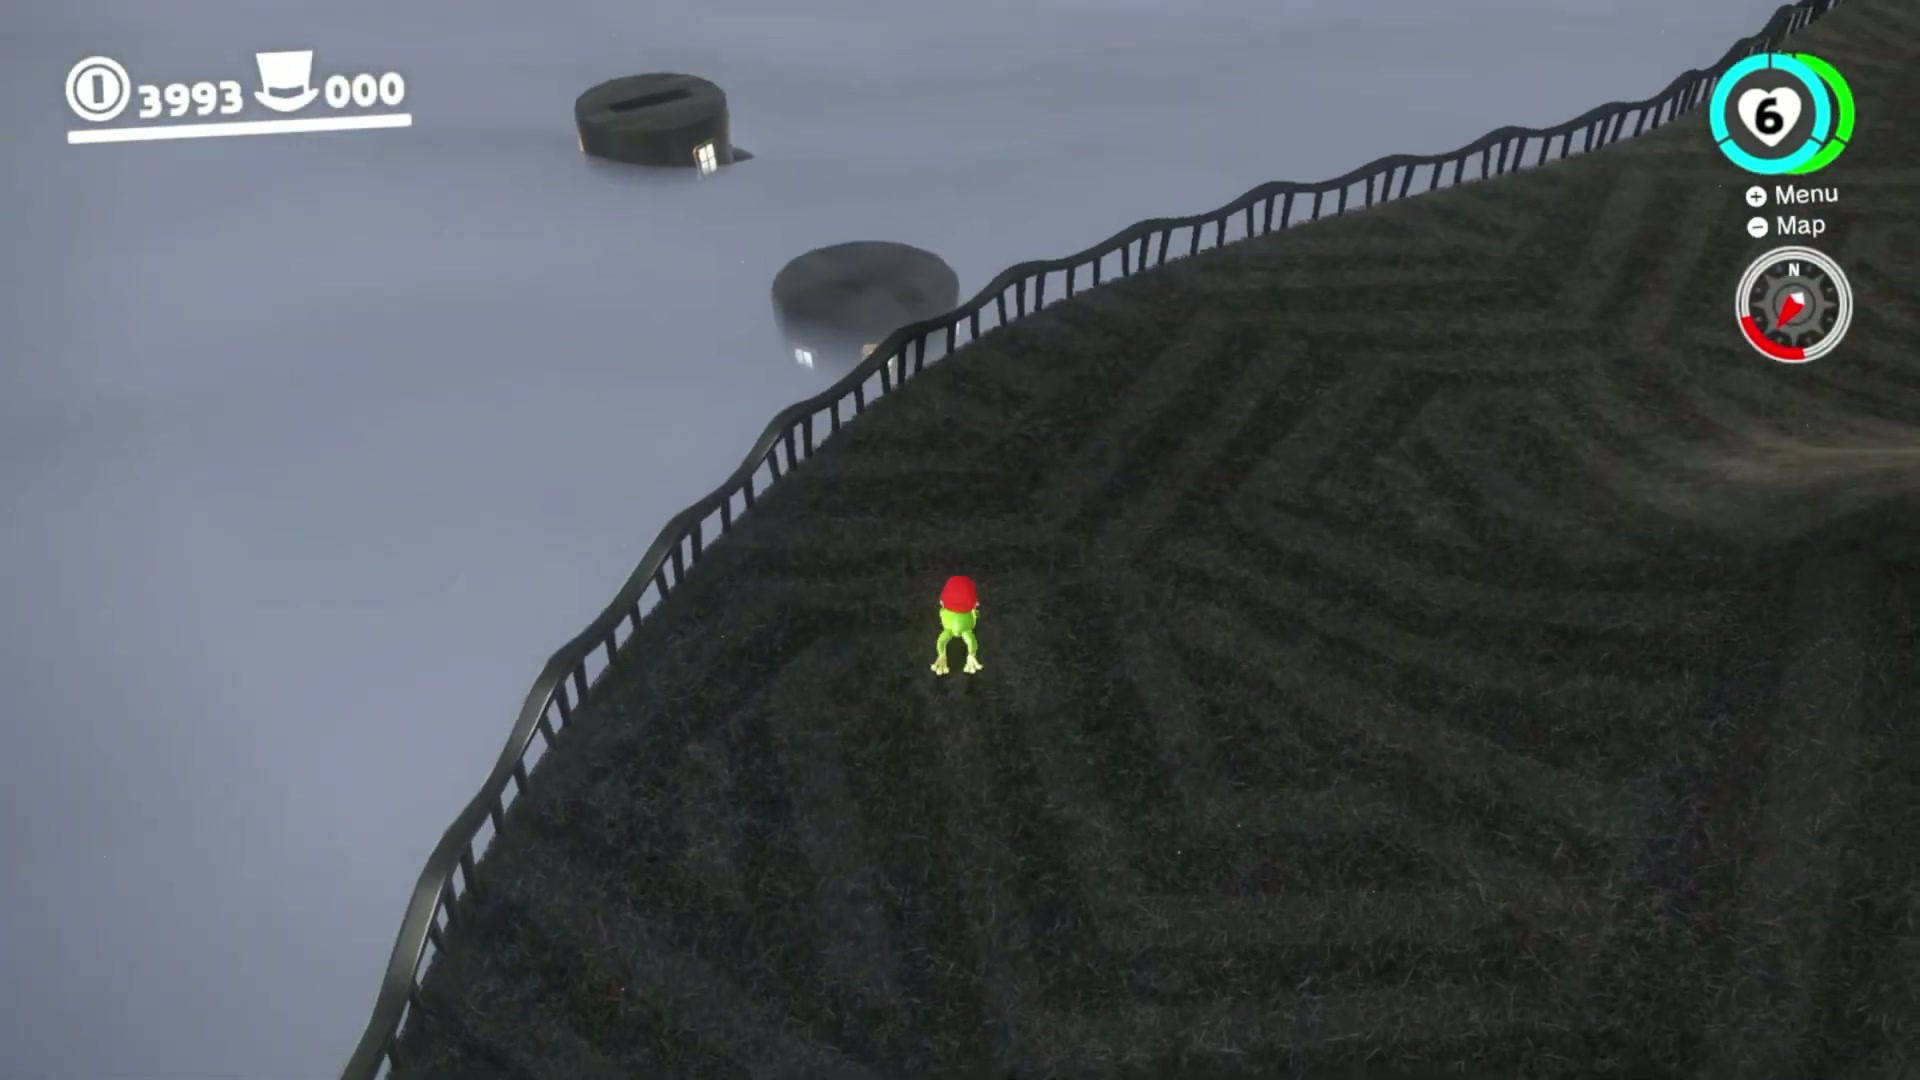
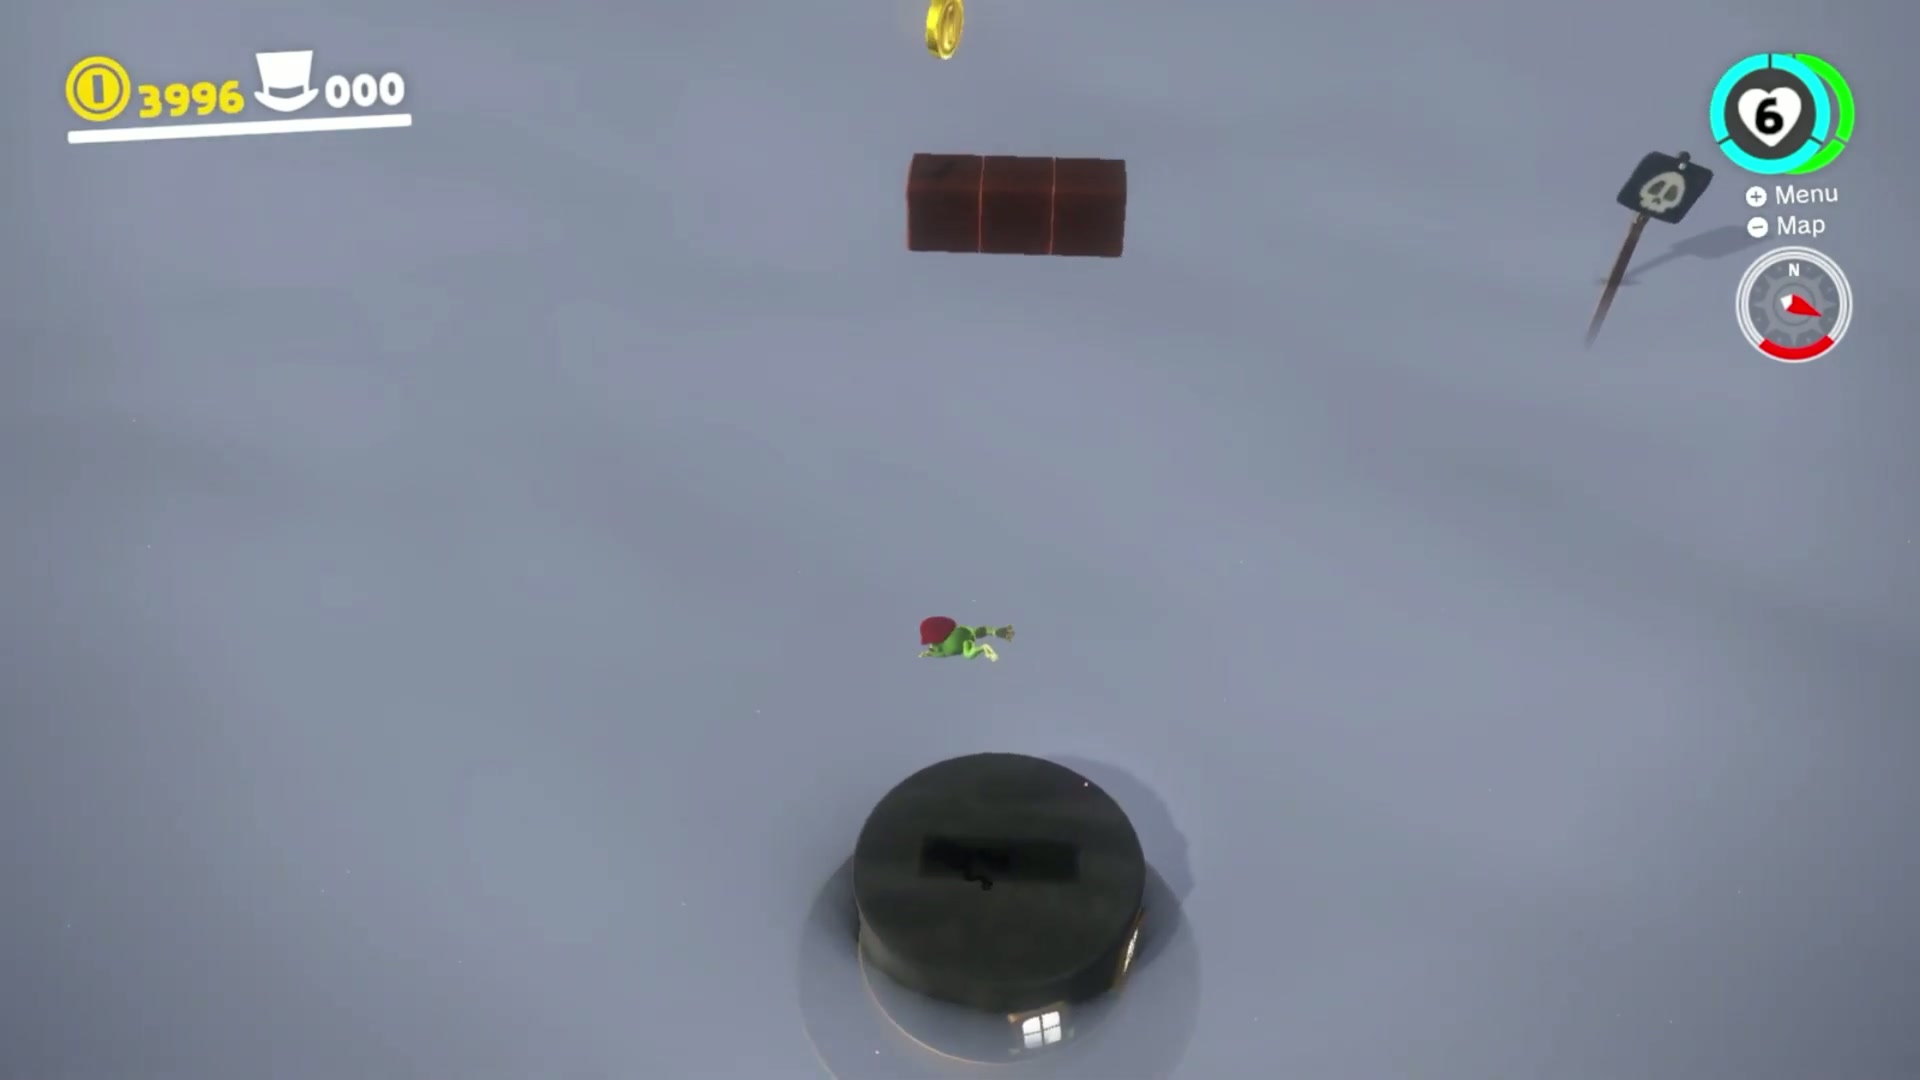
Power Moon #1 – Frog-Jumping Above the Fog
- Start near the Odyssey and capture one of the frogs on the lower side of Bonneton before heading toward the south-side hat platforms.
- Stay as the frog and move toward the floating hat platforms above the fog. Line yourself up before jumping; the platforms are small and it is easy to drift off the edge if you rush.
- Use the frog’s highest jump to cross the sequence of platforms. Hold the jump button for extra height, then correct your landing before making the next jump.
- When you reach the final platform, jump up into the Power Moon hovering above the fog. If you miss it, return to the nearest safe platform and climb back up instead of dropping into the fog route.
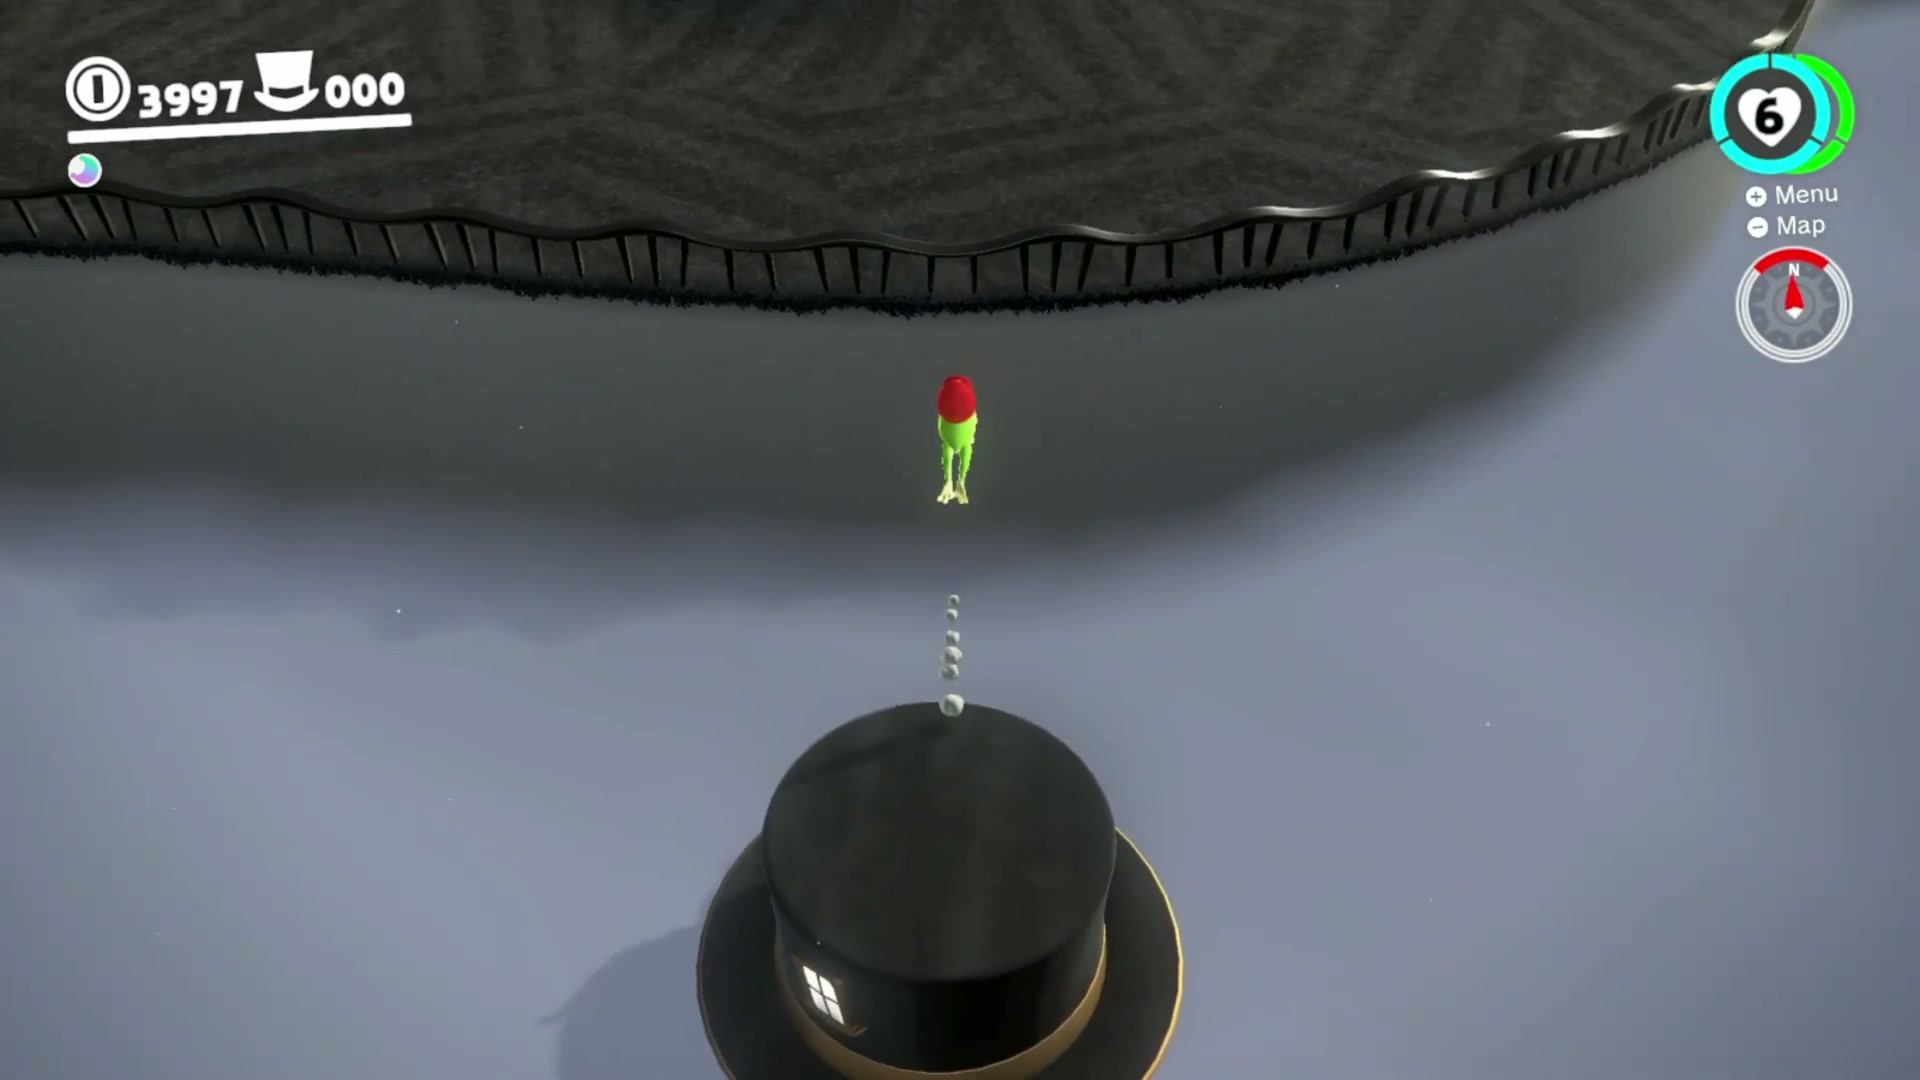
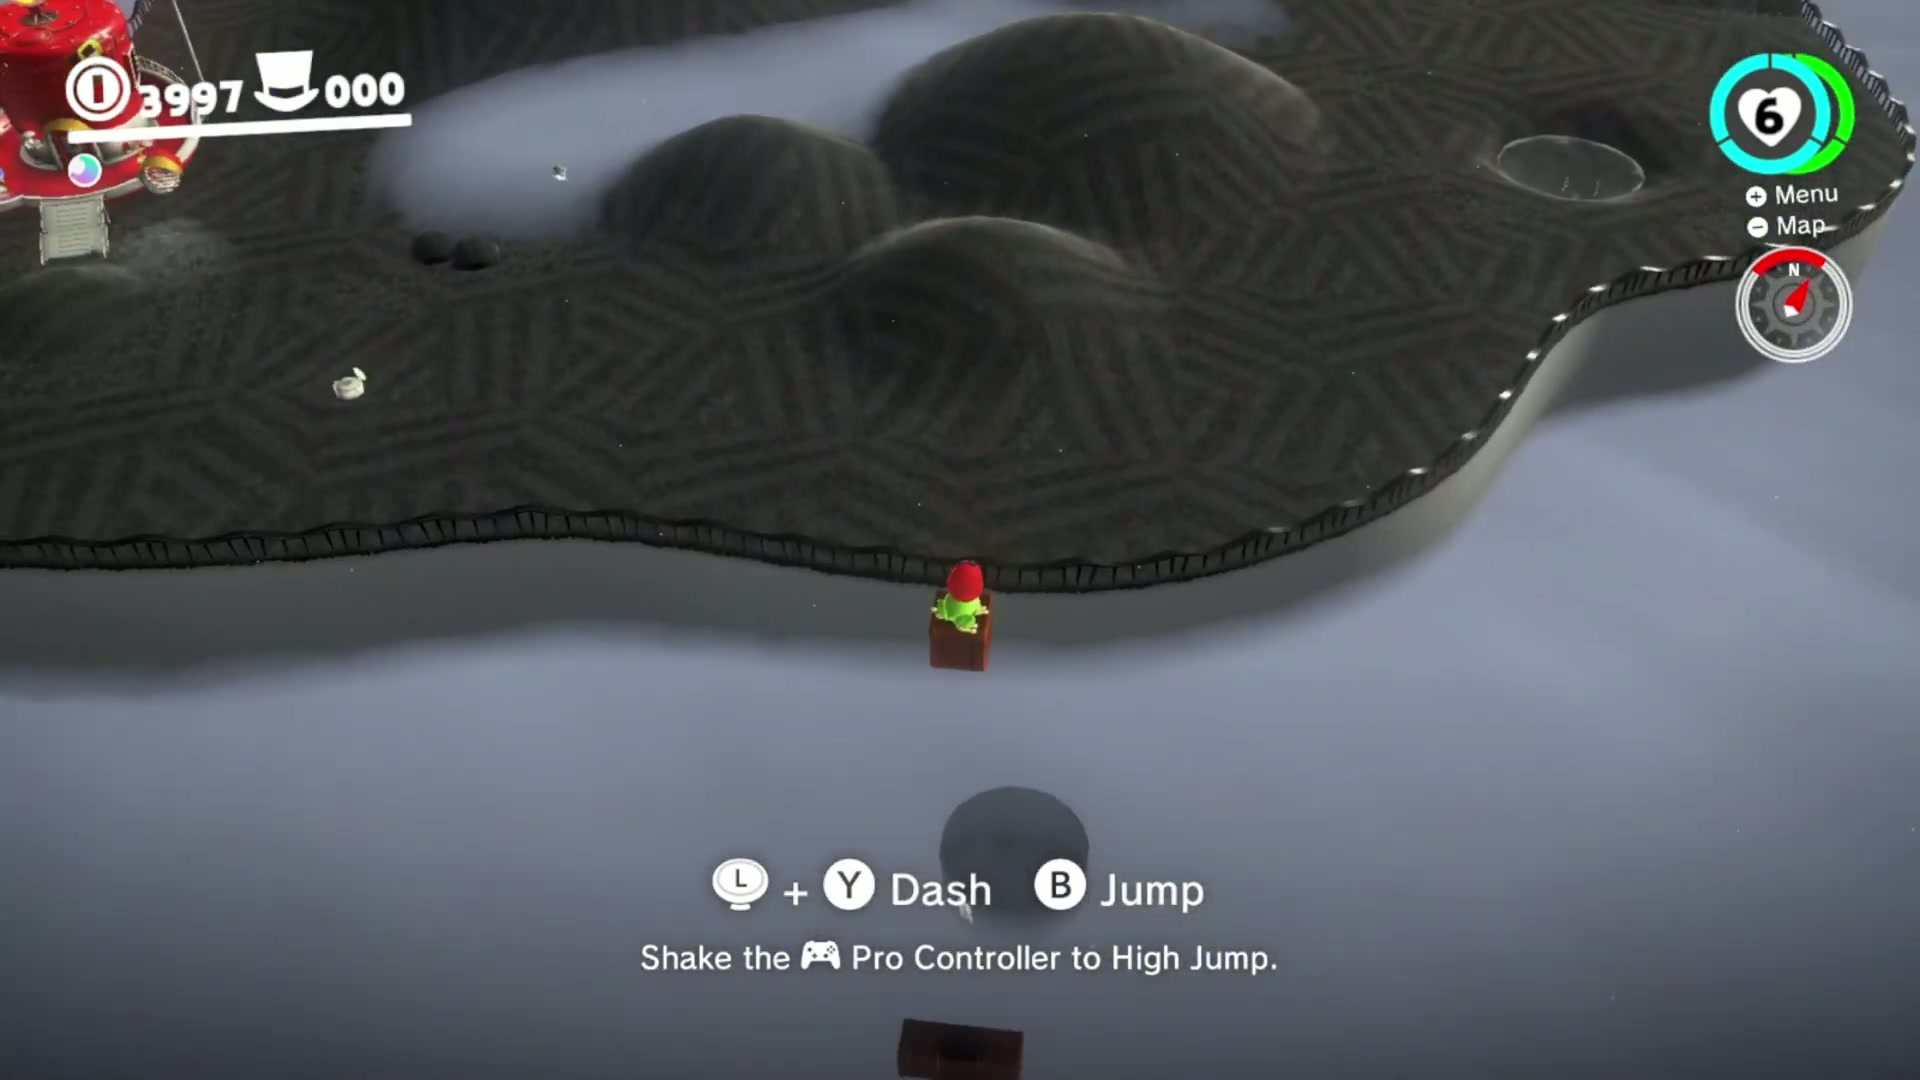
Power Moon #2 – Frog-Jumping from the Top Deck
- Capture a frog near the Odyssey, then head into the Central Plaza where the stacked hat ships sit near the Crazy Cap Shop.
- Use the frog’s high jump to climb onto the lower ship first. From there, jump again to reach the upper deck instead of trying to leap straight from the ground.
- Stand on the highest part of the upper ship and look for the Power Moon tucked above the top deck area. Reposition the frog so you are directly under the Moon before jumping.
- Hold the jump button for the full-height frog jump and steer into the Moon at the top of the arc. If you land back on the ship, reset your position and jump straight up rather than diagonally.
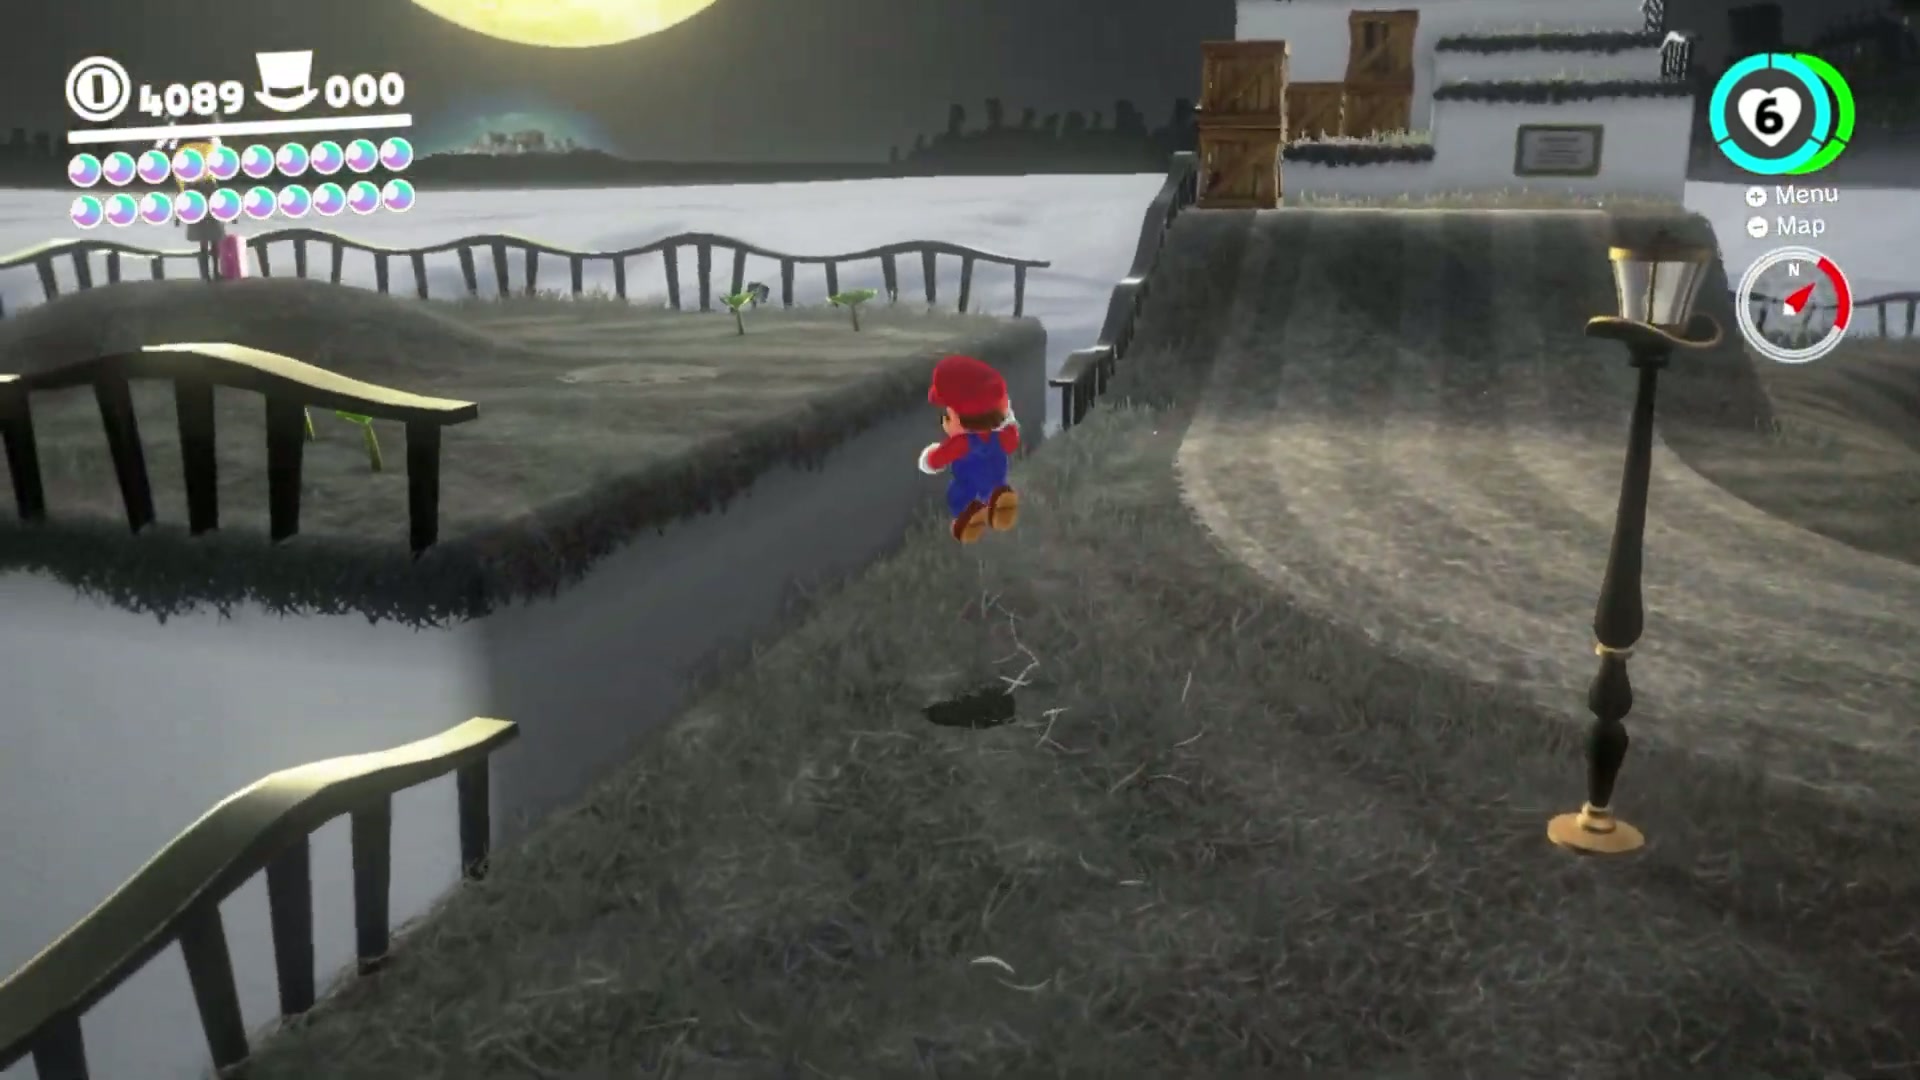
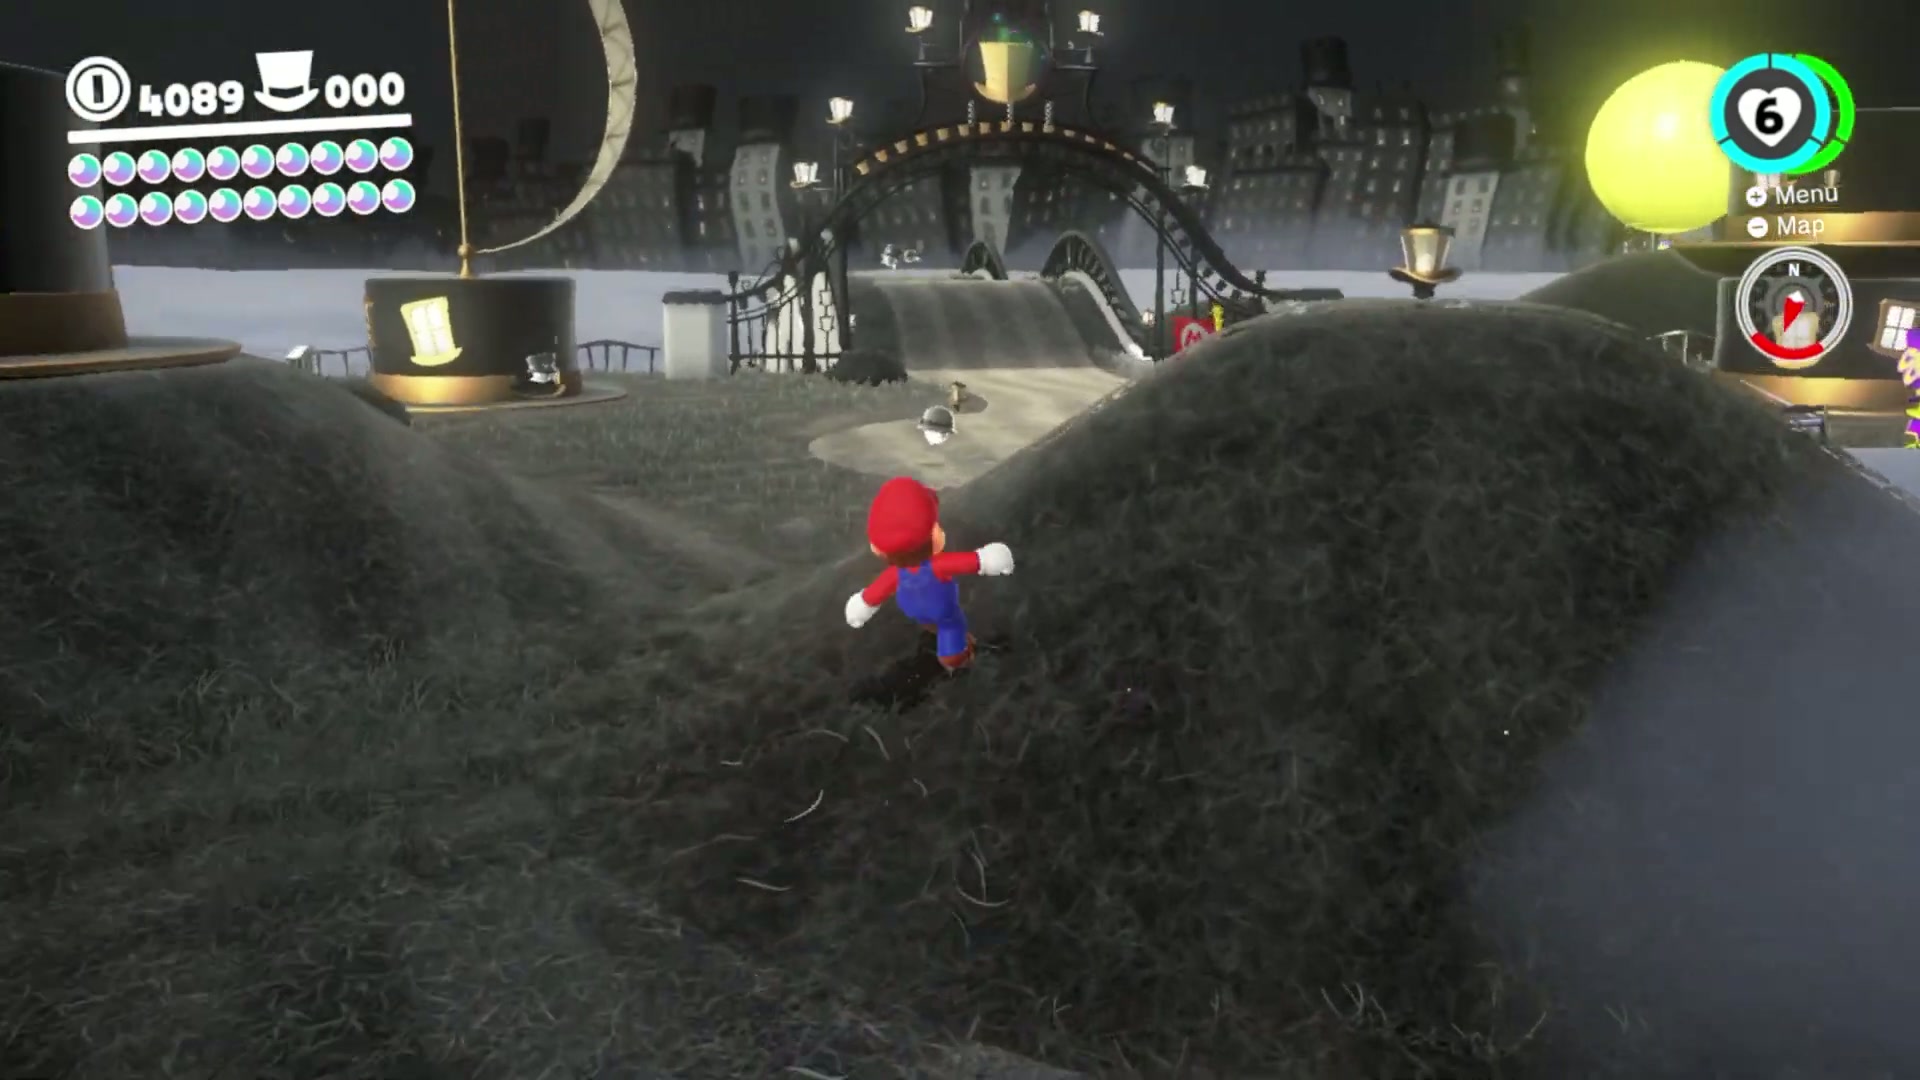
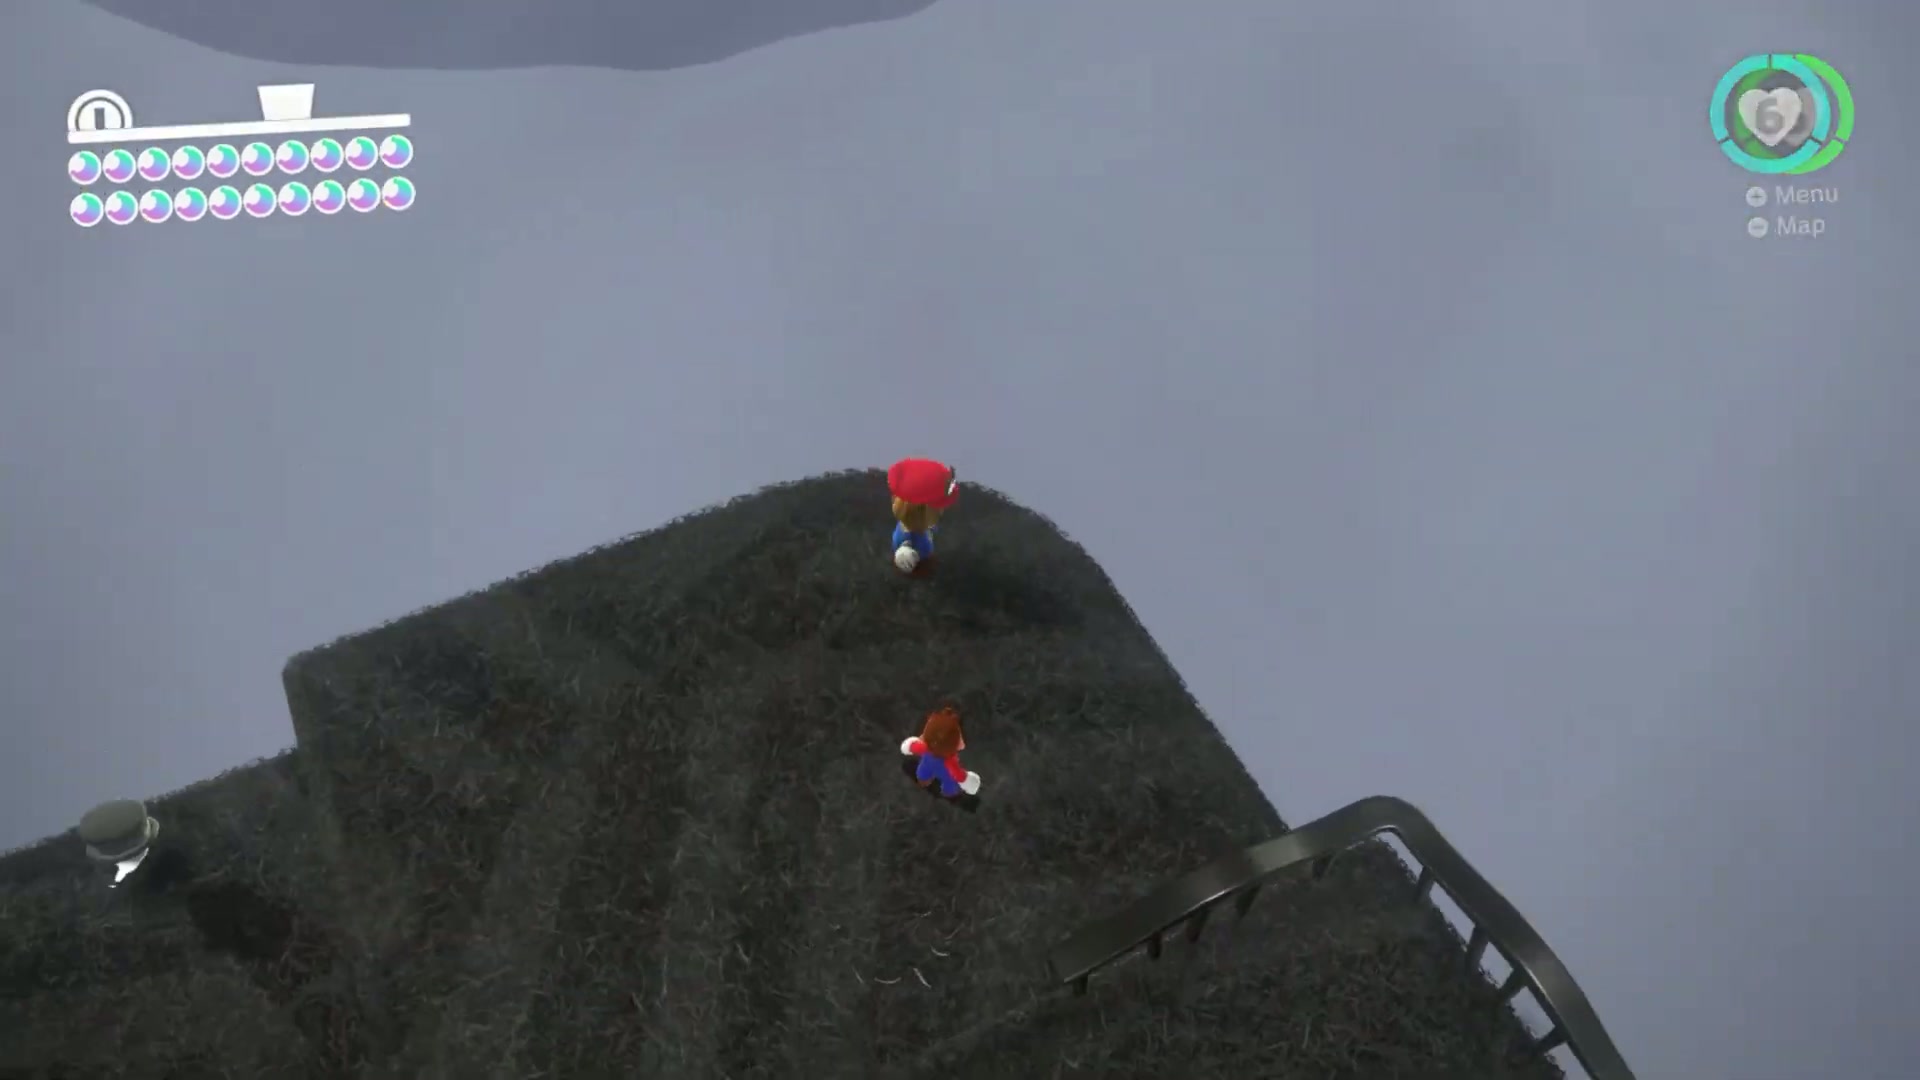
Power Moon #3 – Cap Kingdom Timer Challenge 1
- Go to the scarecrow near the base of Top-Hat Tower, close to the bridge route that leads away from the tower area.
- Throw Cappy onto the scarecrow to start the timer. The temporary bridge and the Power Moon appear immediately, so begin moving the moment the challenge starts.
- Sprint straight across the bridge without stopping for coins or camera adjustments. Keep Mario centered on the path so you do not waste time correcting a fall.
- At the far end, jump into the Power Moon before the timer expires. If the bridge disappears, return to the scarecrow and restart the route with a cleaner straight-line run.
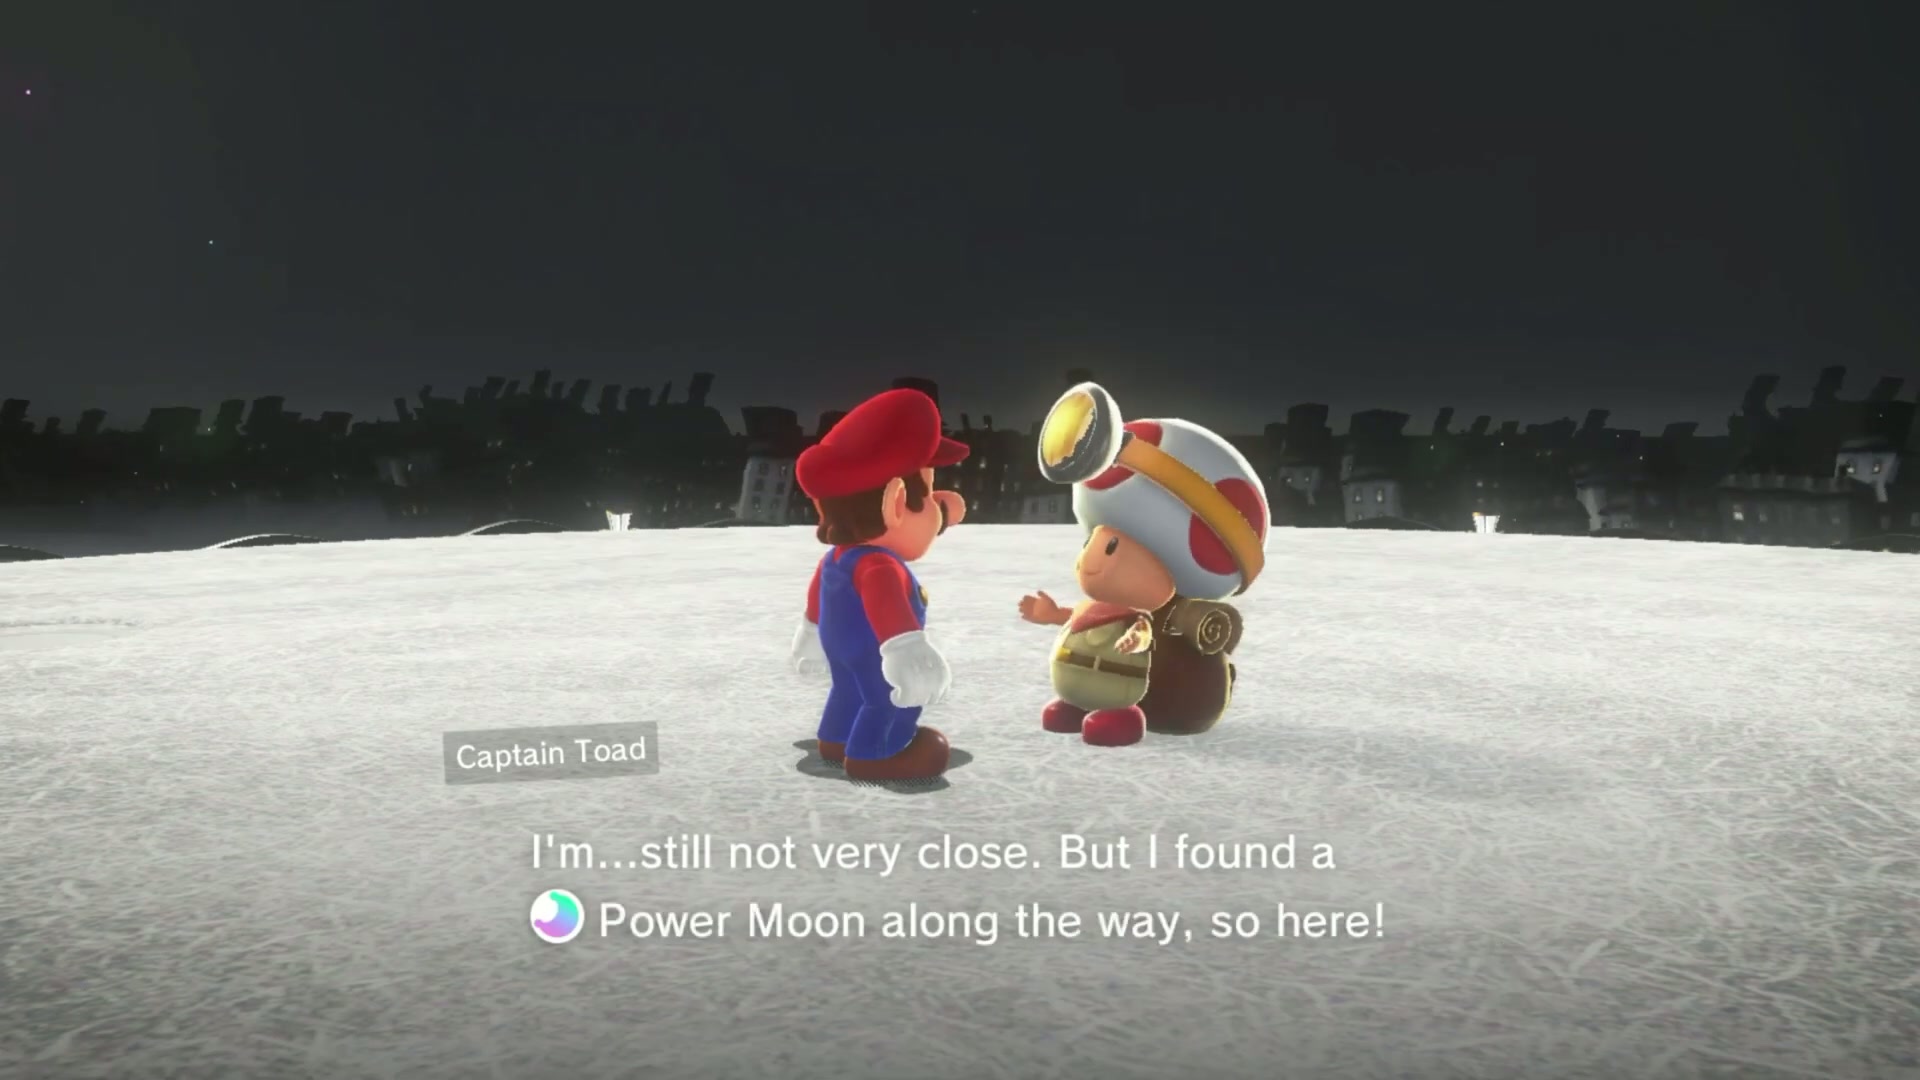
Power Moon #4 – Good Evening, Captain Toad!
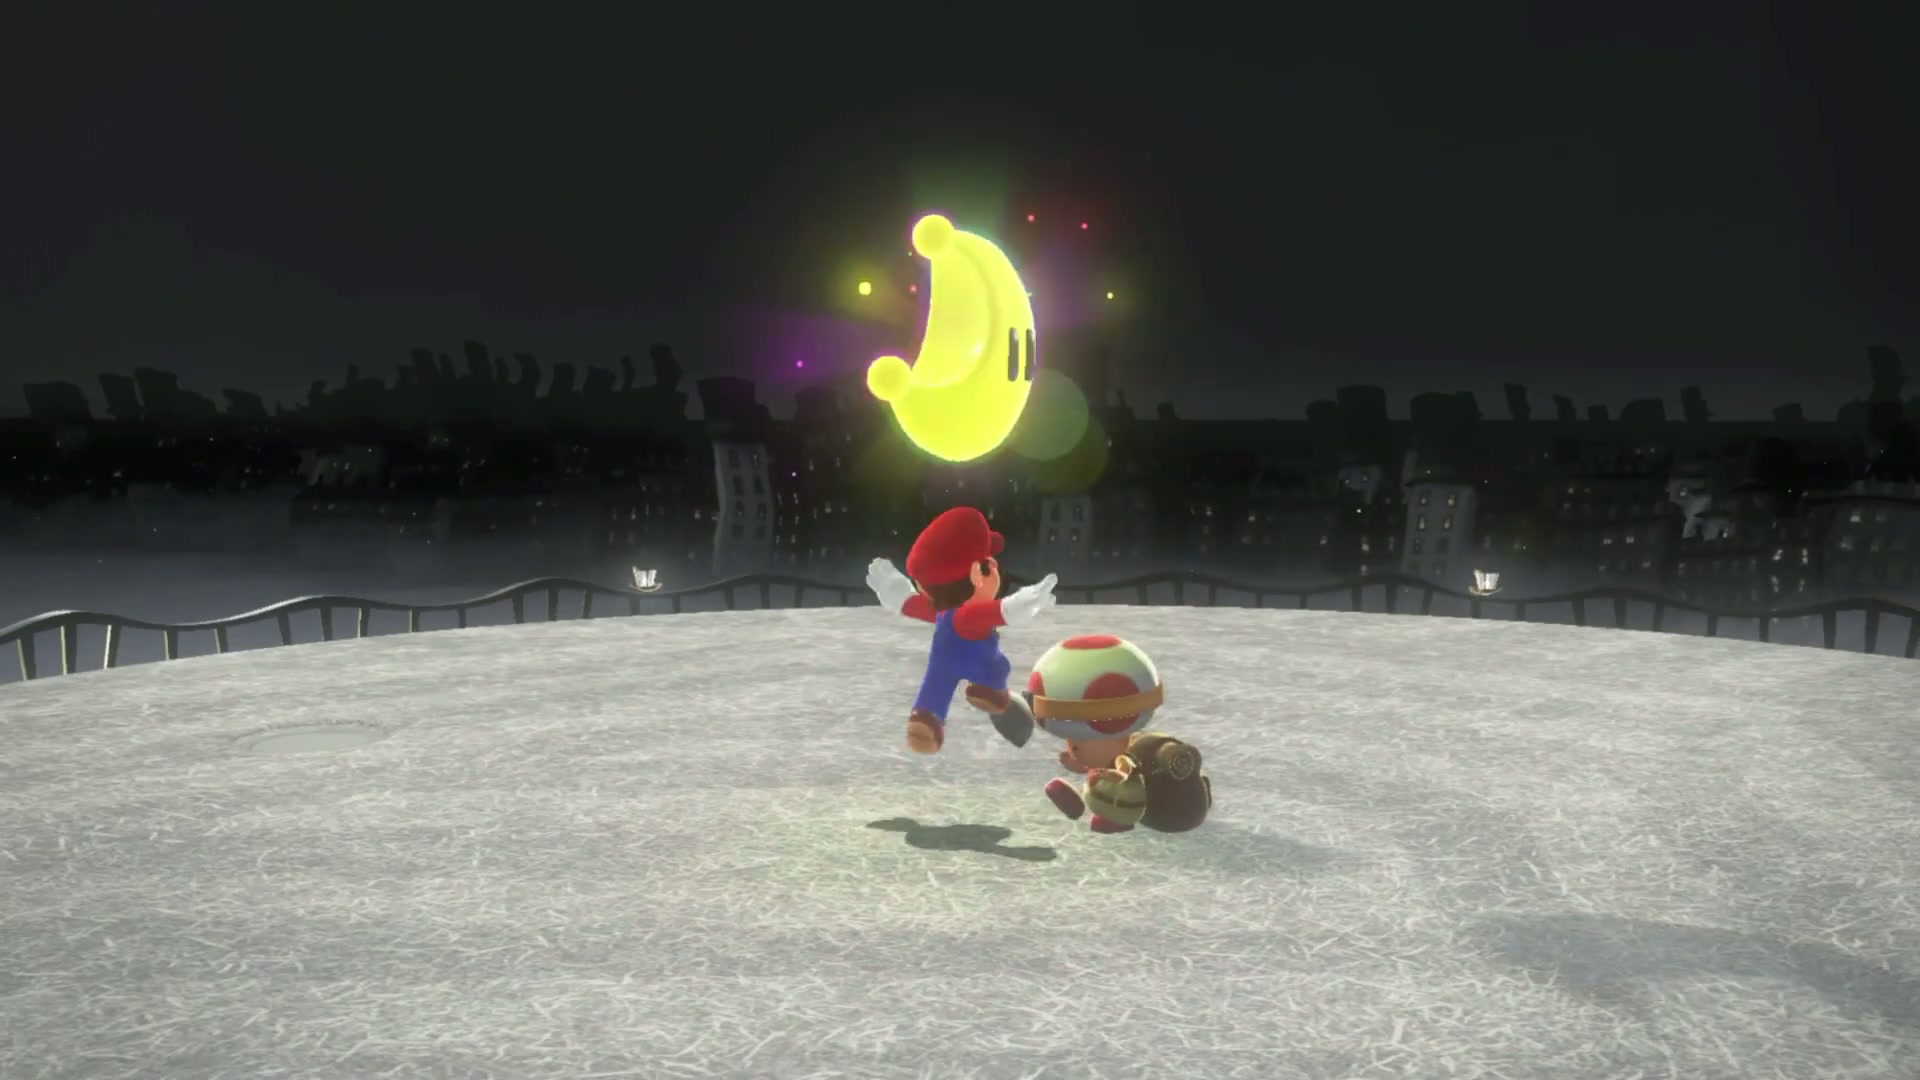
- Climb Top-Hat Tower during the story route or return later and use the tower entrance from Bonneton.
- Reach the open lookout platform at the very top of the tower. Captain Toad is standing near the edge, away from the main path forward.
- Walk up to Captain Toad and talk to him. There is no puzzle or fight attached to this Moon; the reward is given through the conversation.
- Collect this while you are already on the tower so you do not need to repeat the climb during cleanup.
Power Moon #5 – Shopping in Bonneton
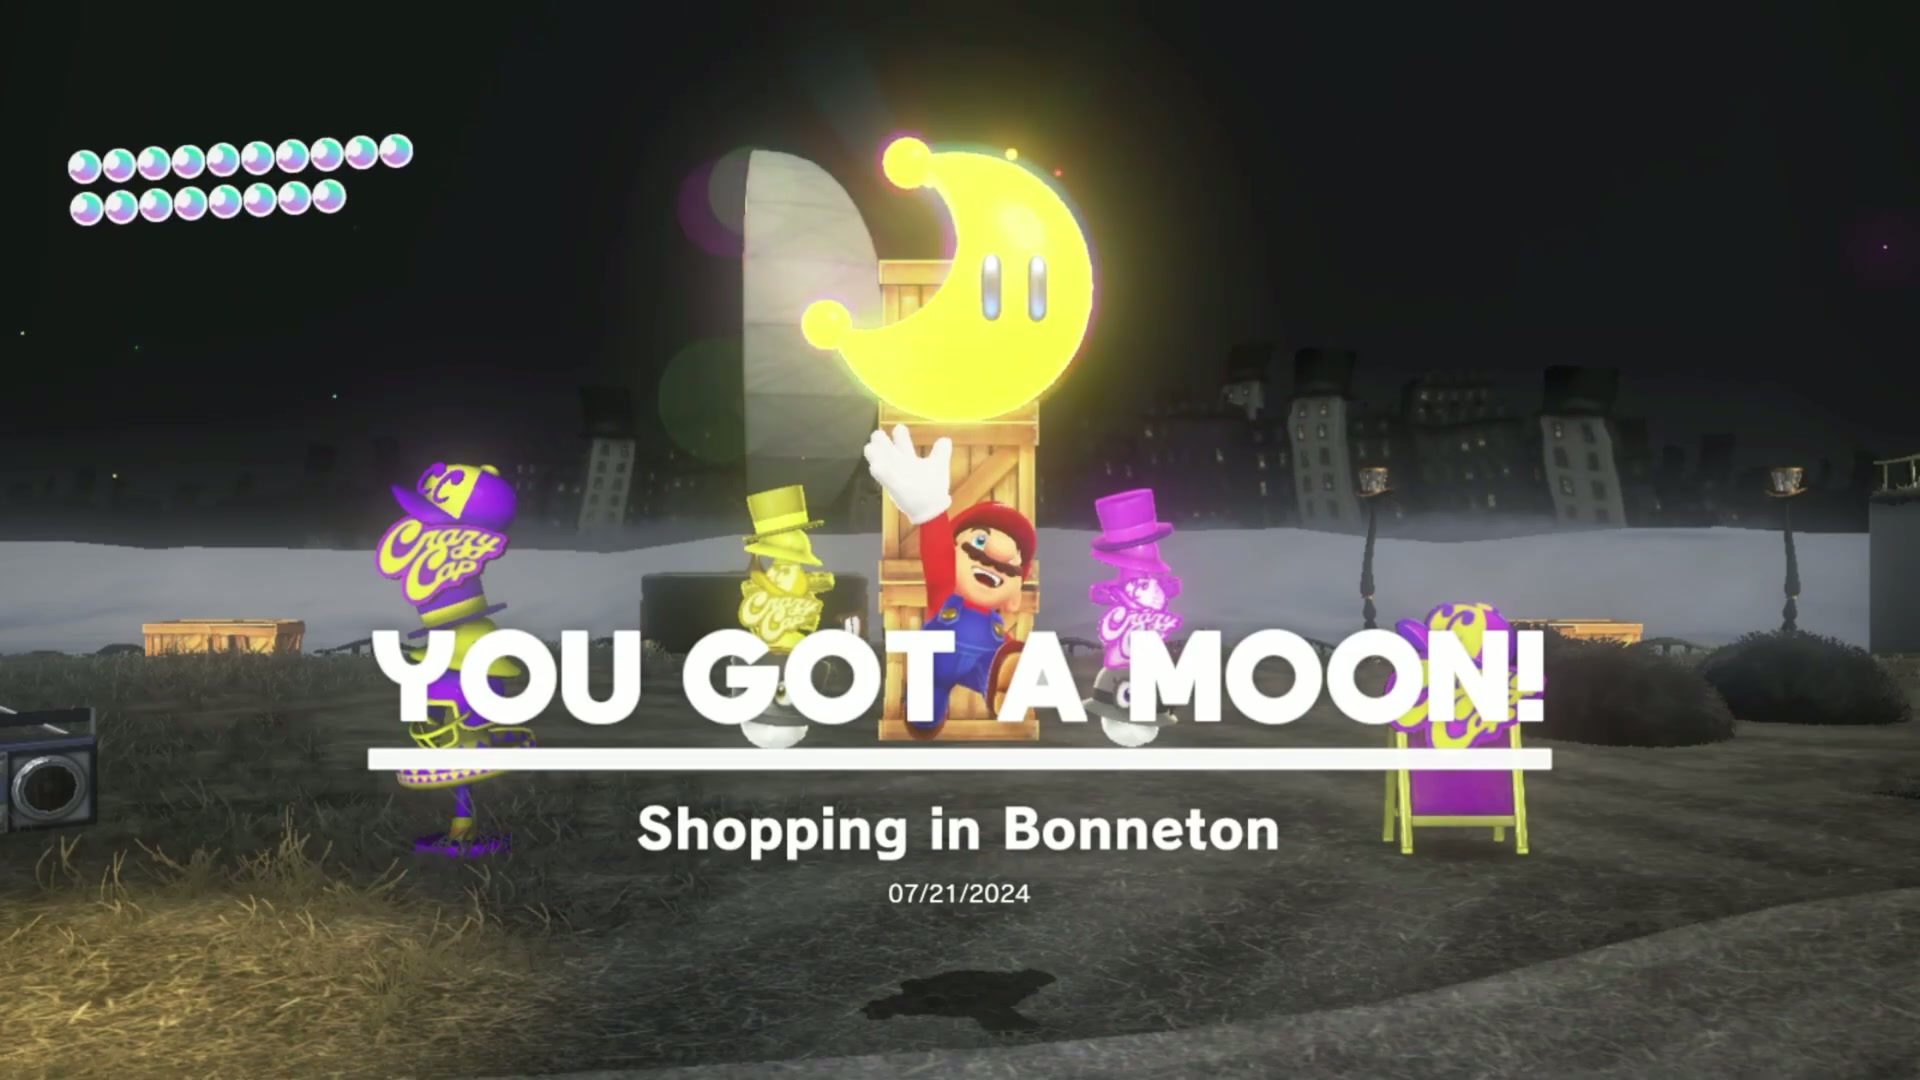
- Return to the Central Plaza once the Crazy Cap Shop is open in Cap Kingdom.
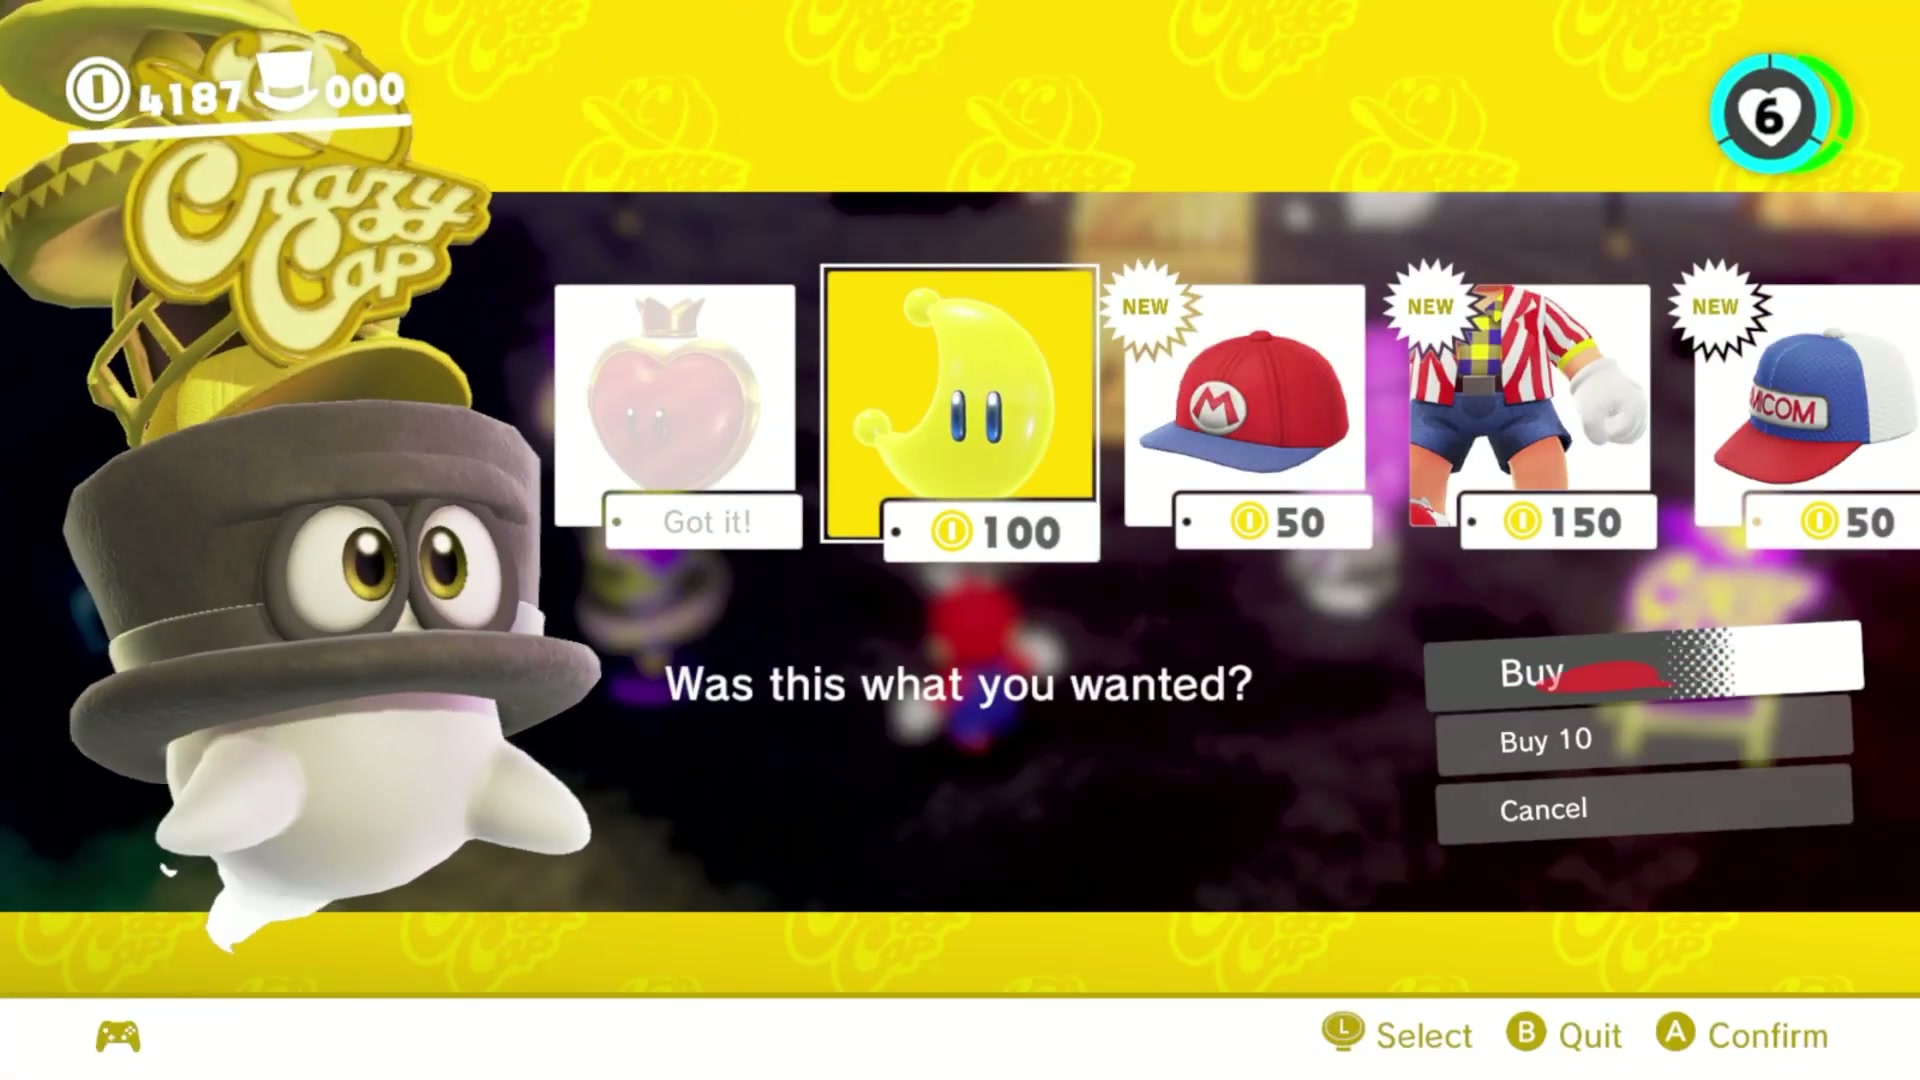
- Enter the yellow coin side of the shop and speak to the shopkeeper. This is the standard shop Moon, so you need regular yellow coins rather than purple regional coins.
- Buy the Power Moon for 100 coins. If you are short, collect coins around the Odyssey landing area, Sometimes Bridge and the rooftops before coming back.
- After purchasing it once, this Moon is permanently checked off; later shop purchases do not replace this collectible entry.
Power Moon #6 – Skimming the Poison Tide
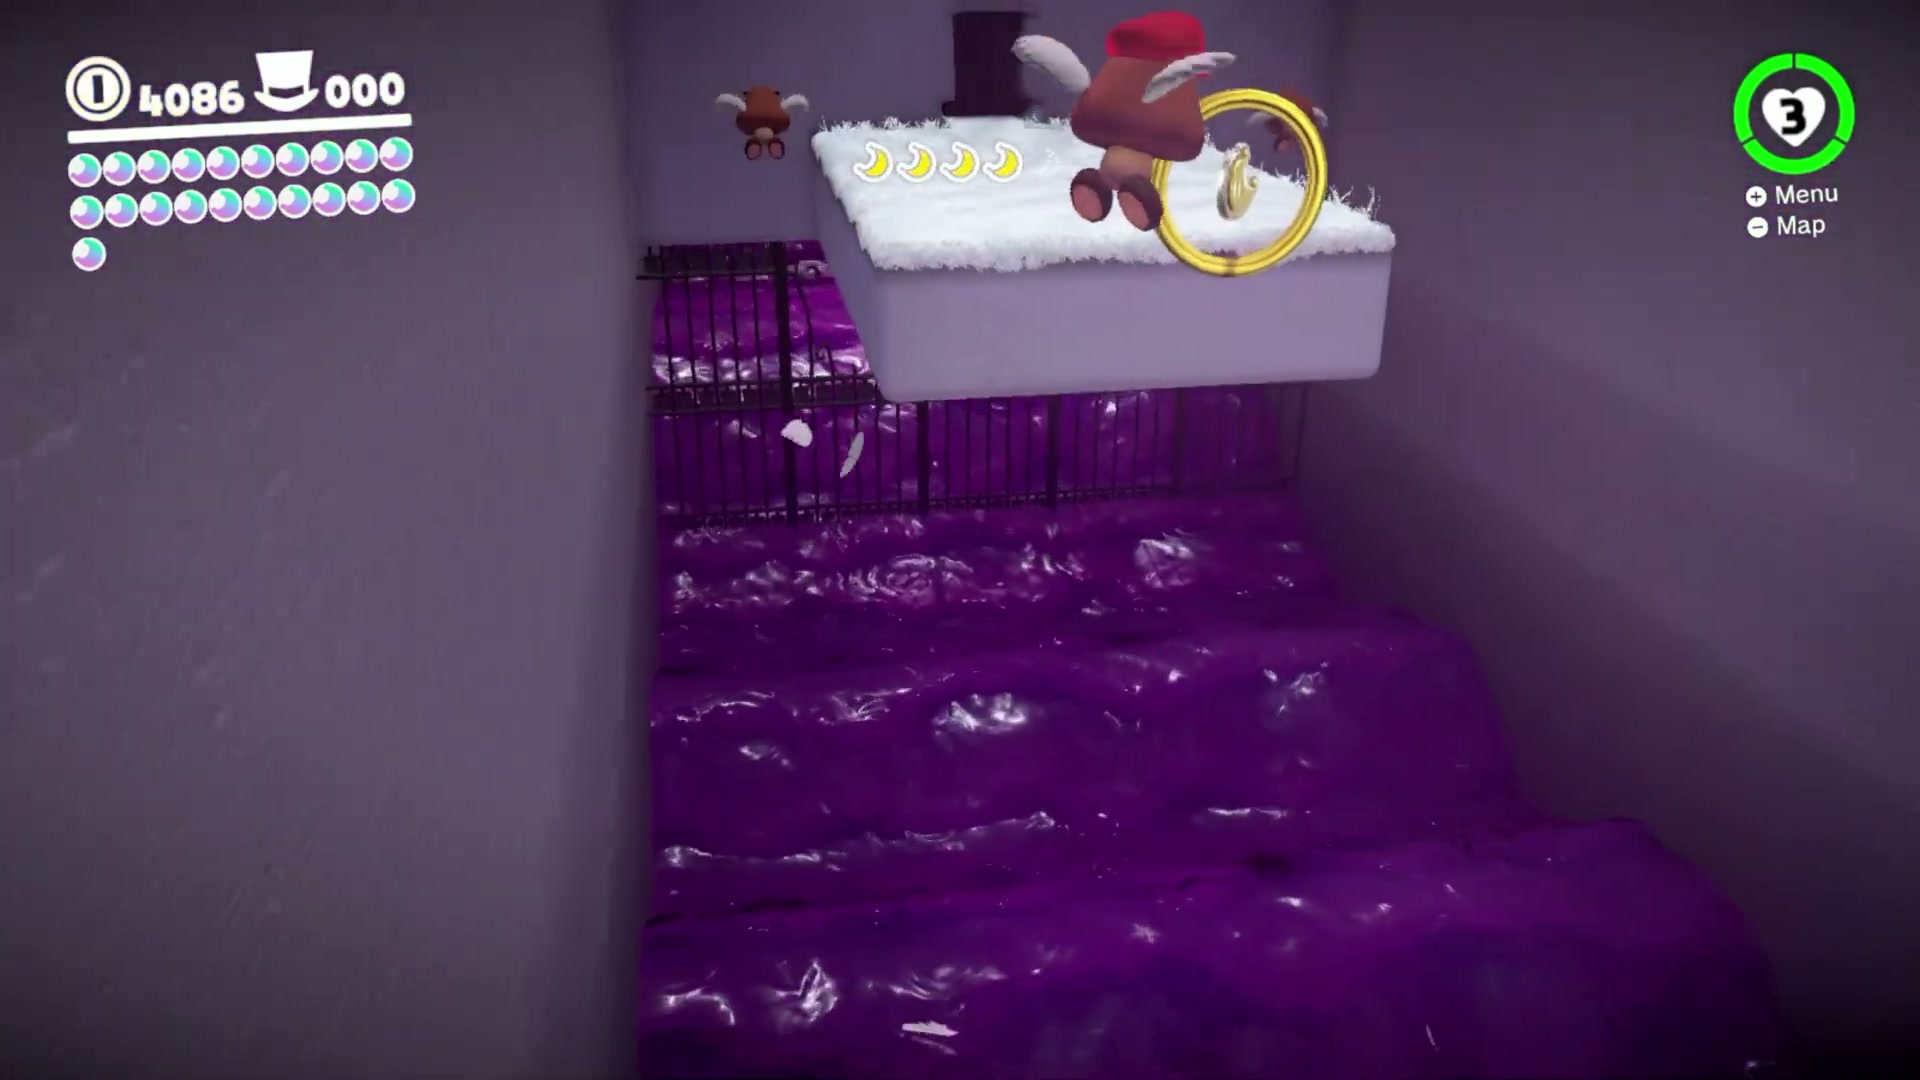
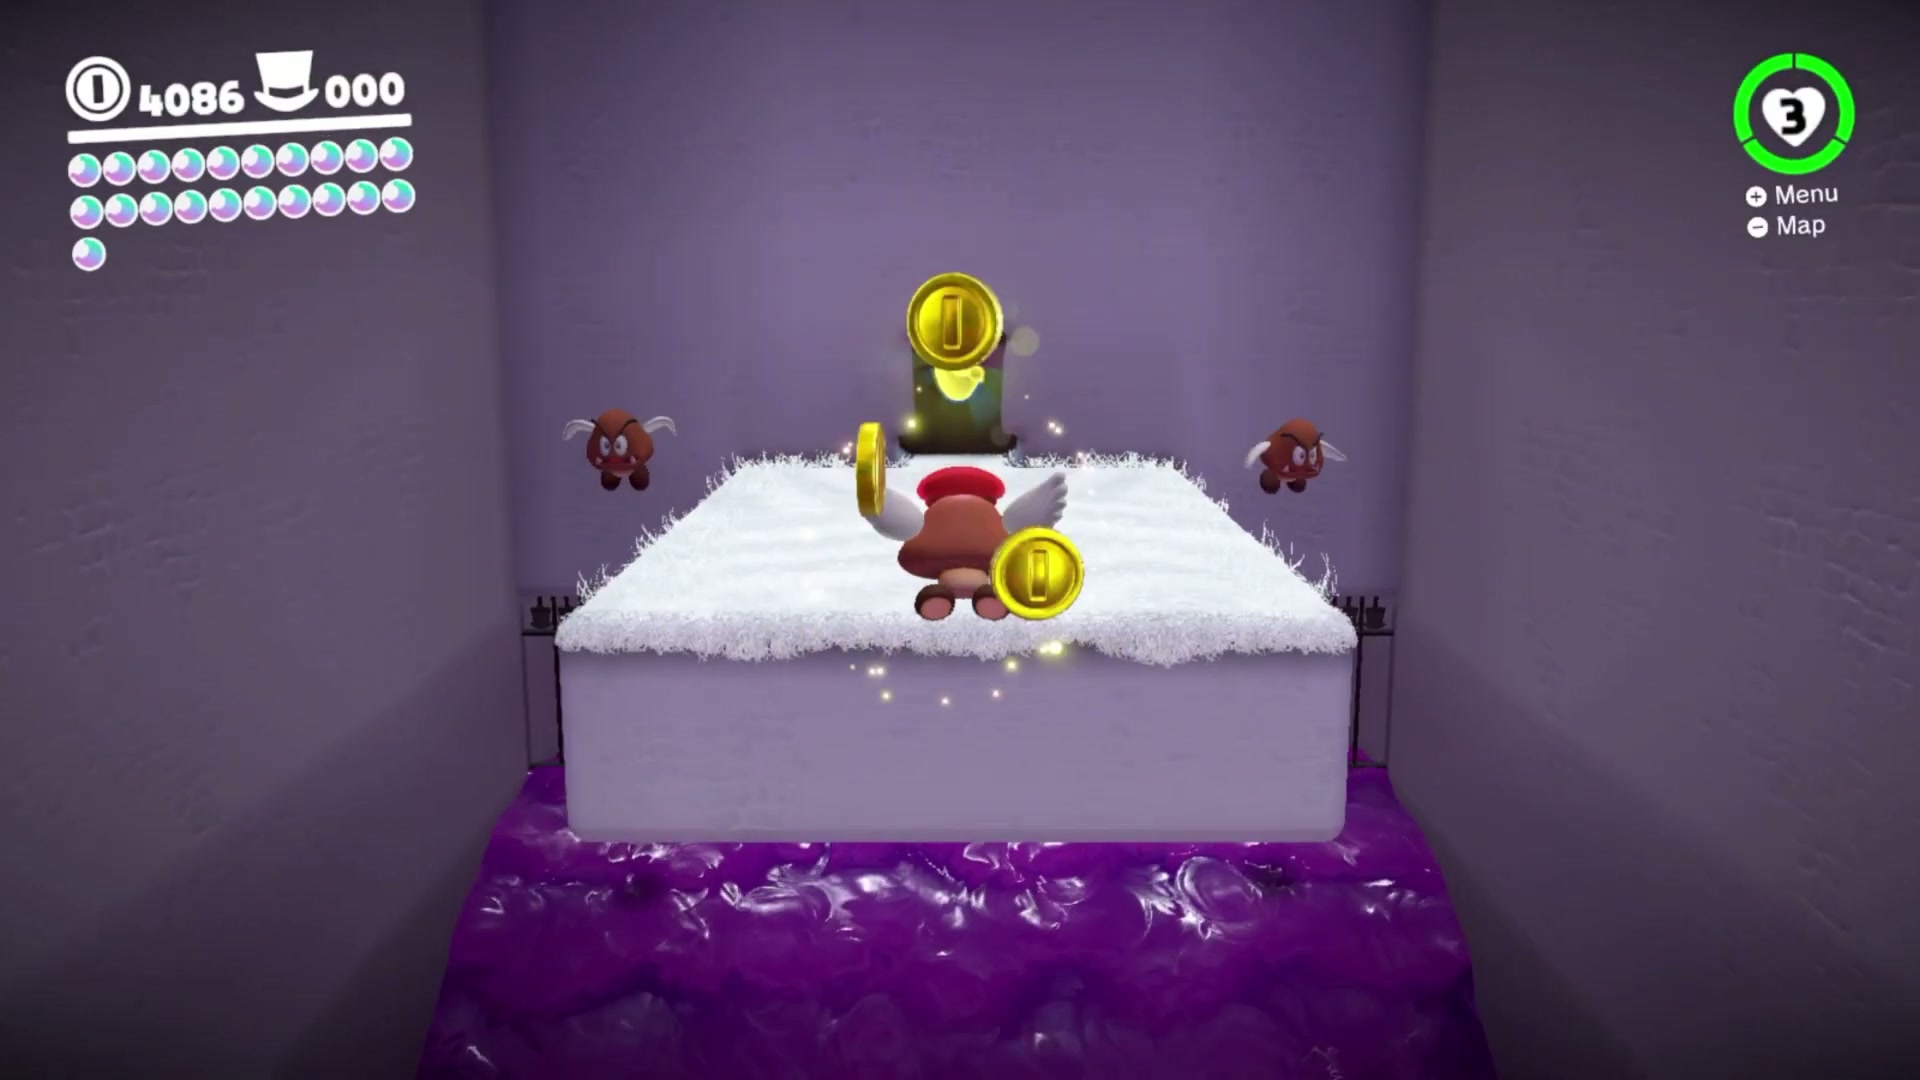
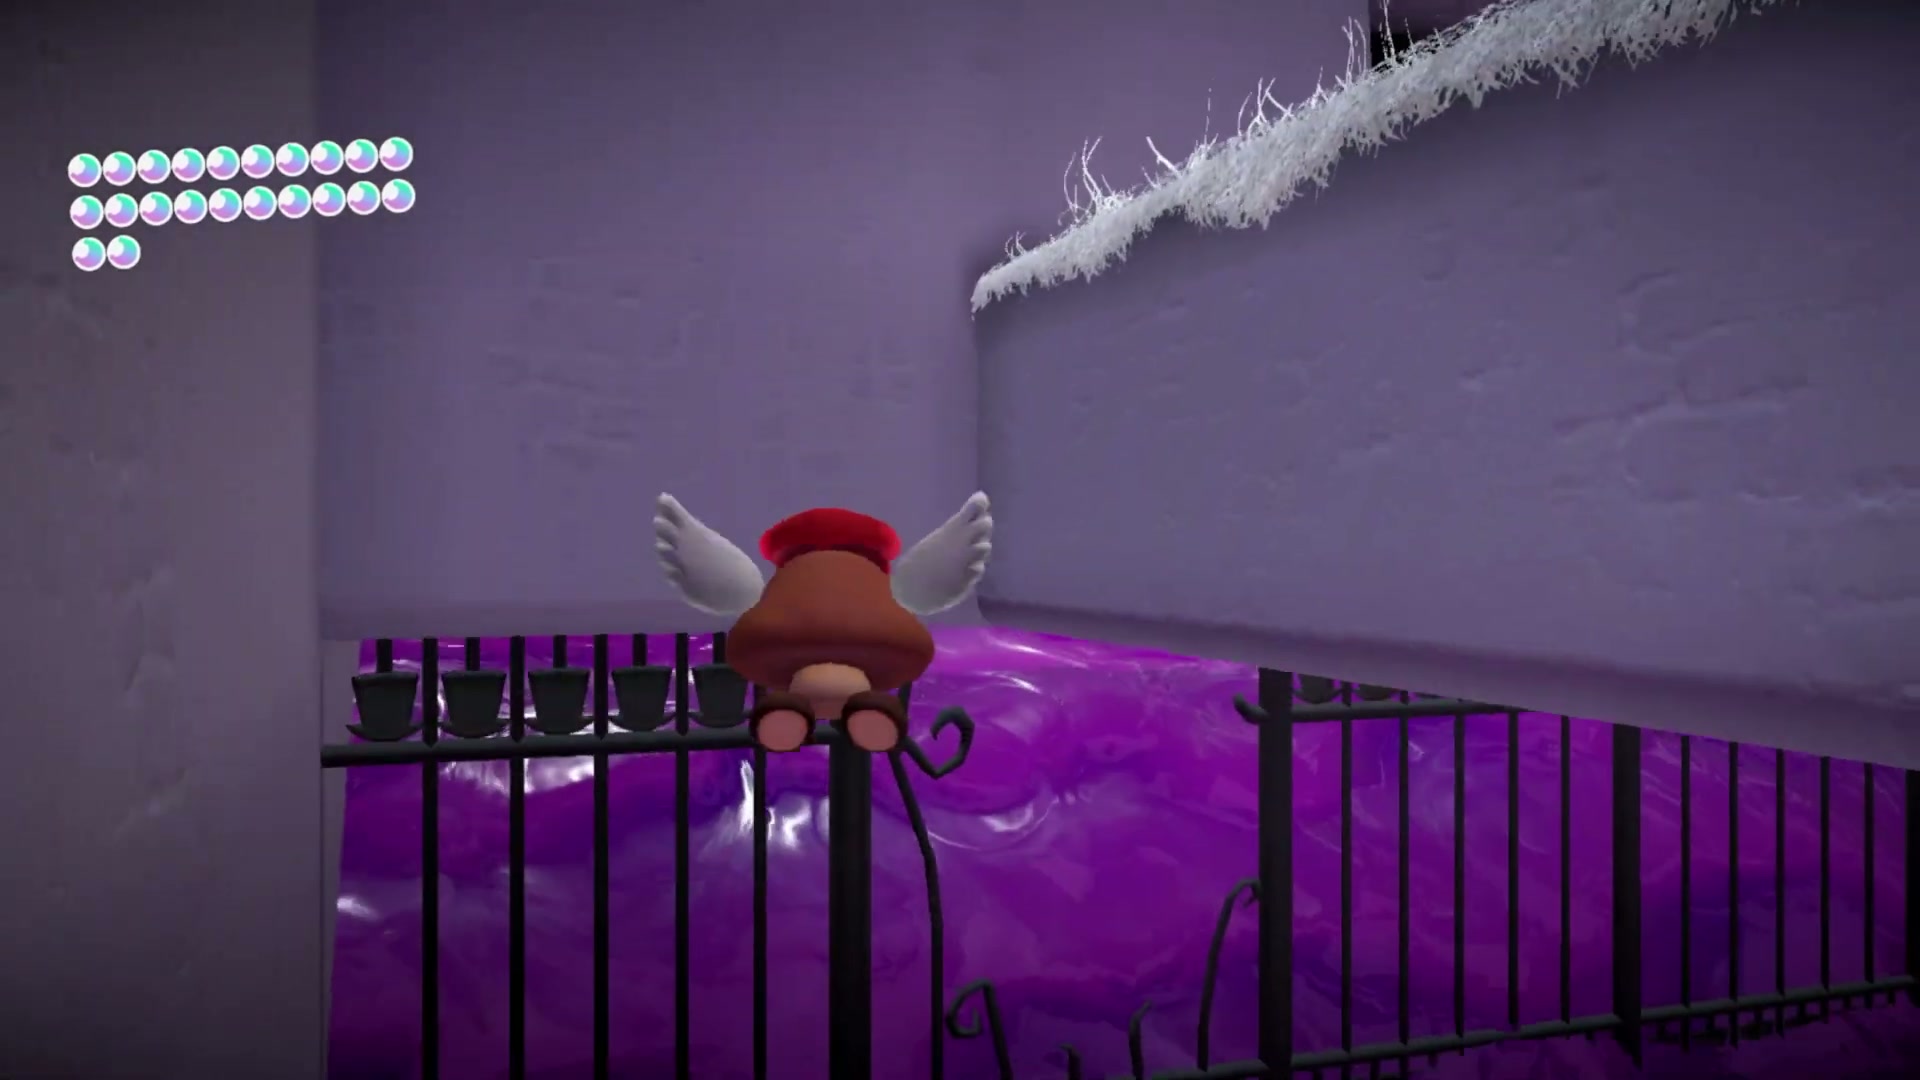
- Capture a Paragoomba outside Top-Hat Tower and fly around to the door on the back side of the tower.
- Enter the poison-tide challenge room. The main goal is to collect five Moon Shards while the purple tide rises and falls around the platforms.
- Move one shard at a time and wait on safe ground whenever the poison is high. Do not try to fly through the tide while it is covering the lower route.
- After the fifth shard is collected, the Power Moon appears in the room. Fly or hop back to the reward spot and collect it before leaving through the exit door.

Power Moon #7 – Slipping Through the Poison Tide
- Stay inside the same poison-tide challenge room used for Power Moon #6 instead of leaving immediately.
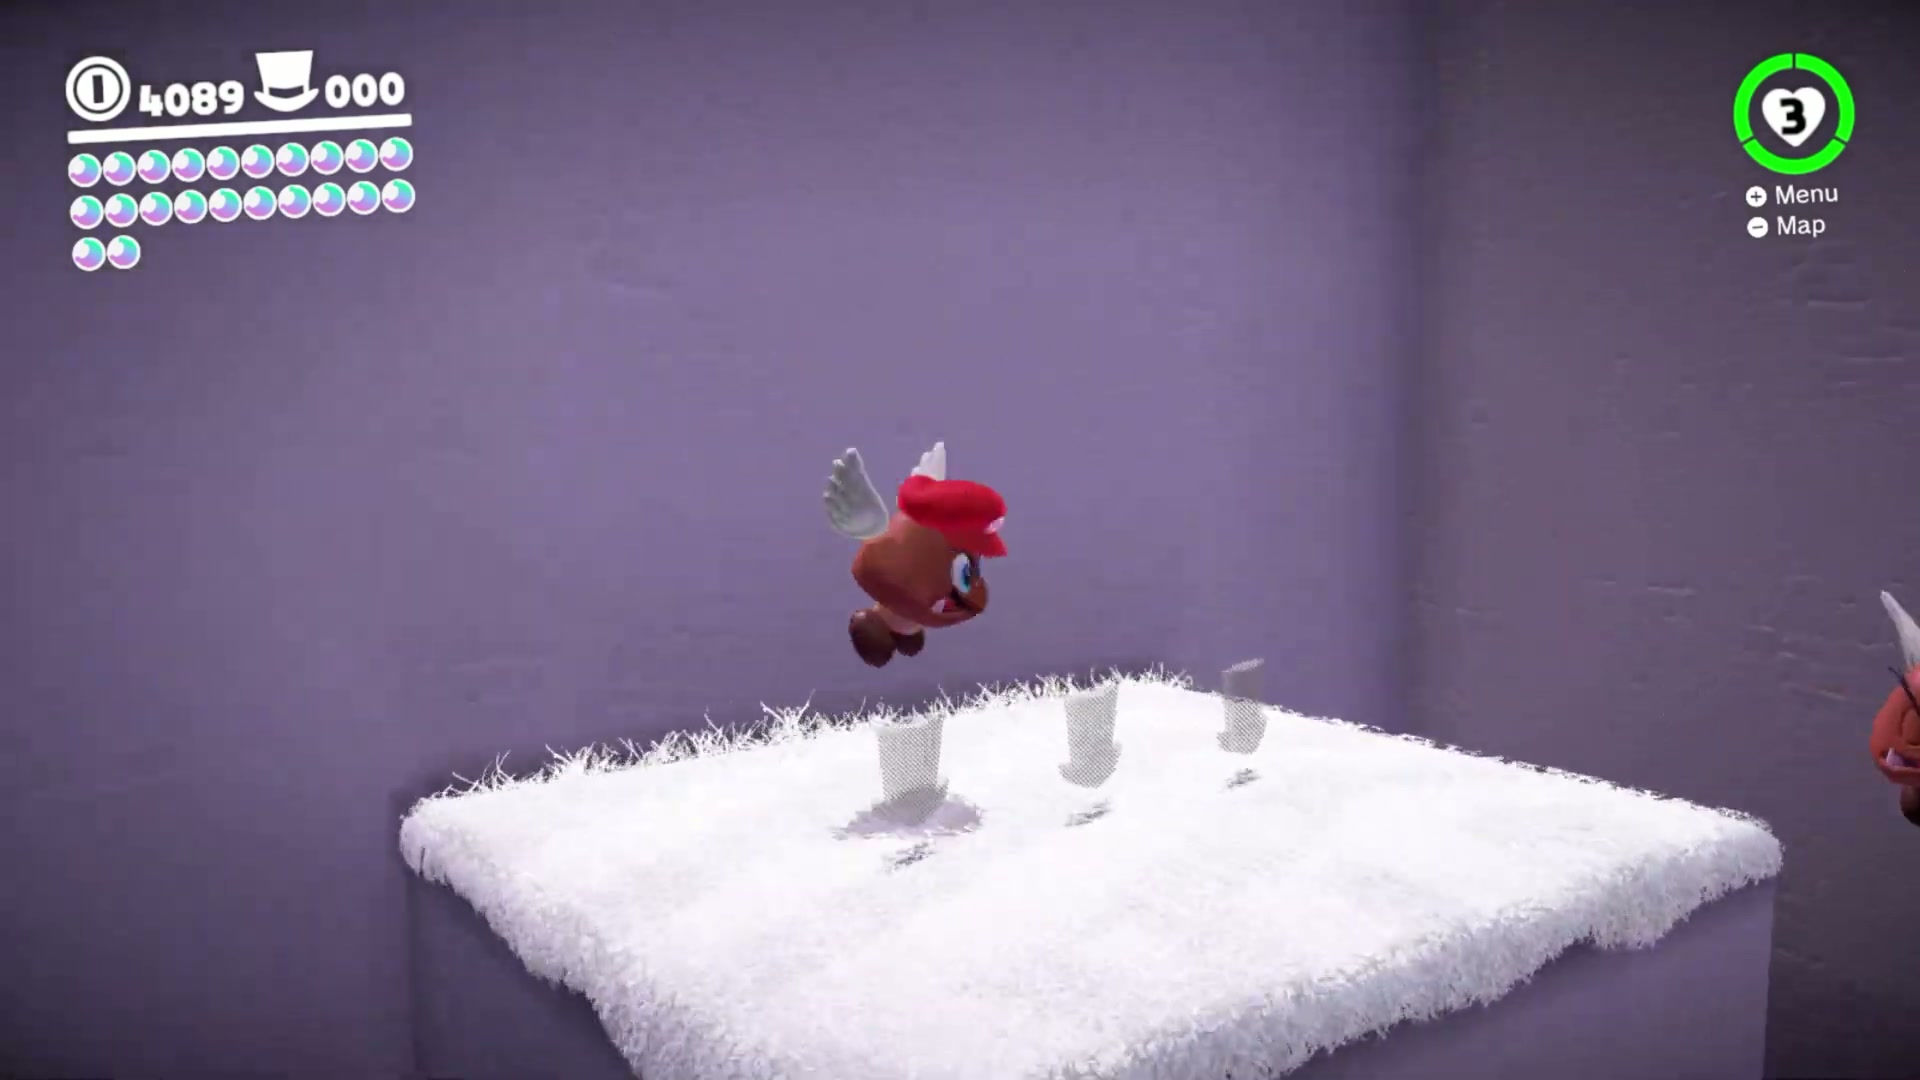
- From the exit-door platform, fly underneath the platform with the captured Paragoomba to reach the hidden side of the room.
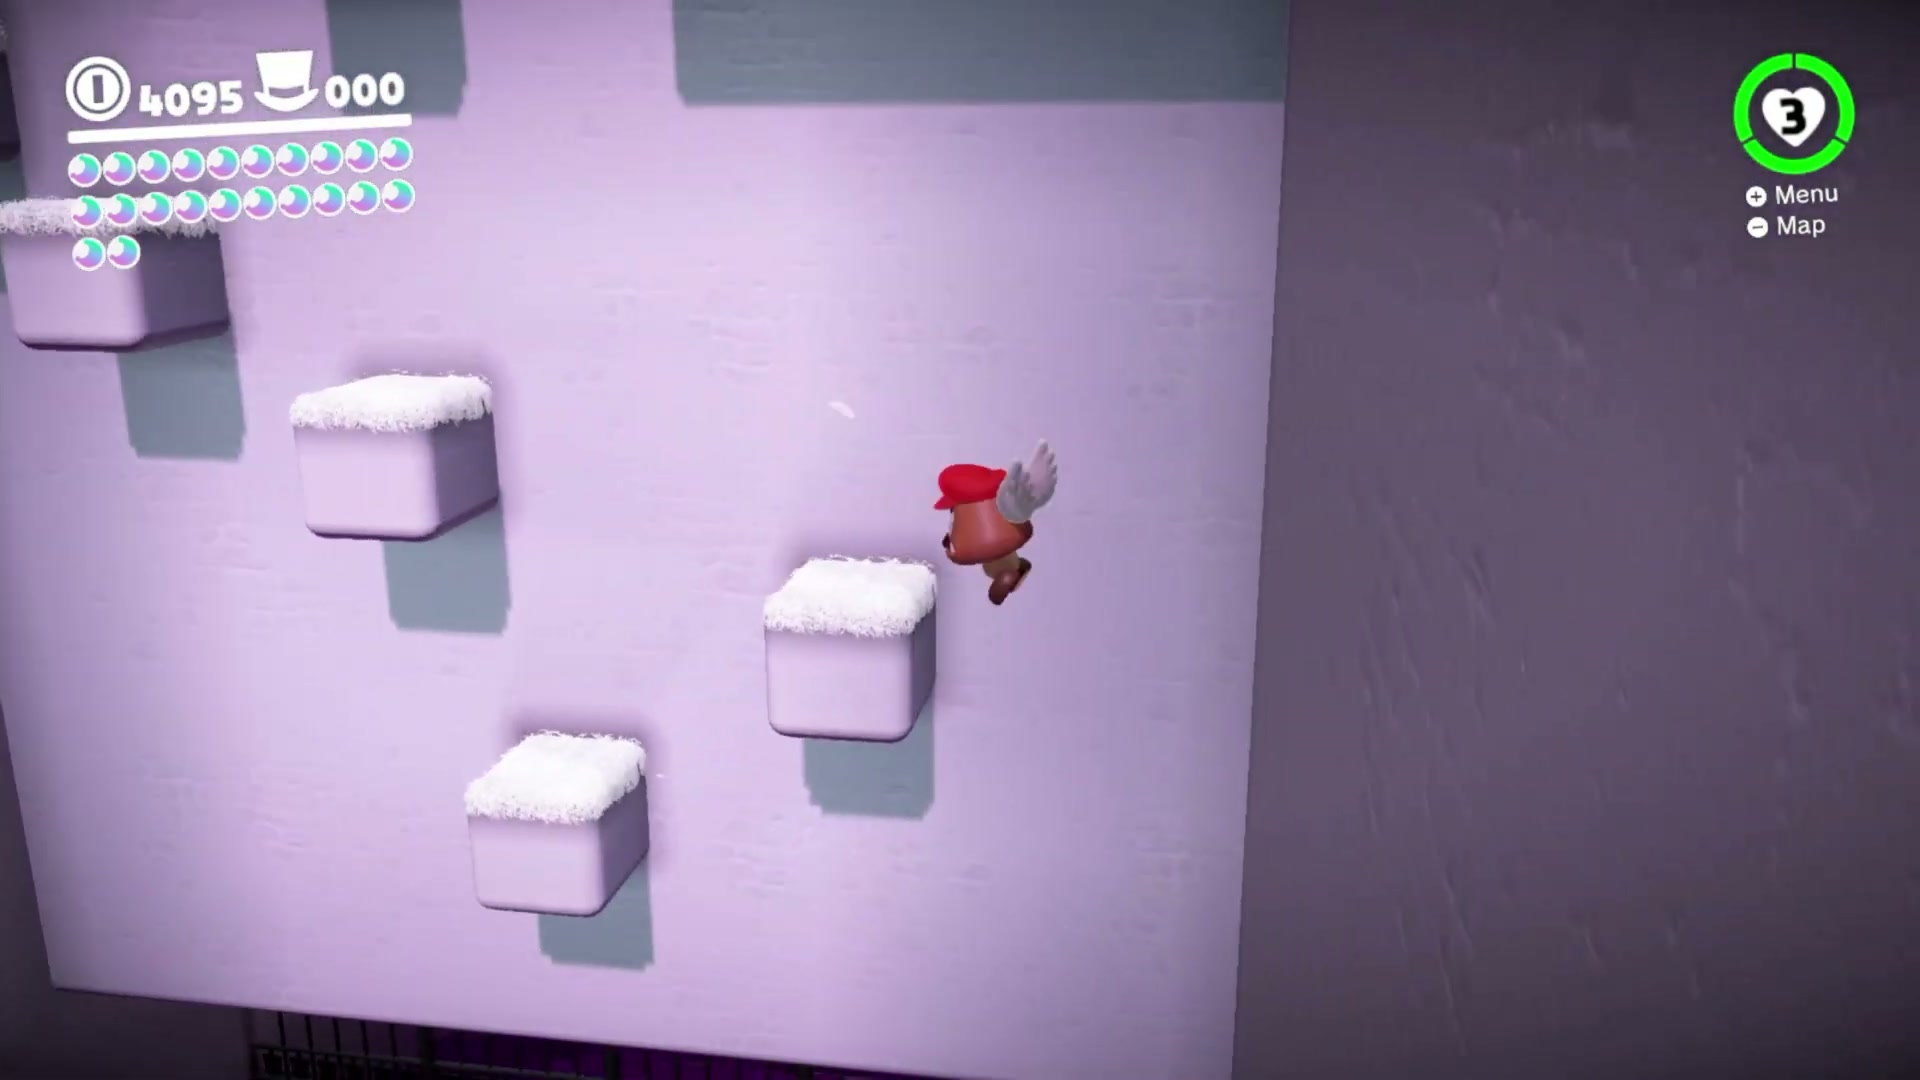
- Watch the tide cycle and move only when the poison drops. Use the right-side platforms to climb upward without touching the poison.
- At the top of the hidden route, collect the Power Moon. This is easiest to grab in the same visit as Skimming the Poison Tide.
Power Moon #8 – Push-Block Peril
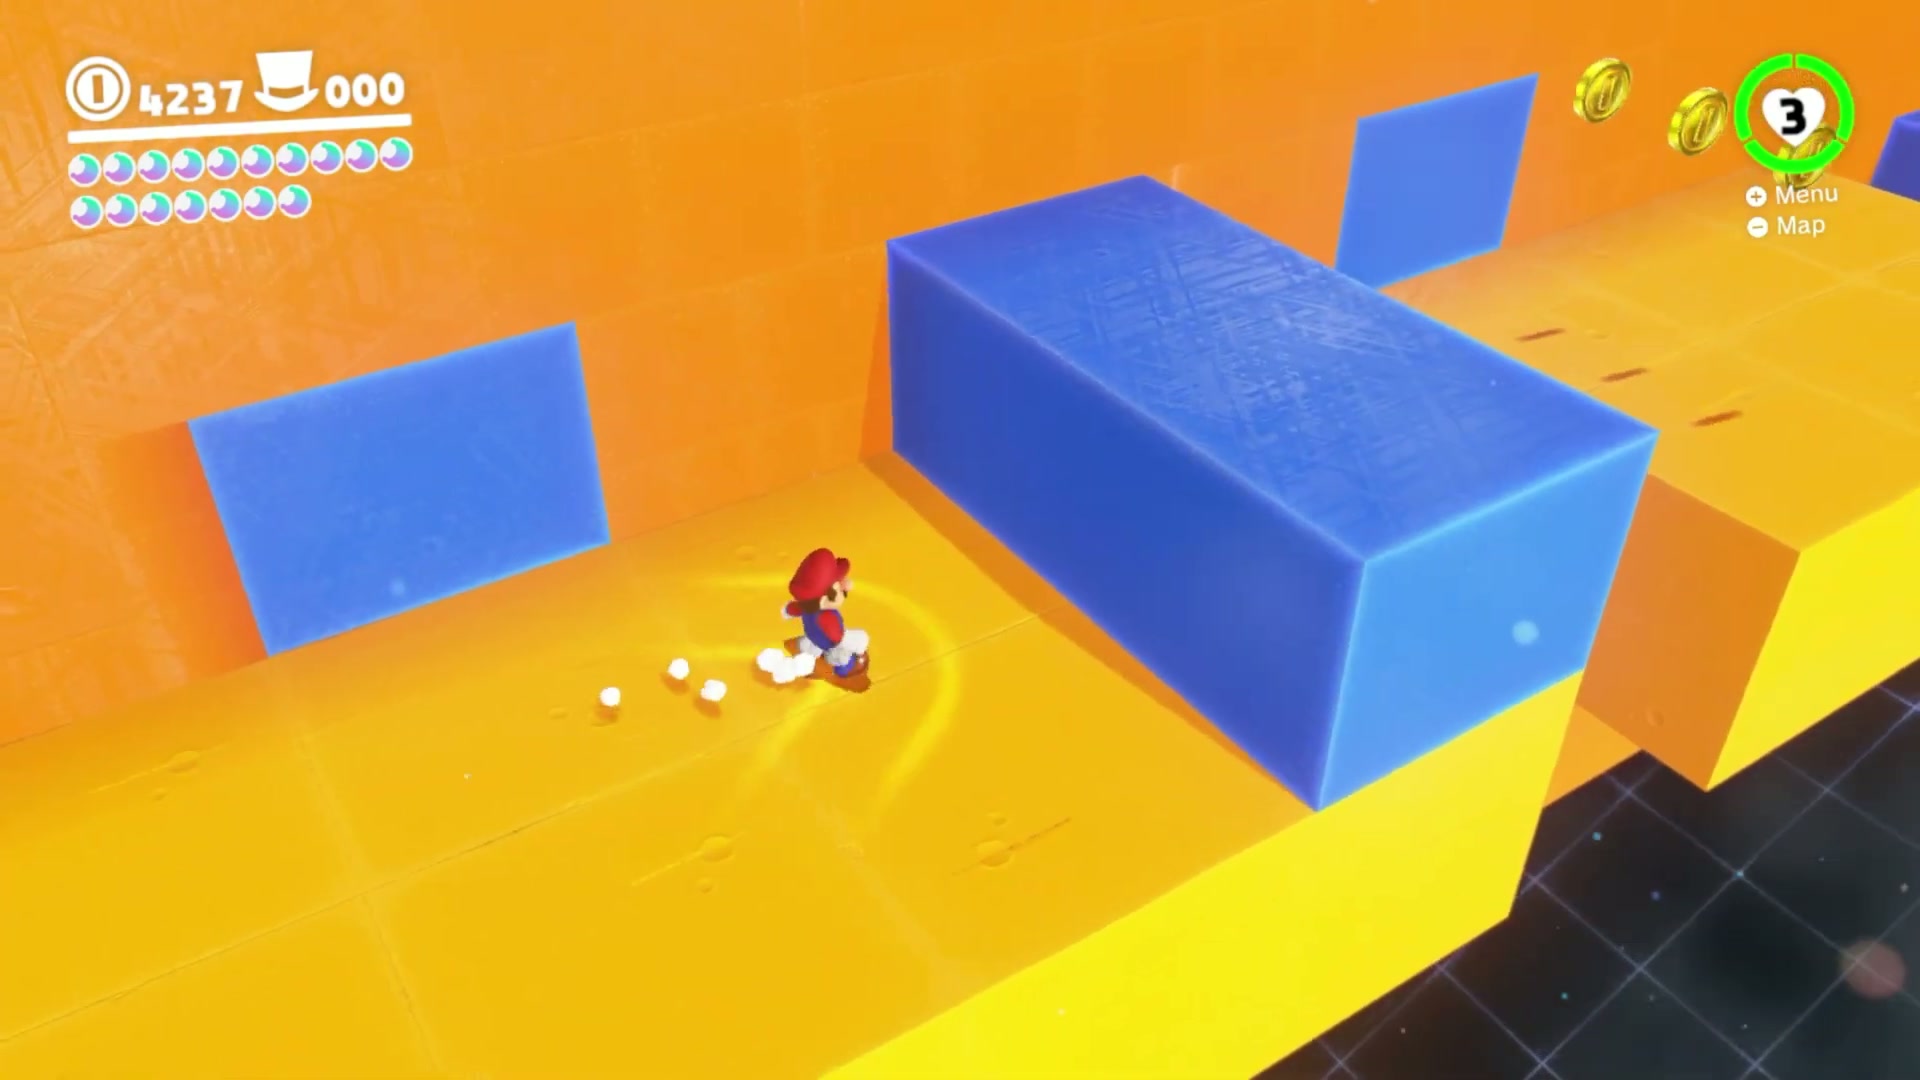
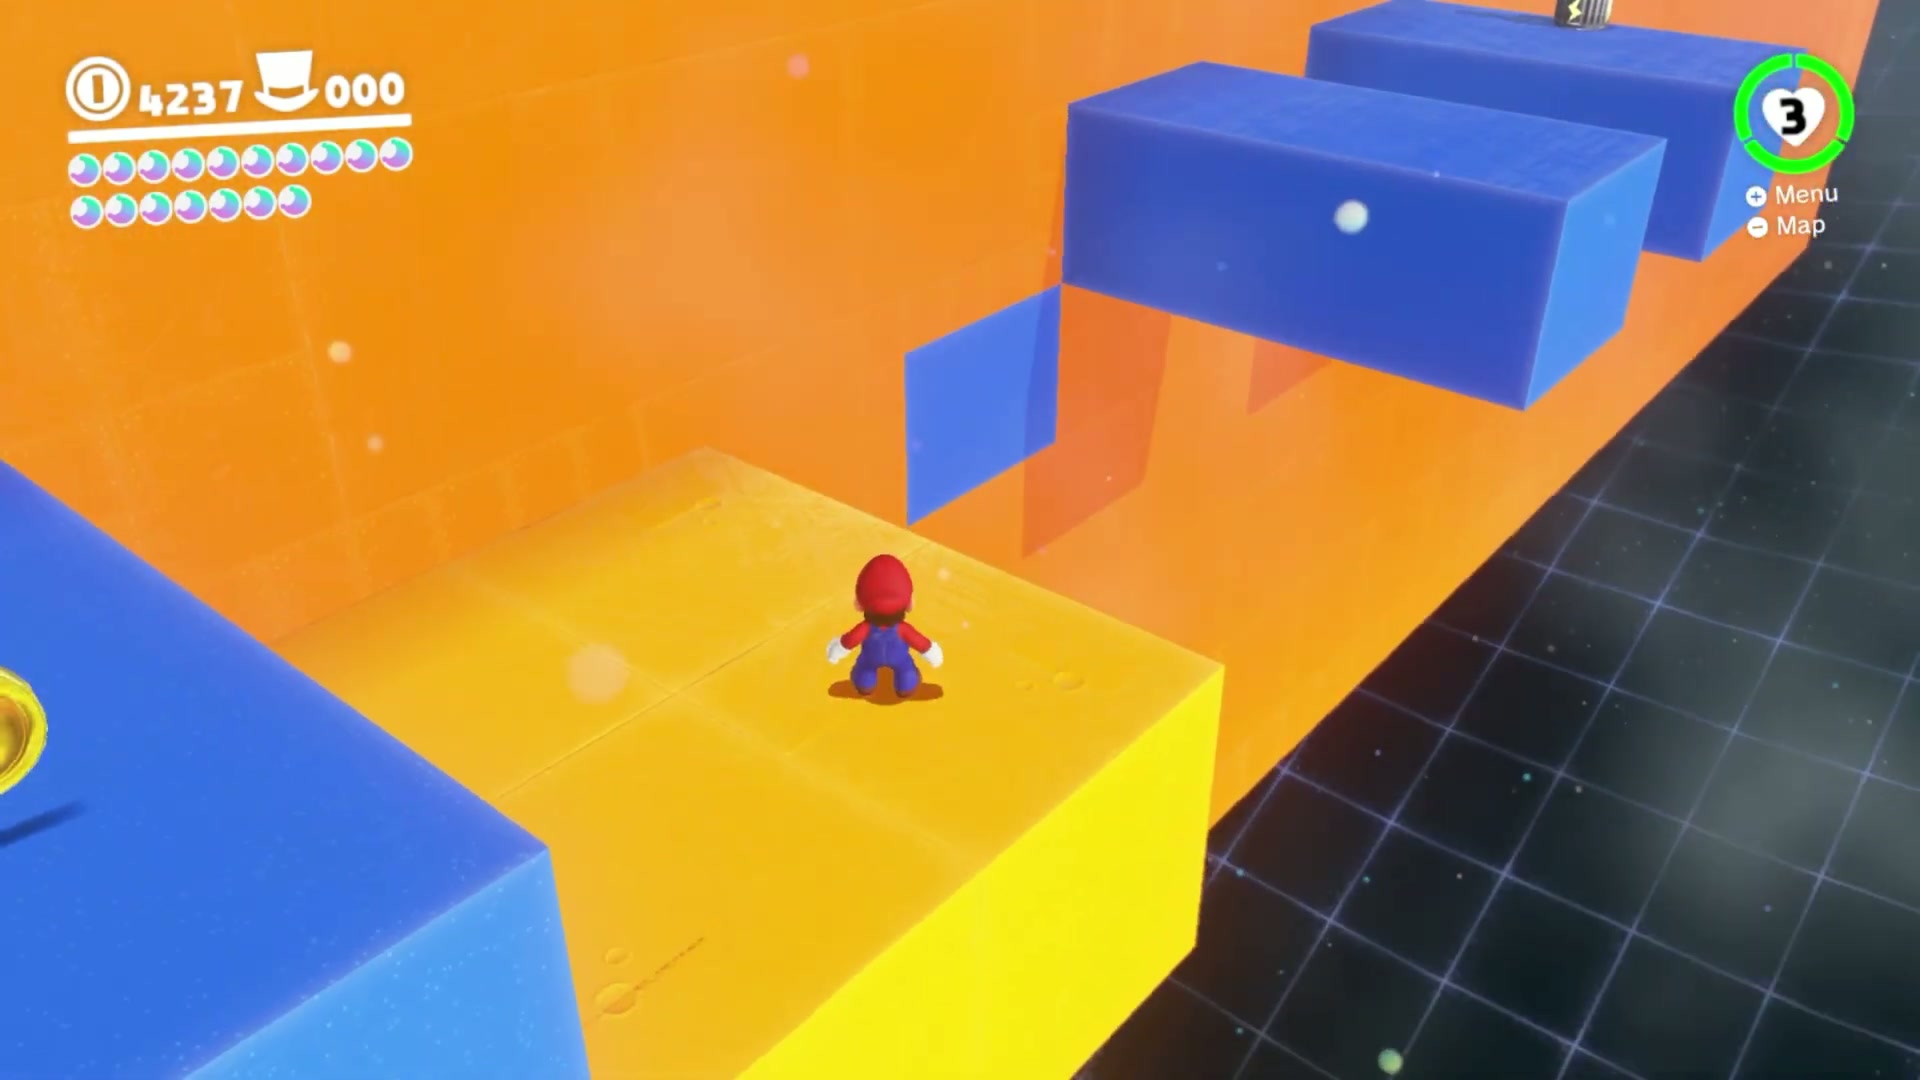
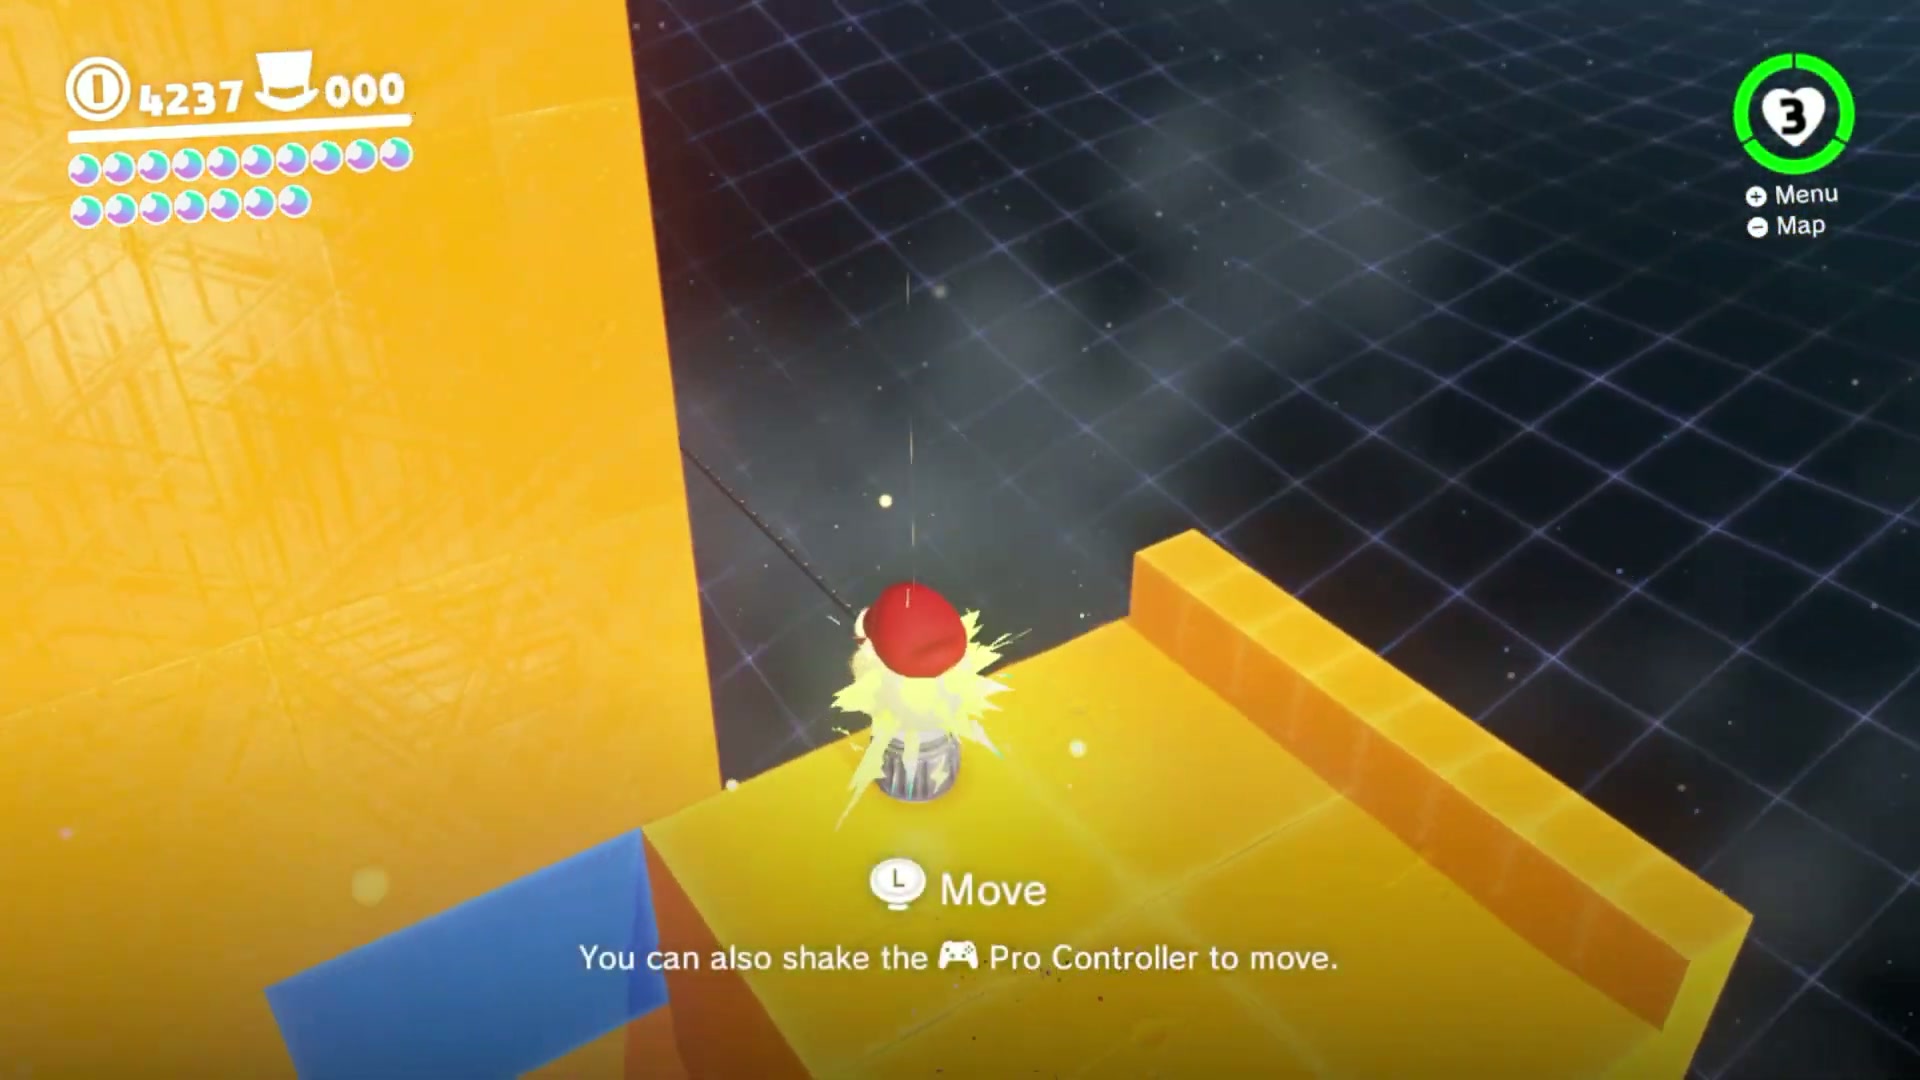
- Find the challenge door near the upper part of Top-Hat Tower and enter the push-block room.
- Move through the room by waiting for each block to extend and retract. Stand near the edge of each safe section before crossing to the next block.
- Do not rush through the moving wall cycle; one mistimed jump can push Mario off the route and force a restart.
- Continue to the far end of the room and collect the Power Moon waiting on the final platform.
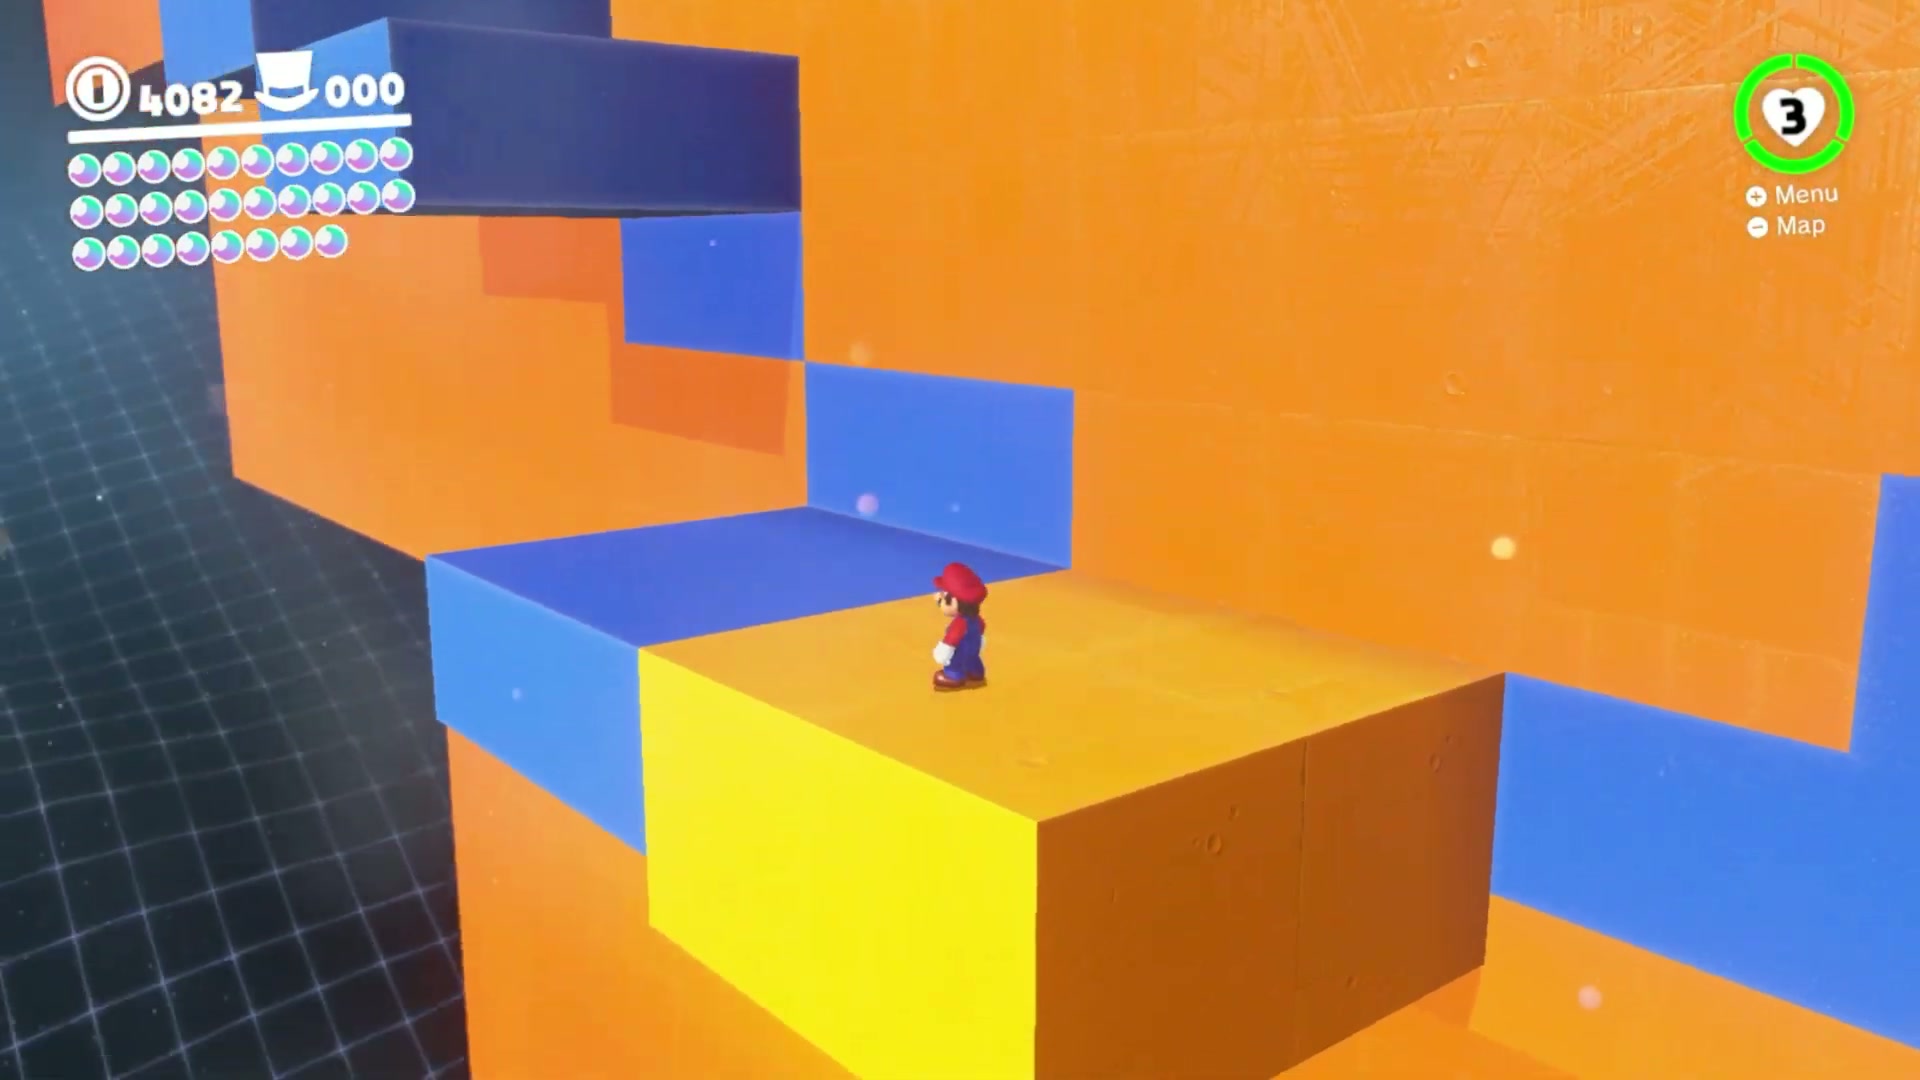
Power Moon #9 – Hidden Among the Push-Blocks
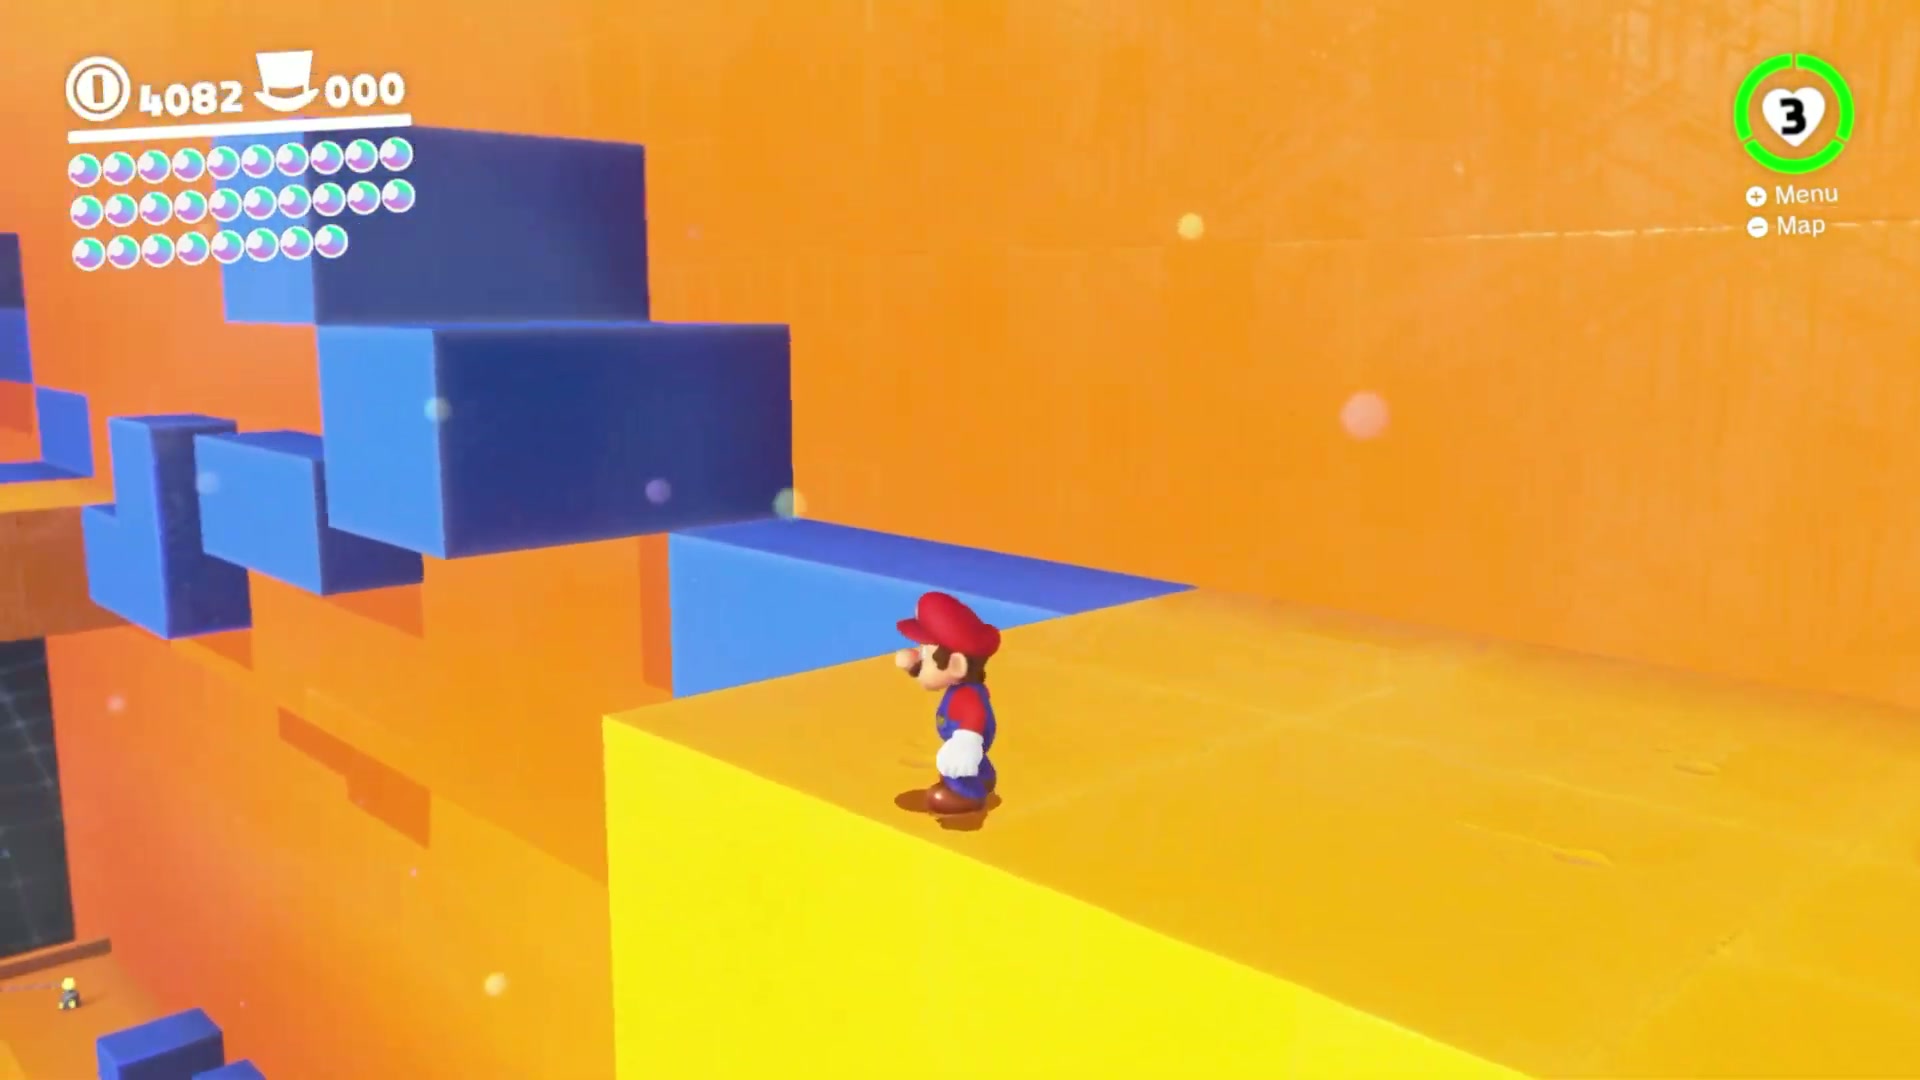
- Enter the Push-Block Peril room and progress until you reach the L-shaped moving block roughly halfway through the challenge.
- Instead of continuing forward immediately, look inside the concave gap of that L-shaped block.
- Drop or step into the gap while the block cycle gives you room to move. The Power Moon is tucked inside the block shape rather than on the main path.
- After collecting it, climb back out and continue through the room to finish Power Moon #8 if you have not already grabbed it.
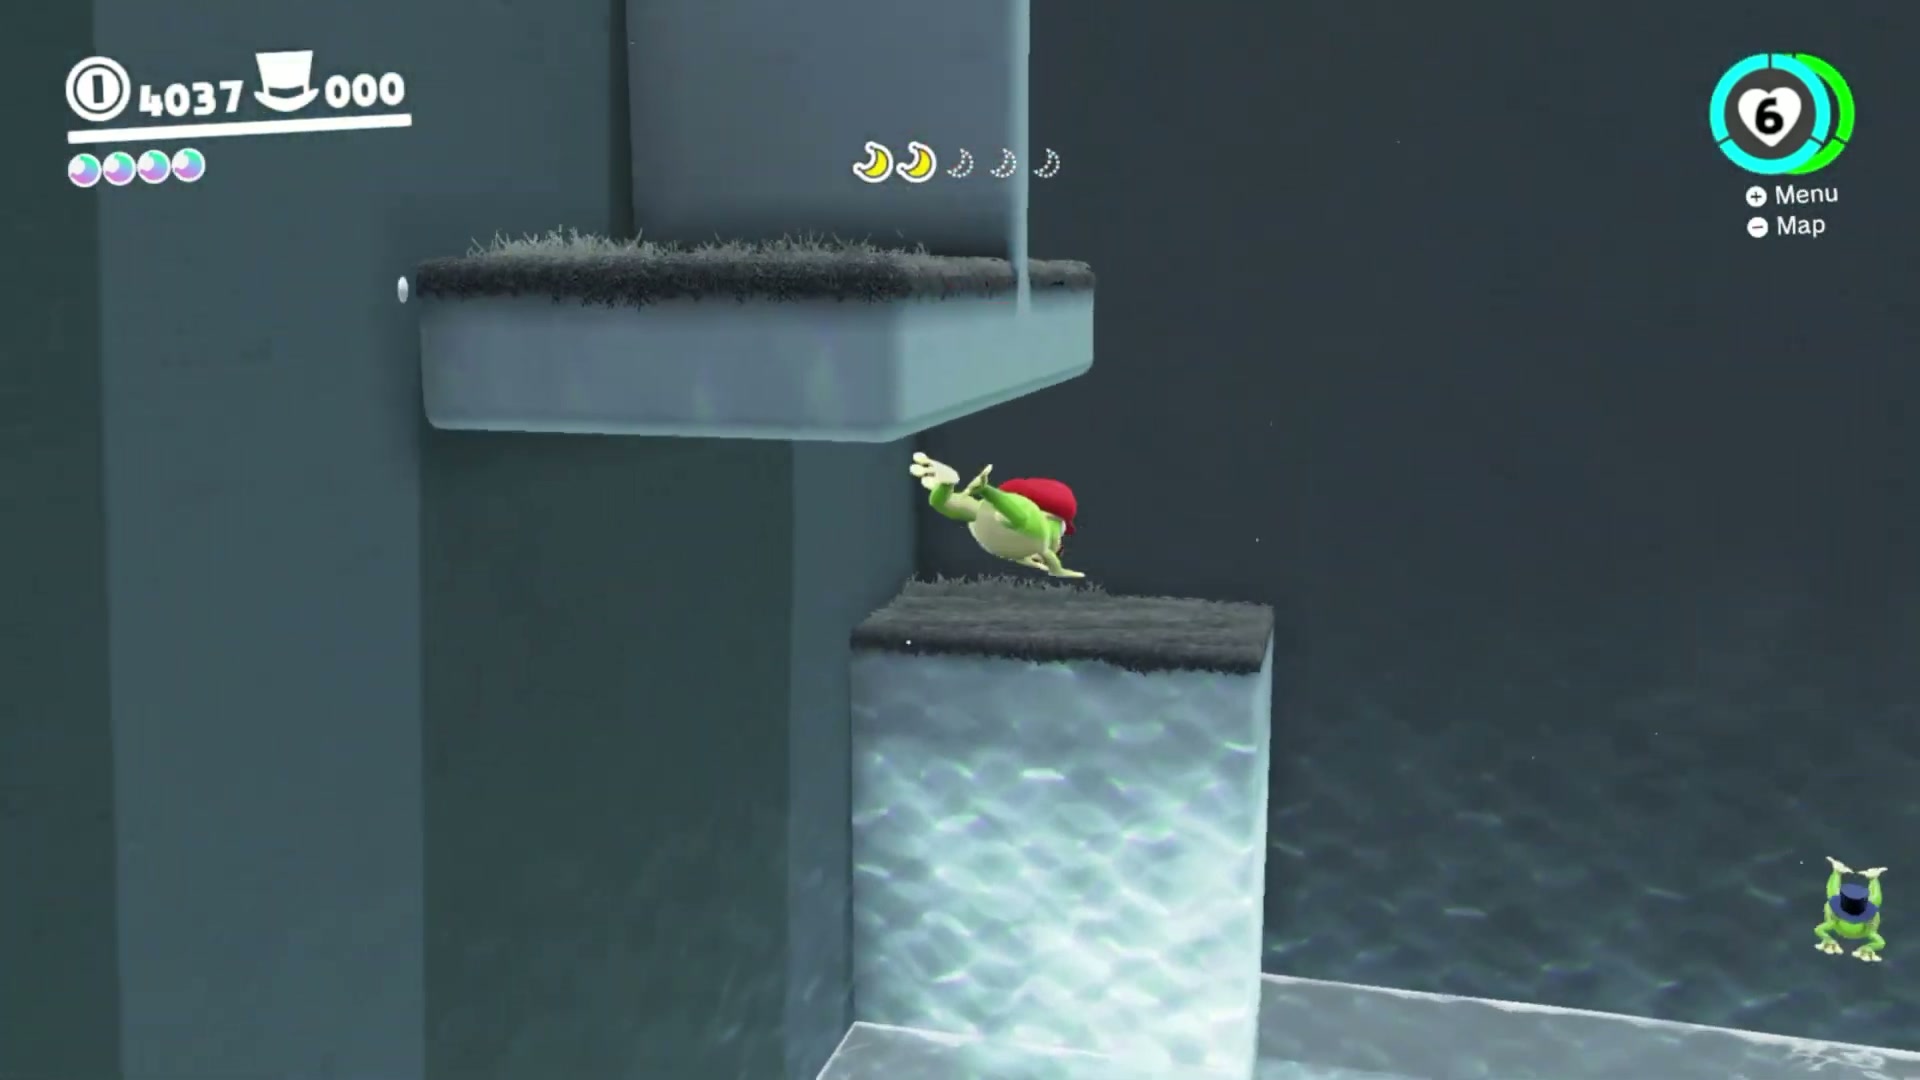
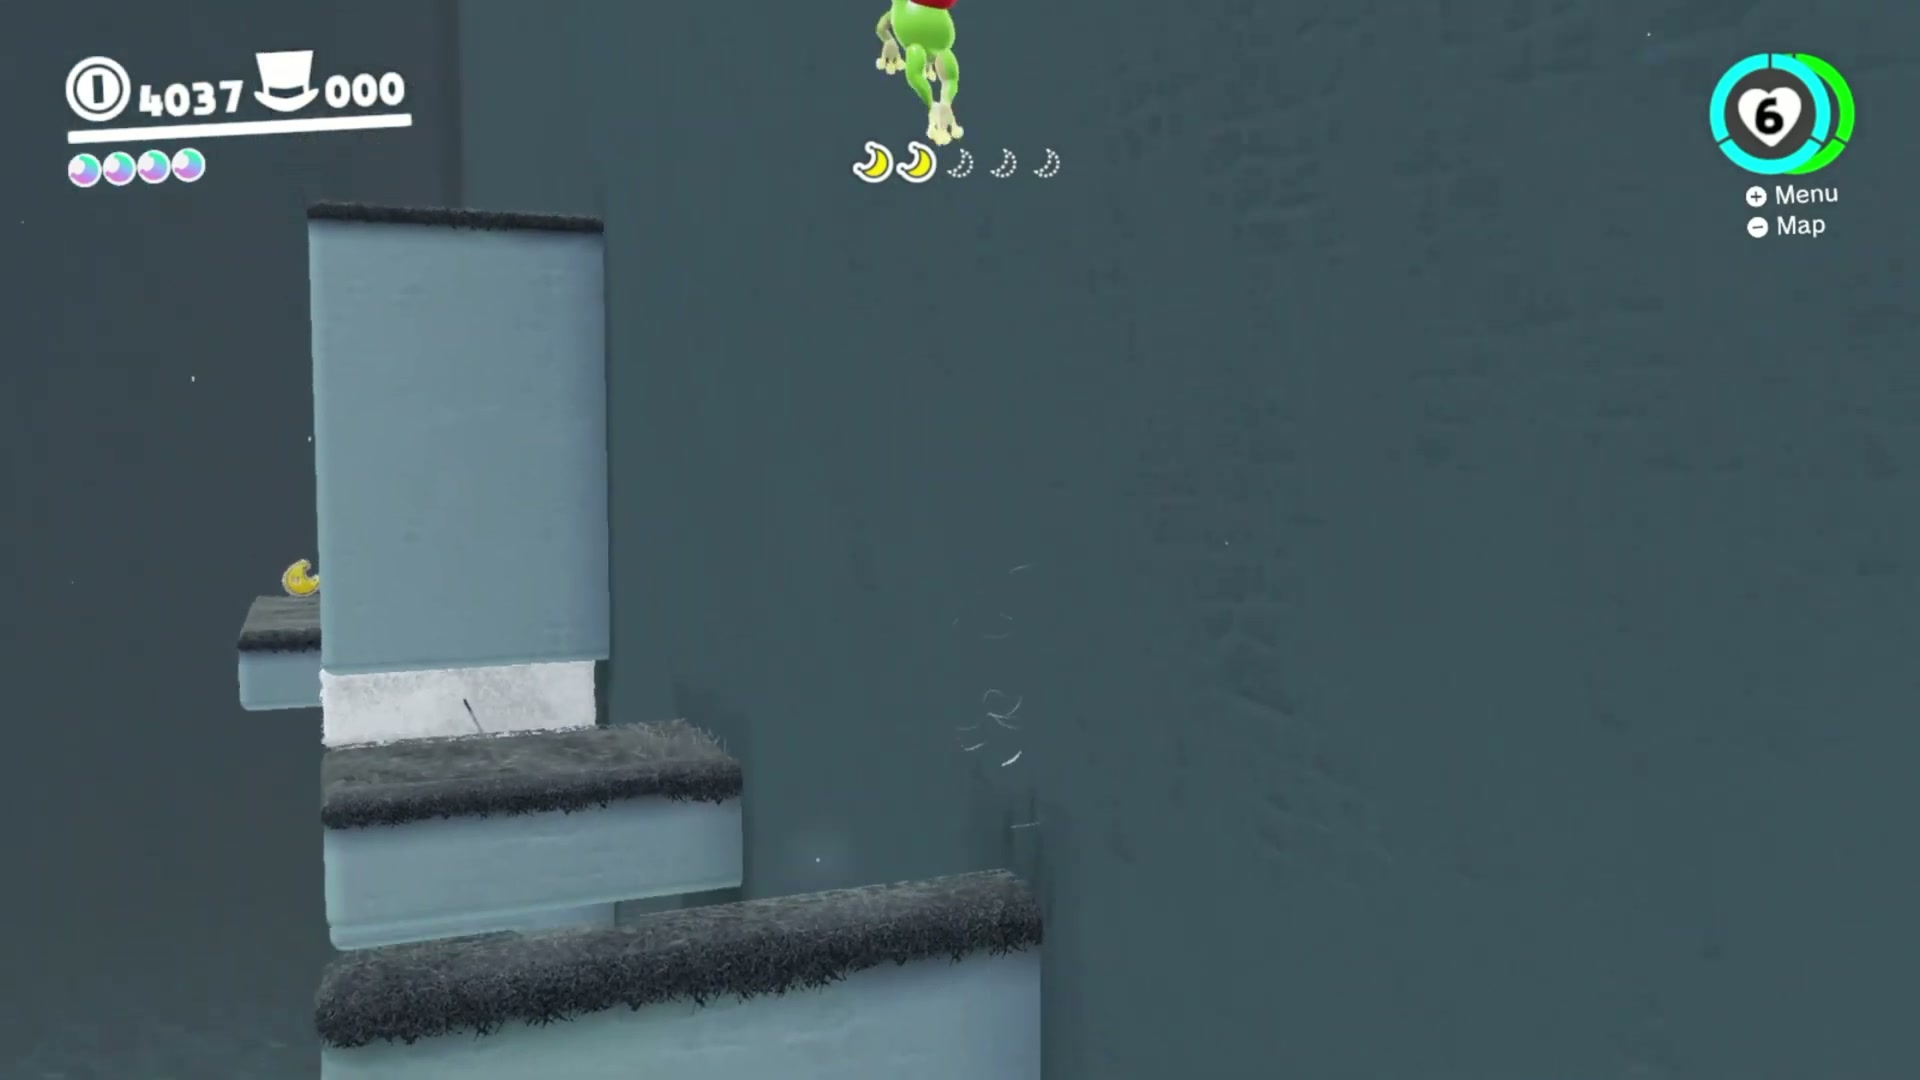
Power Moon #10 – Searching the Frog Pond
- Find the hidden door on the north side of the Central Plaza and enter the Frog Pond room.
- Capture a frog inside the room. The Moon requires five Moon Shards, and several of them are placed at different heights around the enclosed pond.
- Use the frog jump to collect the higher shards first, then sweep the lower ground and water-edge spots so you do not lose track of which shards are left.
- Once all five shards are collected, the Power Moon appears in the room. Jump back to the reward location and collect it before leaving.
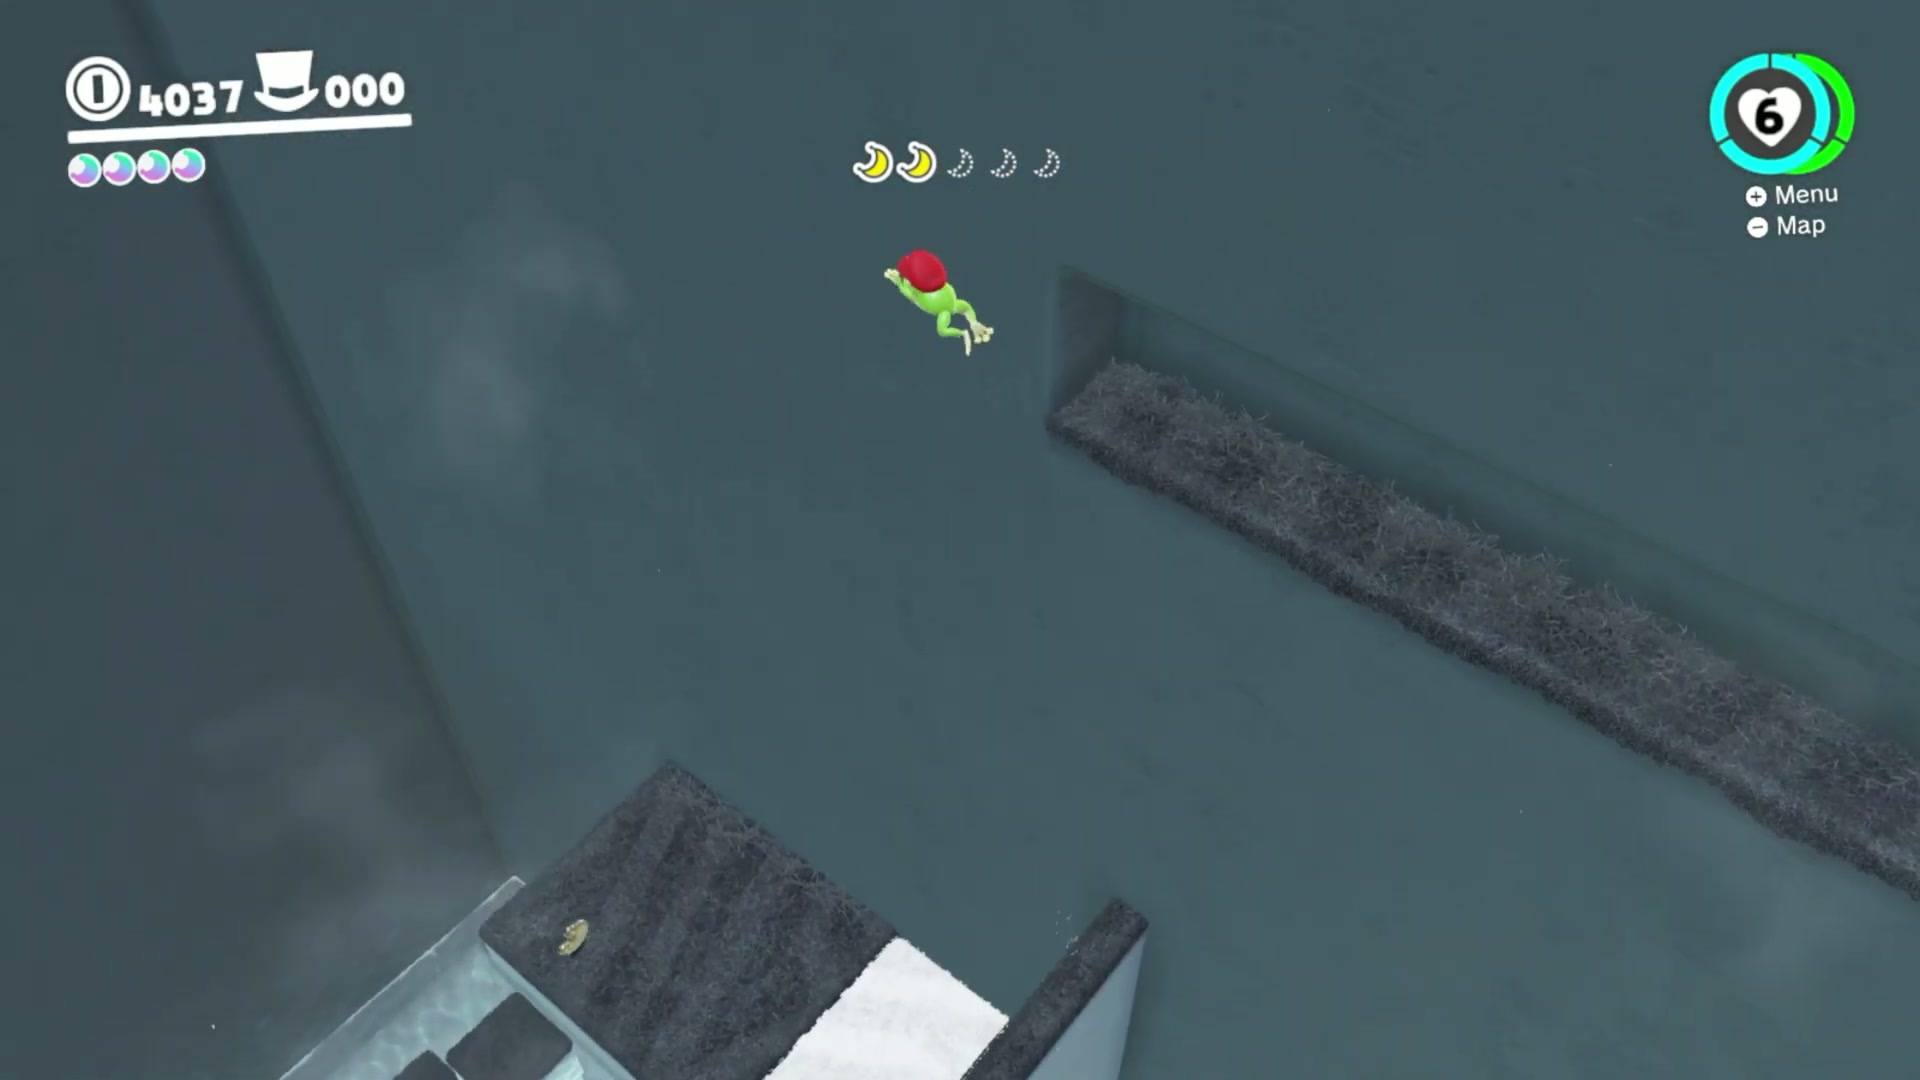
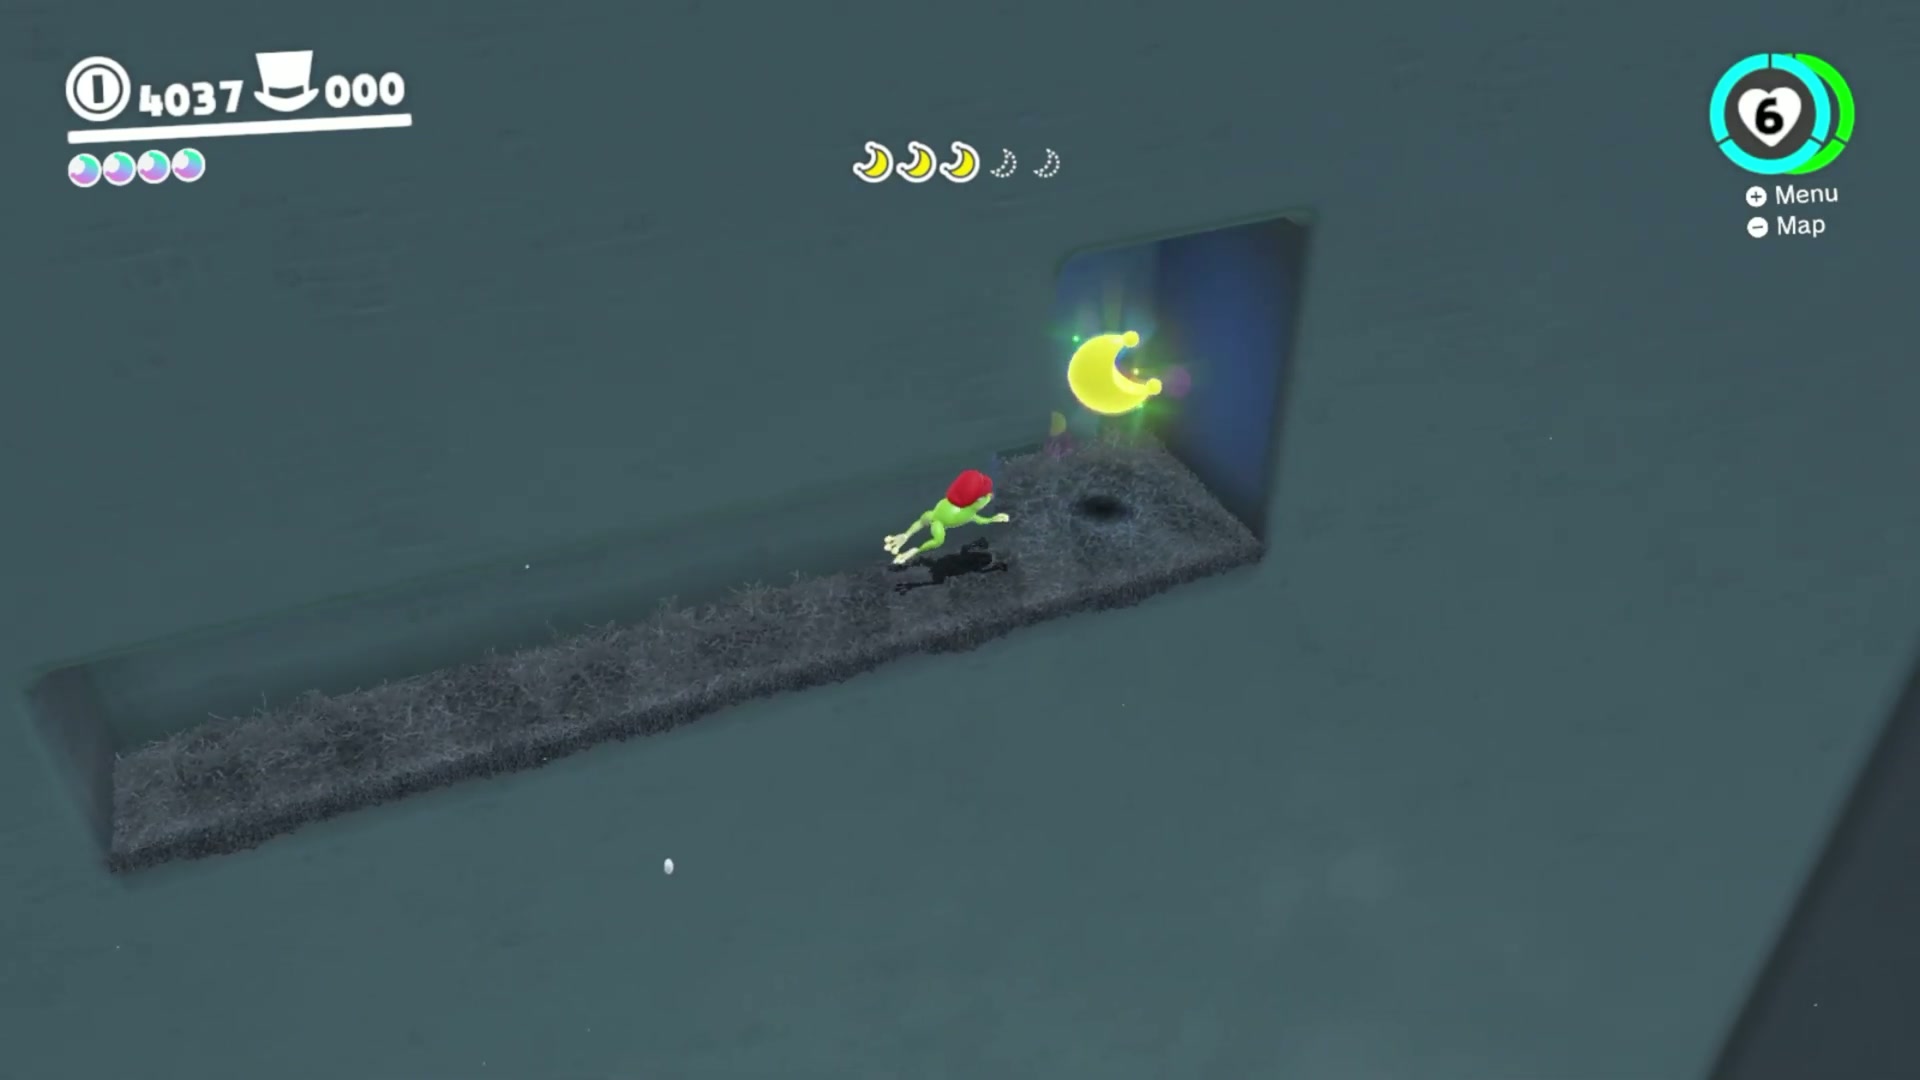
Power Moon #11 – Secrets of the Frog Pond
- Enter the Frog Pond room from the Central Plaza and capture a frog before starting the shard cleanup route.
- After collecting or spotting the regular Moon Shards, stay in the room and look toward the high back wall. This hidden Moon sits above the normal pond route.
- Use the frog capture to line up directly below the ledge, then hold the jump button for a full-height jump. Short taps usually do not reach high enough.
- Land on the upper ledge and collect the Power Moon. If you fall back to the lower pond, recapture or keep the frog and repeat the jump from a straighter position.
Power Moon #12 – The Forgotten Treasure
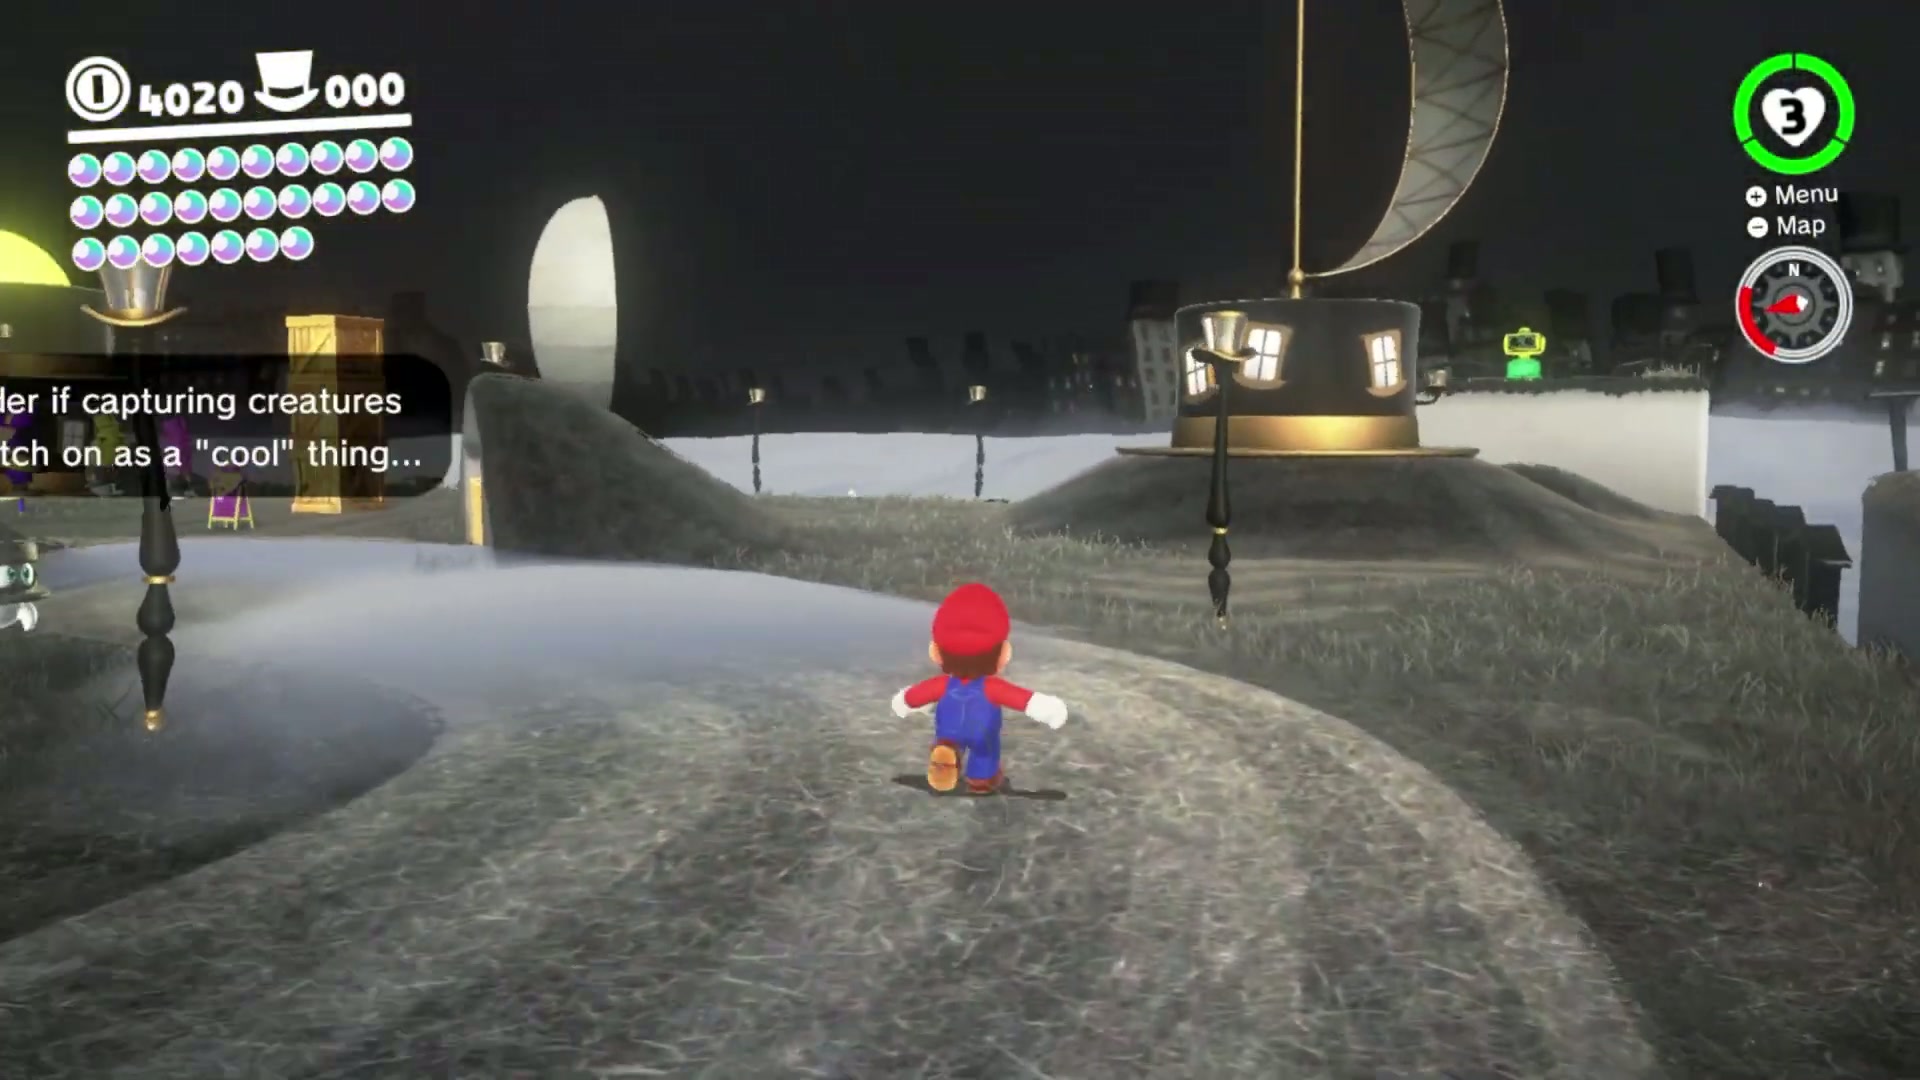
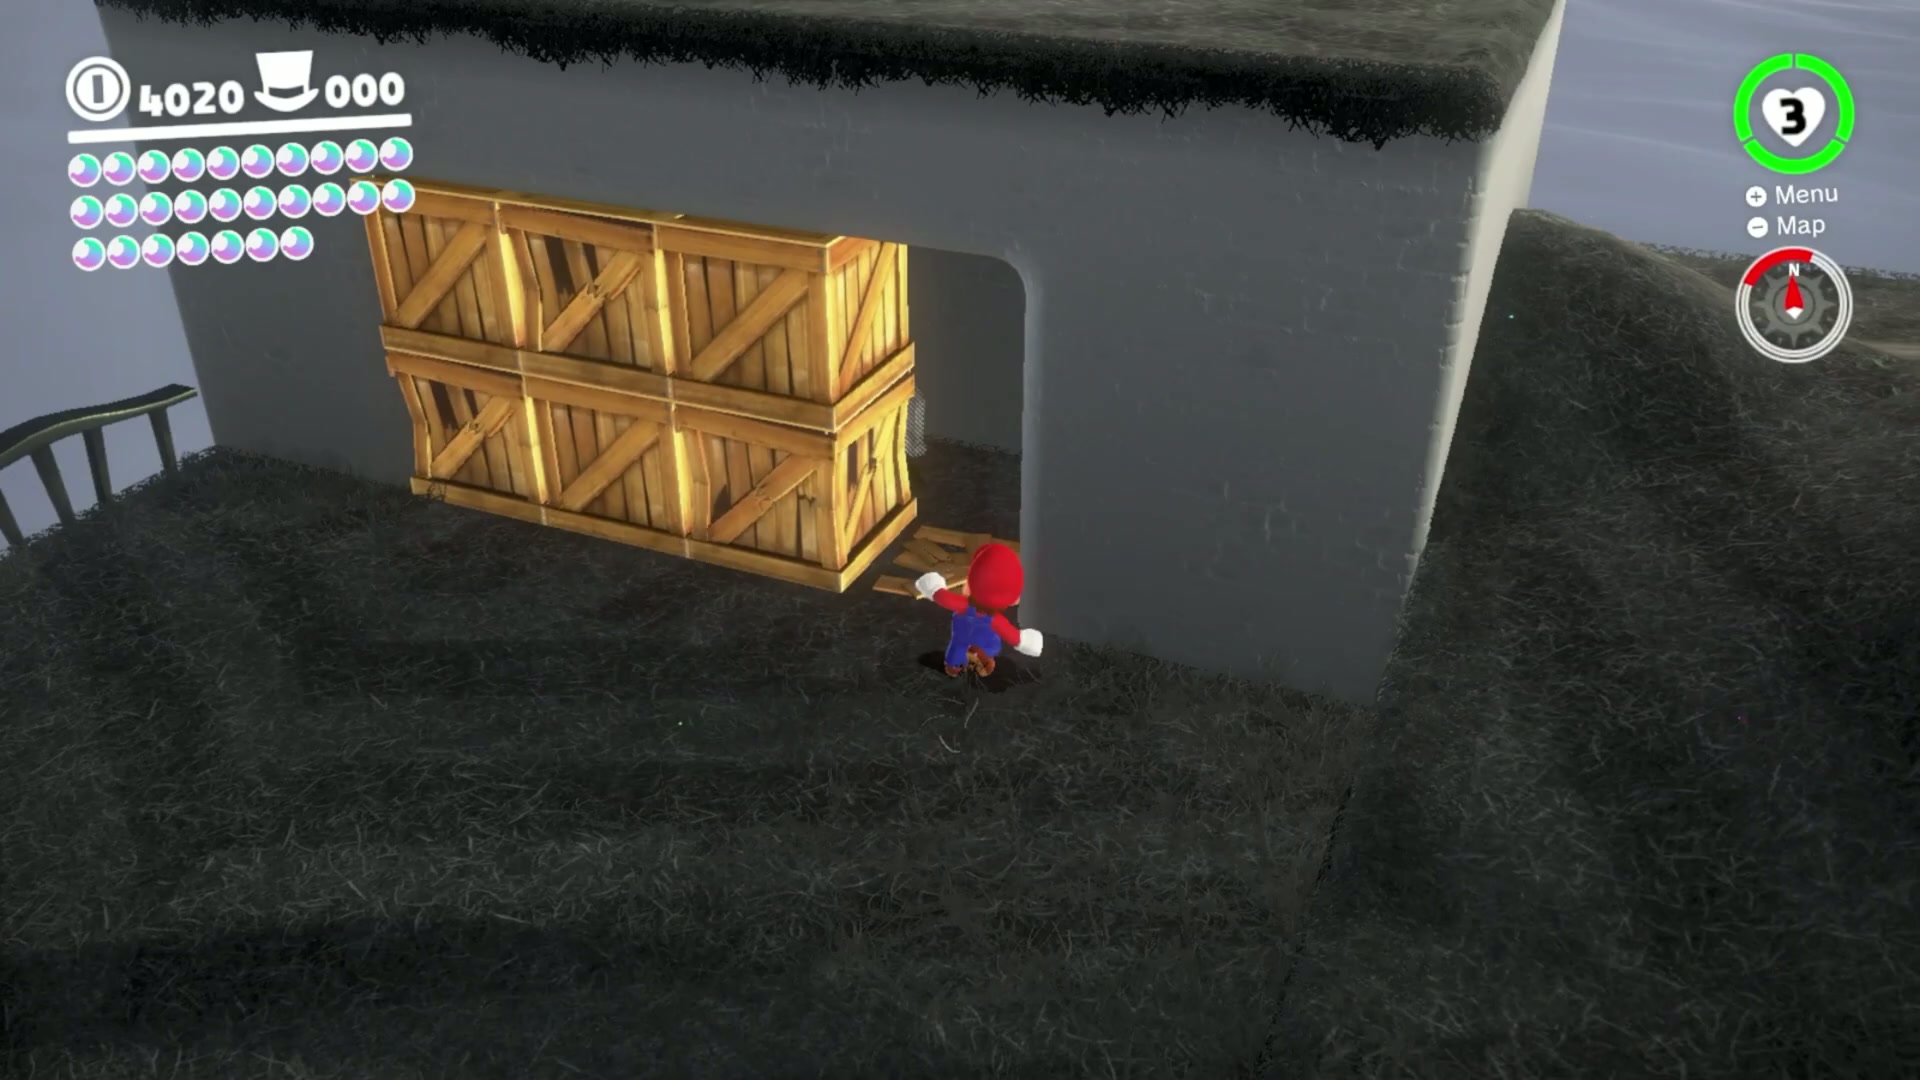
- Find the Bonneter on the top-hat-shaped platform near the Central Plaza hill and talk to him to start the treasure clue sequence.
- Follow Cappy’s direction prompts rather than running straight to the reward. The hints lead you across the plaza toward the southern staircase beside Glasses Bridge.
- Stop at the staircase step indicated by the final clue. The spot is easy to pass because it looks like normal ground until you interact with it.
- Ground pound the correct step to reveal the Power Moon, then collect it from the spot where it pops out.
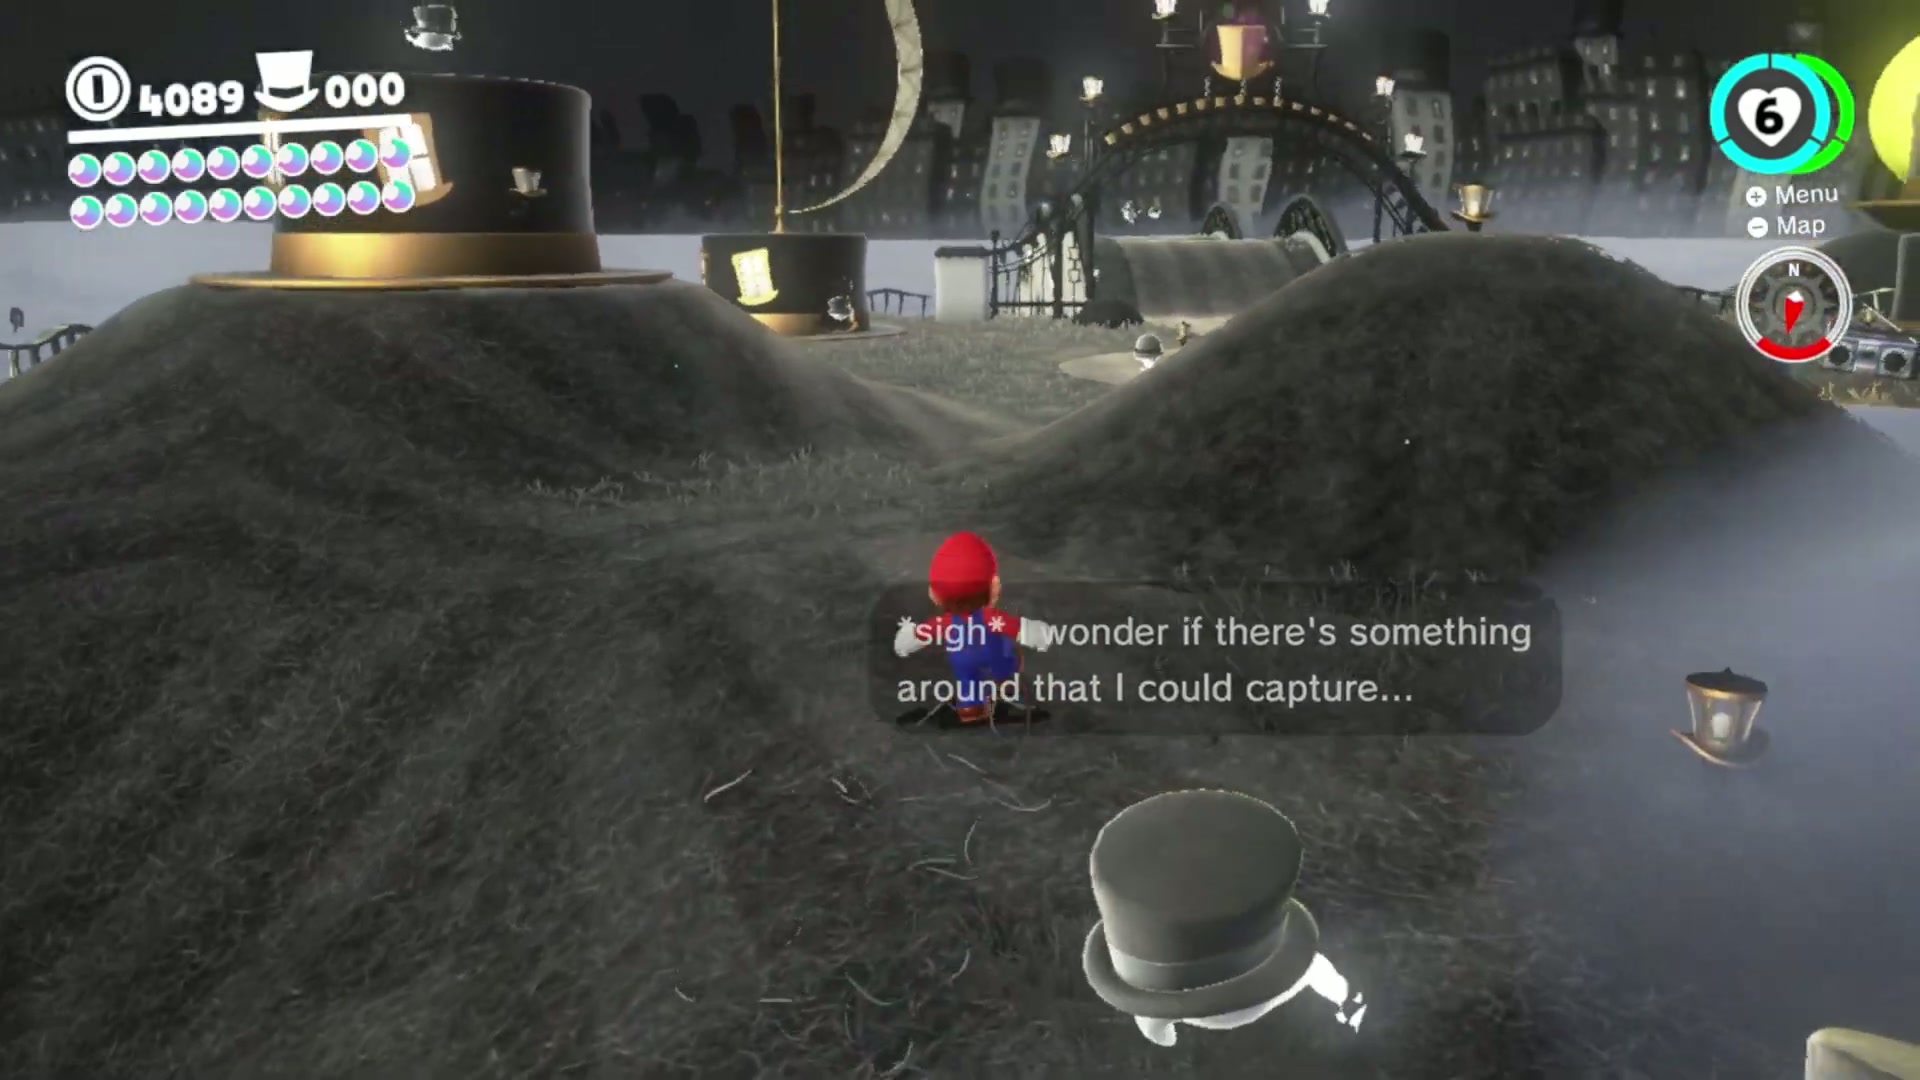
Power Moon #13 – Taxi Flying Through Bonneton
- Go to the north-west side of the Central Plaza and capture the binoculars.
- Aim into the sky and slowly scan the flight path around Bonneton until the flying taxi comes into view.
- Keep the taxi centered in the binocular view for a few seconds. Do not release the capture as soon as you see it; the game needs a short lock-on moment.
- Once the taxi is recognized, the Power Moon appears. Exit the binocular view and collect the reward from the nearby spot.
Power Moon #14 – Bonneter Blockade
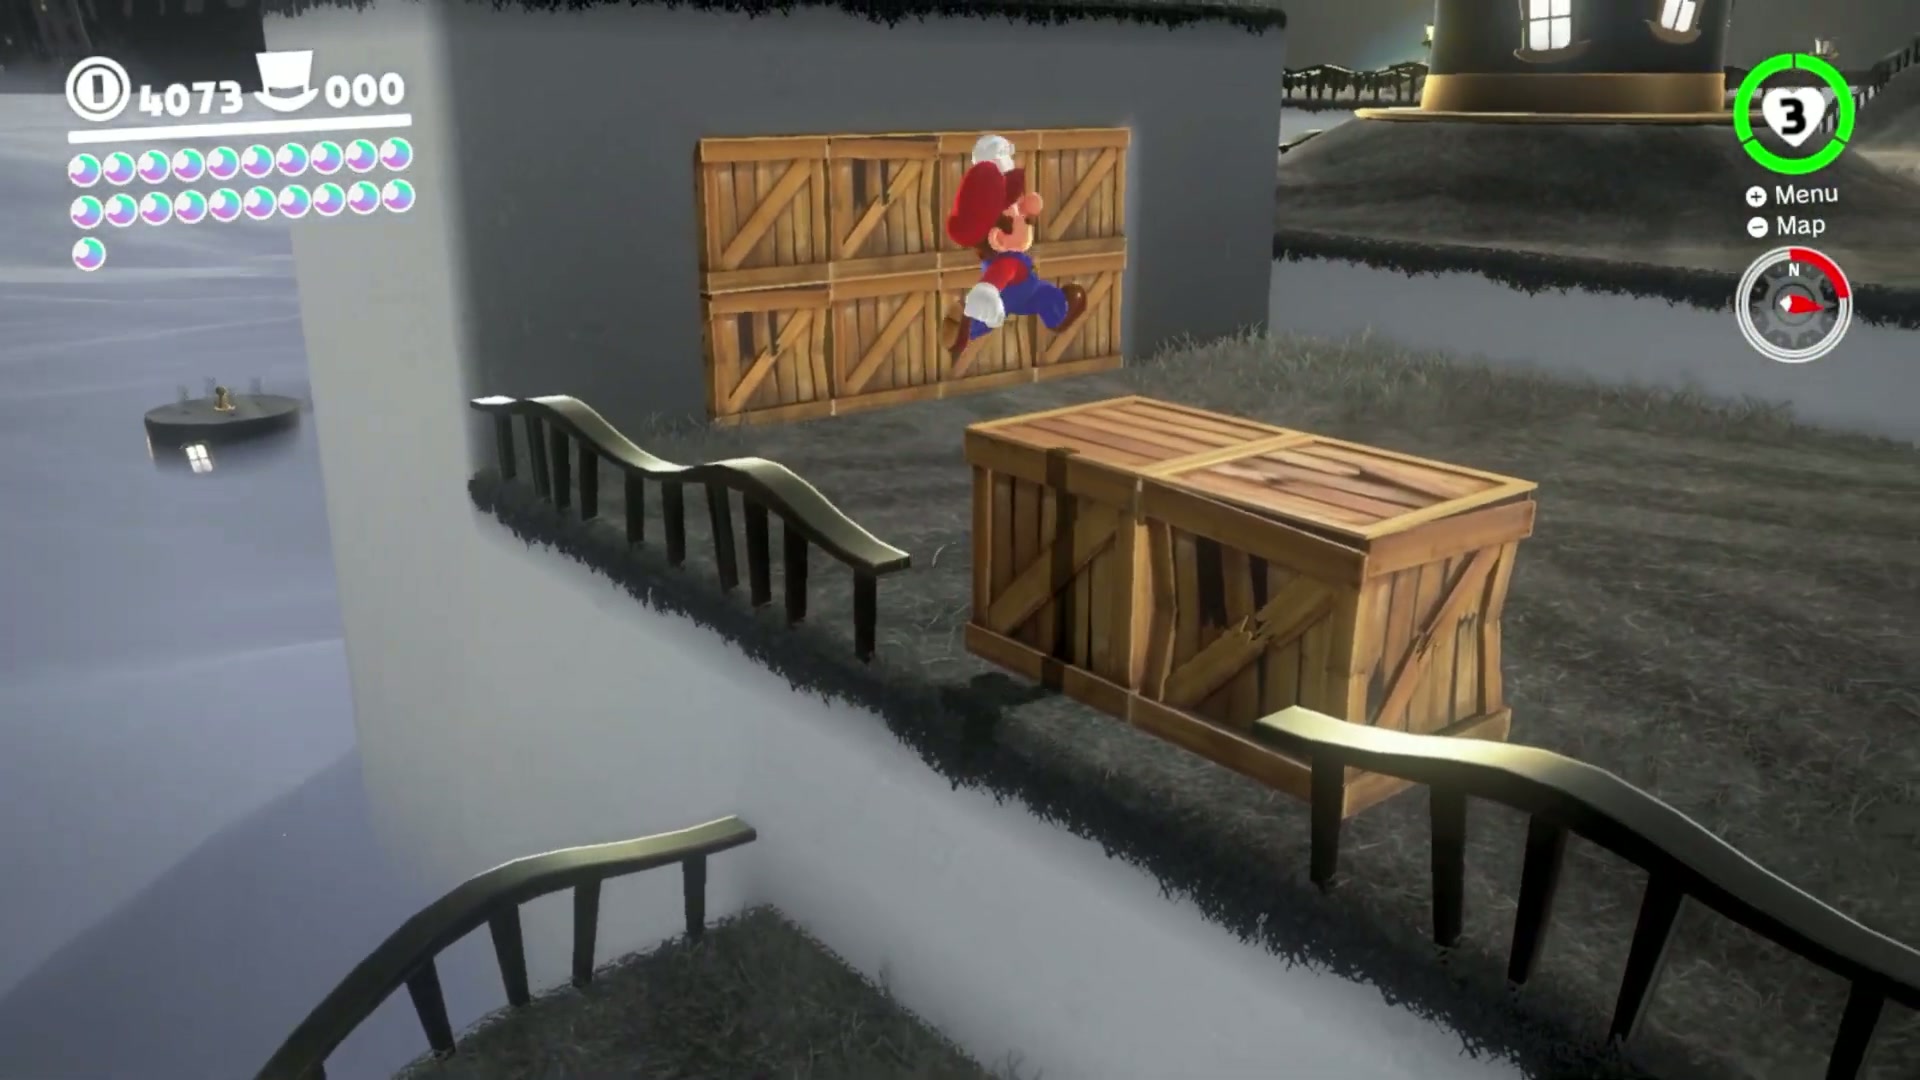
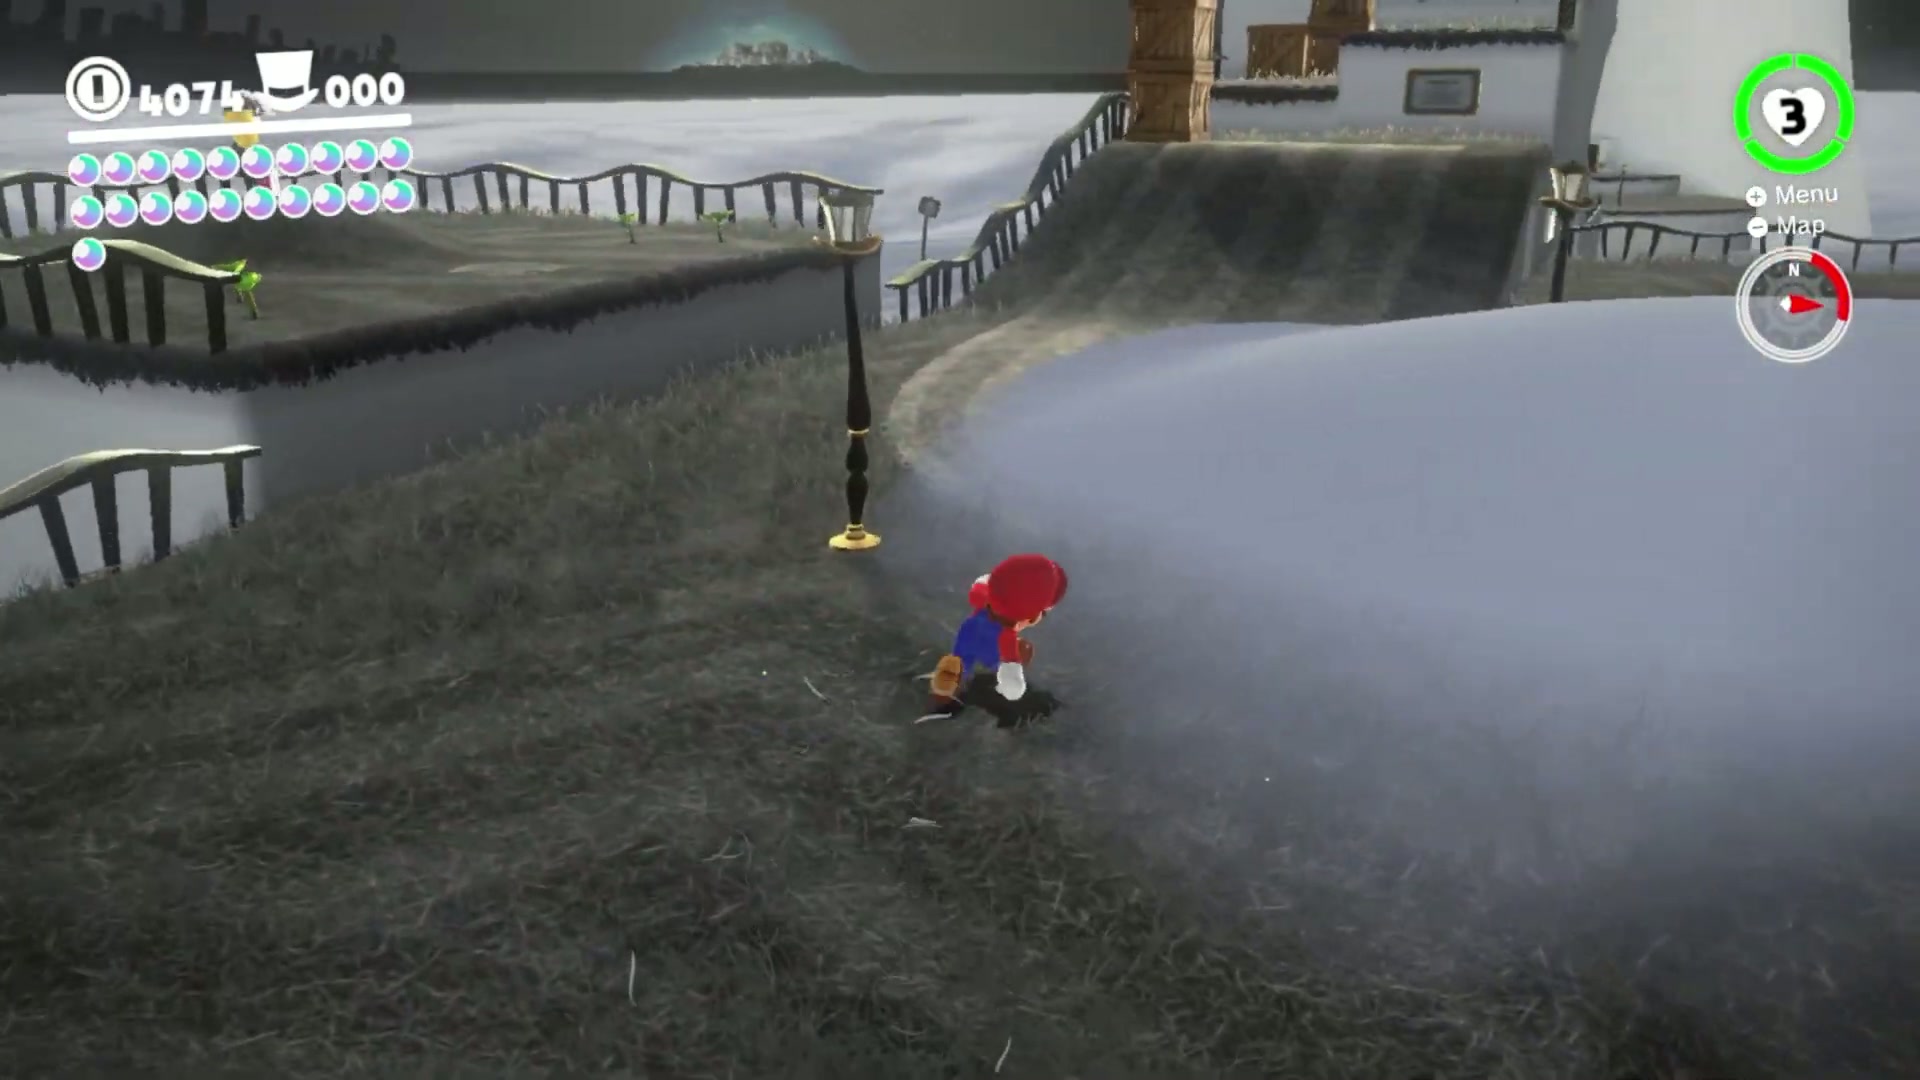
- Look for the small alcove in the Central Plaza where a Bonneter is blocking access to a Power Moon.
- Capture a nearby Paragoomba before approaching the alcove. Walking up as Mario is not enough to move the Bonneter out of the way.
- Fly the Paragoomba directly toward the guard. When the Bonneter sees the capture coming in, he gets scared and leaves the opening.
- Land safely, release the capture if needed, and collect the Power Moon from the alcove.
Power Moon #15 – Cap Kingdom Regular Cup
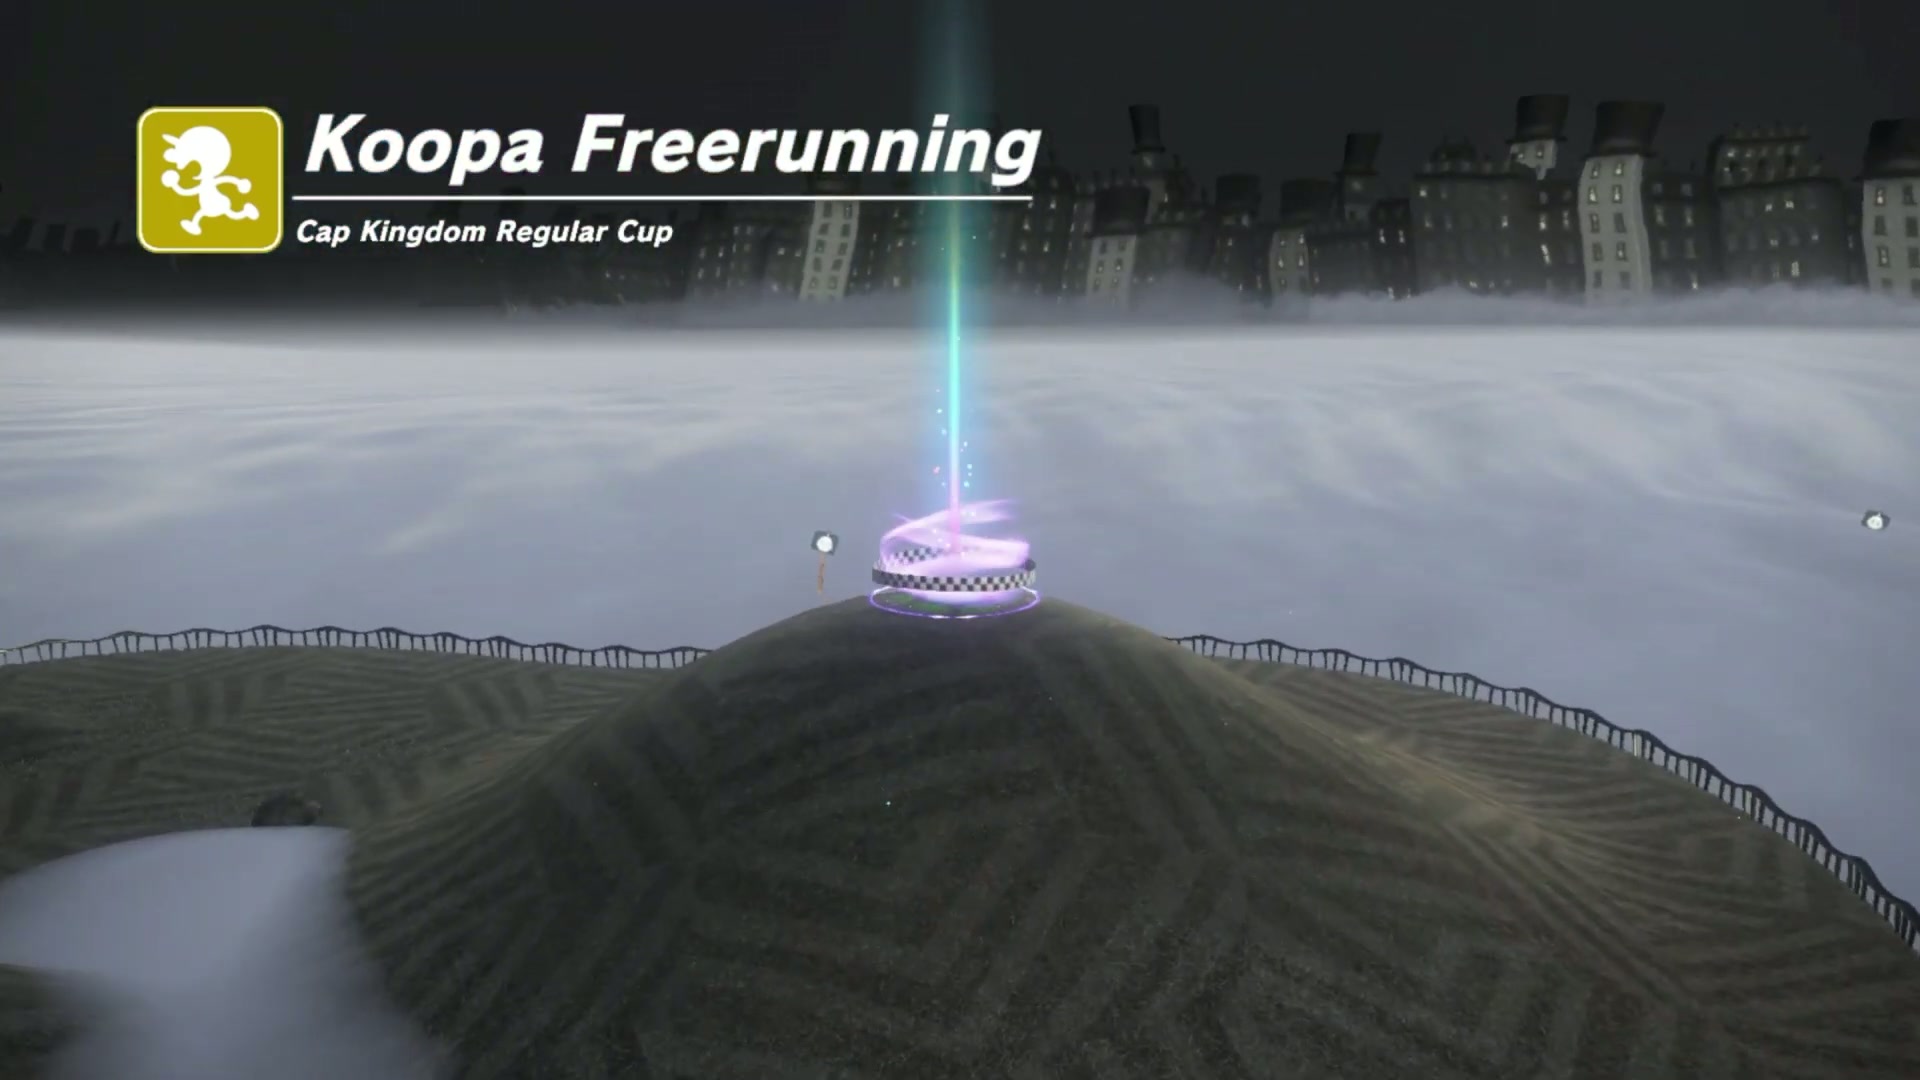
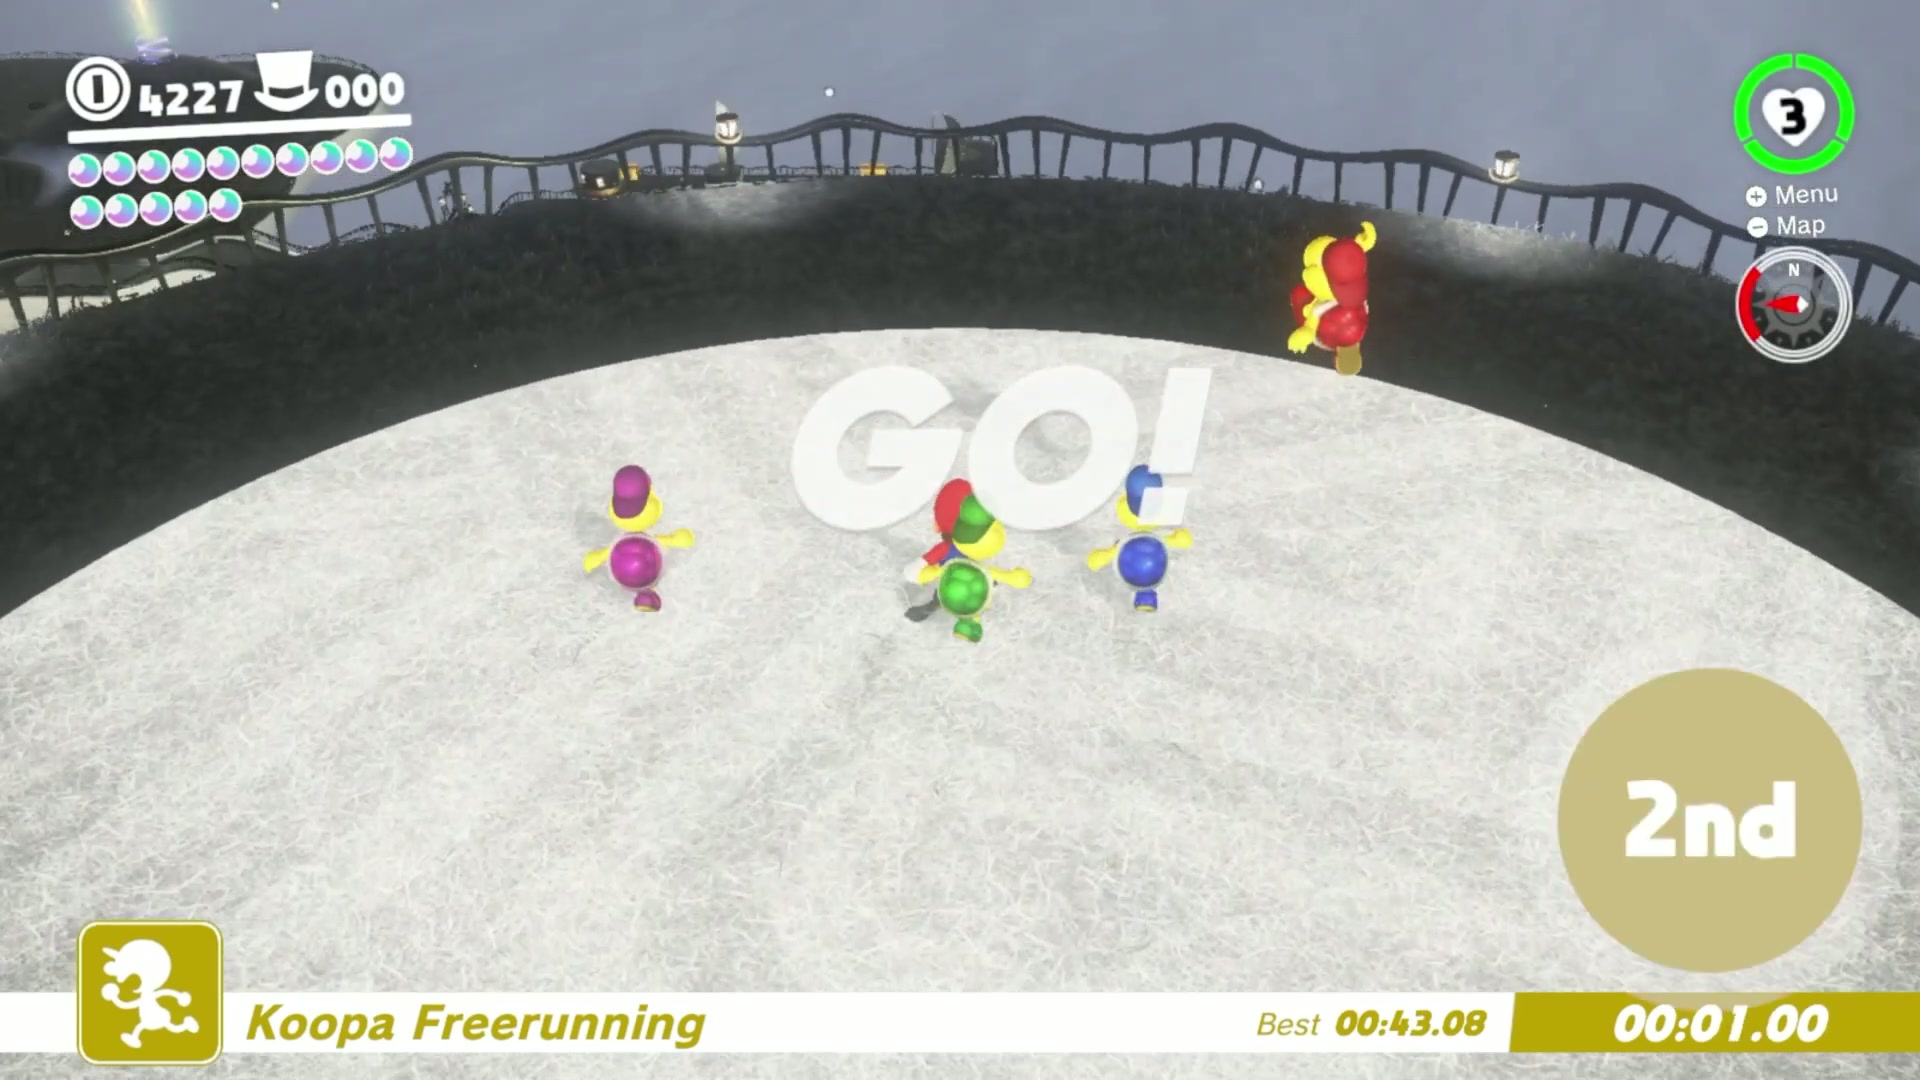
- After Koopa Freerunning is available, talk to the Koopa Troopa near Top-Hat Tower and enter the Cap Kingdom Regular Cup.
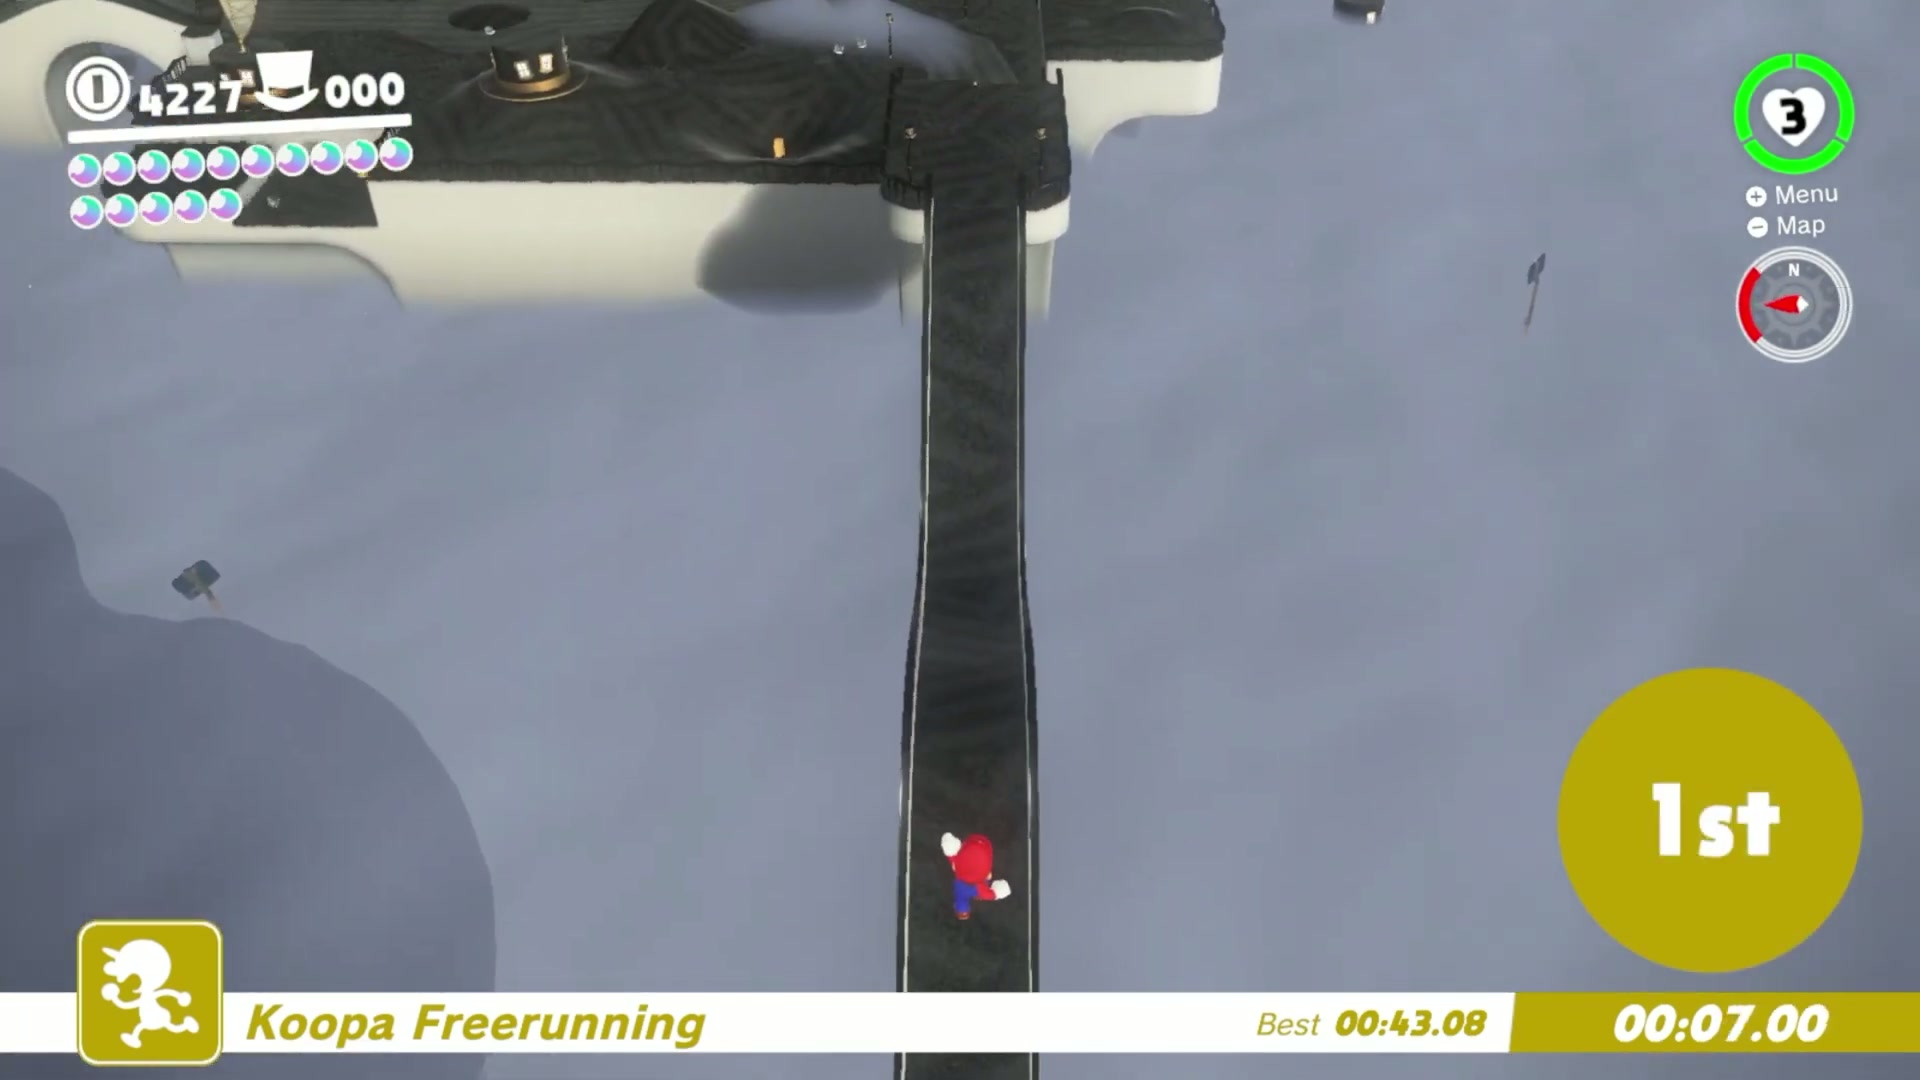
- The race finishes near the Odyssey, so plan a route that drops quickly from the tower area and cuts across the bridge path cleanly.
- Use long jumps and rolls on the flat sections, but keep your movement stable around narrow platforms and fog edges. Falling costs far more time than a cautious landing.
- Reach the finish line in first place to earn the Power Moon. If you finish behind another racer, immediately retry and tighten the opening descent from the tower.

Power Moon #16 – Peach in the Cap Kingdom
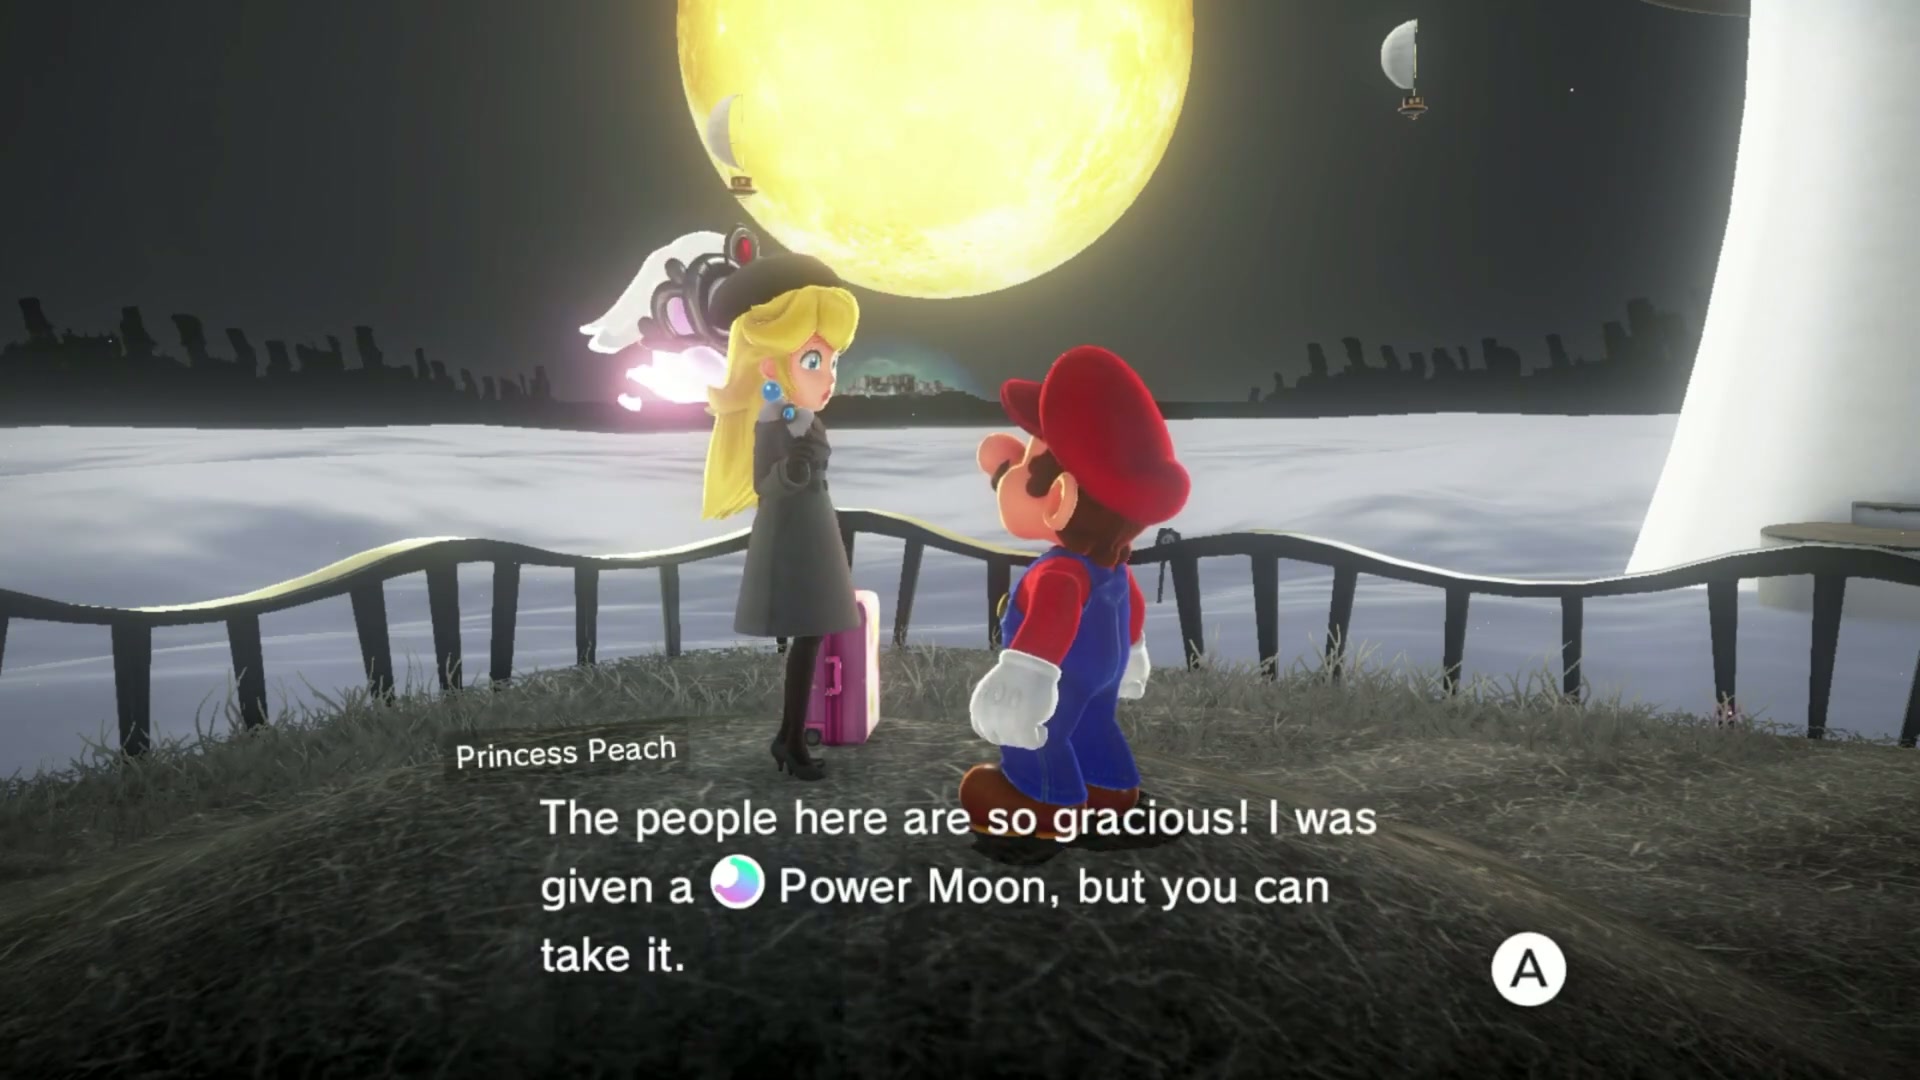
- Clear the main story first, then begin Princess Peach’s post-game kingdom tour.
- Return to Cap Kingdom and head into the Central Plaza. Peach is only here once her travel route has progressed to Bonneton.
- Walk up to Peach and speak with her. There is no platforming challenge attached to this Moon; the requirement is finding her during the post-game visit.
- If Peach is not present, continue checking her locations in other kingdoms until her tour reaches Cap Kingdom, then return and talk to her here.
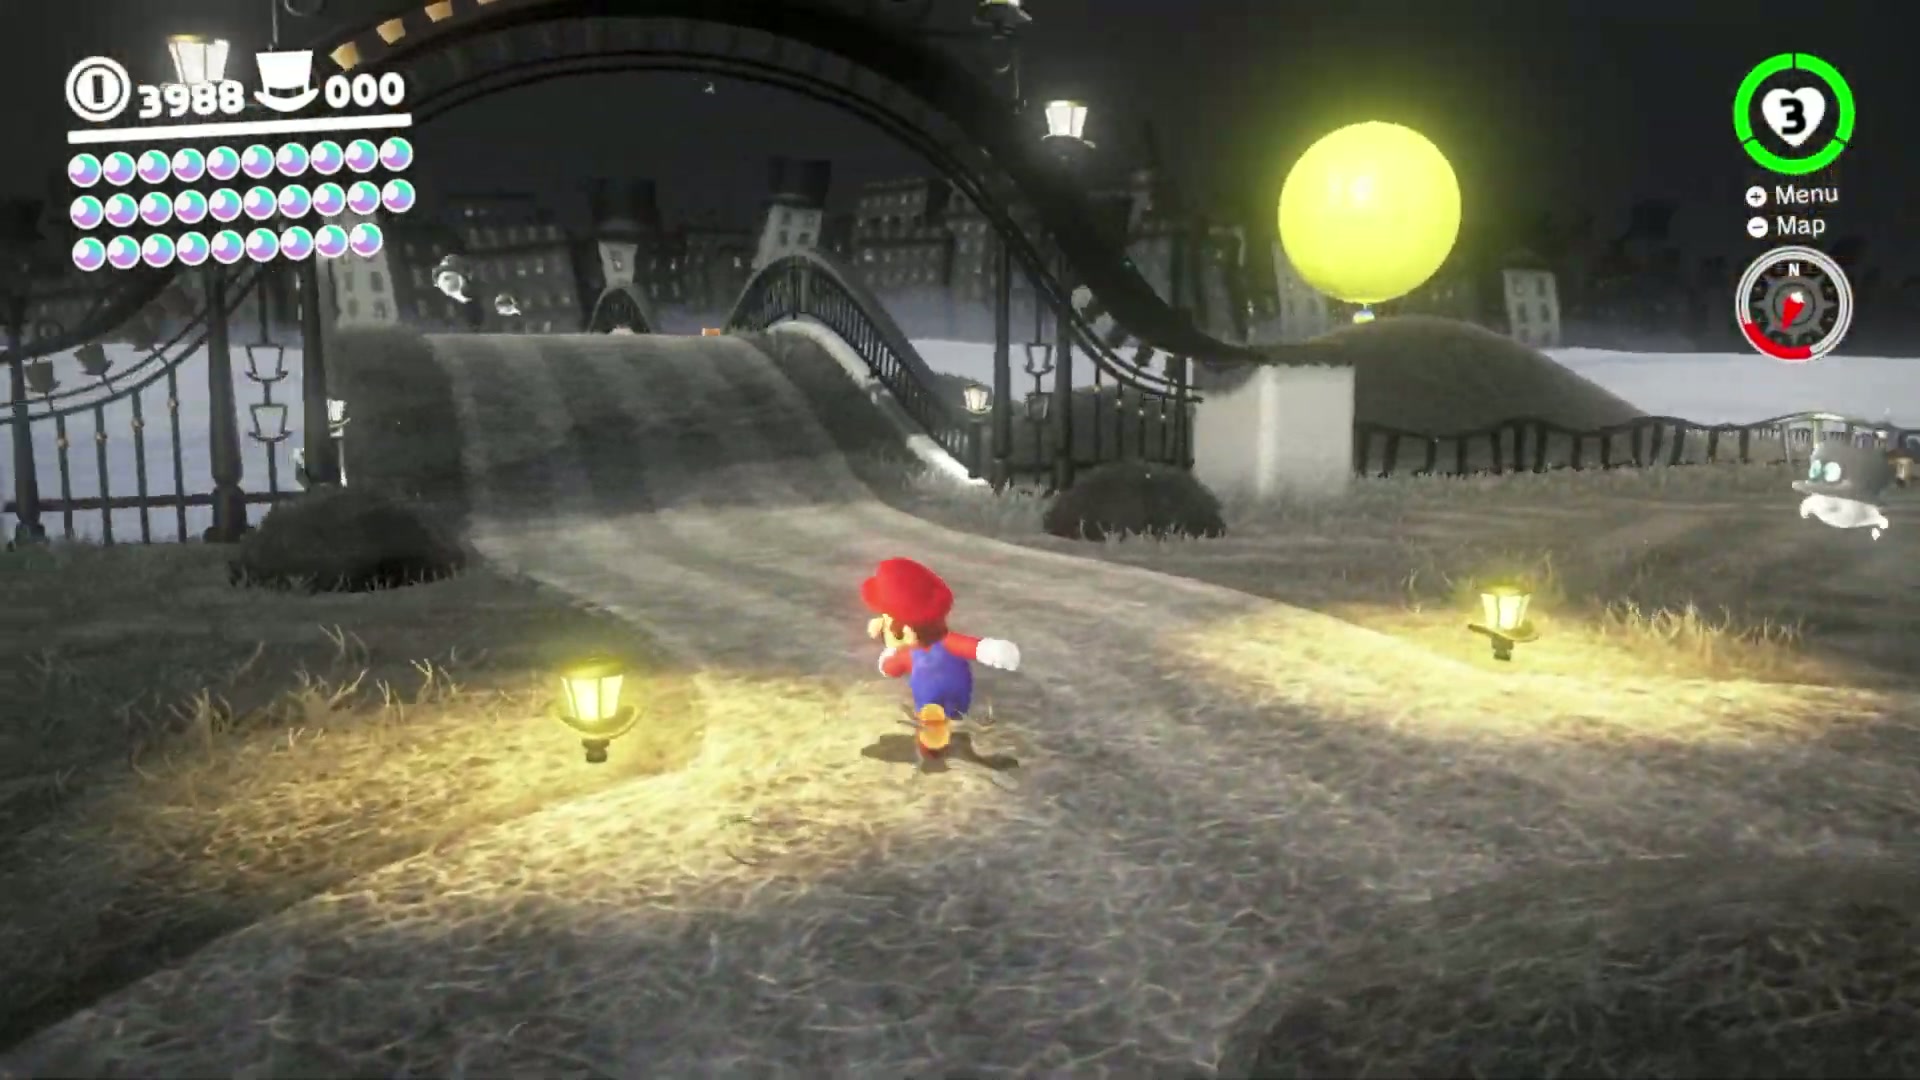
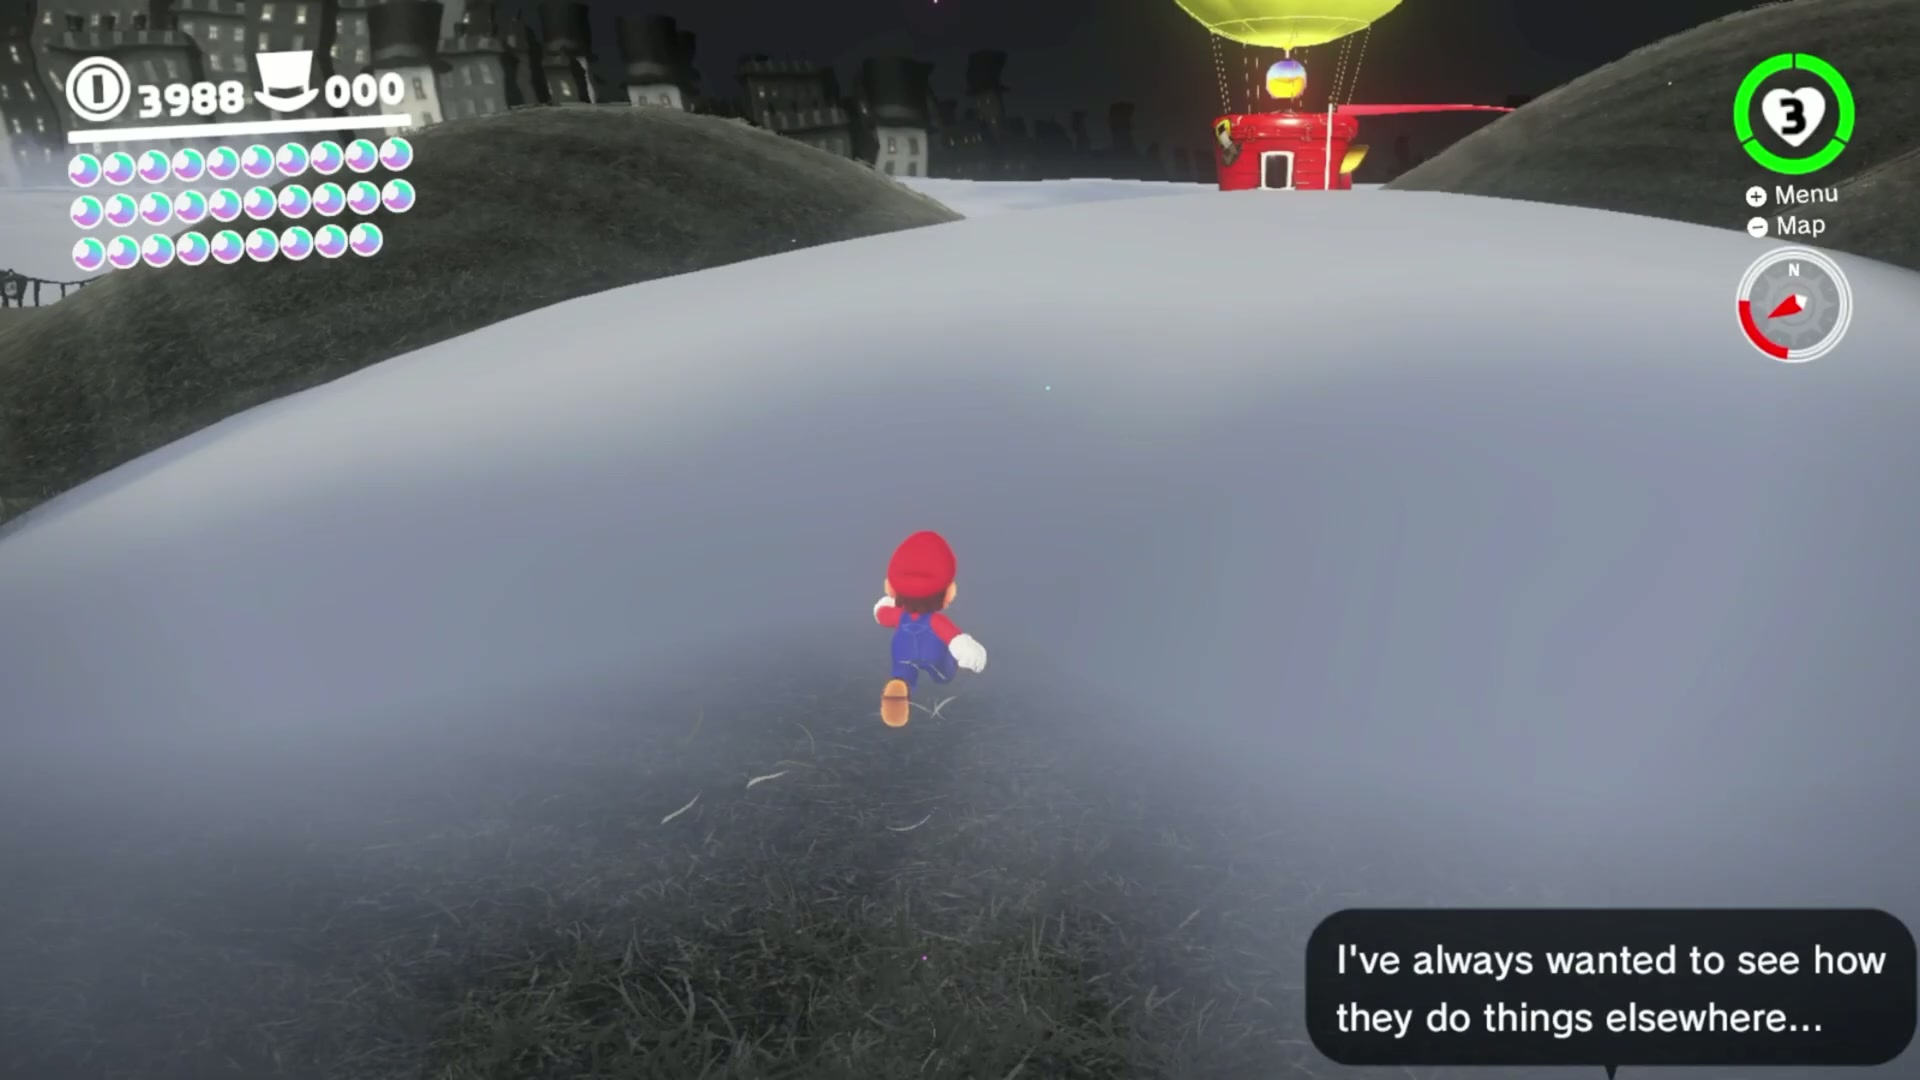
Power Moon #17 – Found with Cap Kingdom Art
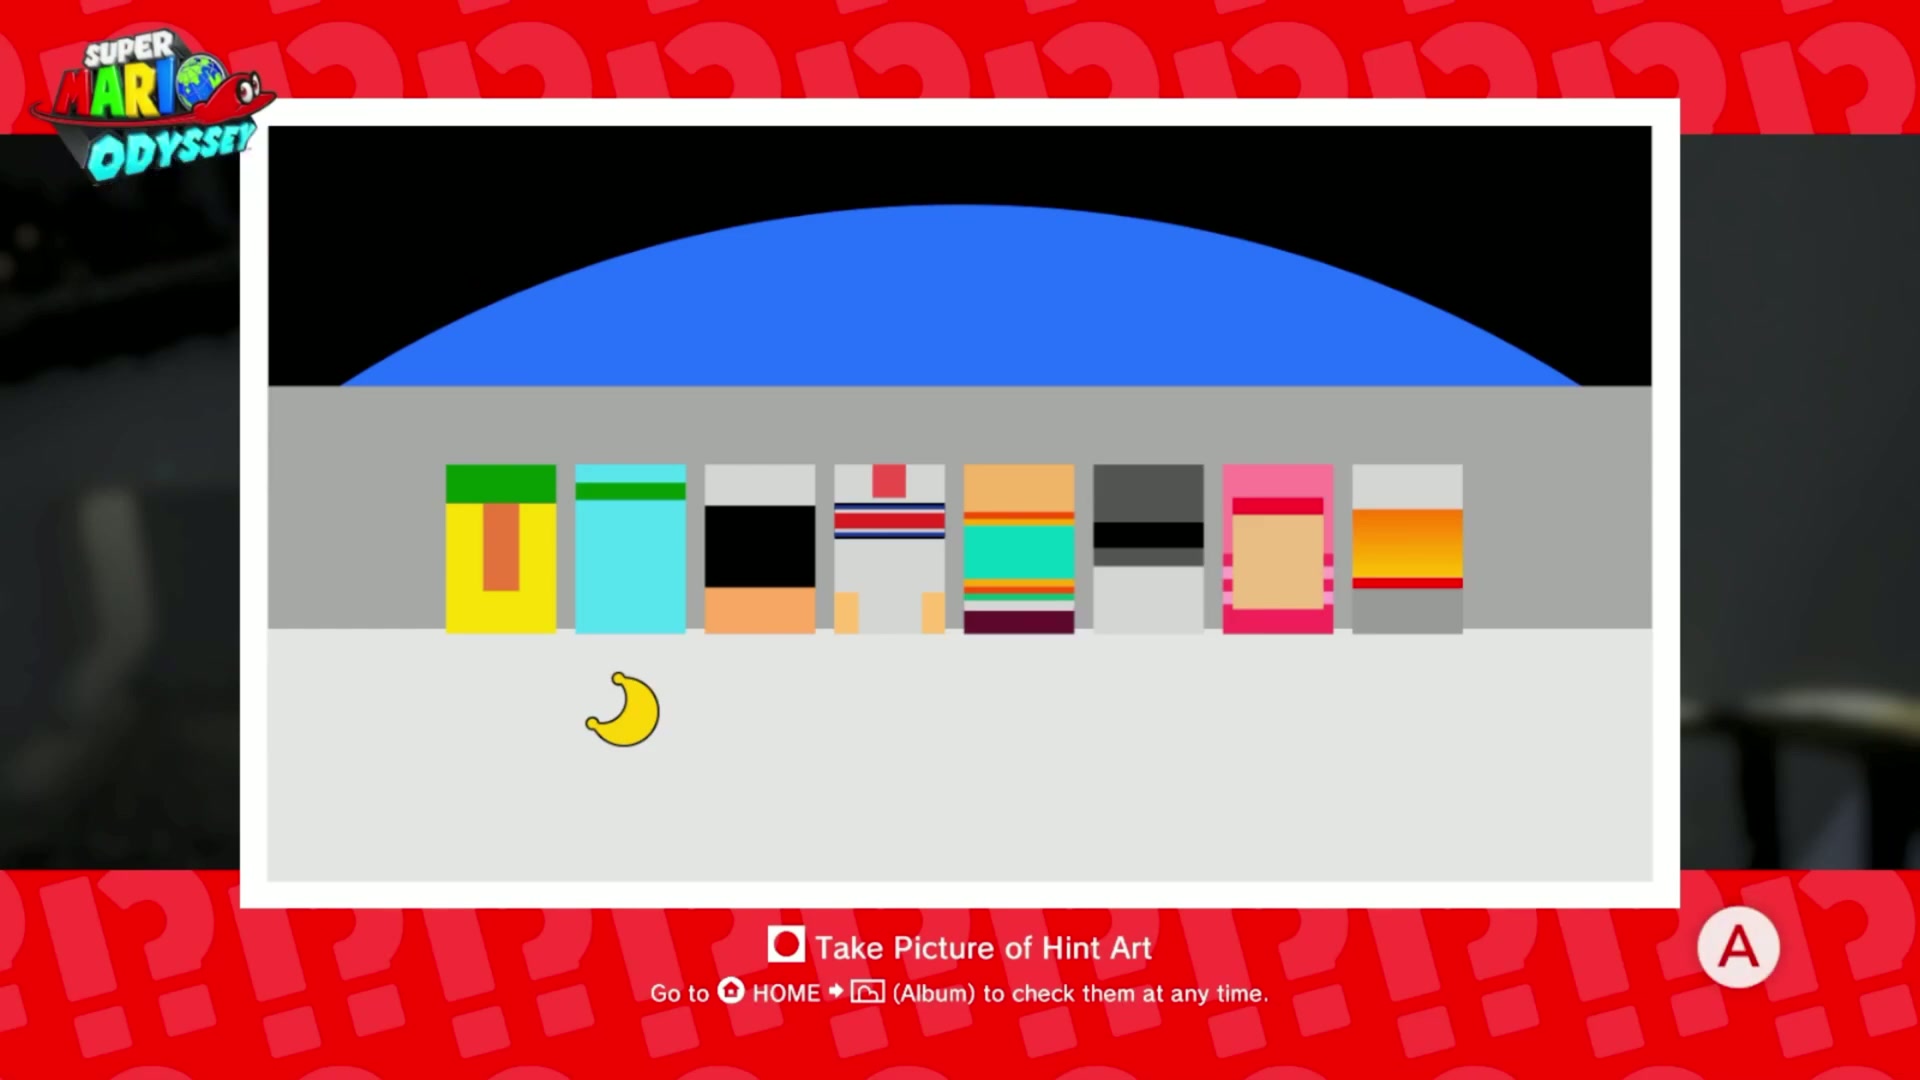
- Find the Hint Art on the wall in the north-east corner of the Central Plaza and read the clue carefully before leaving Cap Kingdom.
- Travel to the Moon Kingdom. This Moon is registered to Cap Kingdom, but the actual ground pound spot is outside Cap Kingdom.
- From the Moon Kingdom start area, move south of the Lochlady NPC shown by the hint art and line up with the indicated ground pattern.
- Ground pound the correct spot to reveal the Power Moon. If nothing appears, adjust your position slightly around the marked area and ground pound again.
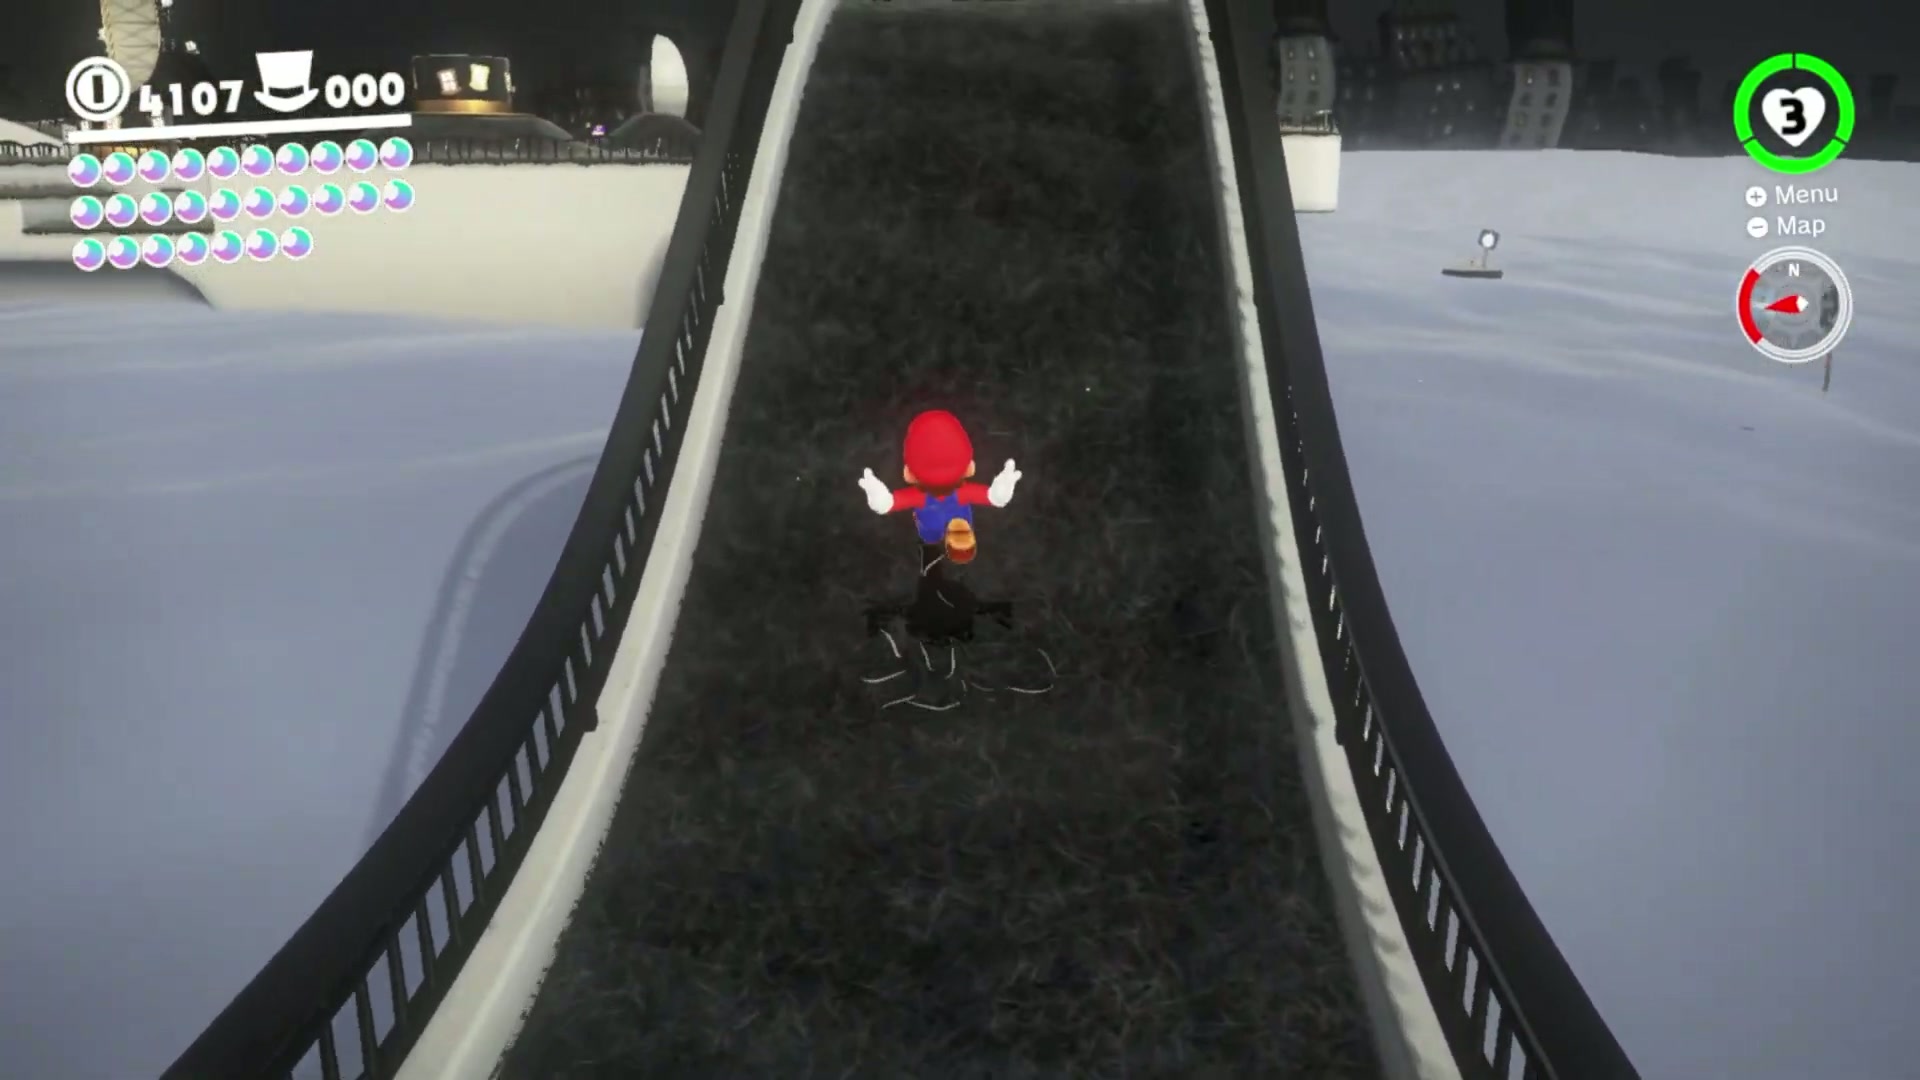
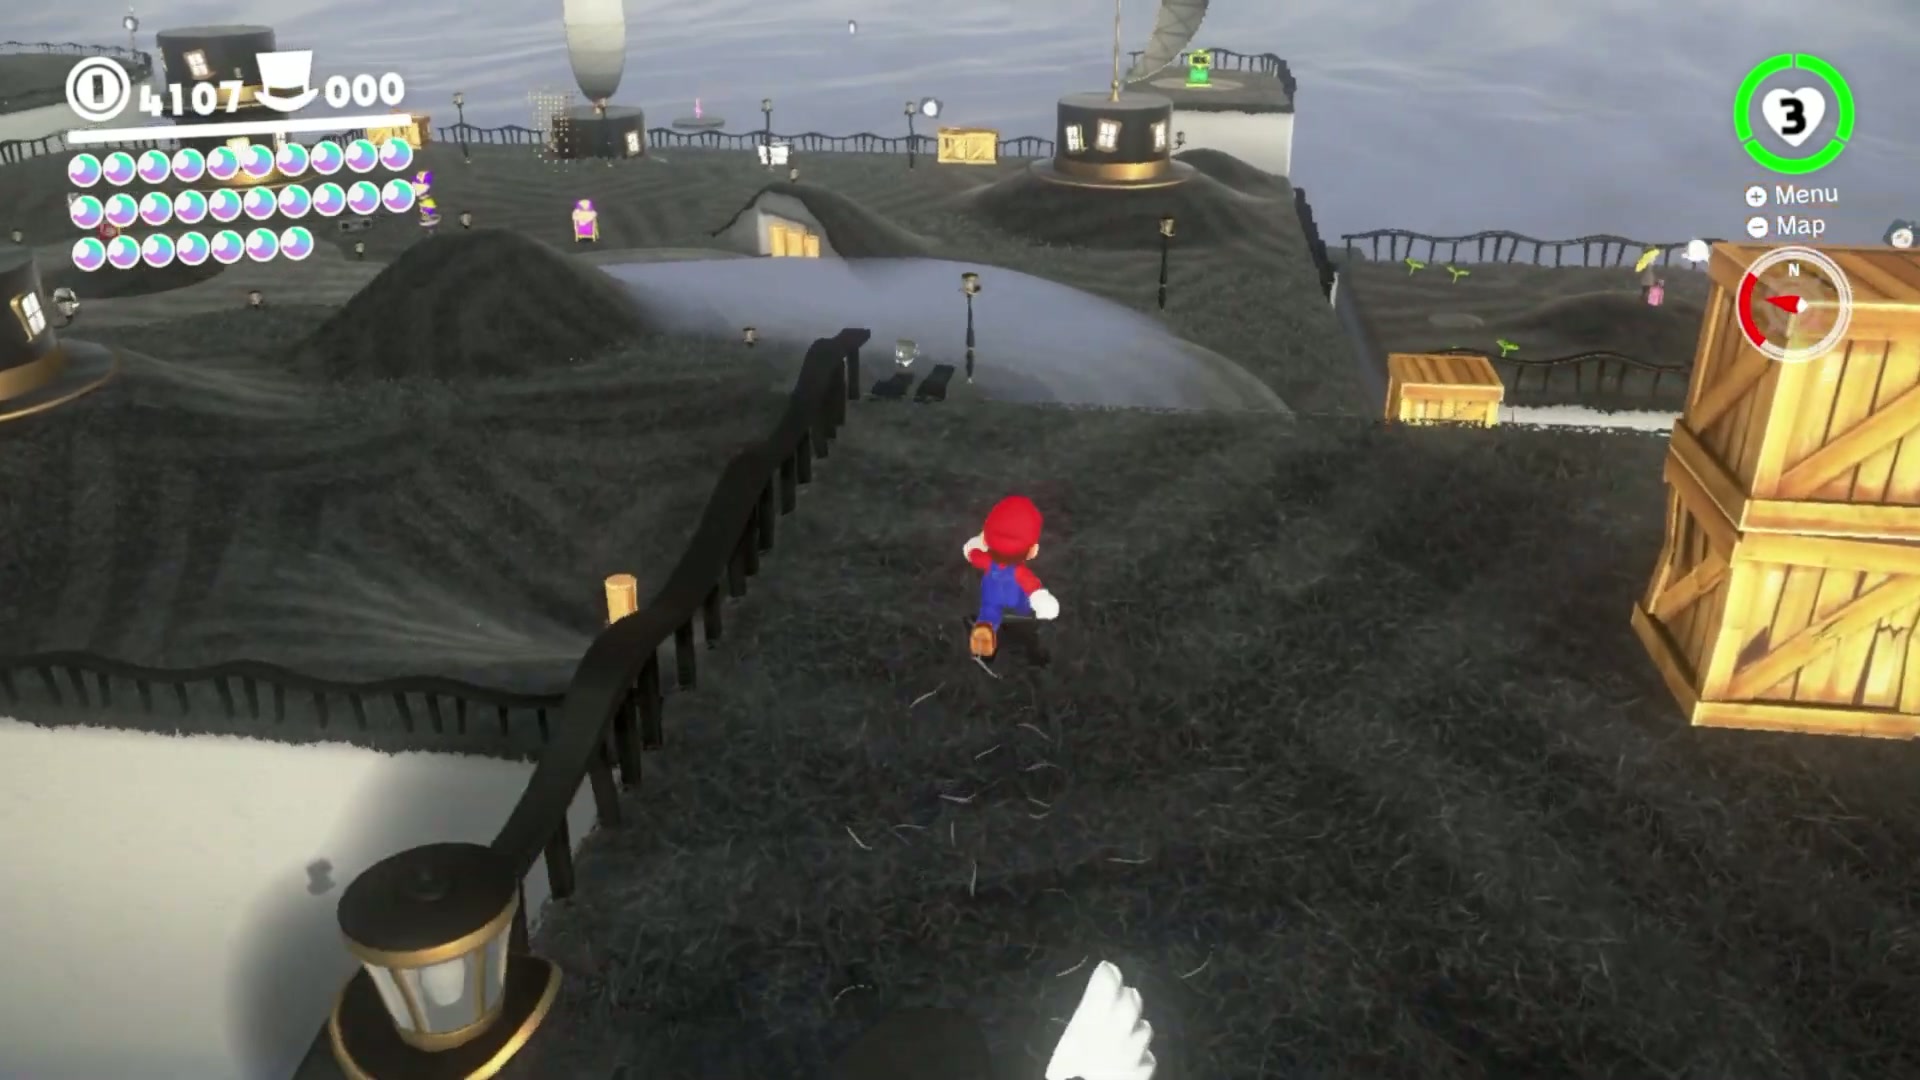
Power Moon #18 – Next to Glasses Bridge
- Head toward Glasses Bridge and look for the nearby top-hat-shaped platform standing beside the bridge route.
- Use the bridge walkway or nearby platform height to line up a safe jump across to the top of the hat platform.
- Jump across carefully and land on top of the platform. The Moon is exposed, so the main challenge is simply reaching it without falling into the fog.
- Collect the Power Moon from the top of the platform, then return to the bridge route for the rest of the cleanup.
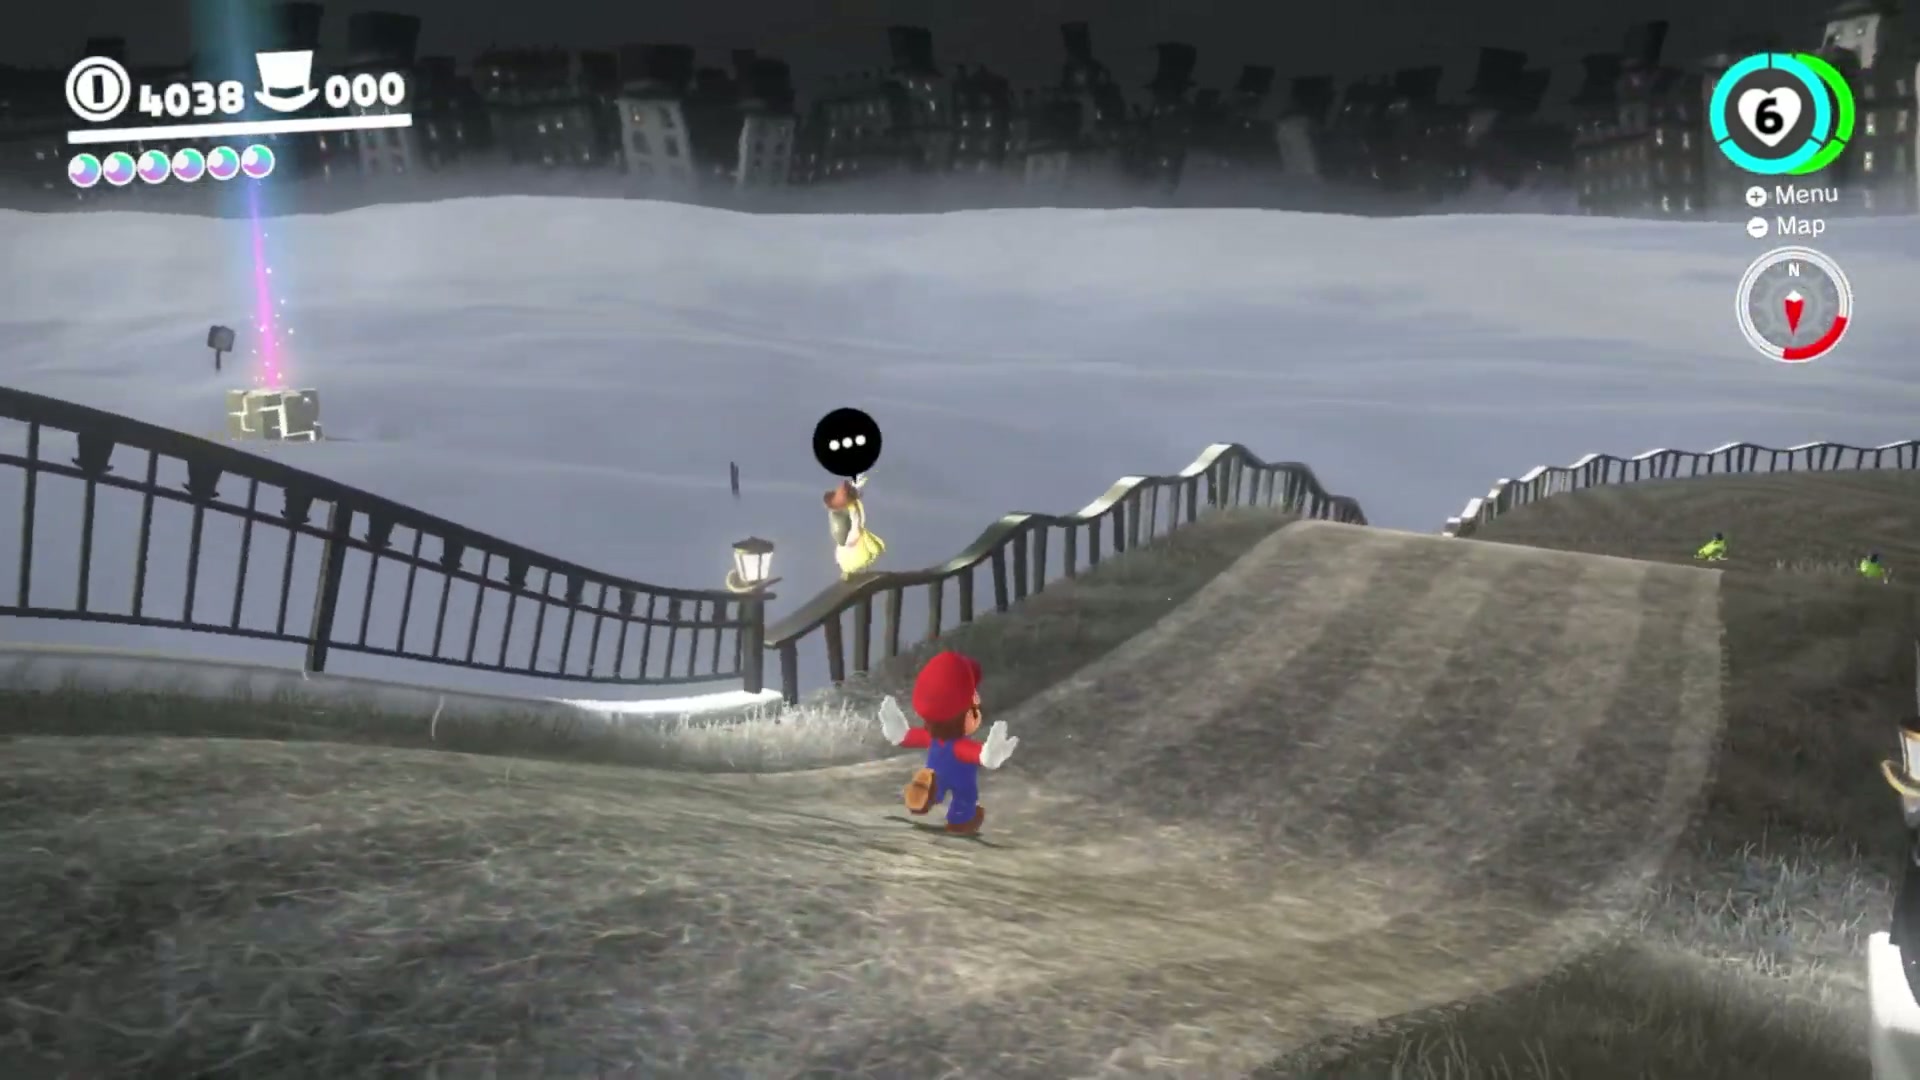
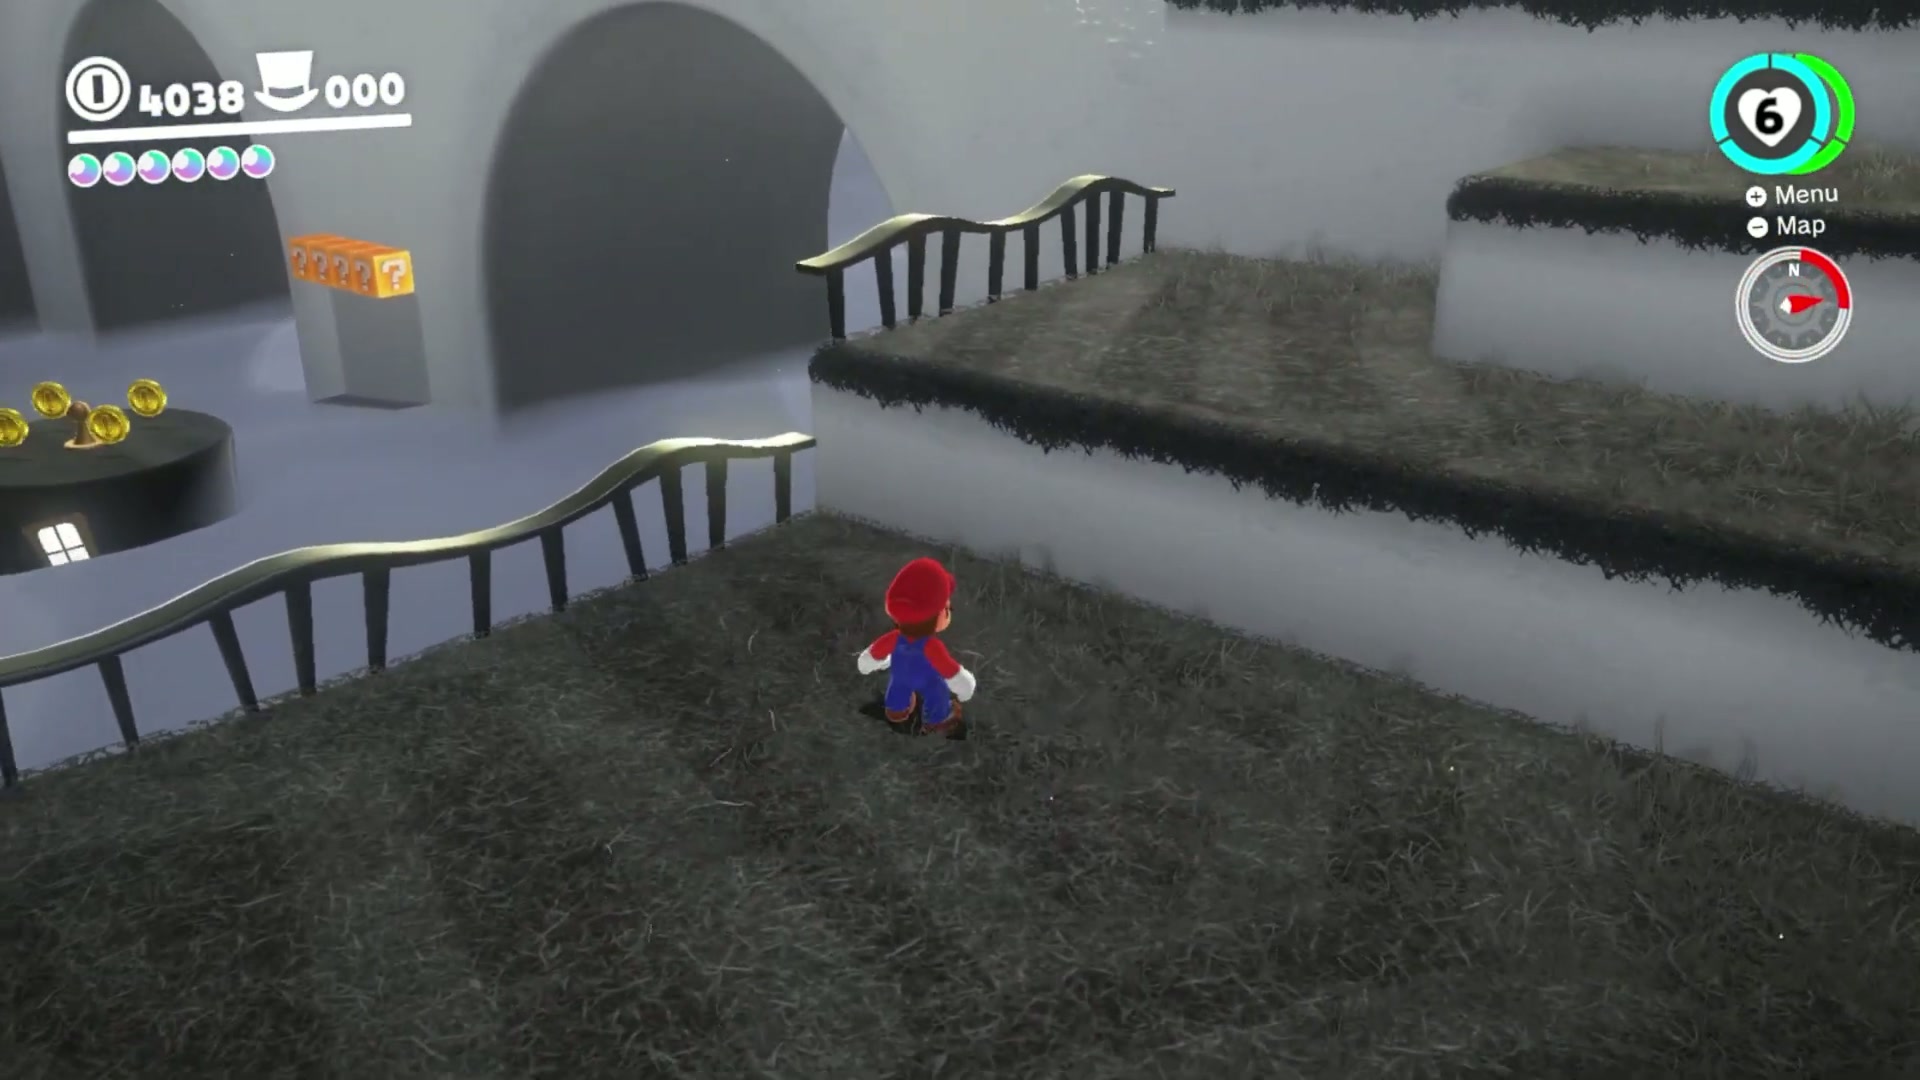
Power Moon #19 – Danger Sign
- From the Odyssey area, look out over the fog for the skull-marked danger sign sitting away from the main platform.
- Capture a Paragoomba before attempting the route. Mario cannot safely reach the sign from the ground route alone.
- Fly south-east toward the sign and keep enough height to clear the fog line. Approach in a straight path so you do not run out of Paragoomba range.
- Land on or near the sign and collect the Power Moon from the danger-sign platform.
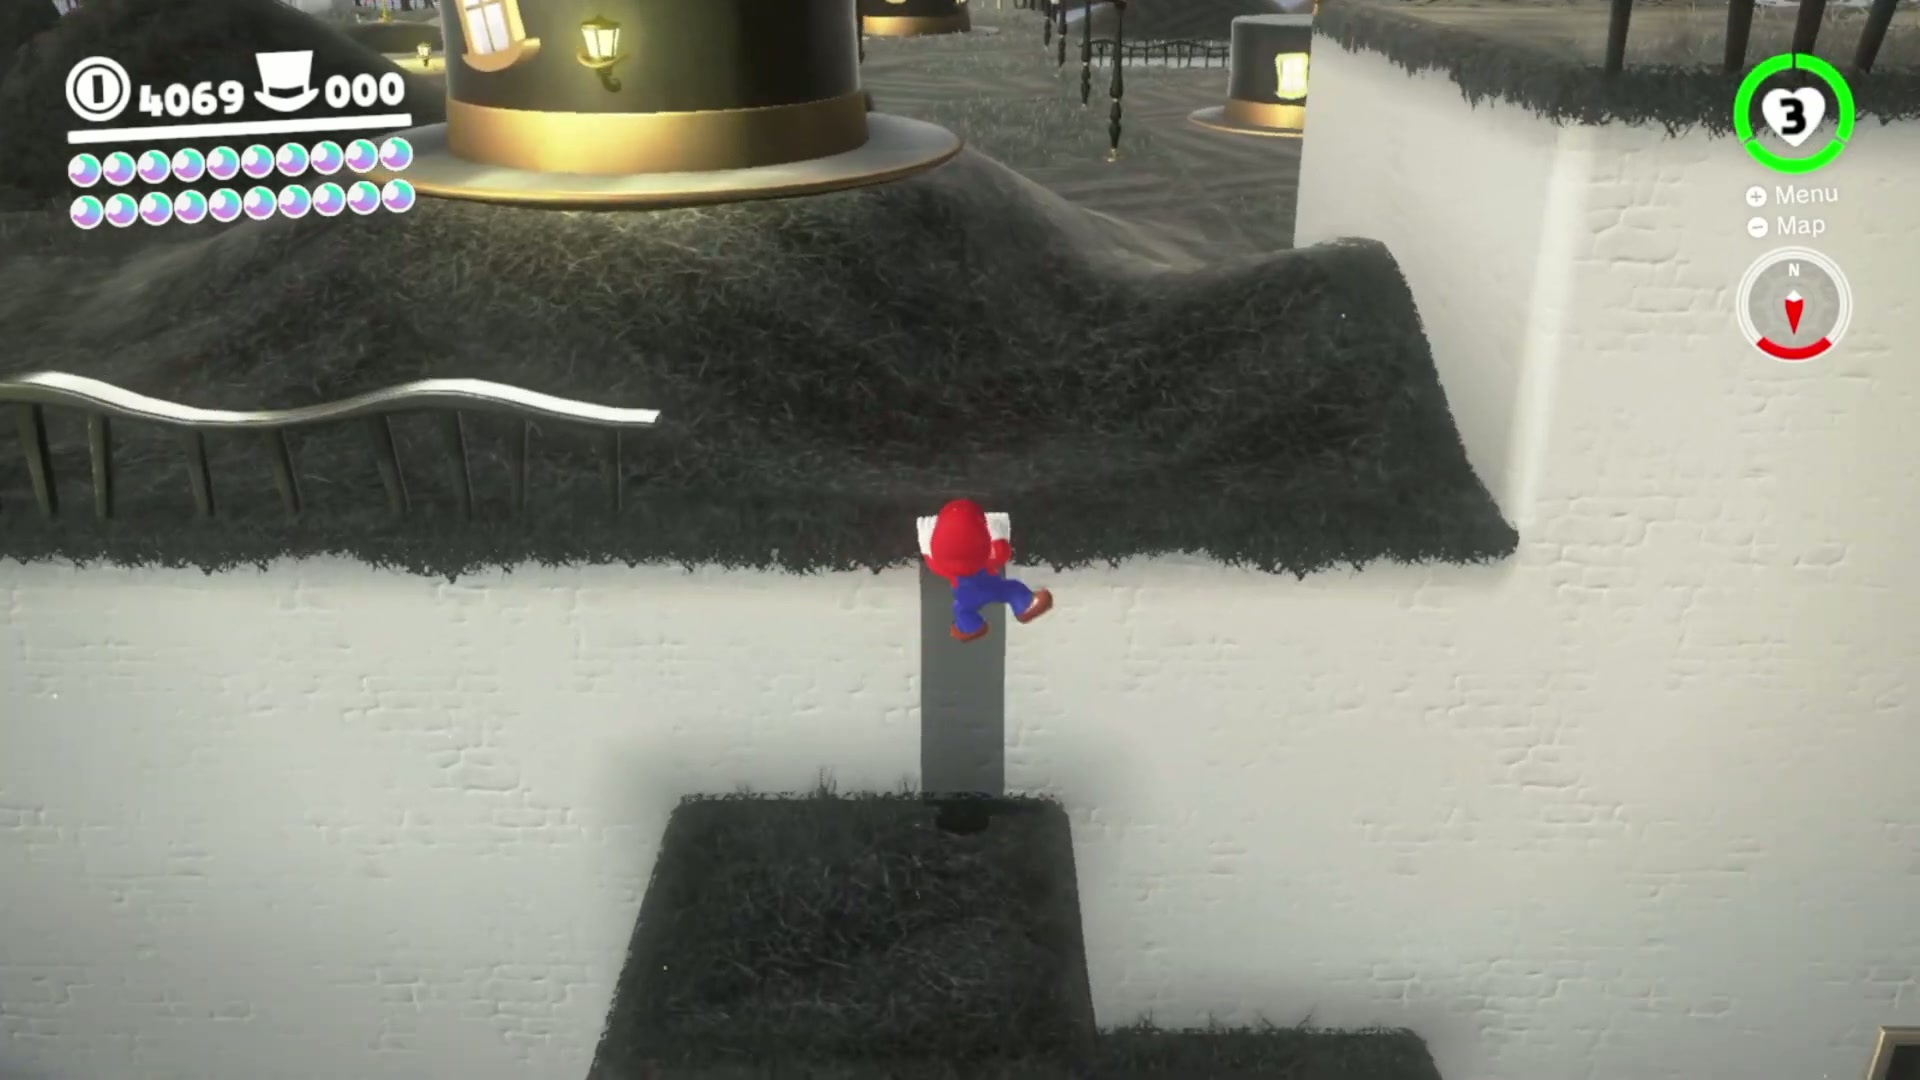
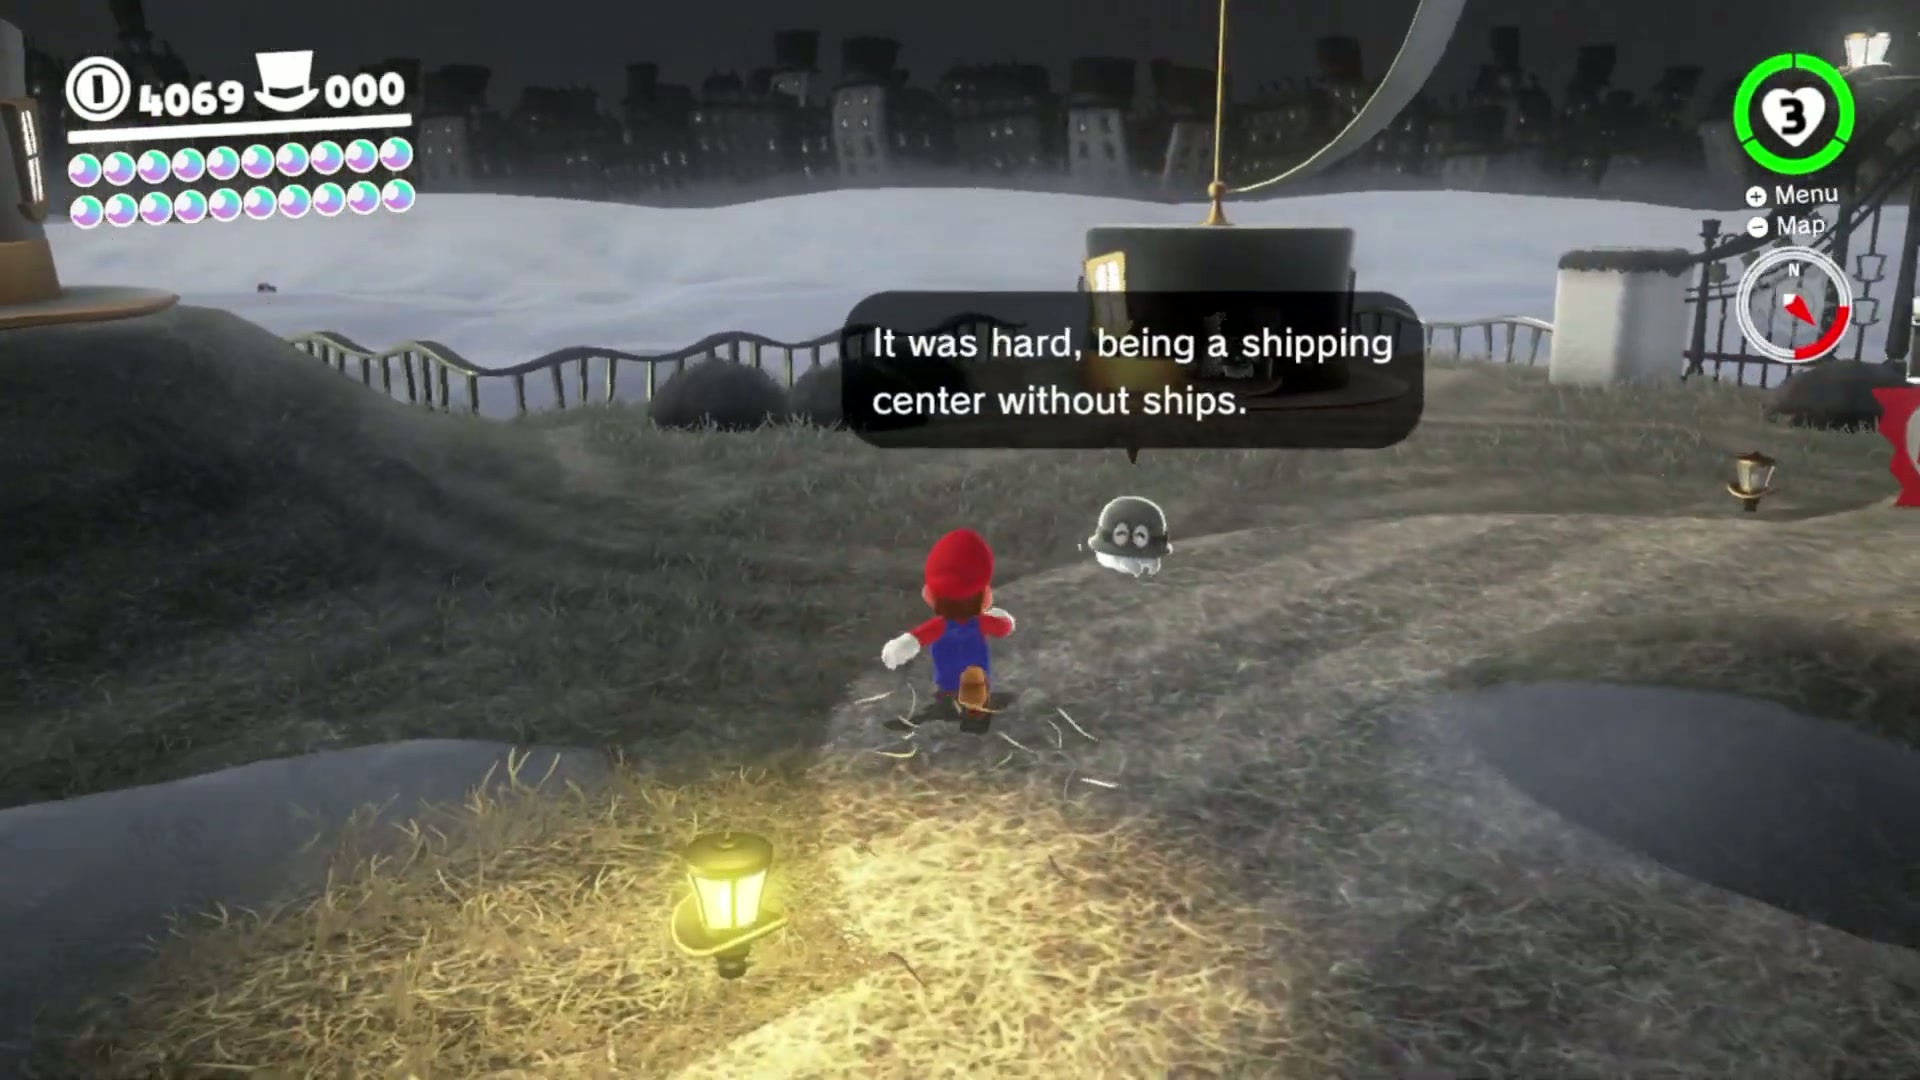
Power Moon #20 – Under the Big One’s Brim
- Climb to the top of Top-Hat Tower and stand near the outside edge of the upper brim.
- Look down before jumping. The Power Moon is tucked just below the brim, so a wide running jump can overshoot it.
- Step or drop straight down from the edge and steer gently into the Moon as you fall.
- If you miss the Moon and land lower on the tower route, climb back up and repeat the drop with less forward momentum.
Power Moon #21 – Fly to the Edge of the Fog
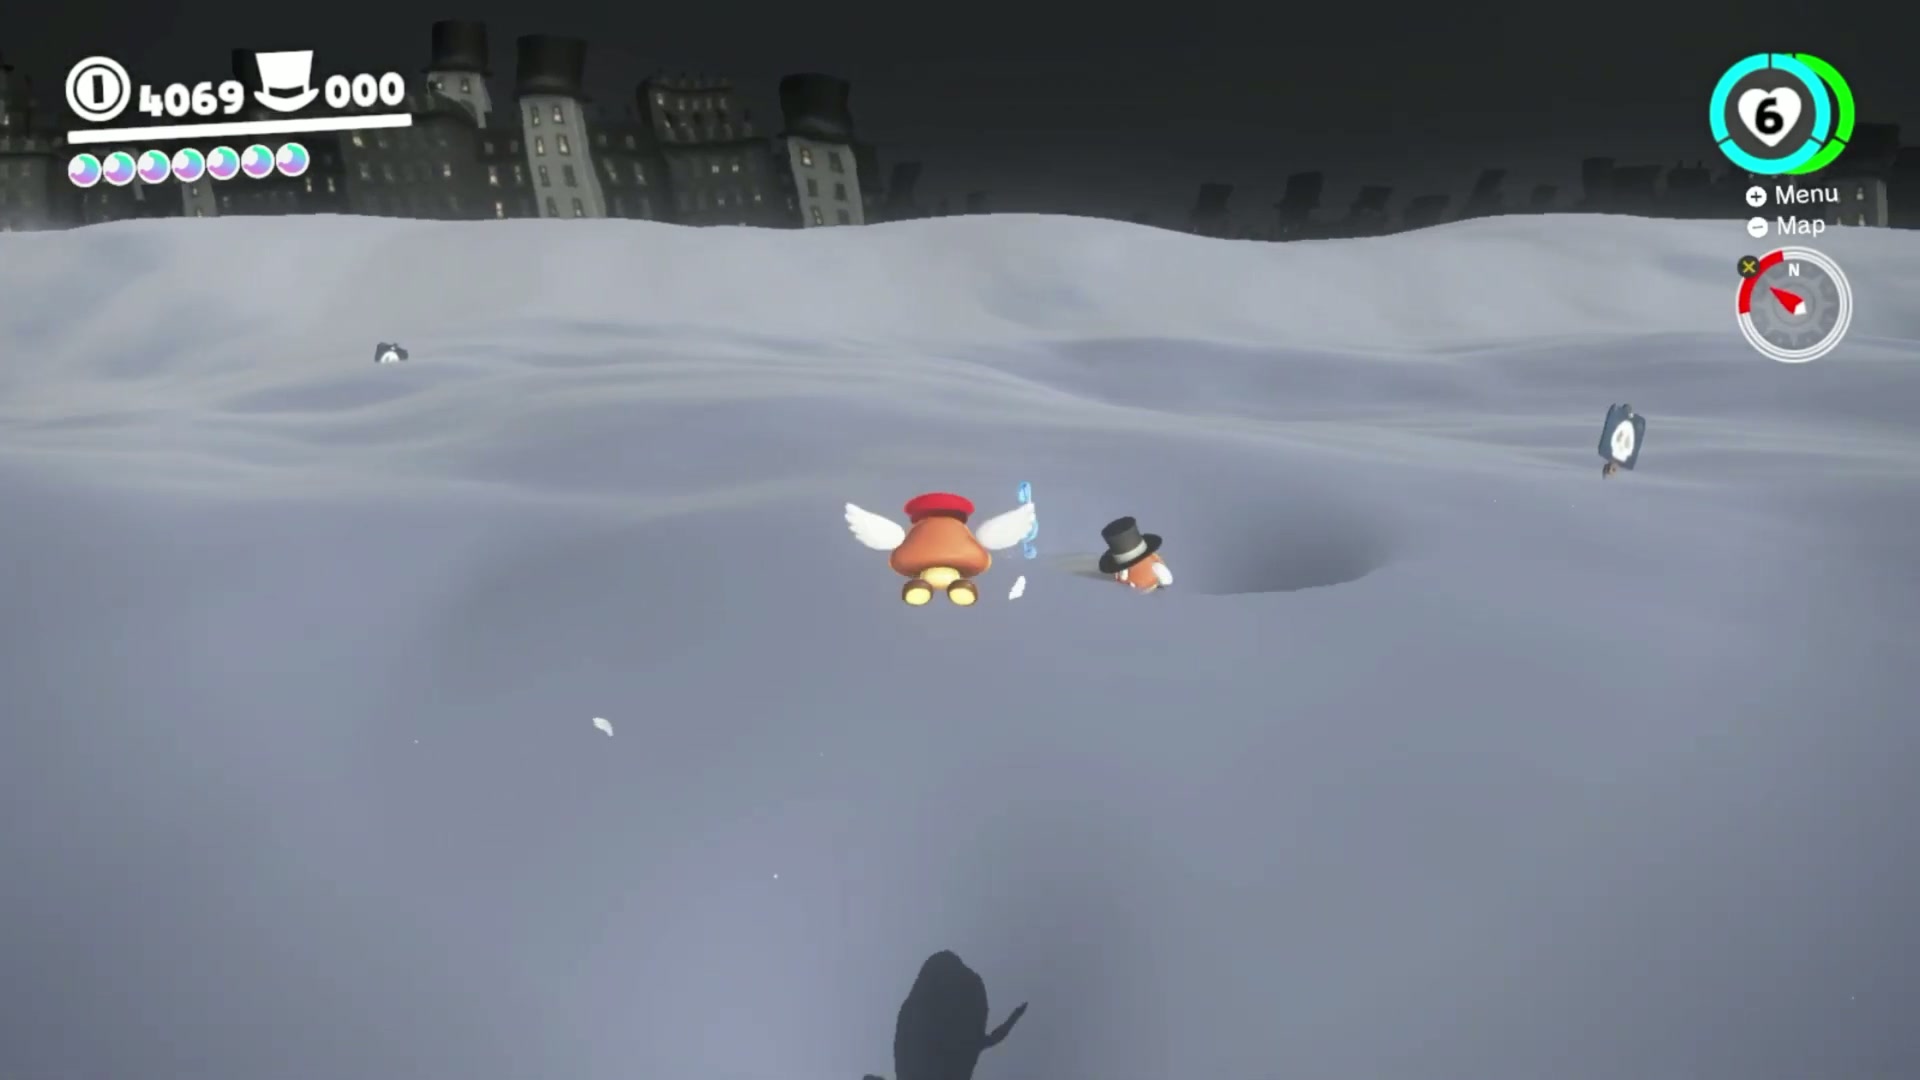
- Capture a Paragoomba near Top-Hat Tower before heading out over the fog.
- Fly north-east behind the tower, staying high enough to avoid dropping into the fog before you reach the outer boundary.
- Keep moving toward the far corner until you spot the Power Moon glow near the edge of the kingdom. It is farther out than most nearby platform Moons.
- Land carefully or fly through the Moon to collect it, then return to solid ground before the Paragoomba route runs out.
Power Moon #22 – Spin the Hat, Get a Prize
- Go to the arch at the entrance of the Central Plaza and look for the glowing hat symbol.
- Throw Cappy onto the symbol and keep him spinning there. A quick tap may not be enough, so hold the throw or keep Cappy in place until the reaction triggers.
- Stay close to the symbol while it activates. The Power Moon appears after the hat object has spun for a short moment.
- Collect the Moon from the same plaza entrance area before moving on to the next Bonneton cleanup route.
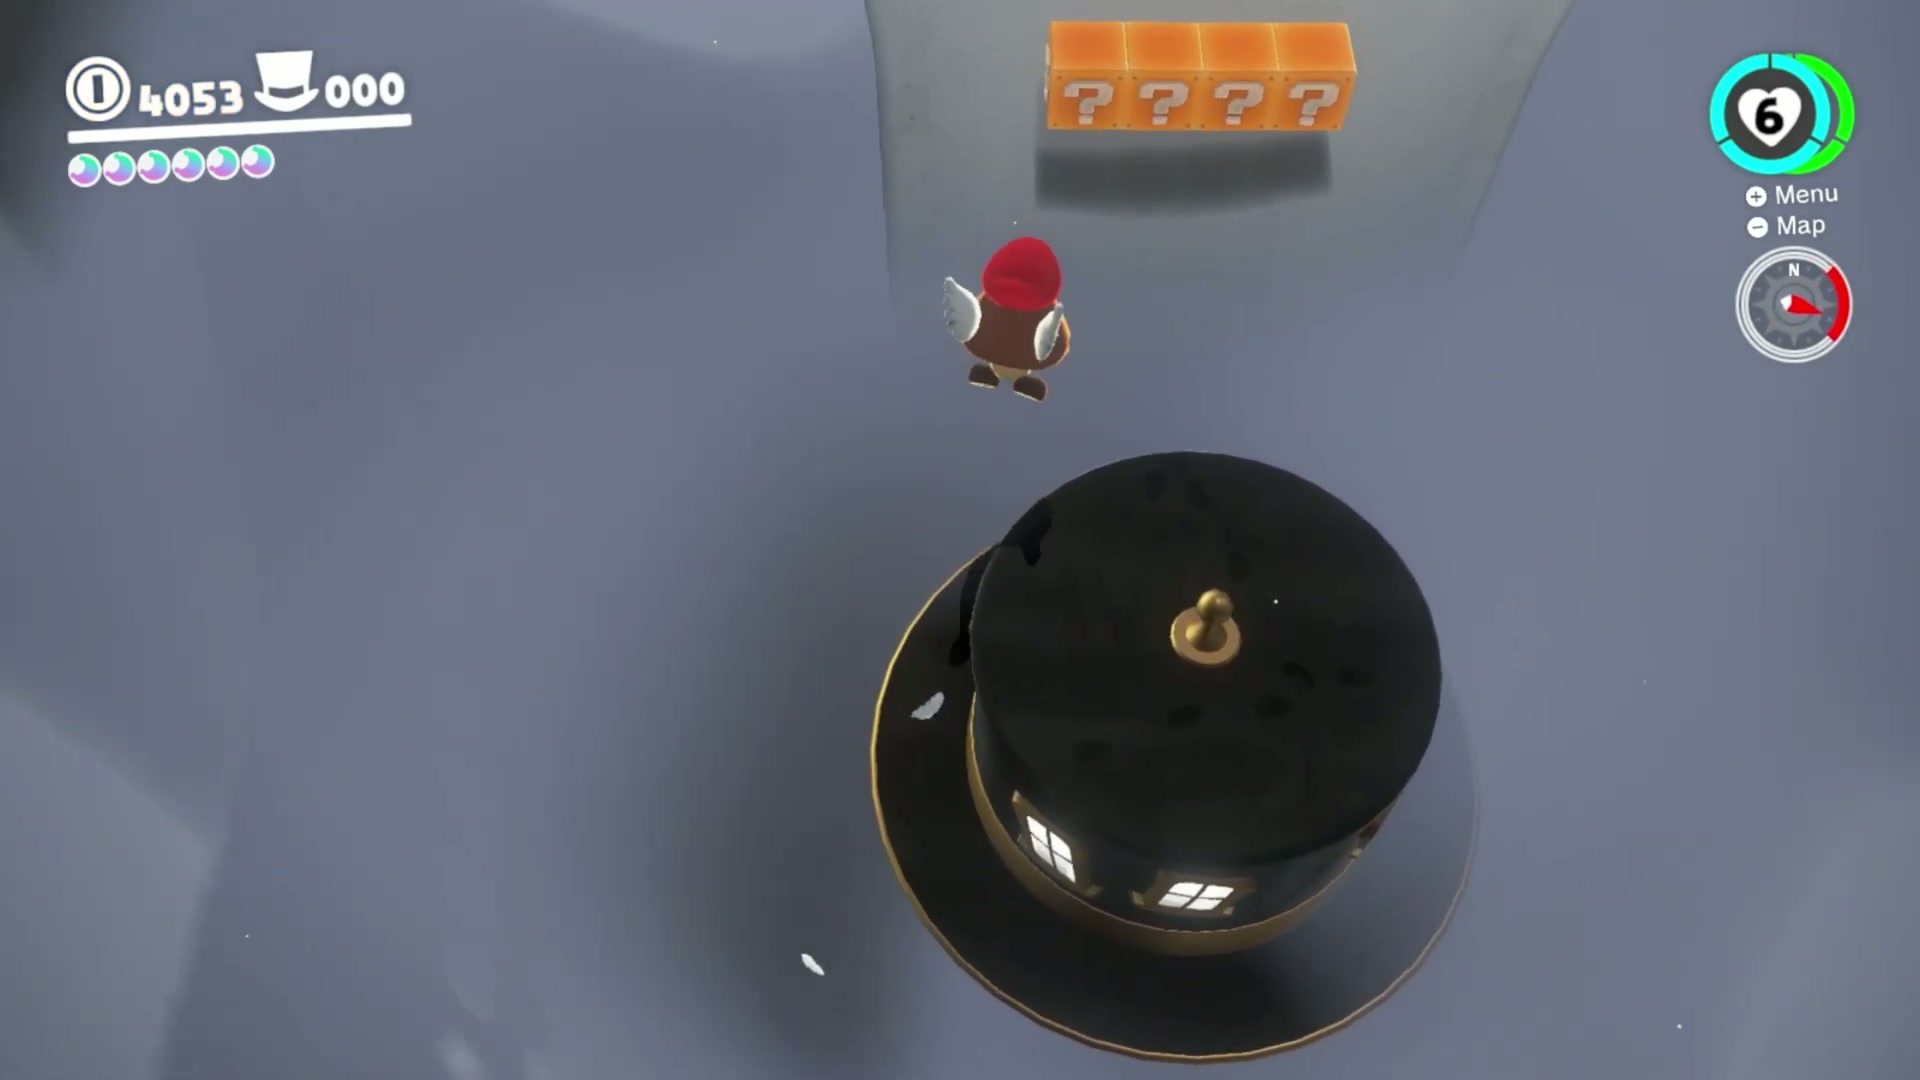
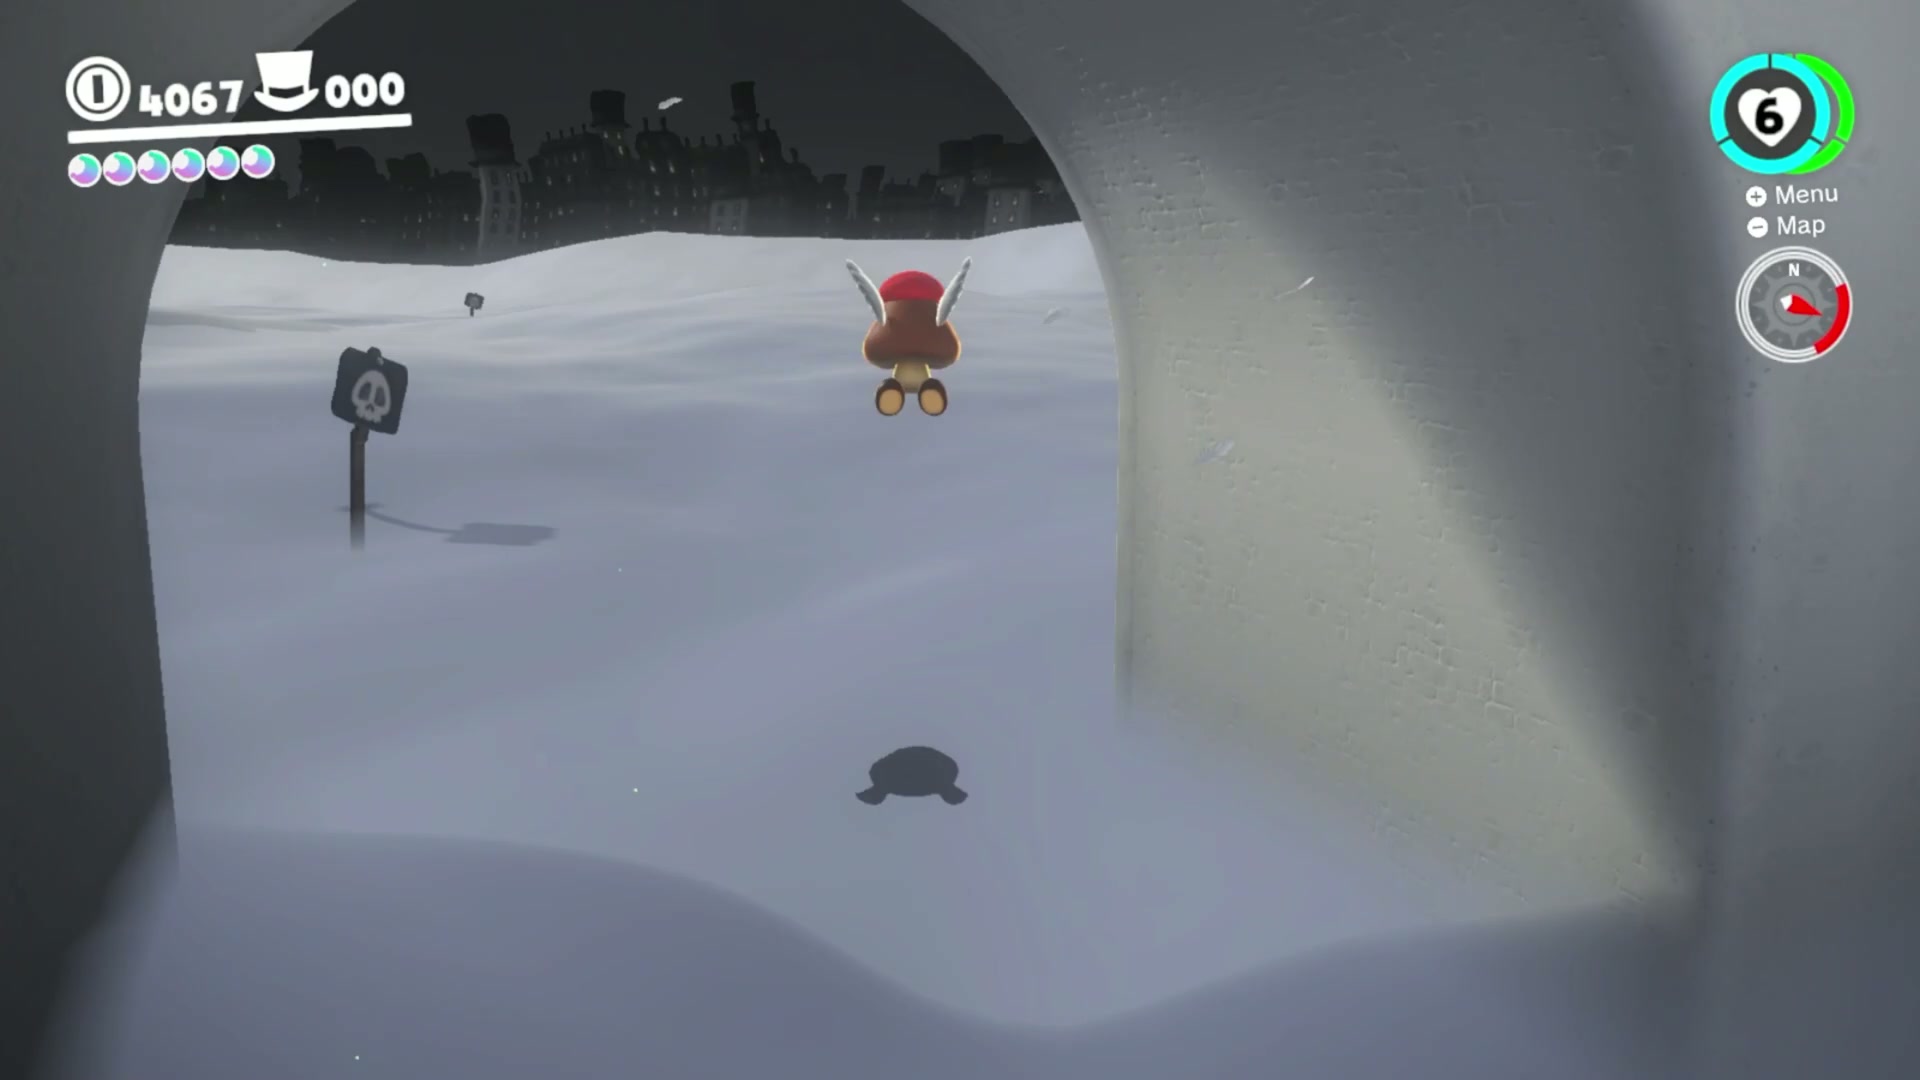
Power Moon #23 – Hidden in a Sunken Hat
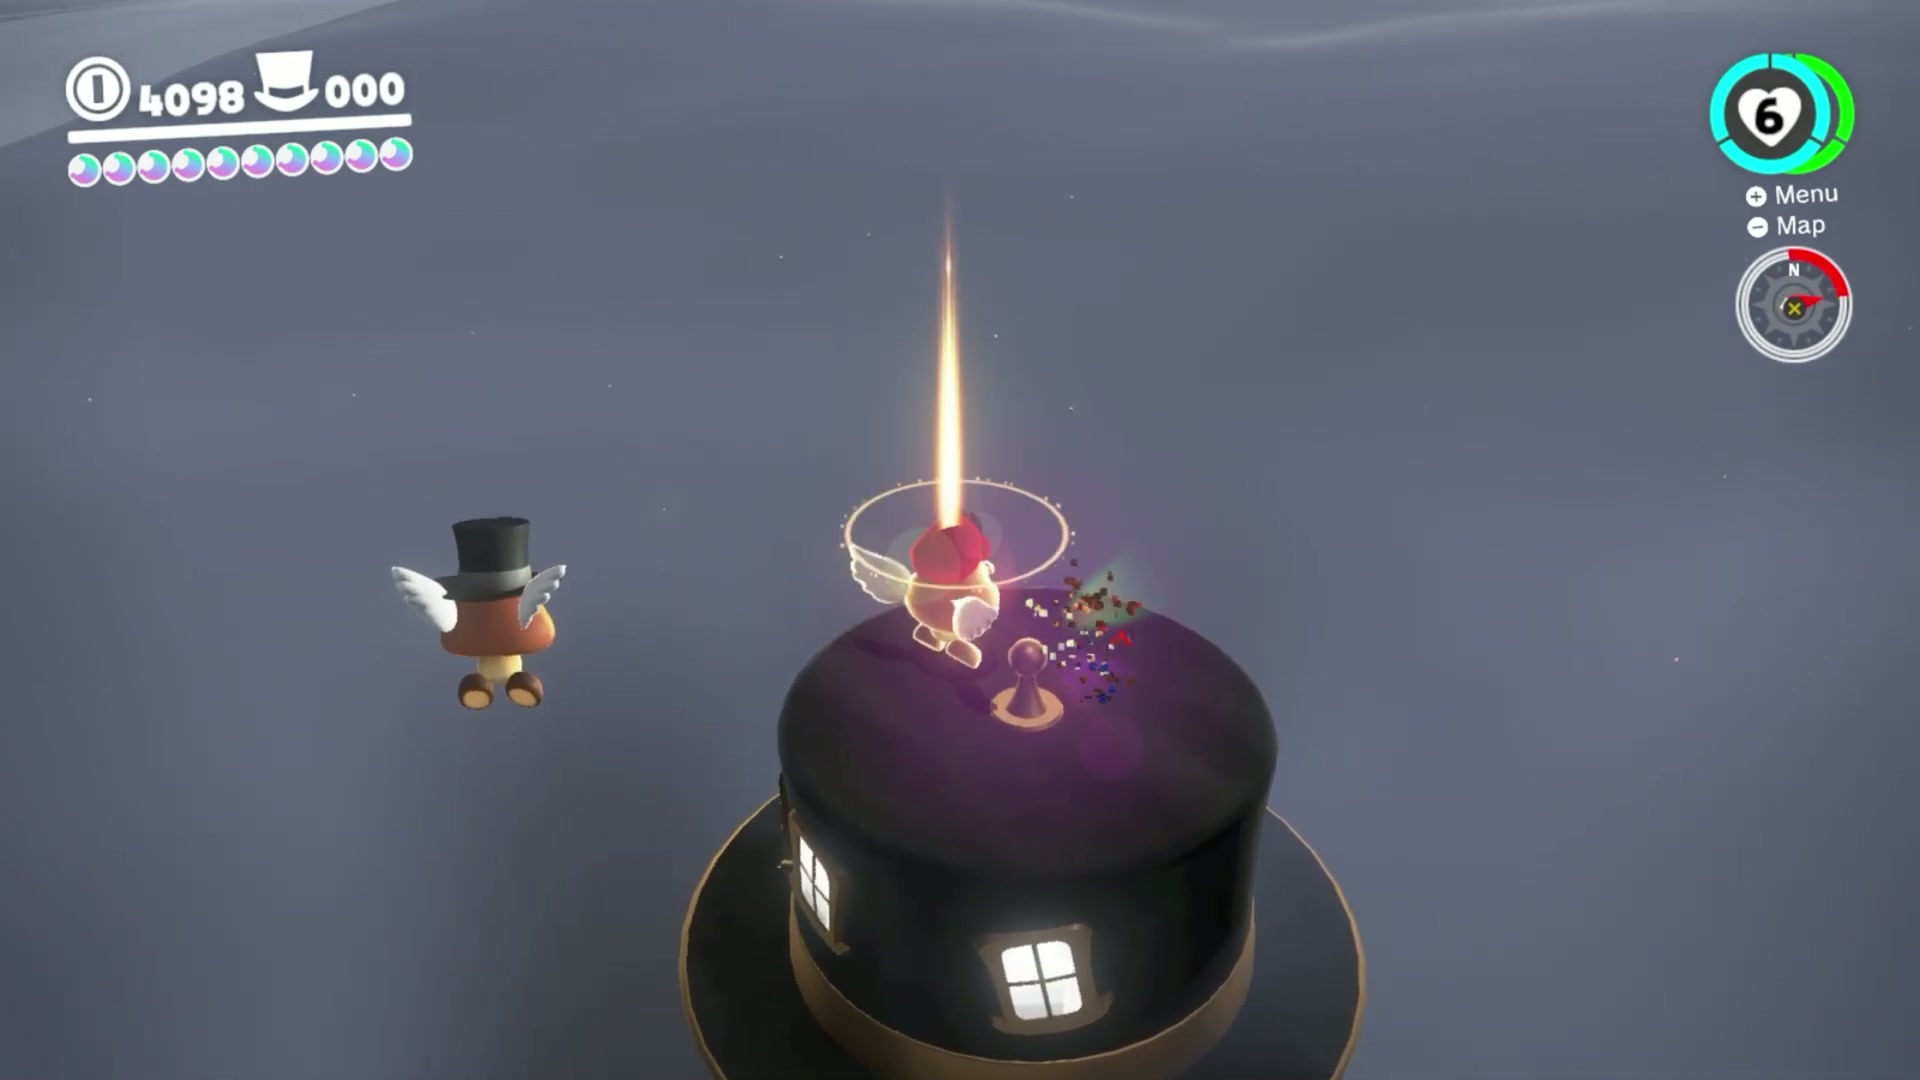
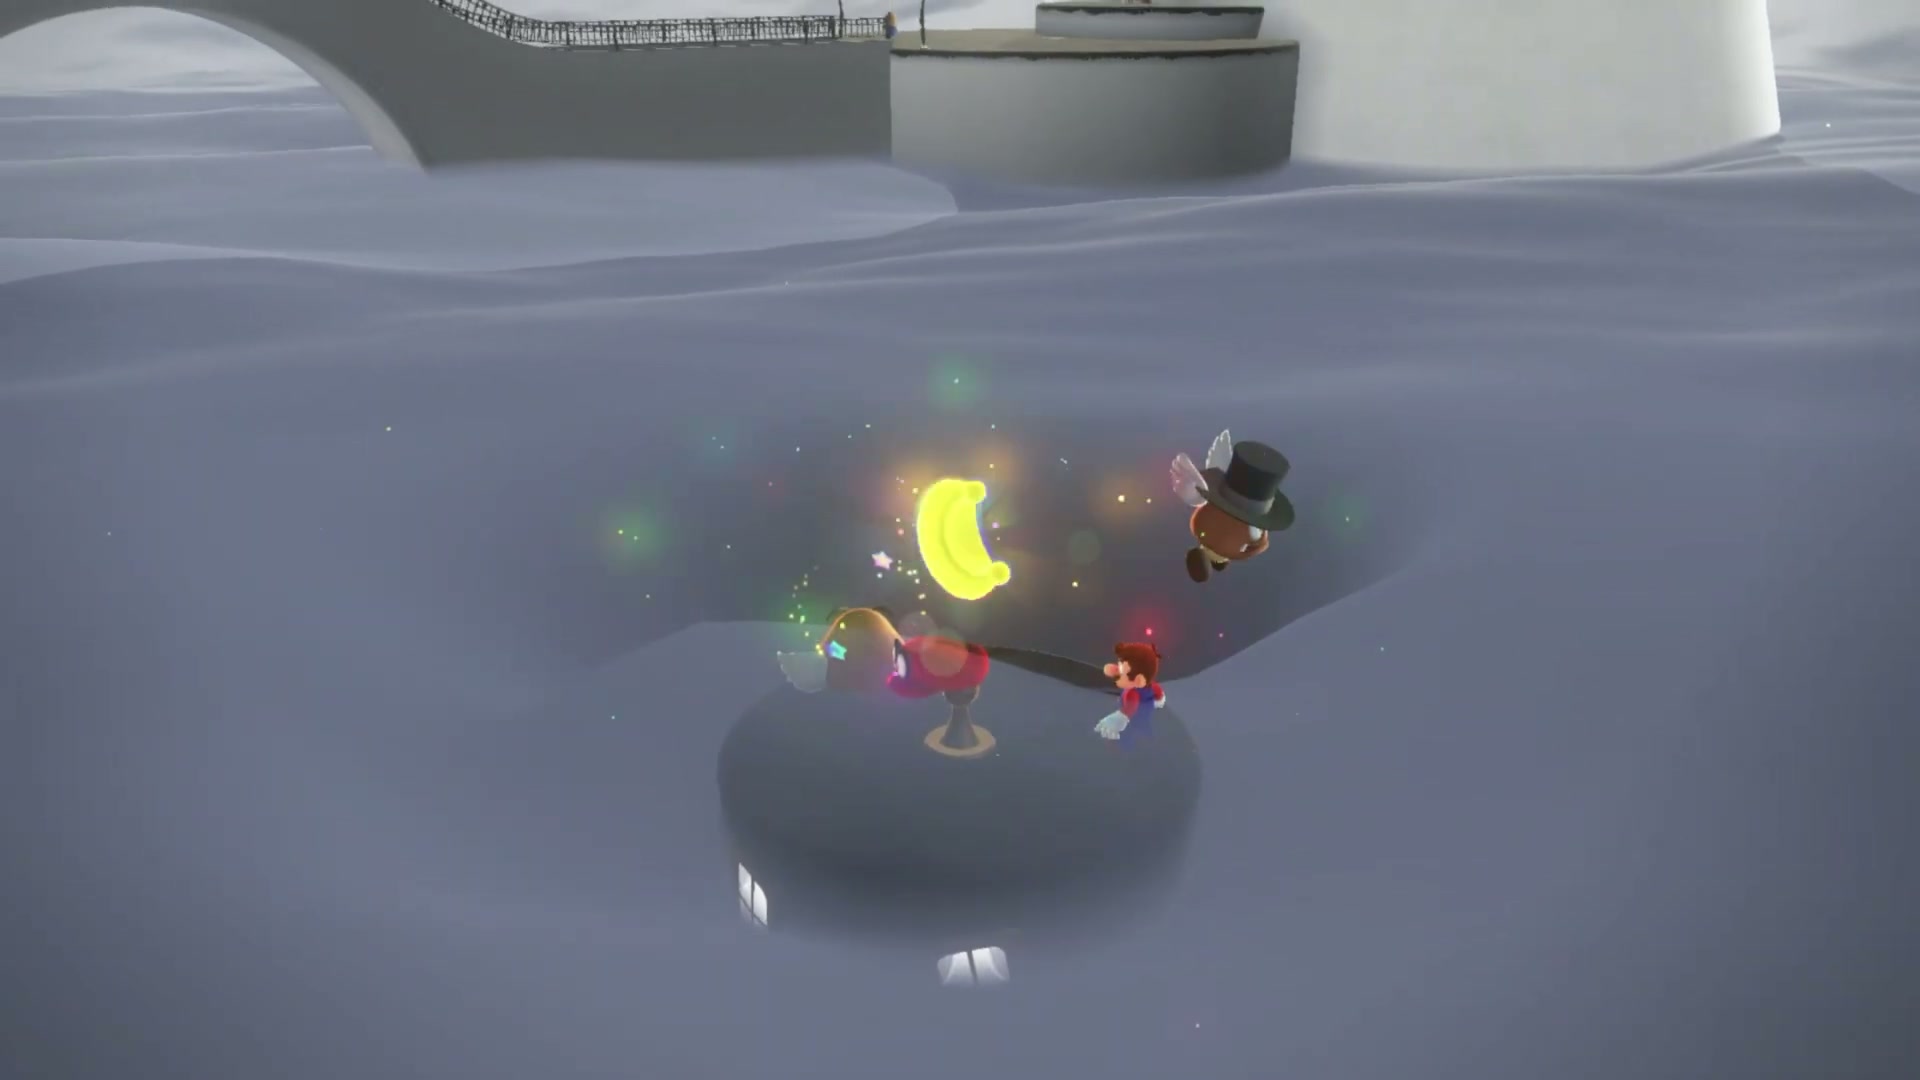
- Capture a Paragoomba and fly toward the top-hat-shaped platform floating in the fog near Sometimes Bridge.
- Land on the hat platform instead of flying past it. The collectible is tied to the glowing pole on top of the sunken hat.
- Throw Cappy at the glowing pole and keep him spinning on it until the hidden Power Moon appears.
- Collect the Moon from the platform, then use the Paragoomba or a safe return route to get back to the main kingdom path.
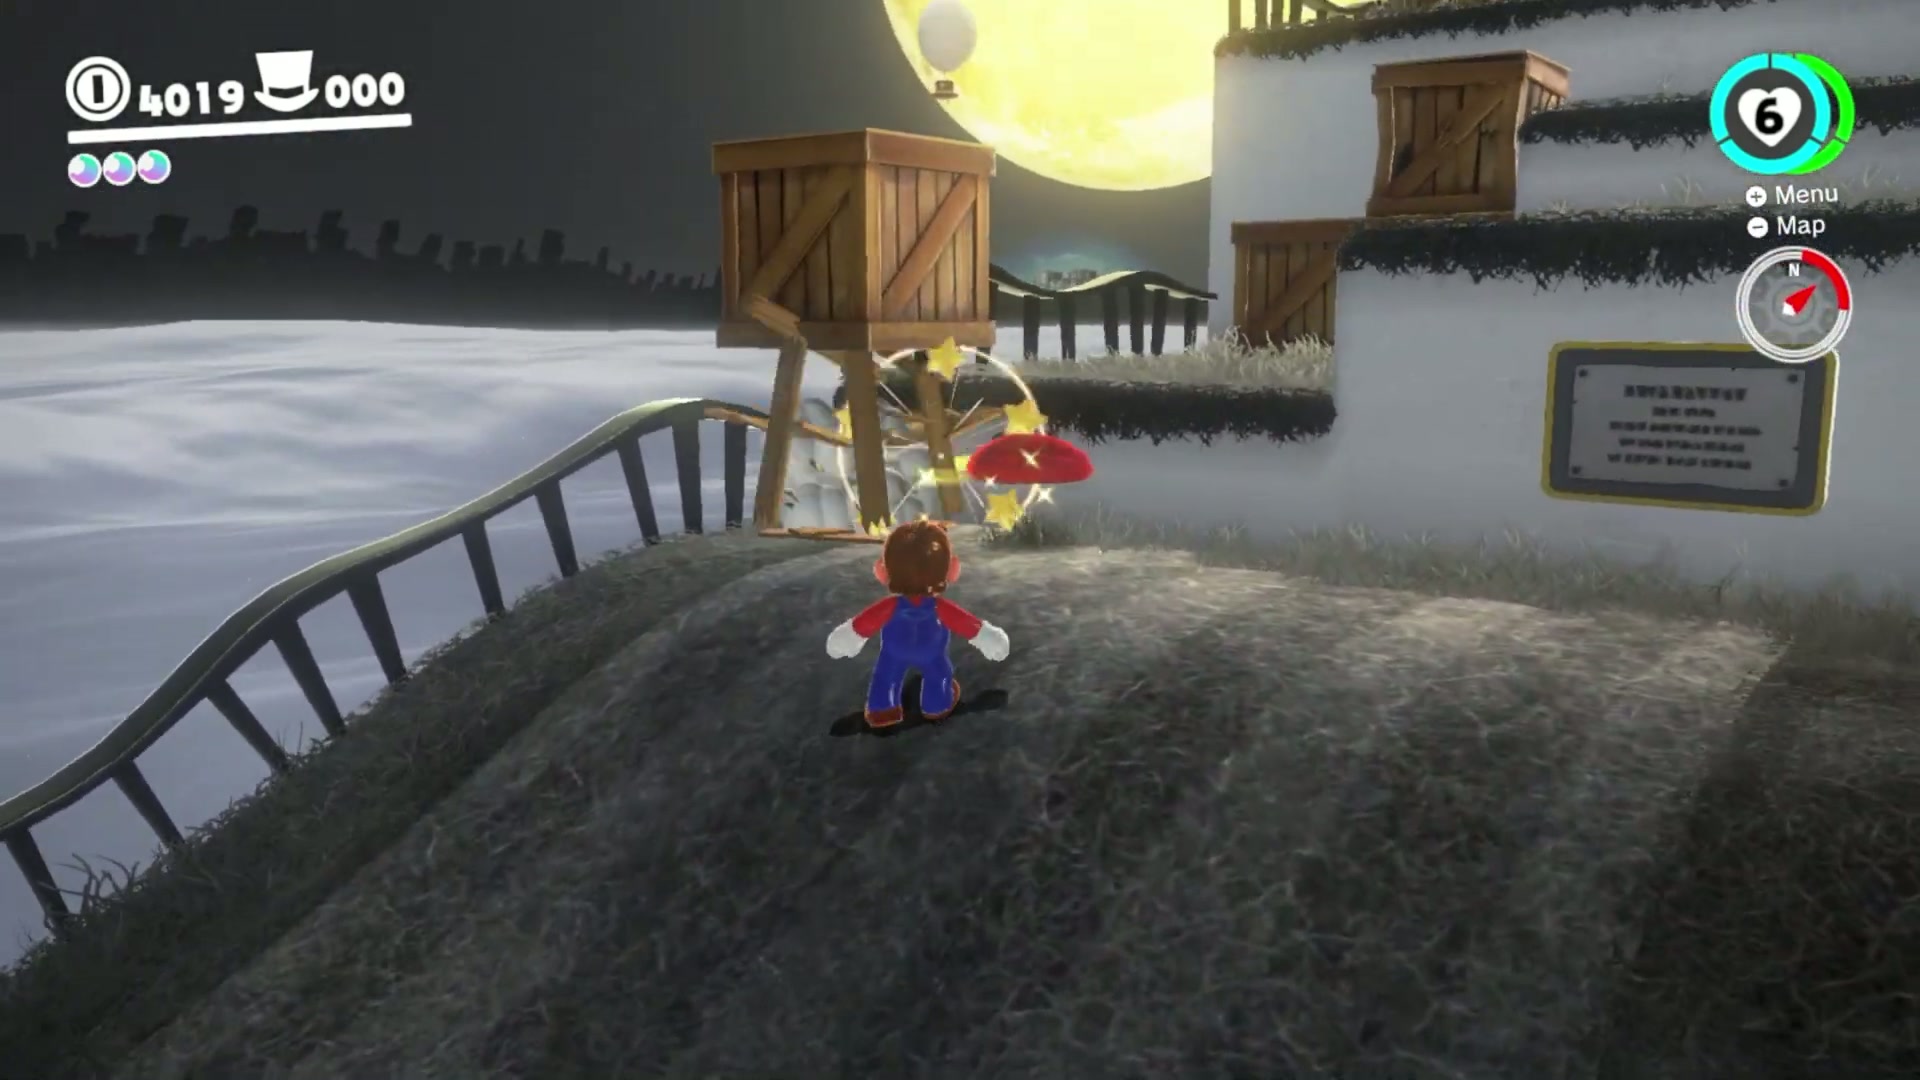
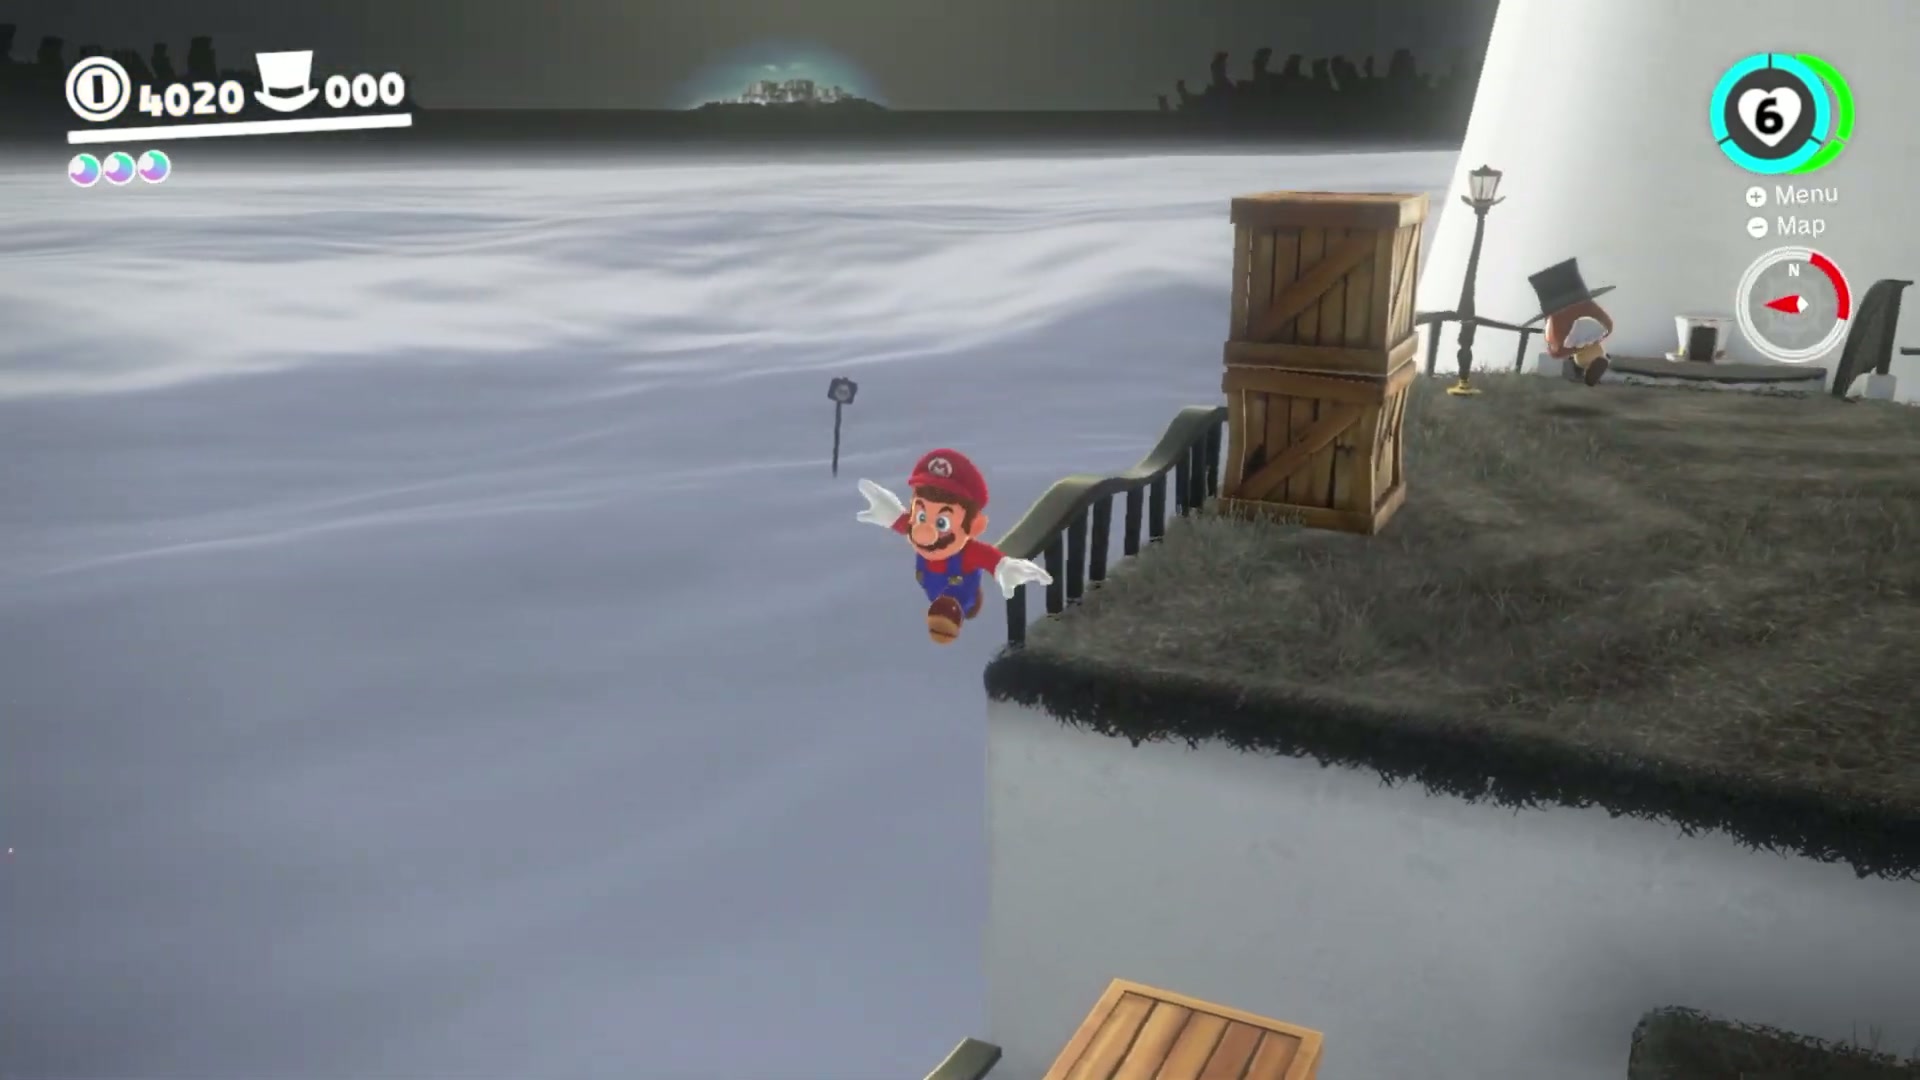
Power Moon #24 – Fog-Shrouded Platform
- Go to the north side of the Central Plaza near the Frog Pond door.
- Look just below the fog line for the faint glowing ground spot on the nearby platform. The marker is subtle, so approach slowly and watch the floor rather than the skyline.
- Stand directly on the glow and ground pound. If the Moon does not appear, adjust slightly around the center of the glow and ground pound again.
- Collect the Power Moon as soon as it pops out, then return to the plaza route.
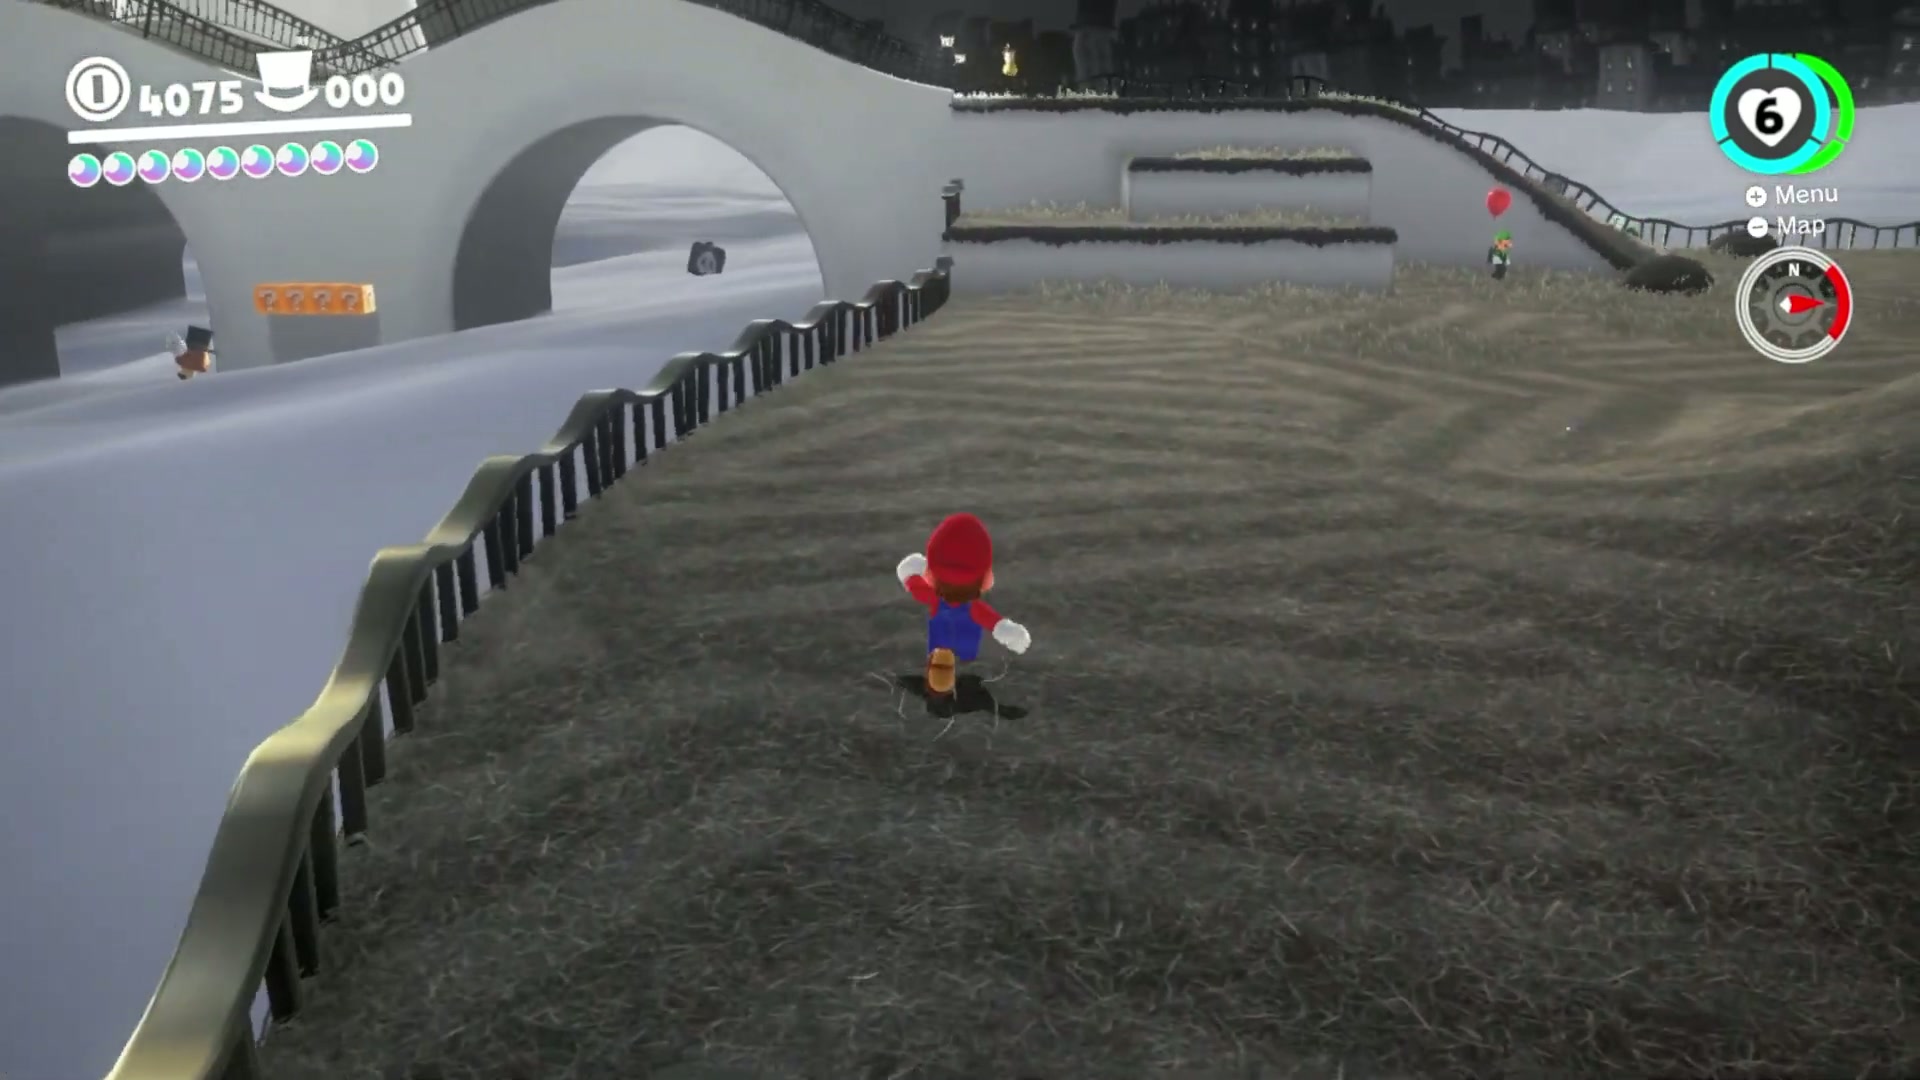
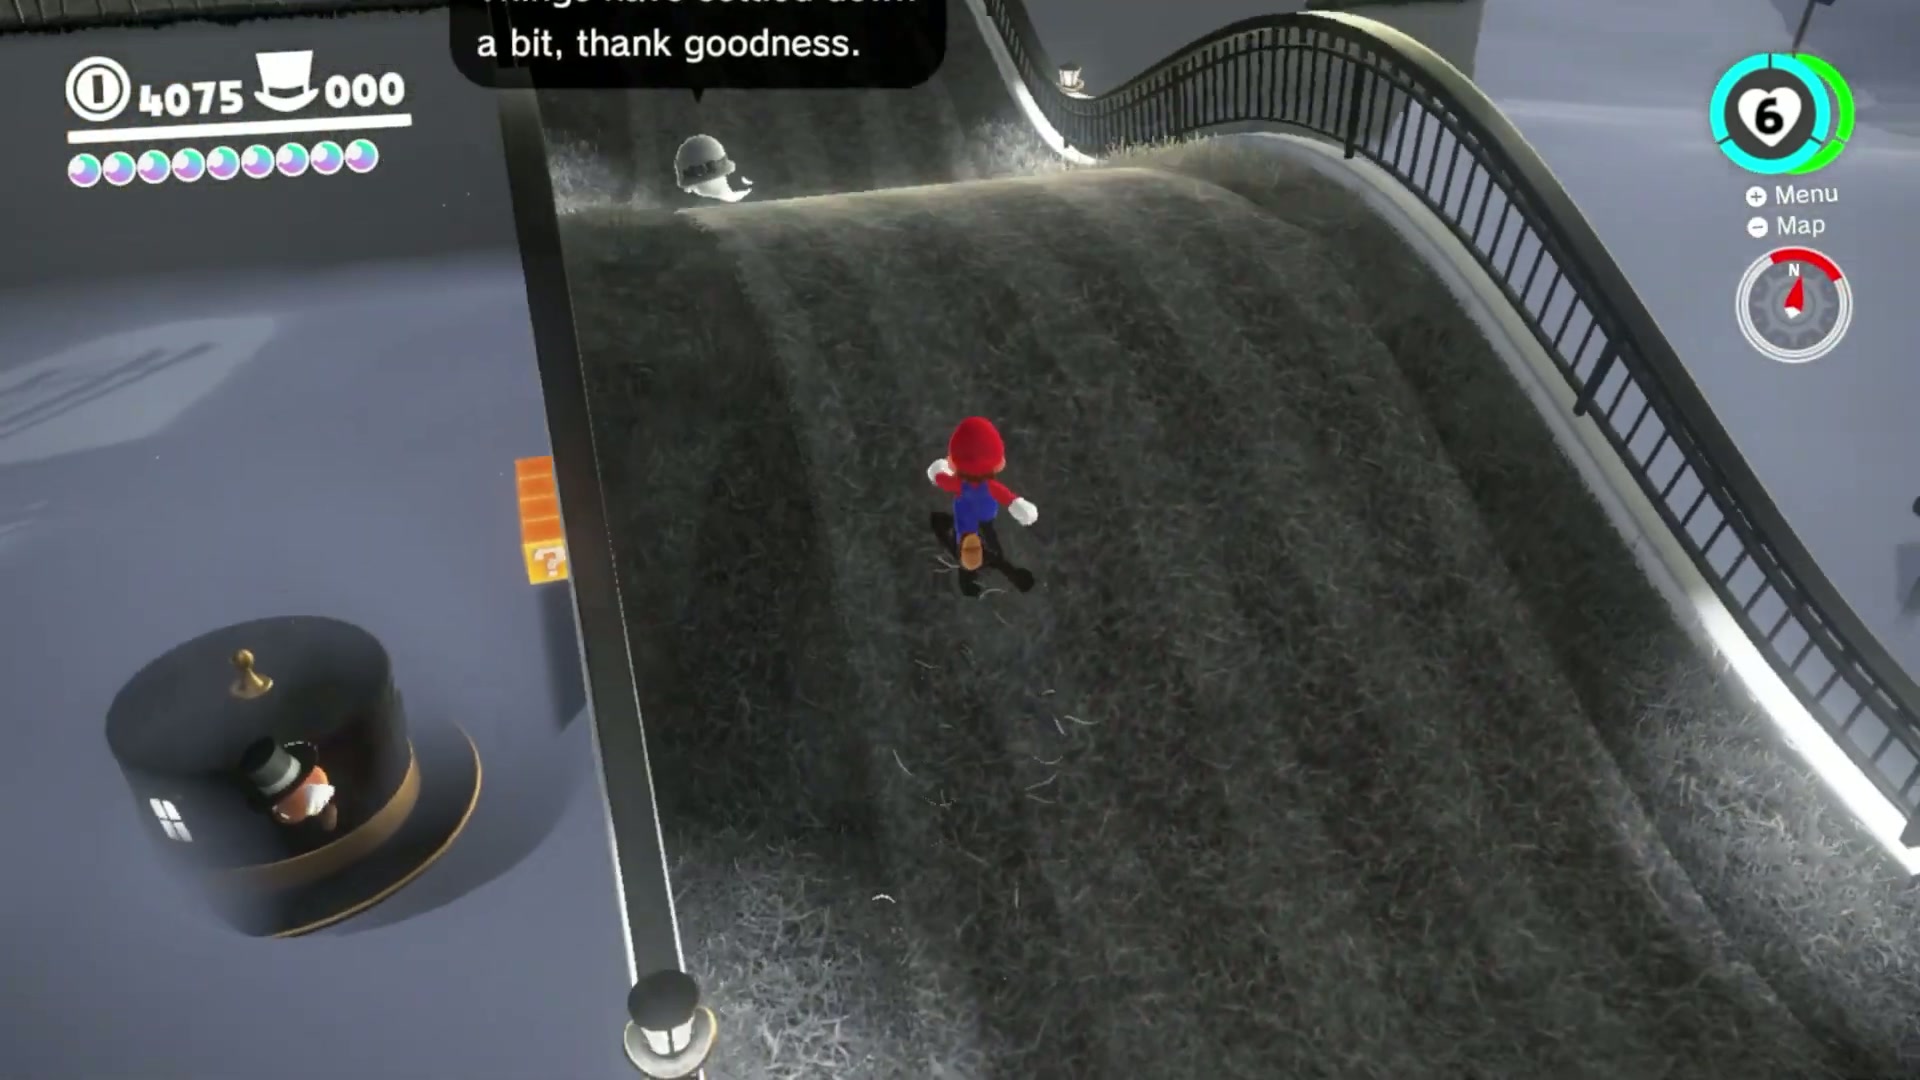
Power Moon #25 – Bird Traveling in the Fog
- Capture a Paragoomba and fly around the outer fog route of Cap Kingdom.
- Watch for the small white bird circling the kingdom on a fixed low path. It can be easier to intercept than to chase from behind.
- Position the Paragoomba slightly ahead of the bird path and fly into the bird as it comes around the loop.
- When you hit the bird, it drops the Power Moon. Collect it quickly before drifting too far away from the fog route.
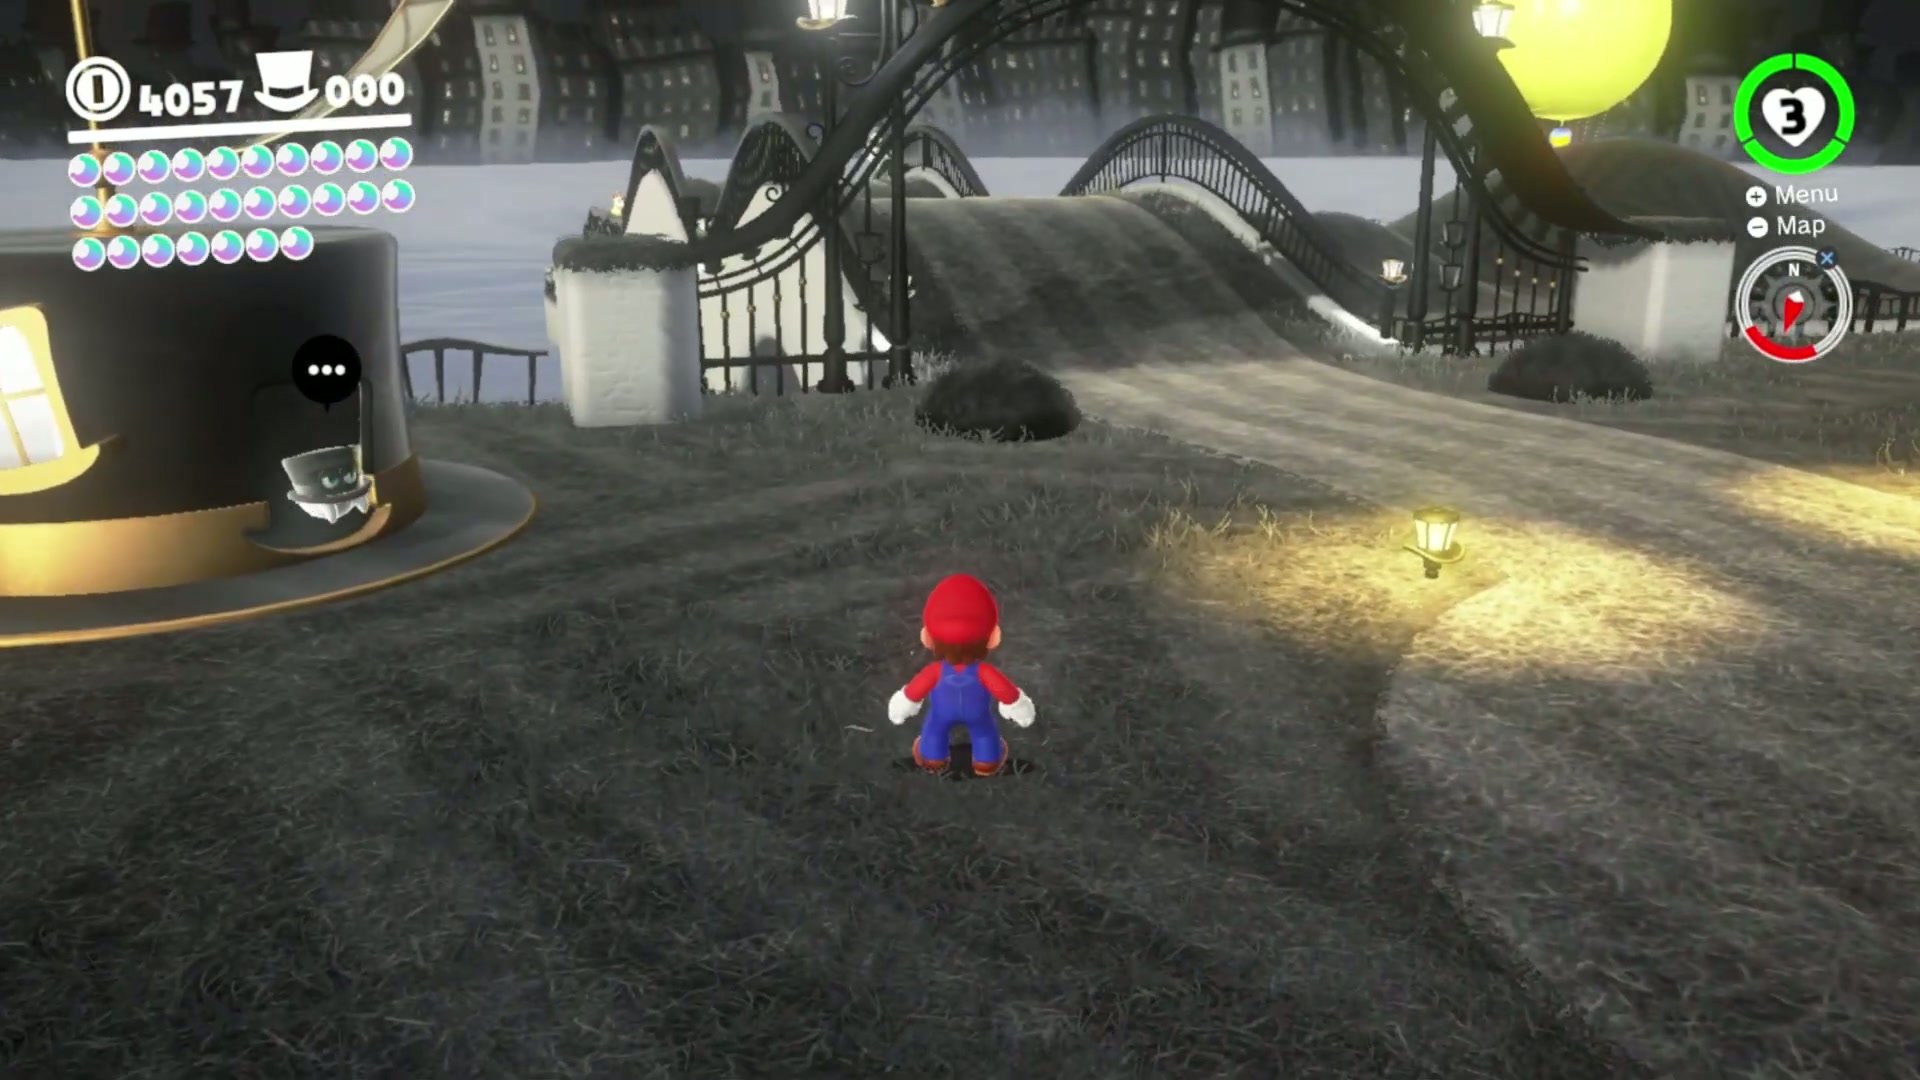
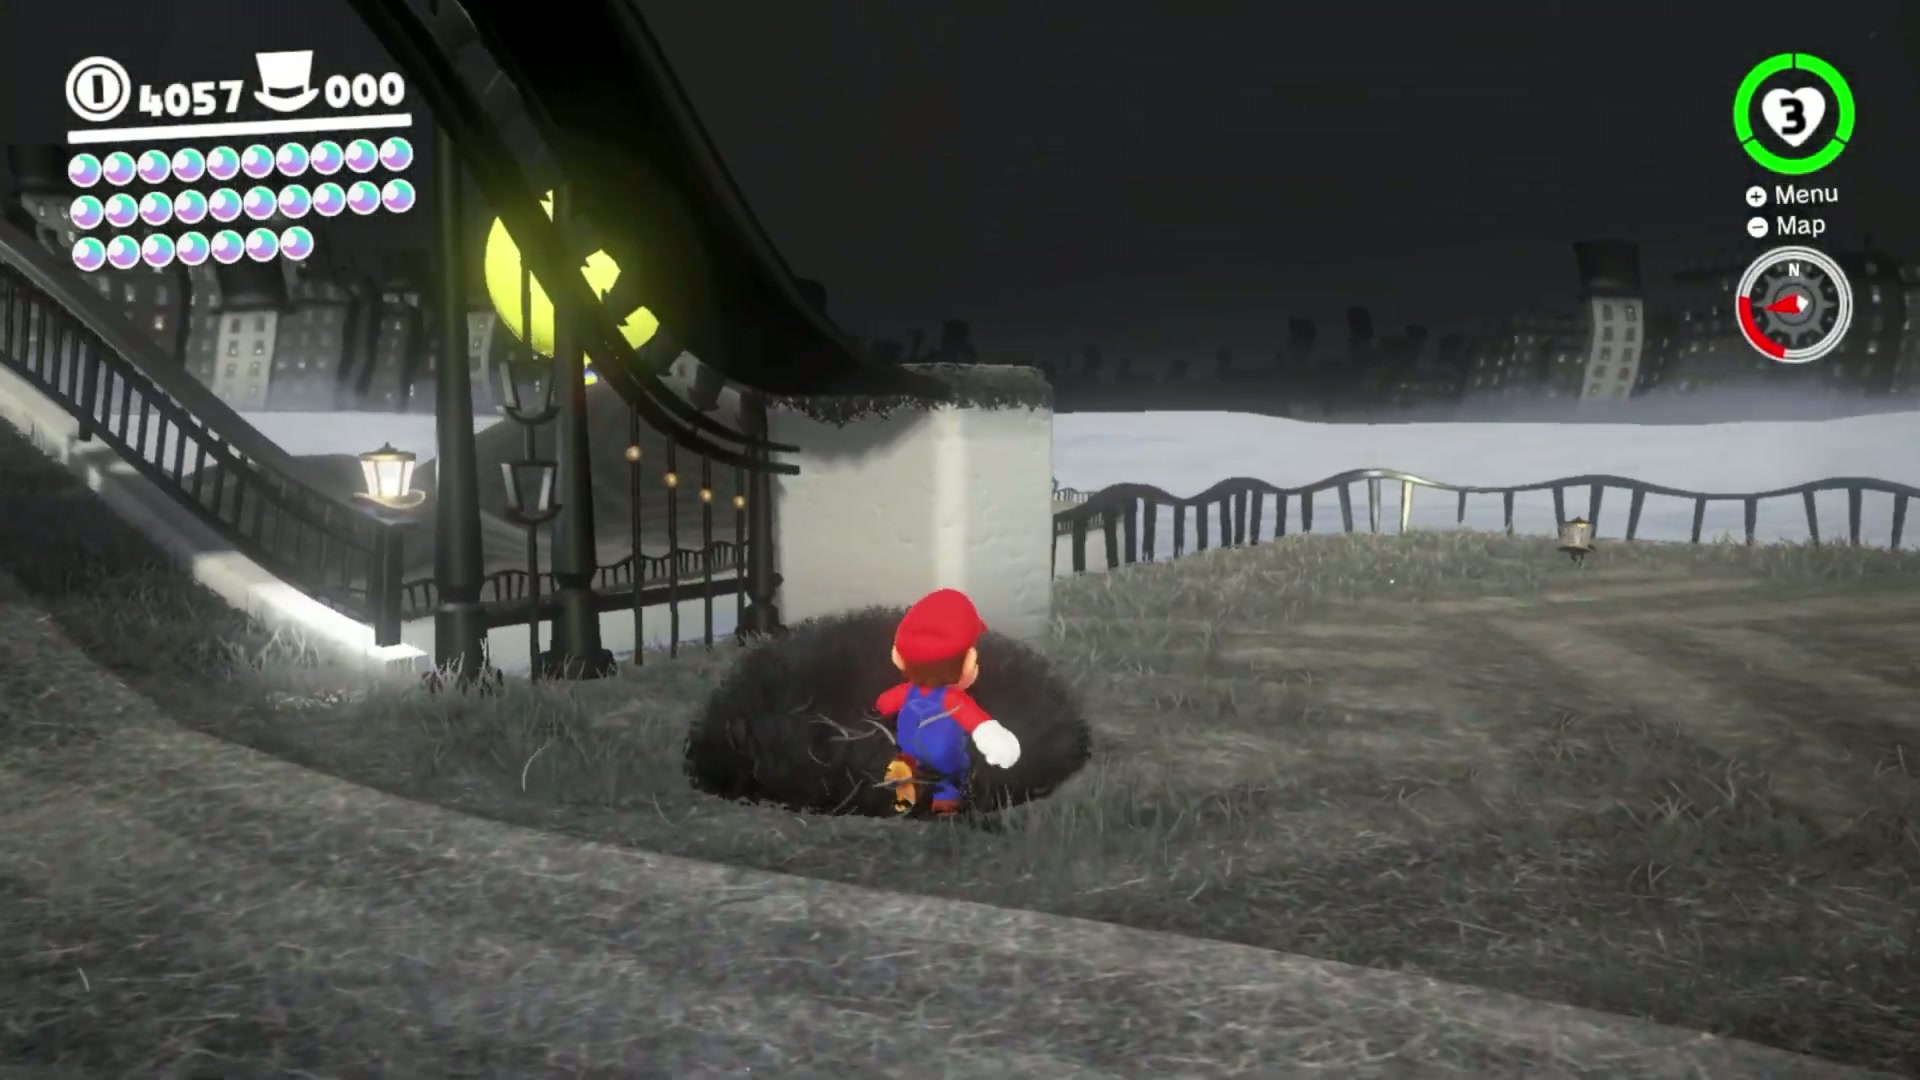
Power Moon #26 – Caught Hopping Near the Ship!
- Go to the tall hill near the Odyssey and look for the rabbit hopping around the area.
- Chase the rabbit toward the edge or a tighter part of the hill so it has less room to turn away.
- Use quick rolls, Cappy throws, and short direction changes to close the gap. The goal is to touch the rabbit, not defeat it.
- Once you catch it, the rabbit gives up the Power Moon near the ship area.
Power Moon #27 – Taking Notes: In the Fog
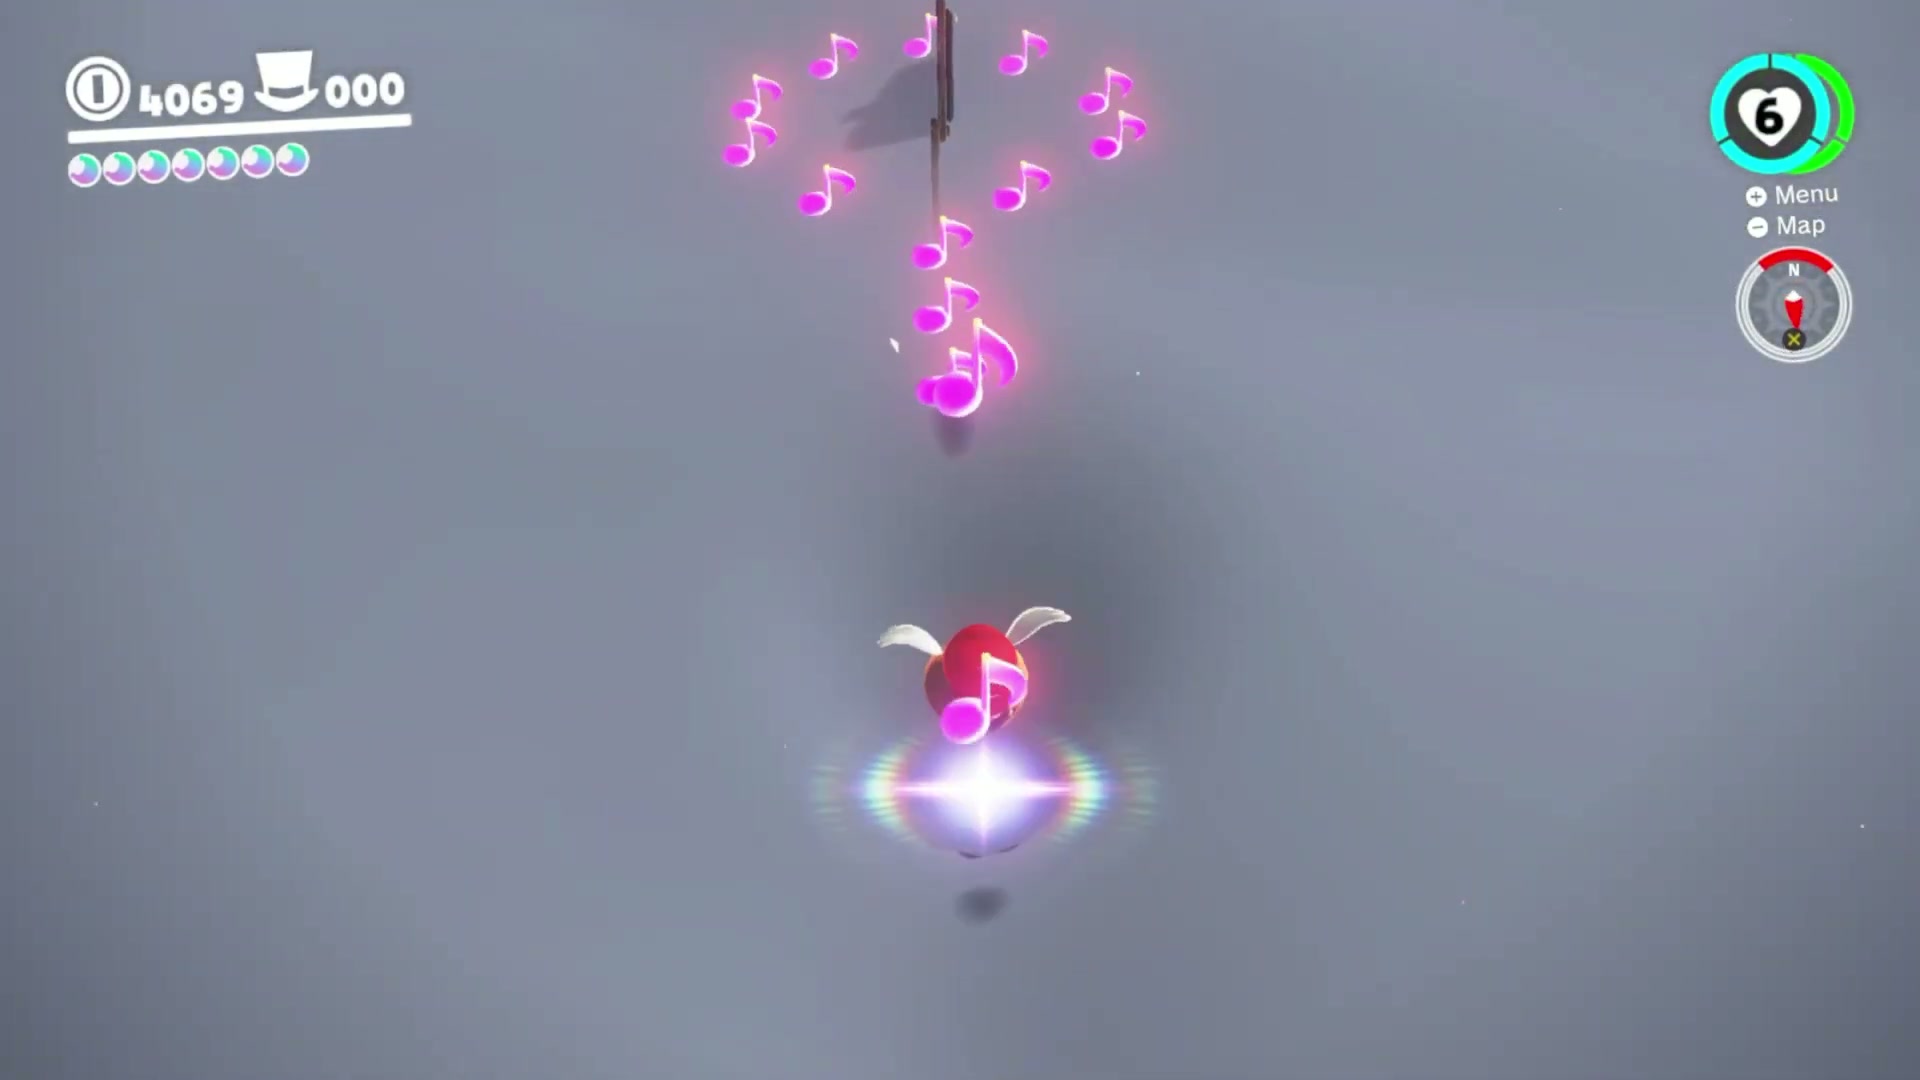
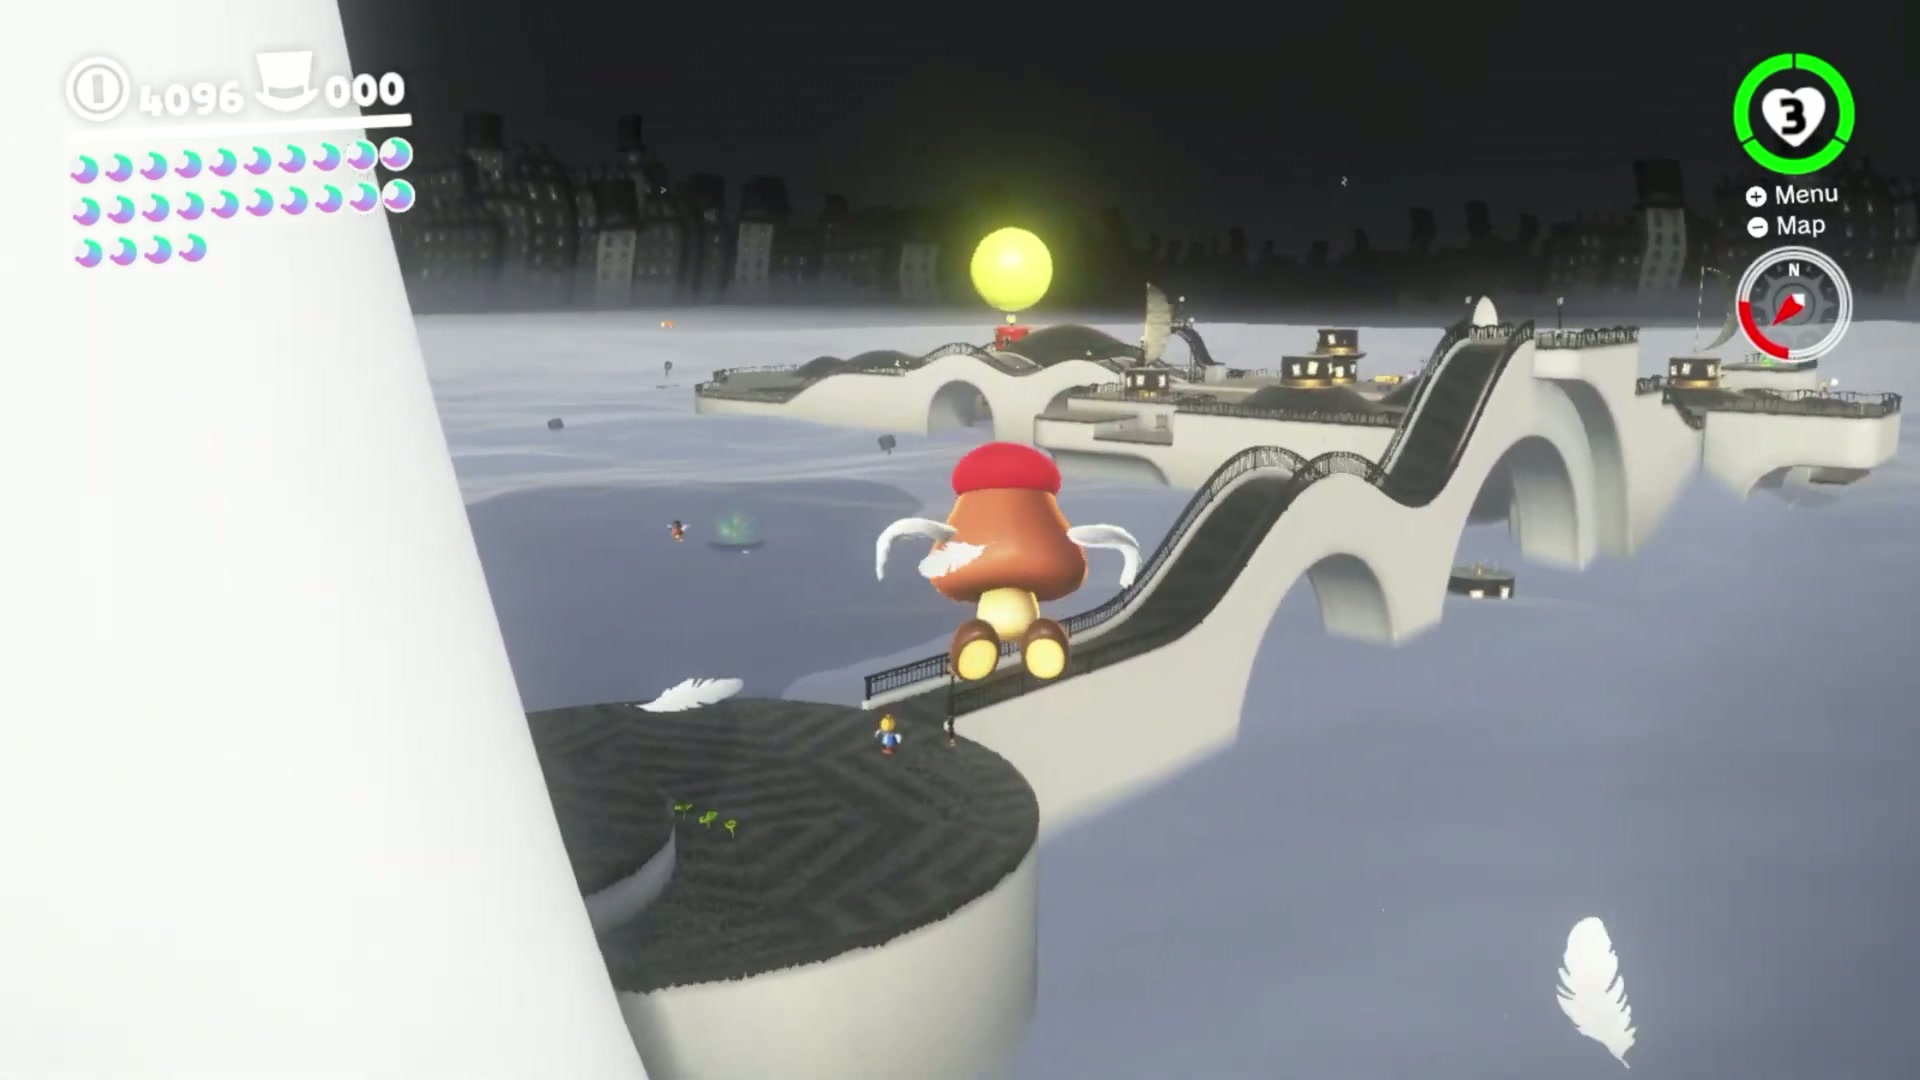
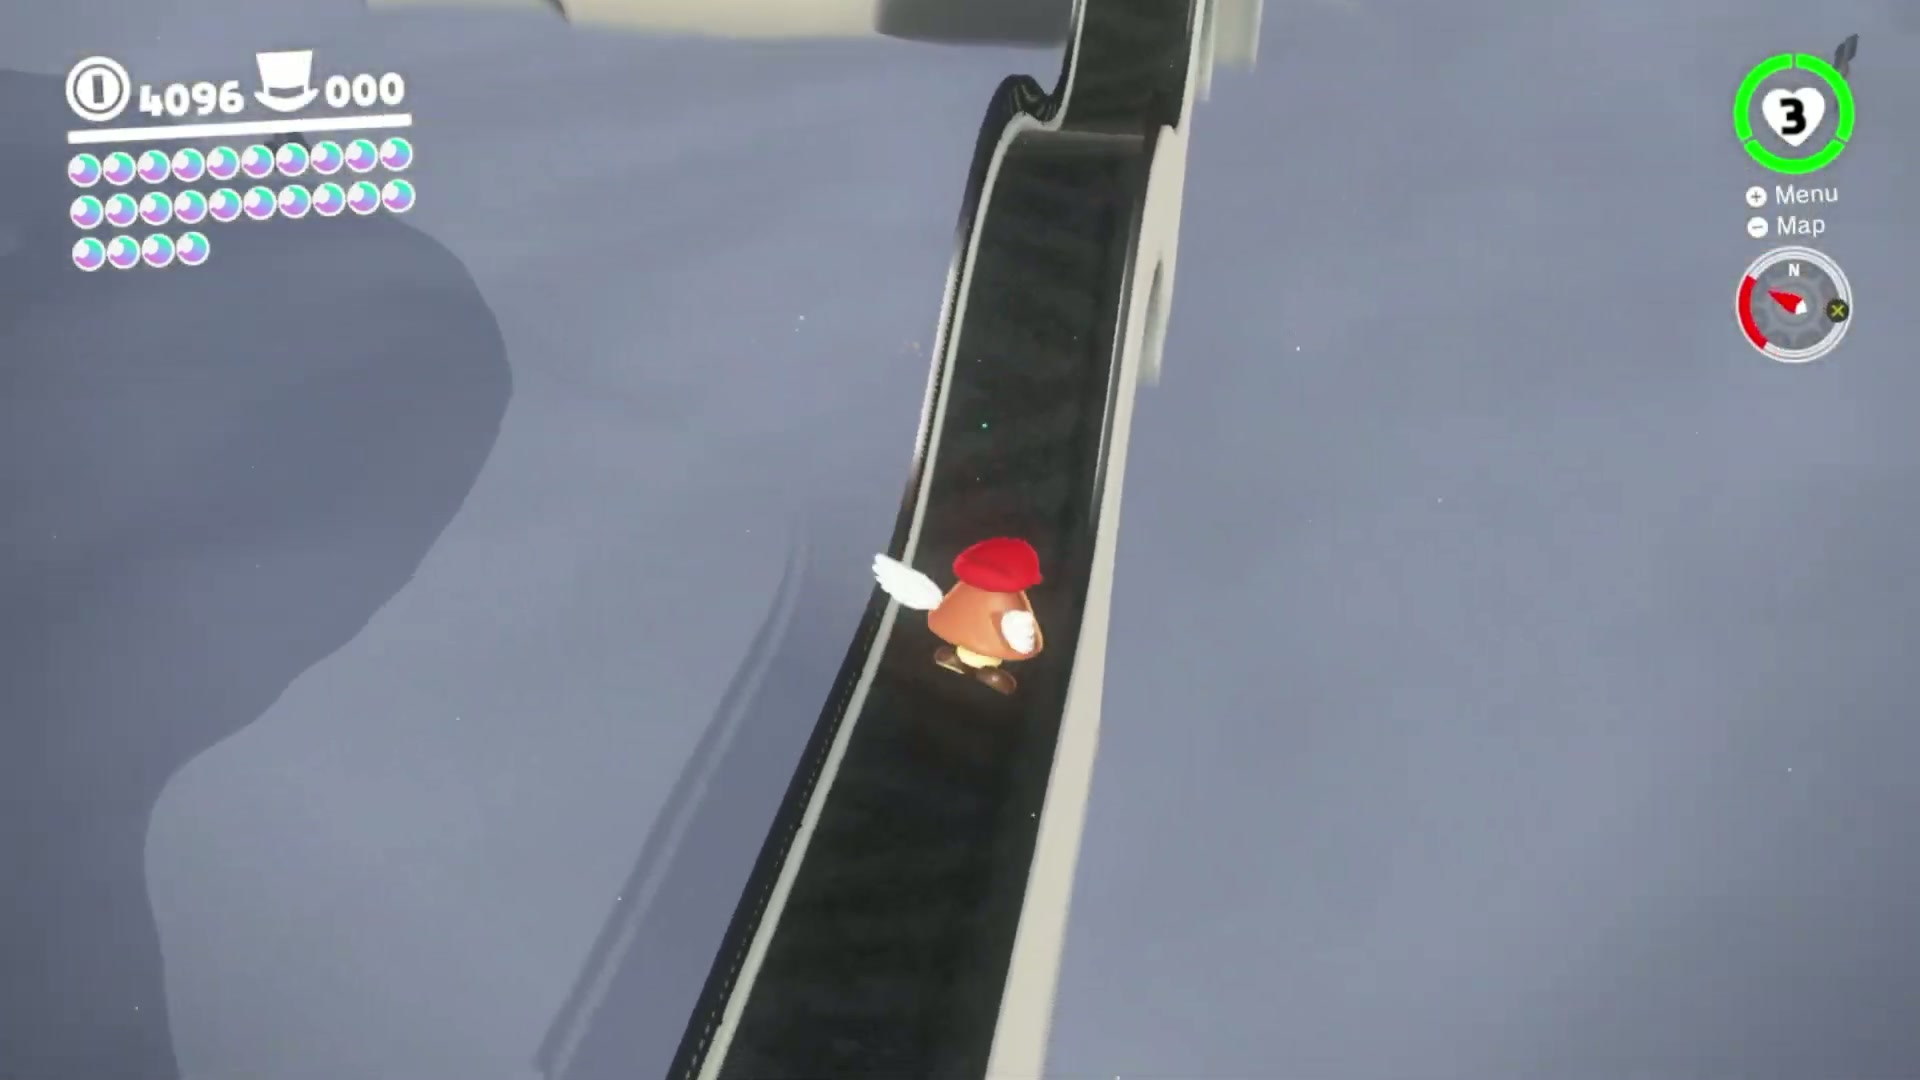
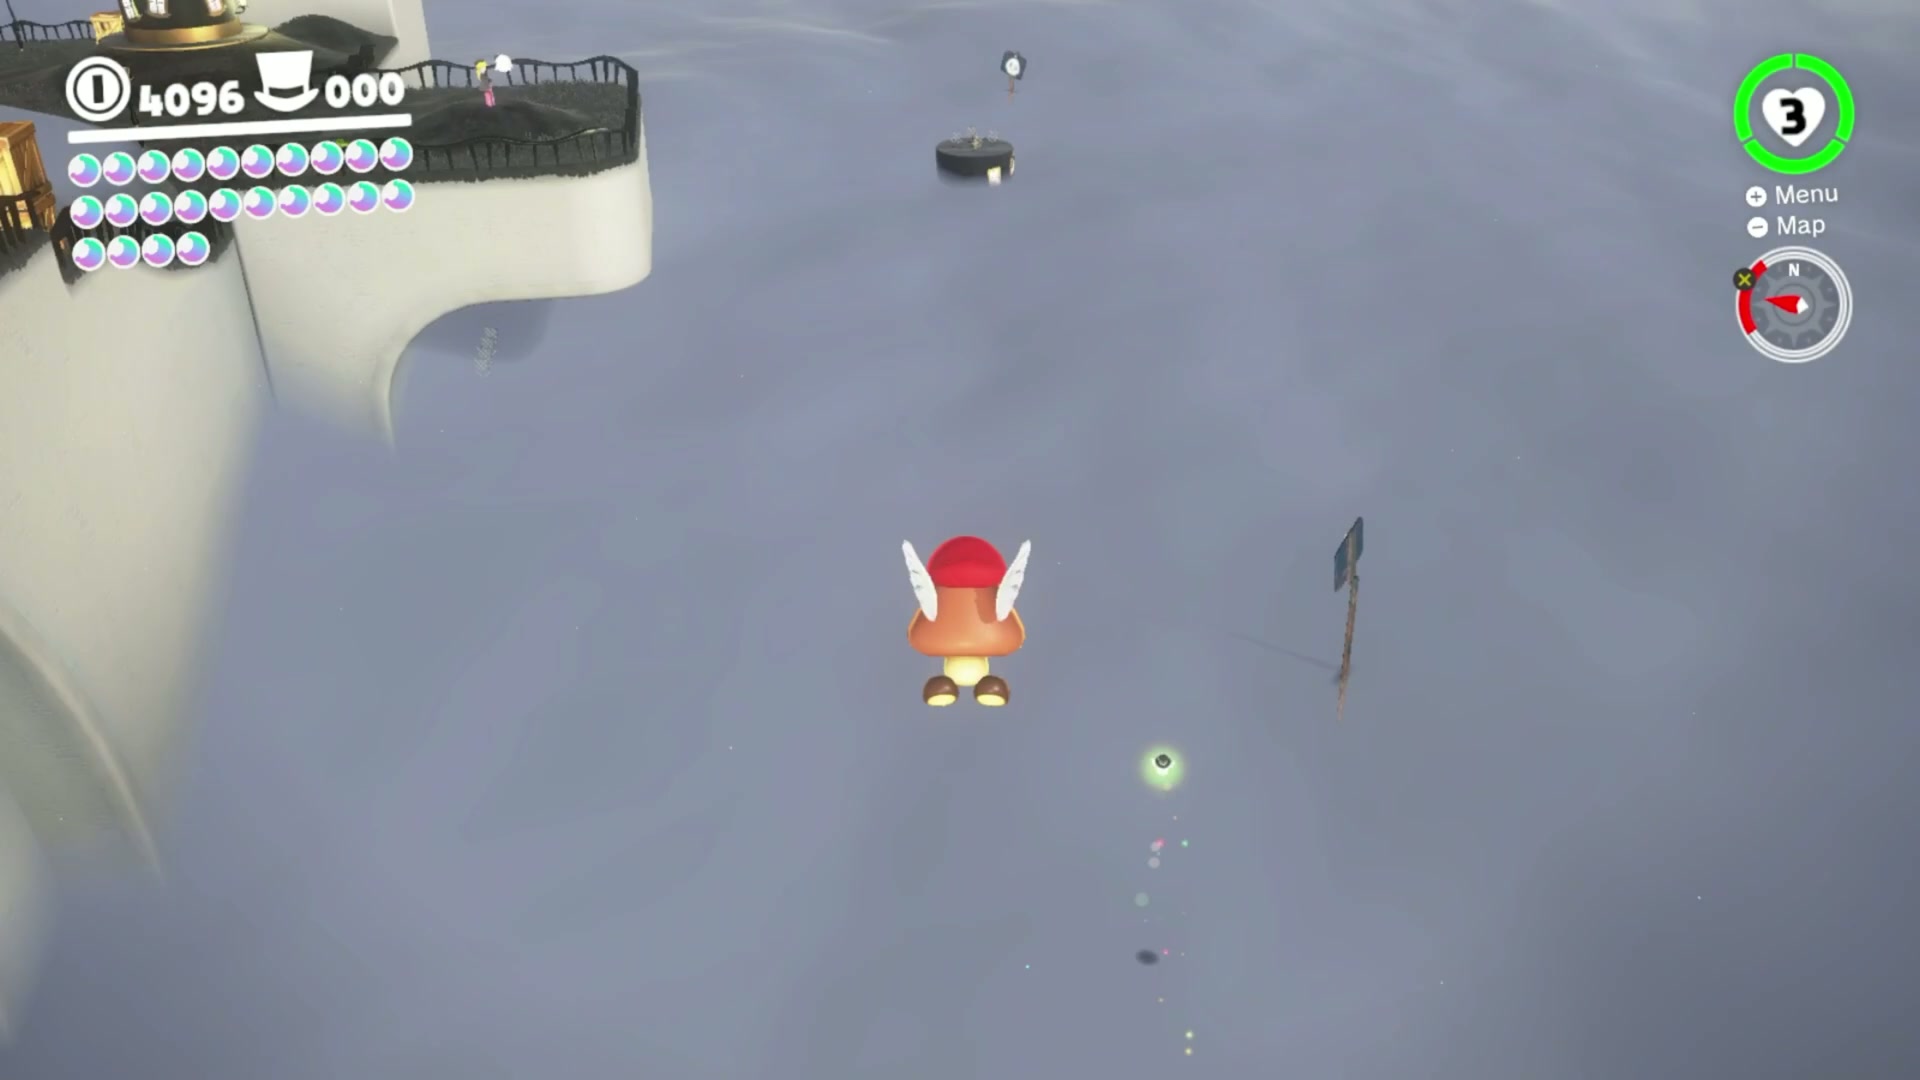
- Capture a Paragoomba and fly west from the Central Plaza toward the top-hat platform with the rainbow treble clef.
- Touch the treble clef to spawn the musical notes over the fog. Stay in the Paragoomba capture before collecting them.
- Fly a tight loop through the notes at the same height instead of drifting wide around the platform.
- Collect every note before the timer ends to spawn the Power Moon, then fly into the reward before leaving the fog route.
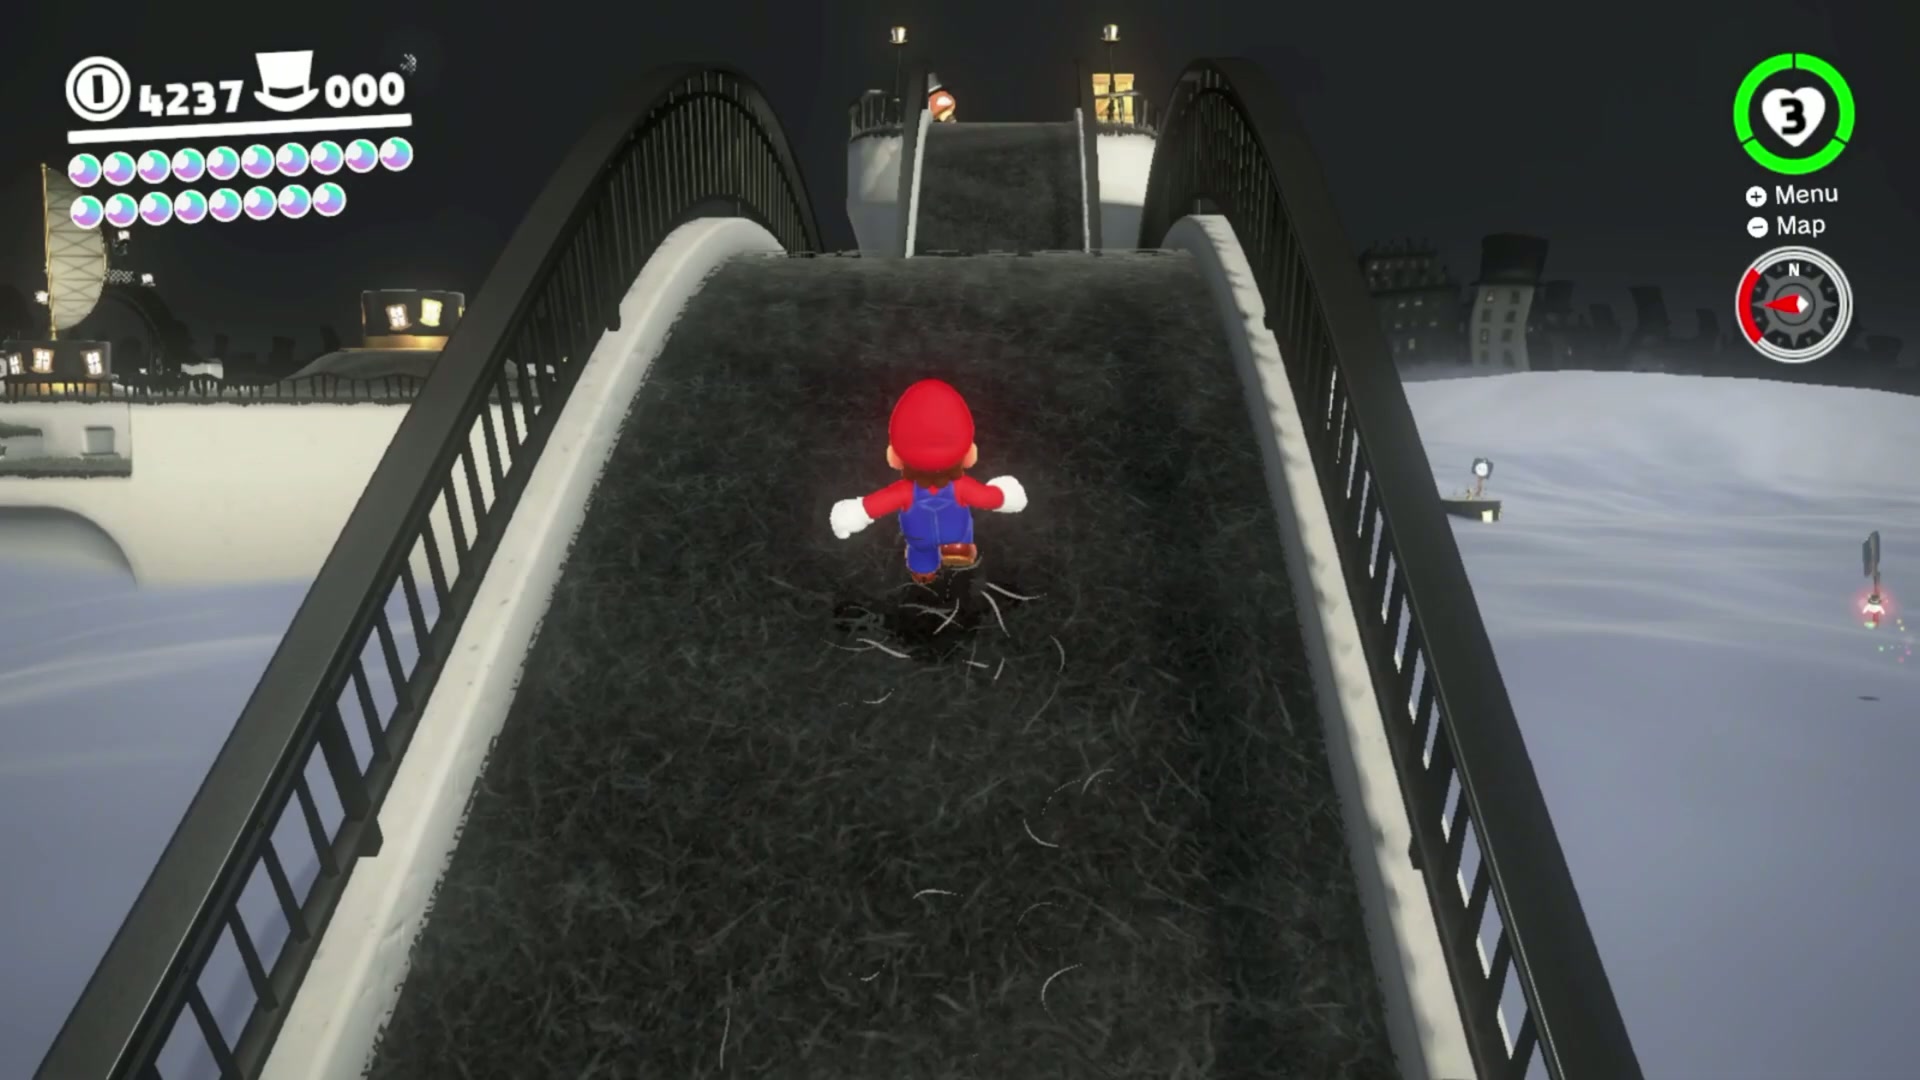
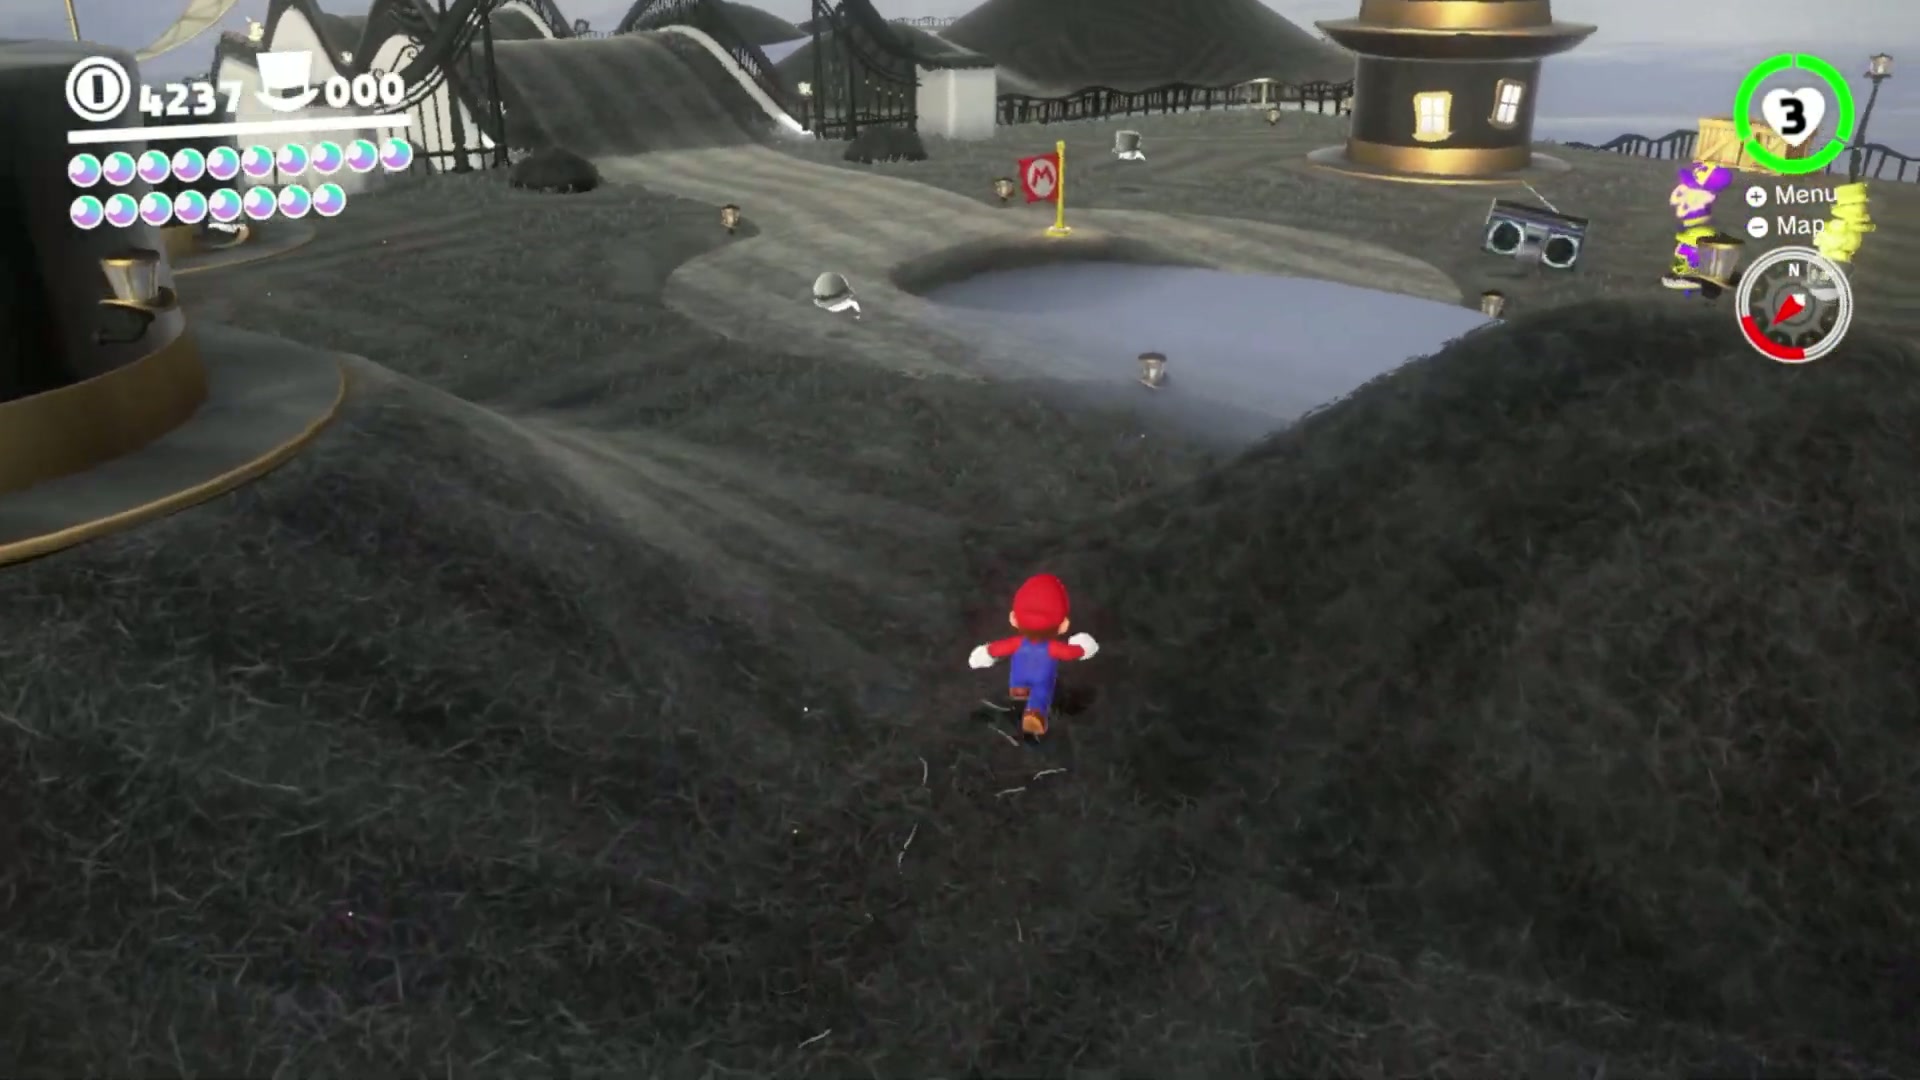
Power Moon #28 – Cap Kingdom Timer Challenge 2
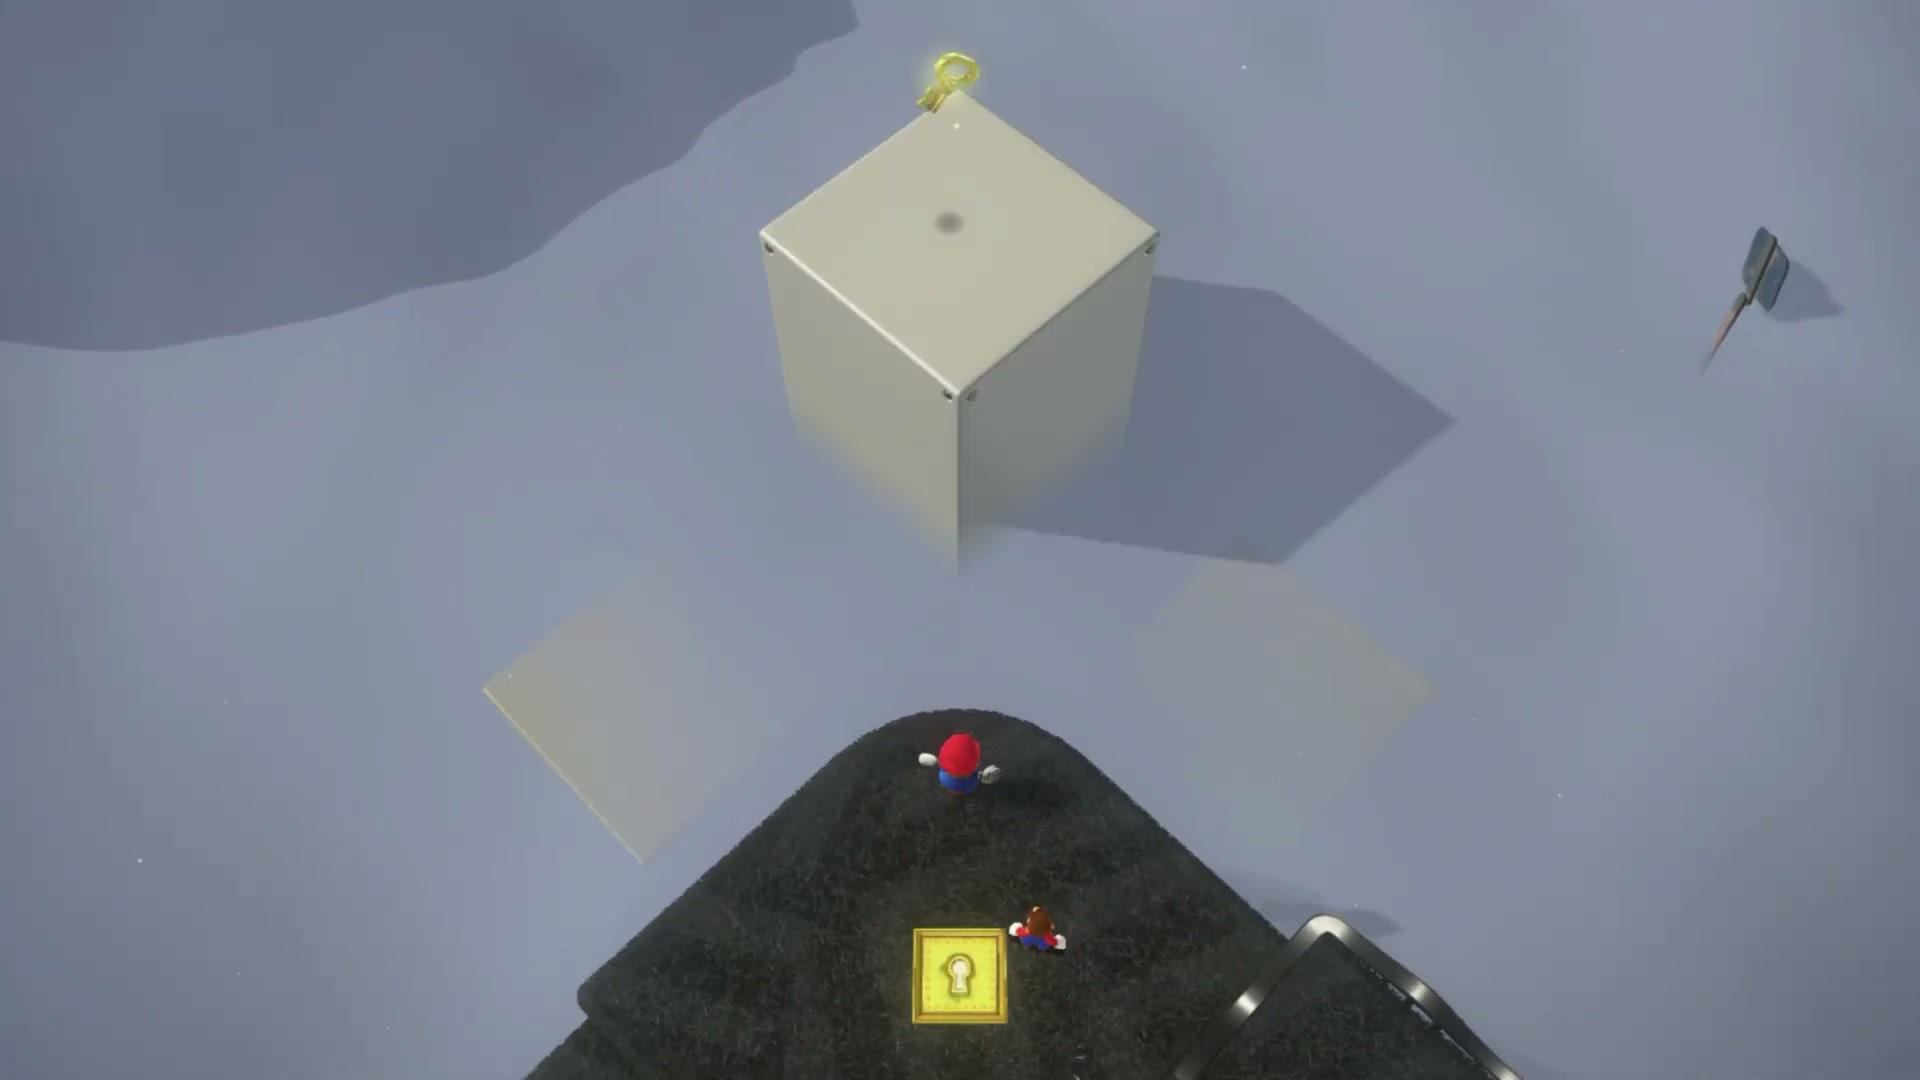
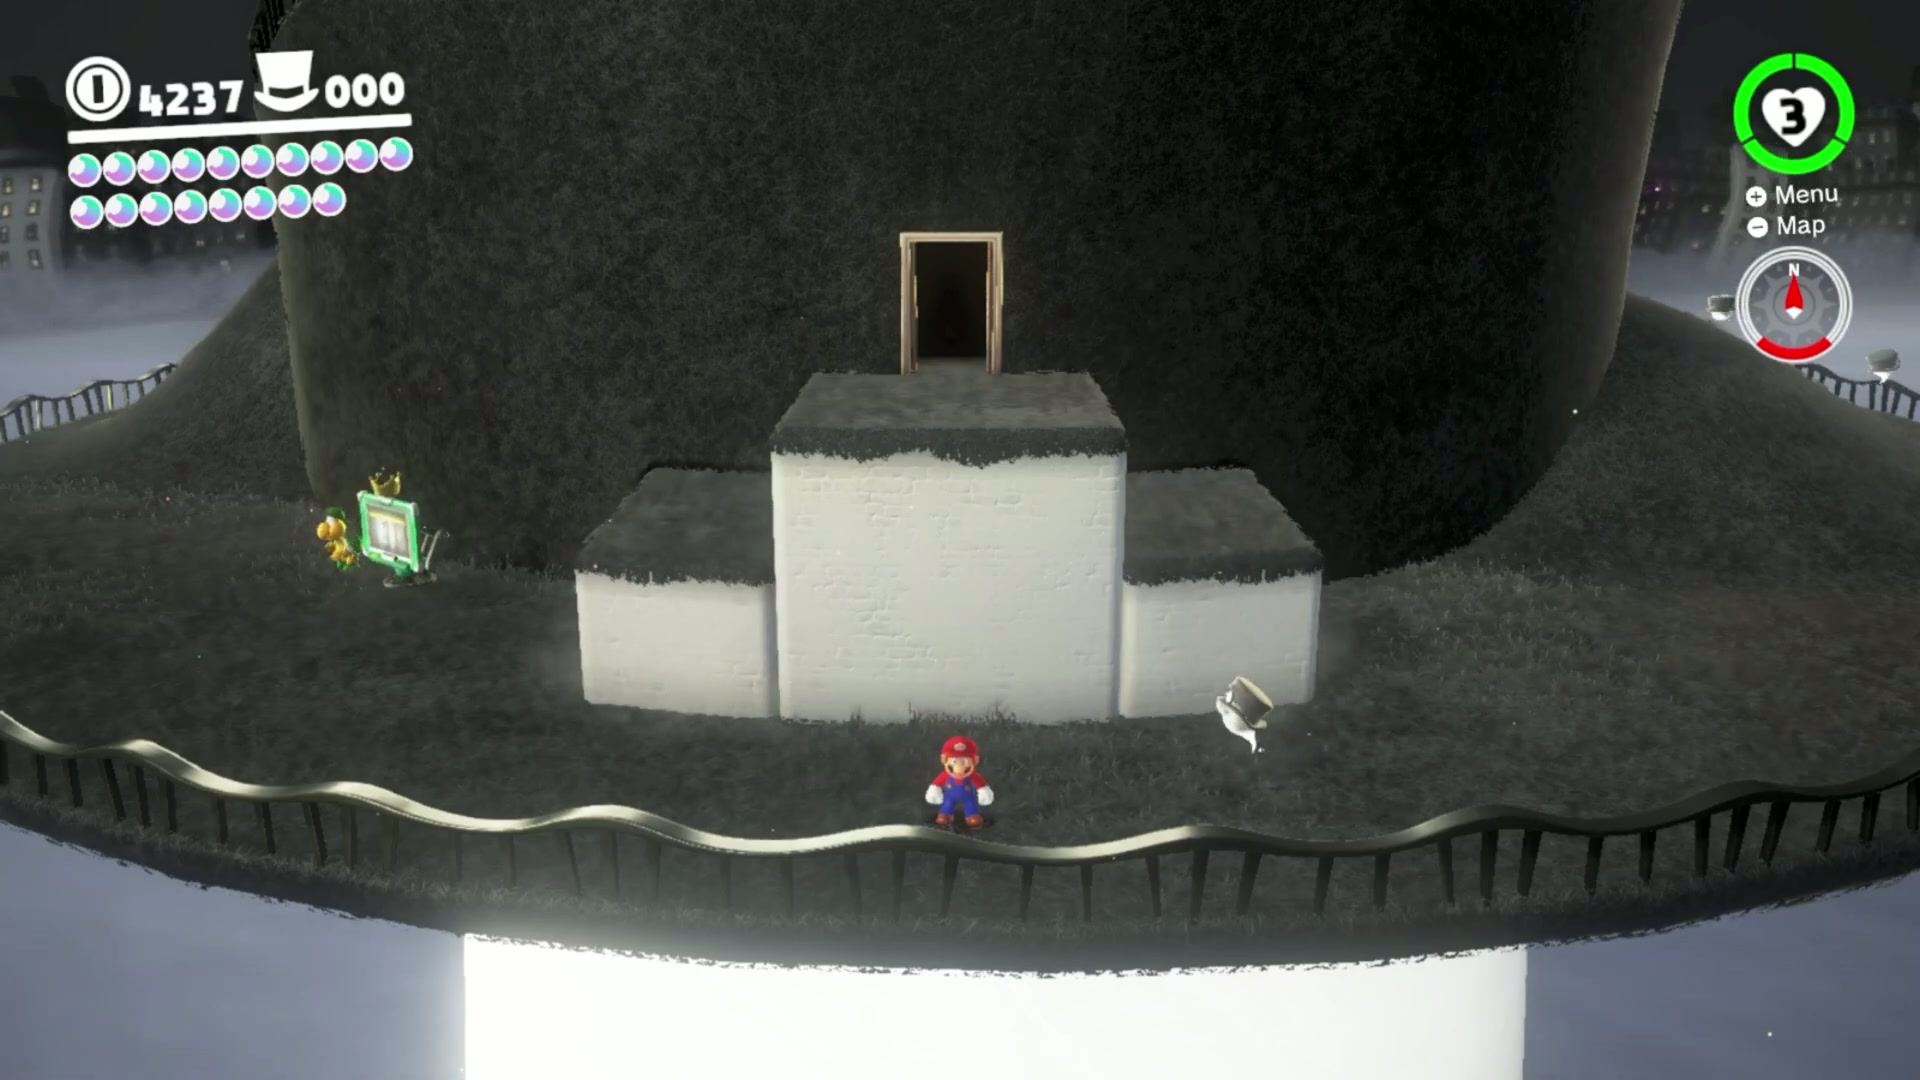
- Find the scarecrow in the south-east corner of the Central Plaza and throw Cappy onto it to start the timed challenge.
- Moving platforms and a key appear as soon as the timer begins. Move immediately toward the key rather than waiting for Cappy to return.
- Grab the key, cross to the keyhole, and unlock the Power Moon path before the platforms vanish.
- Collect the Moon before time runs out. If the platforms disappear, restart from the scarecrow and take a cleaner direct route to the key first.
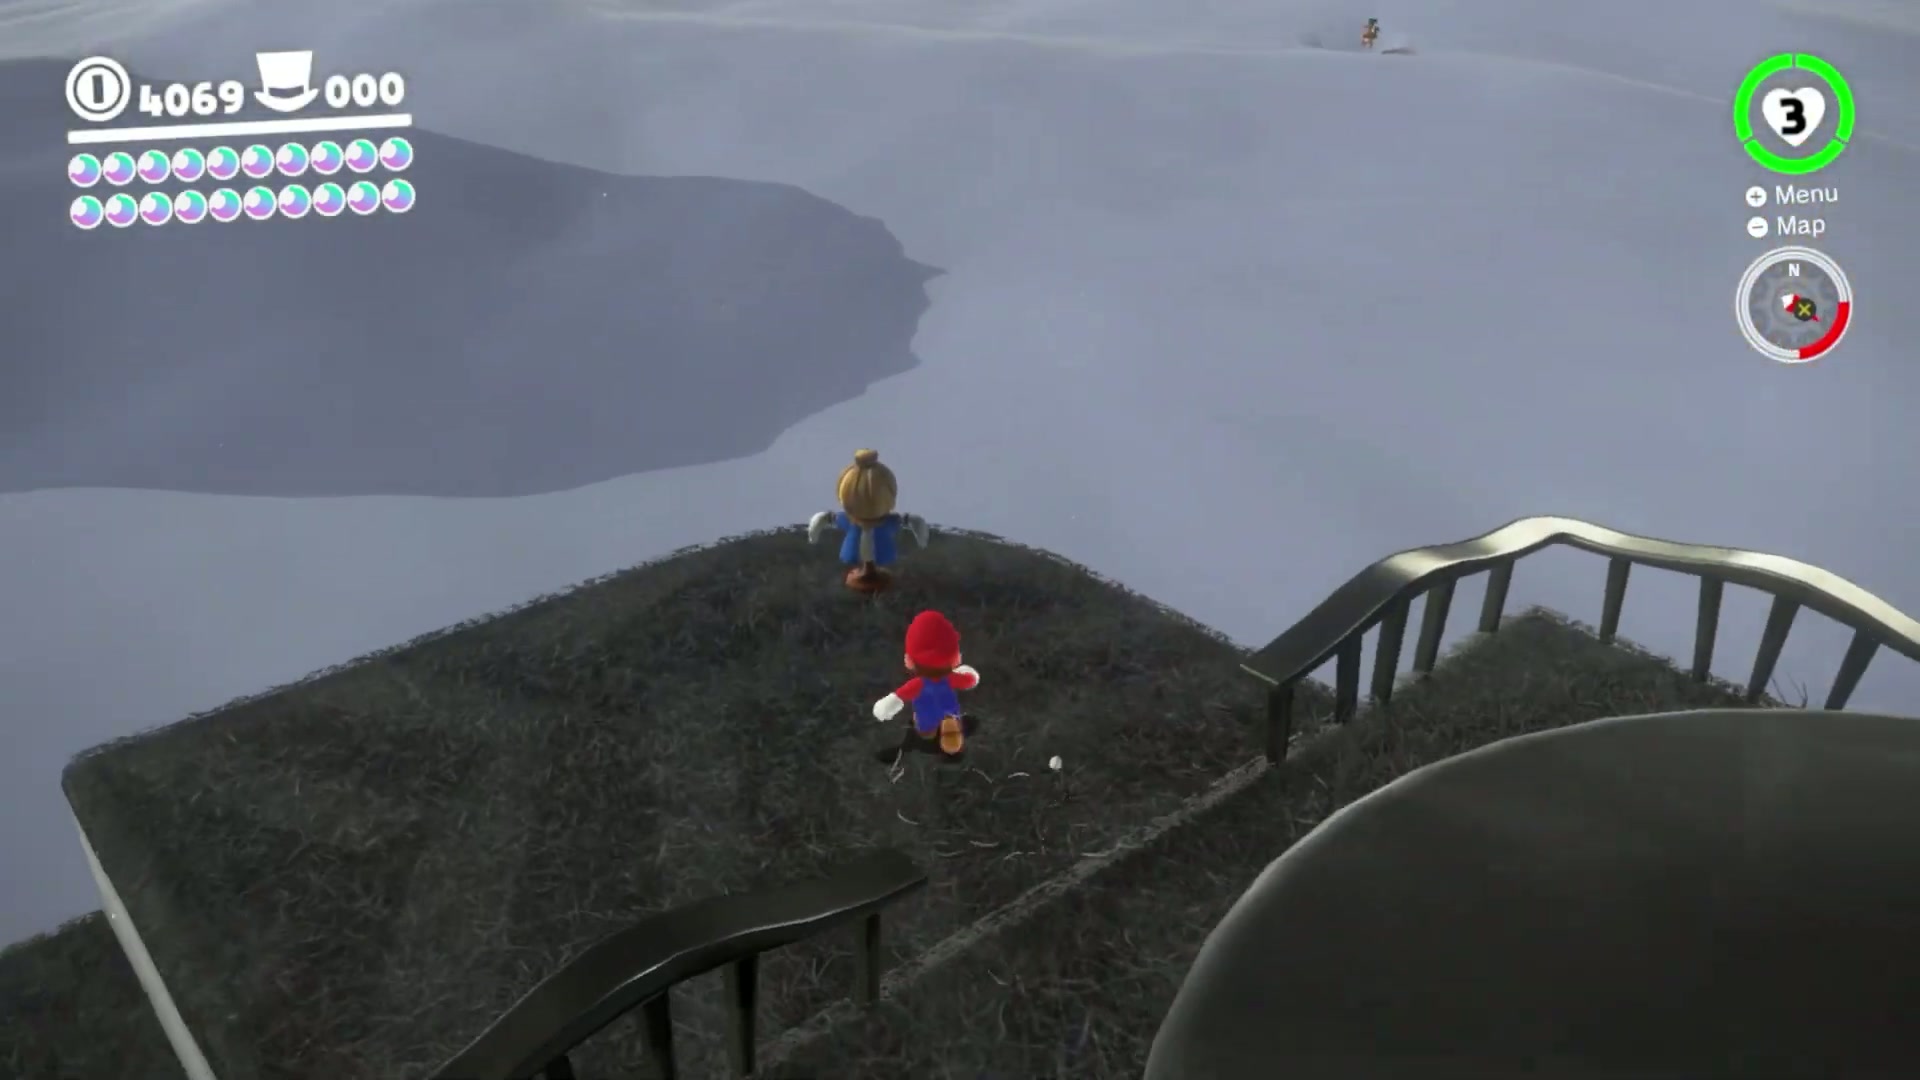
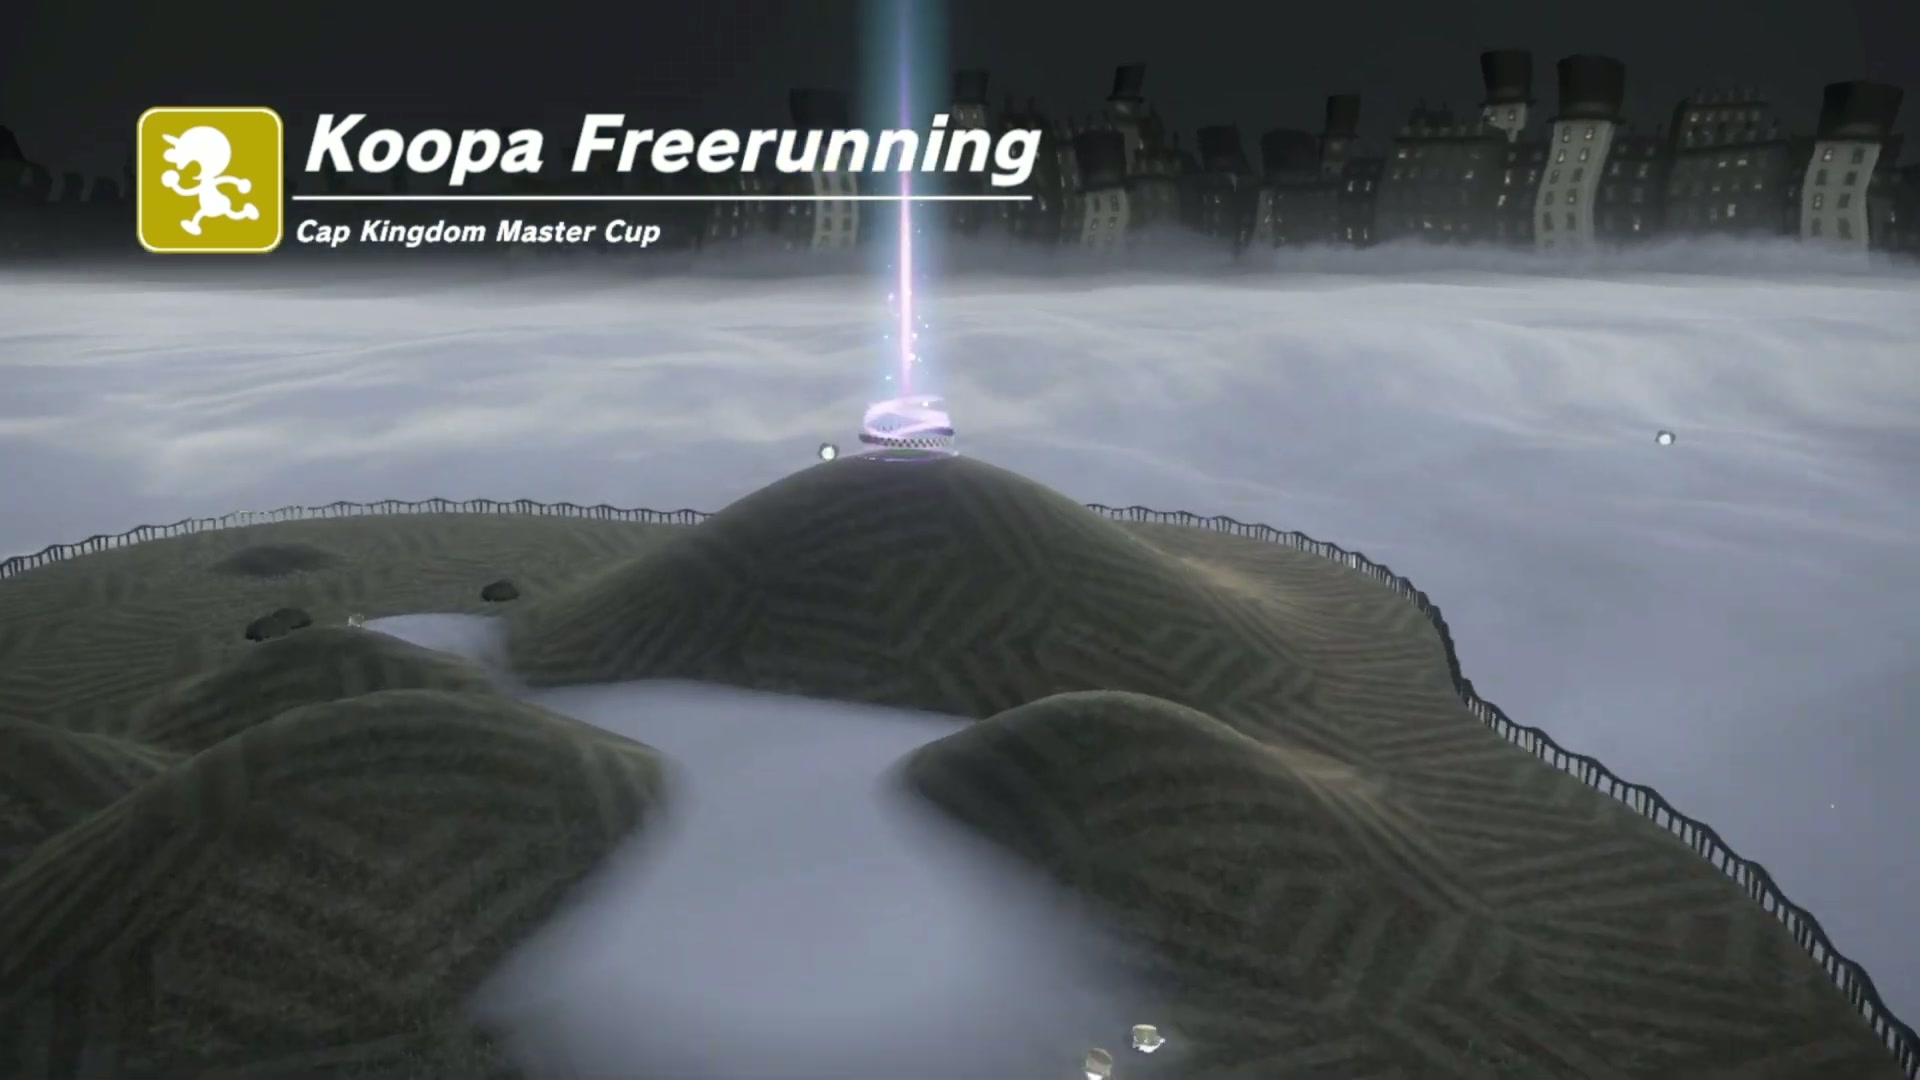
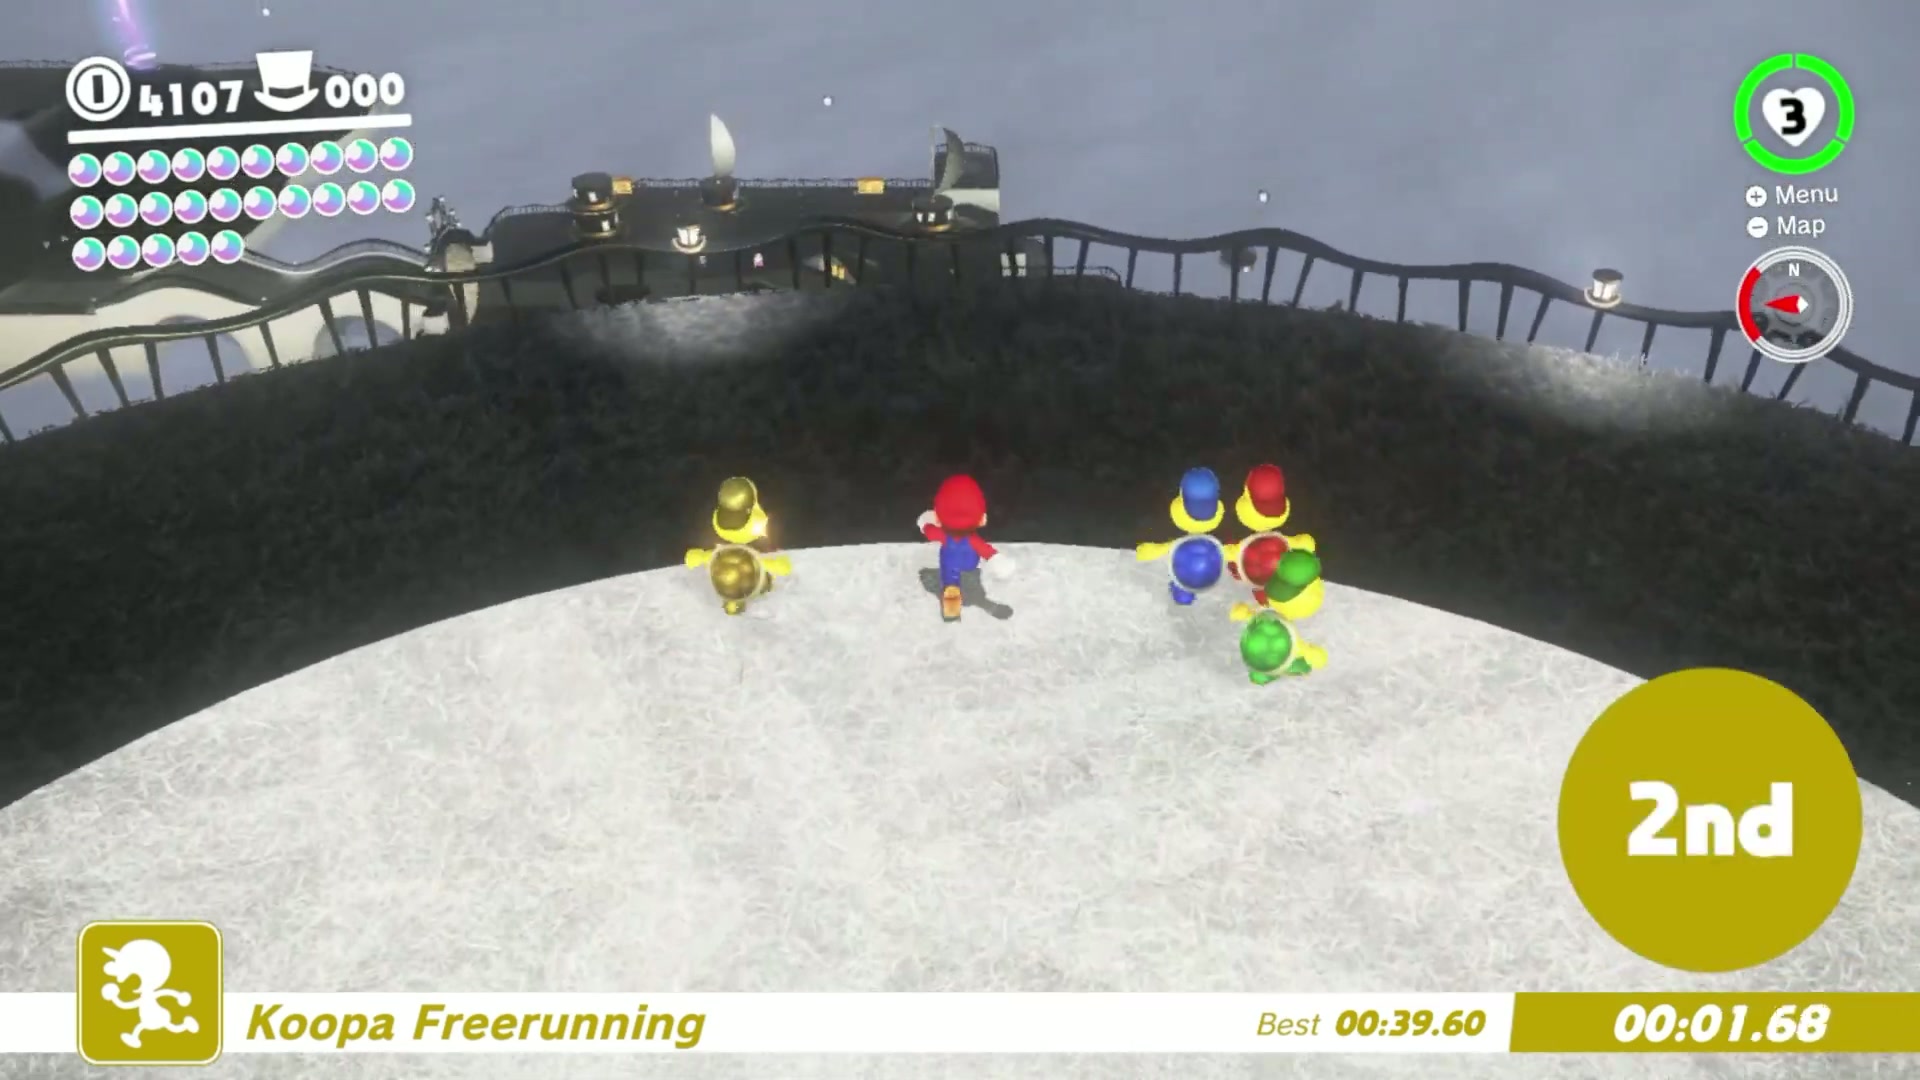
Power Moon #29 – Cap Kingdom Master Cup
- Return to the Koopa Freerunning race at Top-Hat Tower after winning the Regular Cup.
- Enter the Master Cup and prepare for faster opponents. The finish is still near the Odyssey, so the race is about taking the tower descent cleanly.
- Use the quickest safe drop from the tower route, then roll or long jump across the flatter sections toward the finish.
- Reach the finish line in first place to earn the Power Moon. If a Koopa beats you, restart and focus on reducing mistakes around the opening descent.
Power Moon #30 – Roll On and On
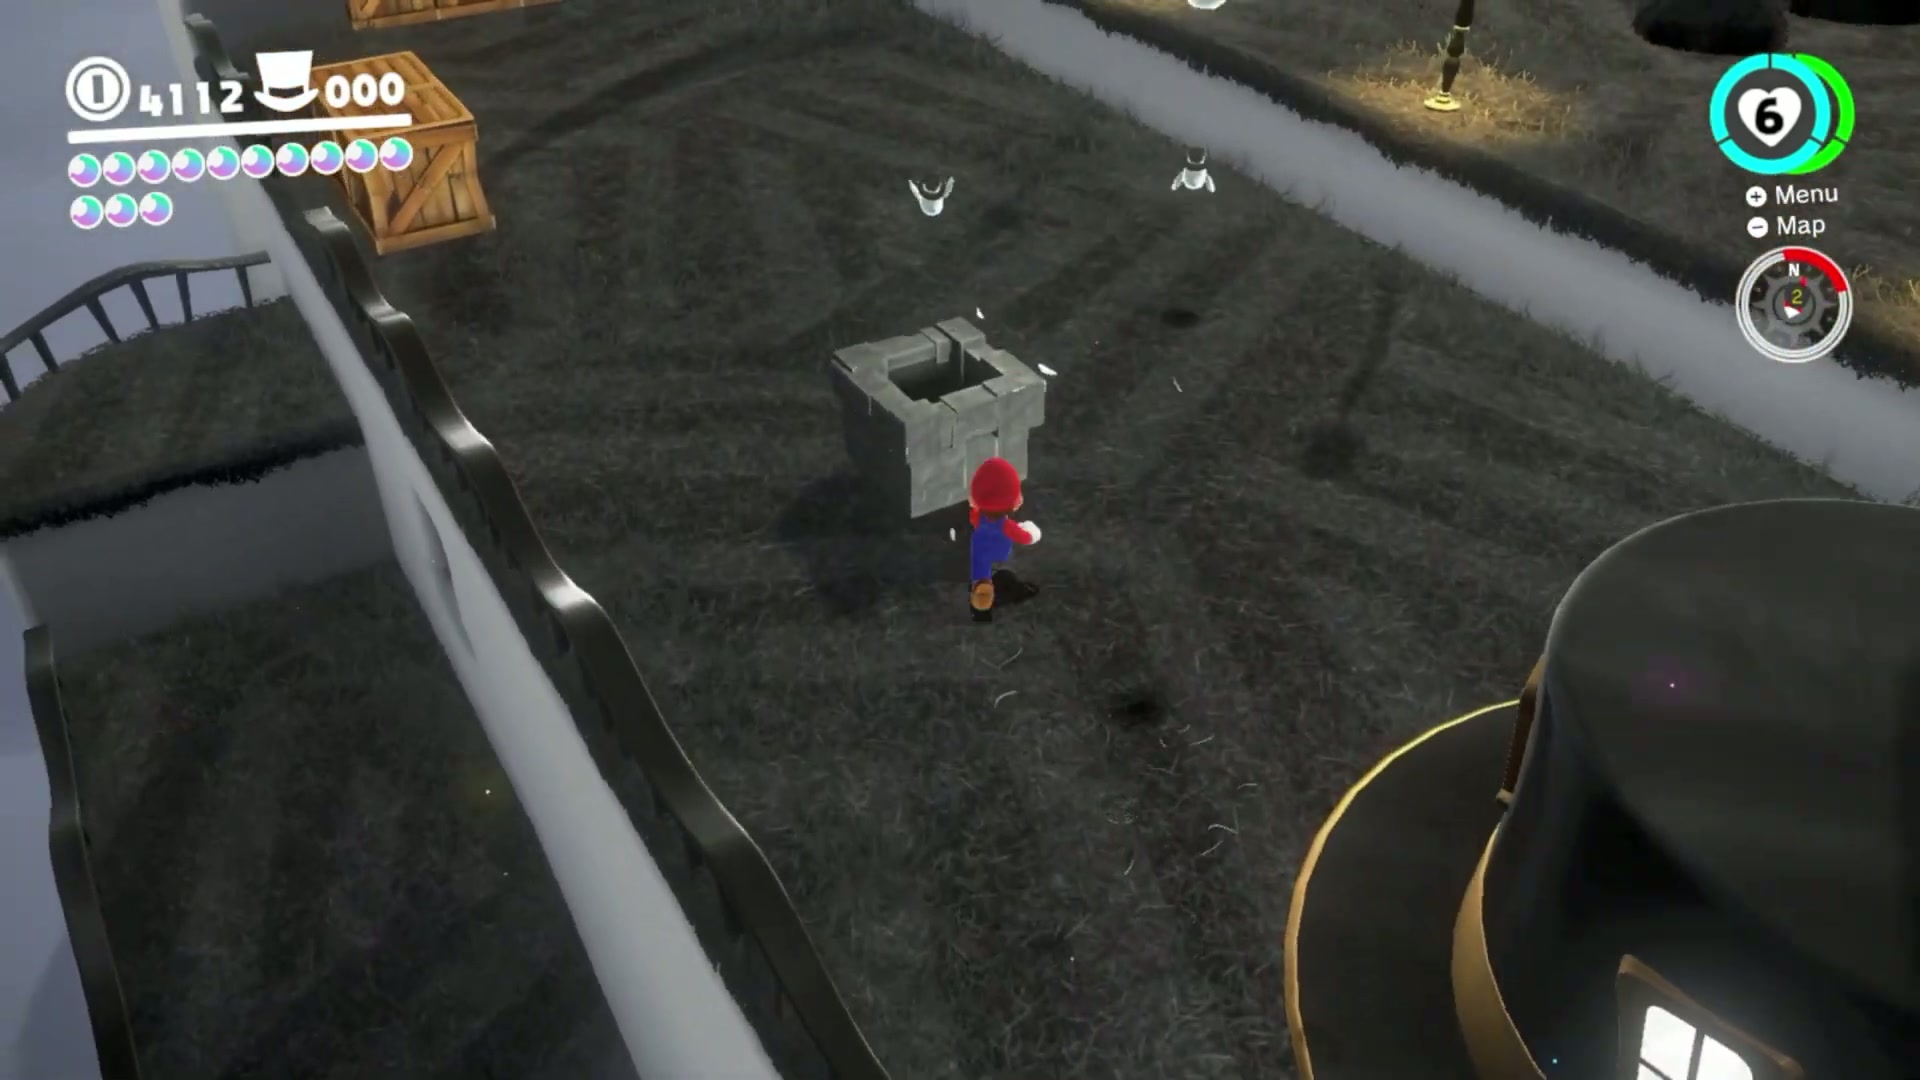
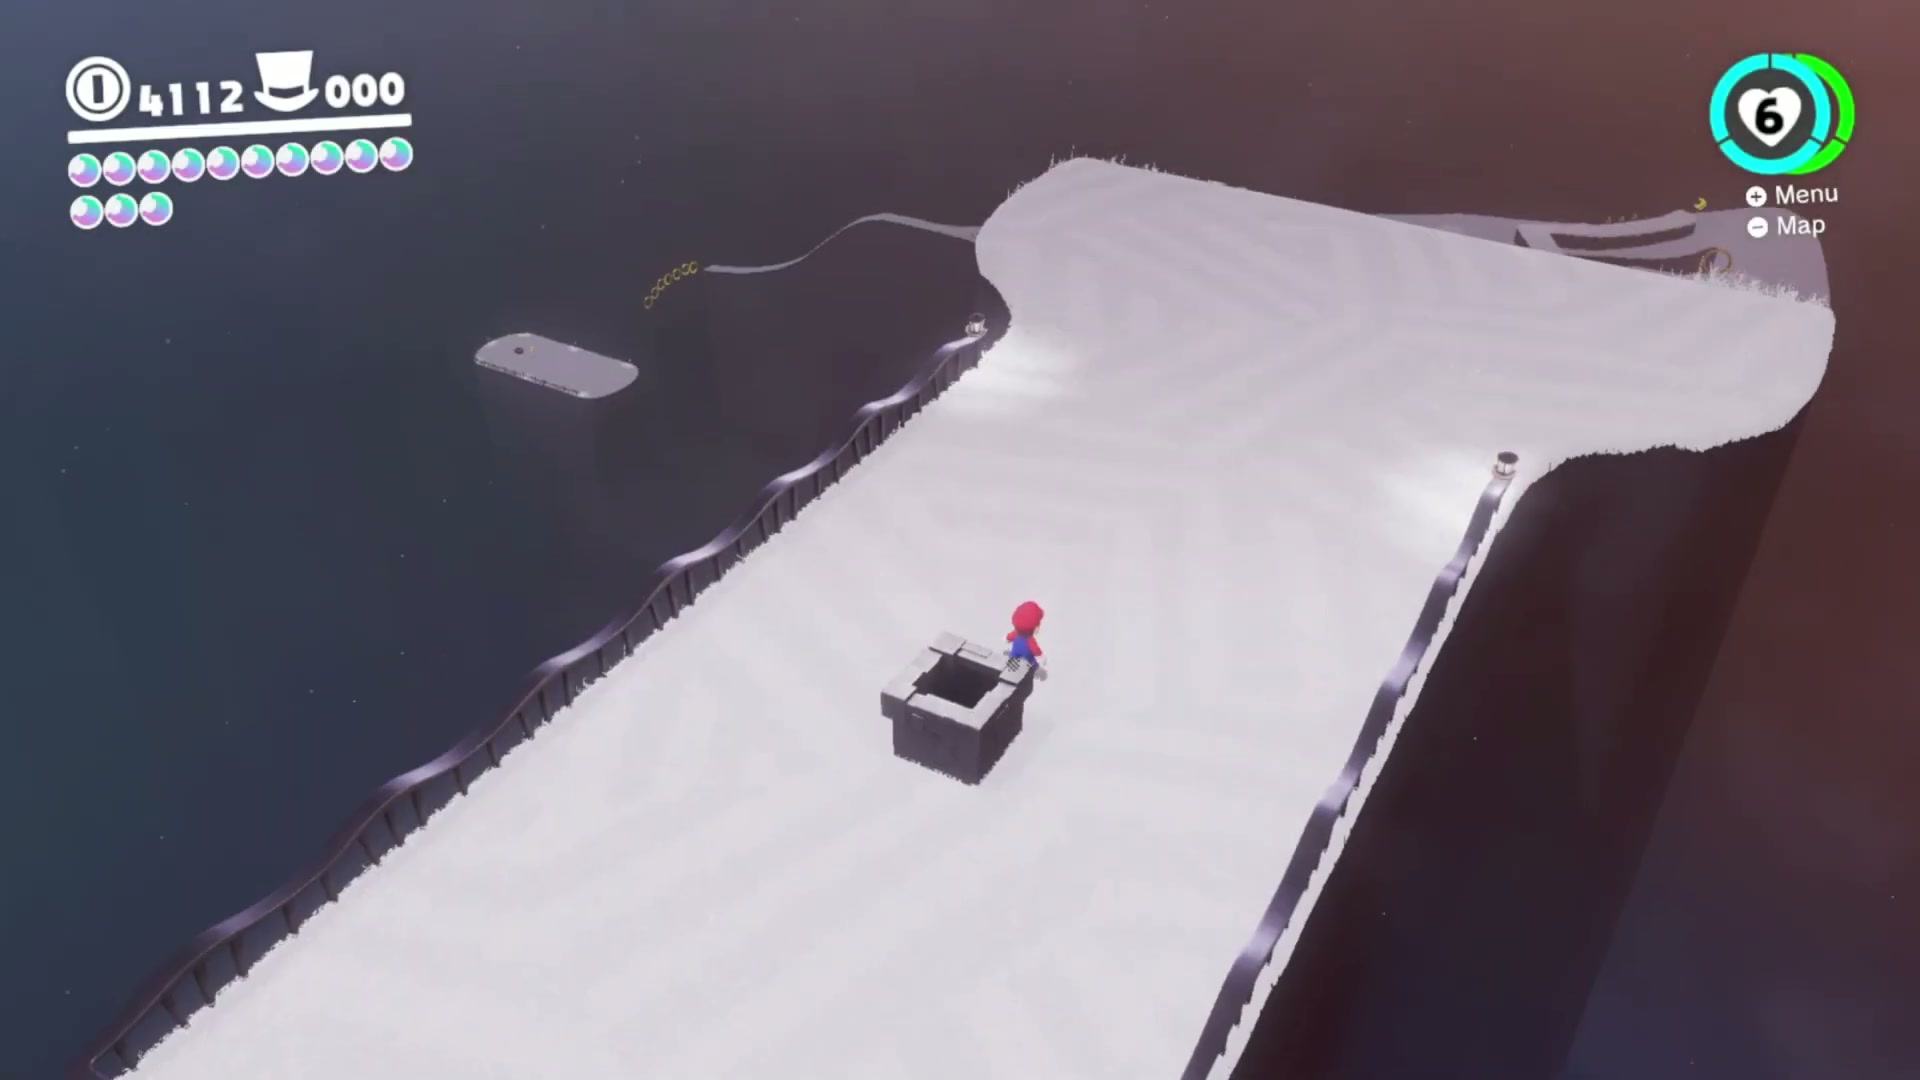
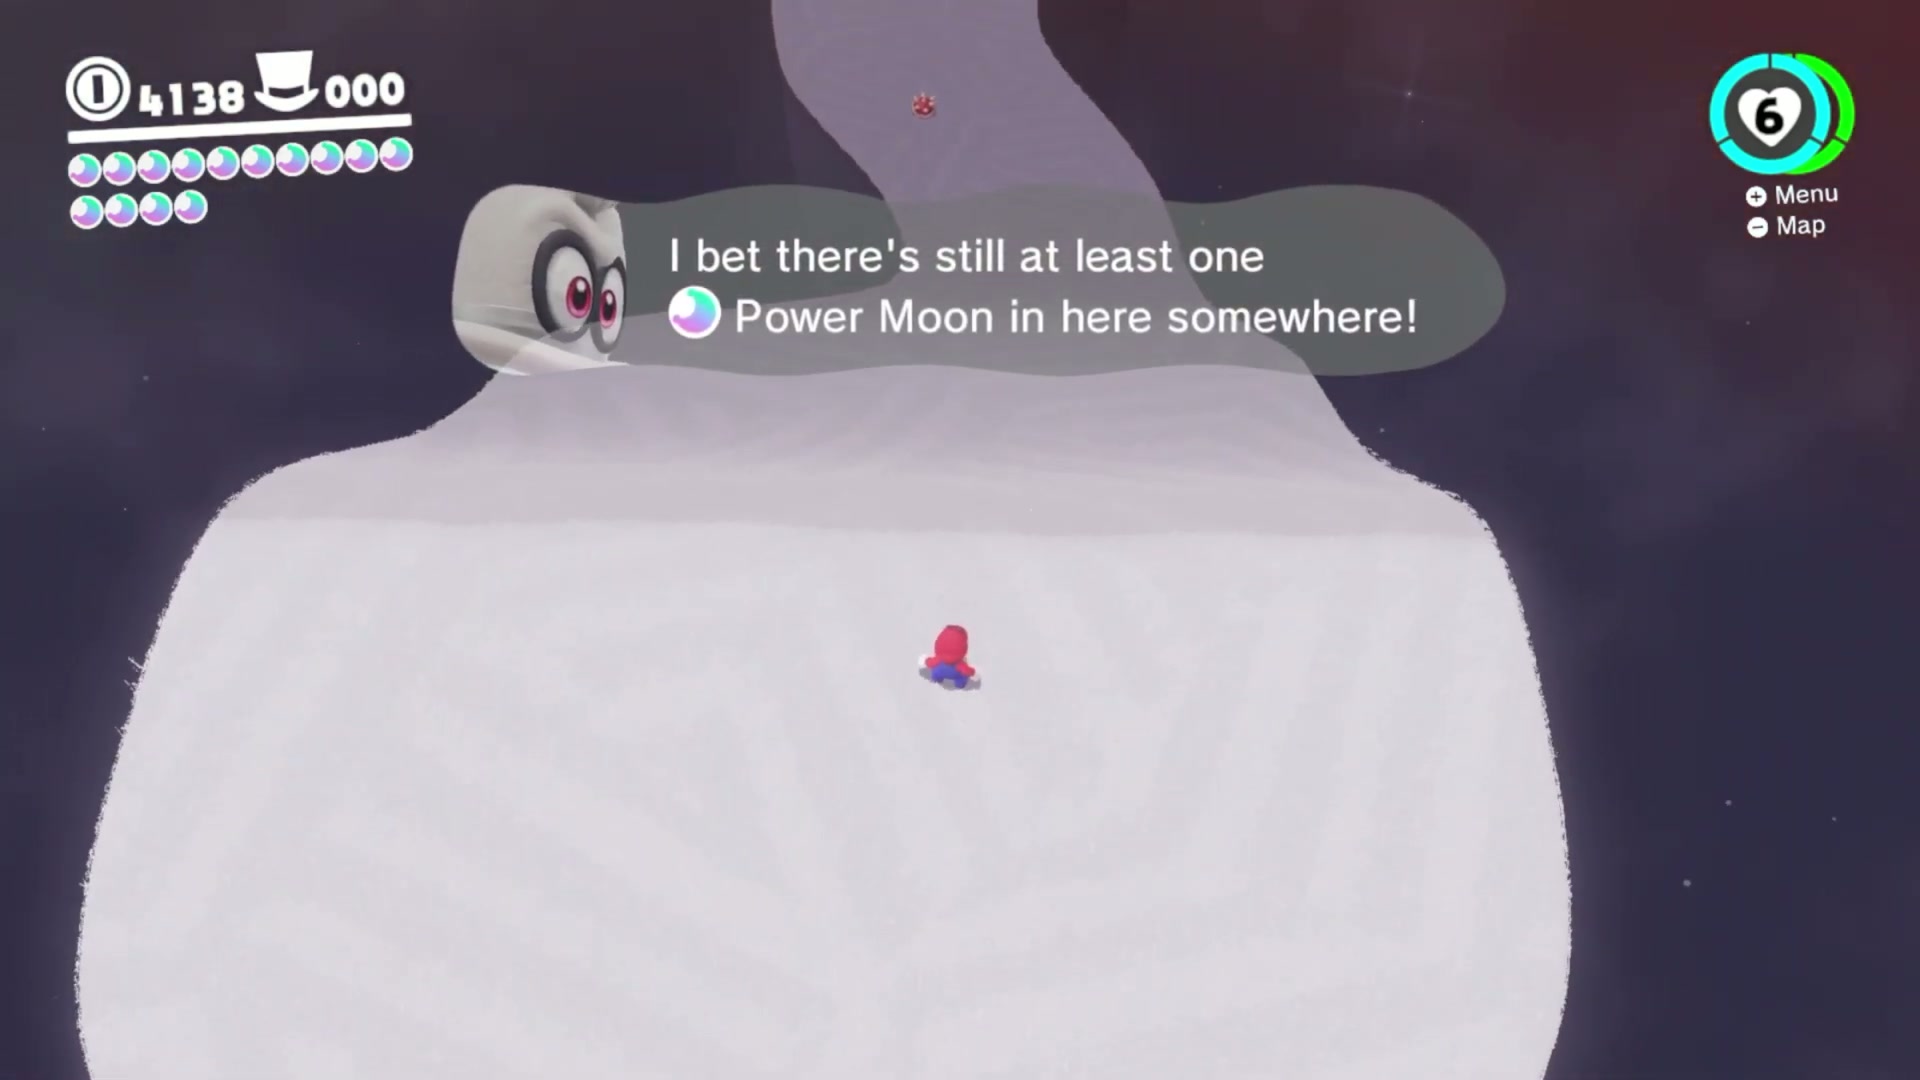
- Find the Moon Pipe on the west side of the Central Plaza and enter the rolling-ball challenge room.
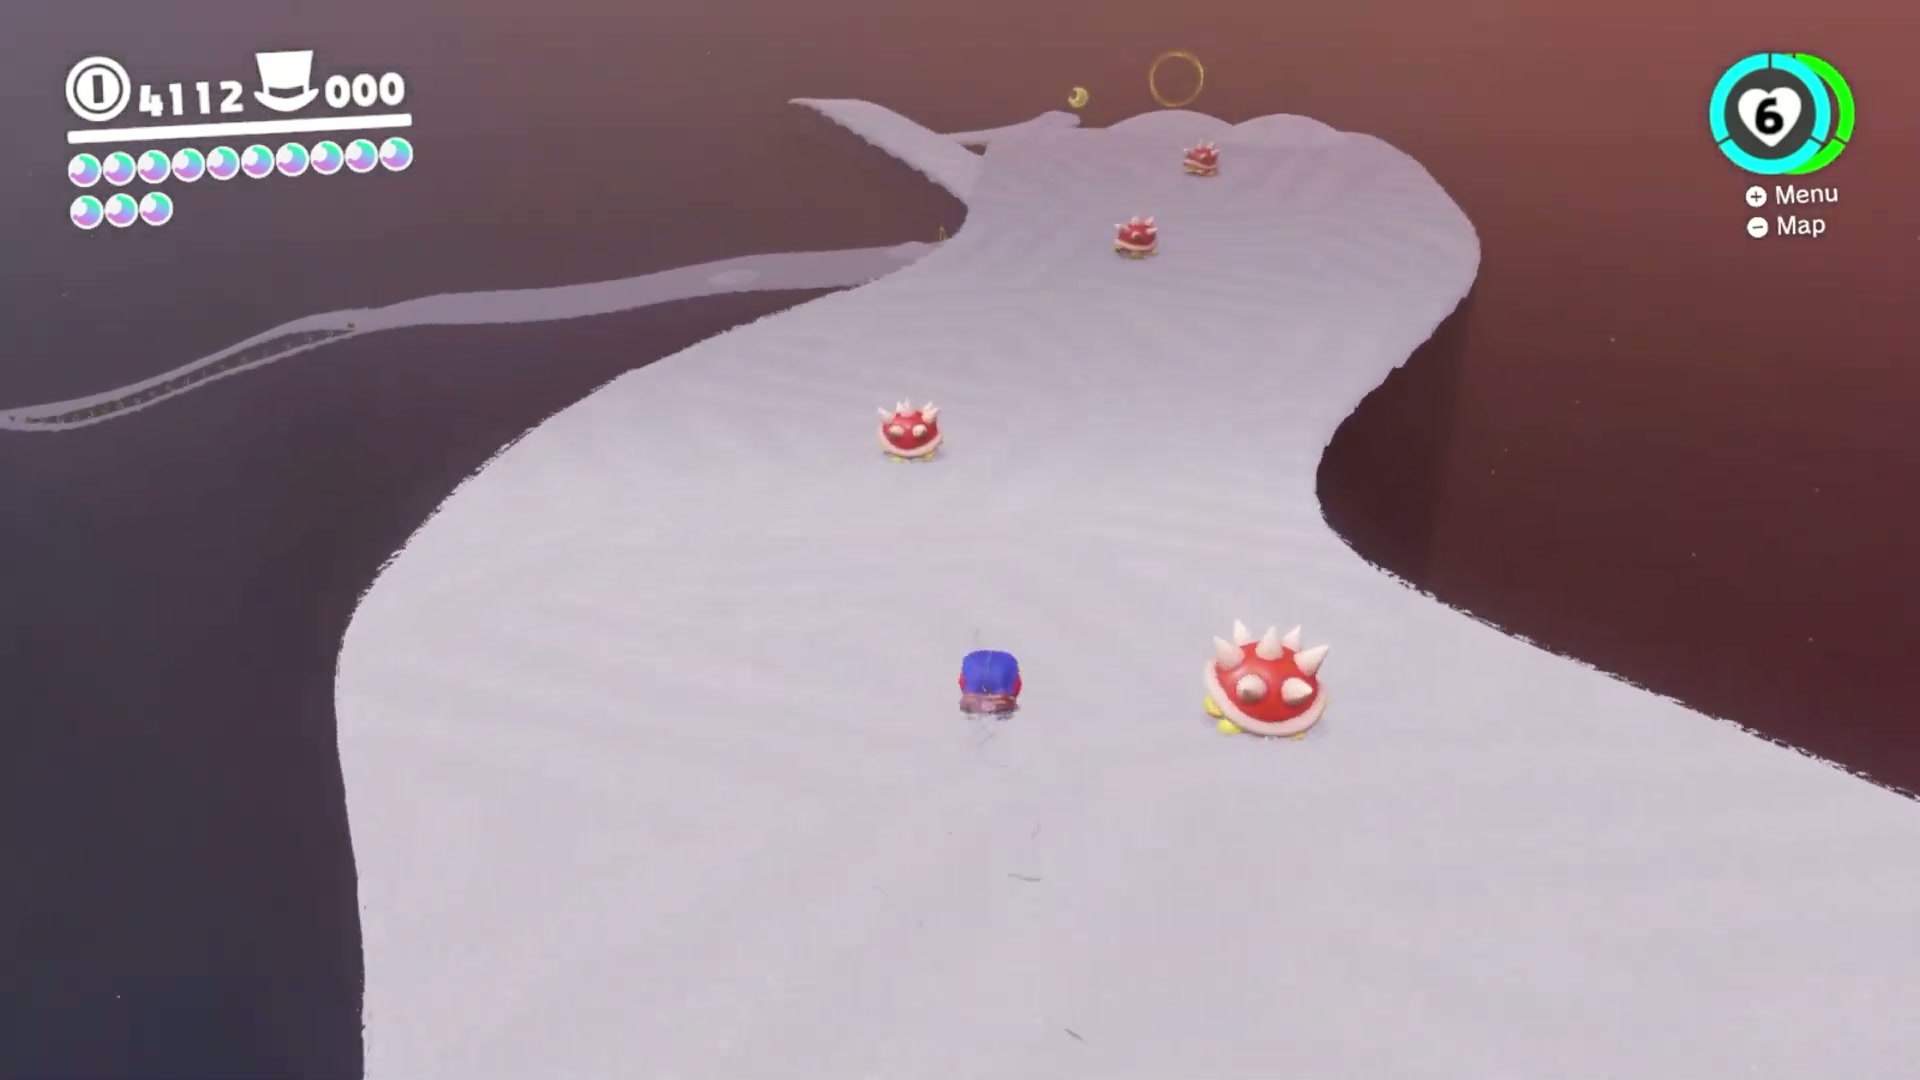
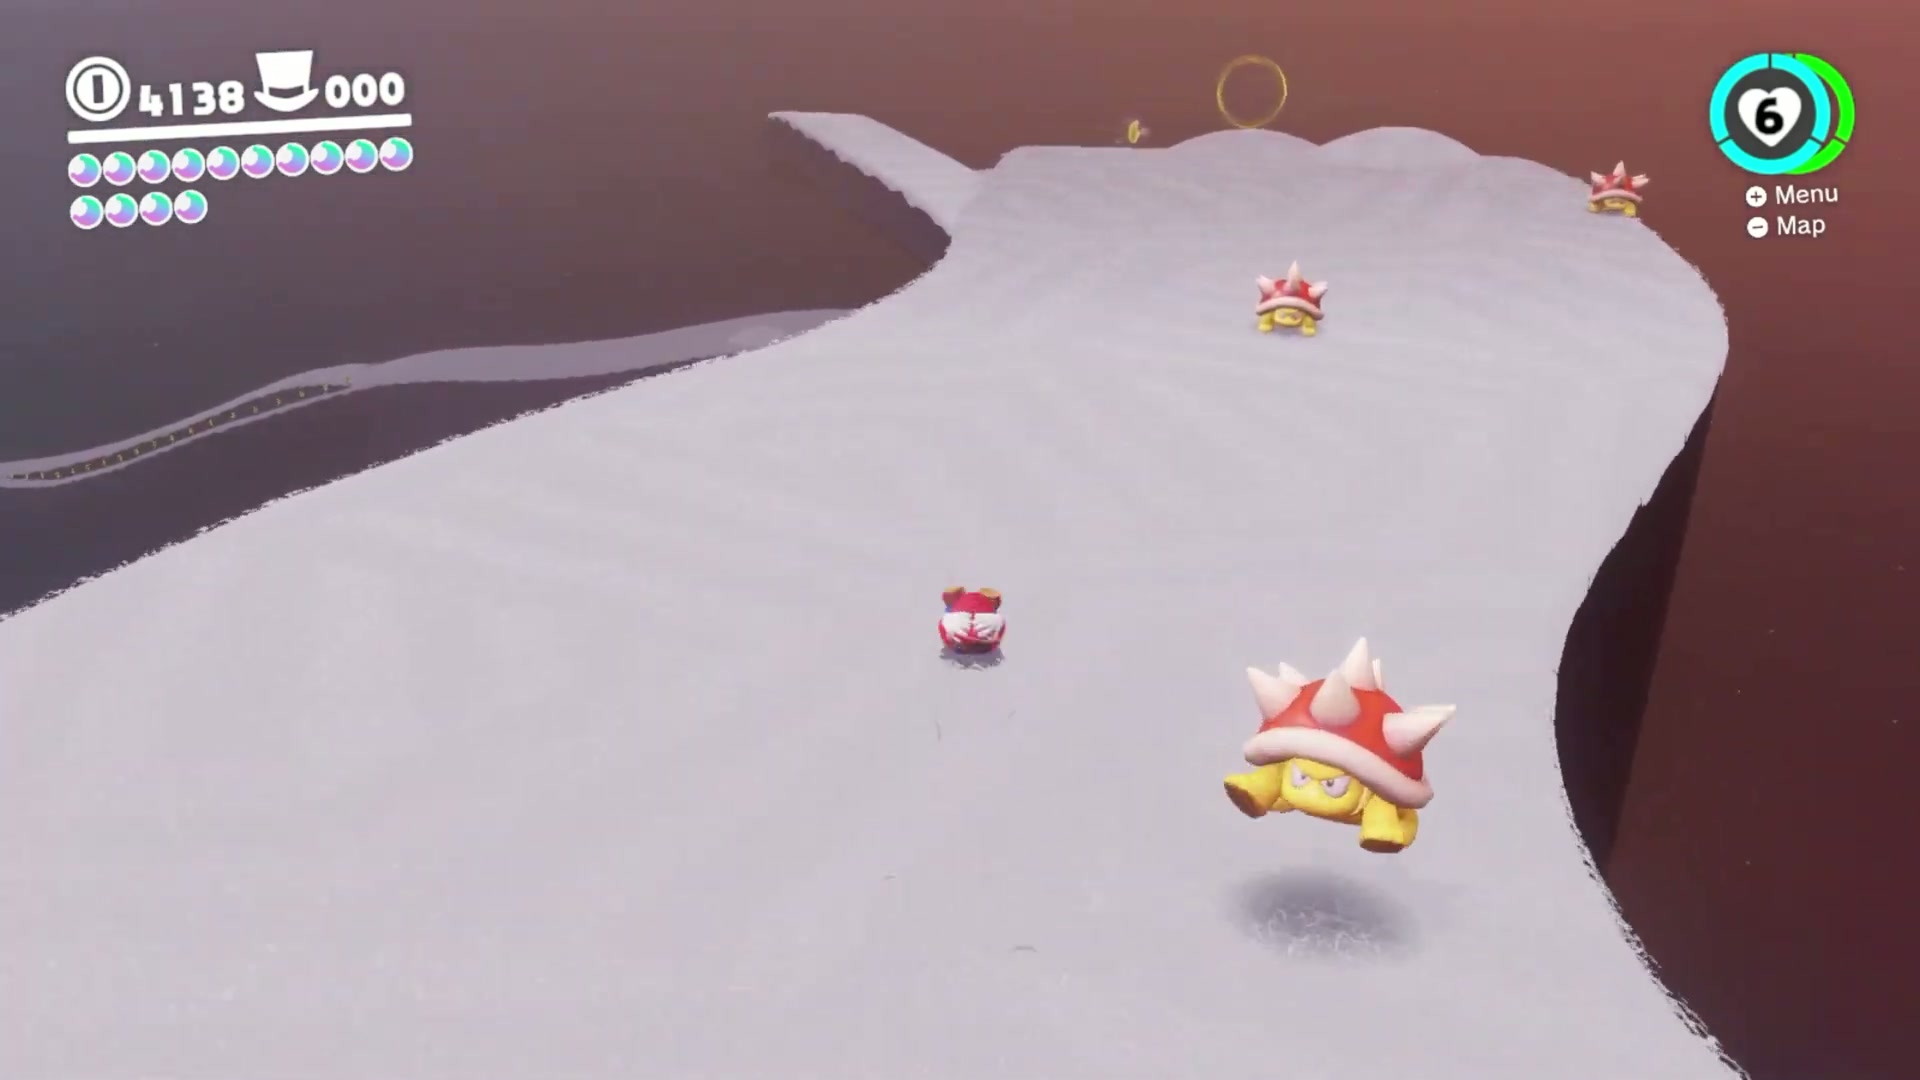
- Inside, ride the rolling ball down the long slide. Keep your movement small and controlled so the ball does not overcorrect into a Spiny.
- Watch each Spiny pattern before committing to a lane. The safer route is usually to wait for the gap rather than forcing through at full speed.
- Reach the end of the slide and collect the Power Moon on the final platform.

Power Moon #31 – Precision Rolling
- Enter the same Moon Pipe used for Roll On and On and start the rolling-ball slide again.
- From the beginning of the slide, hug the left wall and watch for the small branching path before the first Spiny section.
- Drop into the left-side branch instead of staying on the main slide. The hidden route is easy to miss if you start in the center.
- Follow the branch carefully to its end and collect the Power Moon waiting on the side path.
Image Sources and Credits
Super Mario Odyssey and all related game visuals are the property of Nintendo. Screenshots on this page are used as visual guide references. Primary page screenshots are credited per image where possible, including supplemental route captures from Rated G Games when a matching Gaming Guide Archives capture is not available.
Moon names, checklist order and screenshots are cross-checked against Super Mario Wiki and the in-game Cap Kingdom list. More Super Mario Odyssey content is available on The Gaming Guide Archives YouTube channel.
FAQ
How many Power Moons are in Cap Kingdom?
Cap Kingdom has 31 Power Moons in total.
Can every Cap Kingdom moon be collected on the first visit?
No. Some moons require later story progress, Moon Rock unlocks, post-game NPCs, race availability, shop access or specific captures that only become available as you progress through the game.
What is the best way to clean up Cap Kingdom?
Work area by area rather than moon by moon. Clear the Top-Hat Tower cluster first, then the Central Plaza, then the outer fog ring with a captured Paragoomba. Save race moons, the Peach visit and Moon Pipe moons for a final sweep once all story requirements are met.