

Seaside Kingdom, Bubblaine, is a Super Mario Odyssey kingdom with 71 Power Moons to collect. This guide uses a practical checklist format with route notes, tips and visual references for every moon.
Quick Overview
| Game | Super Mario Odyssey |
|---|---|
| Kingdom | Seaside Kingdom – Bubblaine |
| Total Power Moons | 71 |
| Main Mechanics | Gushen captures, underwater routes, fountains, beach cleanup, Moon Rock moons |
| Best Route | Clear the story path first, then sweep nearby side areas, challenge rooms, NPC moons, races, shop moons and Moon Rock cleanup when they become available. |
Start Here
Begin with the main story route and collect the obvious moons along the way. After the first clear, return with more captures, outfits, NPC requests and Moon Rock markers available. Work in small area loops so you can clear nearby moons together instead of crossing the whole kingdom repeatedly.
Seaside Kingdom Power Moon Guide: All 71 Moons
Use the cards below as your full checklist. Each moon includes the core location, what to do, and a practical tip to keep the route clear.
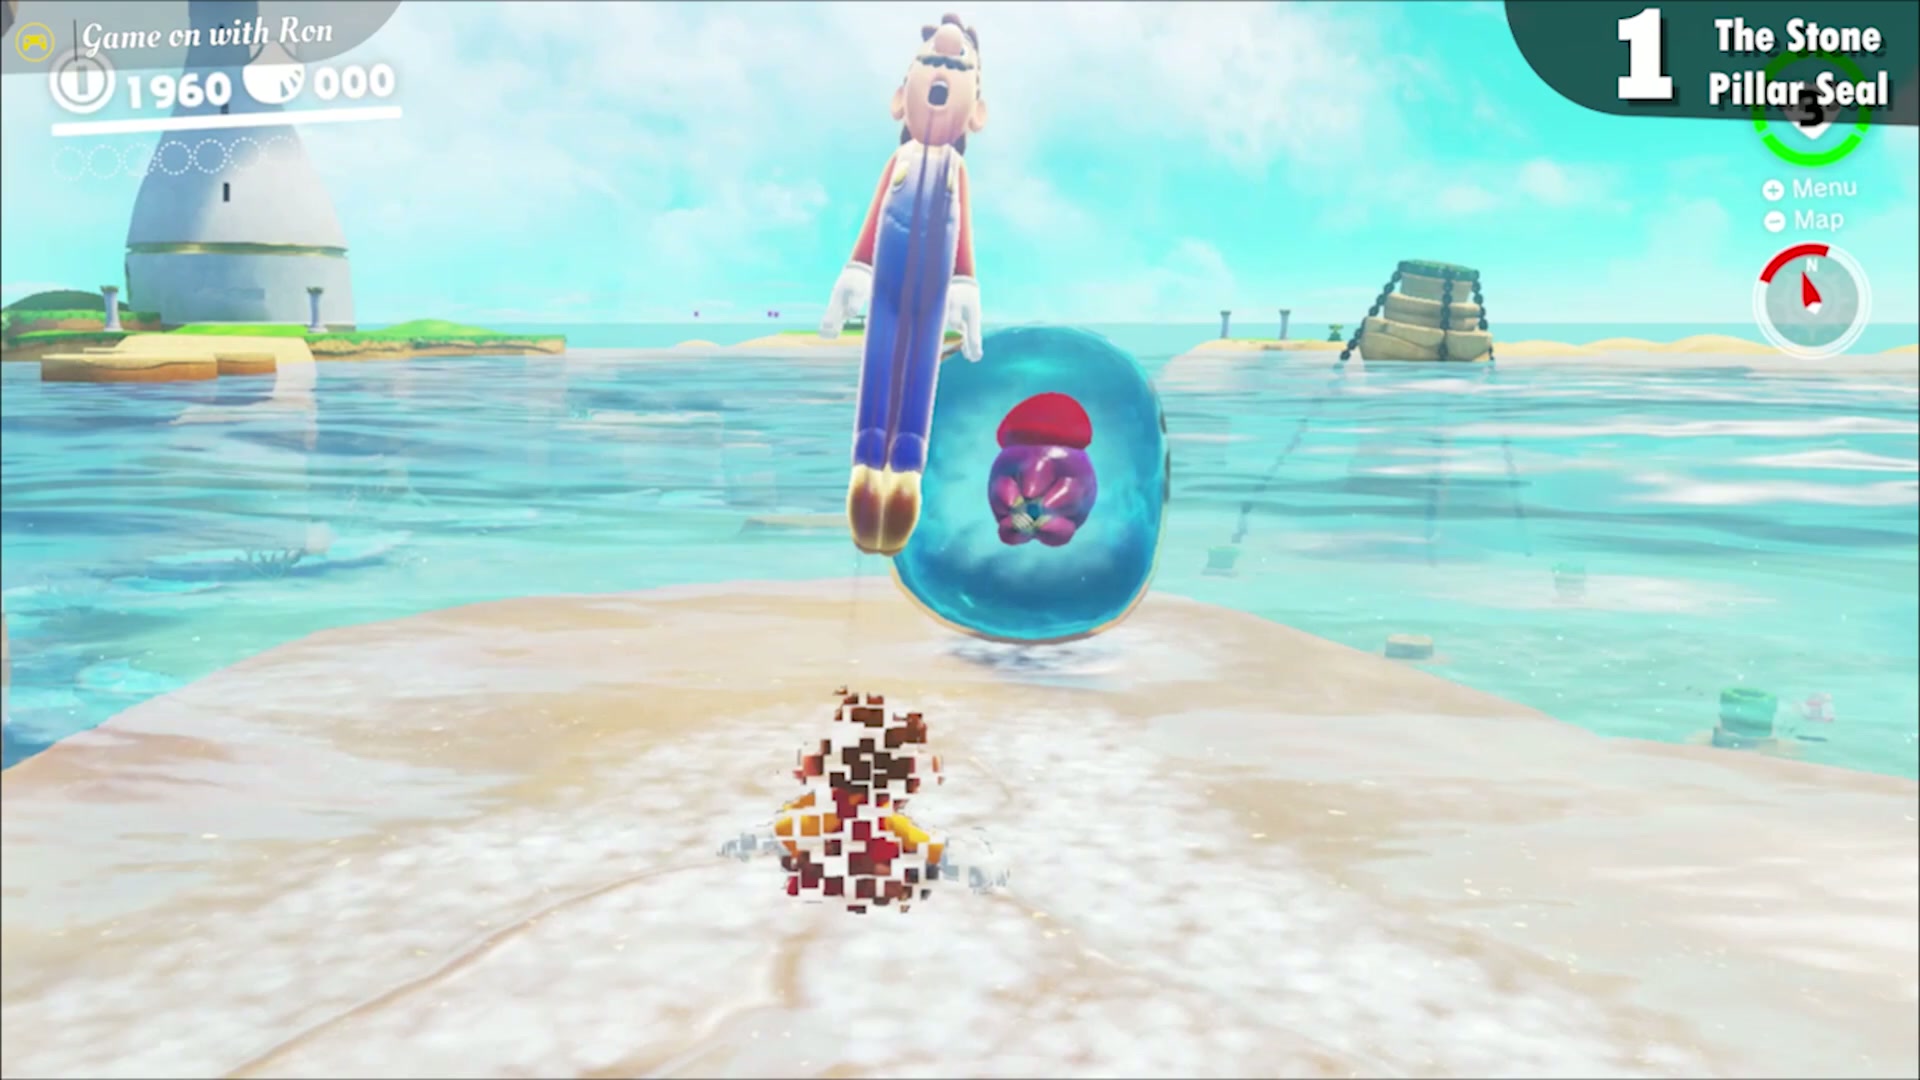
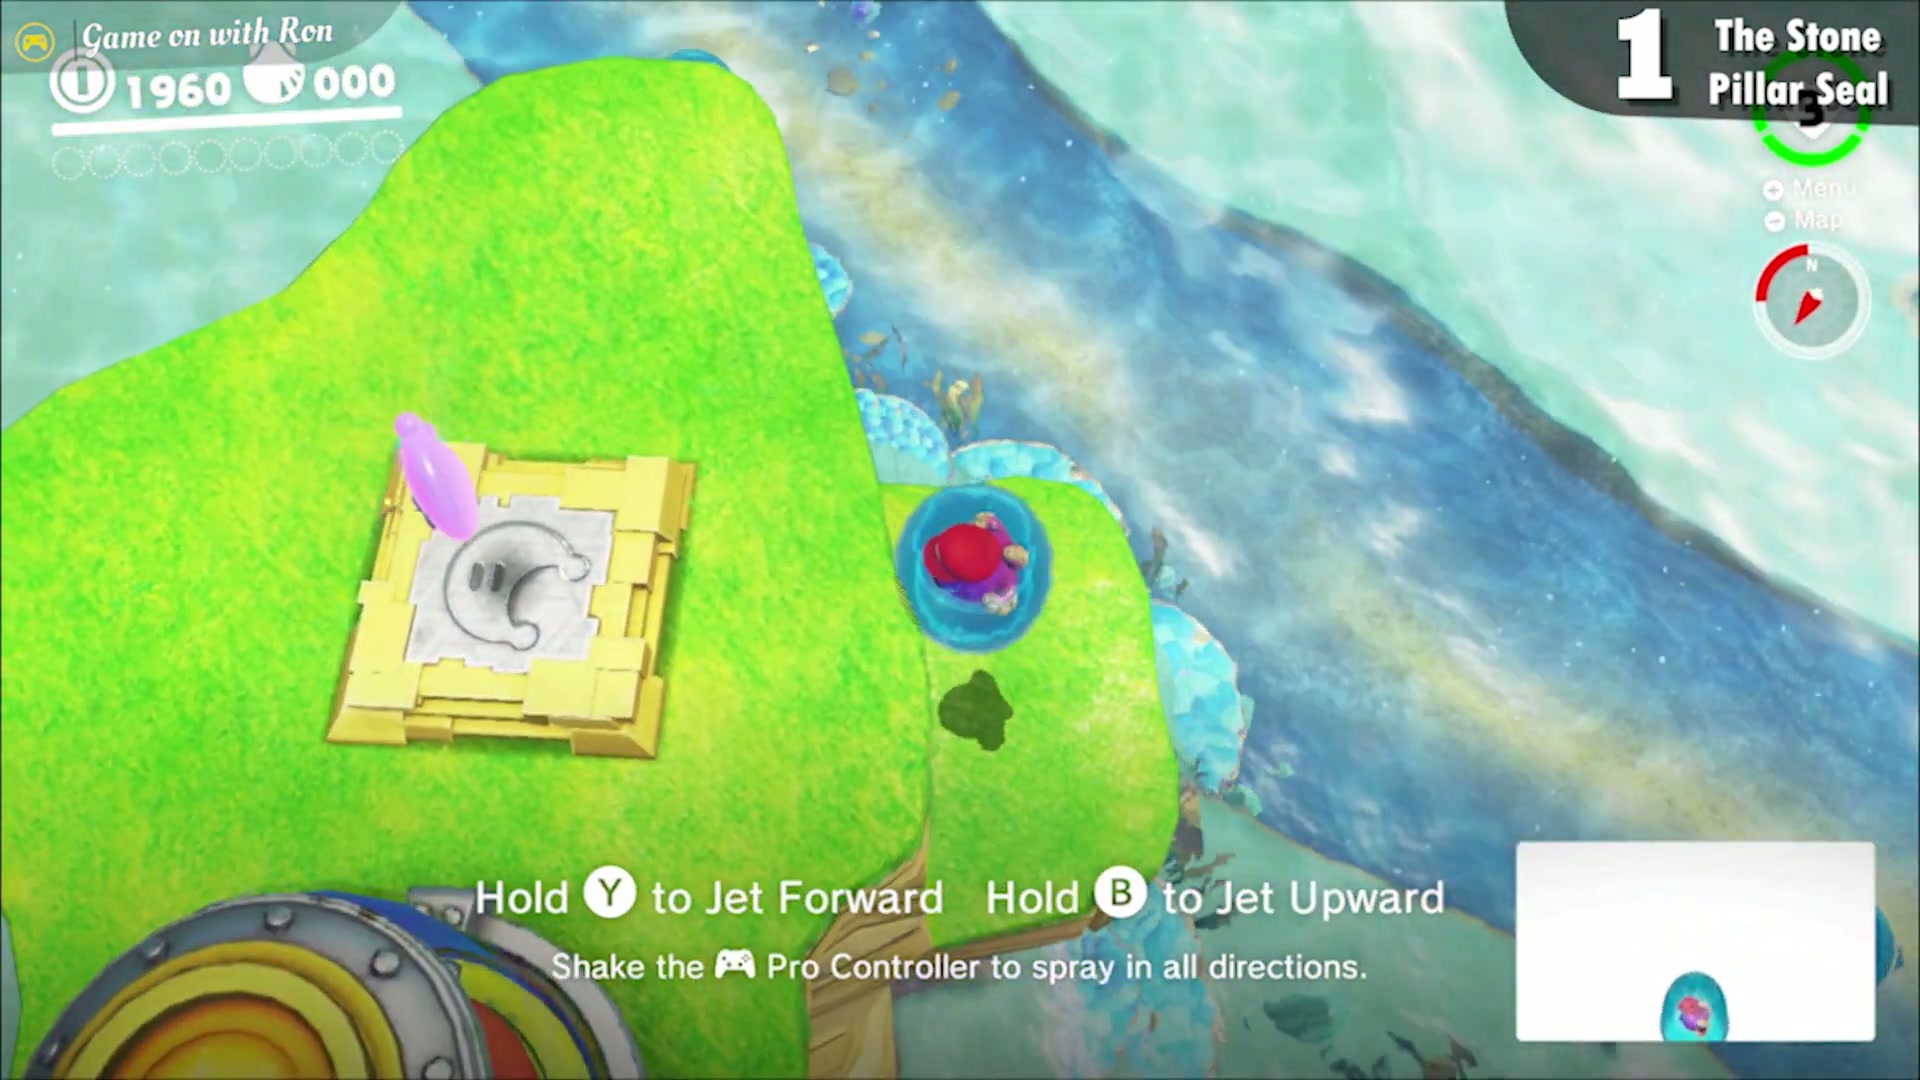
The Stone Pillar Seal
This moon sits on top of a grassy platform in the middle of the area. Capture a Gushen and float up to it to collect the moon, which unplugs the first seal.
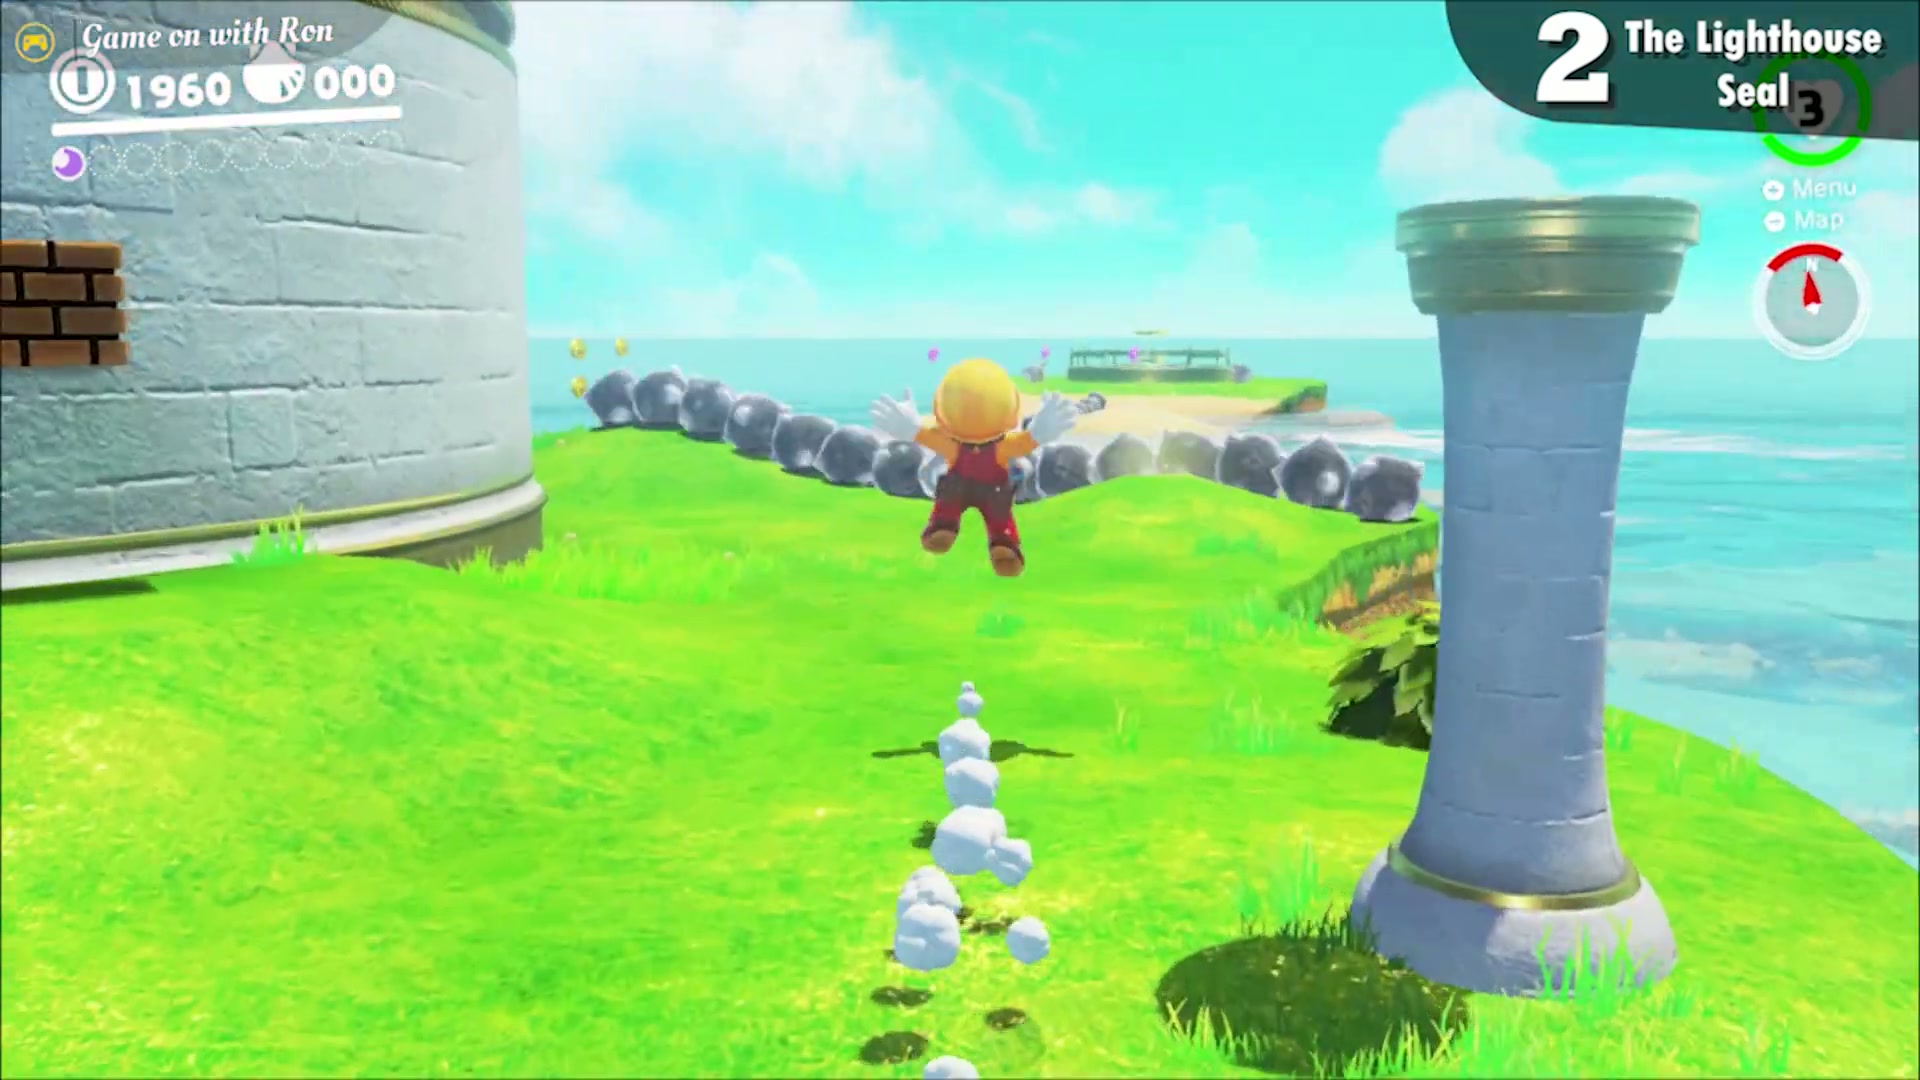
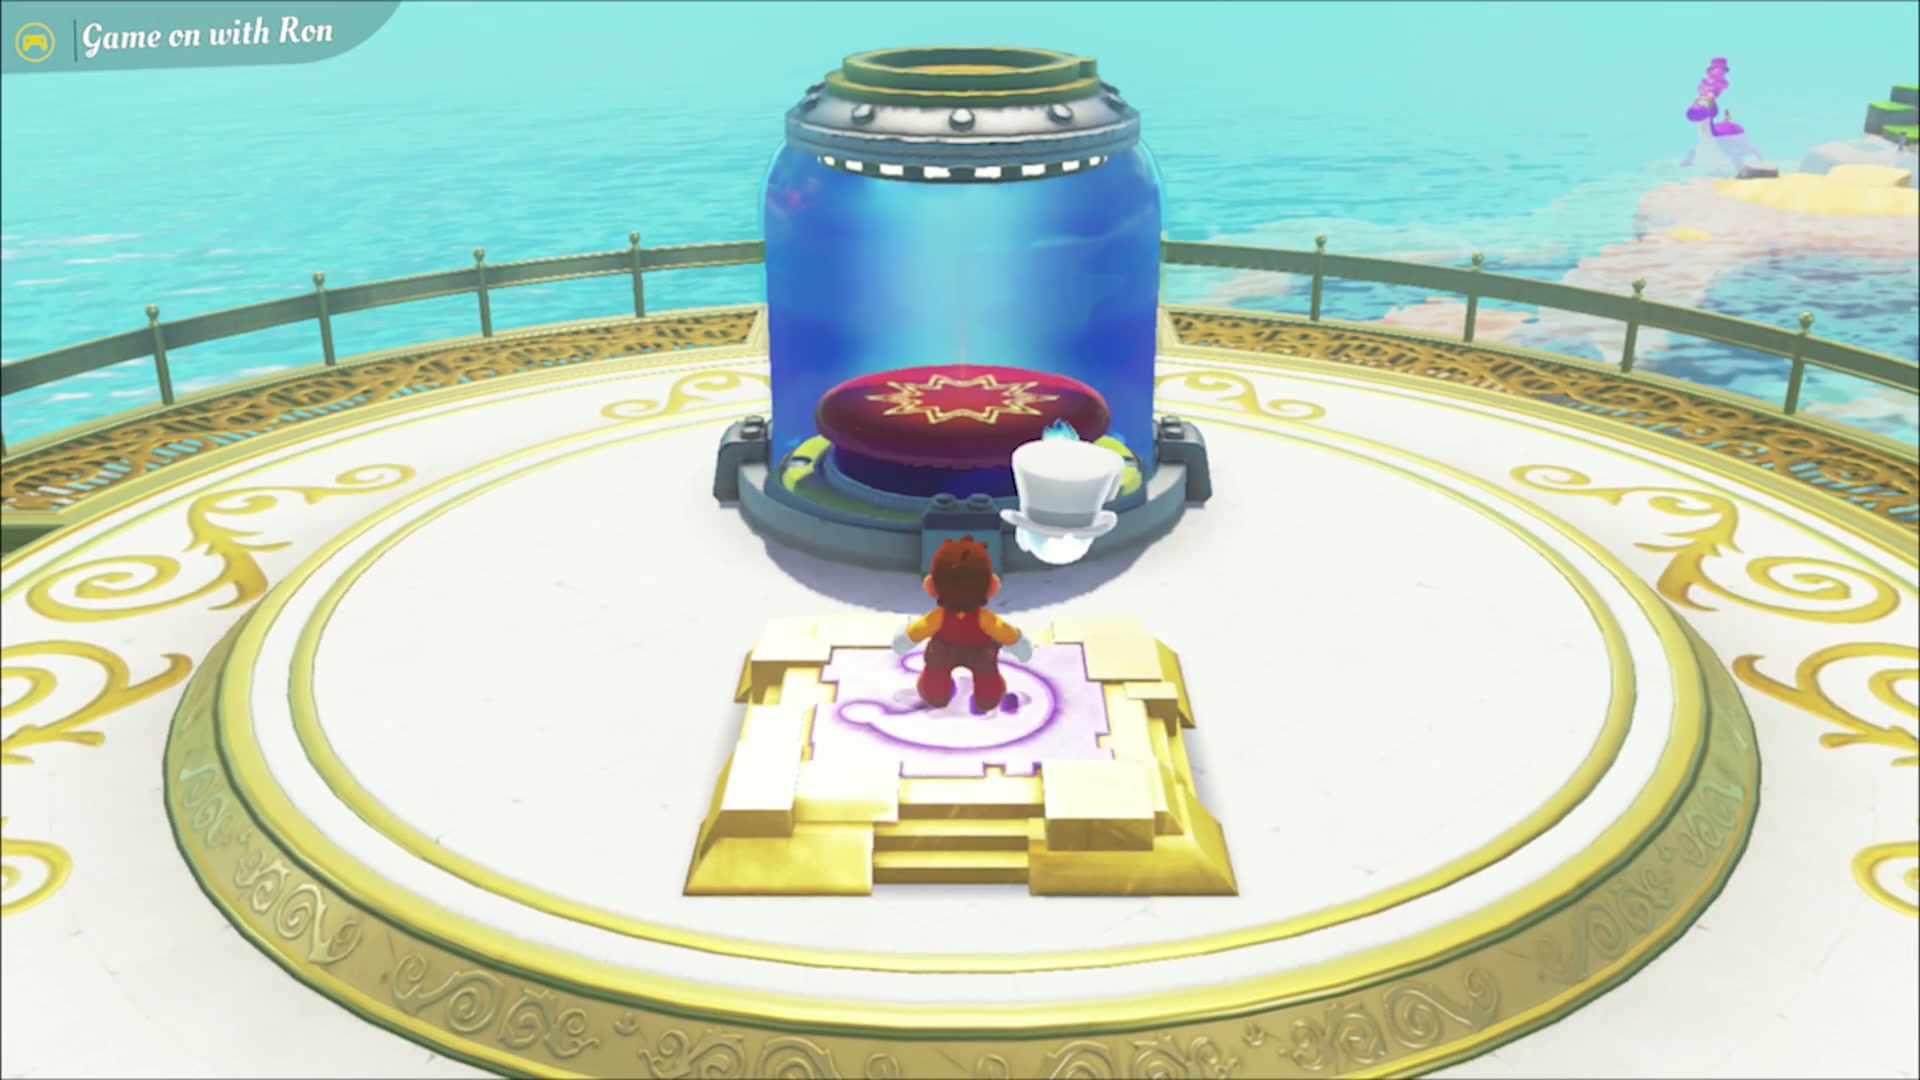
The Lighthouse Seal
Make your way to the top of the Lighthouse to reach this moon. Collecting it unplugs the second seal.
The Hot Spring Seal
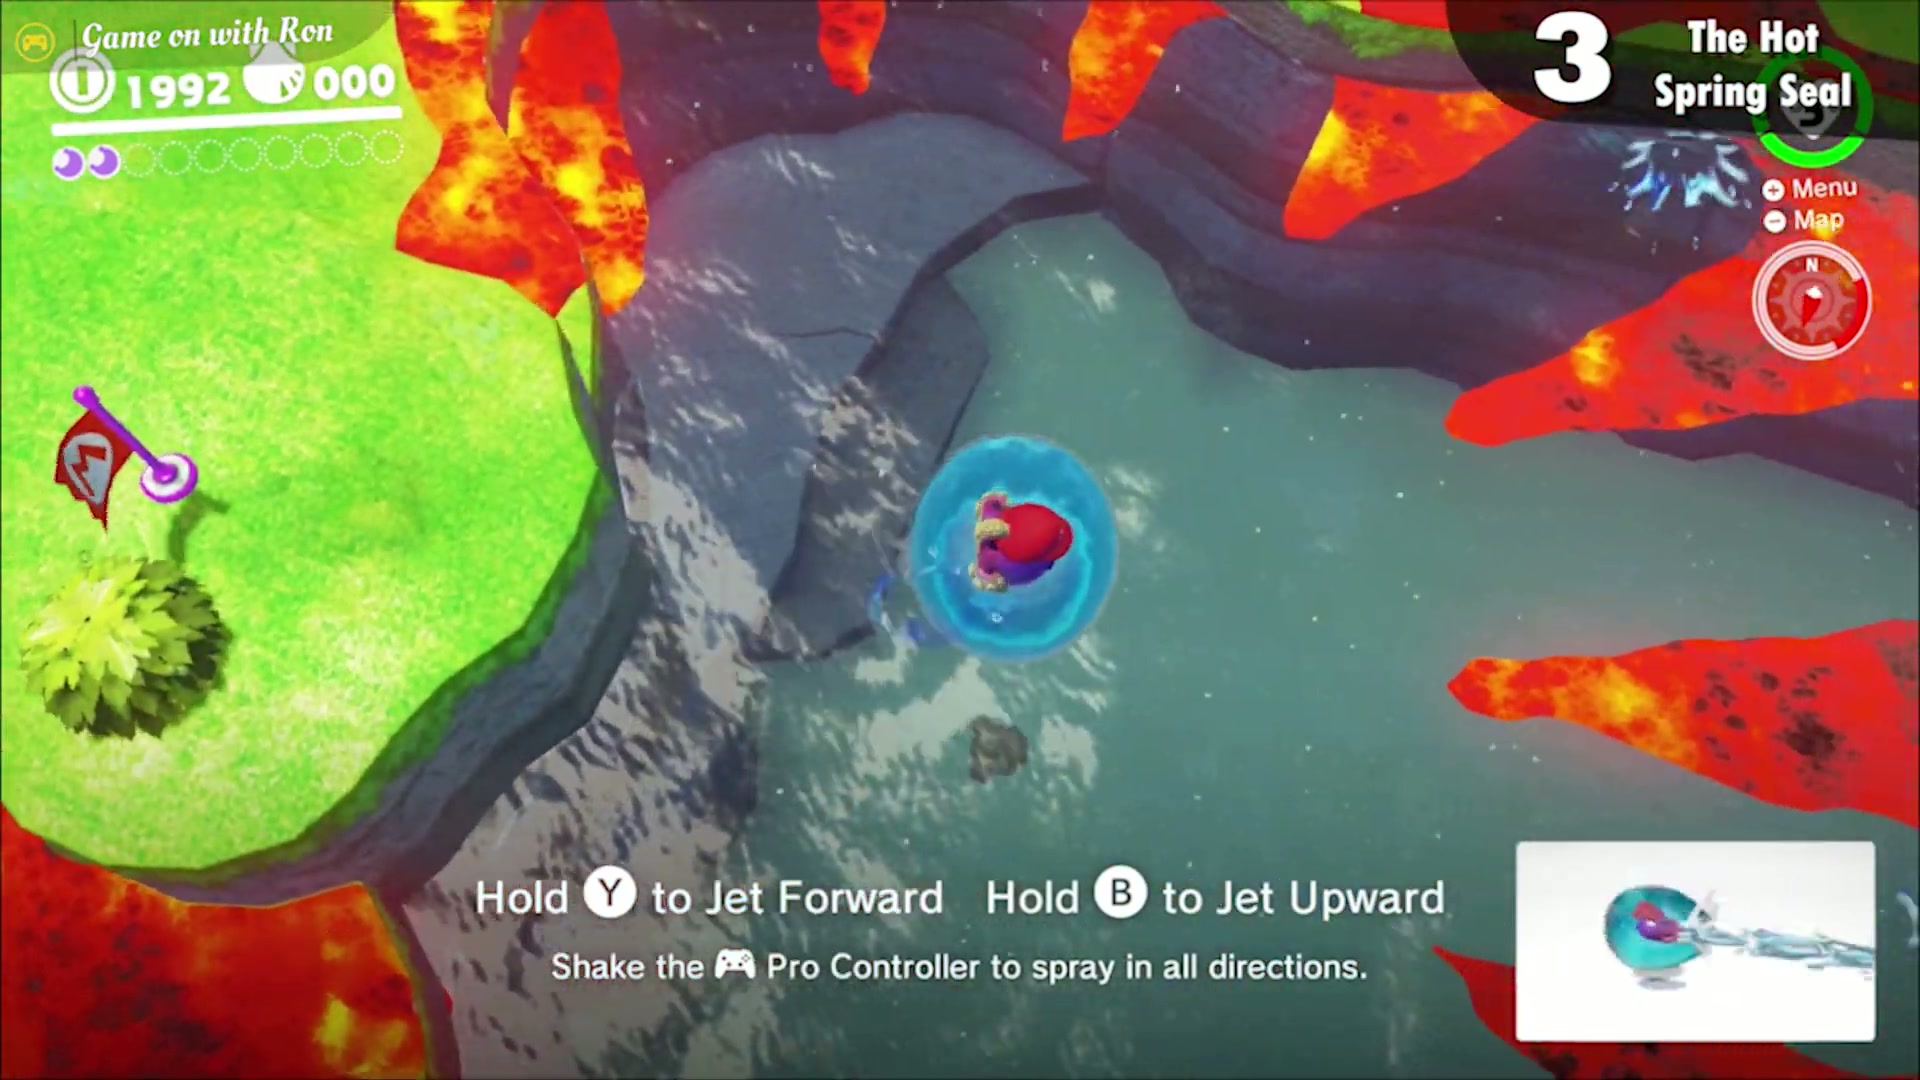
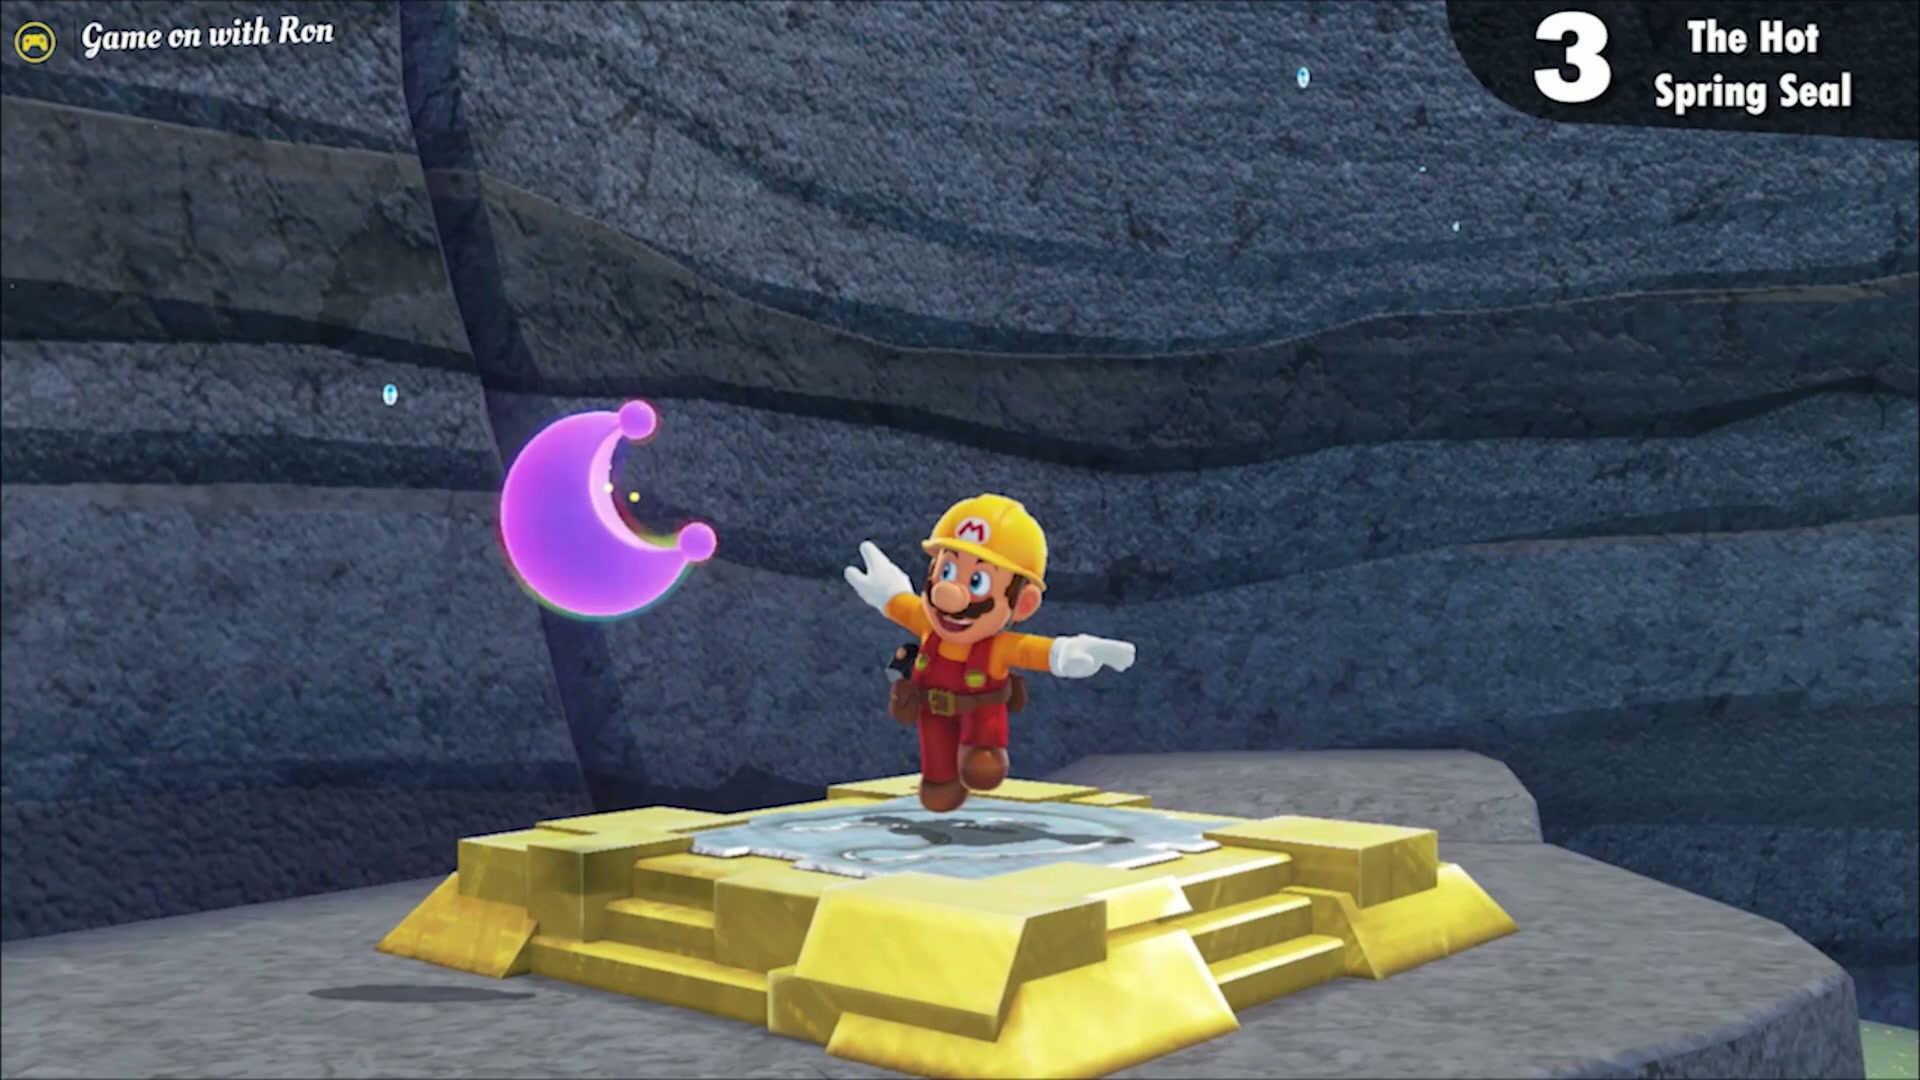
On Hot Spring Island, capture a Gushen and spray the lava to cool a safe path, then collect the moon in the hot spring. This unplugs the third seal.
The Seal Above the Canyon
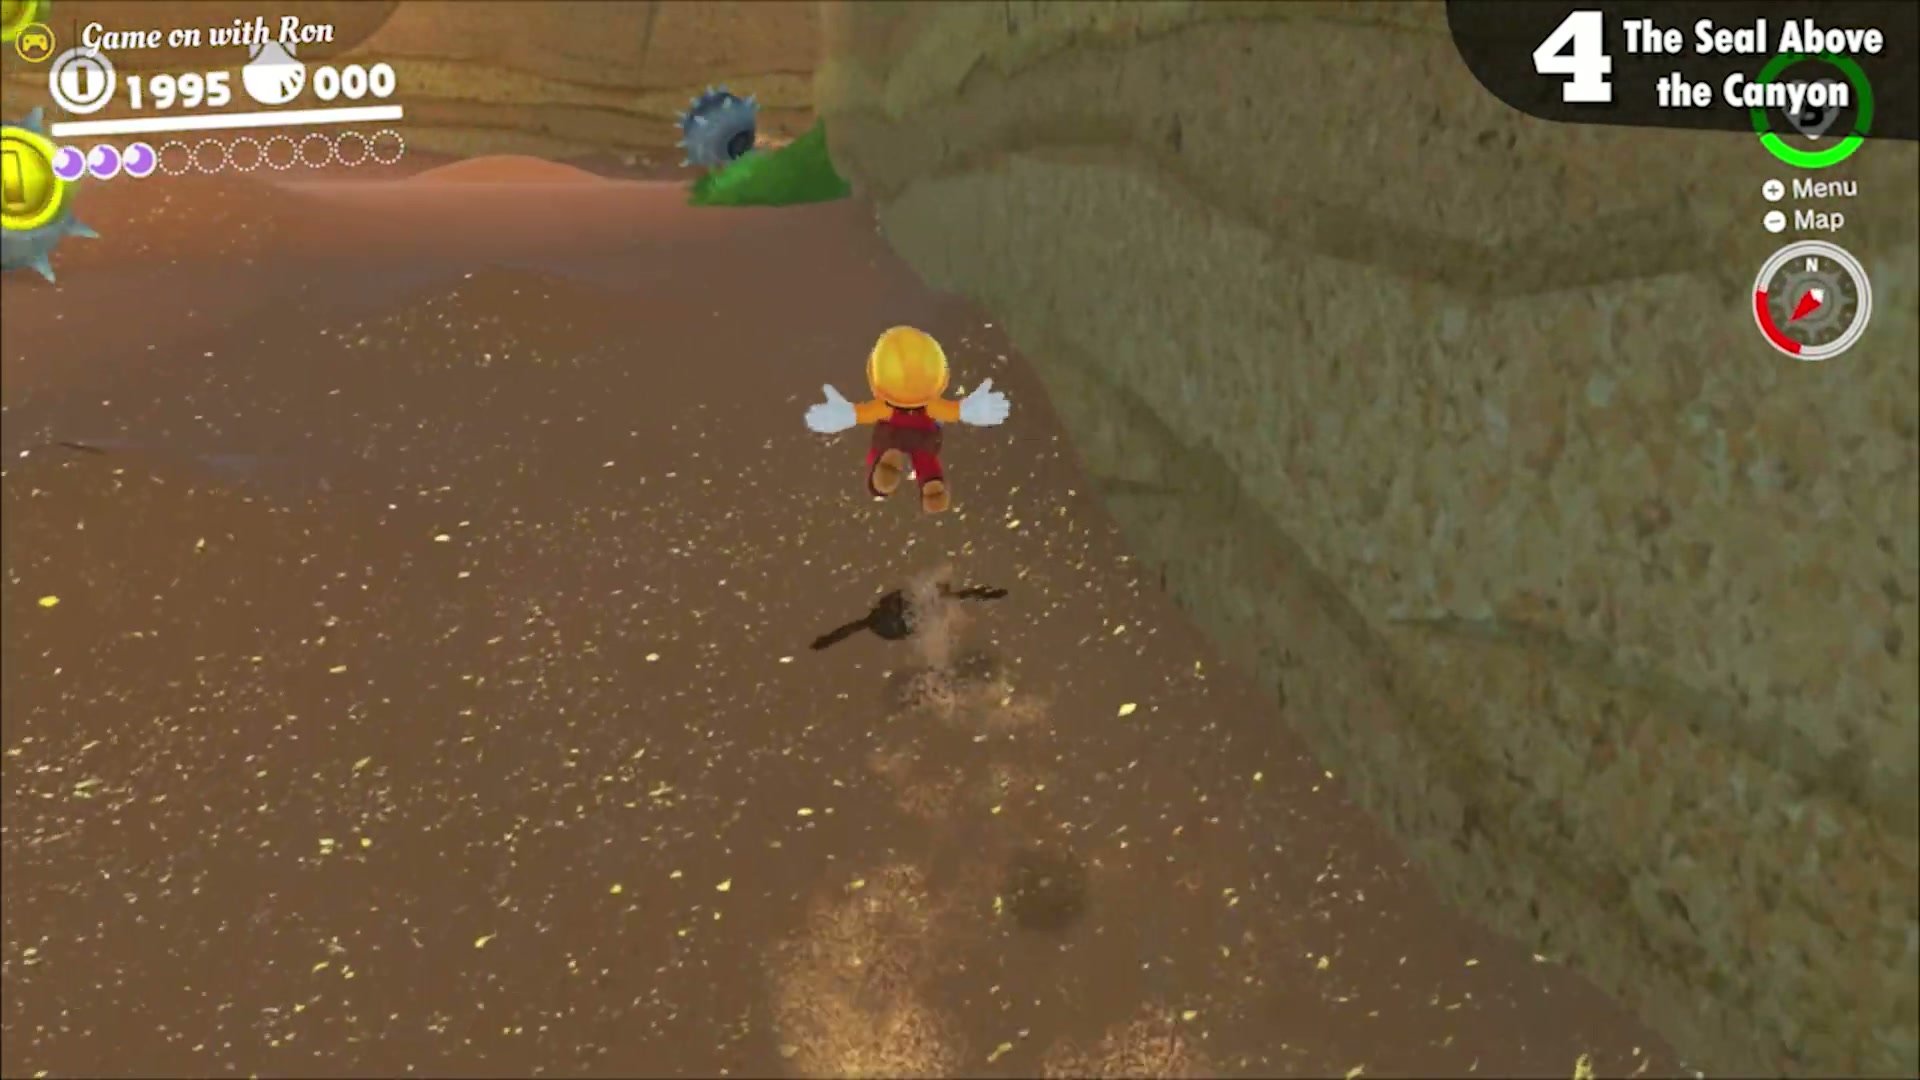
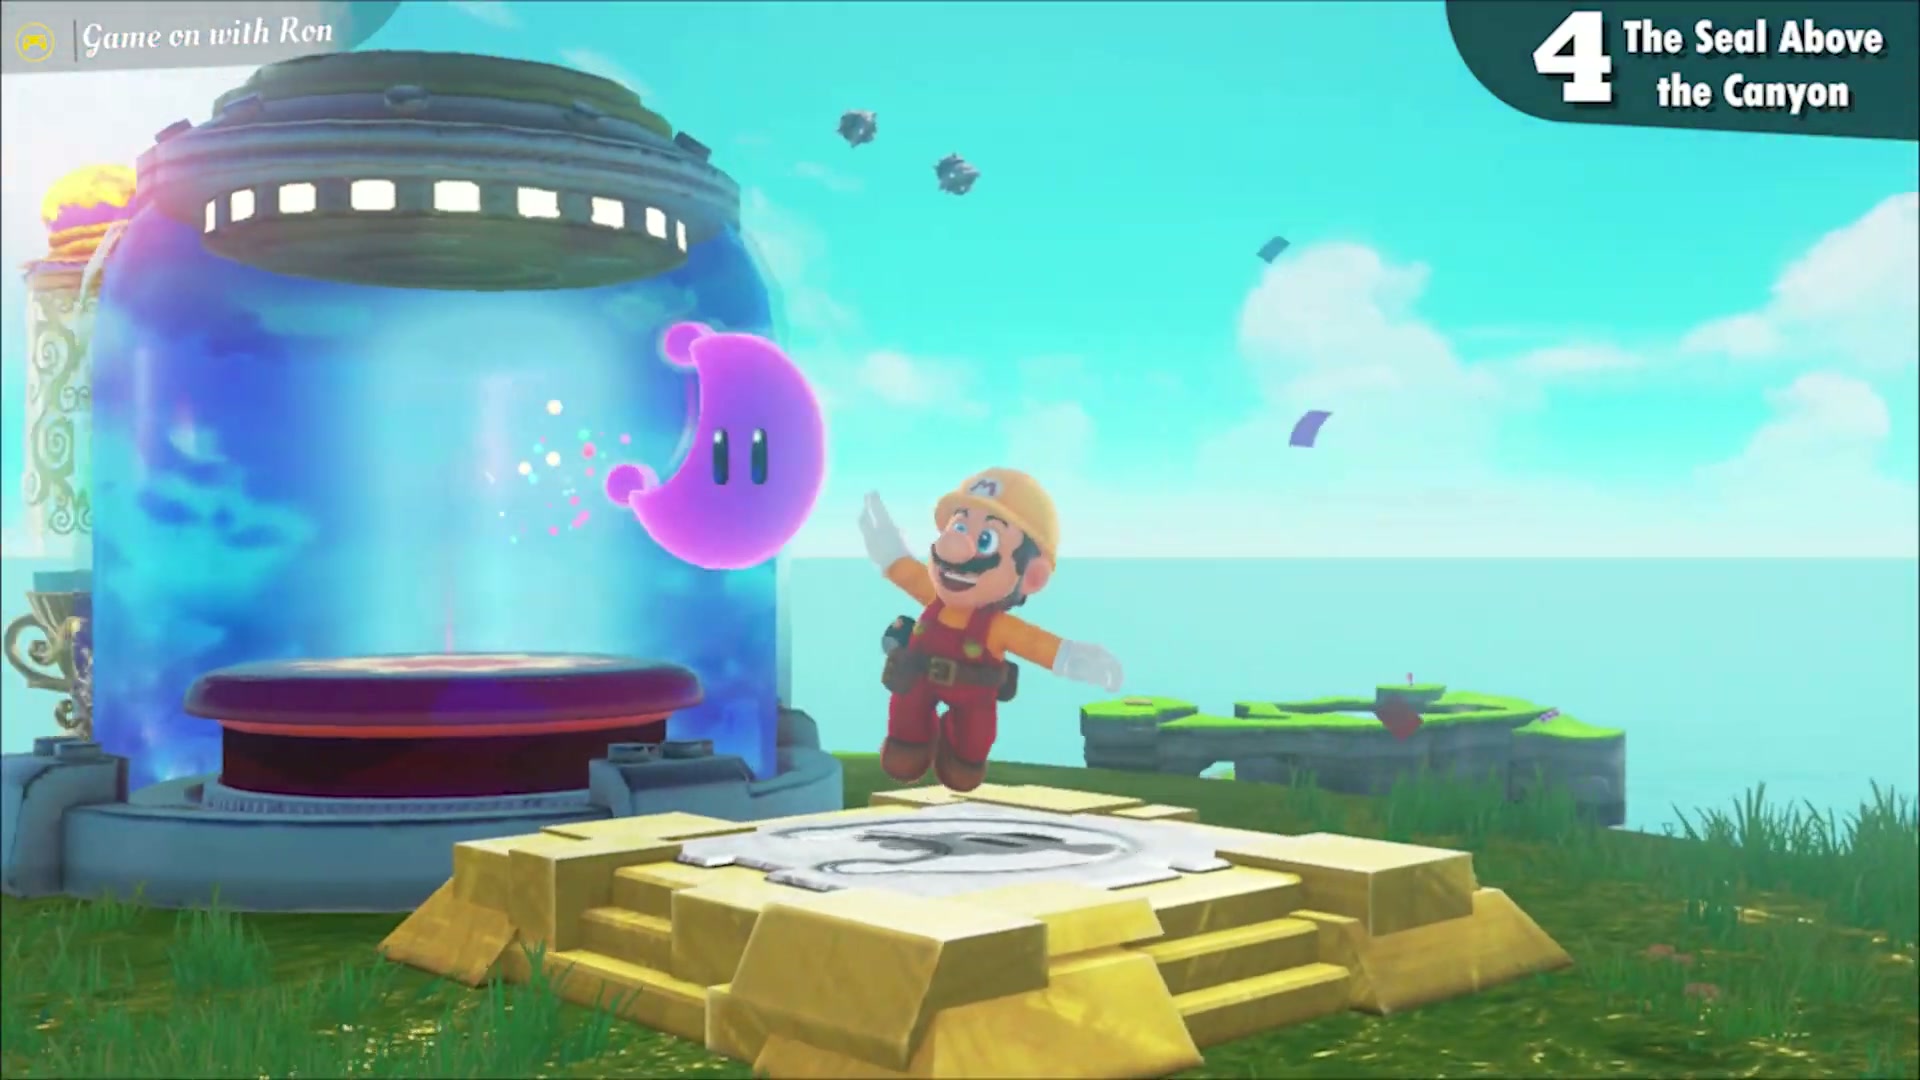
Capture a Glydon and glide through the Rolling Canyon, past the rolling shells and the wall of crates, to reach this moon. Collecting it unplugs the fourth and final seal.
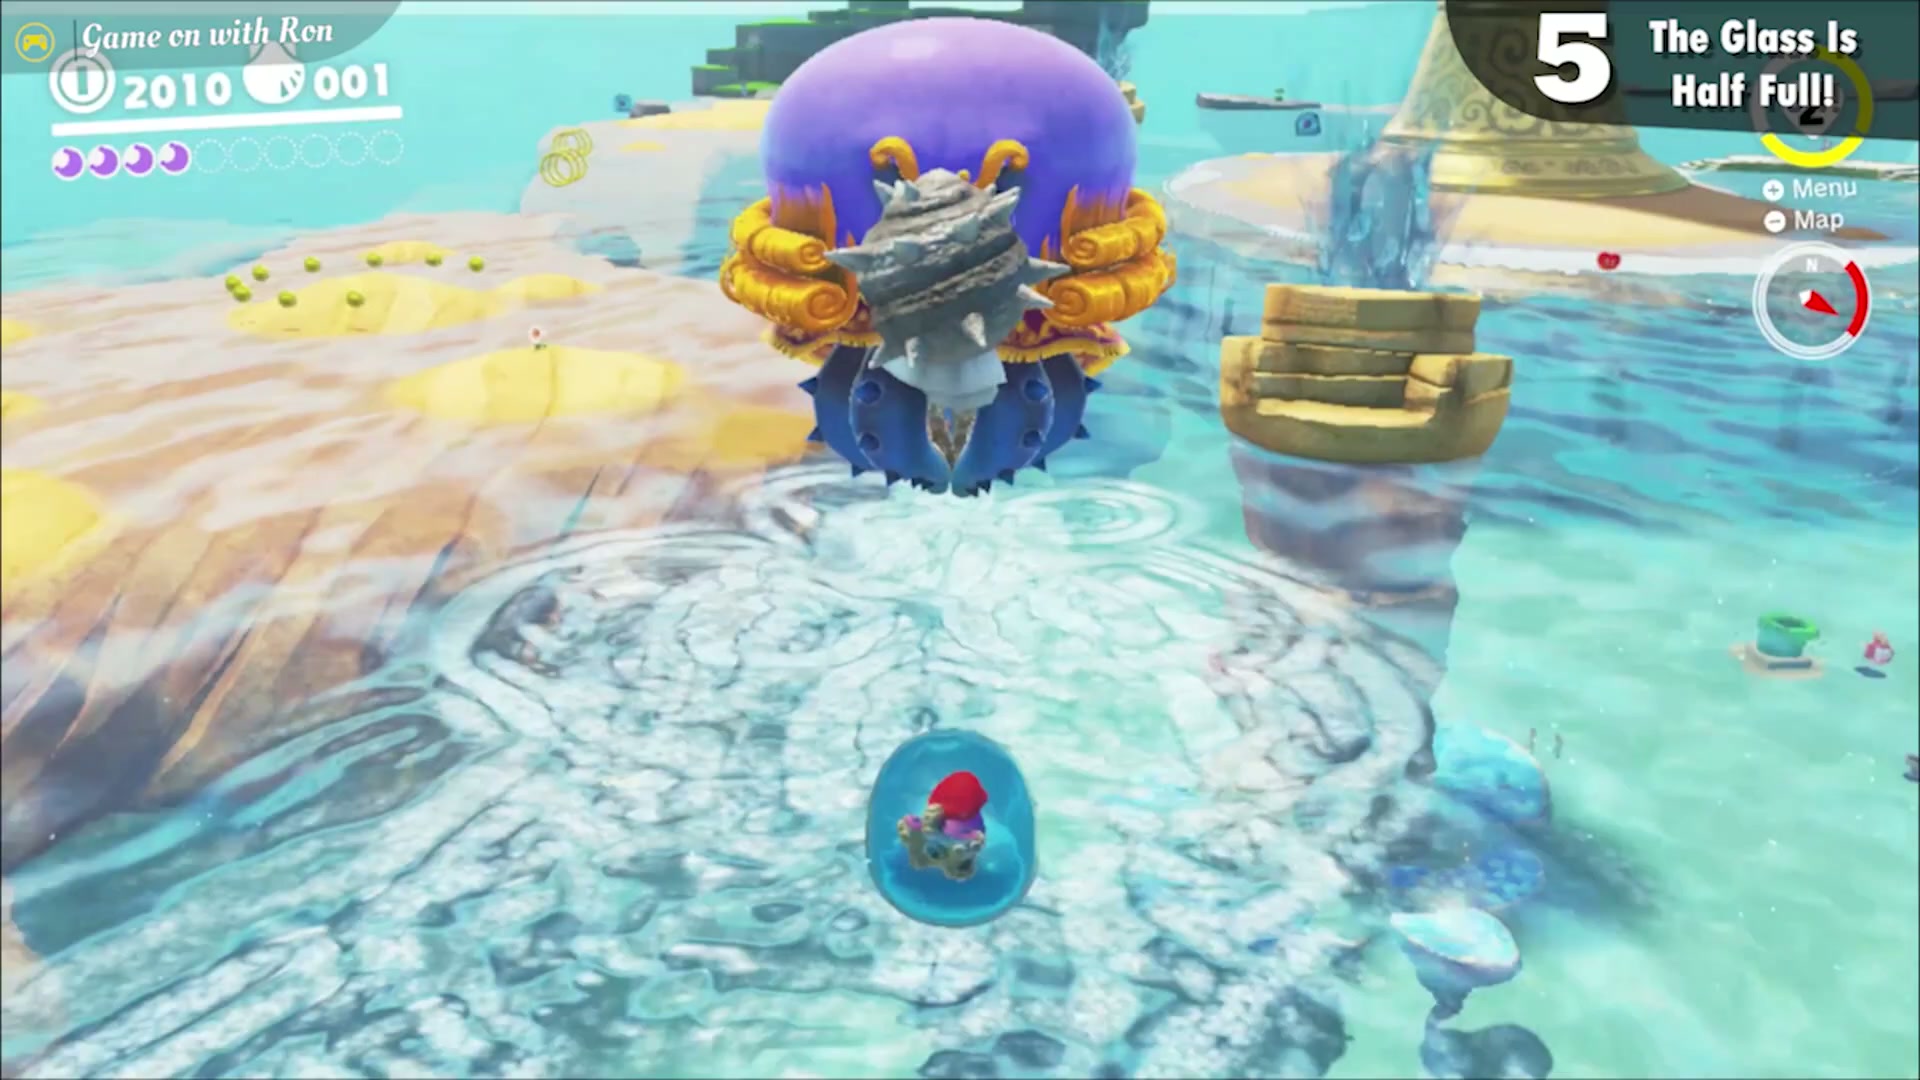
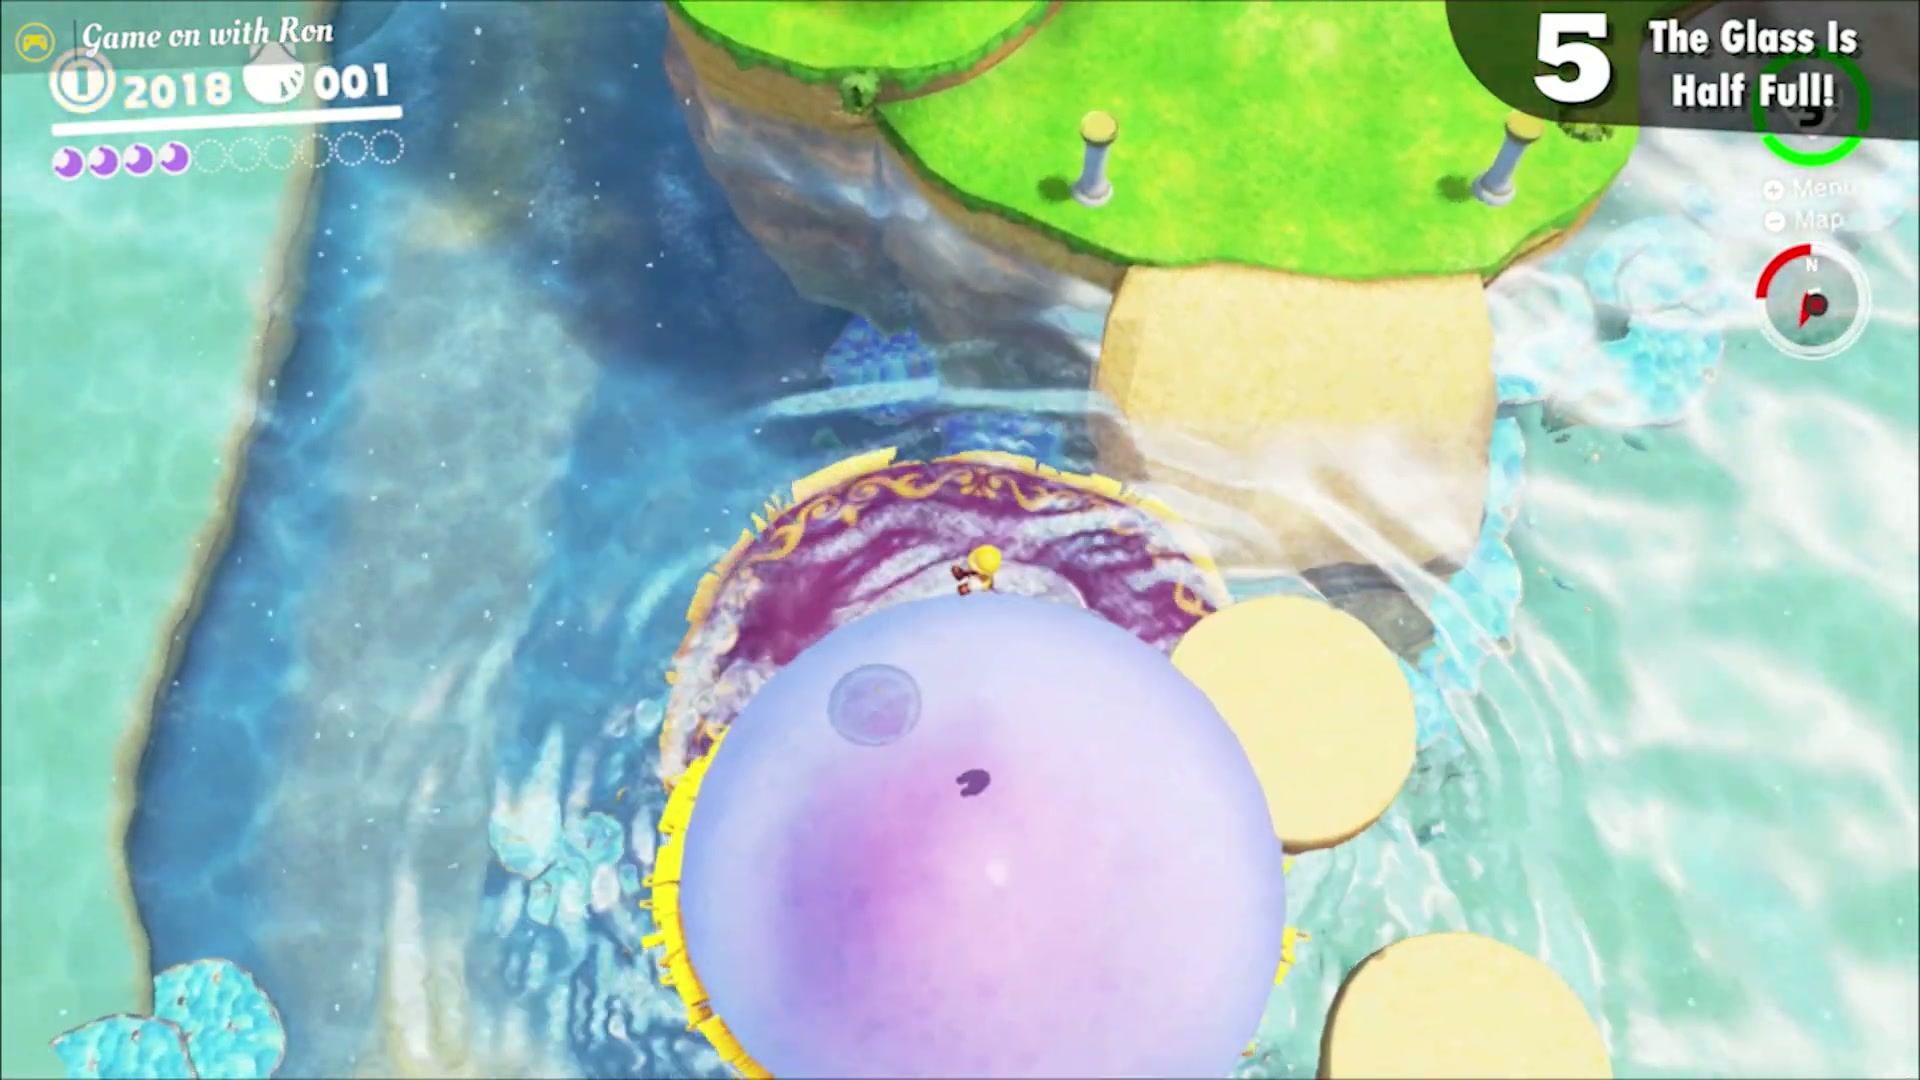
The Glass Is Half Full!
Defeat the boss Mollusque-Lanceur, using a Gushen to spray its weak spots, and you will be rewarded with a Multi Moon.
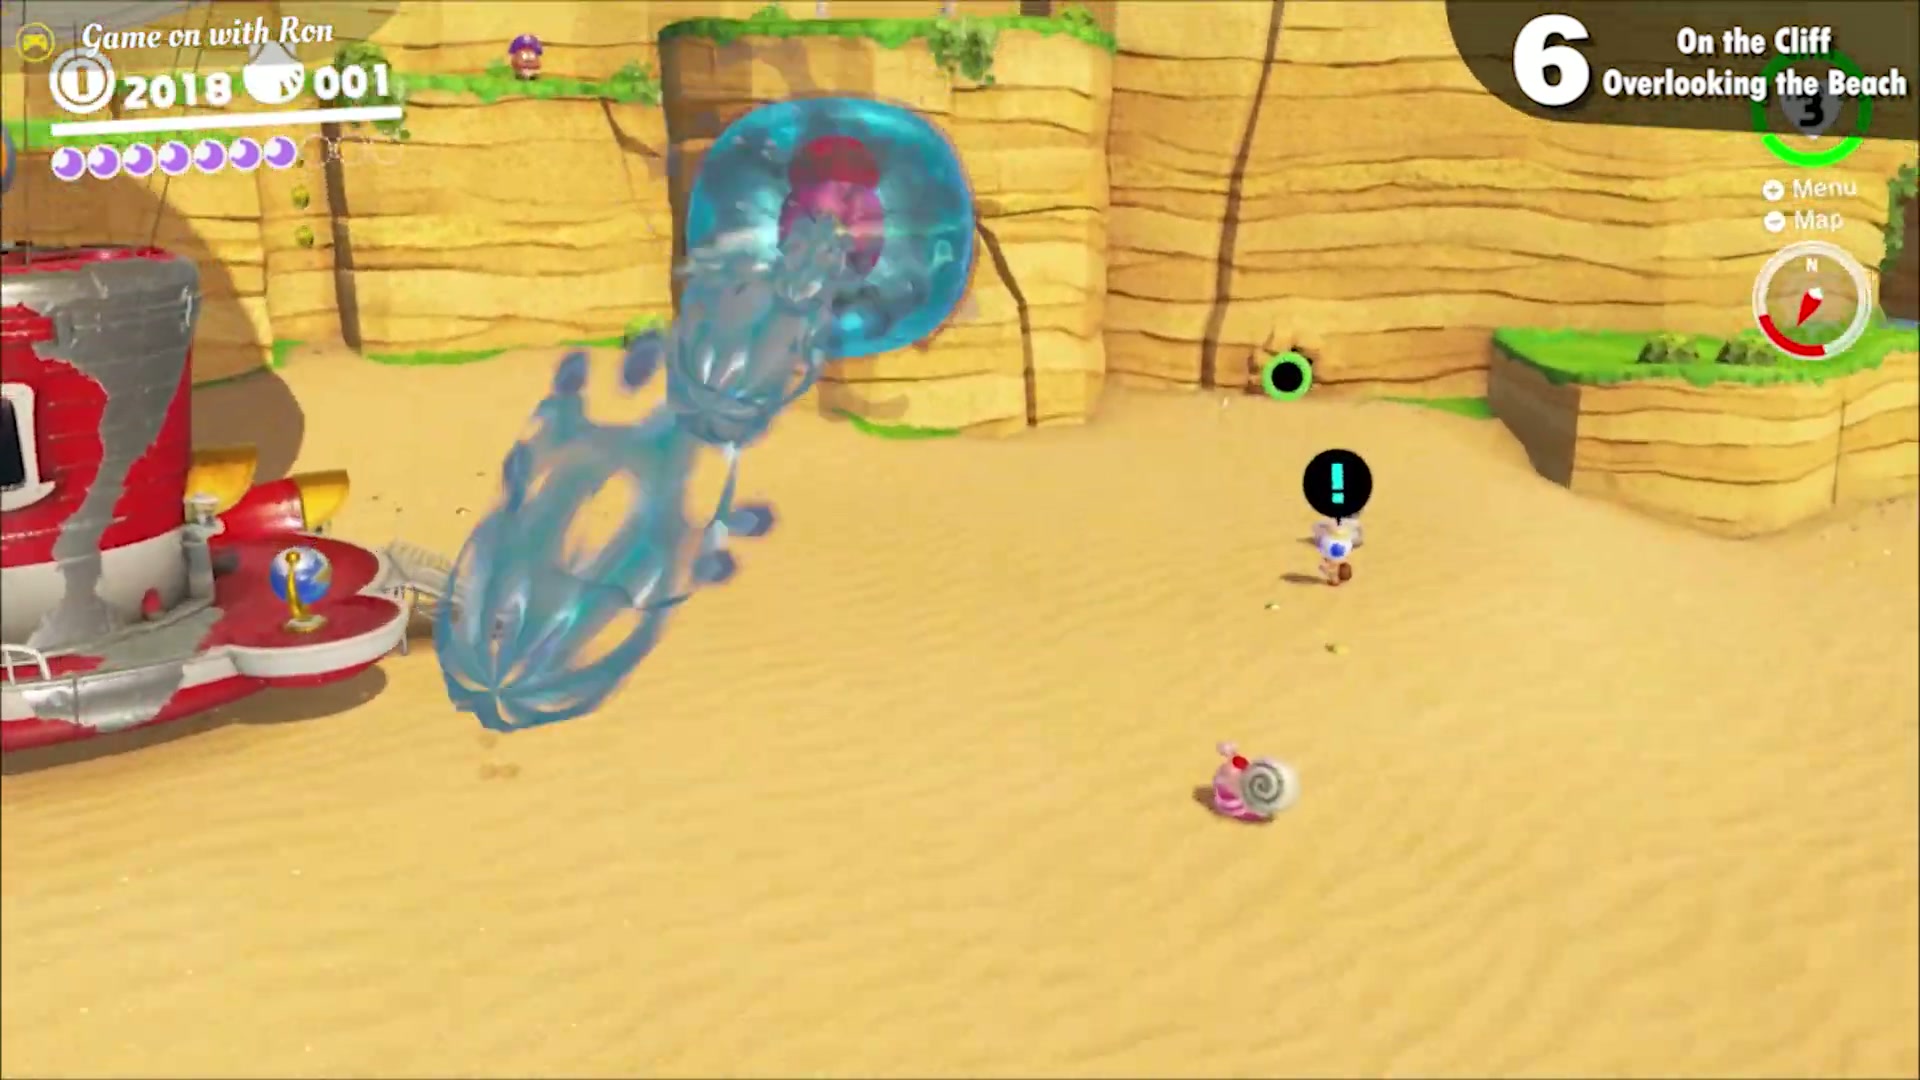
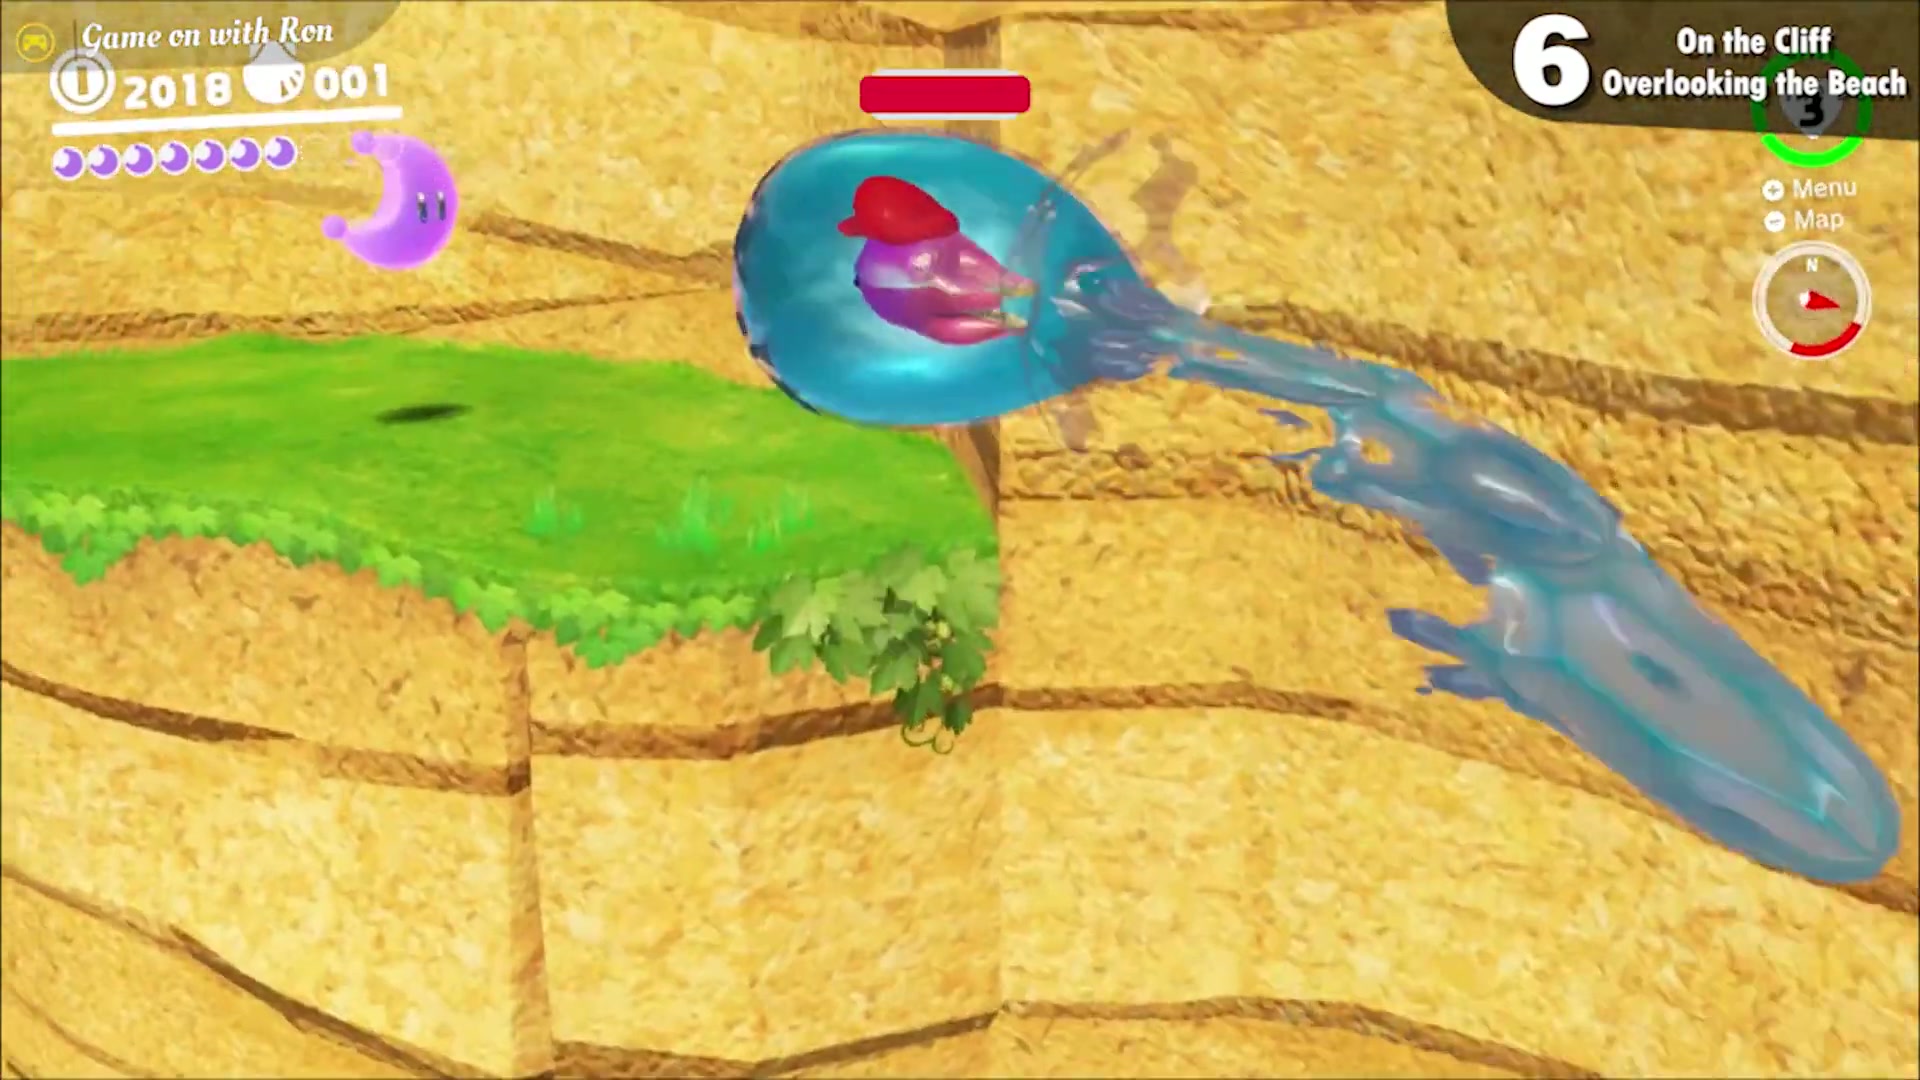
On the Cliff Overlooking the Beach
To the right of the Odyssey, near the two Goombas wearing pirate hats, this moon sits on a high cliff. Capture a Gushen and jet up to reach it.
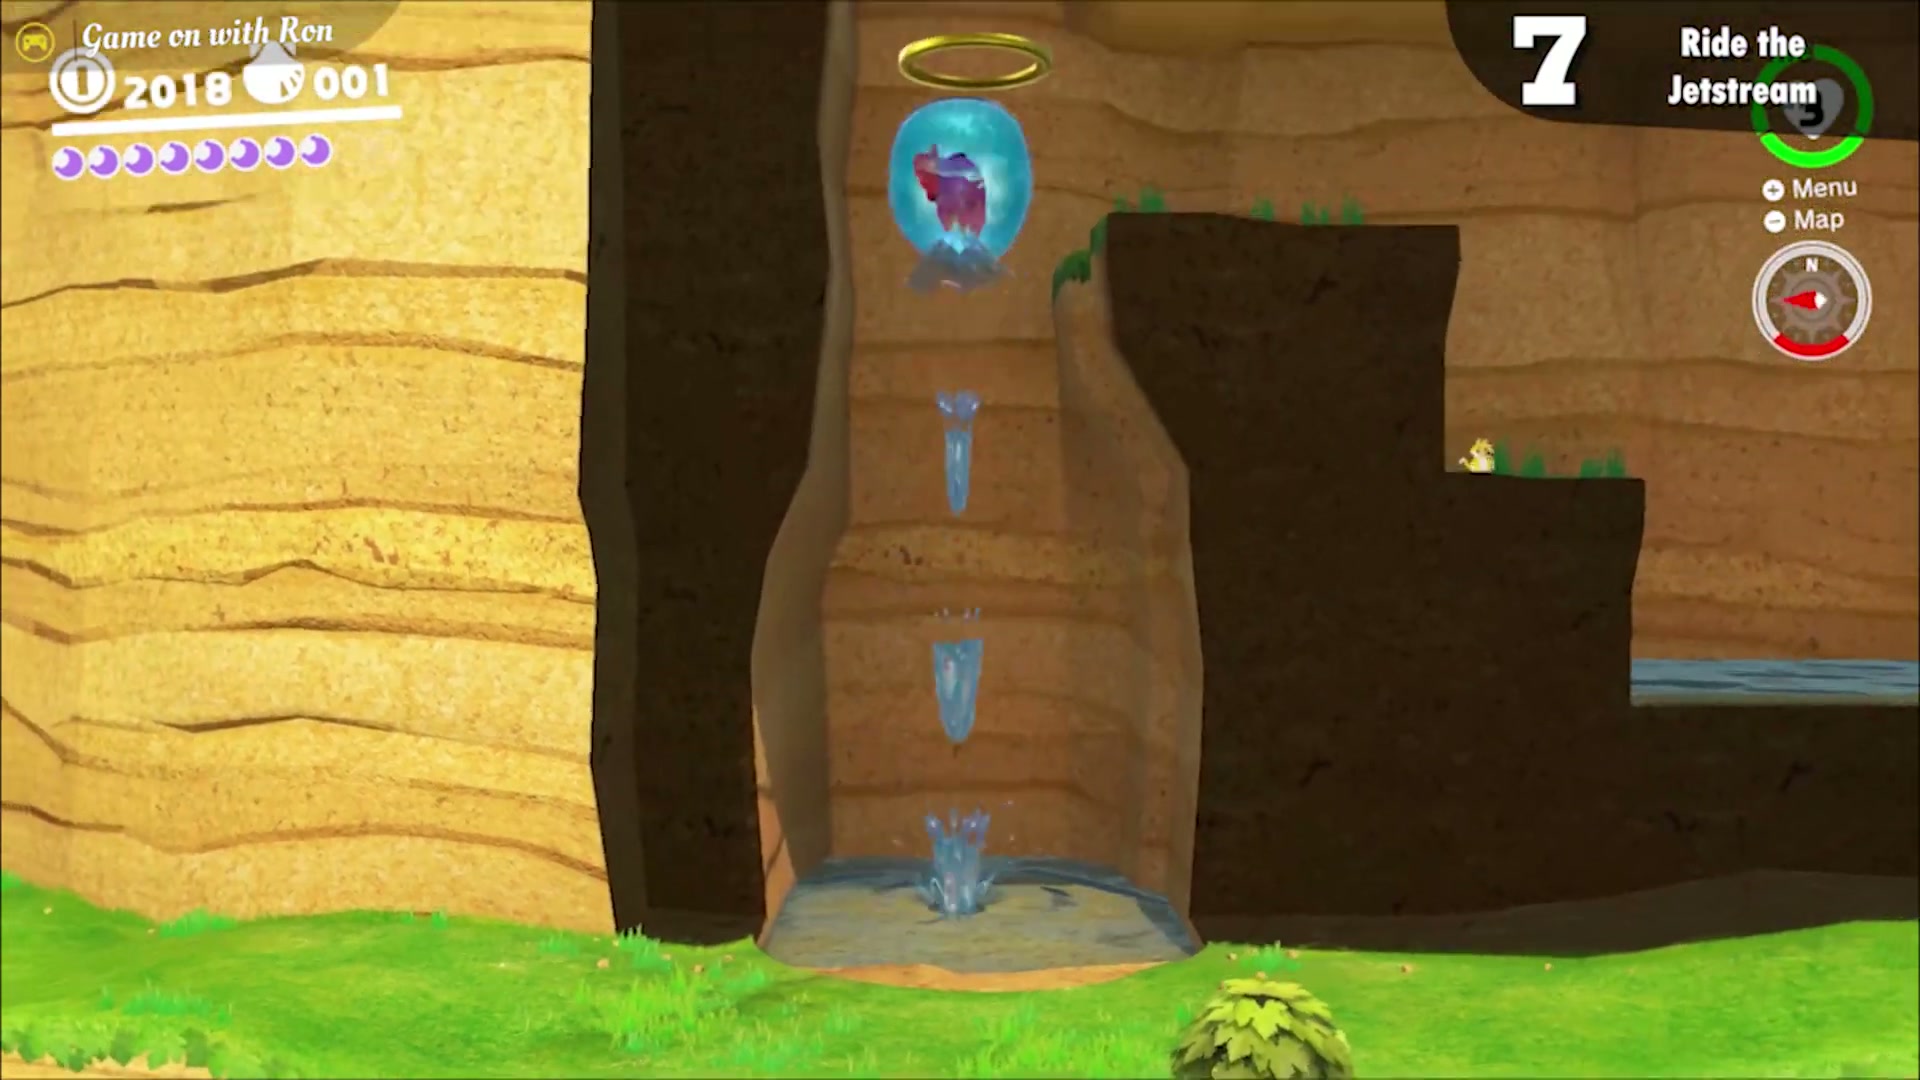
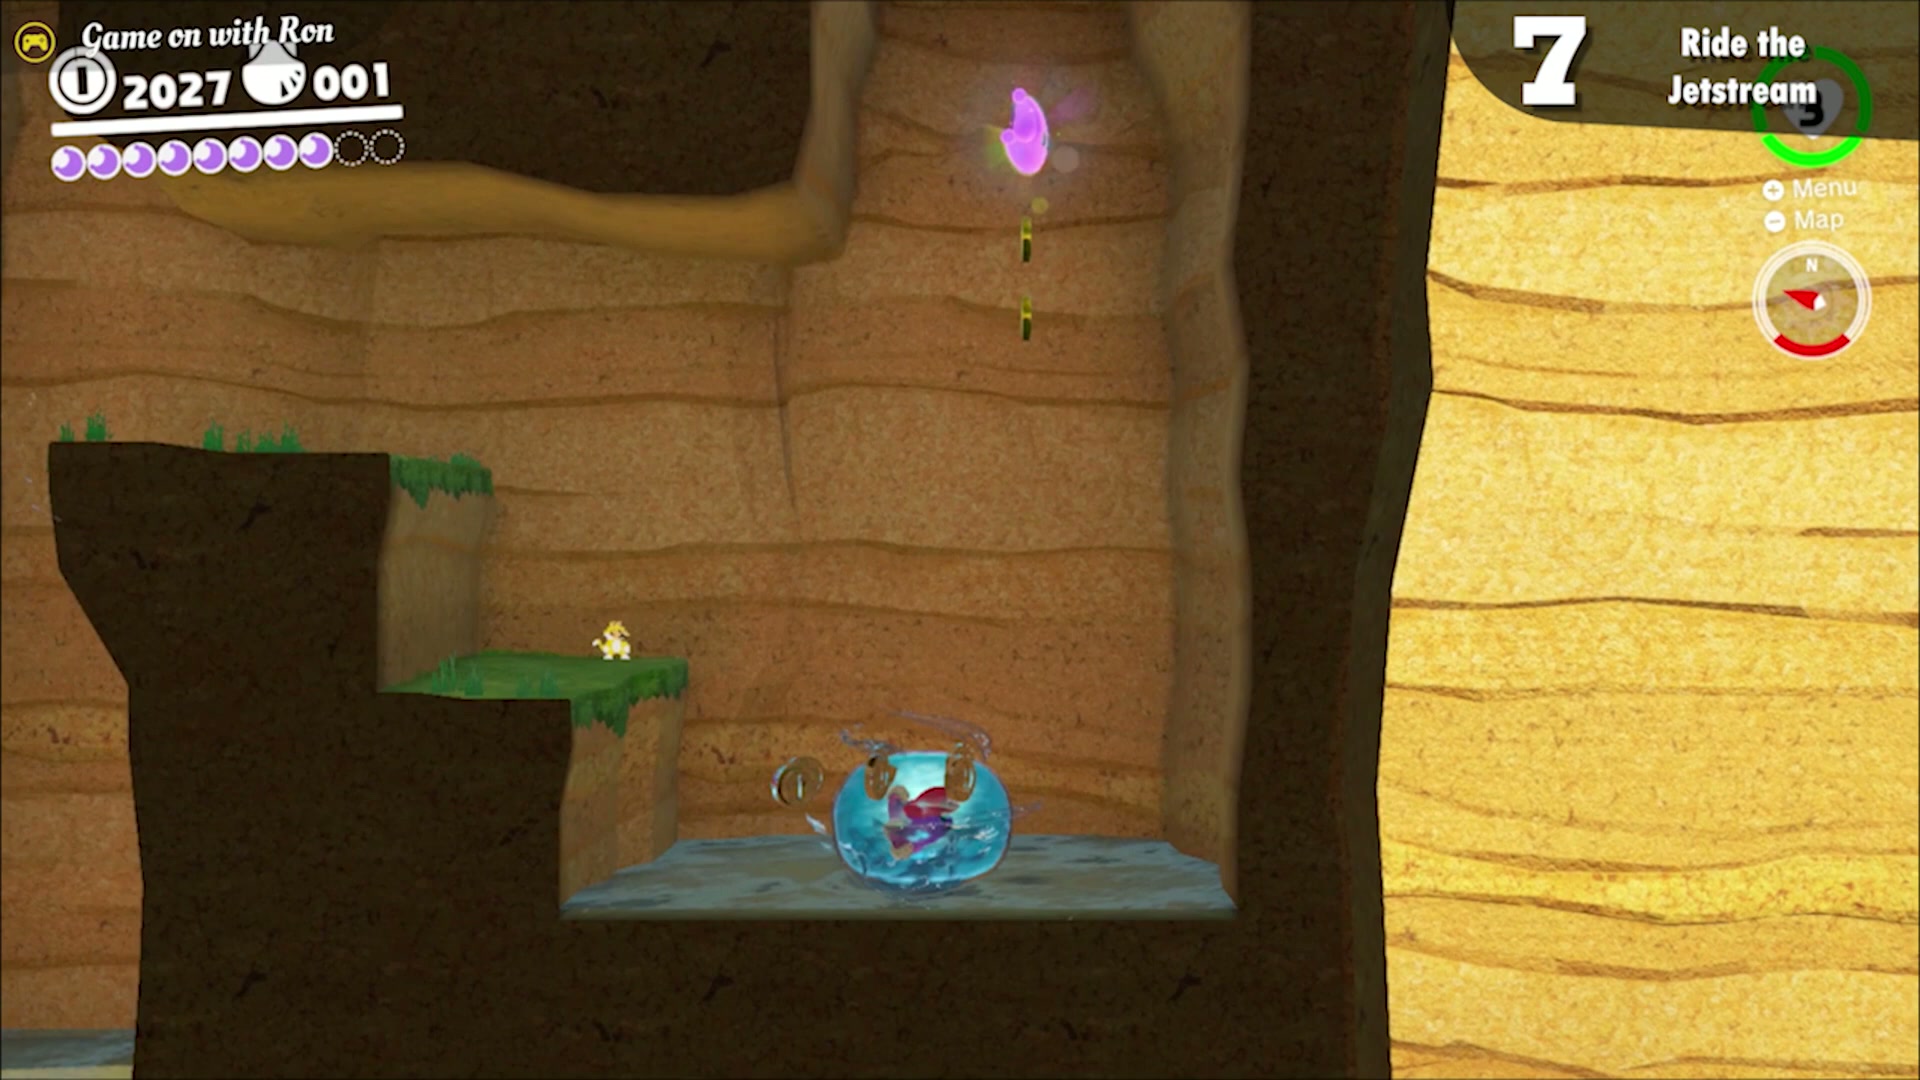
Ride the Jetstream
Find a hidden alcove to the right of the Odyssey near the Binoculars. Capture a Gushen and ride the jetstreams up into the alcove, then head right to find the moon above a shallow pool.
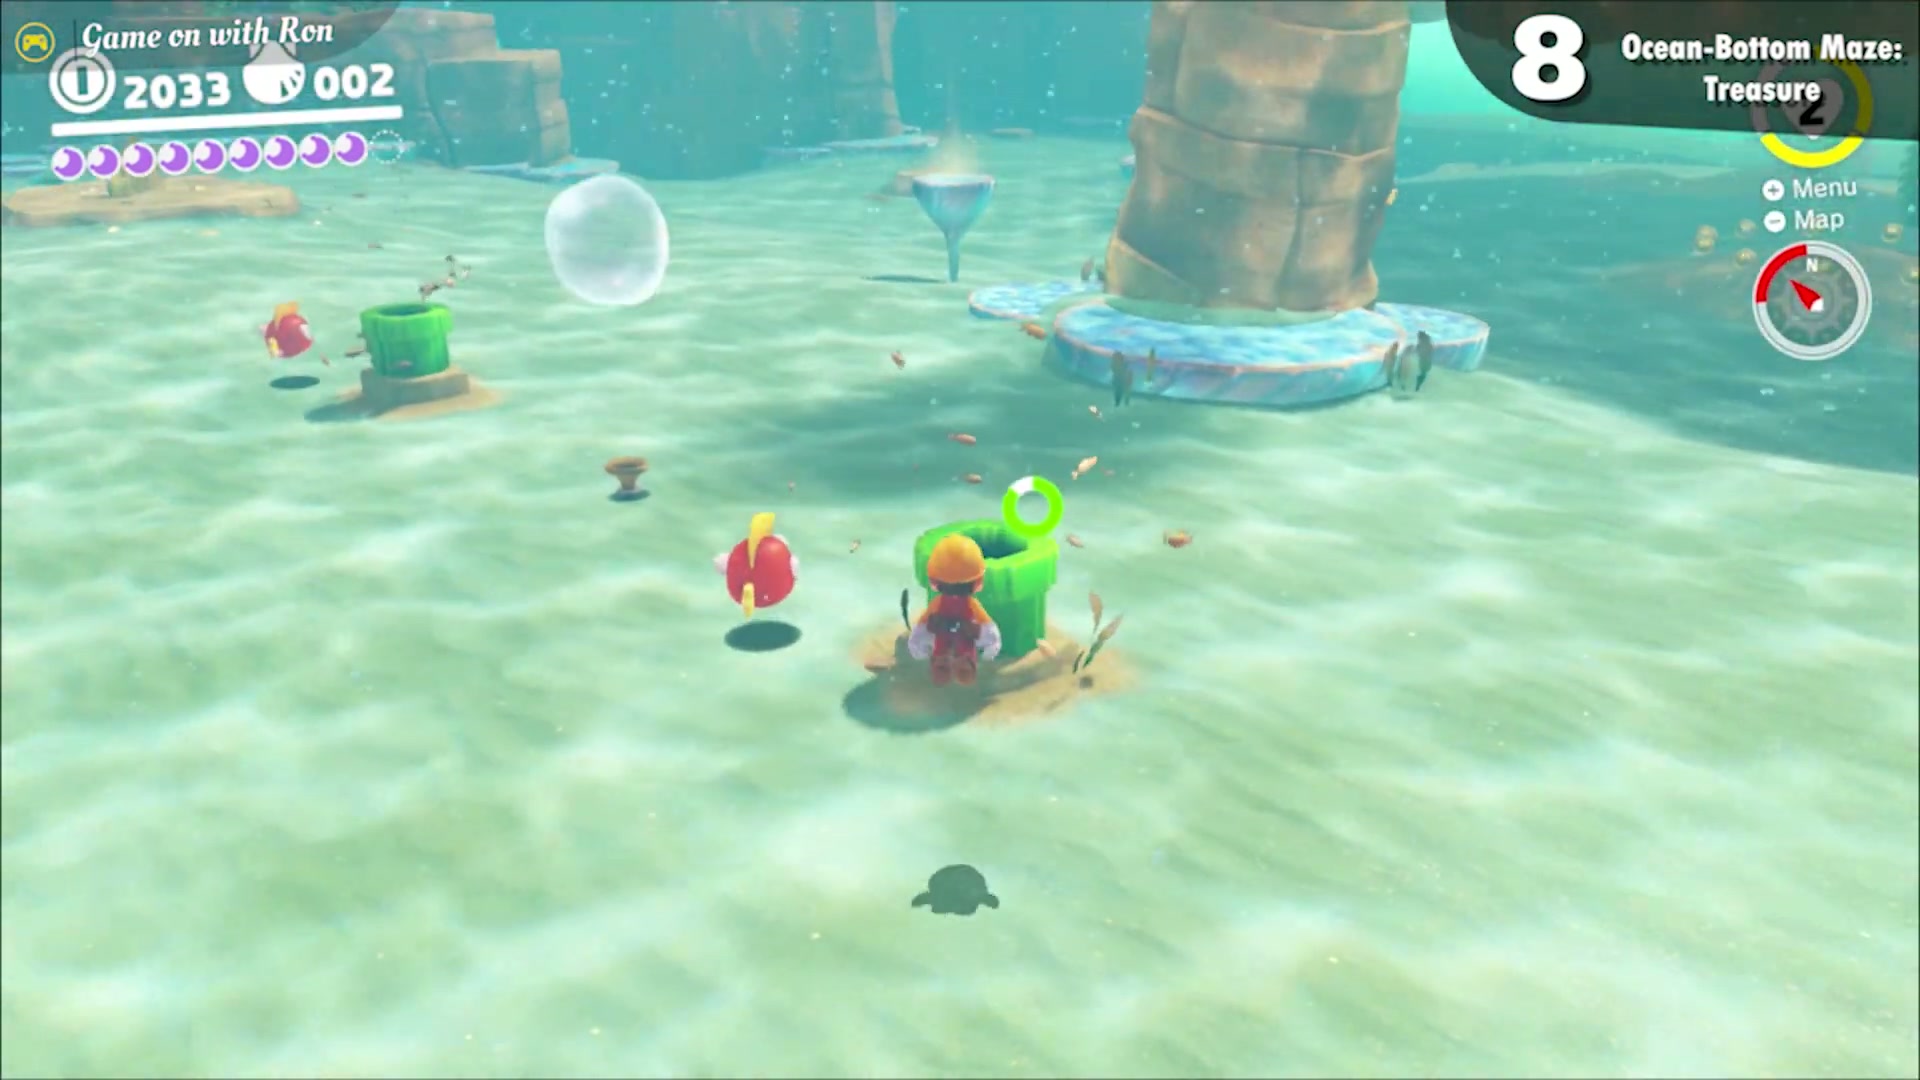
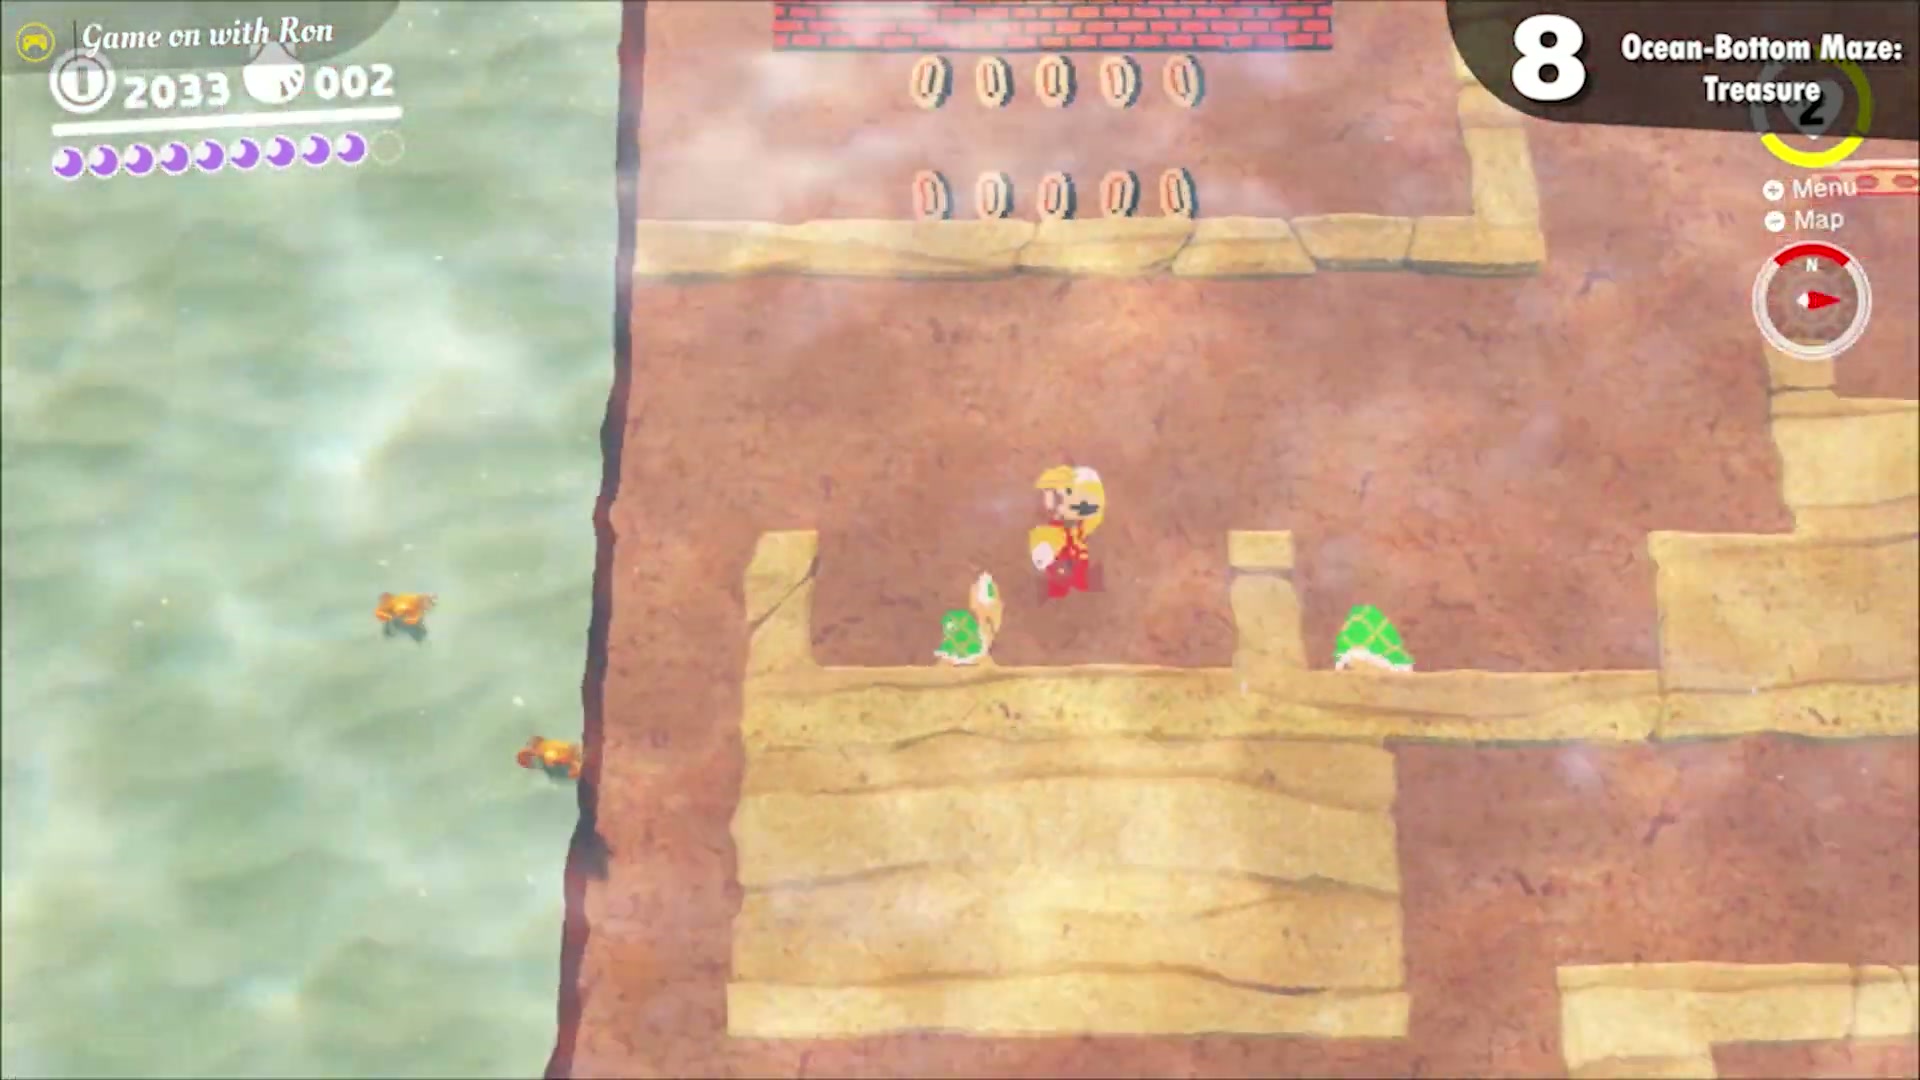
Ocean-Bottom Maze: Treasure
Near the Glass Palace checkpoint, four 8-bit pipes on the ocean floor lead into a flat 2D area. Make your way through the 2D section to reach the moon.
Ocean-Bottom Maze: Hidden Room
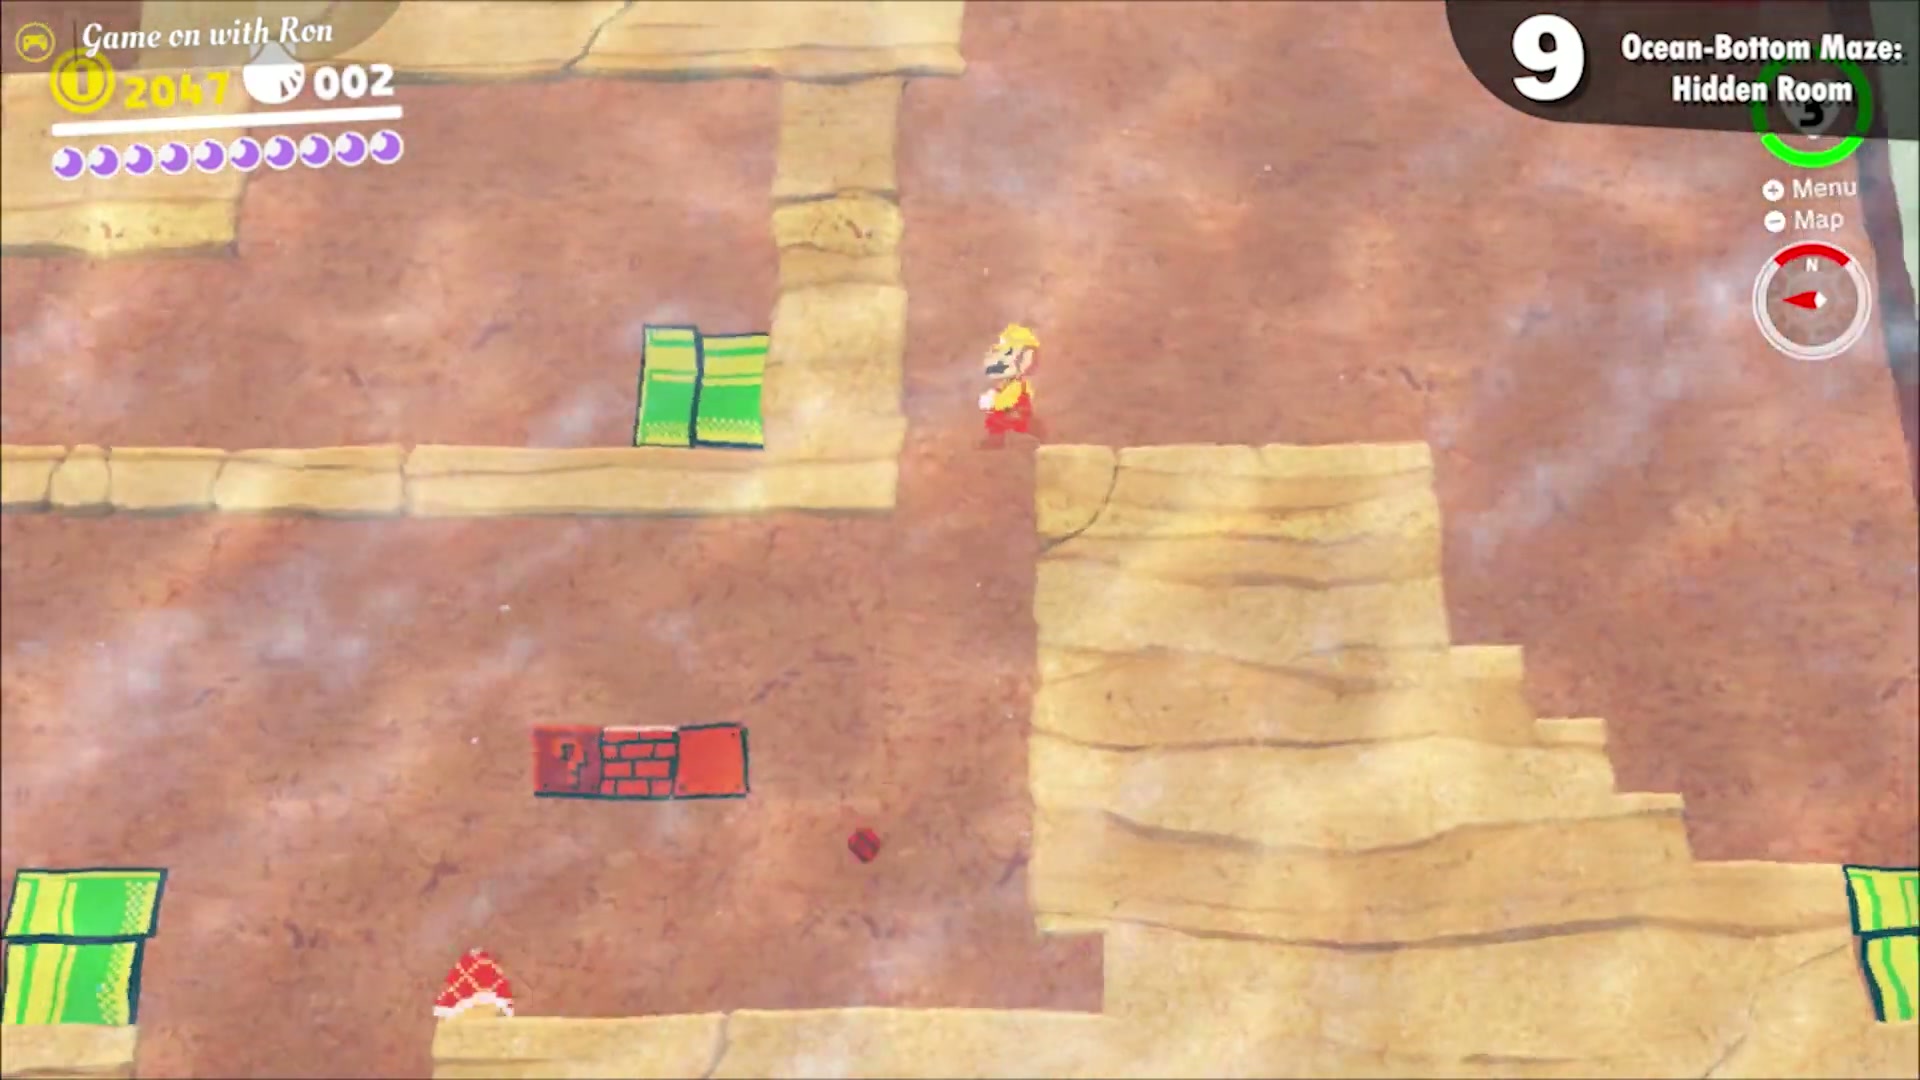
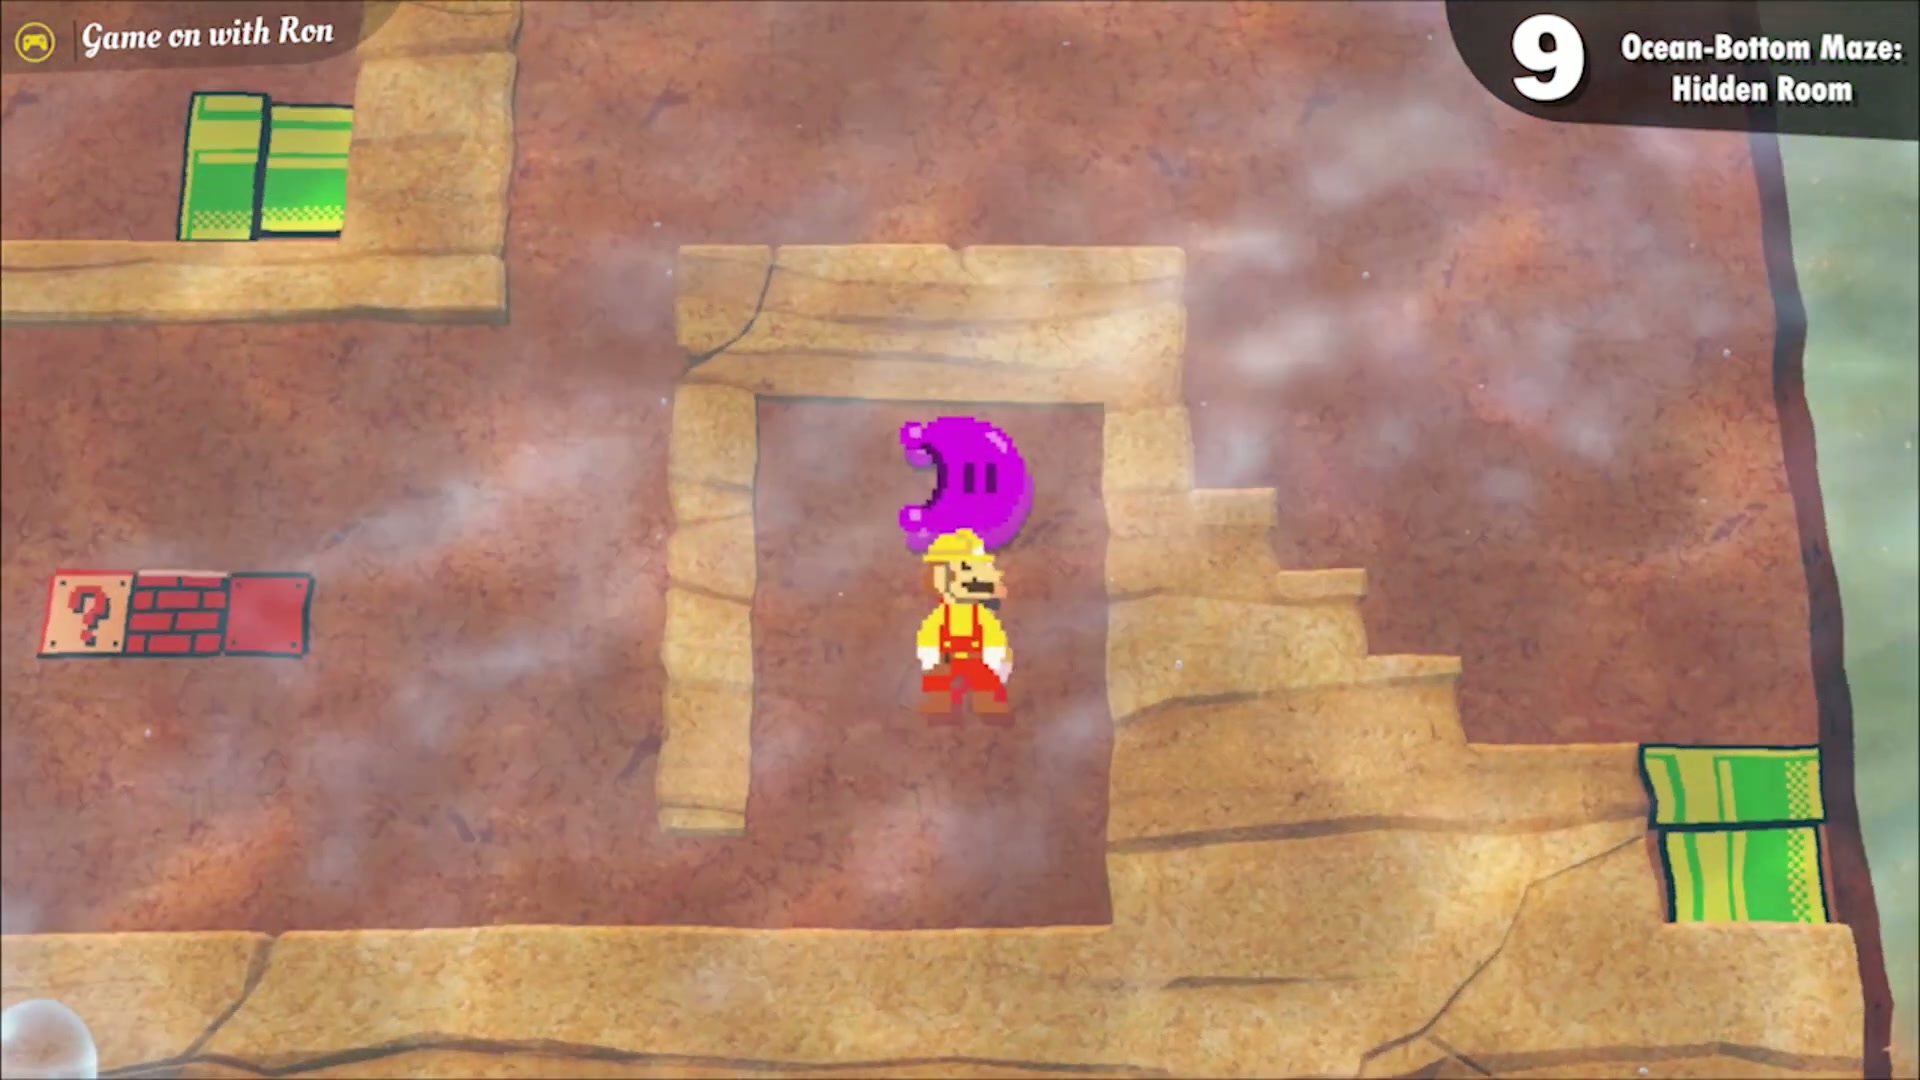
In the same 2D area as the Ocean-Bottom Maze: Treasure moon, enter the bottom-right 8-bit pipe. Kick a Koopa Troopa shell into the Brick Block blocking the way to reveal a hidden alcove with the moon.
Underwater Highway Tunnel
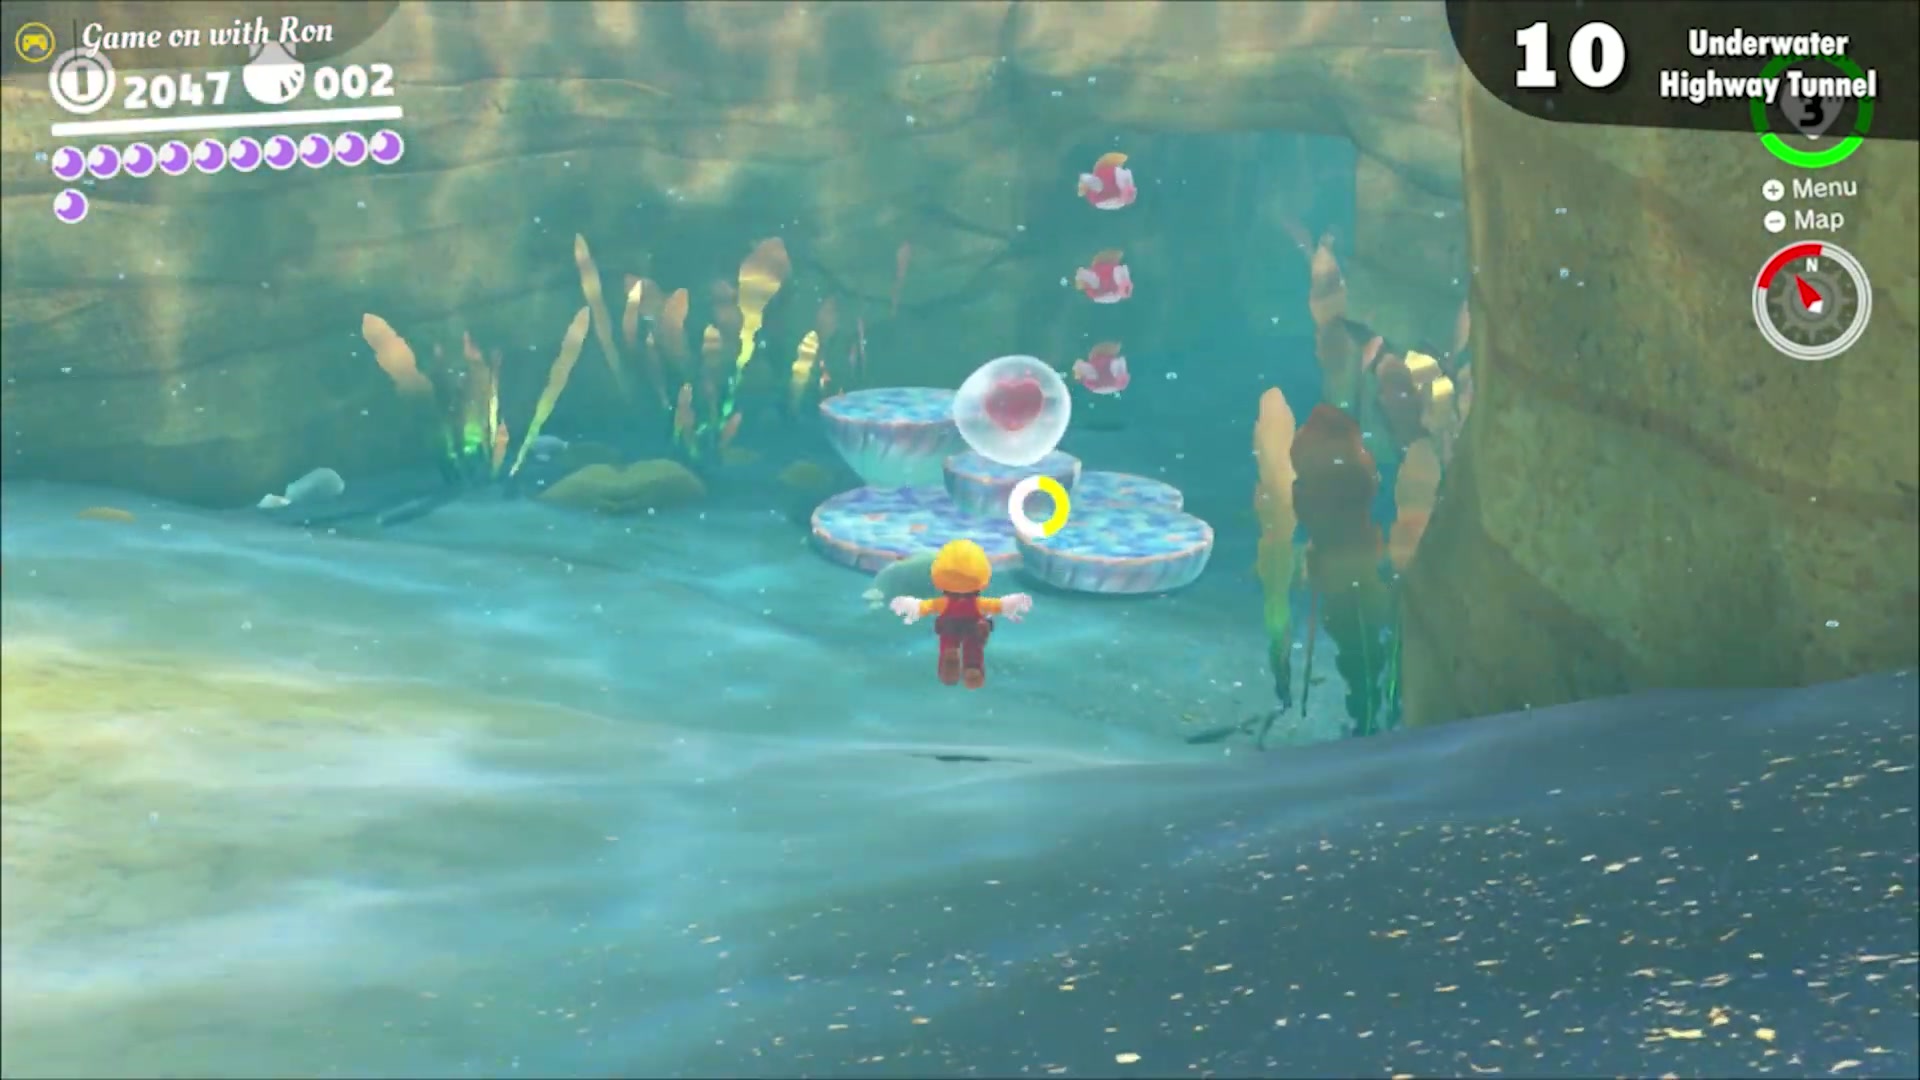
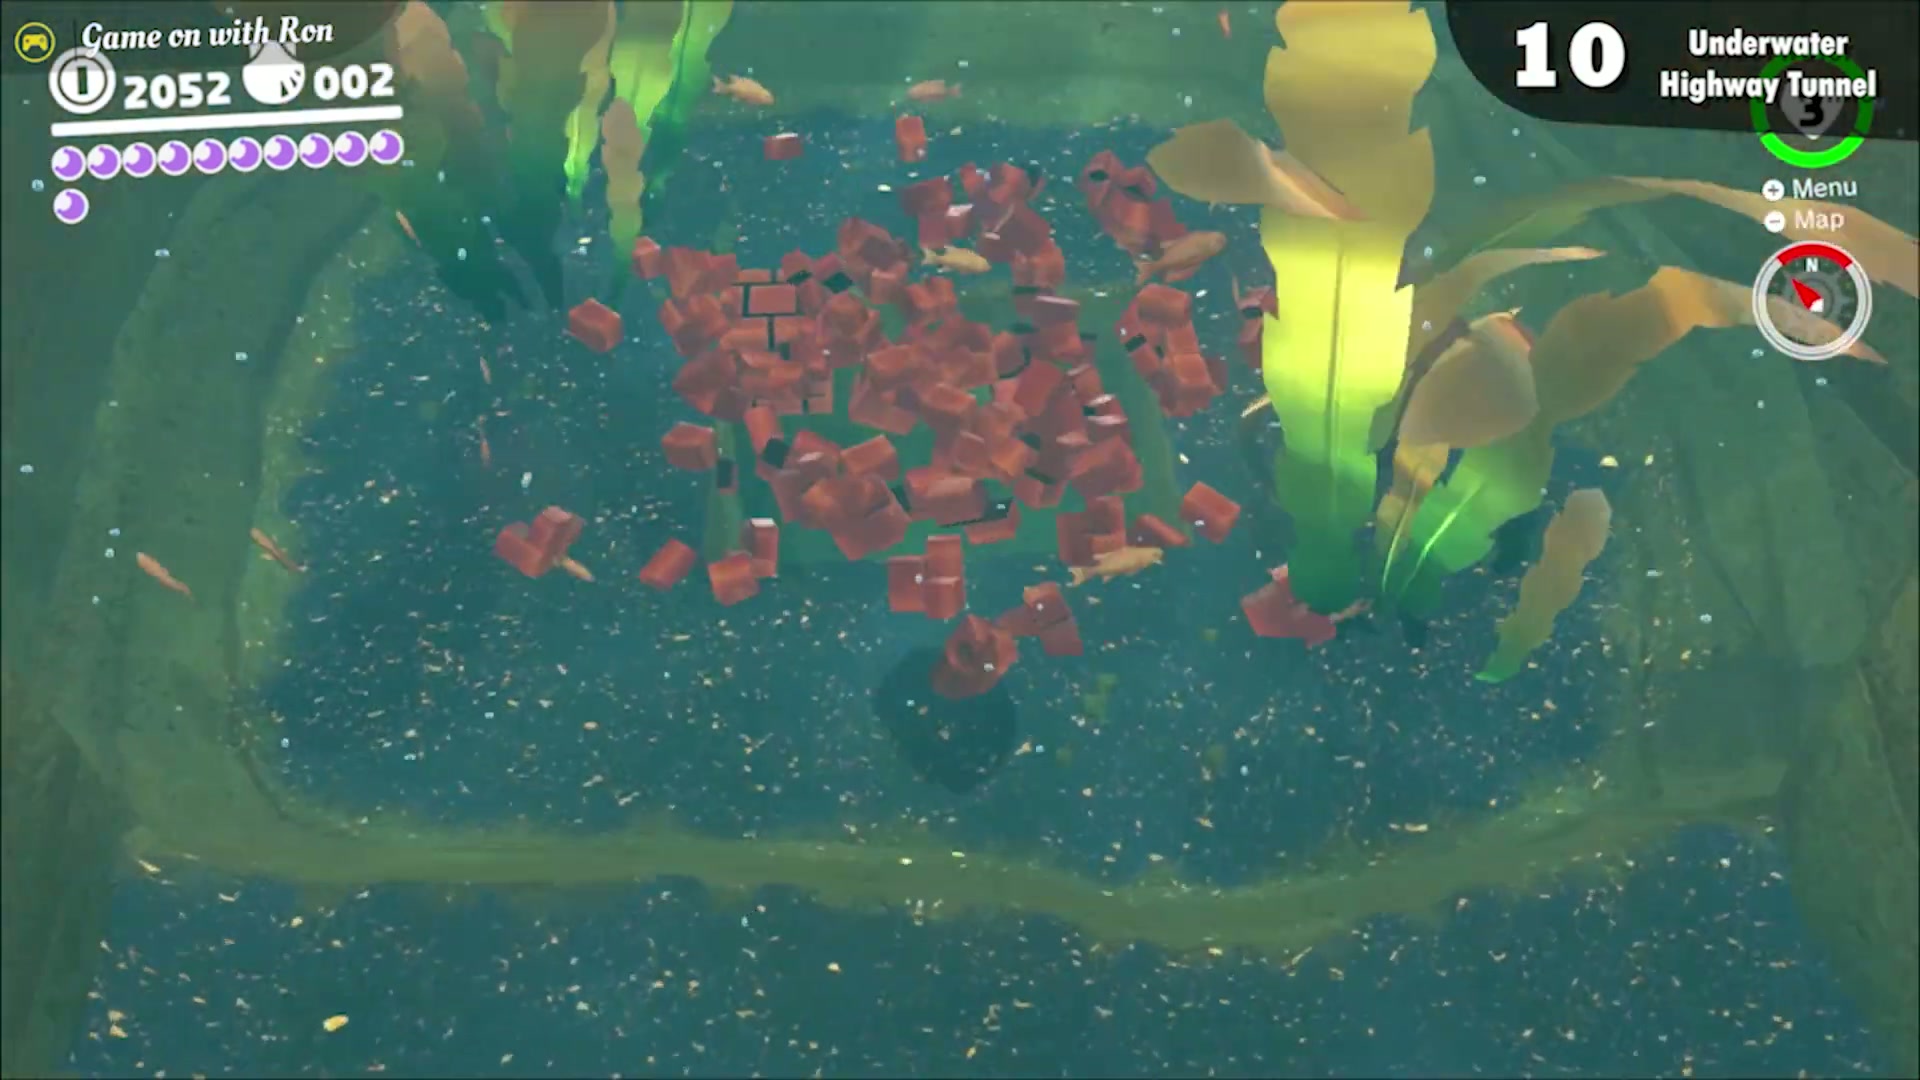
To the northwest of the Lighthouse checkpoint, three Cheep Cheeps swim in front of a short tunnel. Capture one of them and look for a small hole covered by Brick Blocks, then smash through the blocks to find the moon hidden inside.
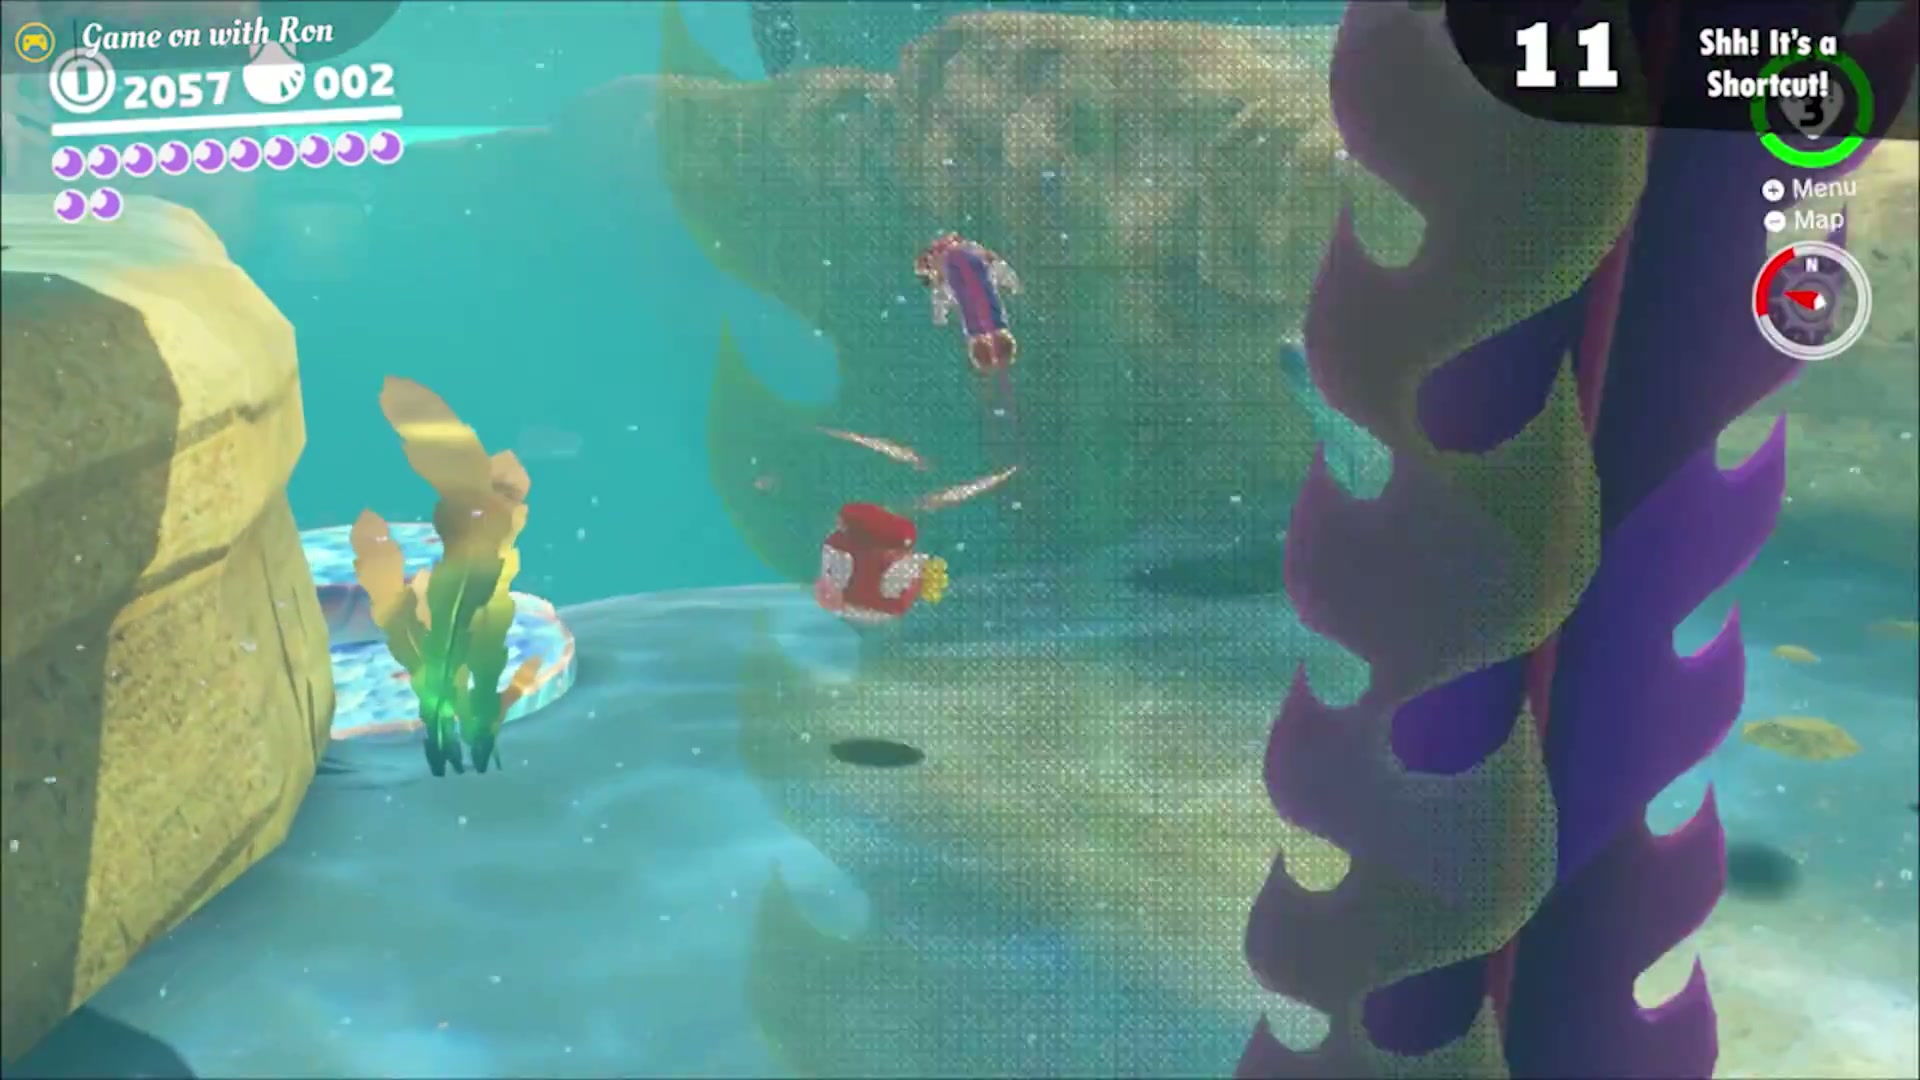
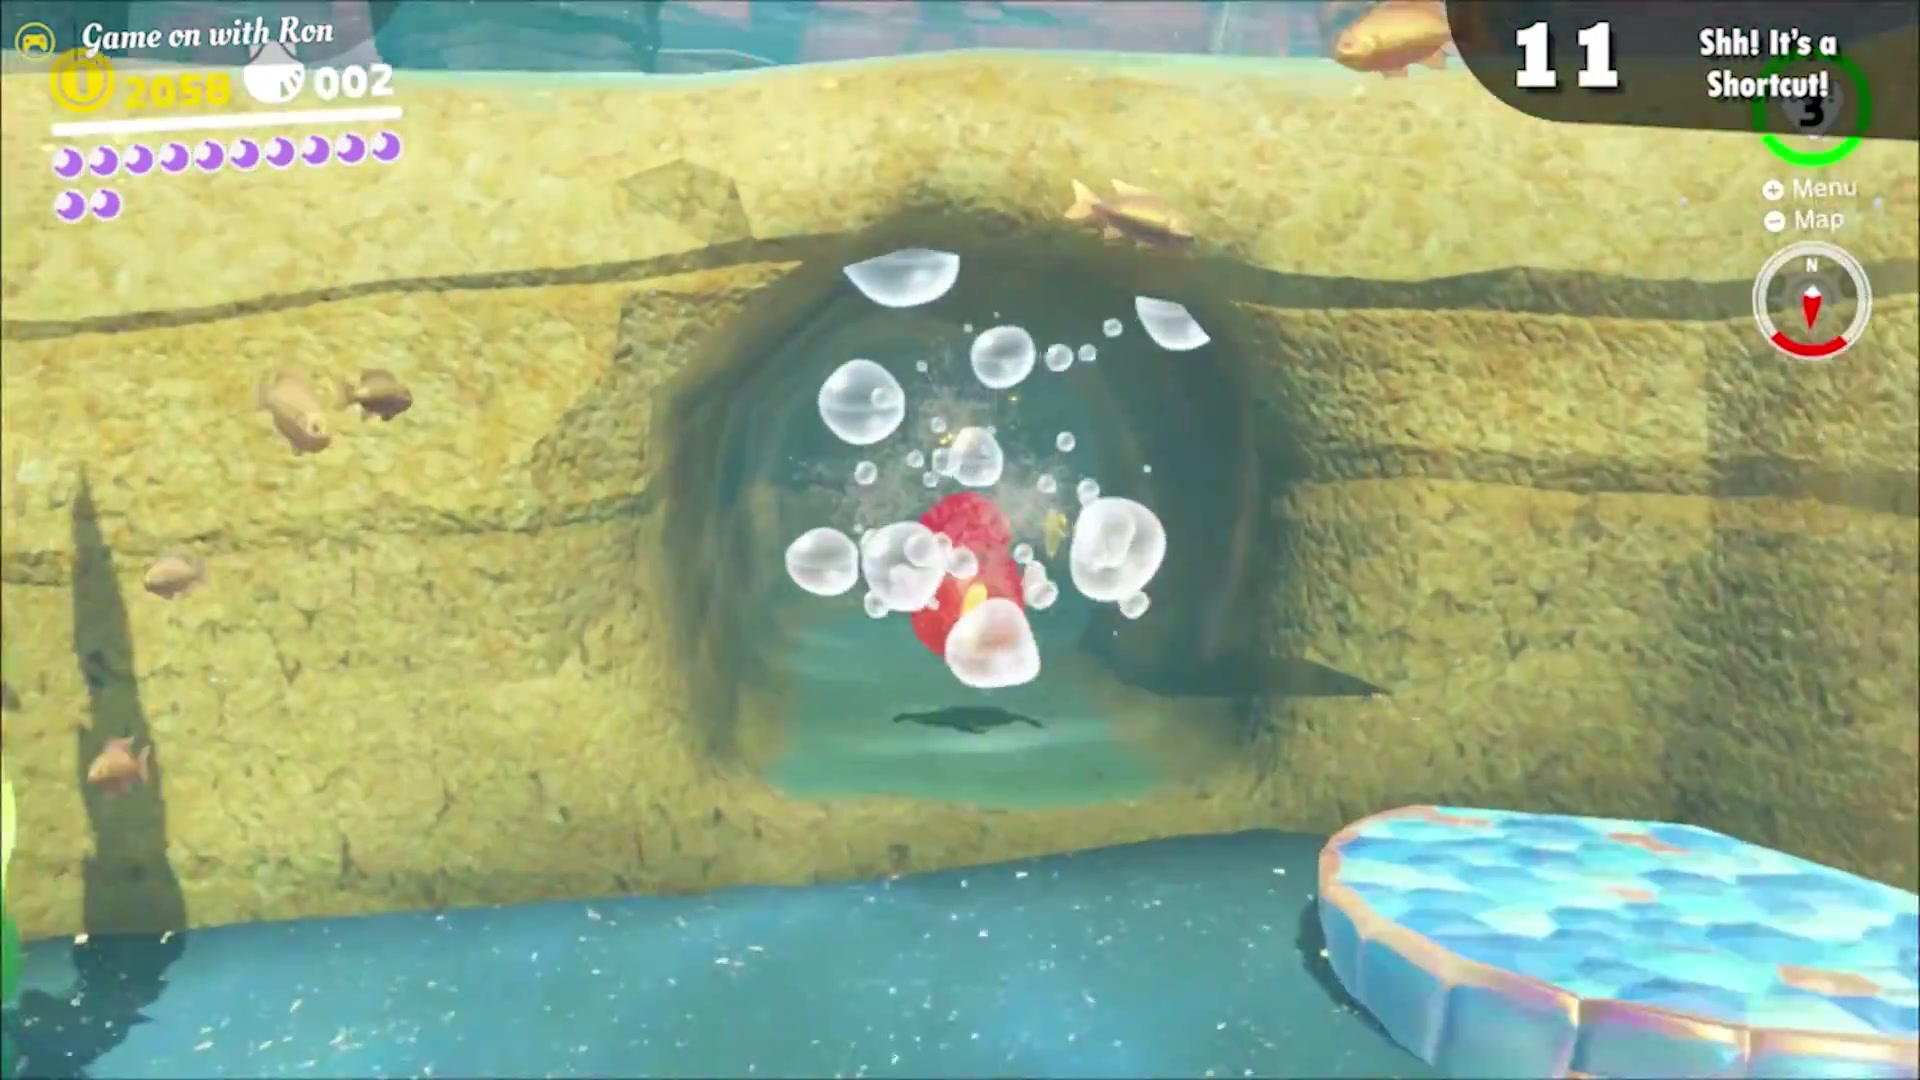
Shh! It’s a Shortcut!
Near the Ocean Trench East checkpoint, capture a Cheep Cheep and head a little to the left to find a hole. Swim through the hidden path inside to reach the moon.
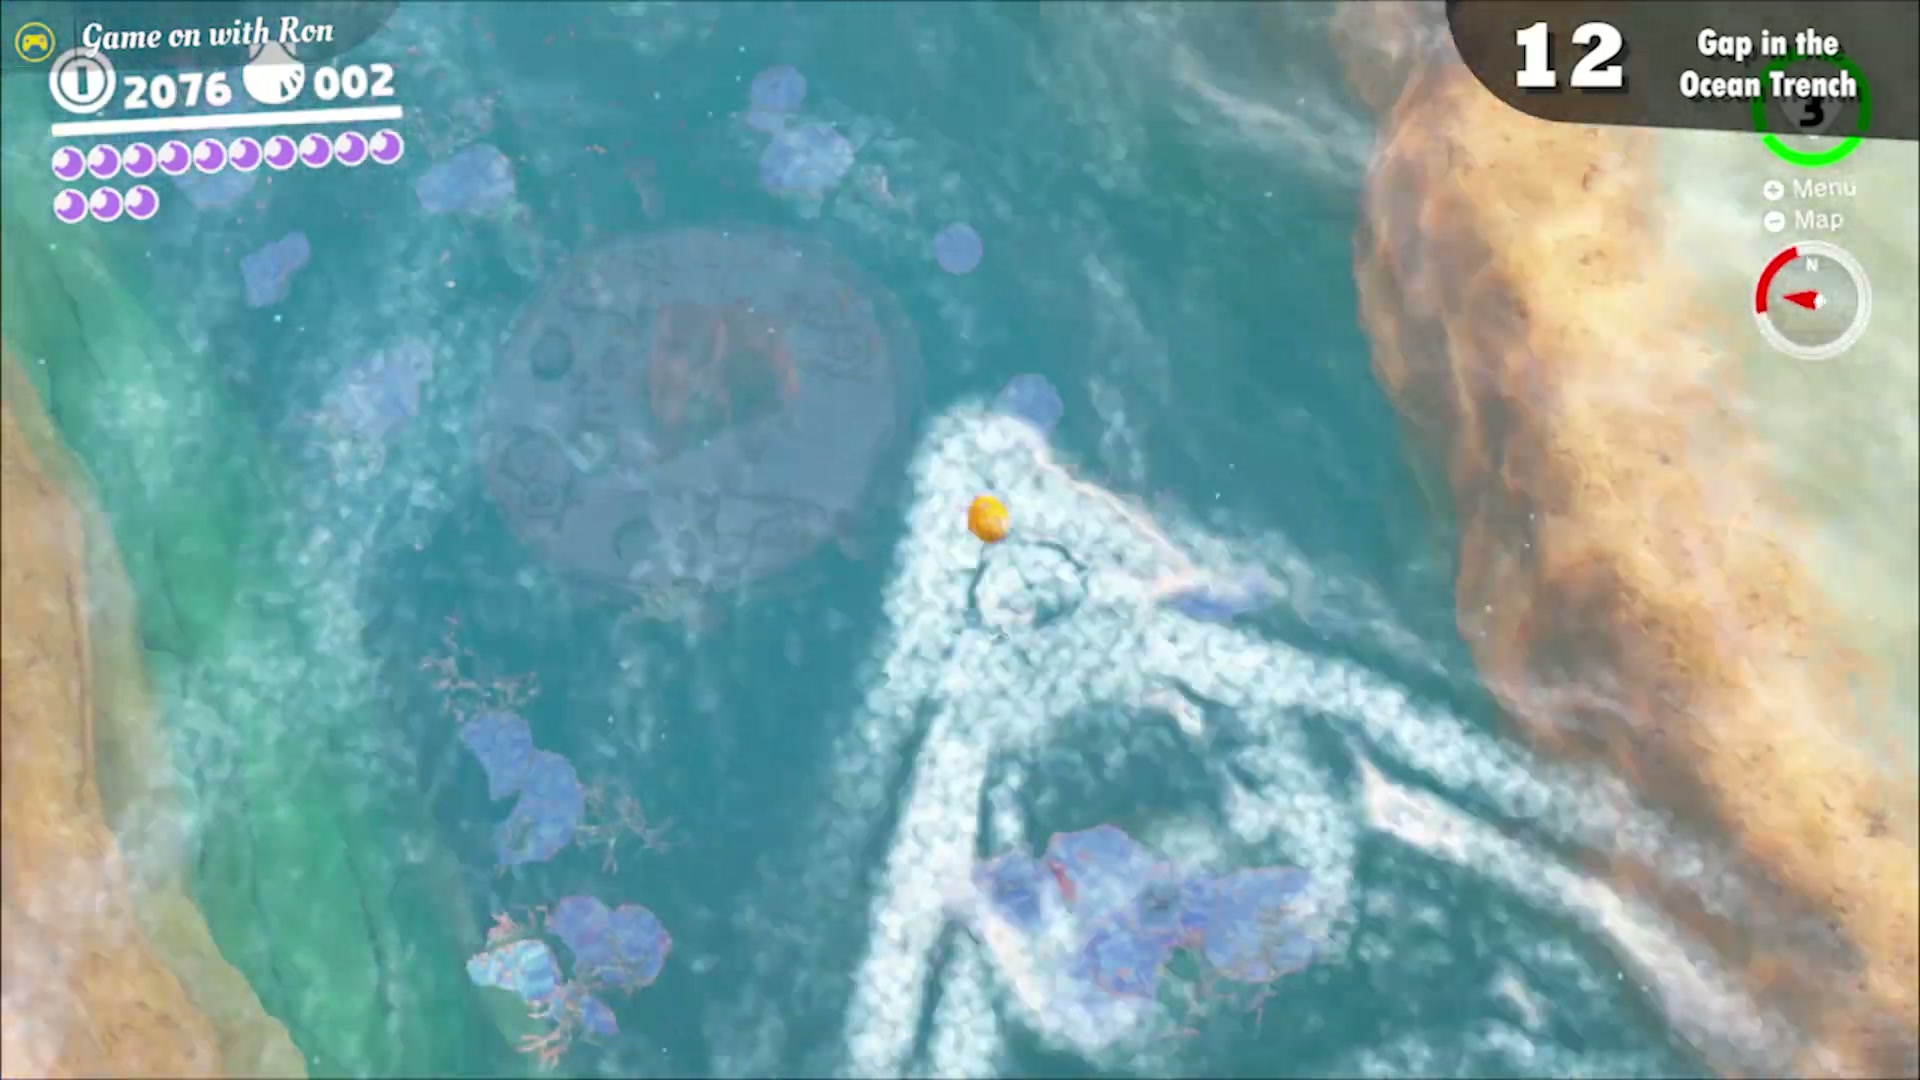
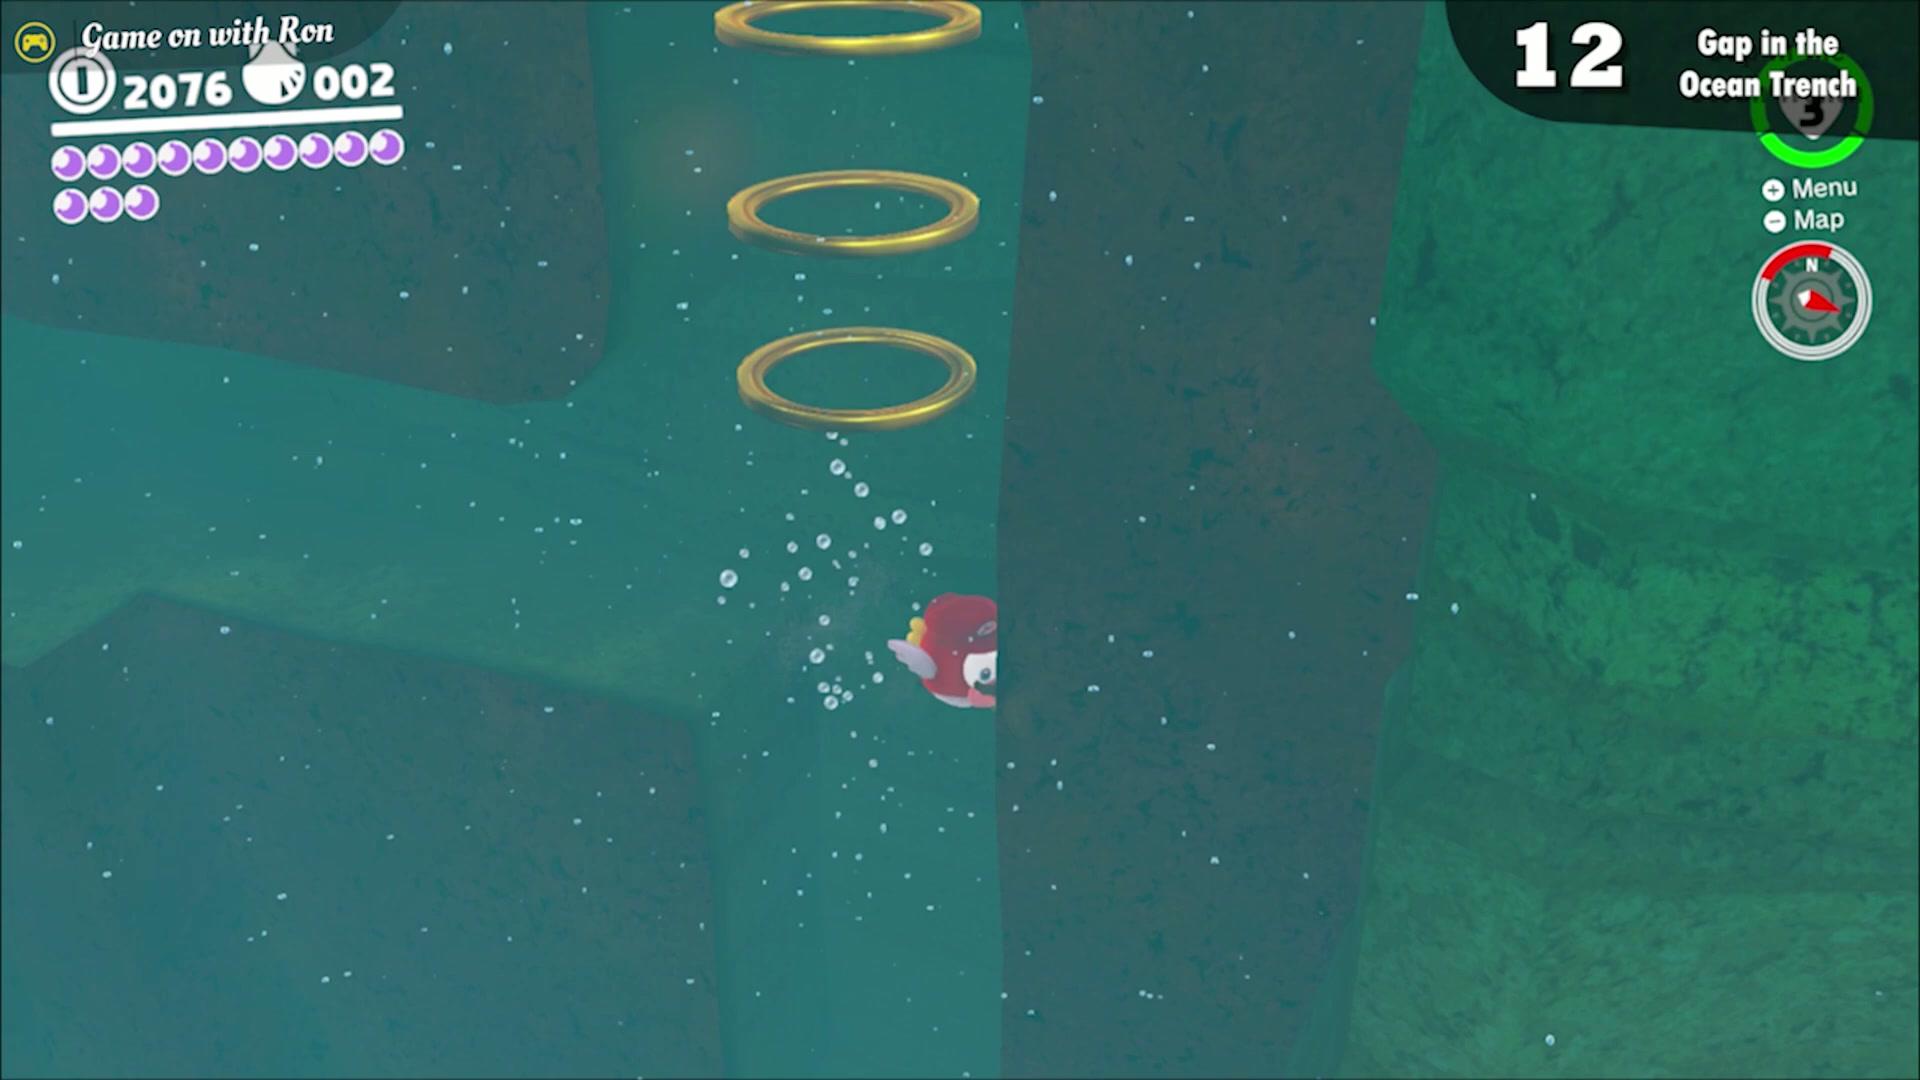
Gap in the Ocean Trench
Near the Ocean Trench East checkpoint, capture a Cheep Cheep and swim forward and down until you reach the Sphynx. A hole on the right wall near the Sphynx leads to a path with the moon at the end.
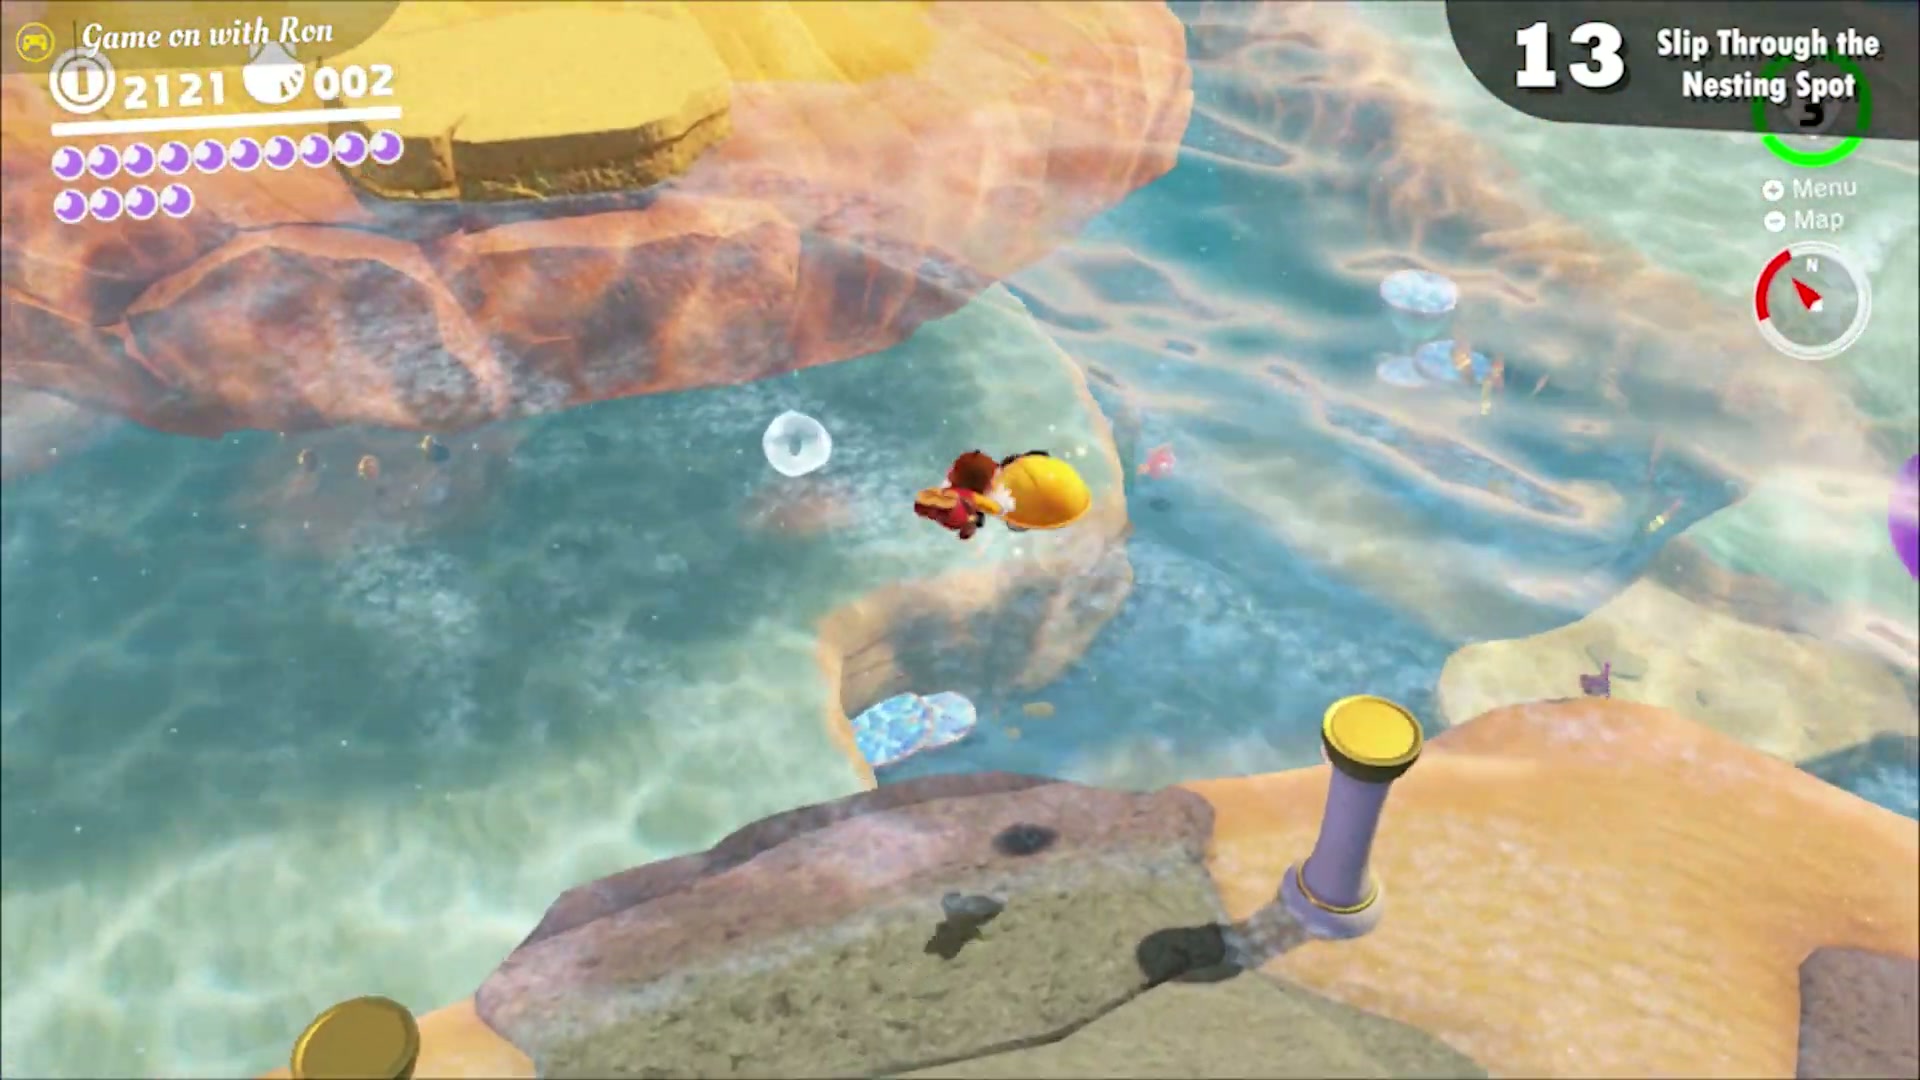
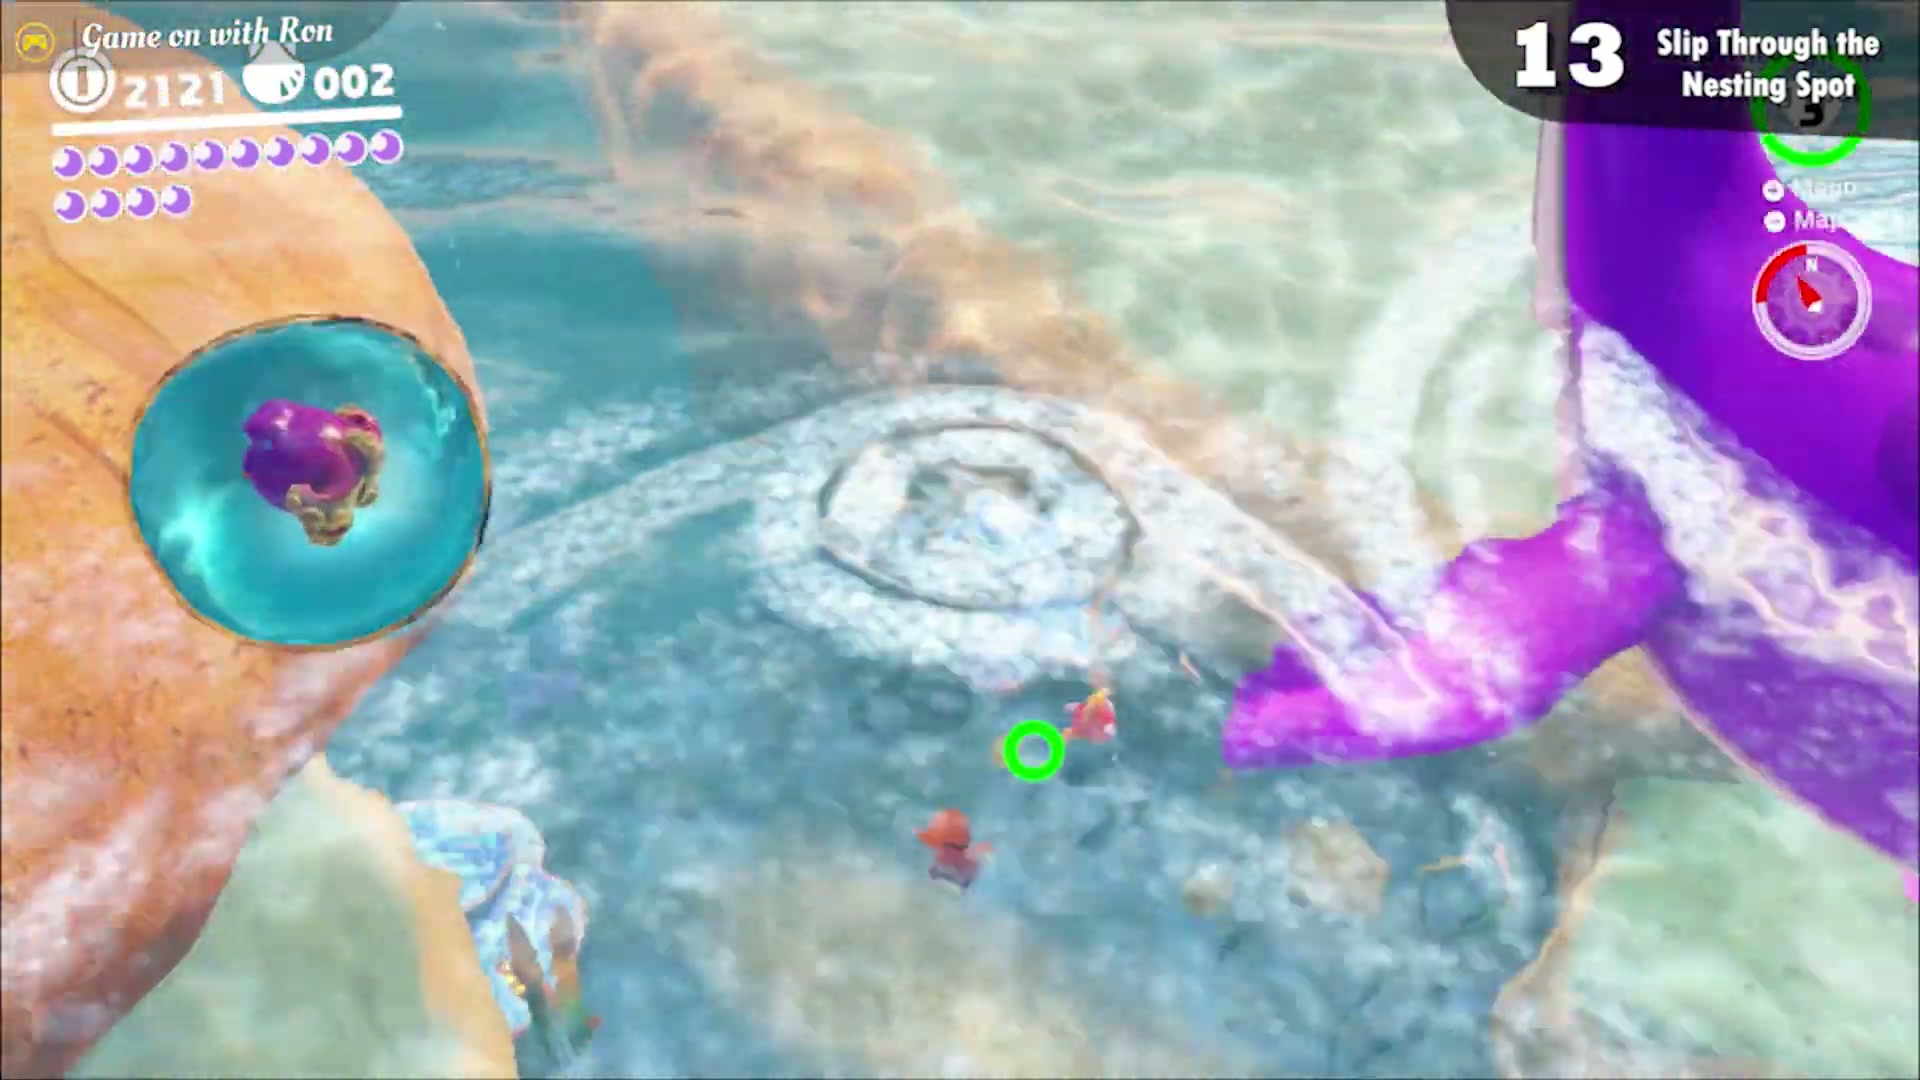
Slip Through the Nesting Spot
Near the Hot Spring Island checkpoint, capture a Cheep Cheep and find the hole on the northeastern side of the area. Slip past the Maw-Rays nesting inside to reach the moon.
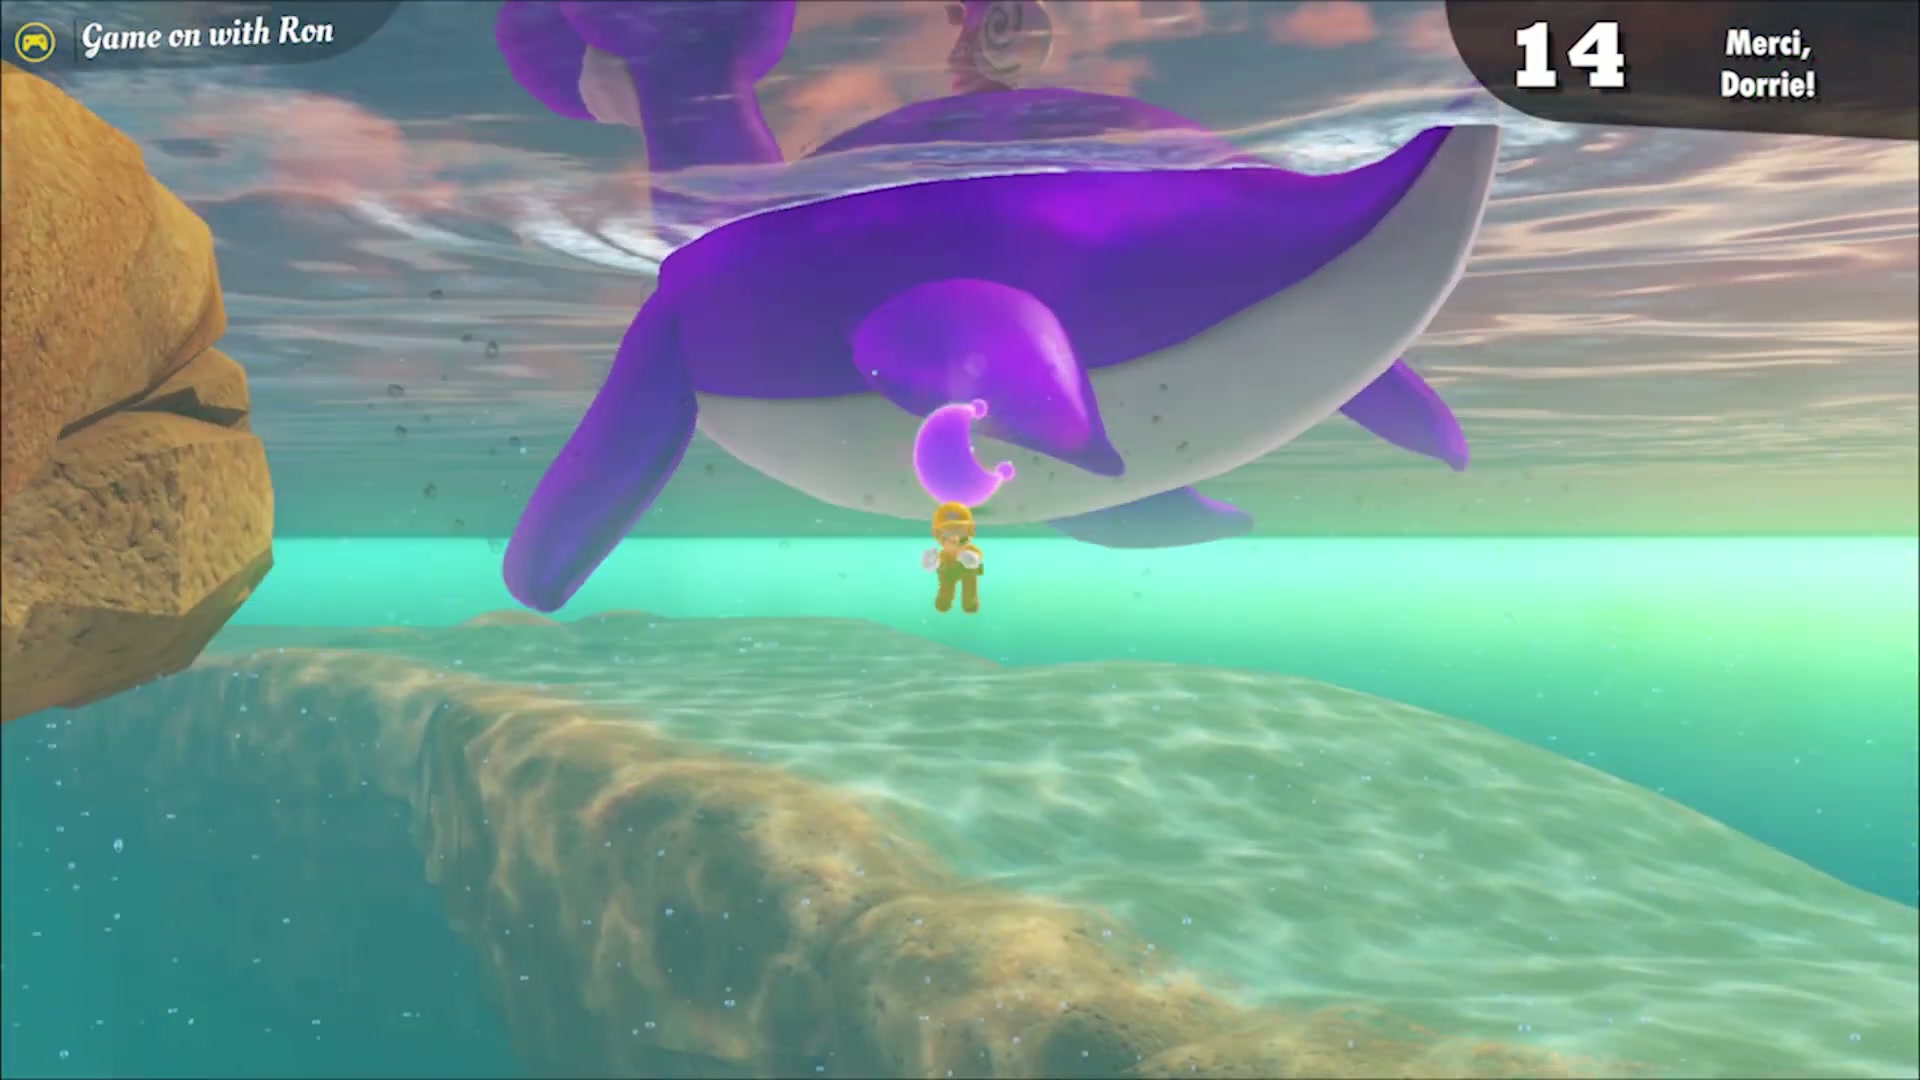
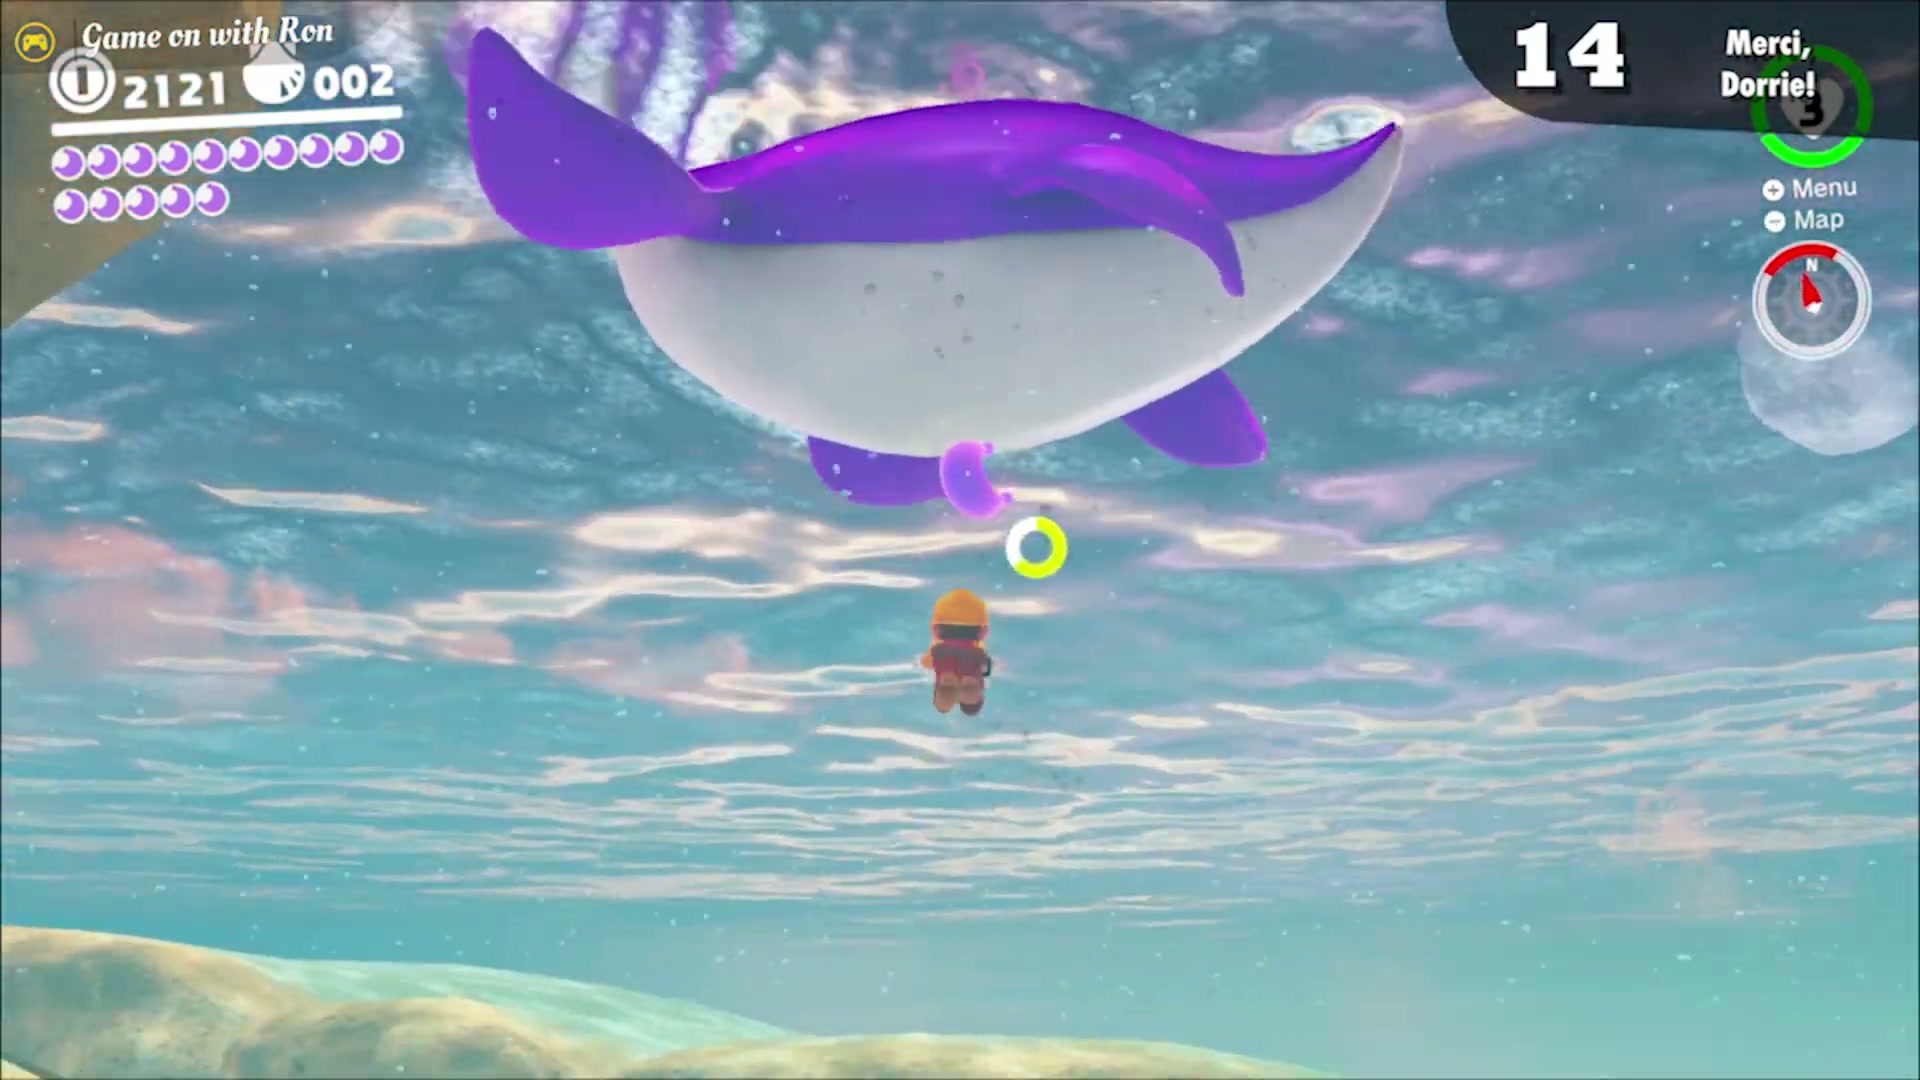
Merci, Dorrie!
This moon floats underneath the purple Dorrie that swims around the area. Capture a Cheep Cheep and swim up to it from below.
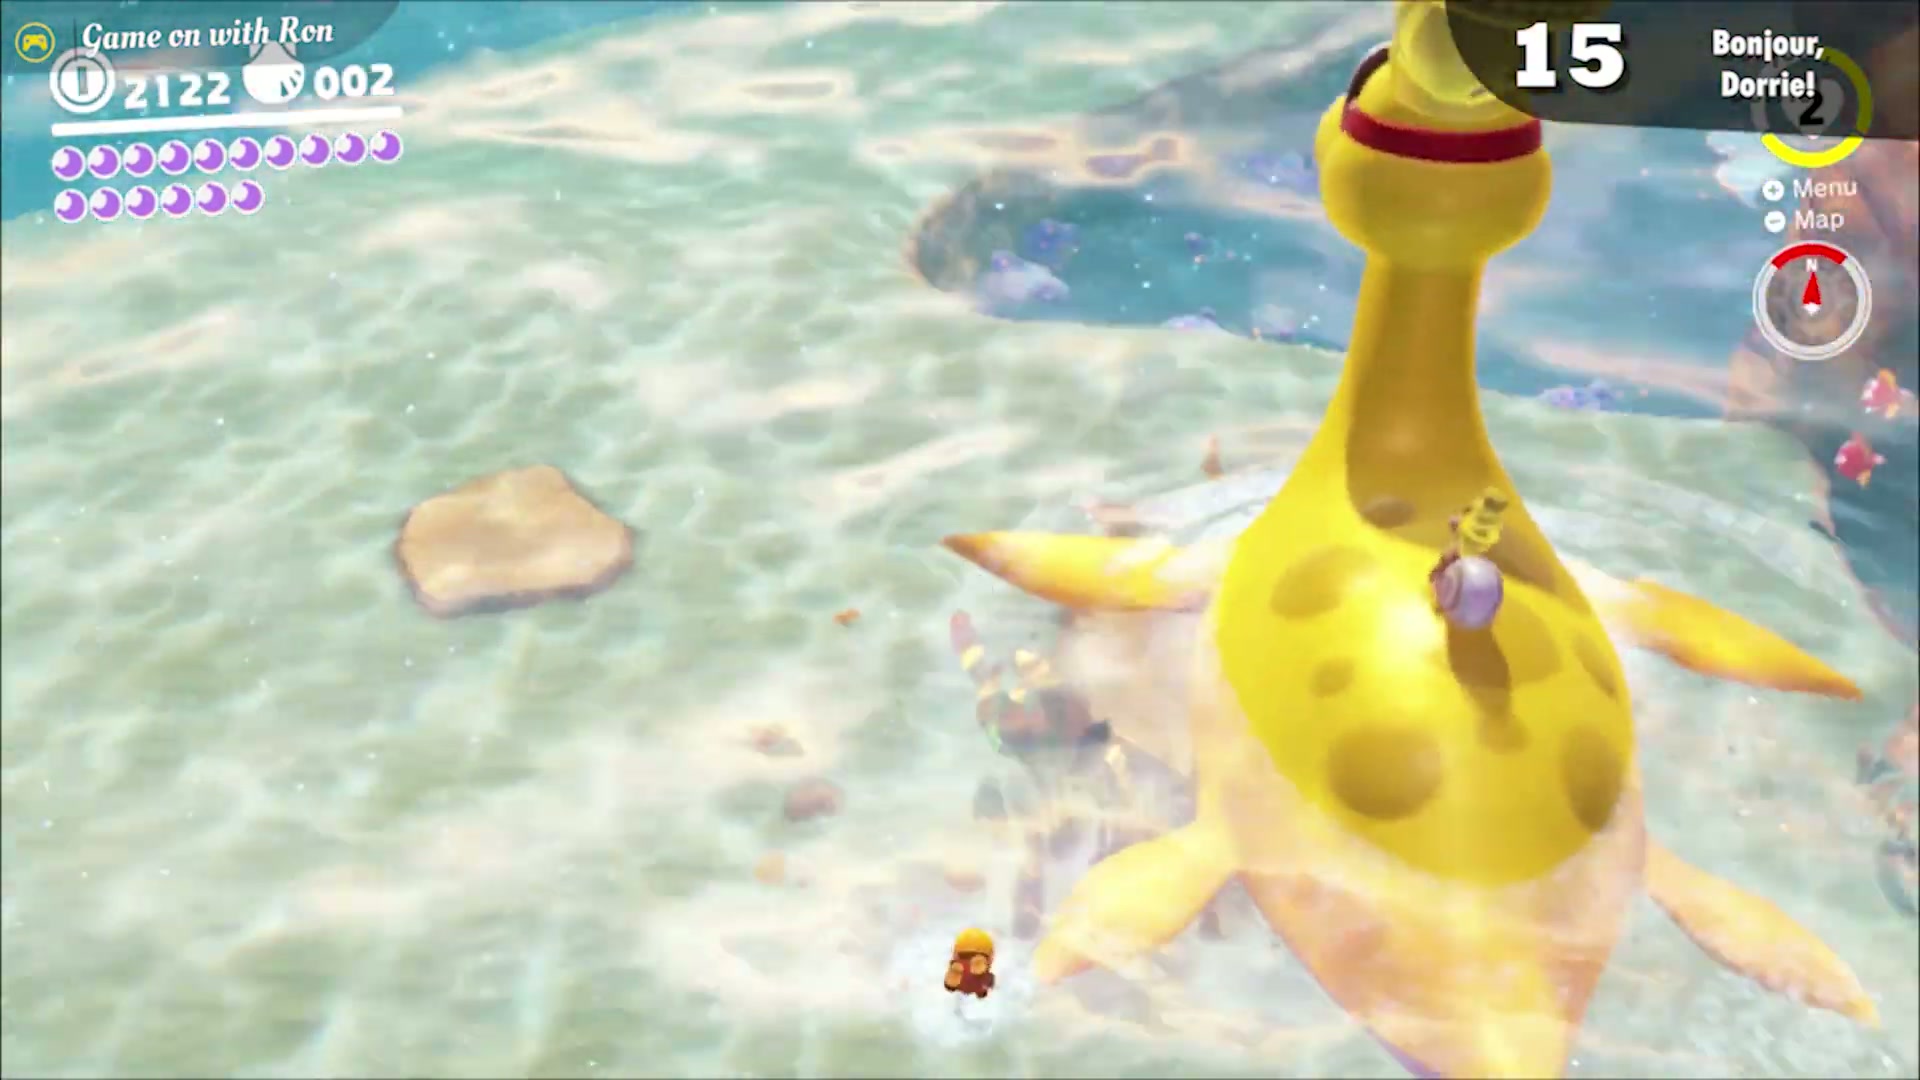
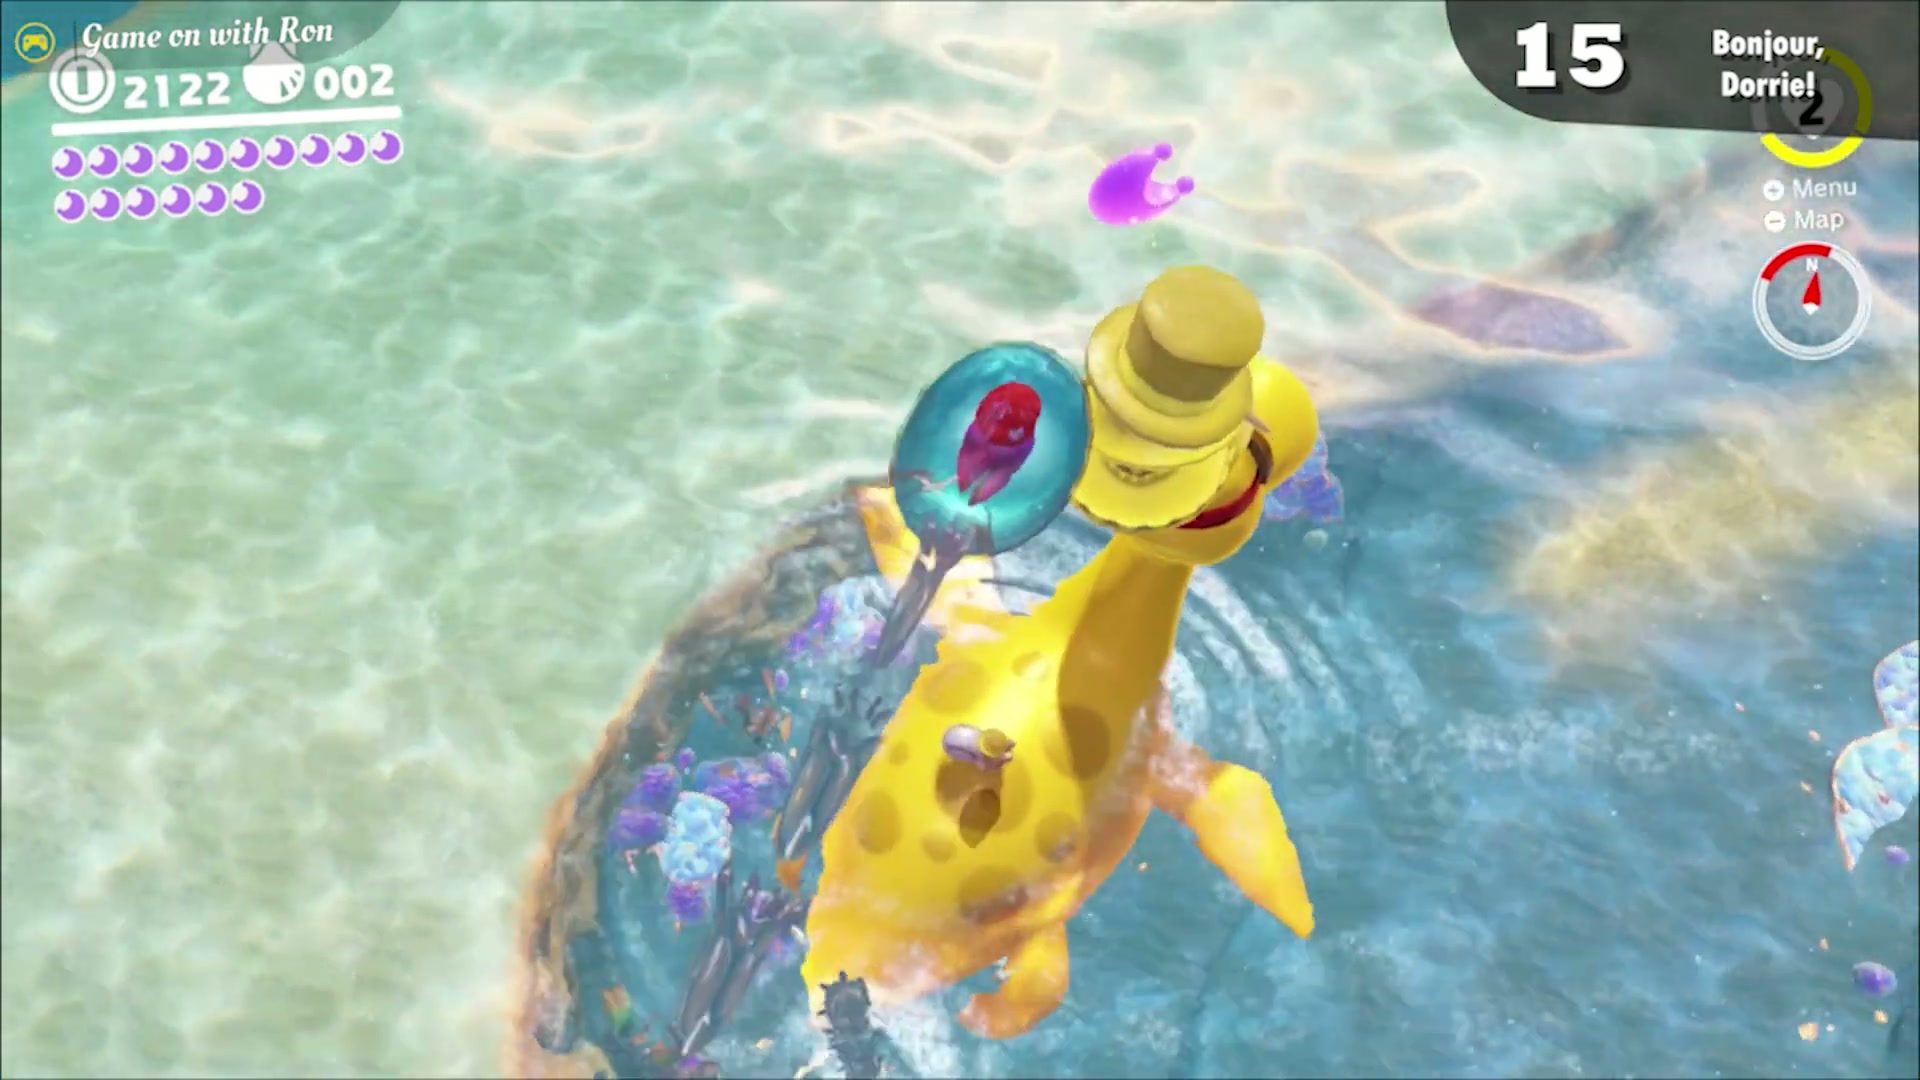
Bonjour, Dorrie!
This moon floats high above the yellow Dorrie that swims around the area. Reach it by capturing a Glydon on the Lighthouse and gliding into it, or by capturing a Gushen and jetting up to it.
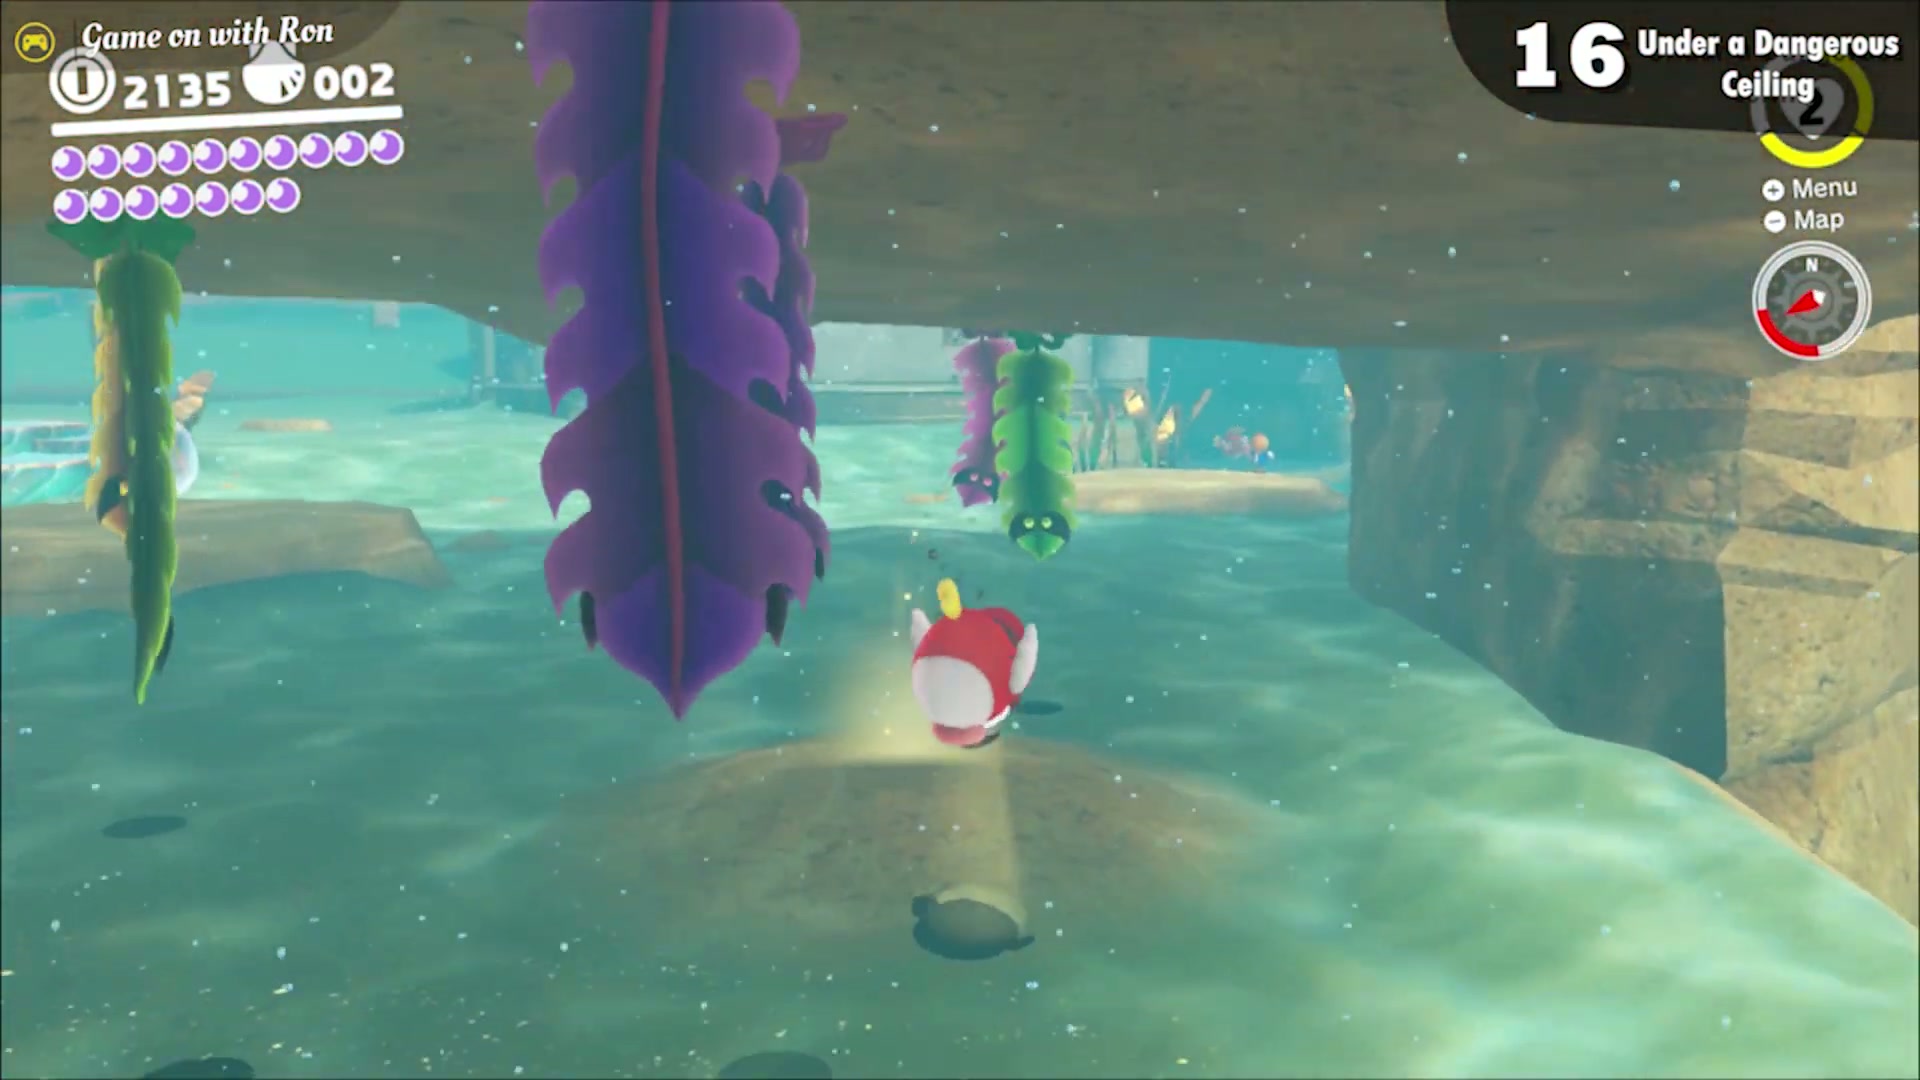
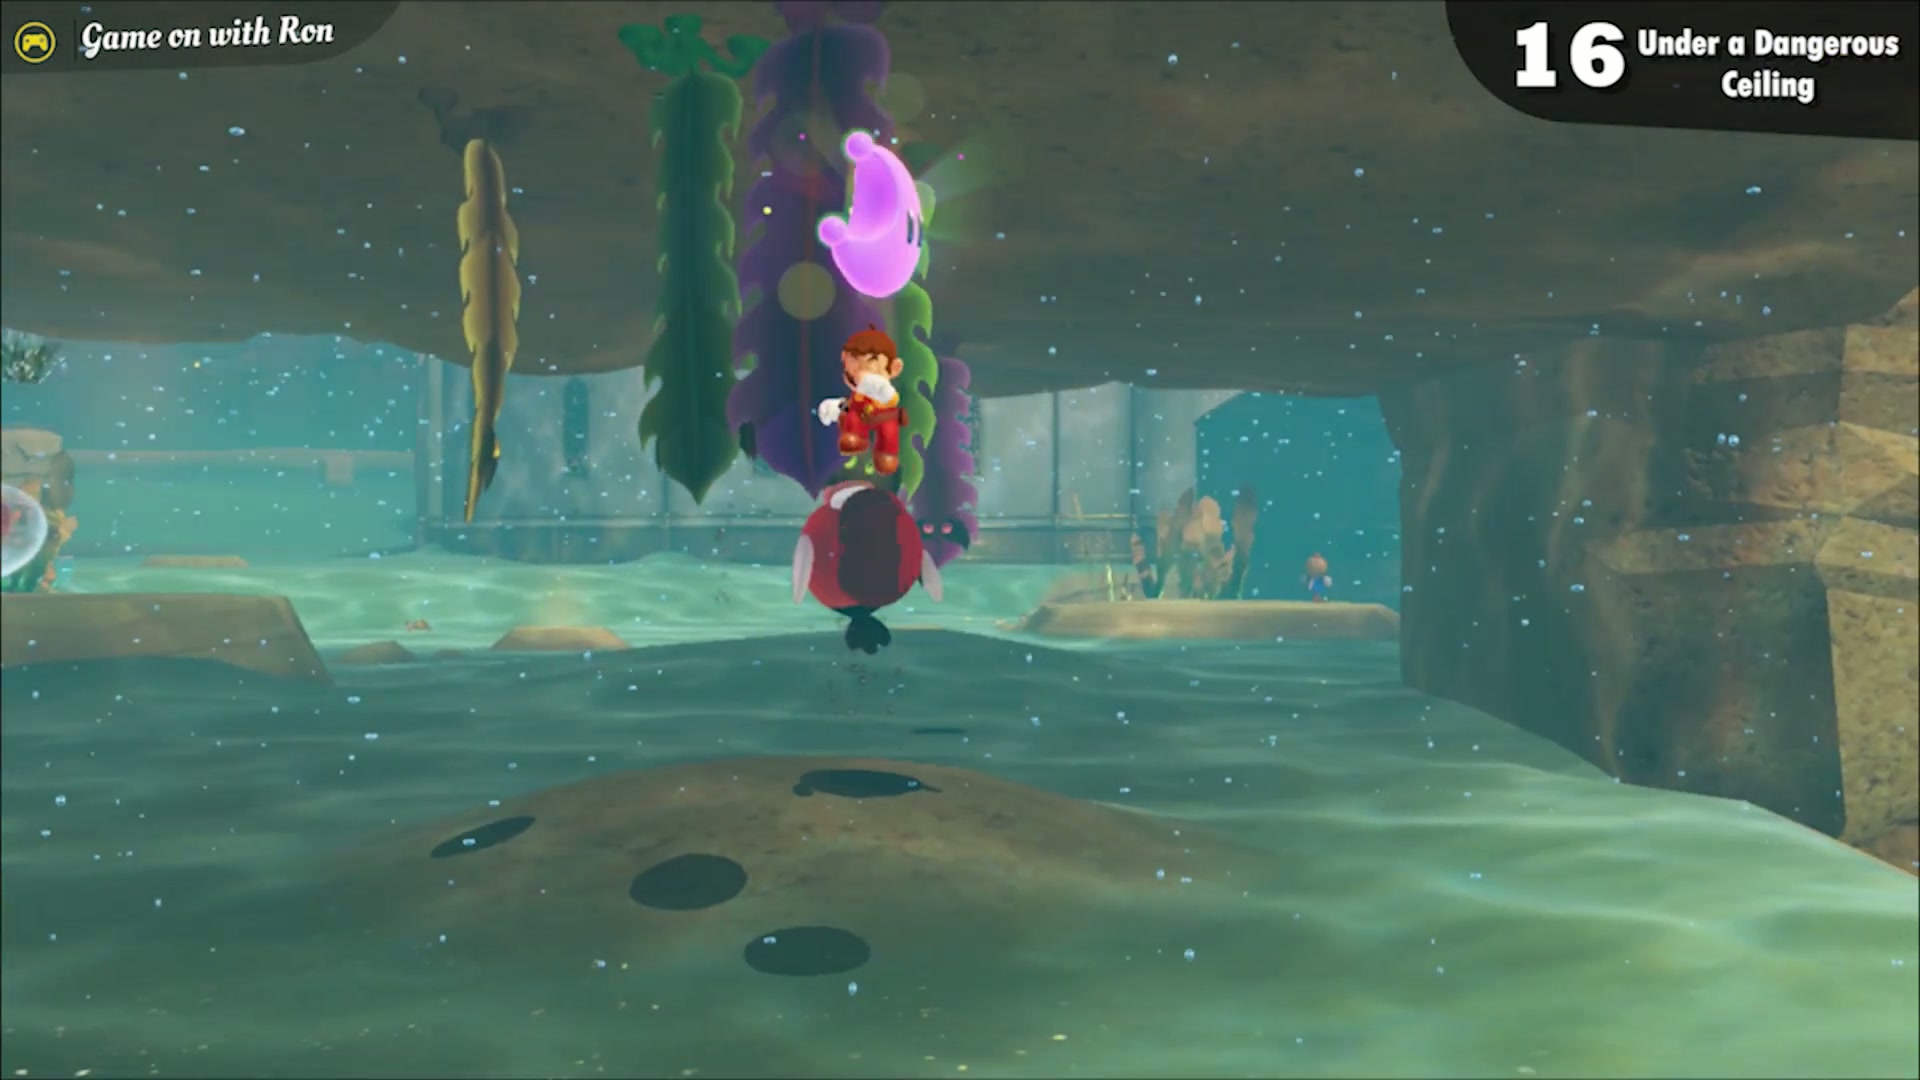
Under a Dangerous Ceiling
Near the Ocean Trench East checkpoint, capture a Cheep Cheep and look up to find Komboos crawling across the ceiling. Ground pound the glowing spot on the mound below to claim the moon.
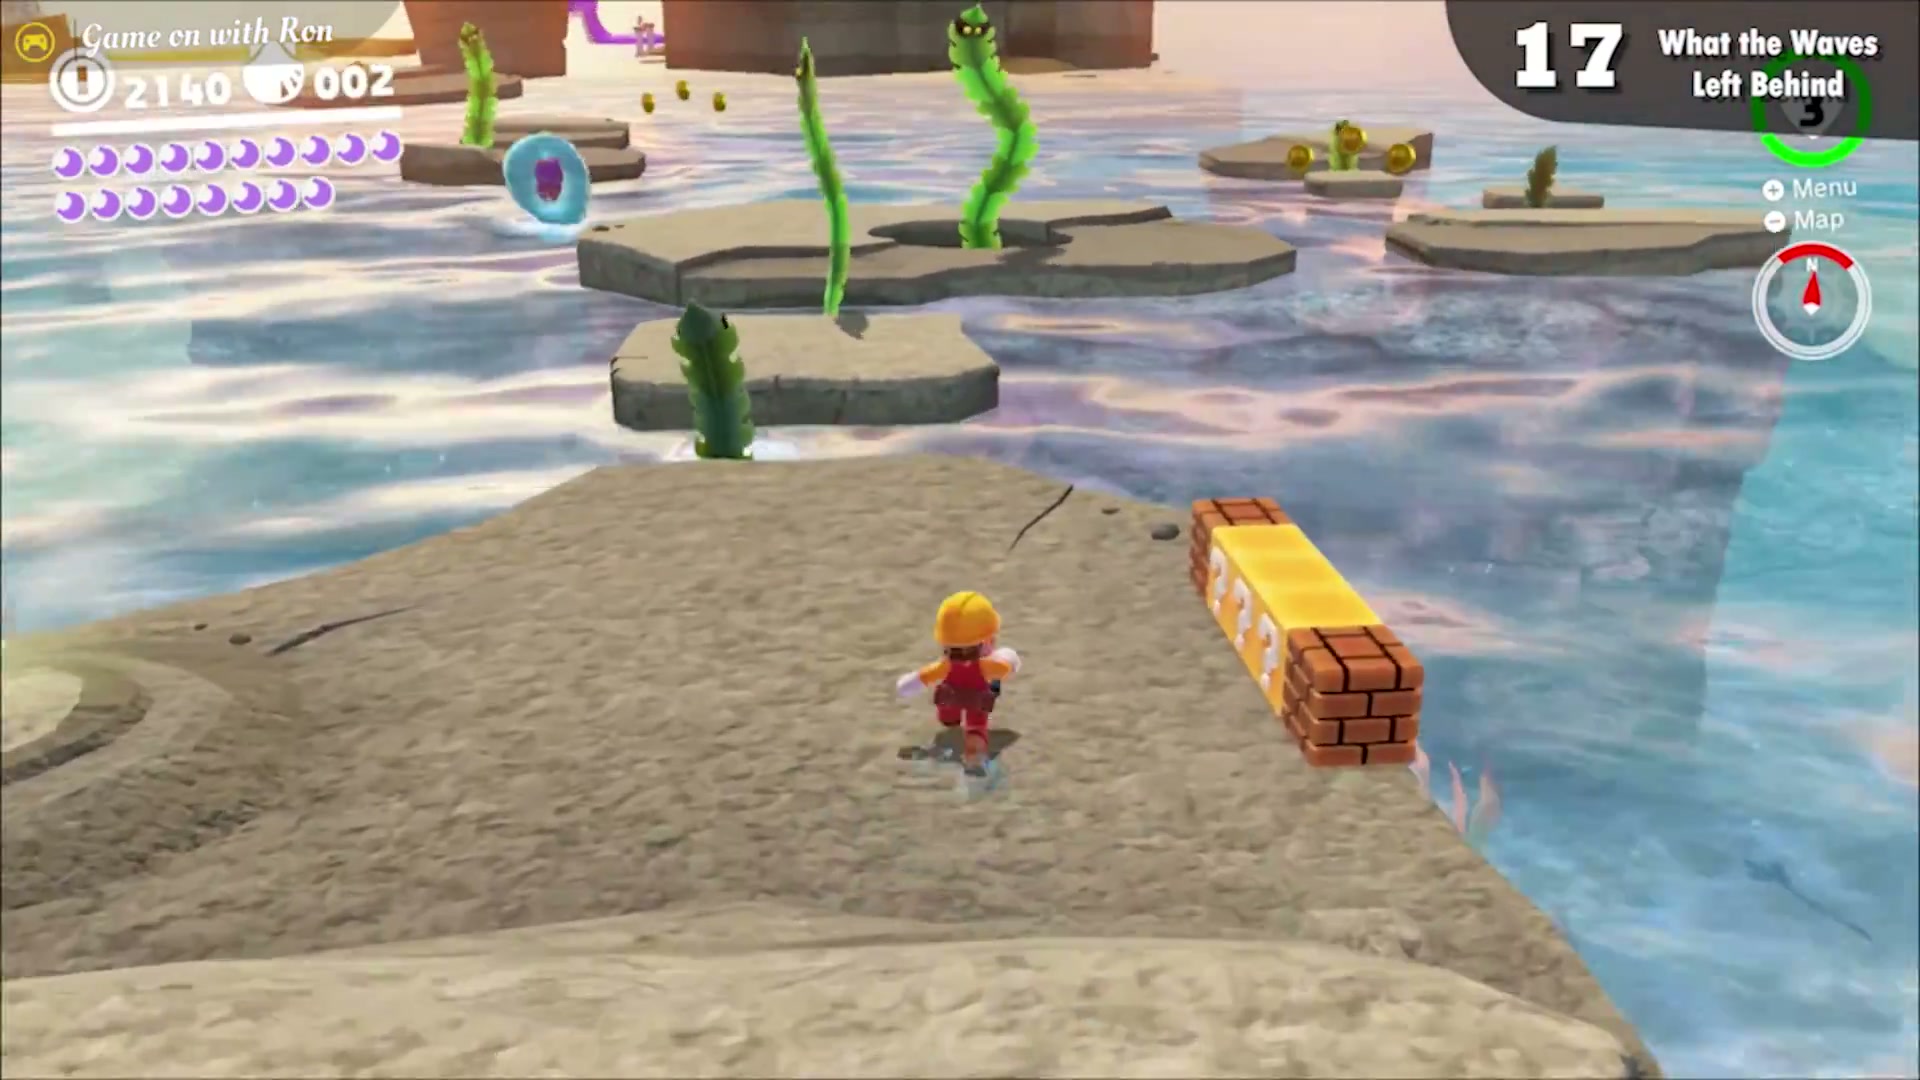
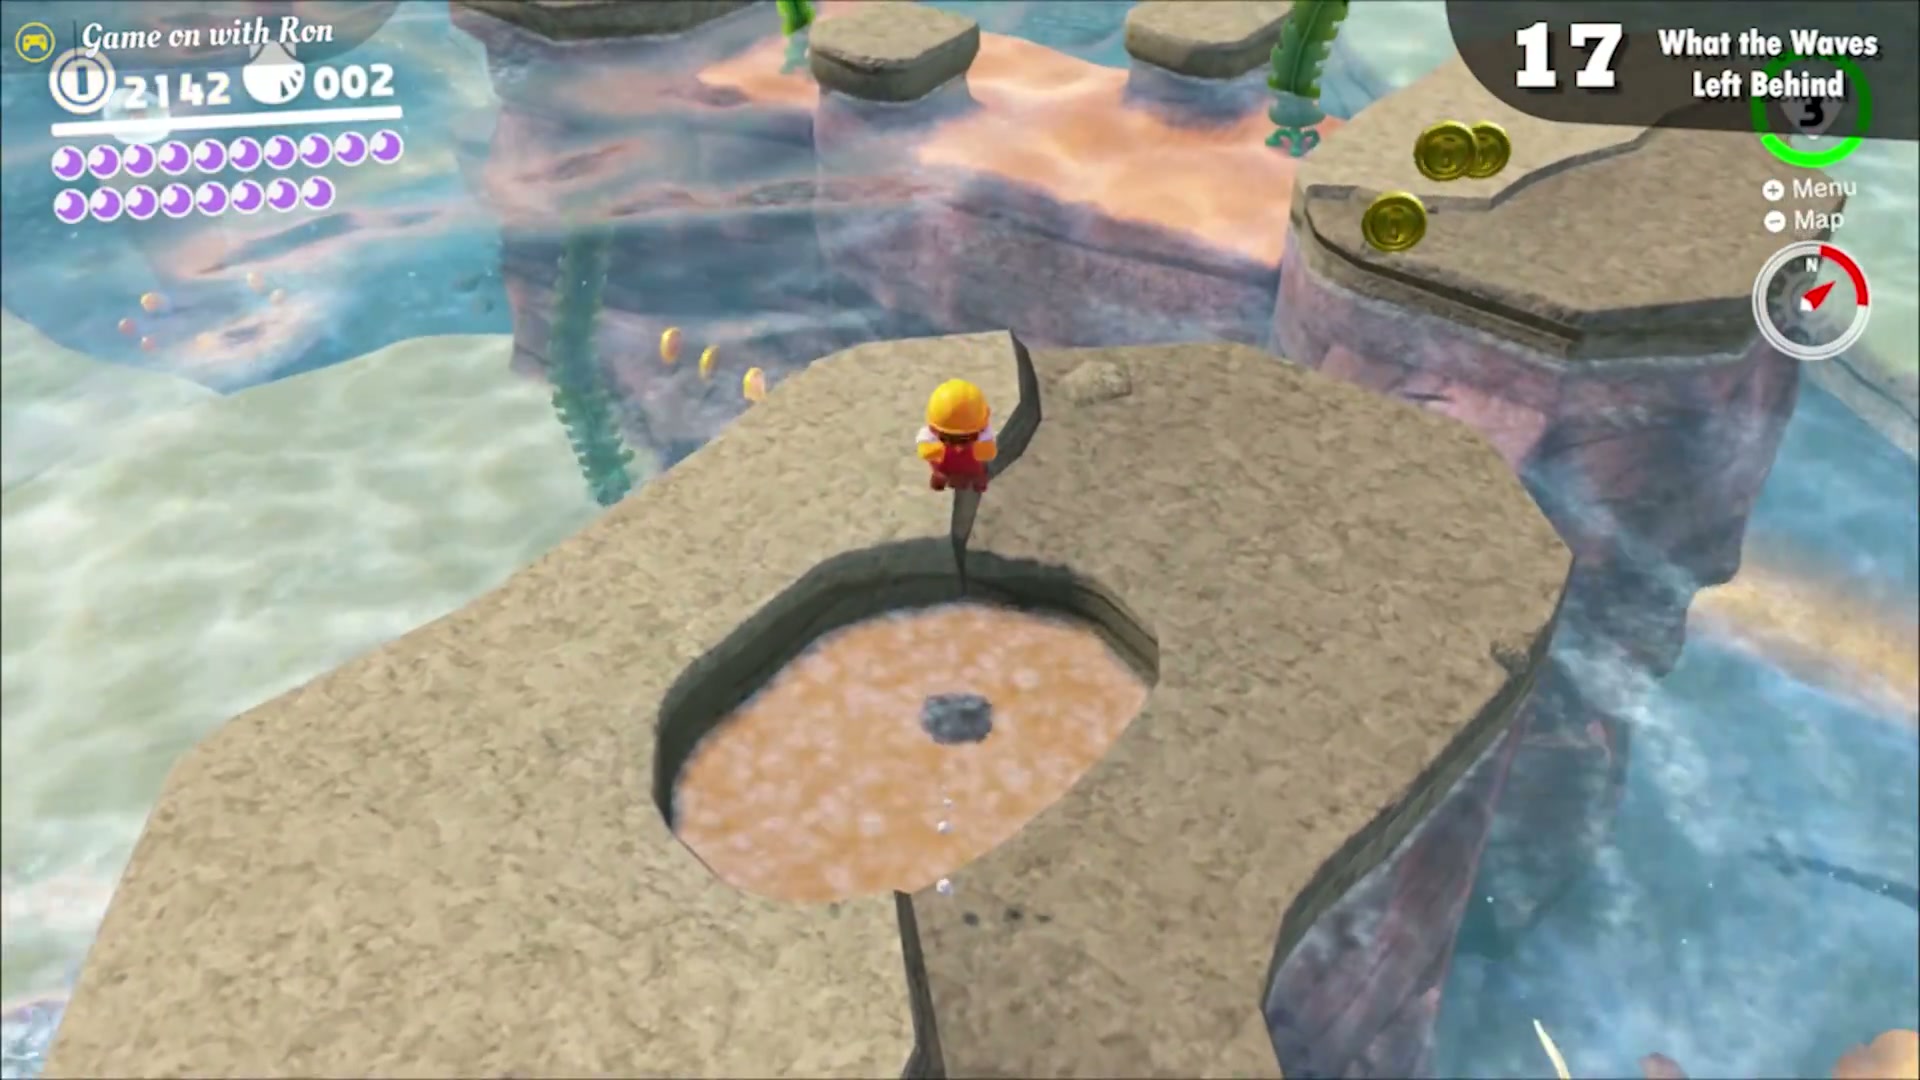
What the Waves Left Behind
Near the Rolling Canyon checkpoint, look for a circular hole among the gray rock platforms. Defeat the Komboo guarding it, then ground pound the spot to reveal the moon.
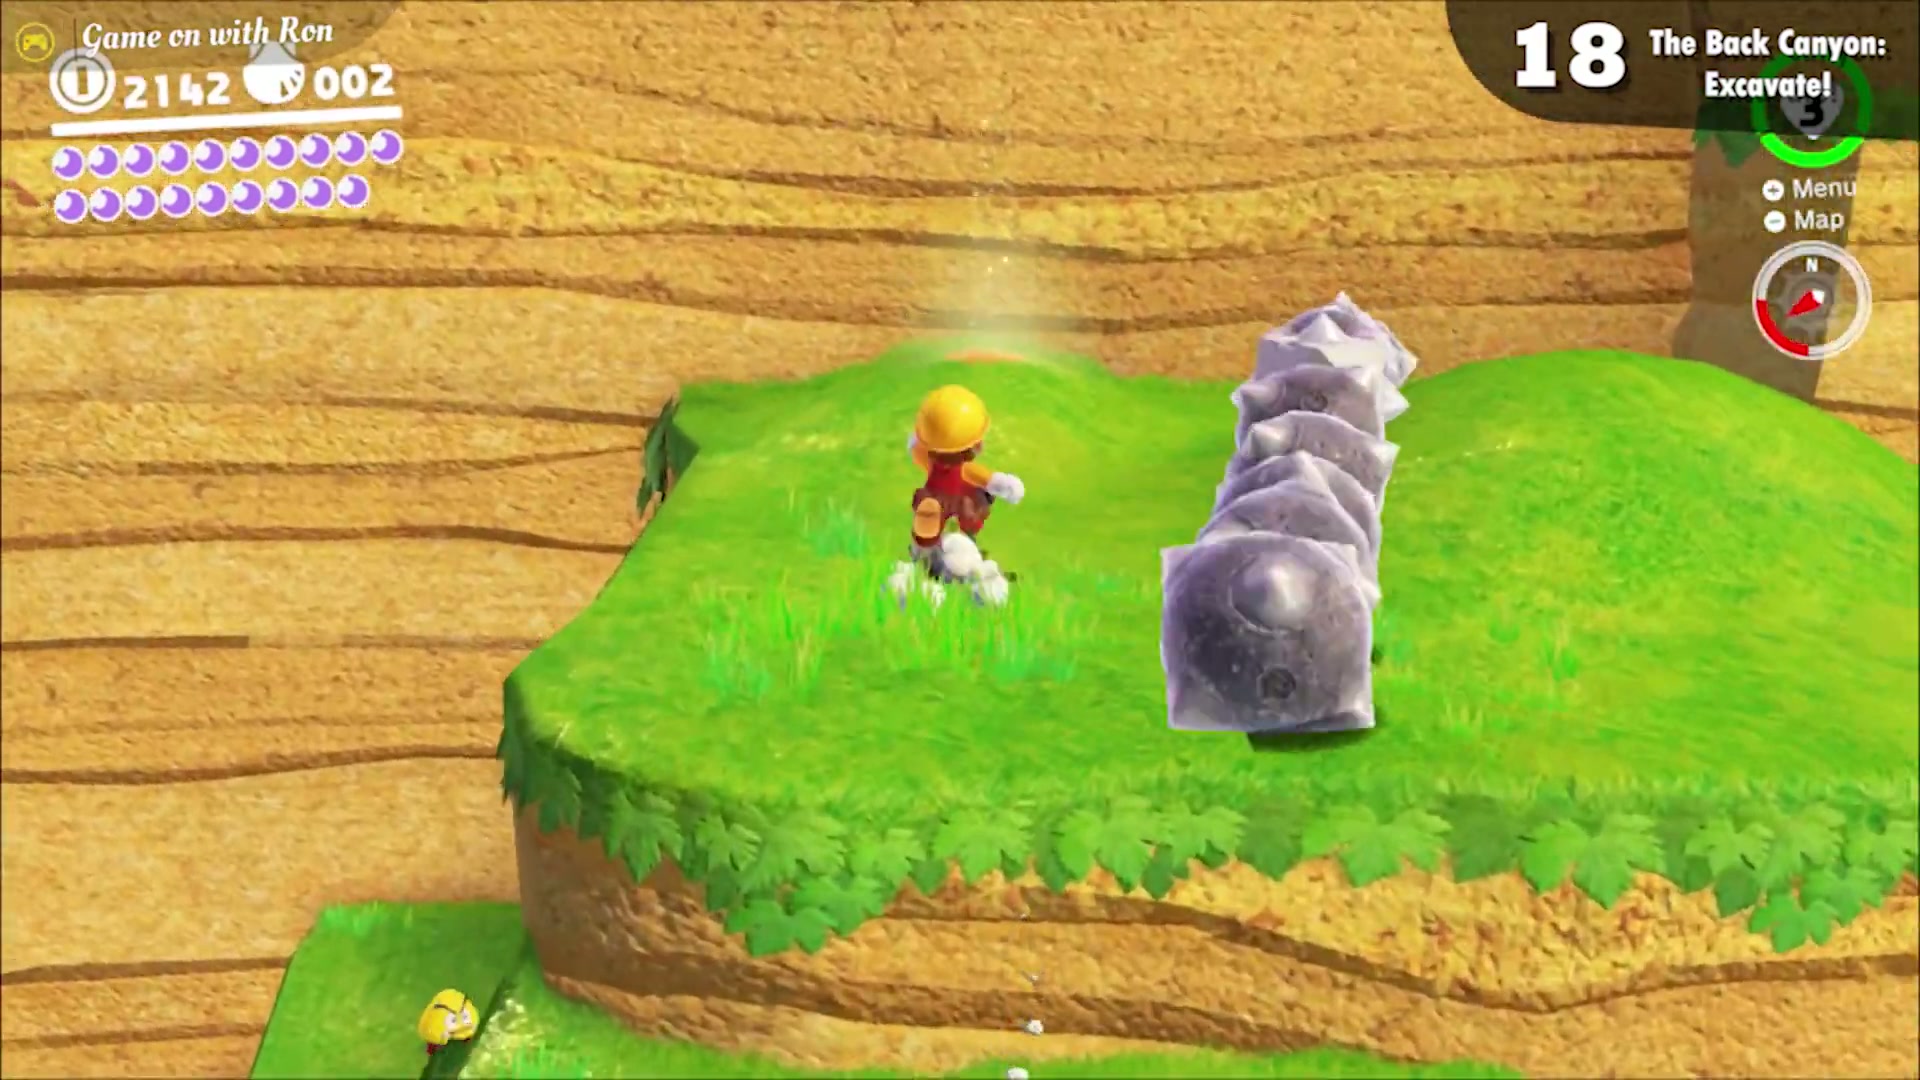
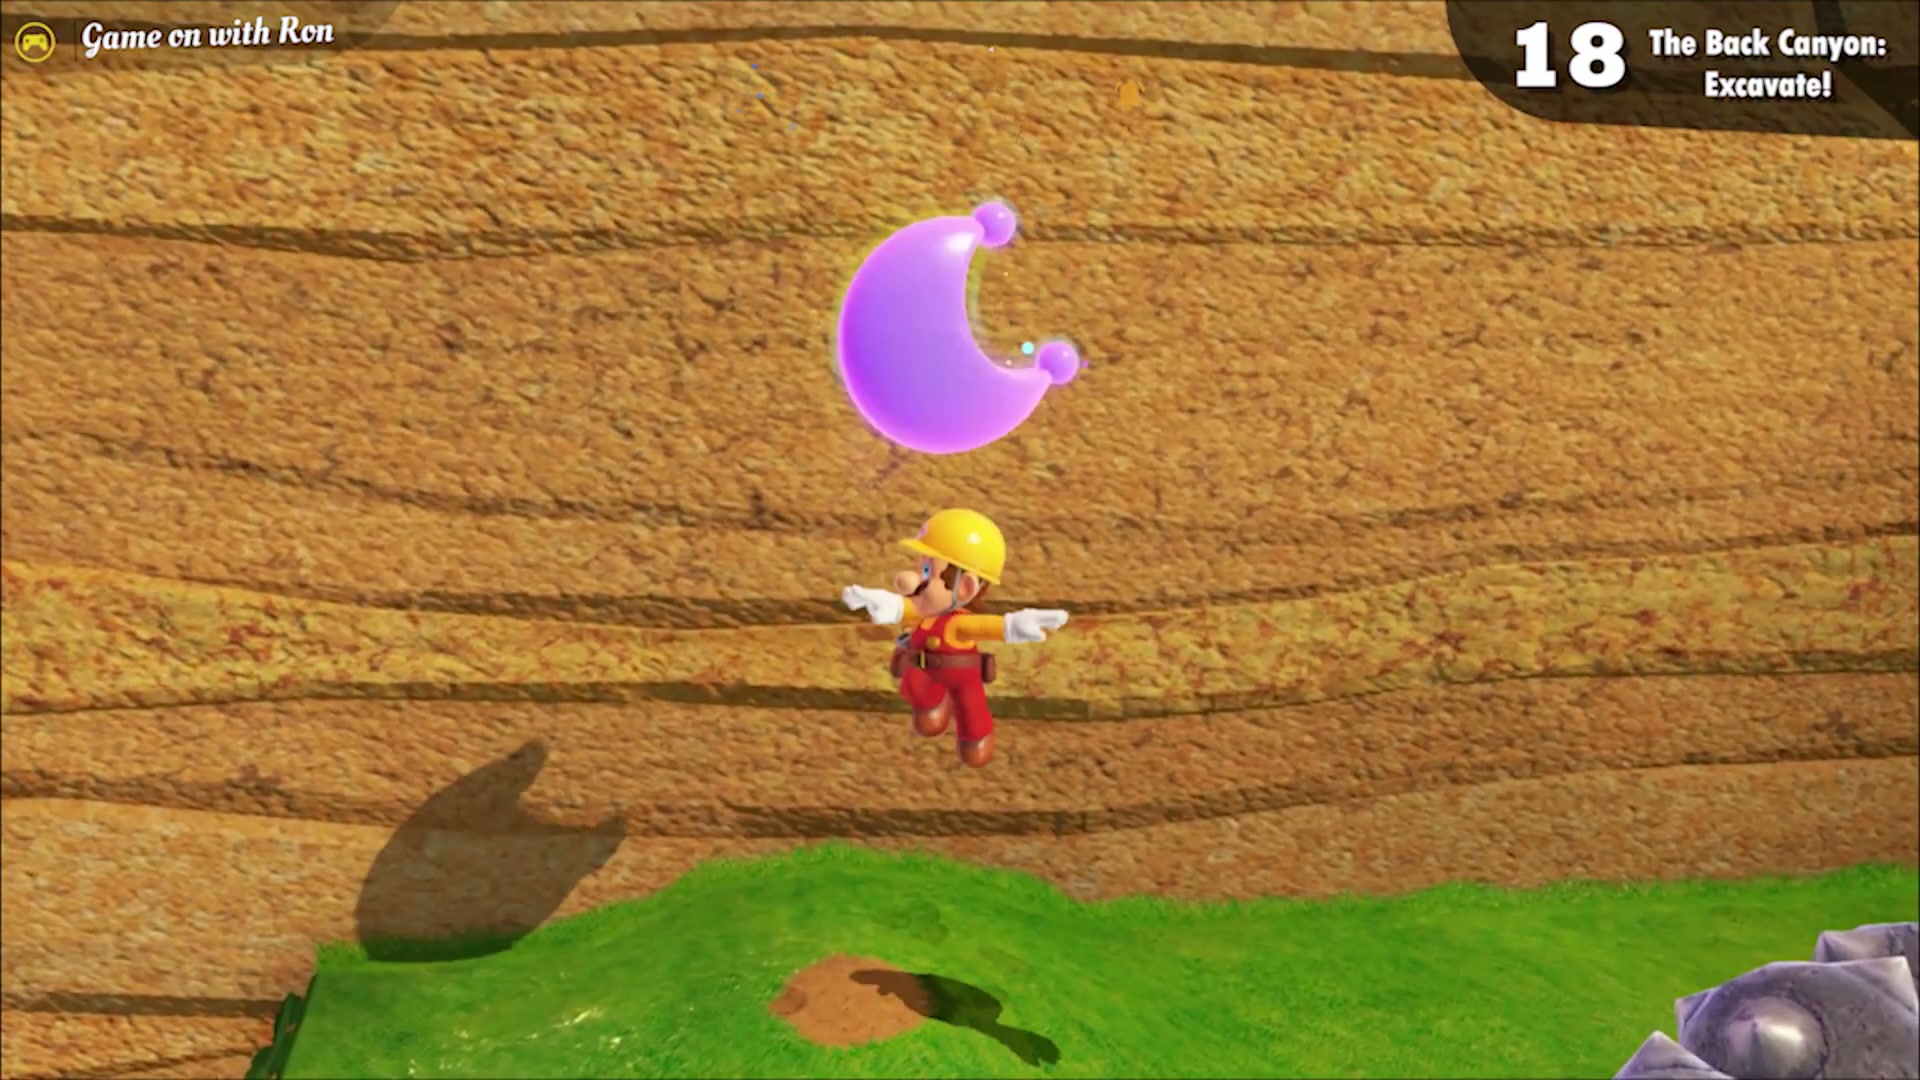
The Back Canyon: Excavate!
On the left side of the Rolling Canyon checkpoint, cross the grassy platforms to a glowing spot patrolled by a rolling Moonsnake. Ground pound the spot to reveal the moon.
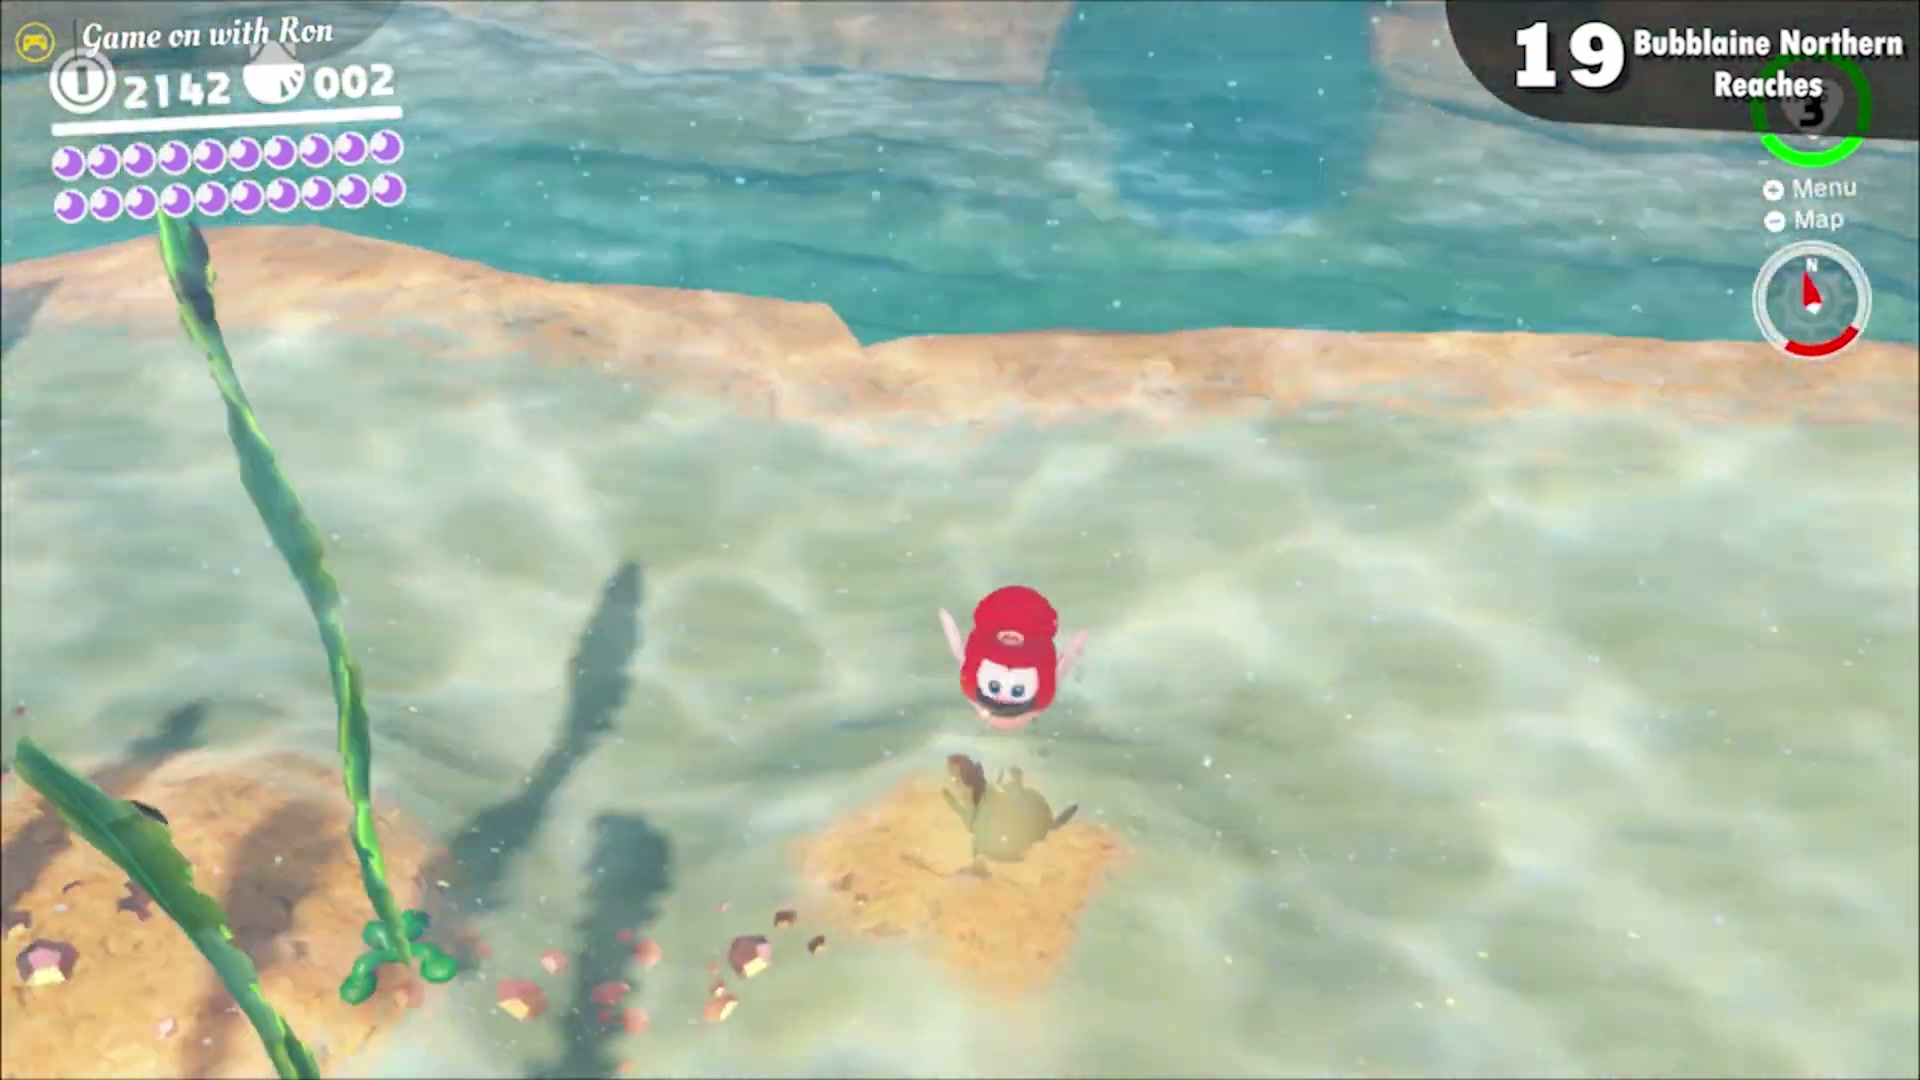
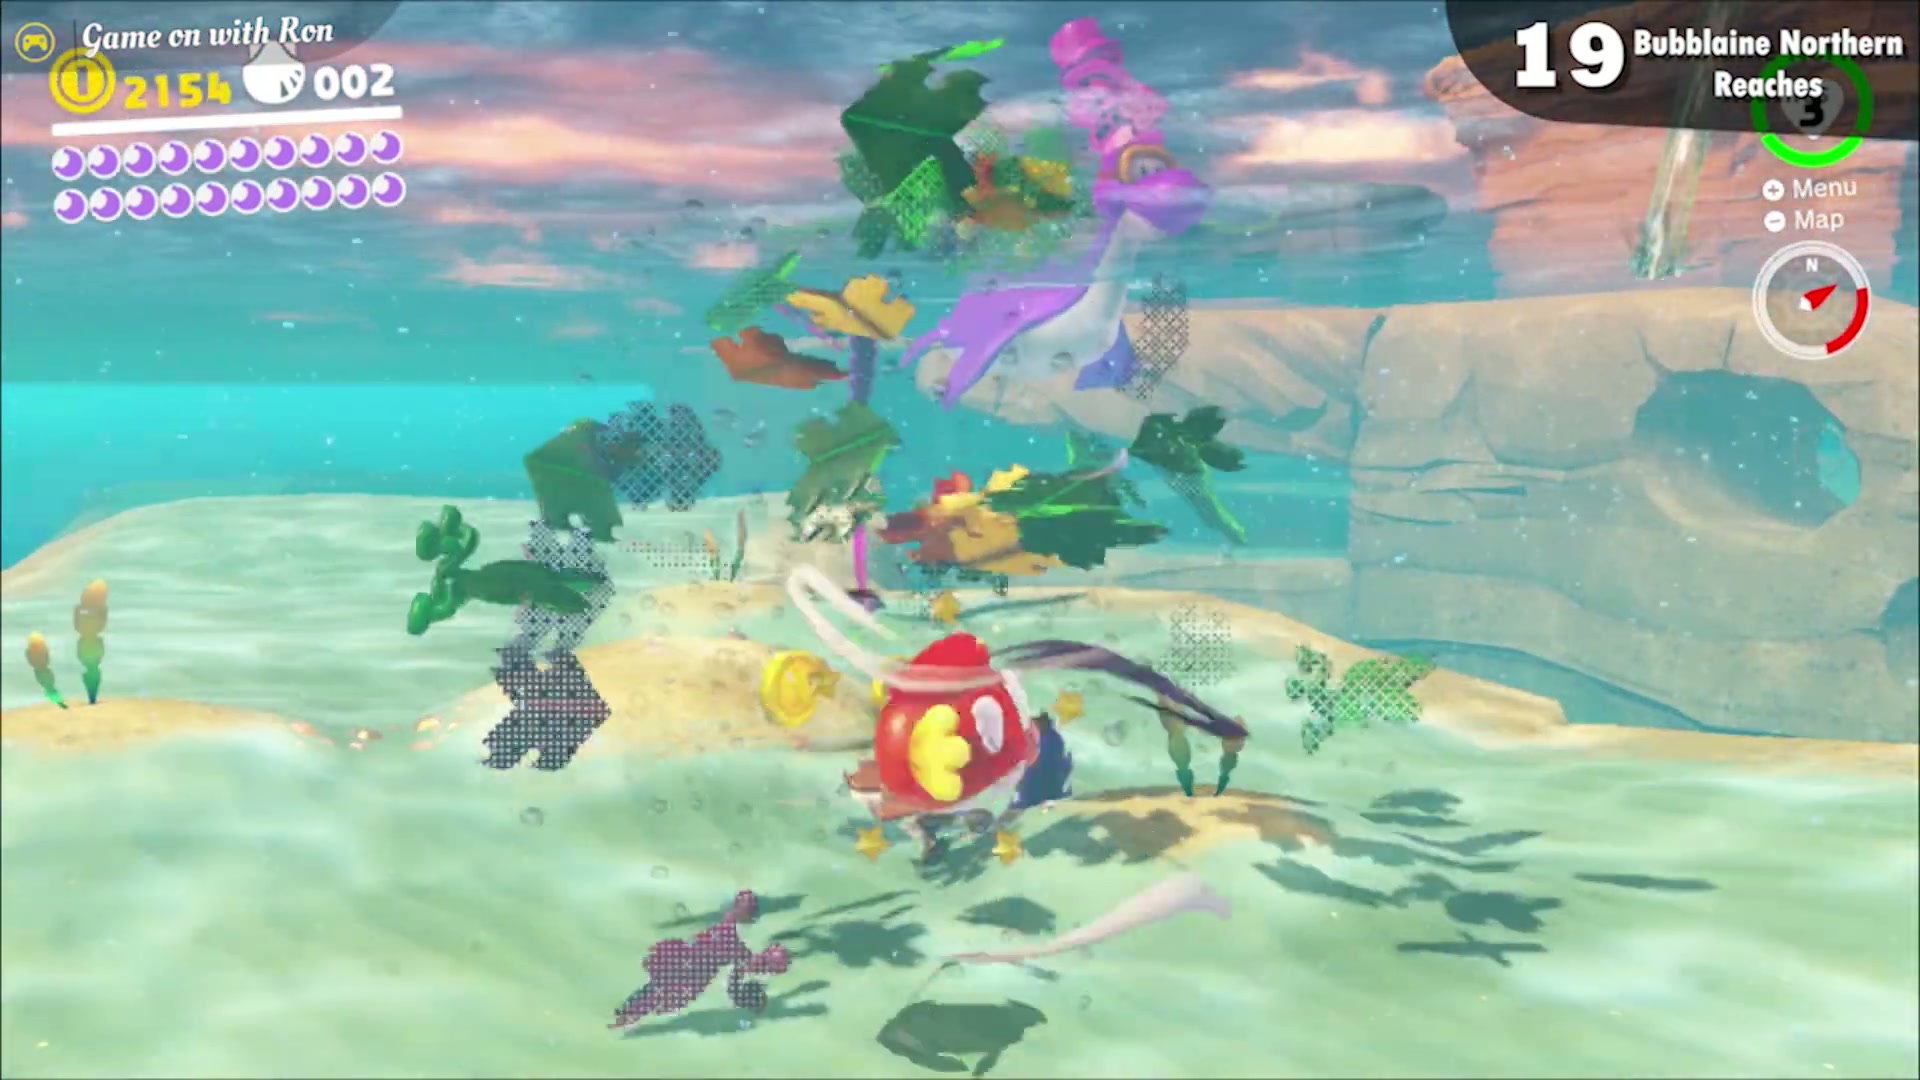
Bubblaine Northern Reaches
Near the Ocean Trench East checkpoint, three small mounds surround a larger one. Ground pound each of the smaller mounds, then the large middle mound, to reveal the moon. A group of Komboos appears each time you pound one.
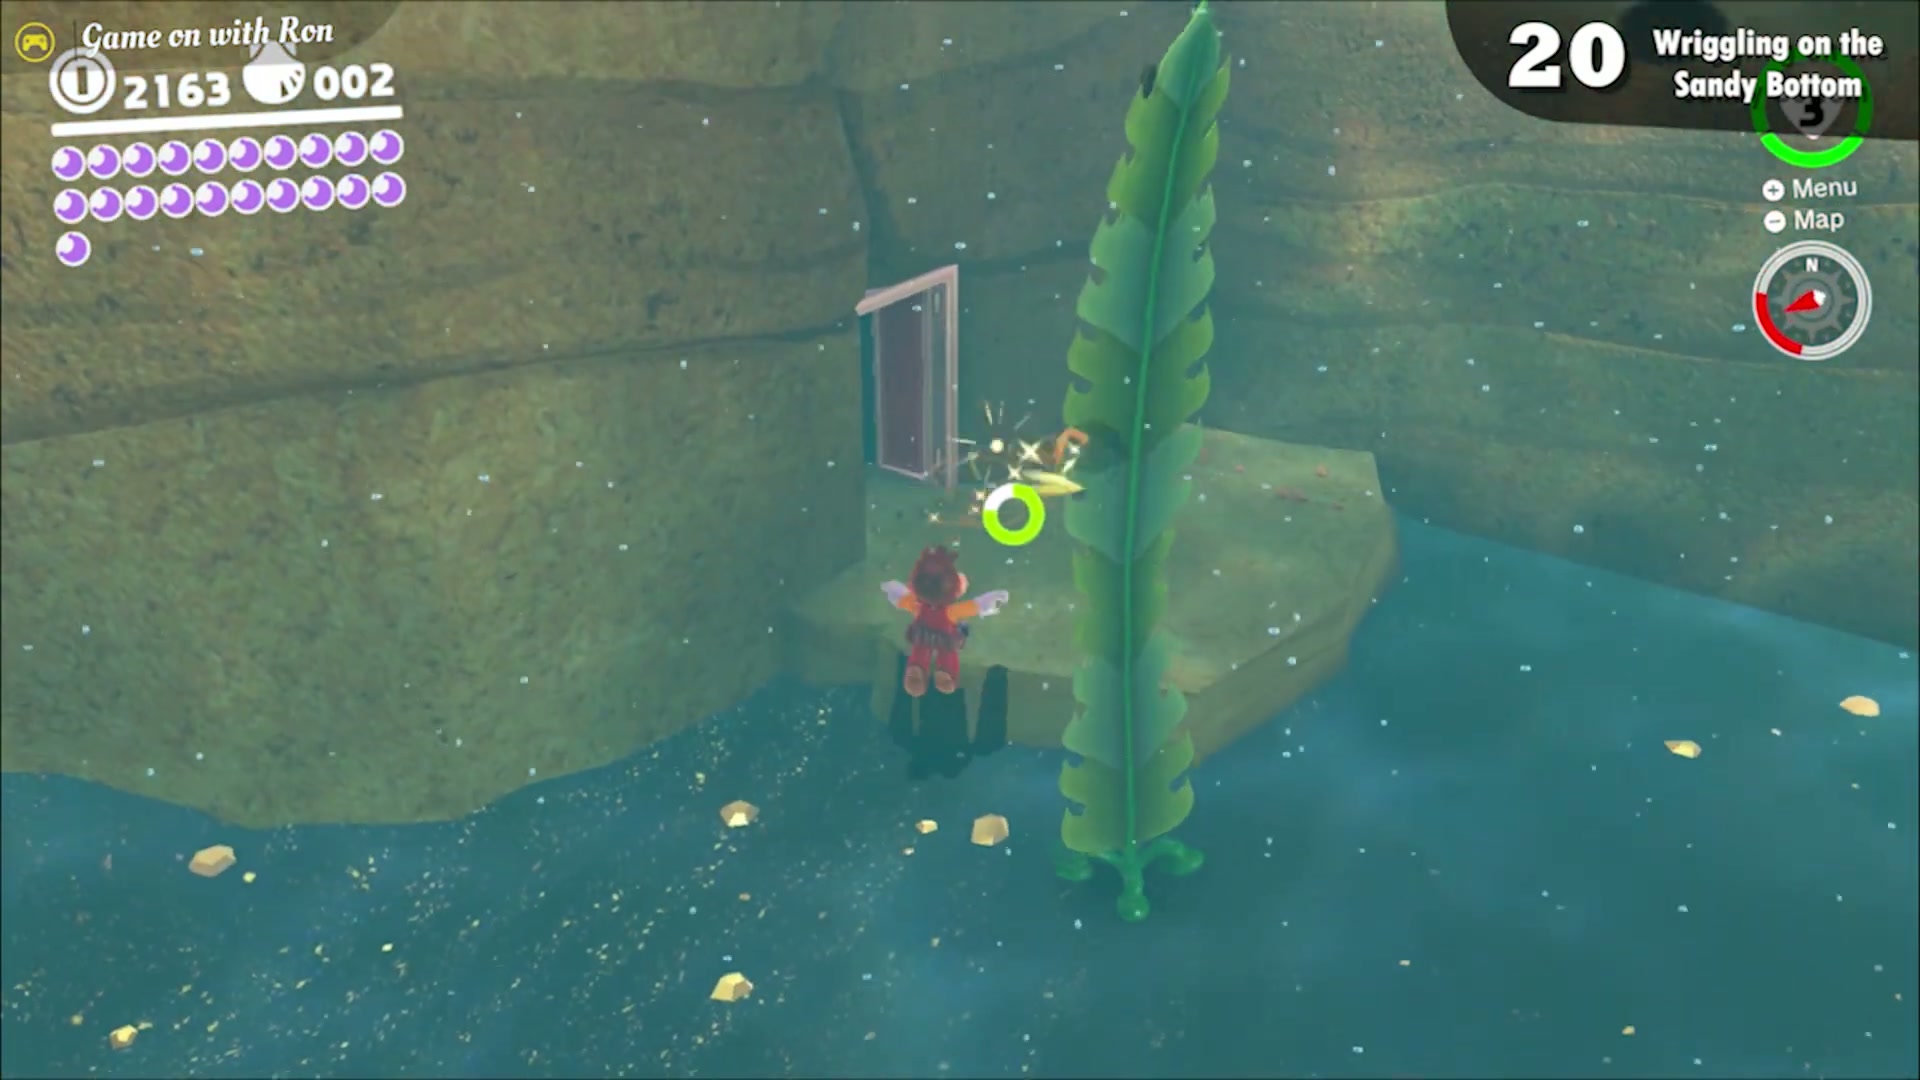
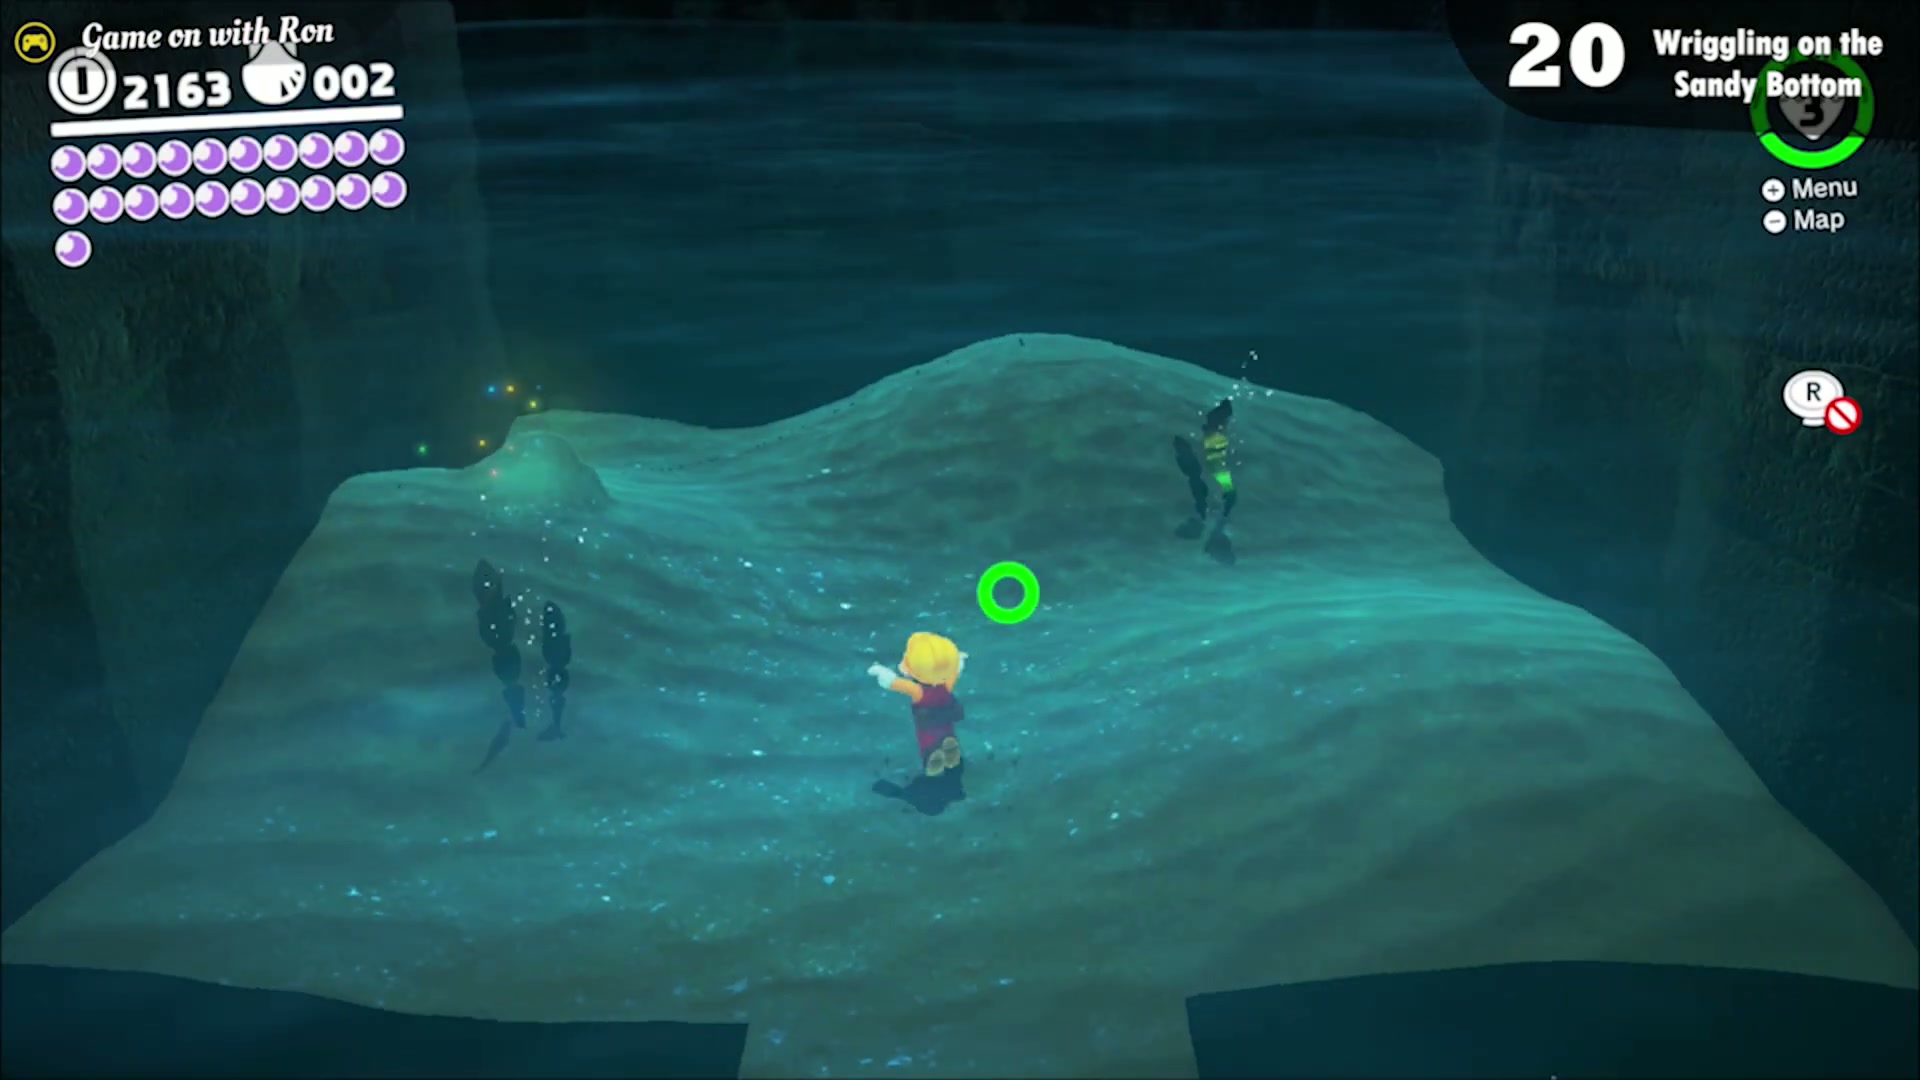
Wriggling on the Sandy Bottom
Near the Lighthouse, two Cheep Cheeps swim above a hidden door on the sea floor. Go through the door to a bonus area, then ground pound the Lurker to obtain the moon.
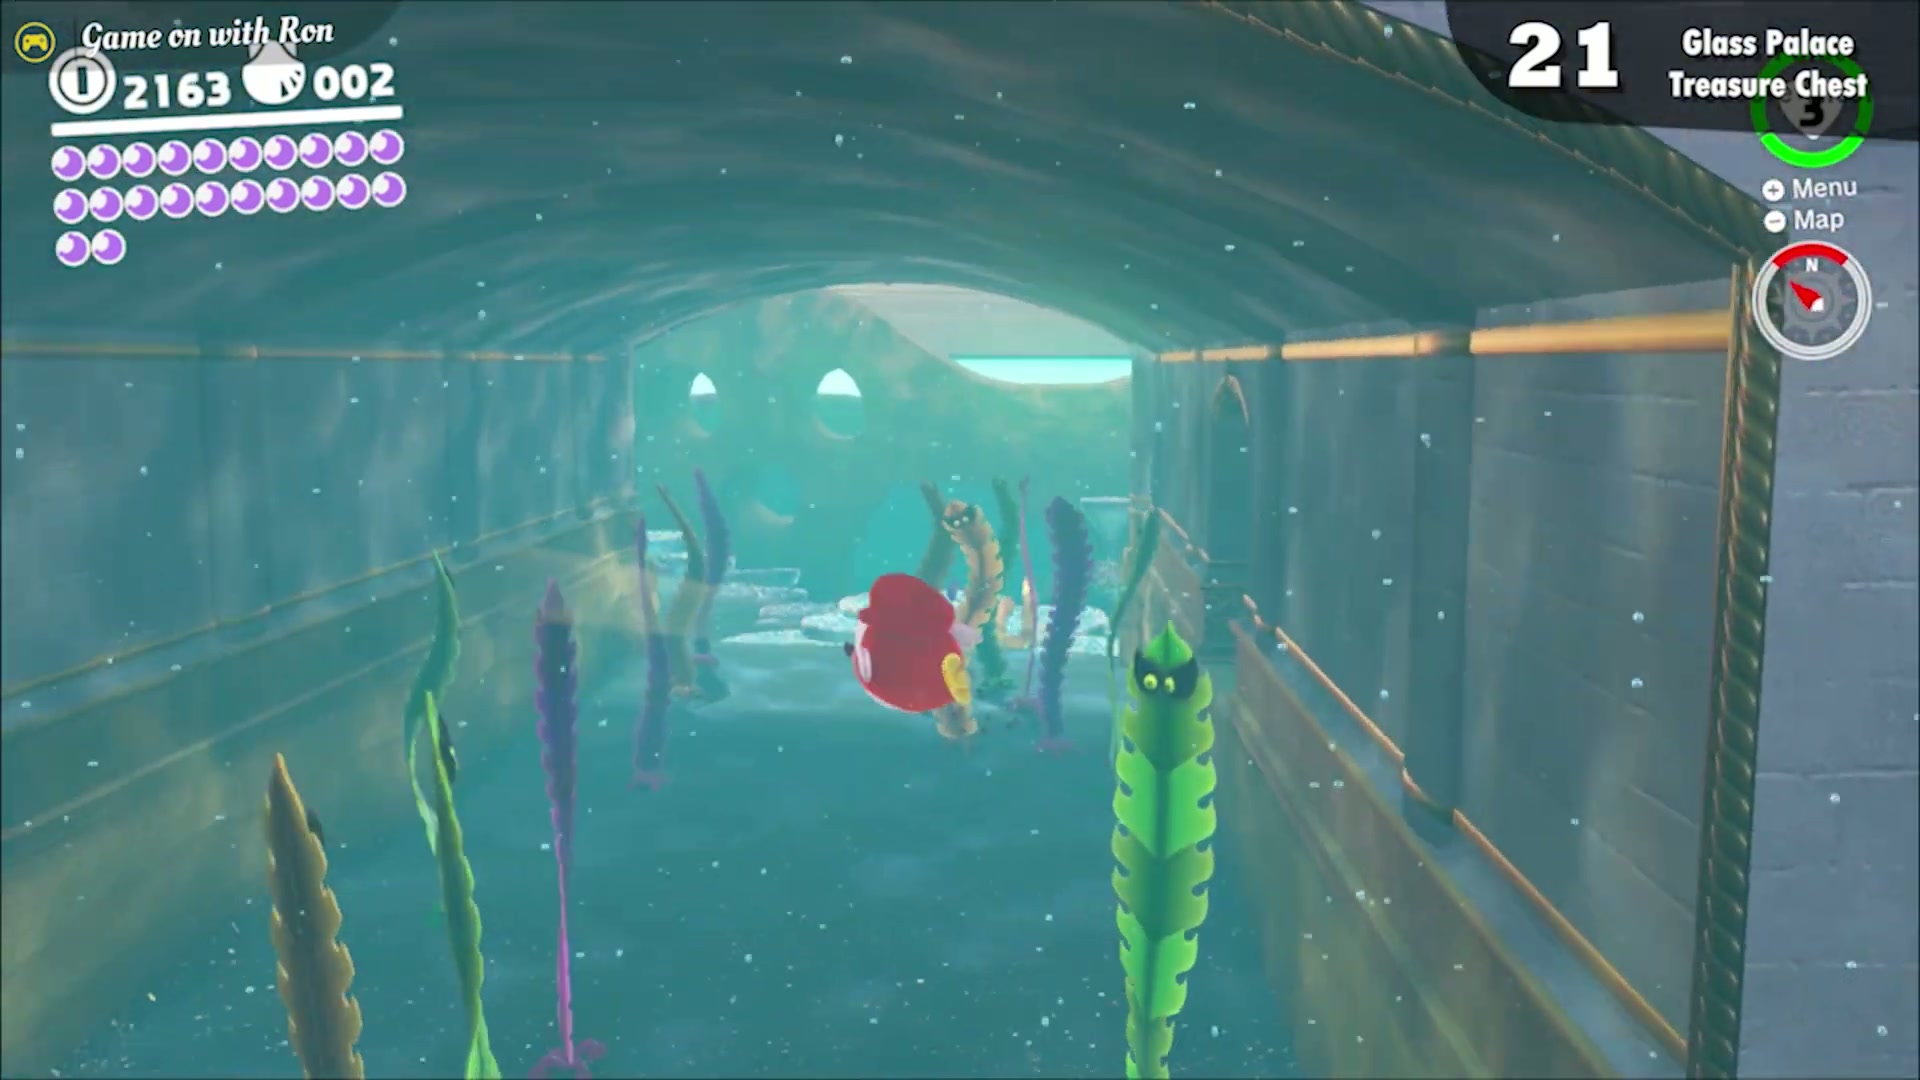
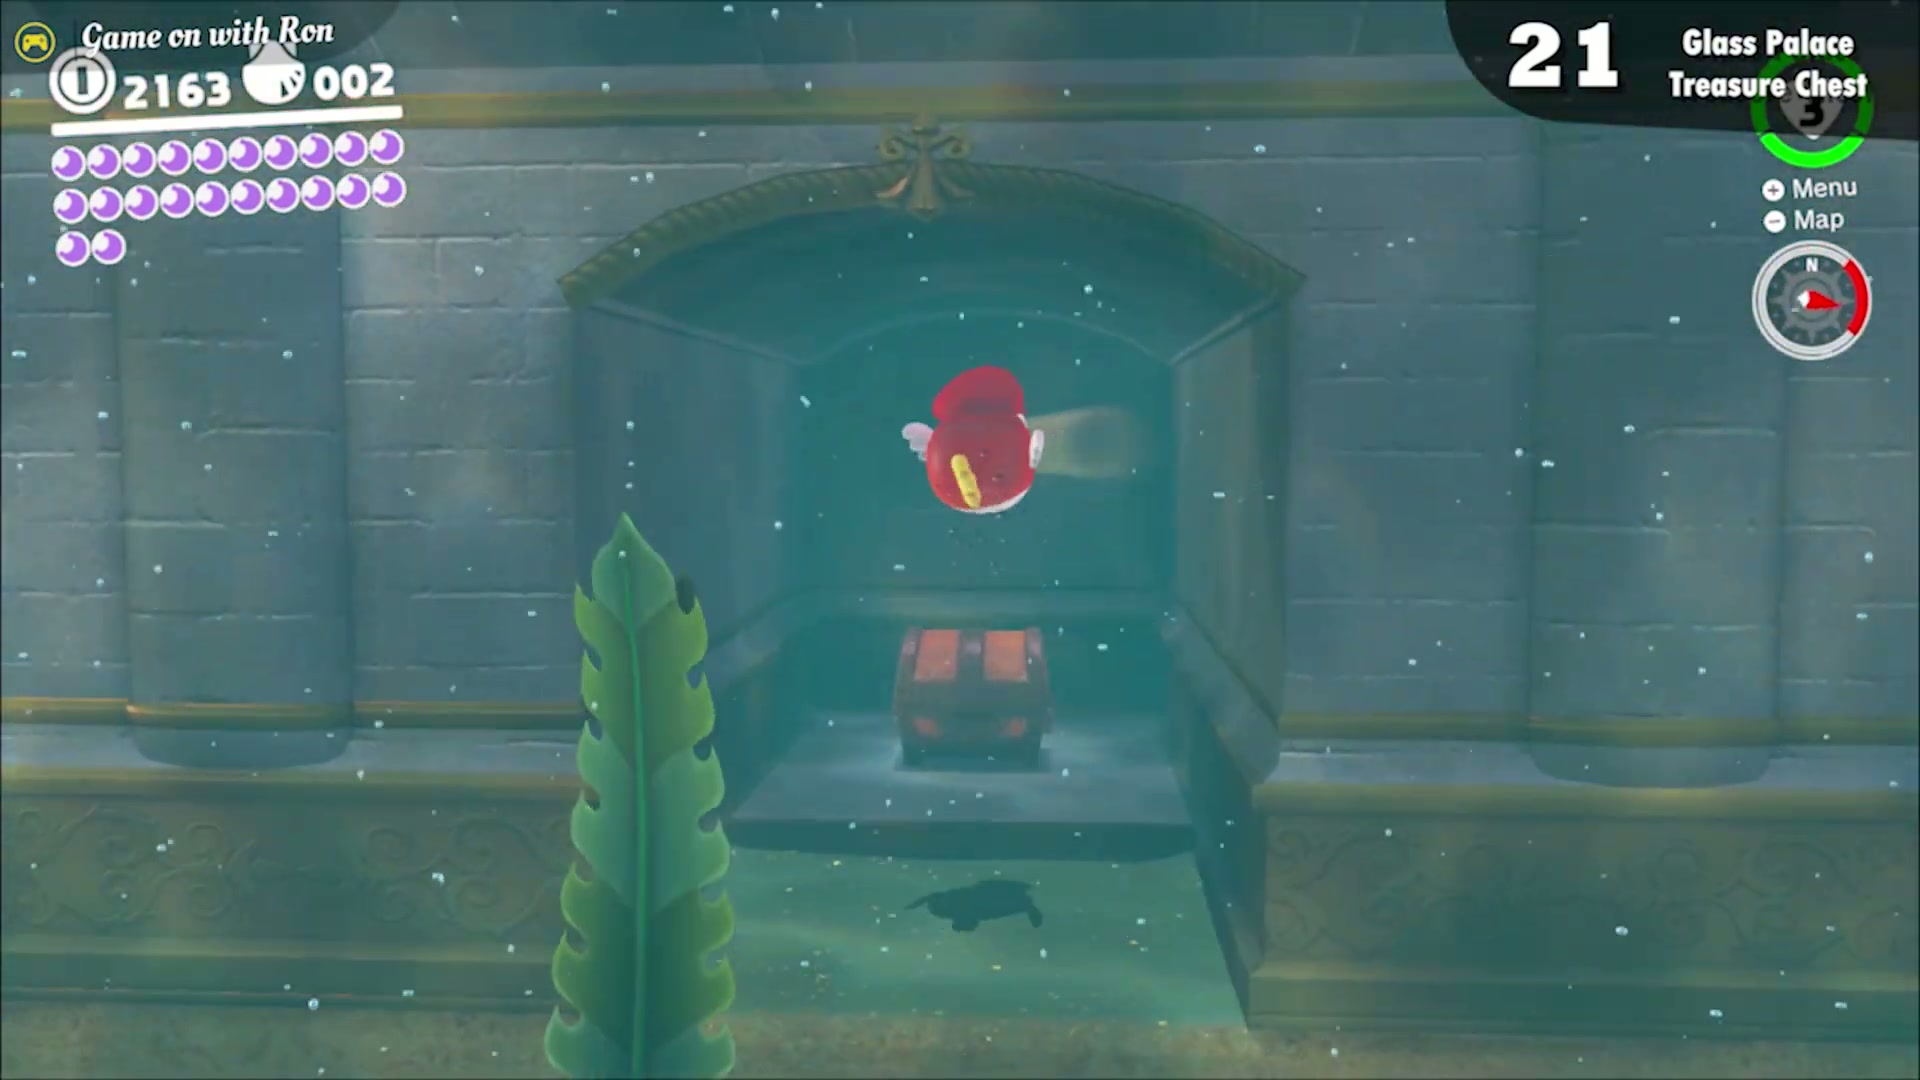
Glass Palace Treasure Chest
This moon is inside a treasure chest underneath the Glass Palace, near three swimming Cheep Cheeps and a group of Komboos. Capture a Cheep Cheep and open the chest to claim it.
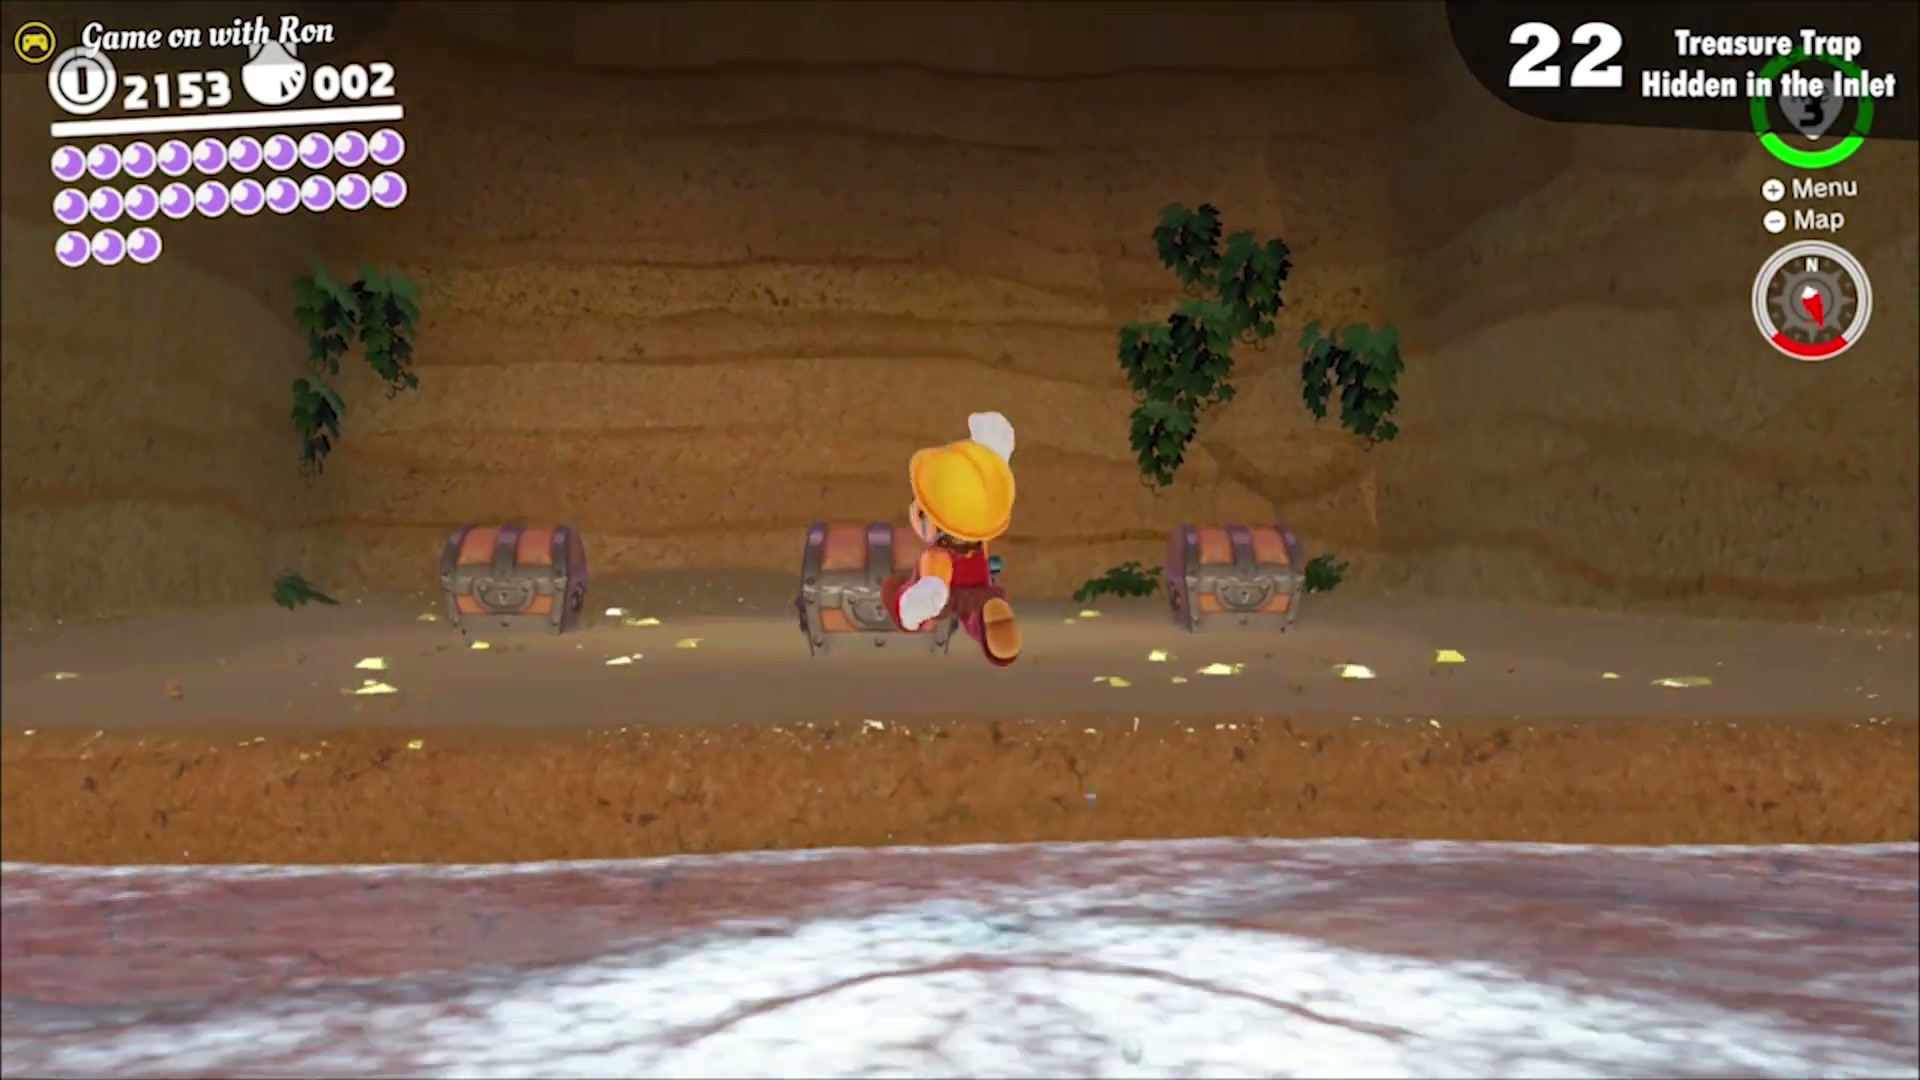
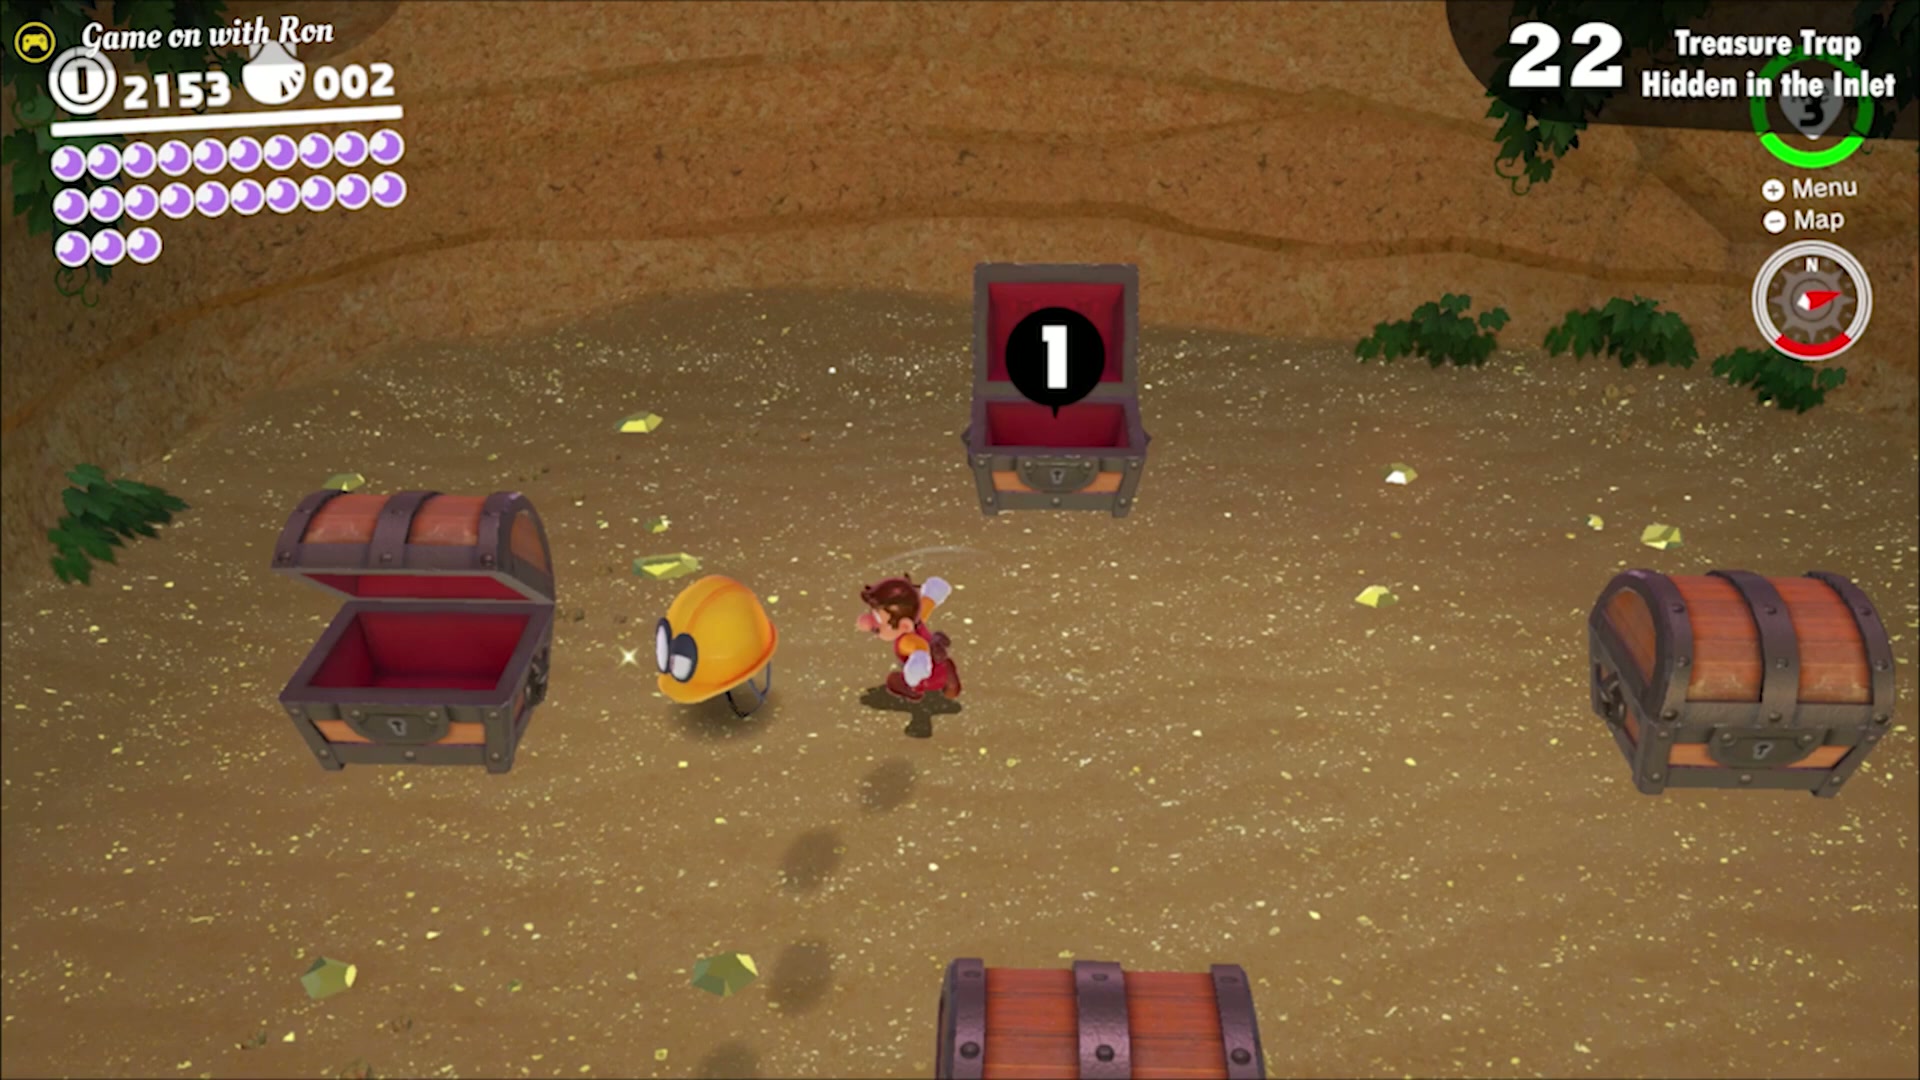
Treasure Trap Hidden in the Inlet
Near the Beach House checkpoint, dive into a small underwater hole in the river to the left of the checkpoint. Inside is a room with four treasure chests that must be opened in the correct order. The order matches the Treasure in the Ocean Cave Power Star from Super Mario 64’s Jolly Roger Bay.
Sea Gardening: Inlet Seed
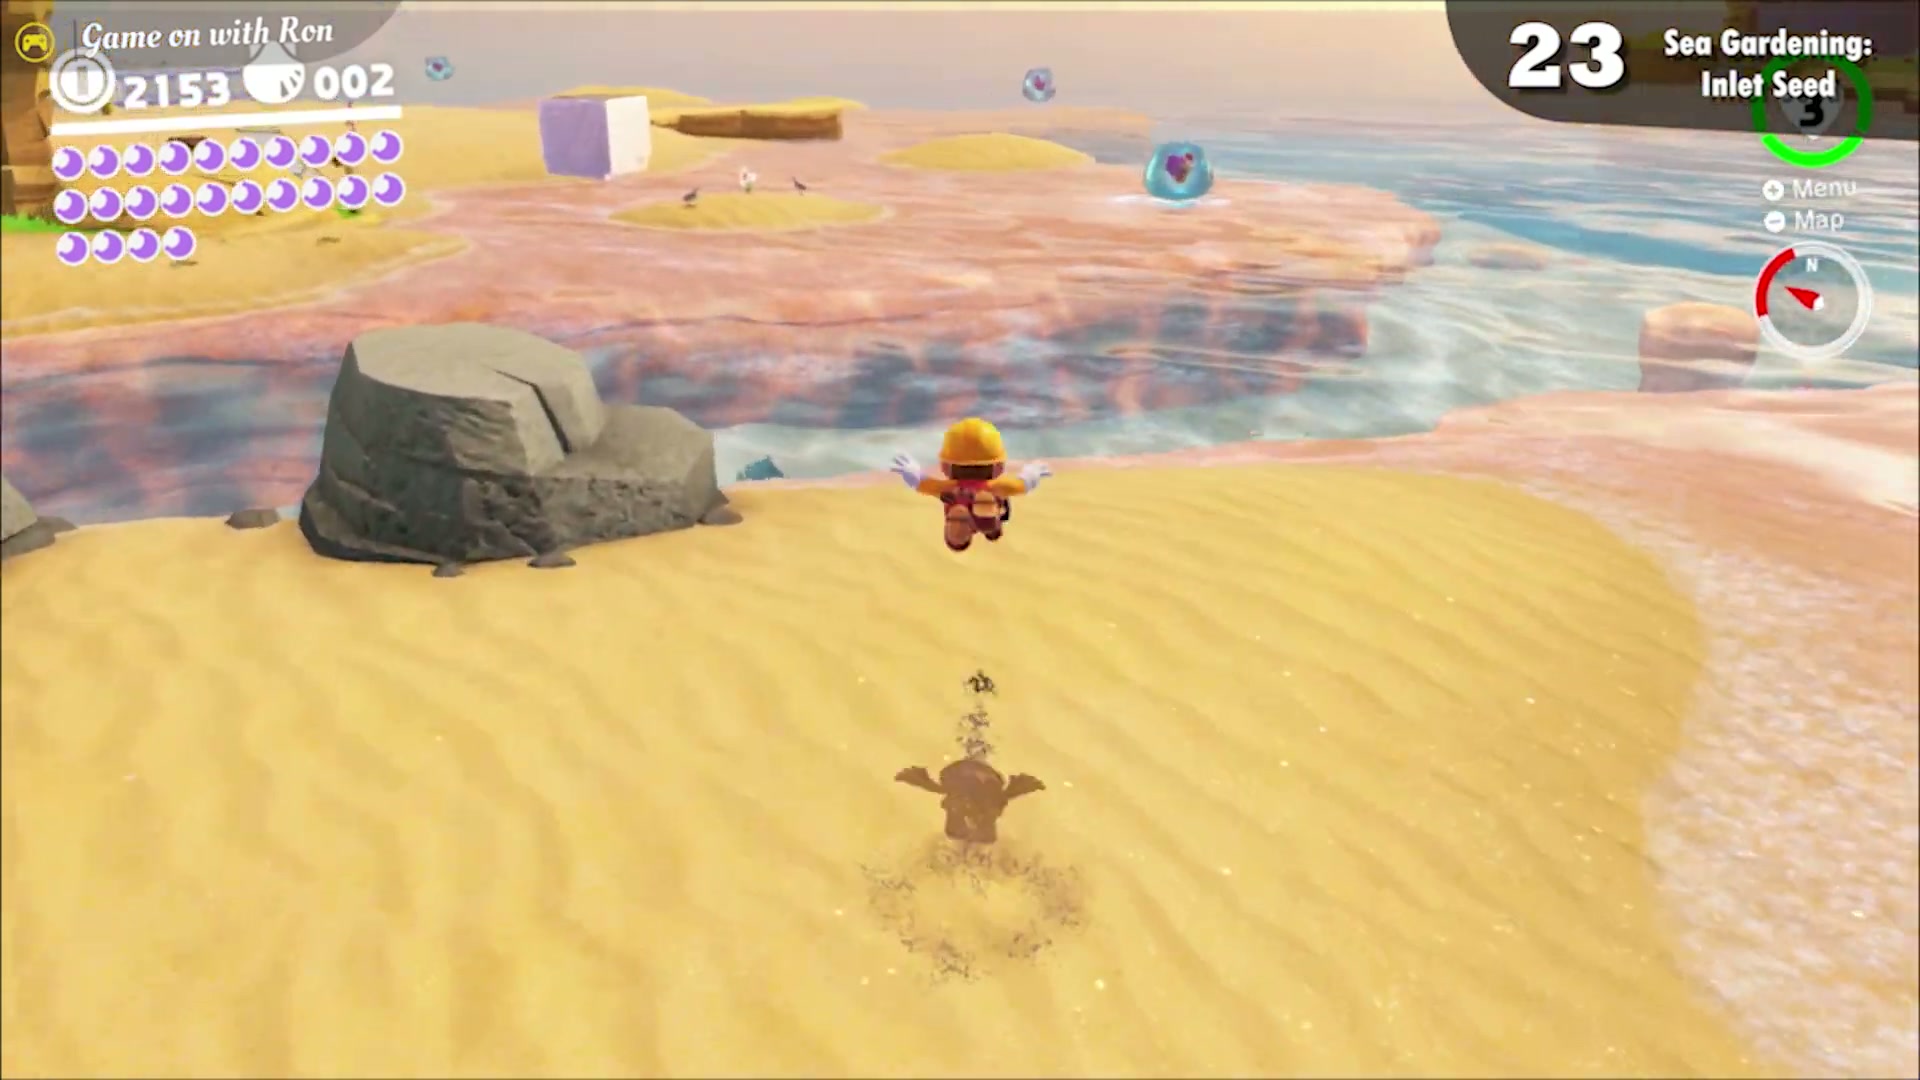
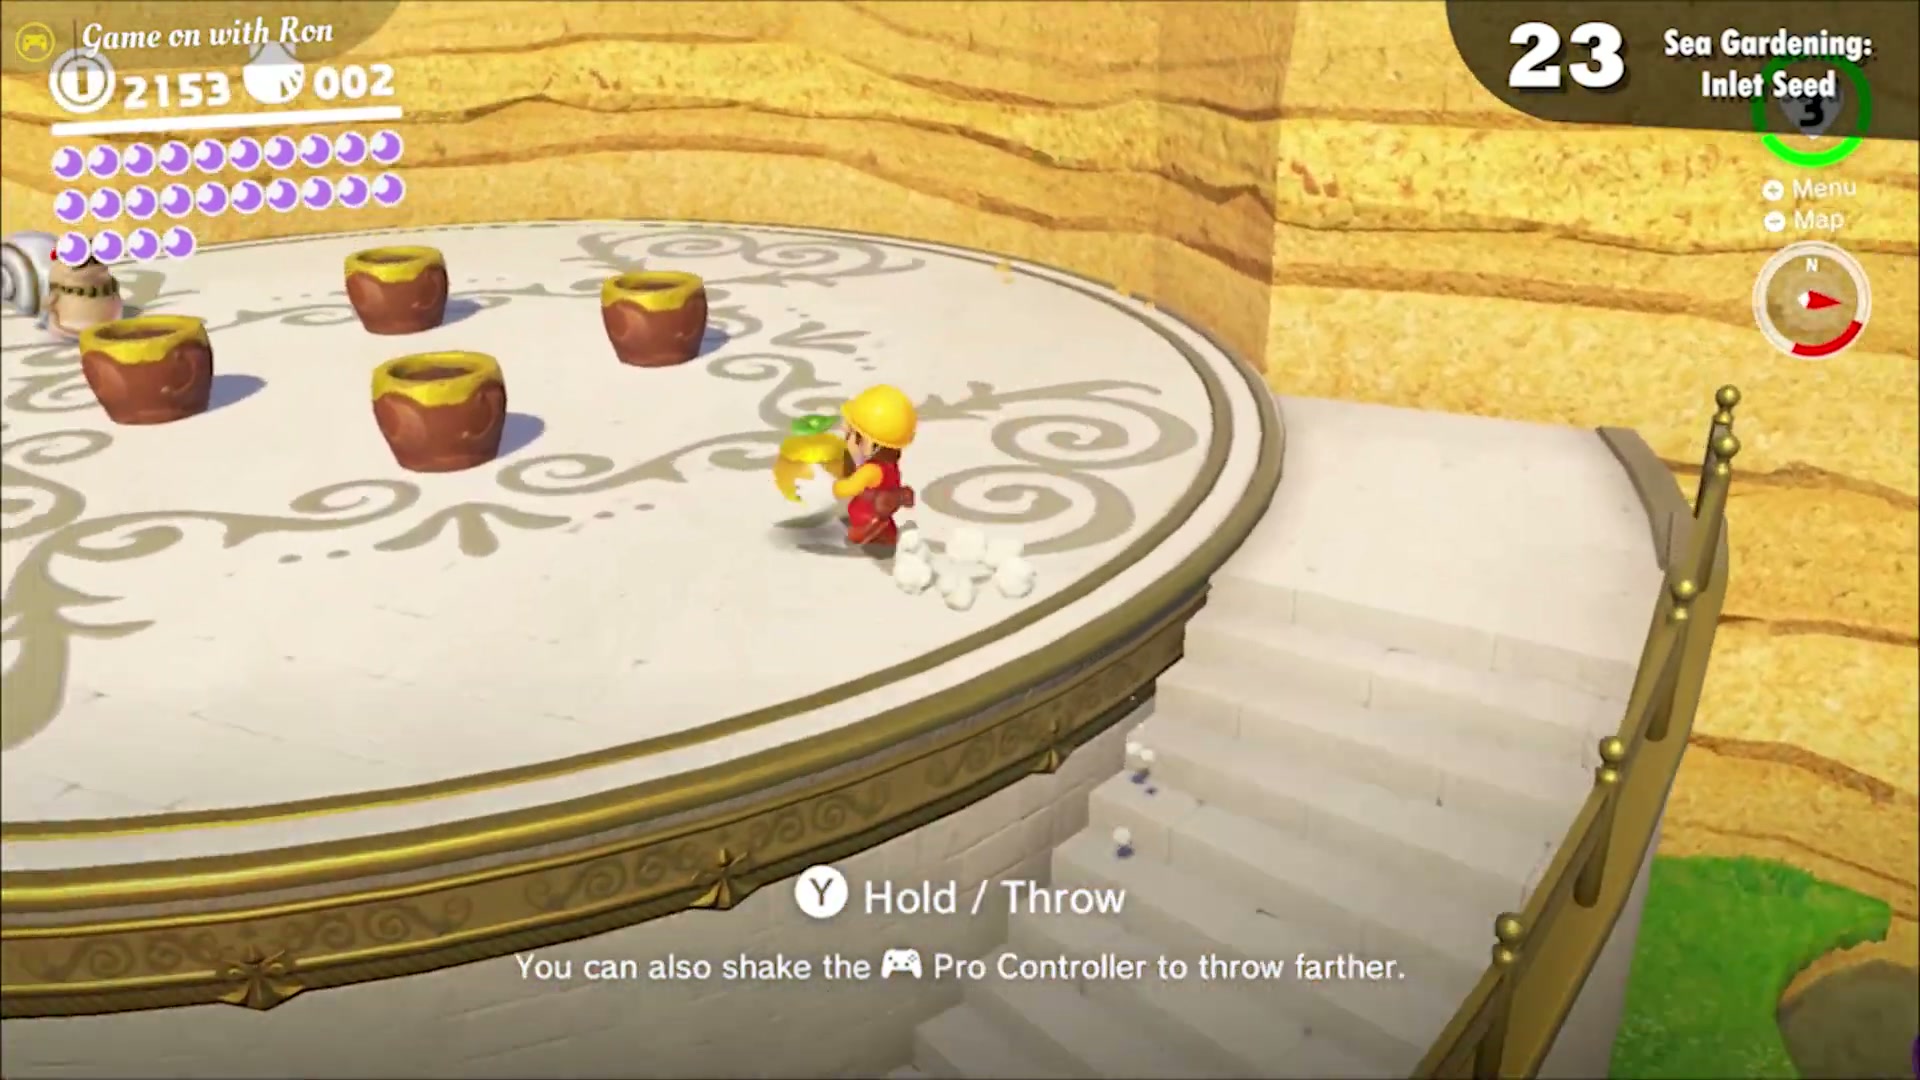
In the small river to the right of the Beach House checkpoint, a seed sits underwater on the ground. Pick it up and plant it in one of the flower pots on the roof of the Beach House, then wait for the moon to sprout from the vine. A Gushen’s water spray speeds up the growth.
Sea Gardening: Canyon Seed
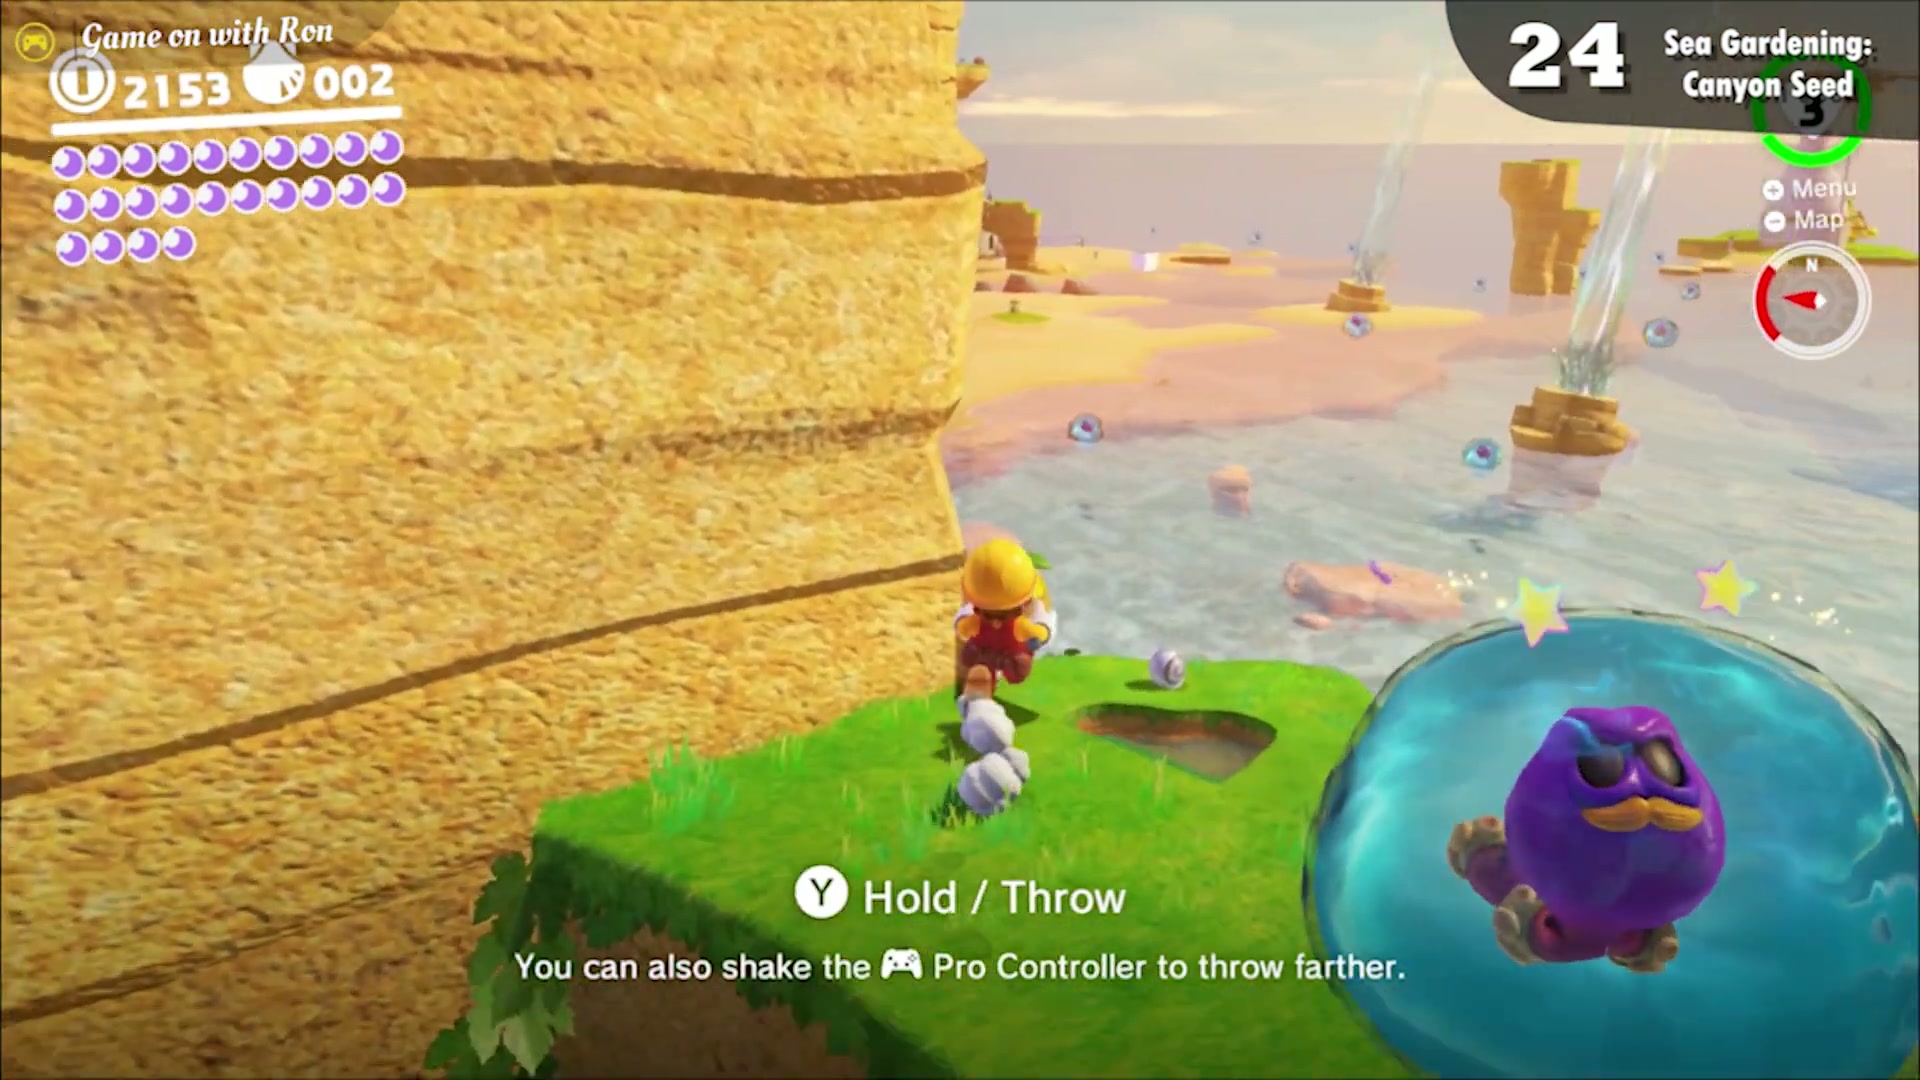
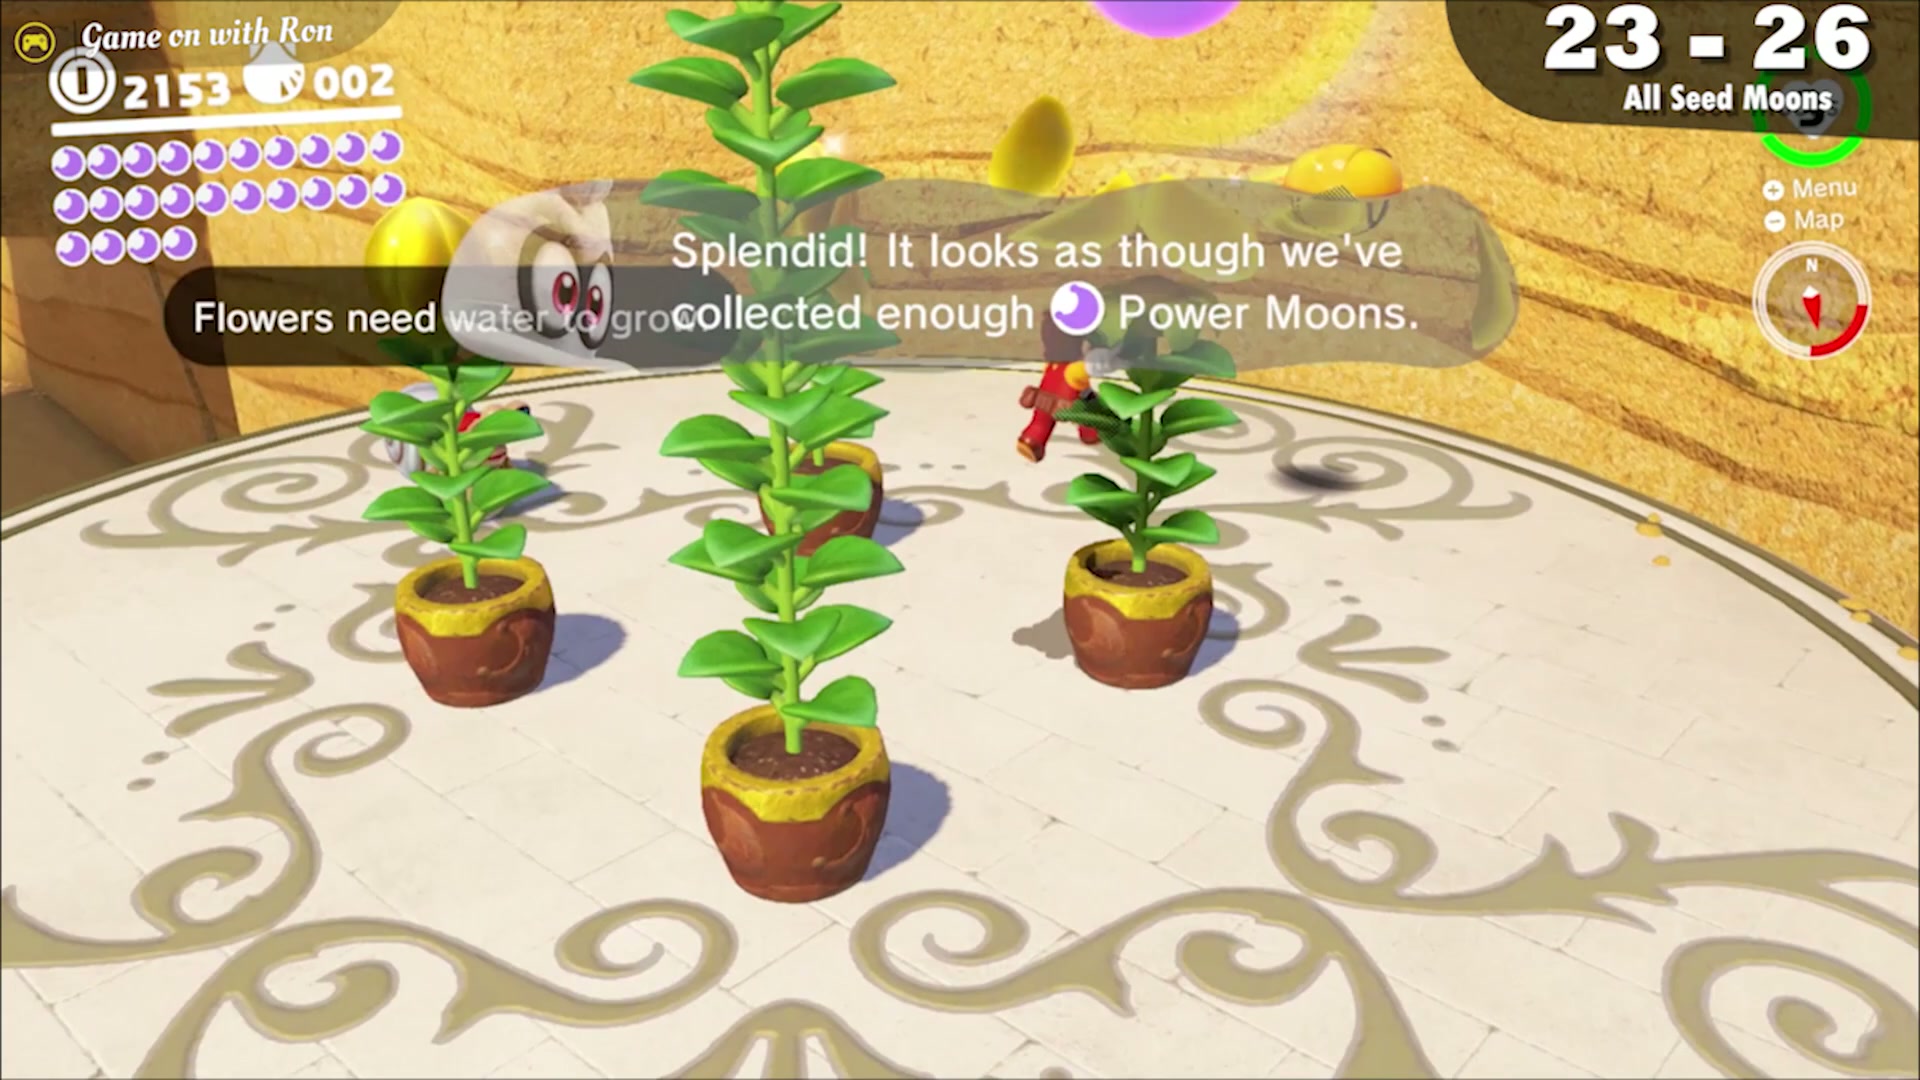
At the end of the area near The Back Canyon: Excavate! moon, you can find a seed. Plant it in a flower pot on the roof of the Beach House and wait for the moon to sprout, or spray it with a Gushen to speed up the growth.
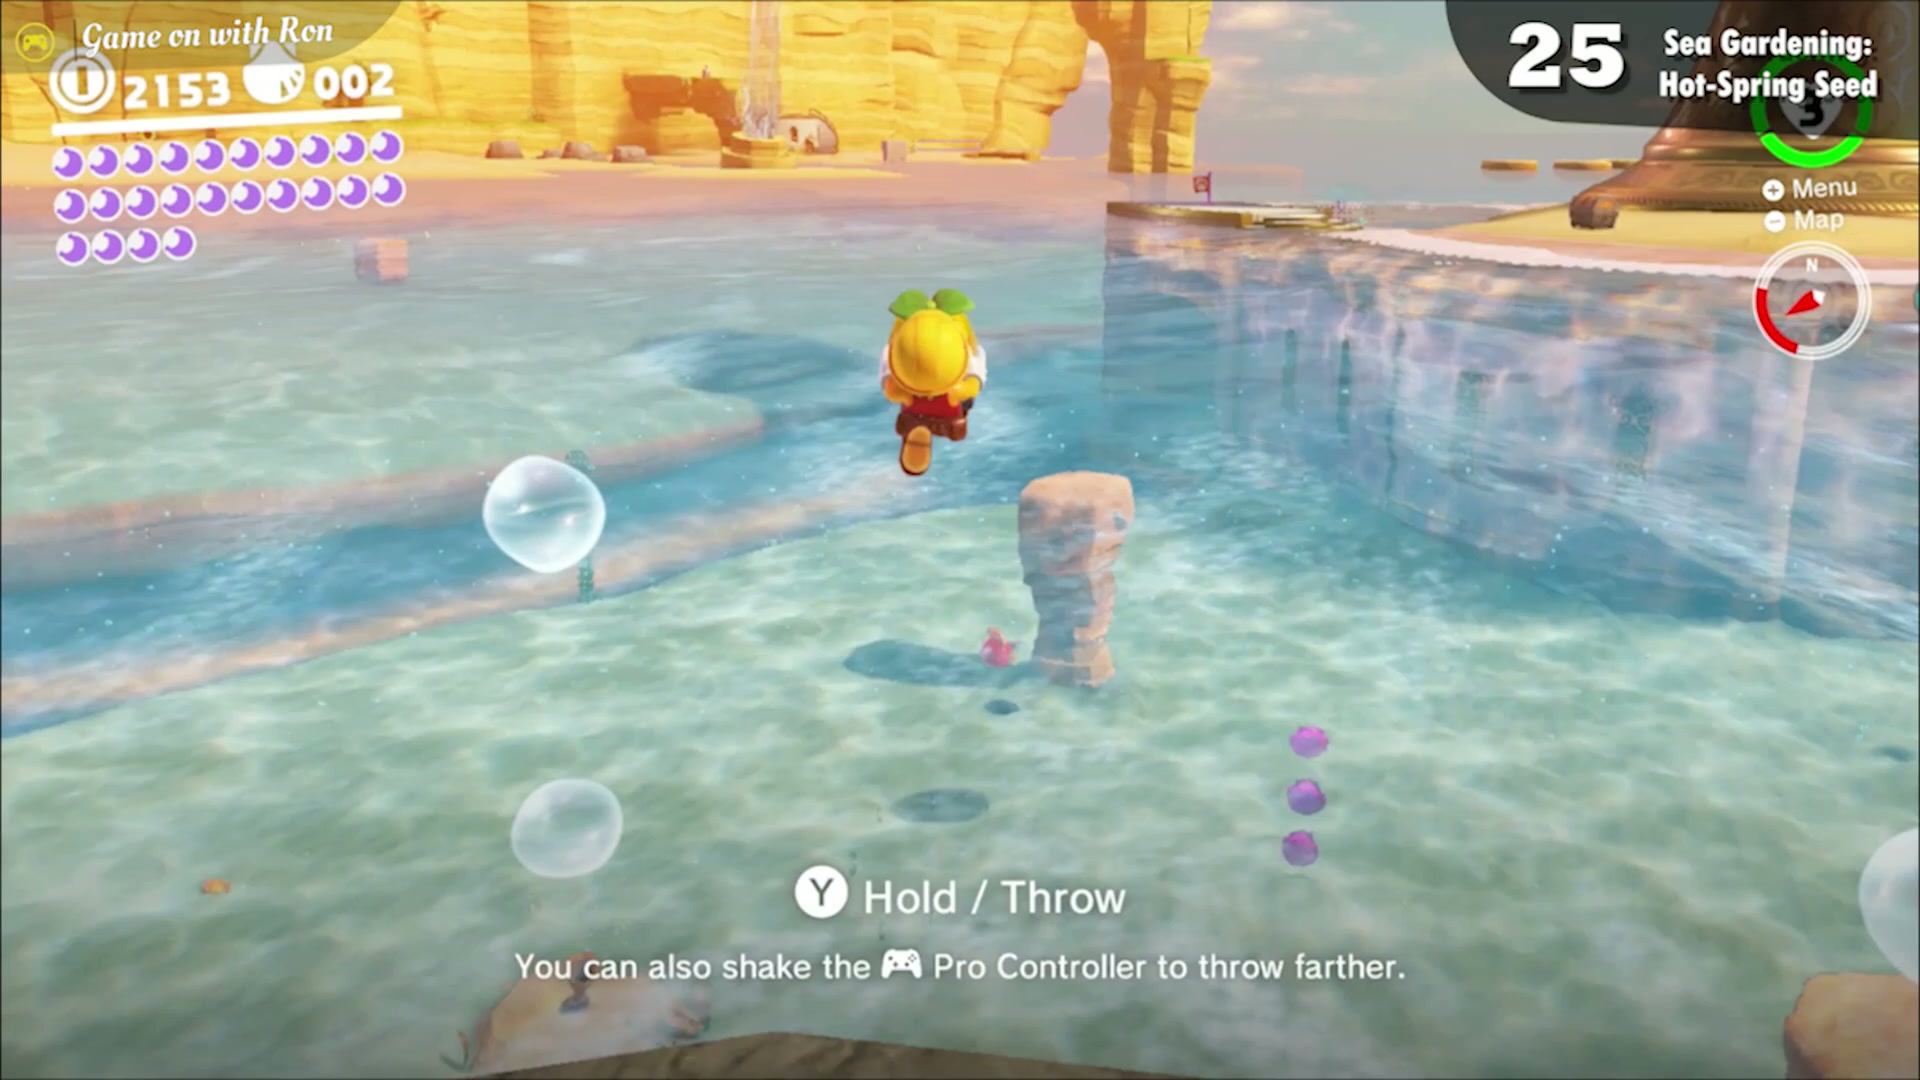
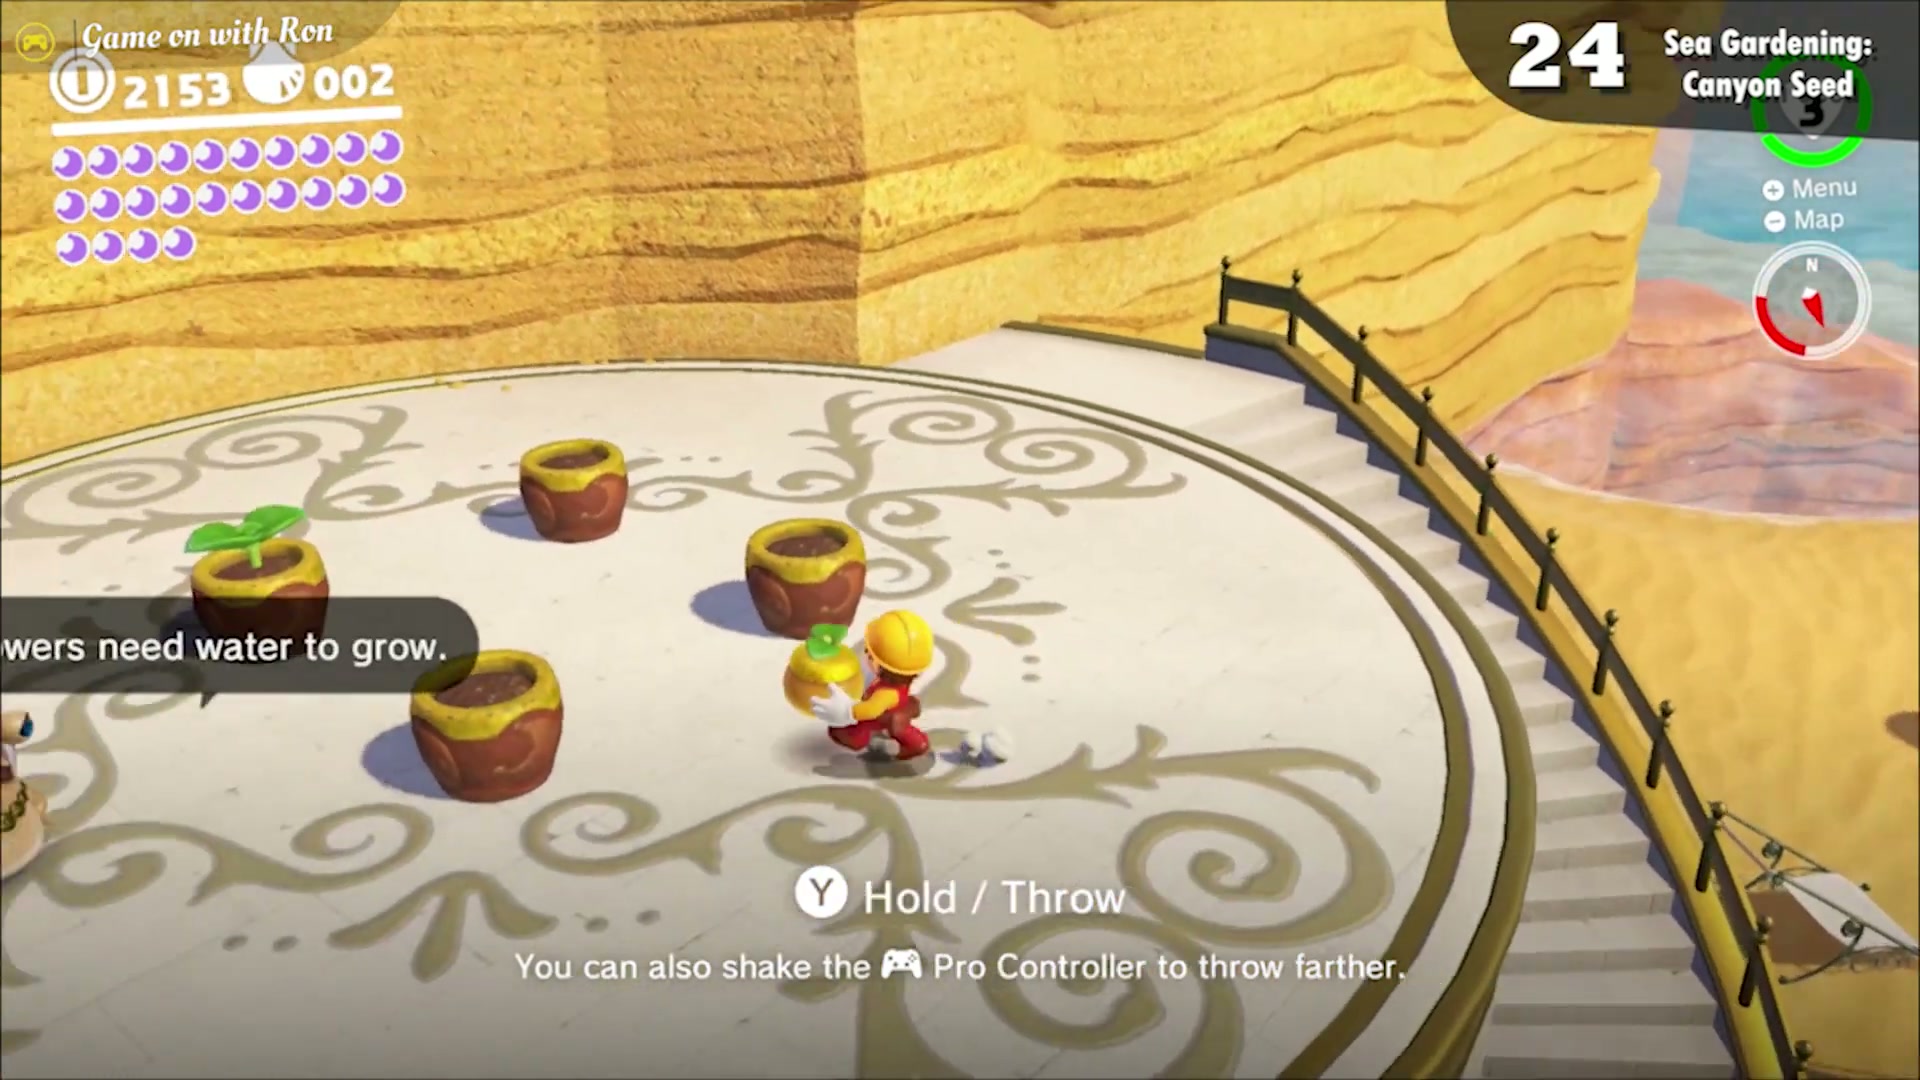
Sea Gardening: Hot-Spring Seed
Near the Hot Spring Island checkpoint, a seed sits on a rocky platform beside a Gushen. Plant it in a flower pot on the roof of the Beach House and wait for the moon to sprout, or spray it with a Gushen to speed up the growth.
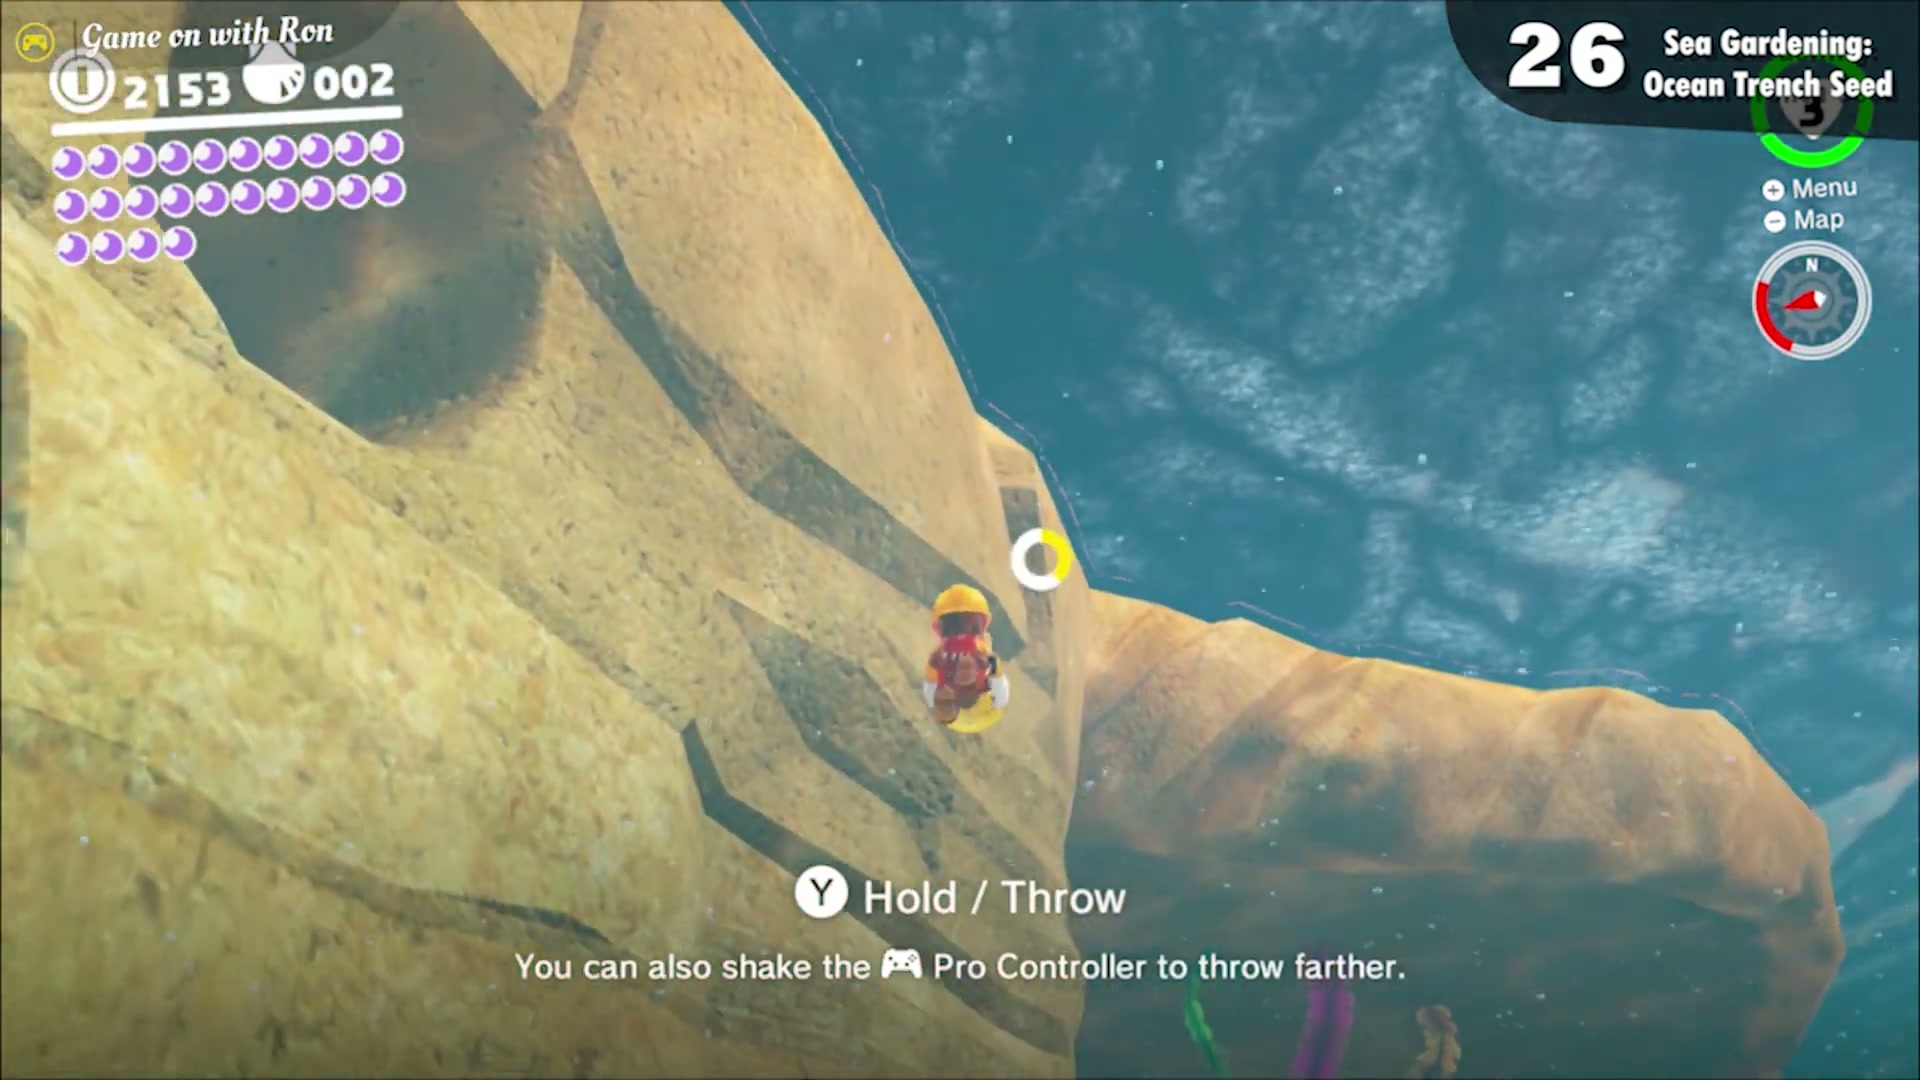
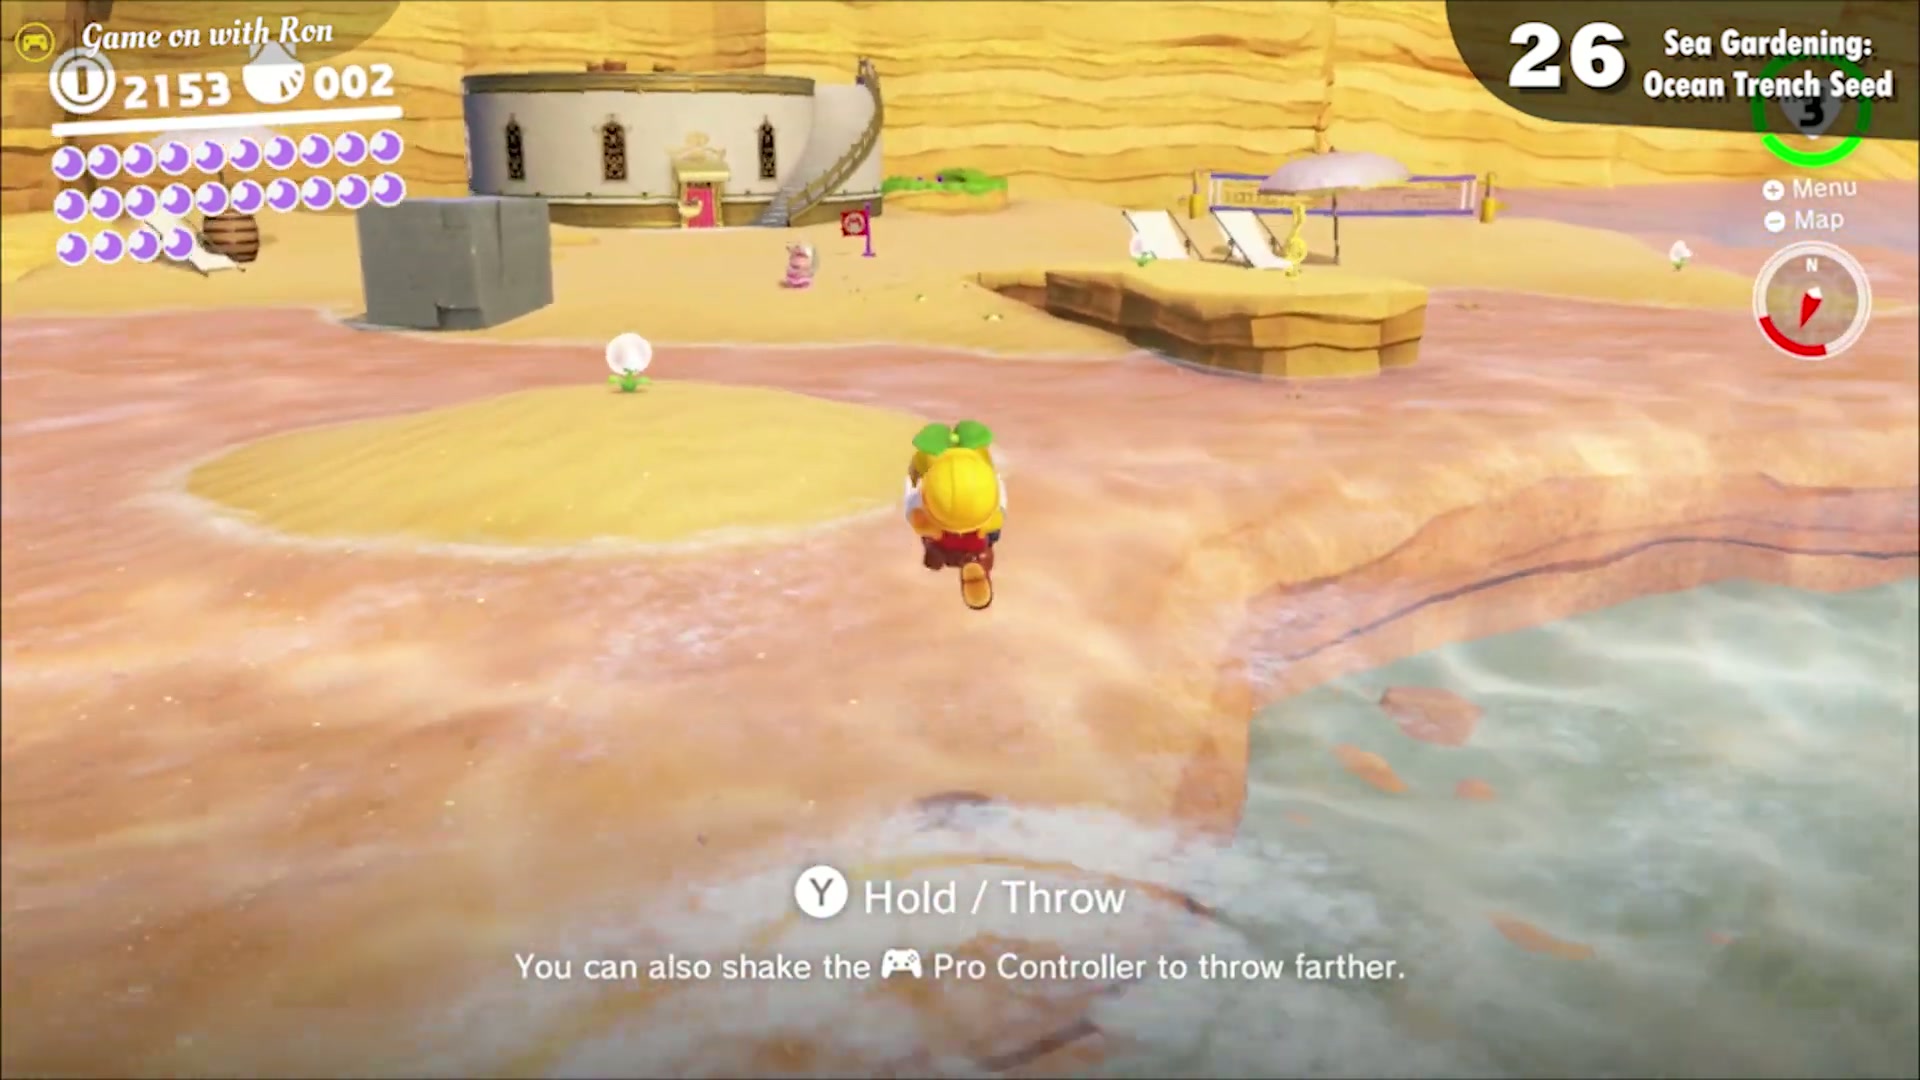
Sea Gardening: Ocean Trench Seed
Near the Ocean Trench East checkpoint, a seed sits underwater next to the Sphynx. Plant it in a flower pot on the roof of the Beach House and wait for the moon to sprout, or spray it with a Gushen to speed up the growth.
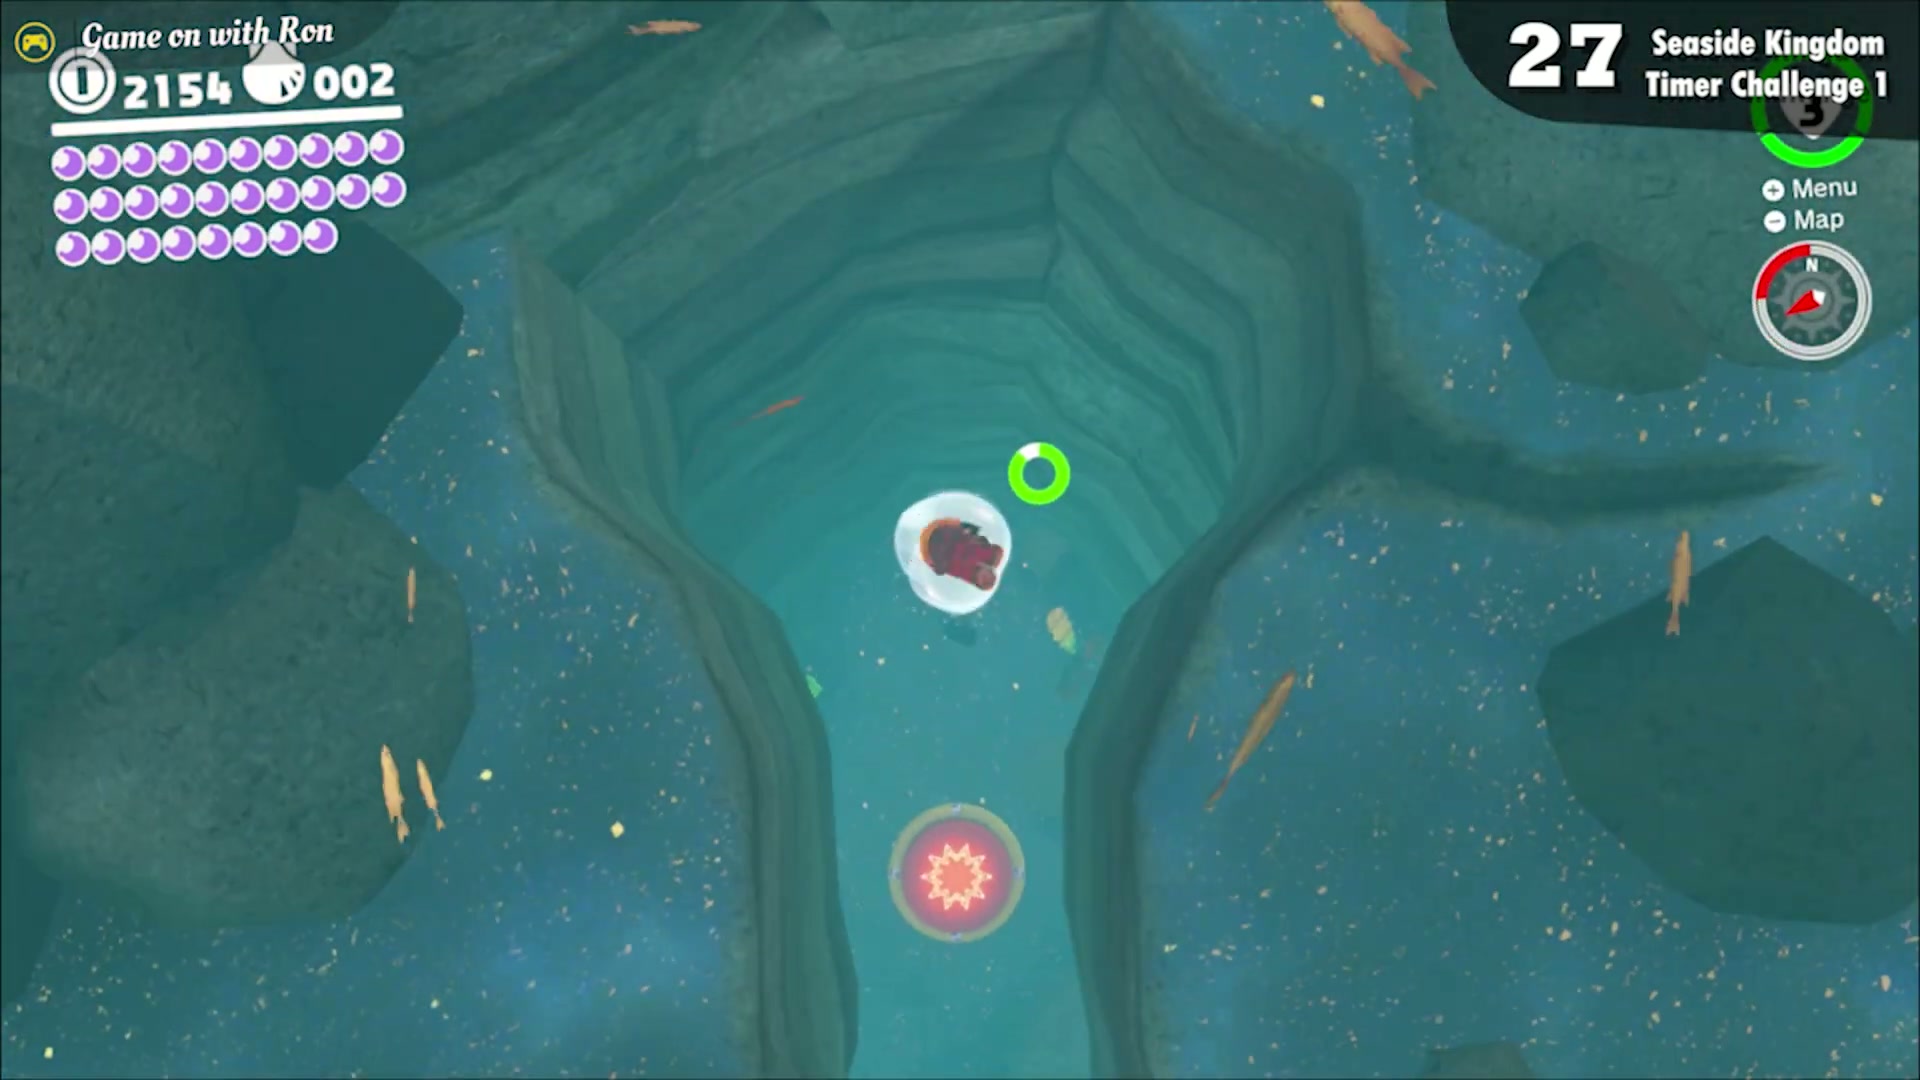
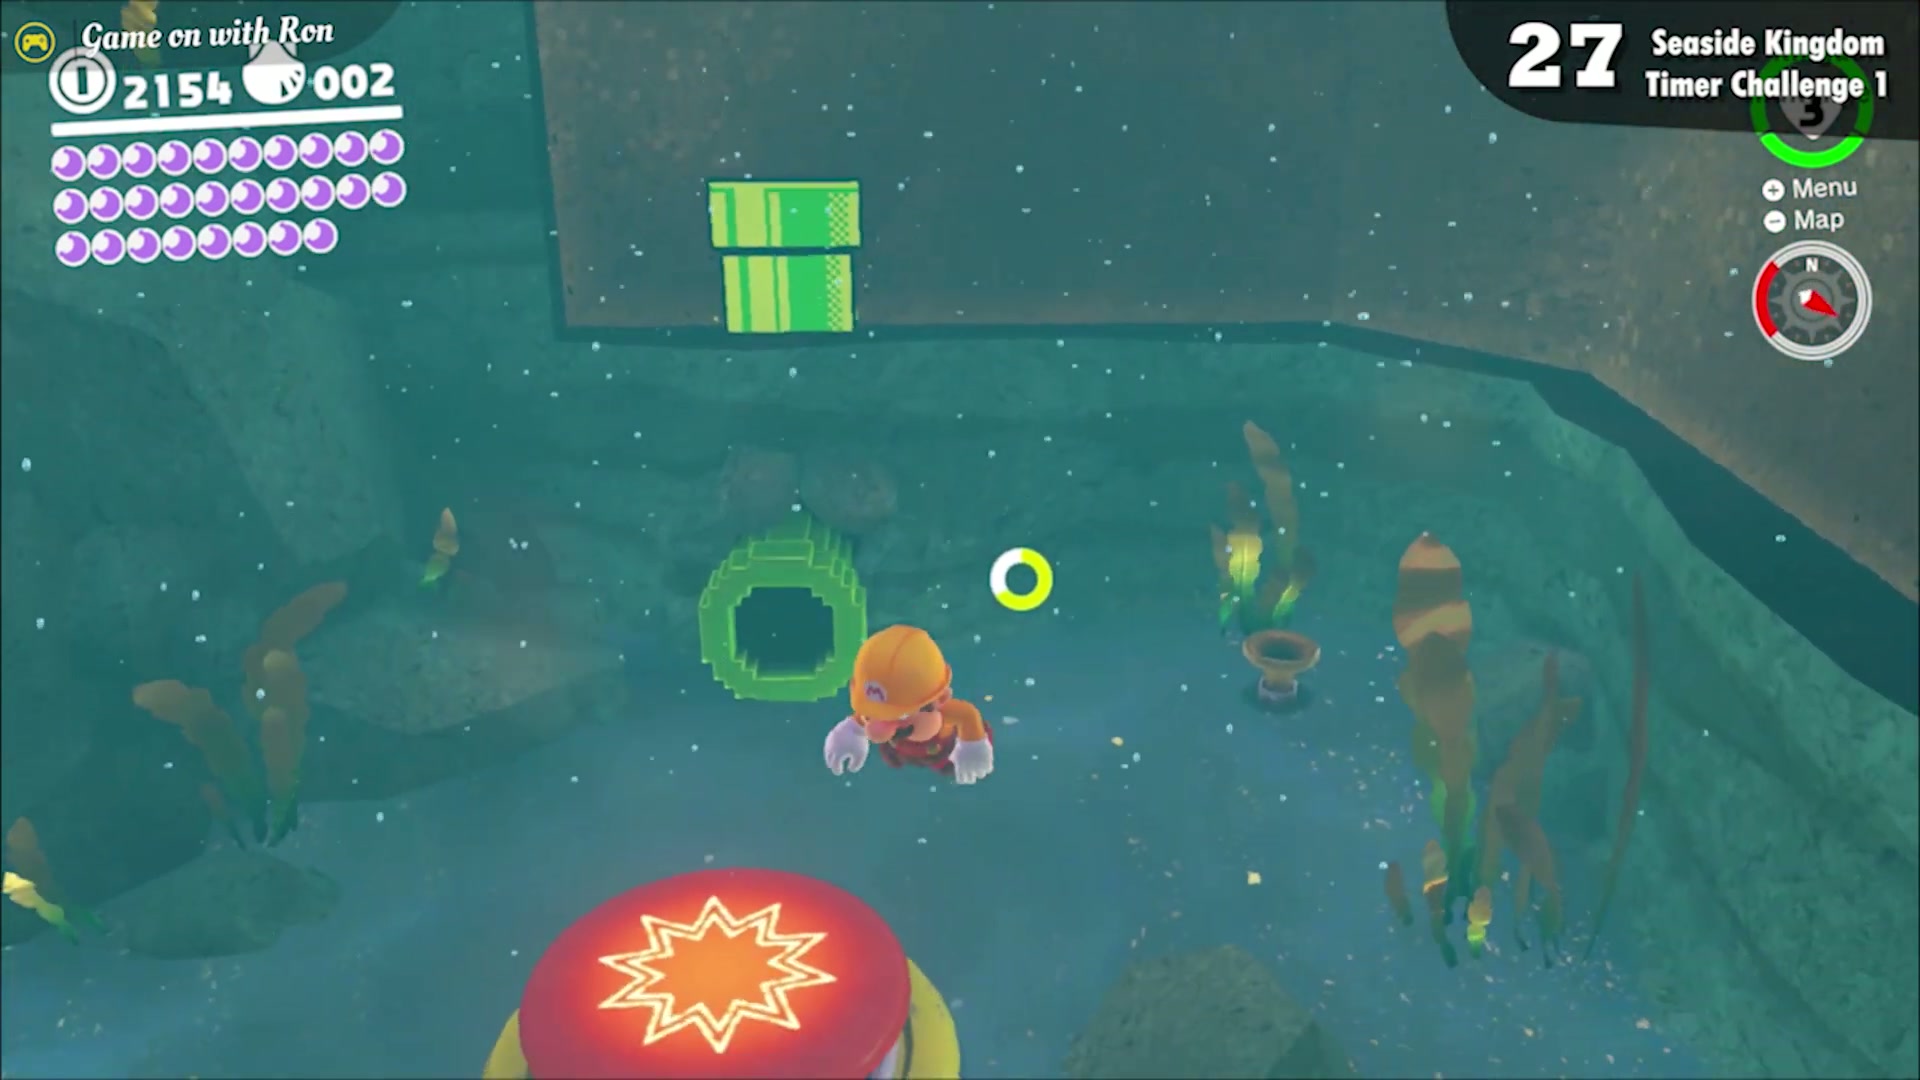
Seaside Kingdom Timer Challenge 1
Near the Hot Spring Island checkpoint, dive into an underwater hole with a ground-pound switch. Hit the switch, then rush through the short 2D section to reach the moon before the effect wears off.
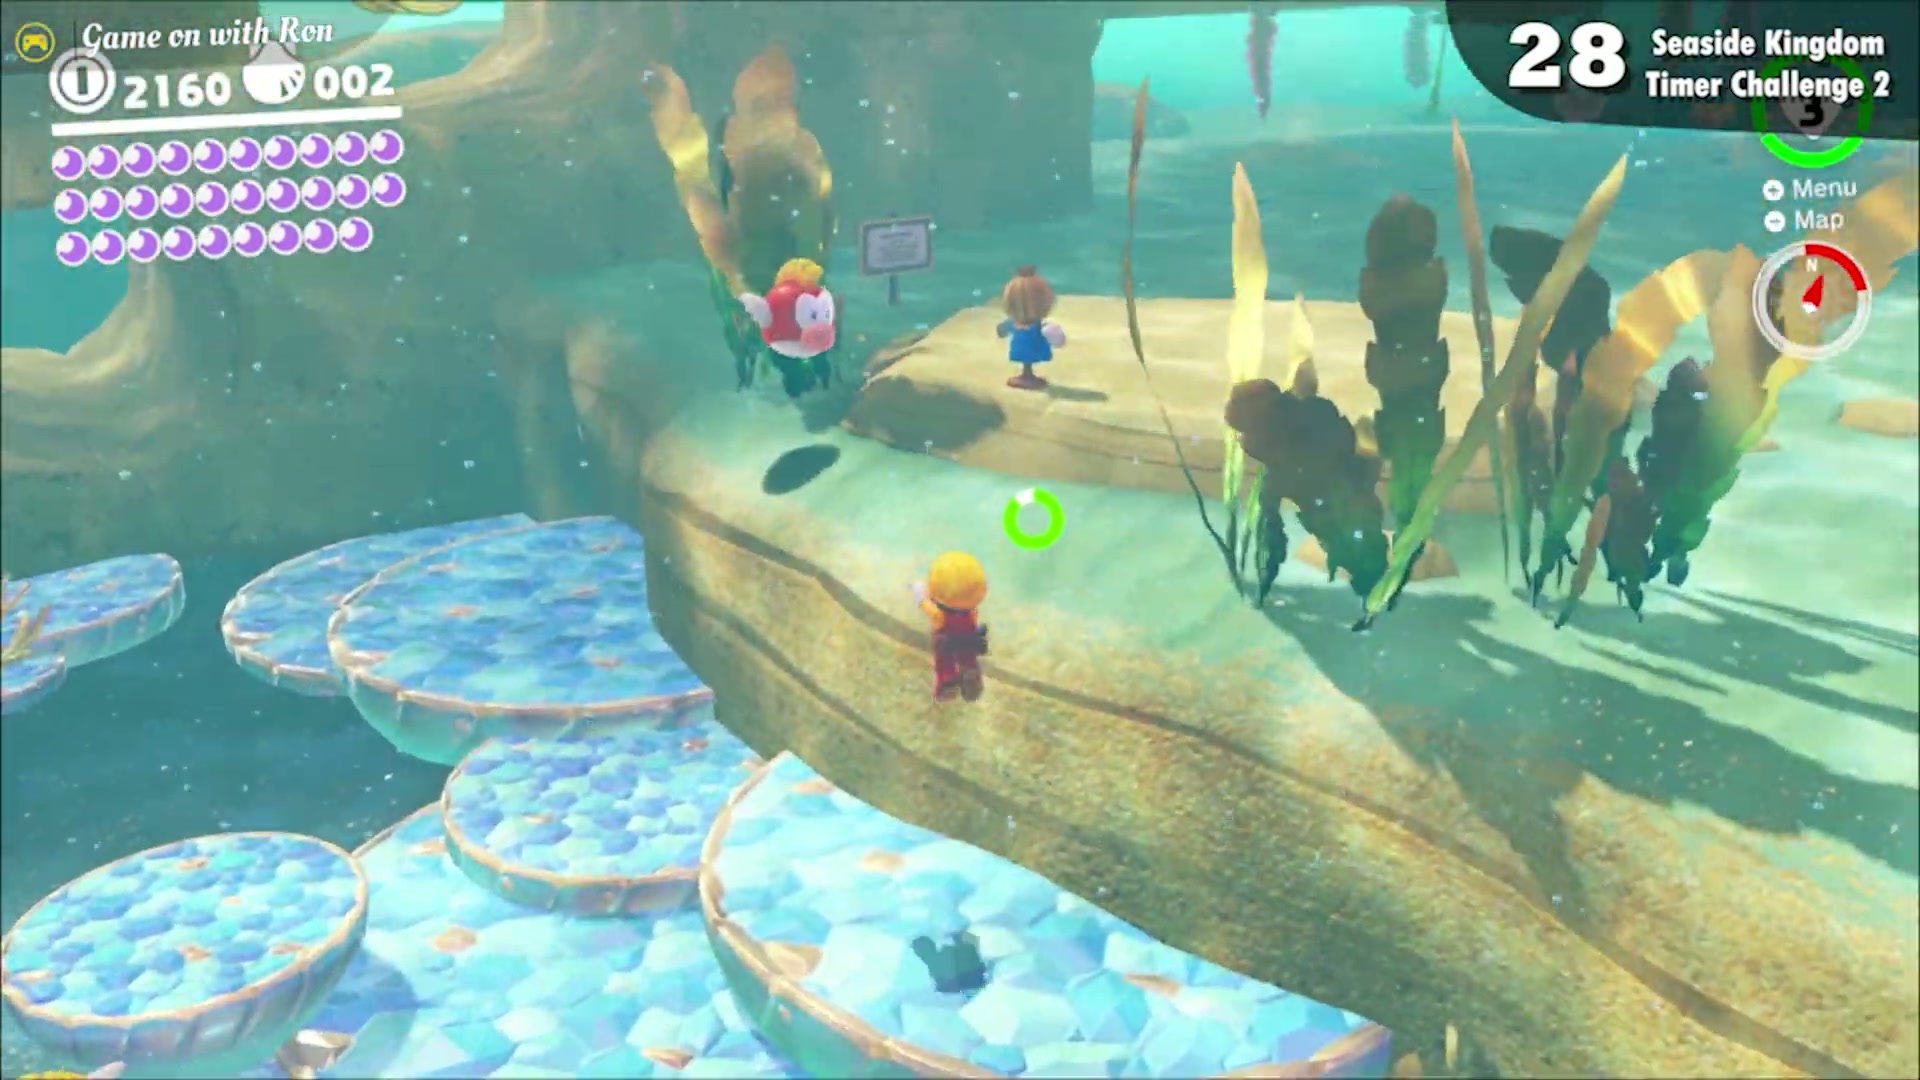
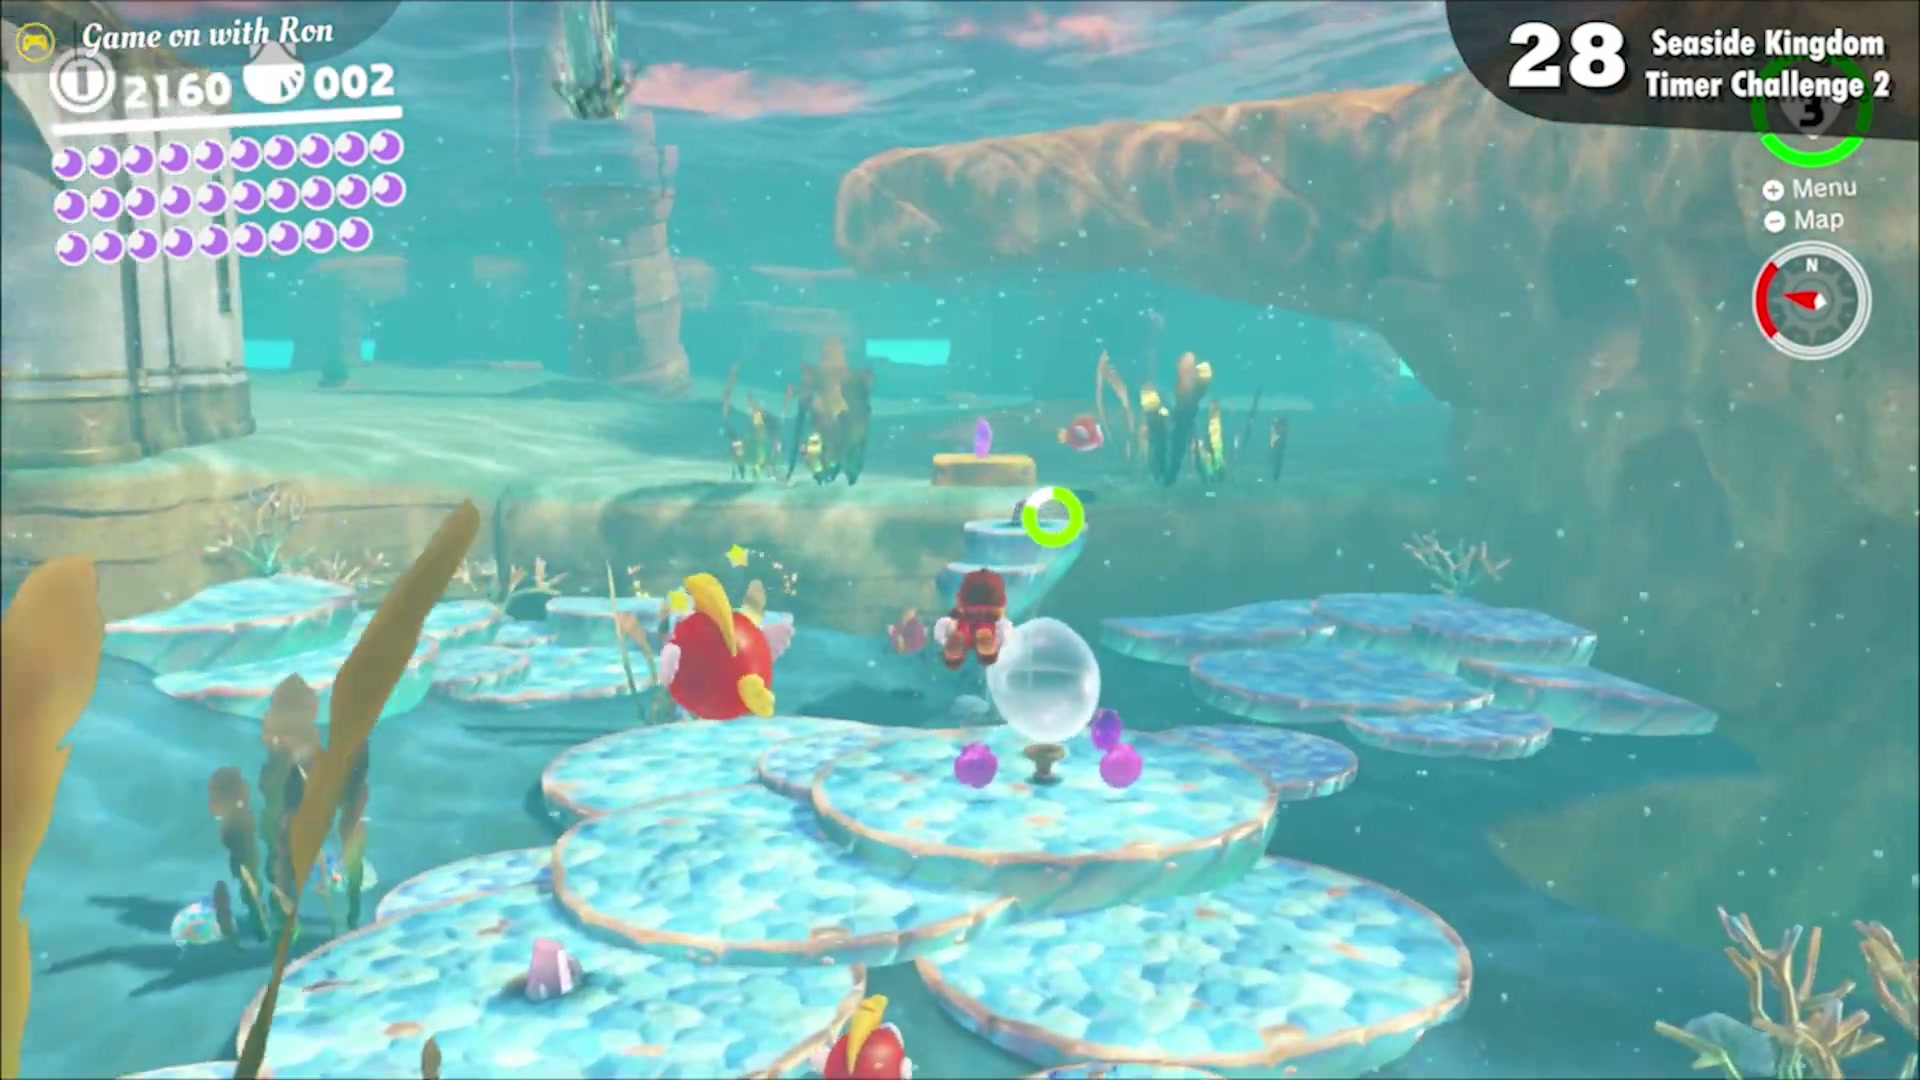
Seaside Kingdom Timer Challenge 2
Near the Glass Palace, throw Cappy onto the underwater scarecrow to start the timer, then quickly swim across the lily platforms to the moon before time runs out.
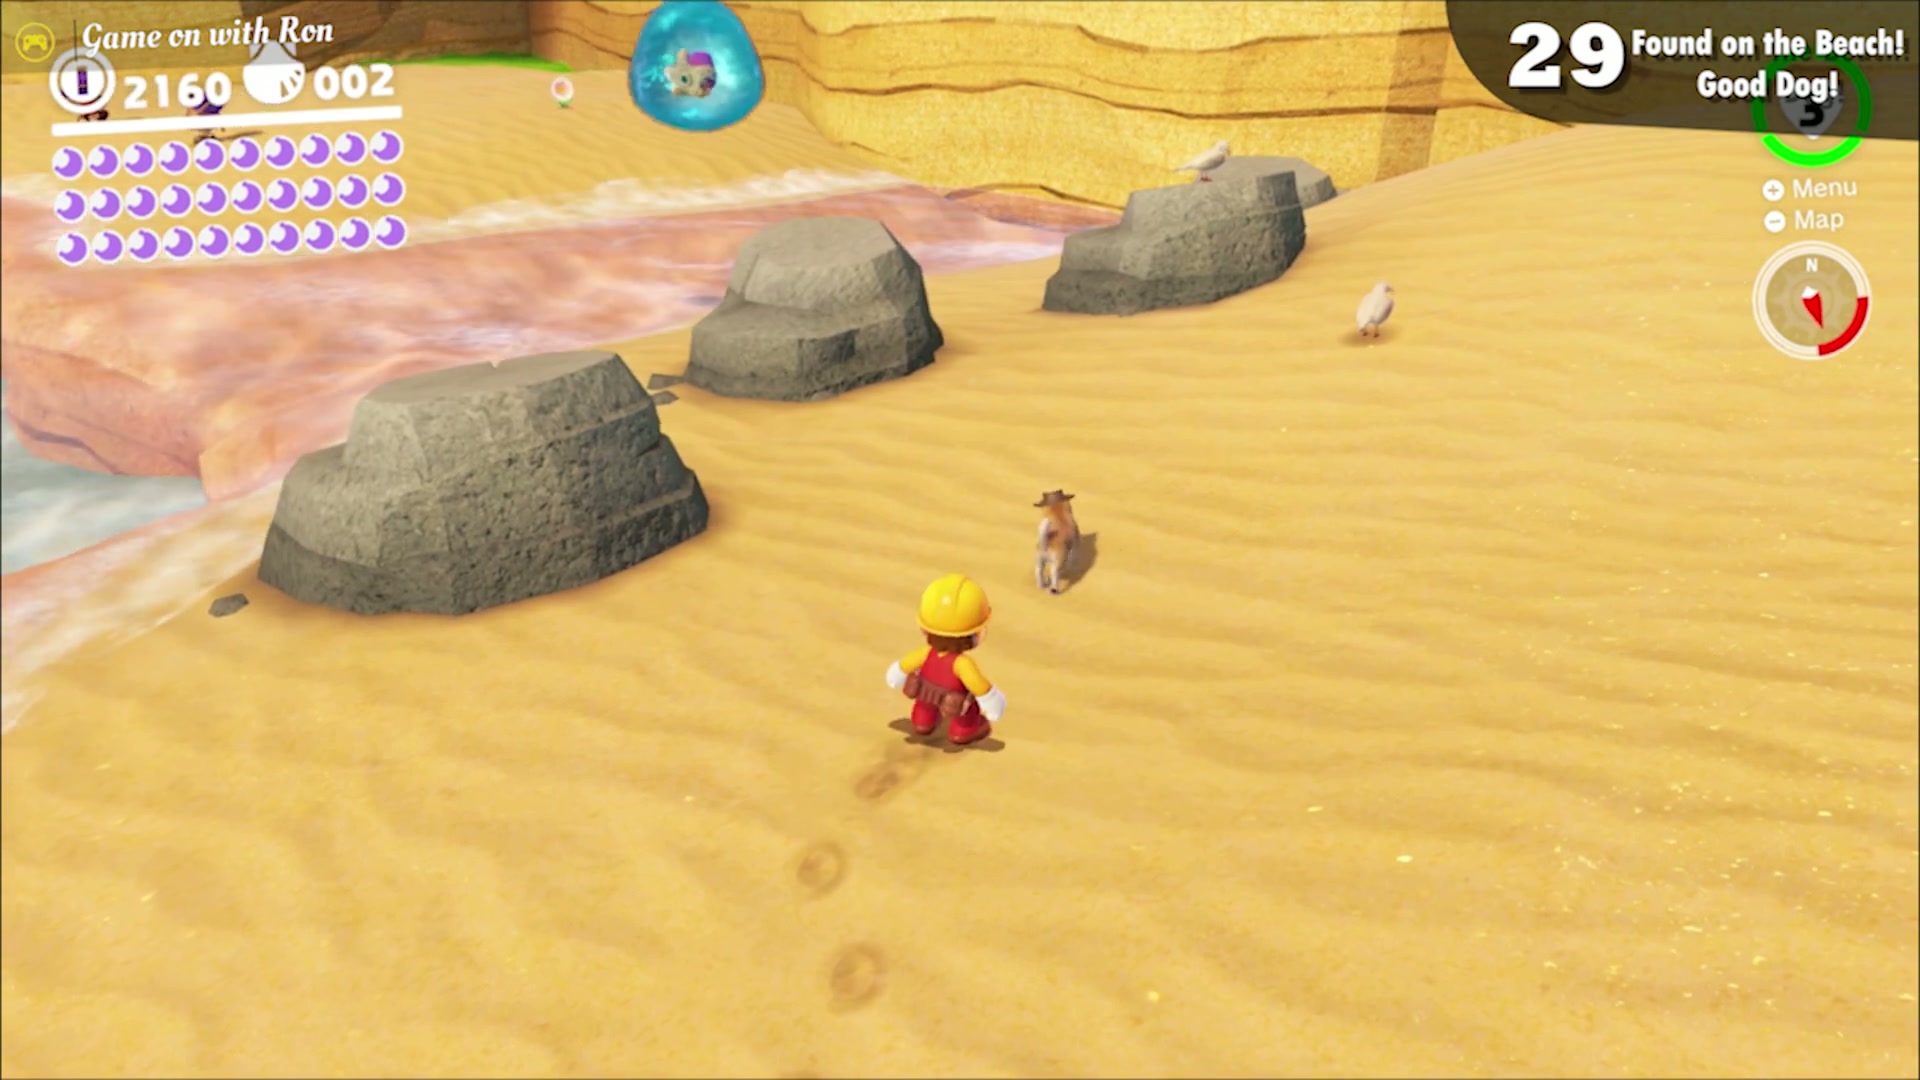
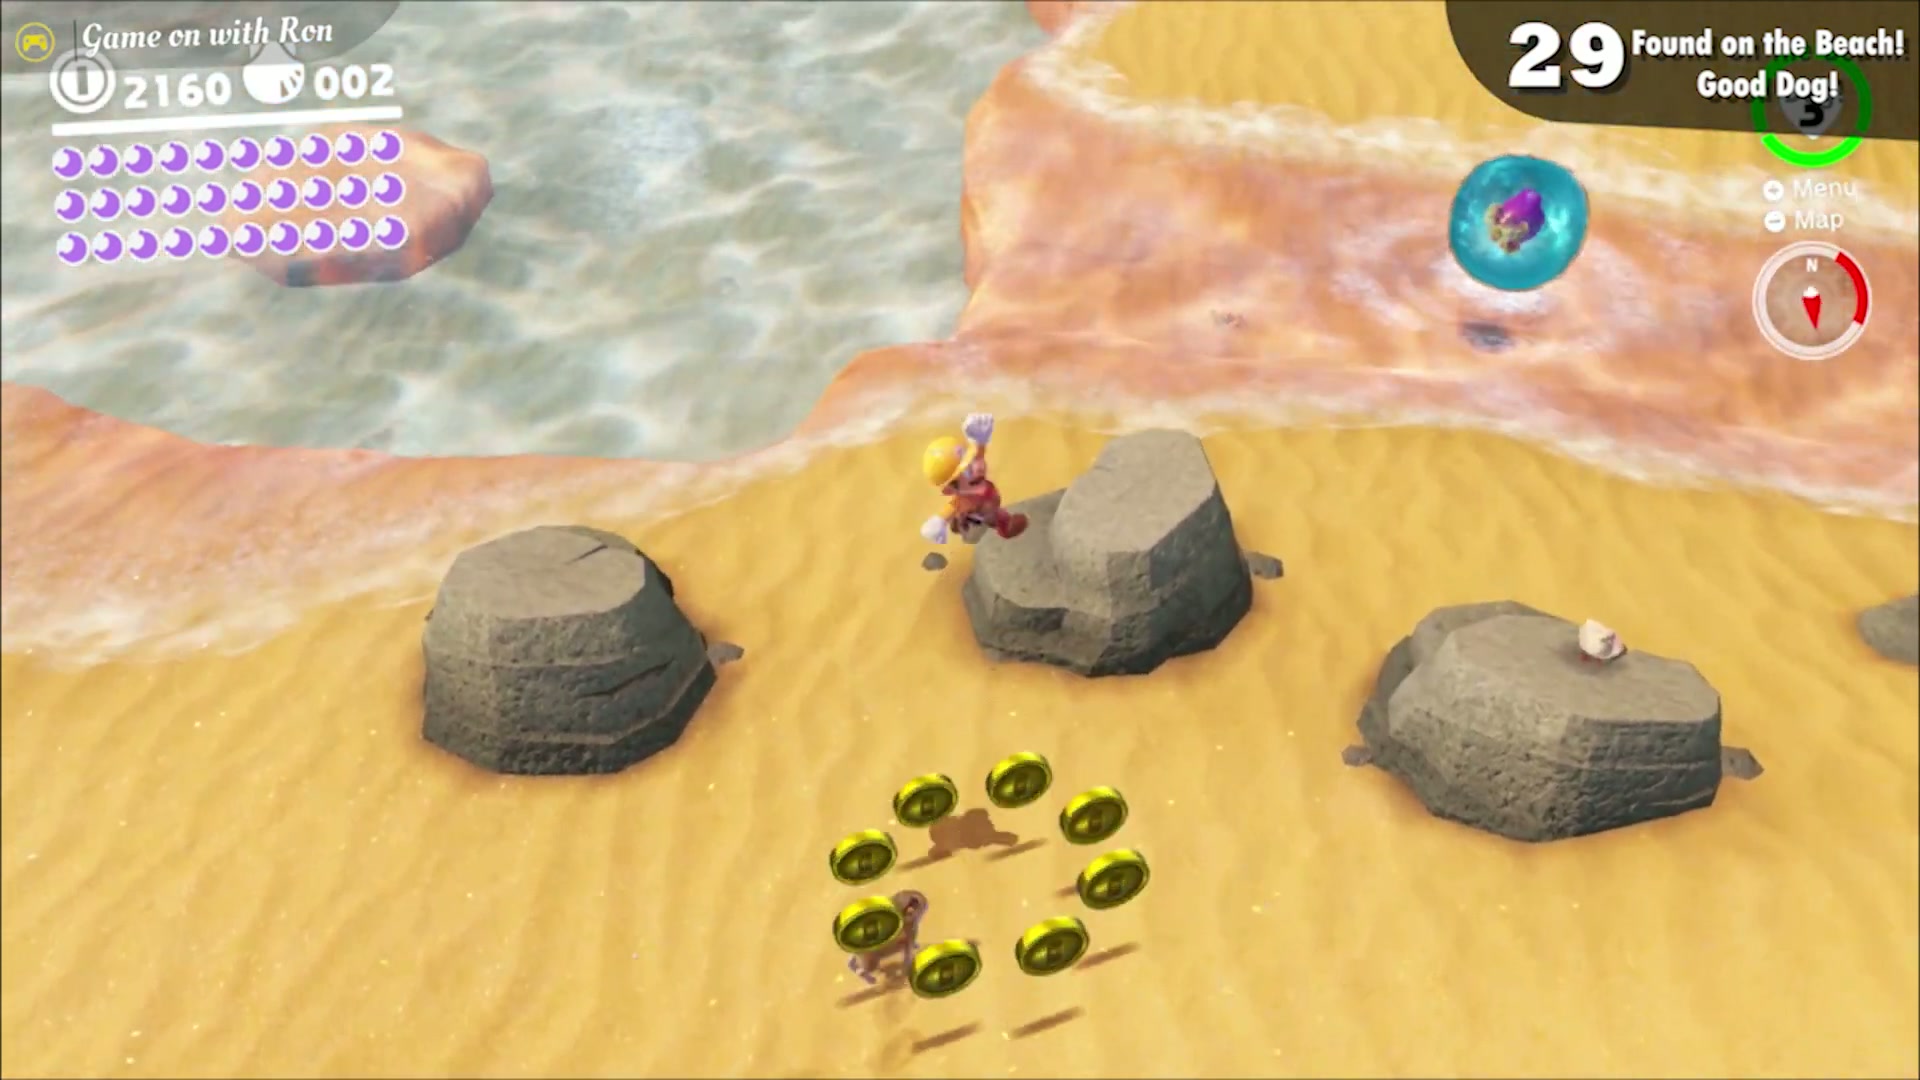
Found on the Beach! Good Dog!
Near the Odyssey, a Nintendog wearing a fedora is waiting. Follow it as it leads you to a glowing spot near the gray rocks and starts to dig. Ground pound the spot to dig up the moon.
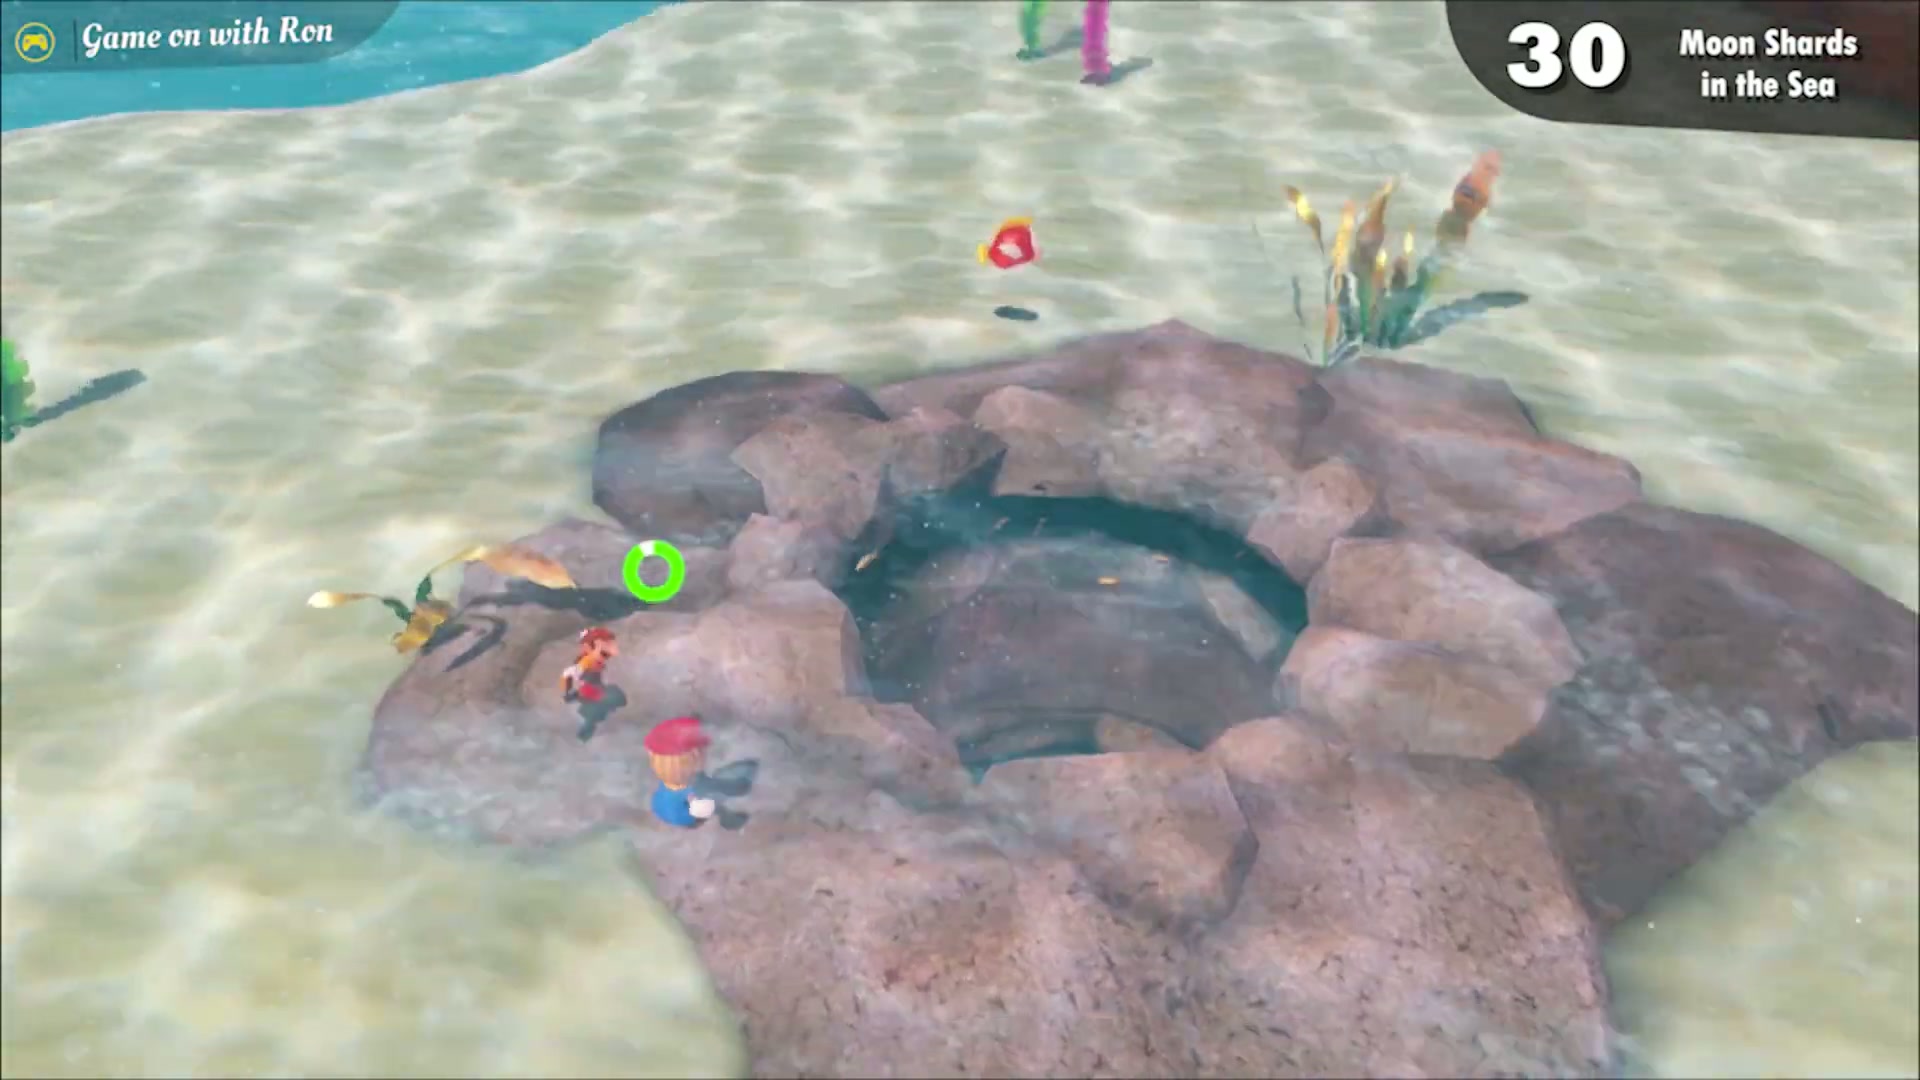
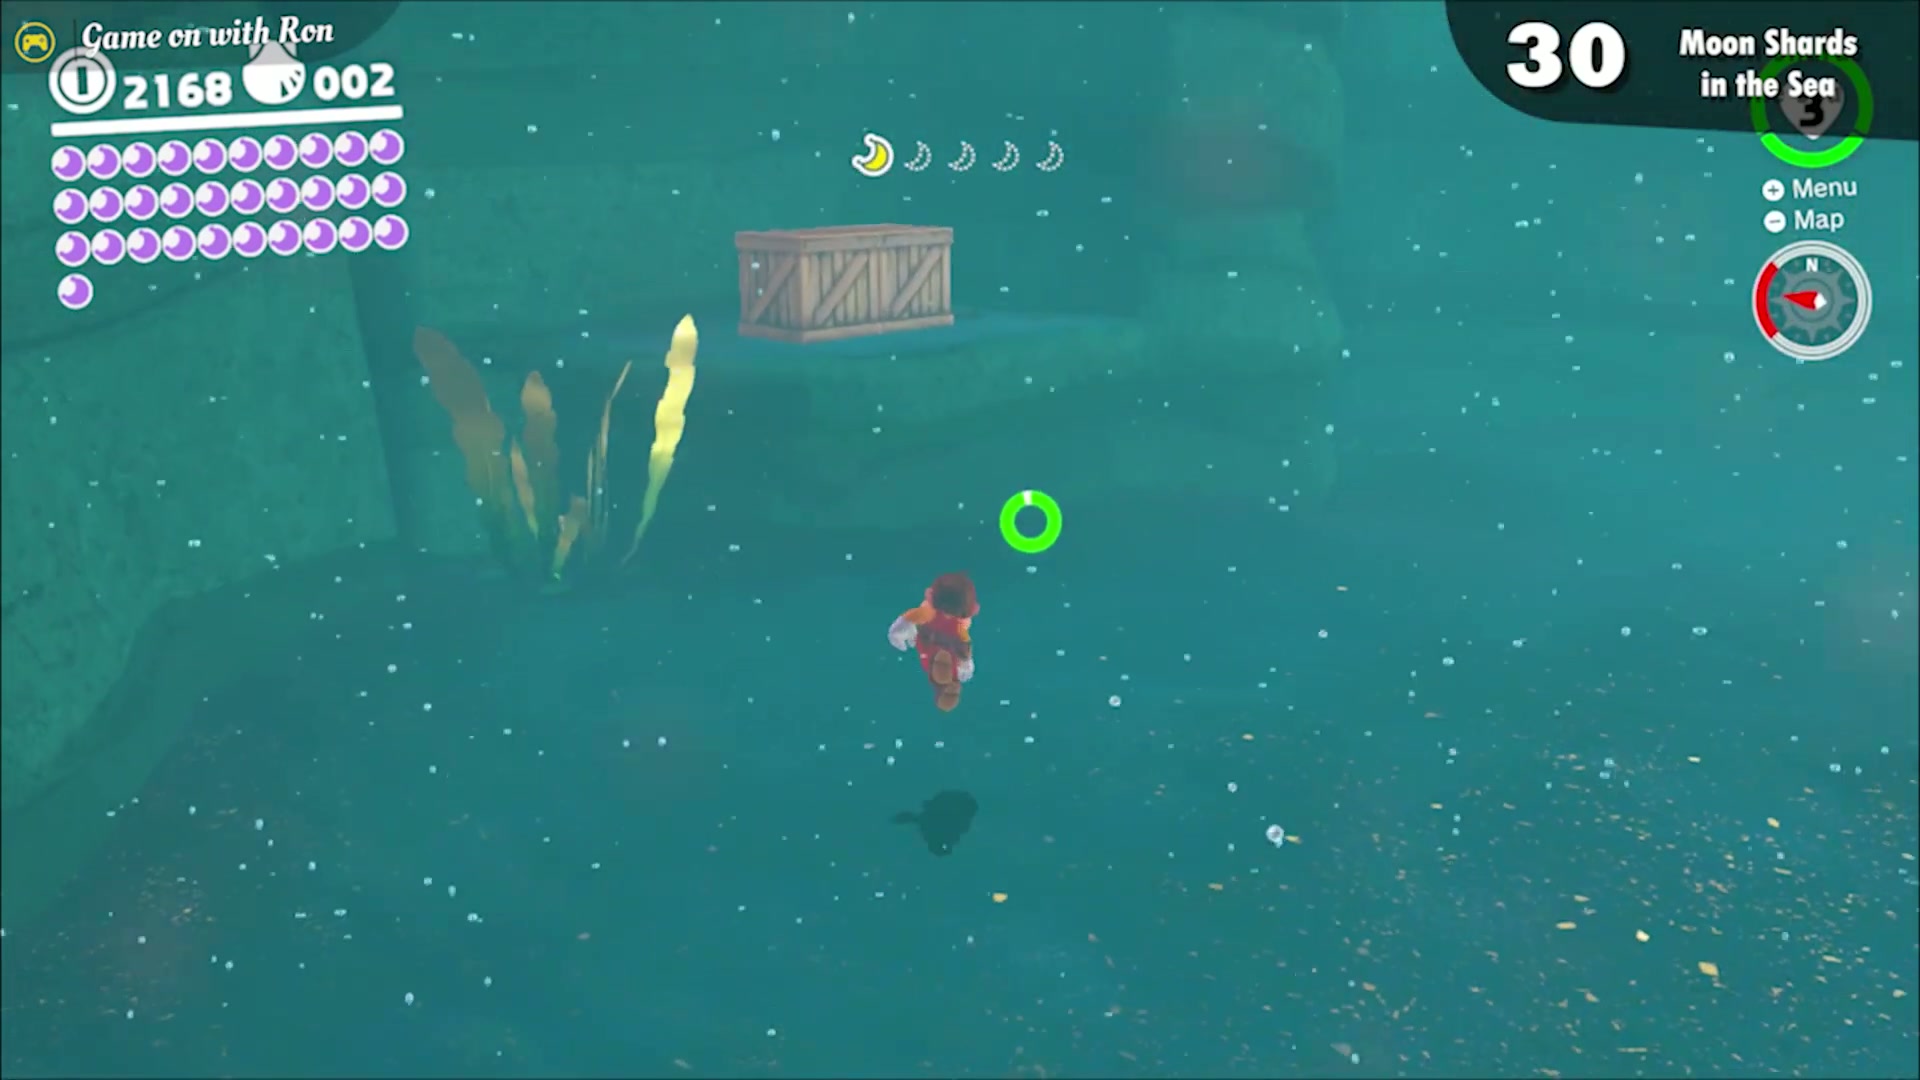
Moon Shards in the Sea
Near the Rolling Canyon checkpoint, throw Cappy onto the underwater scarecrow to open a gate to a hidden underwater area. Collect all five Moon Shards there while avoiding the Maw-Rays to claim the moon.
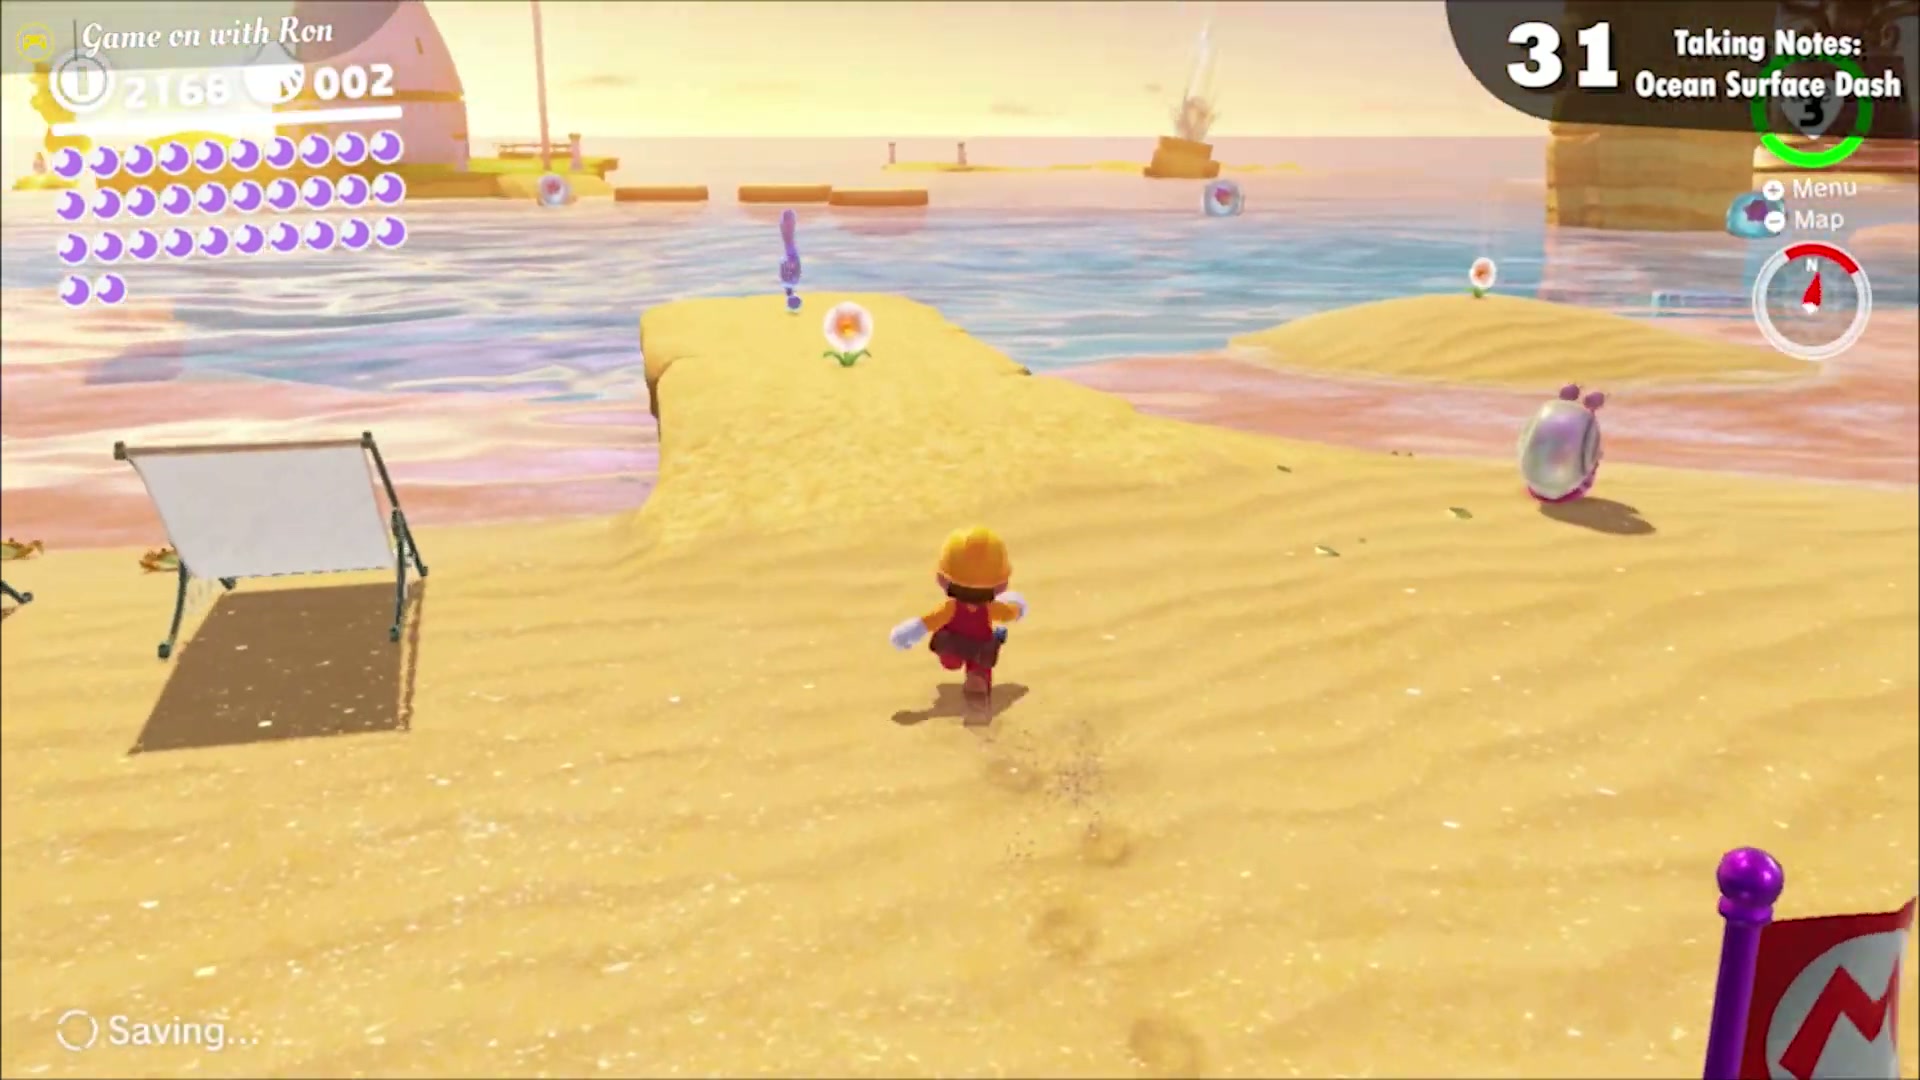
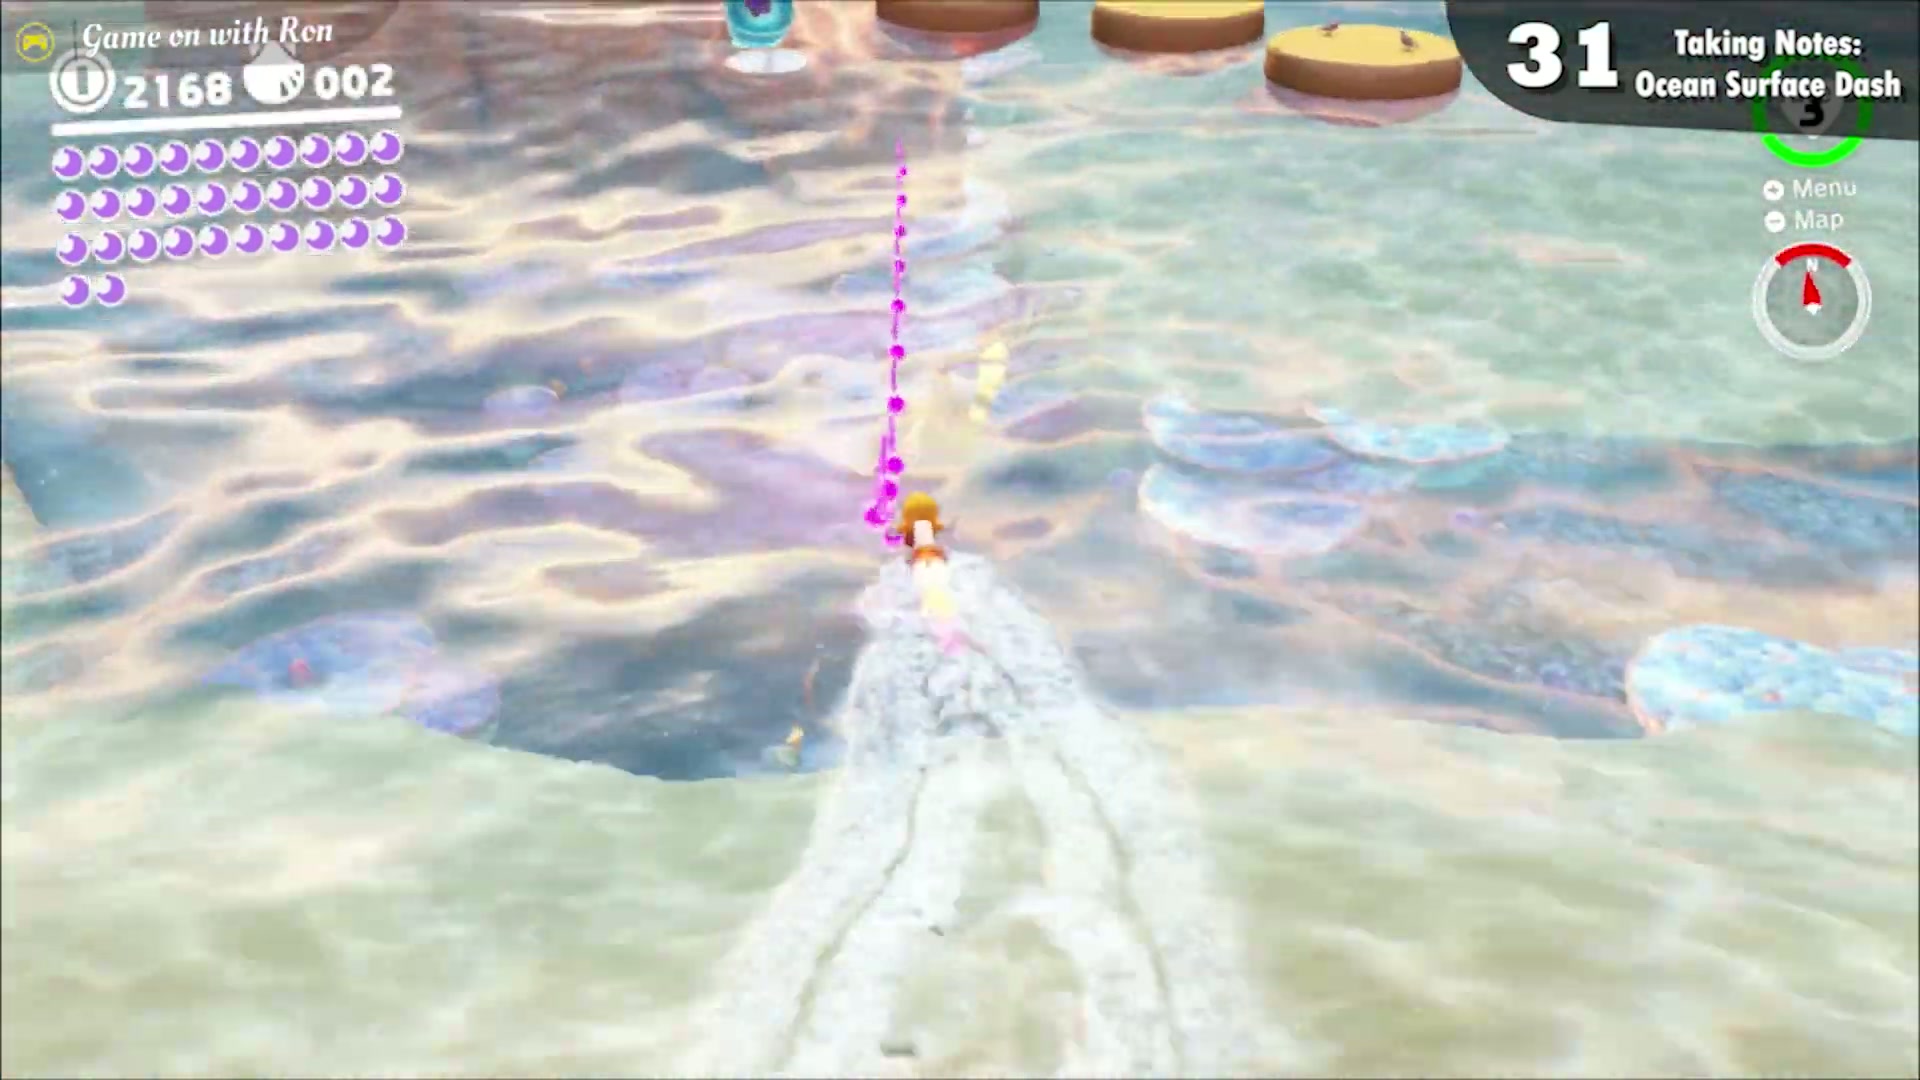
Taking Notes: Ocean Surface Dash
Near the Beach House checkpoint, find the rainbow-colored treble clef. Throw Cappy at the Rocket Flower next to it, then dash across the water collecting the whole line of notes to make the moon appear. A Gushen also works for the dash.
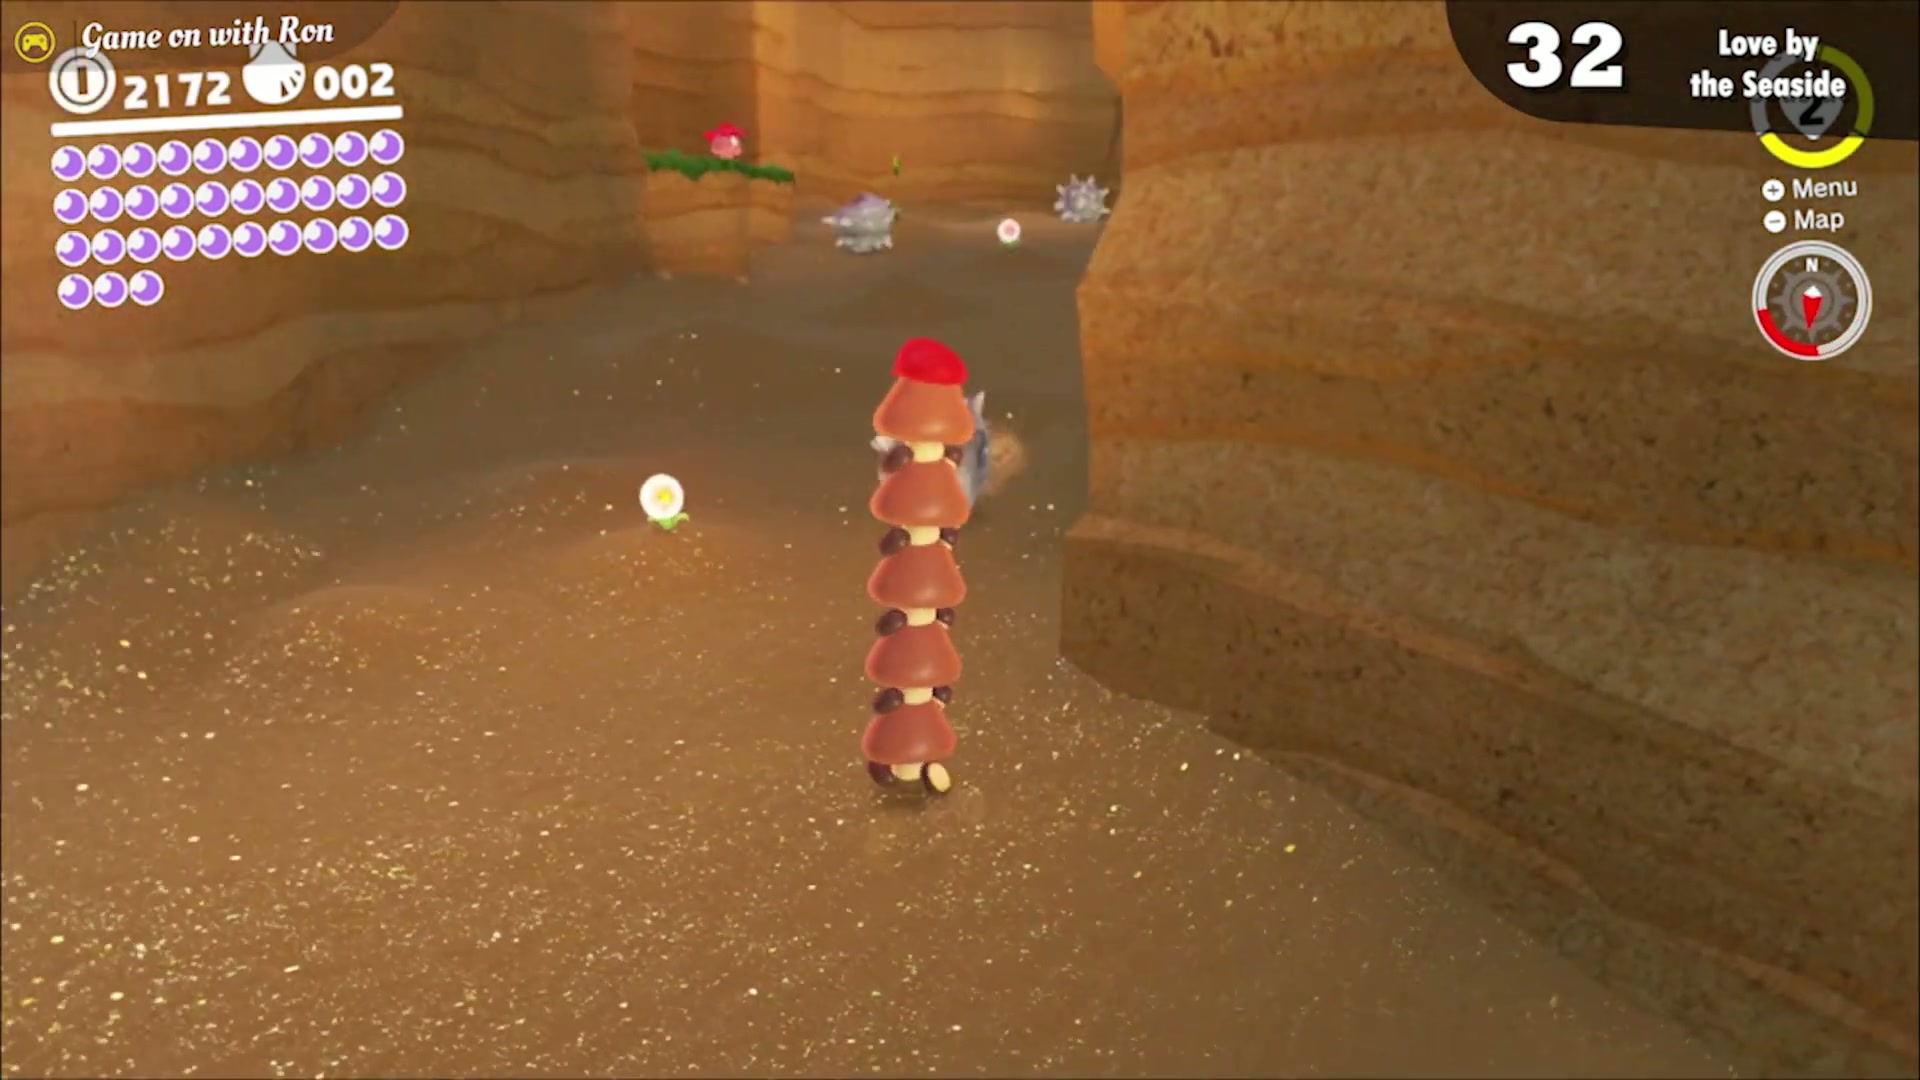
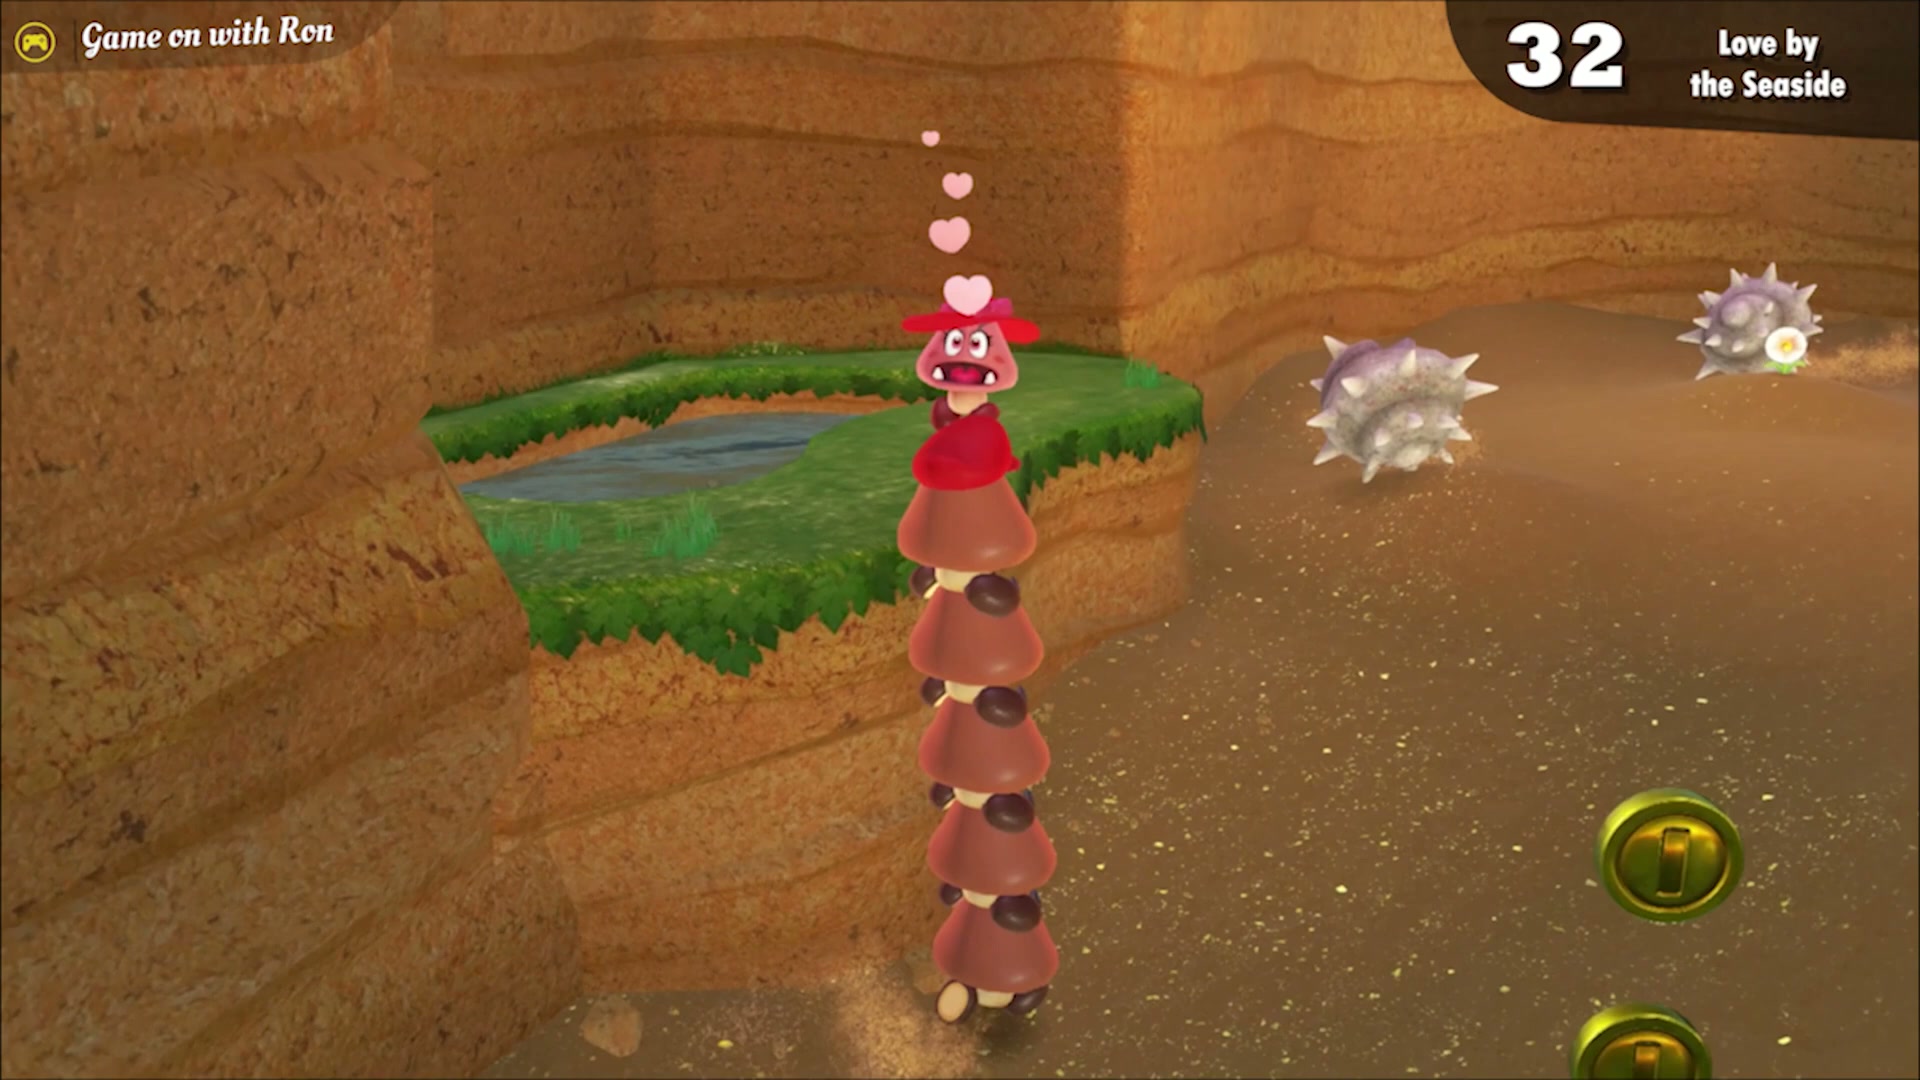
Love by the Seaside
Capture and stack a tower of at least five Goombas, then bring it to Goombette, who waits on a platform along the Rolling Canyon path with the shells. Meet her and she rewards Mario with the moon.
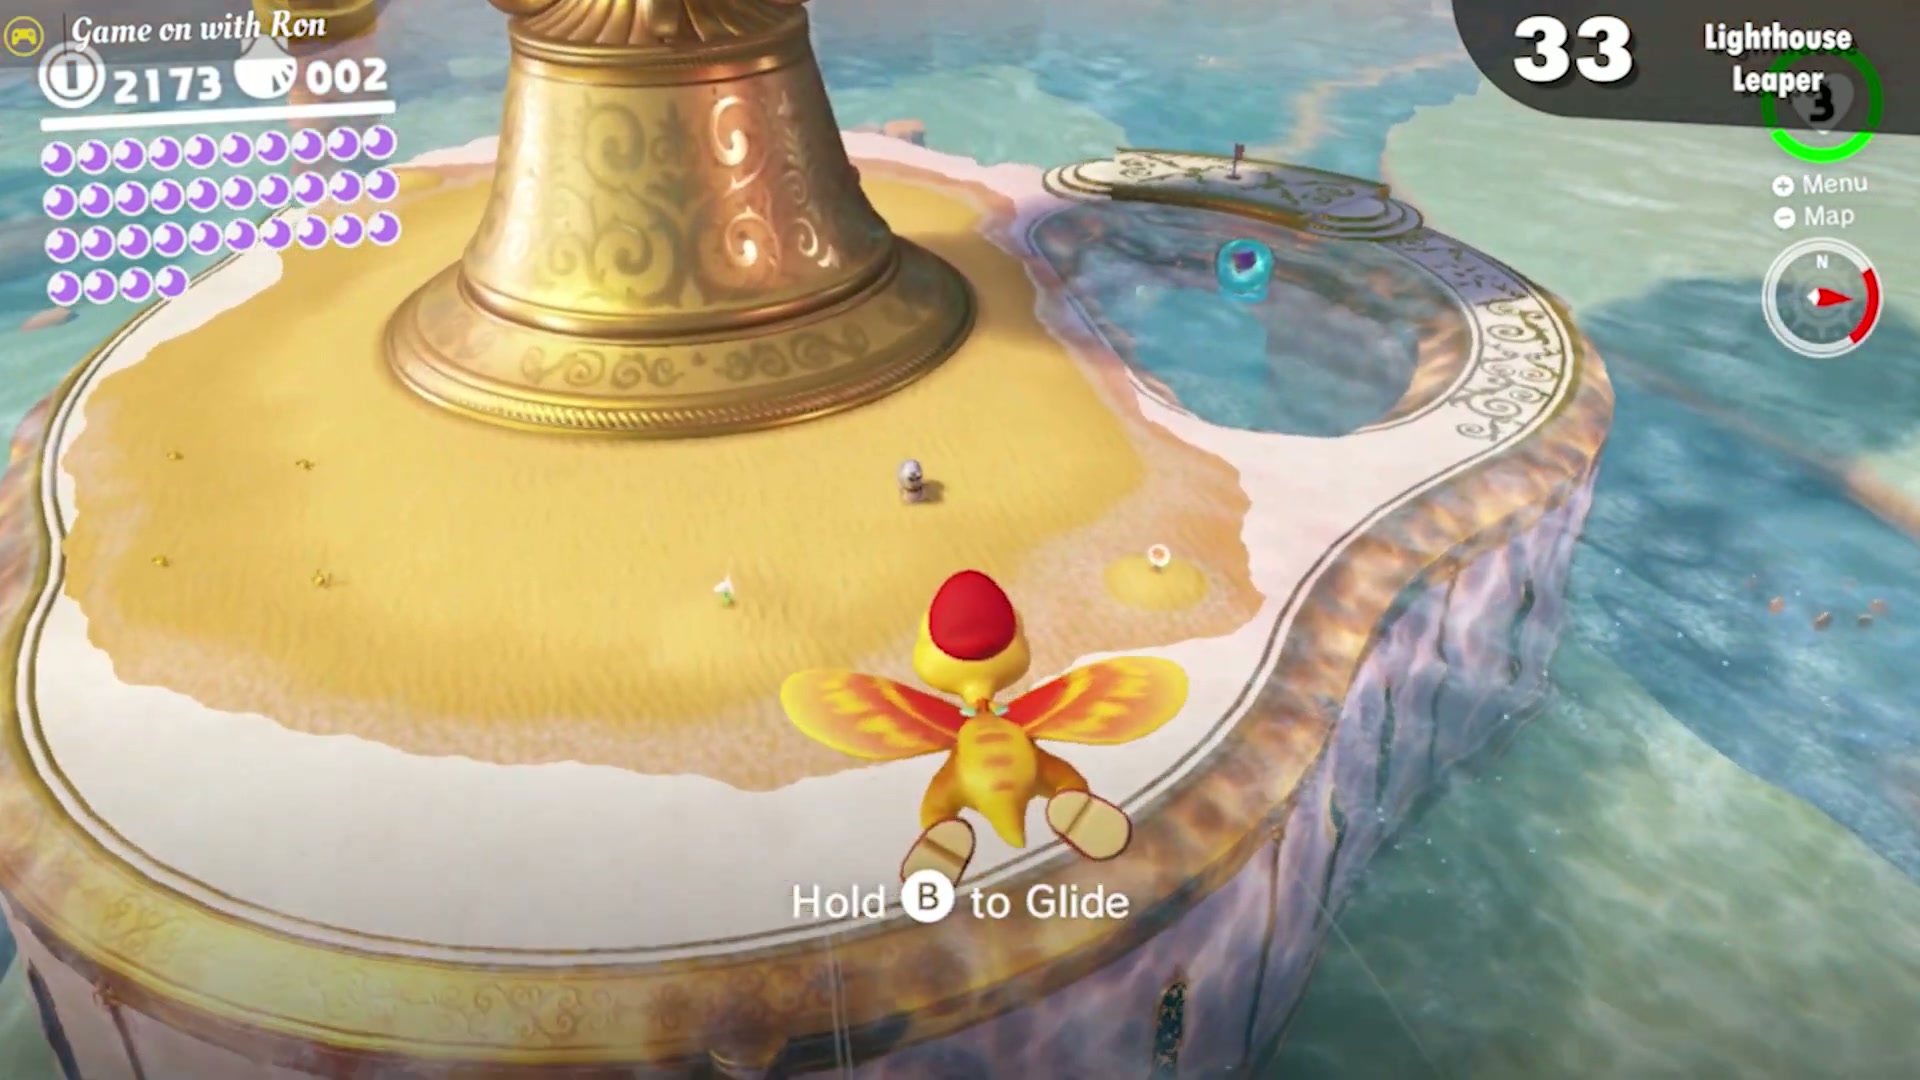
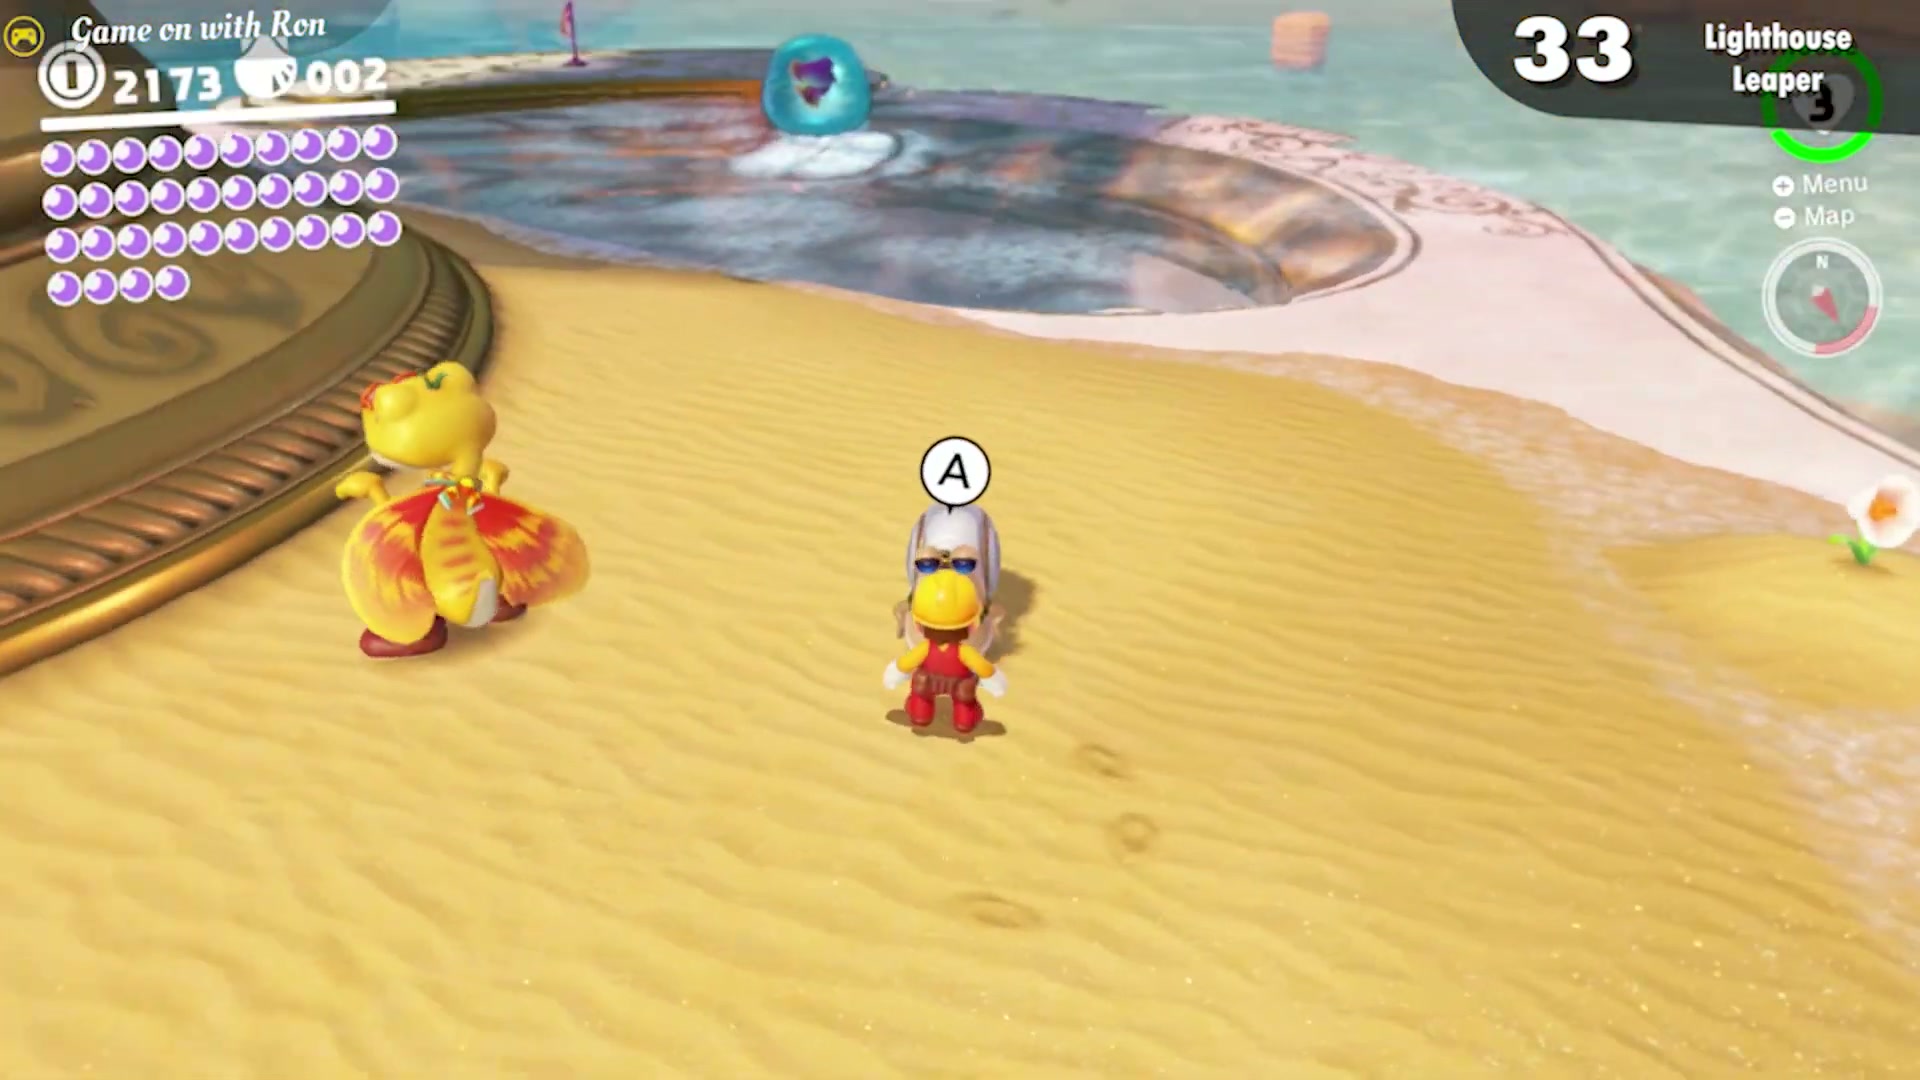
Lighthouse Leaper
Climb to the top of the Lighthouse and capture the Glydon there. Glide all the way over to the Bubblainian near the Glass Palace. Impressed by the flight, the Bubblainian rewards Mario with the moon.
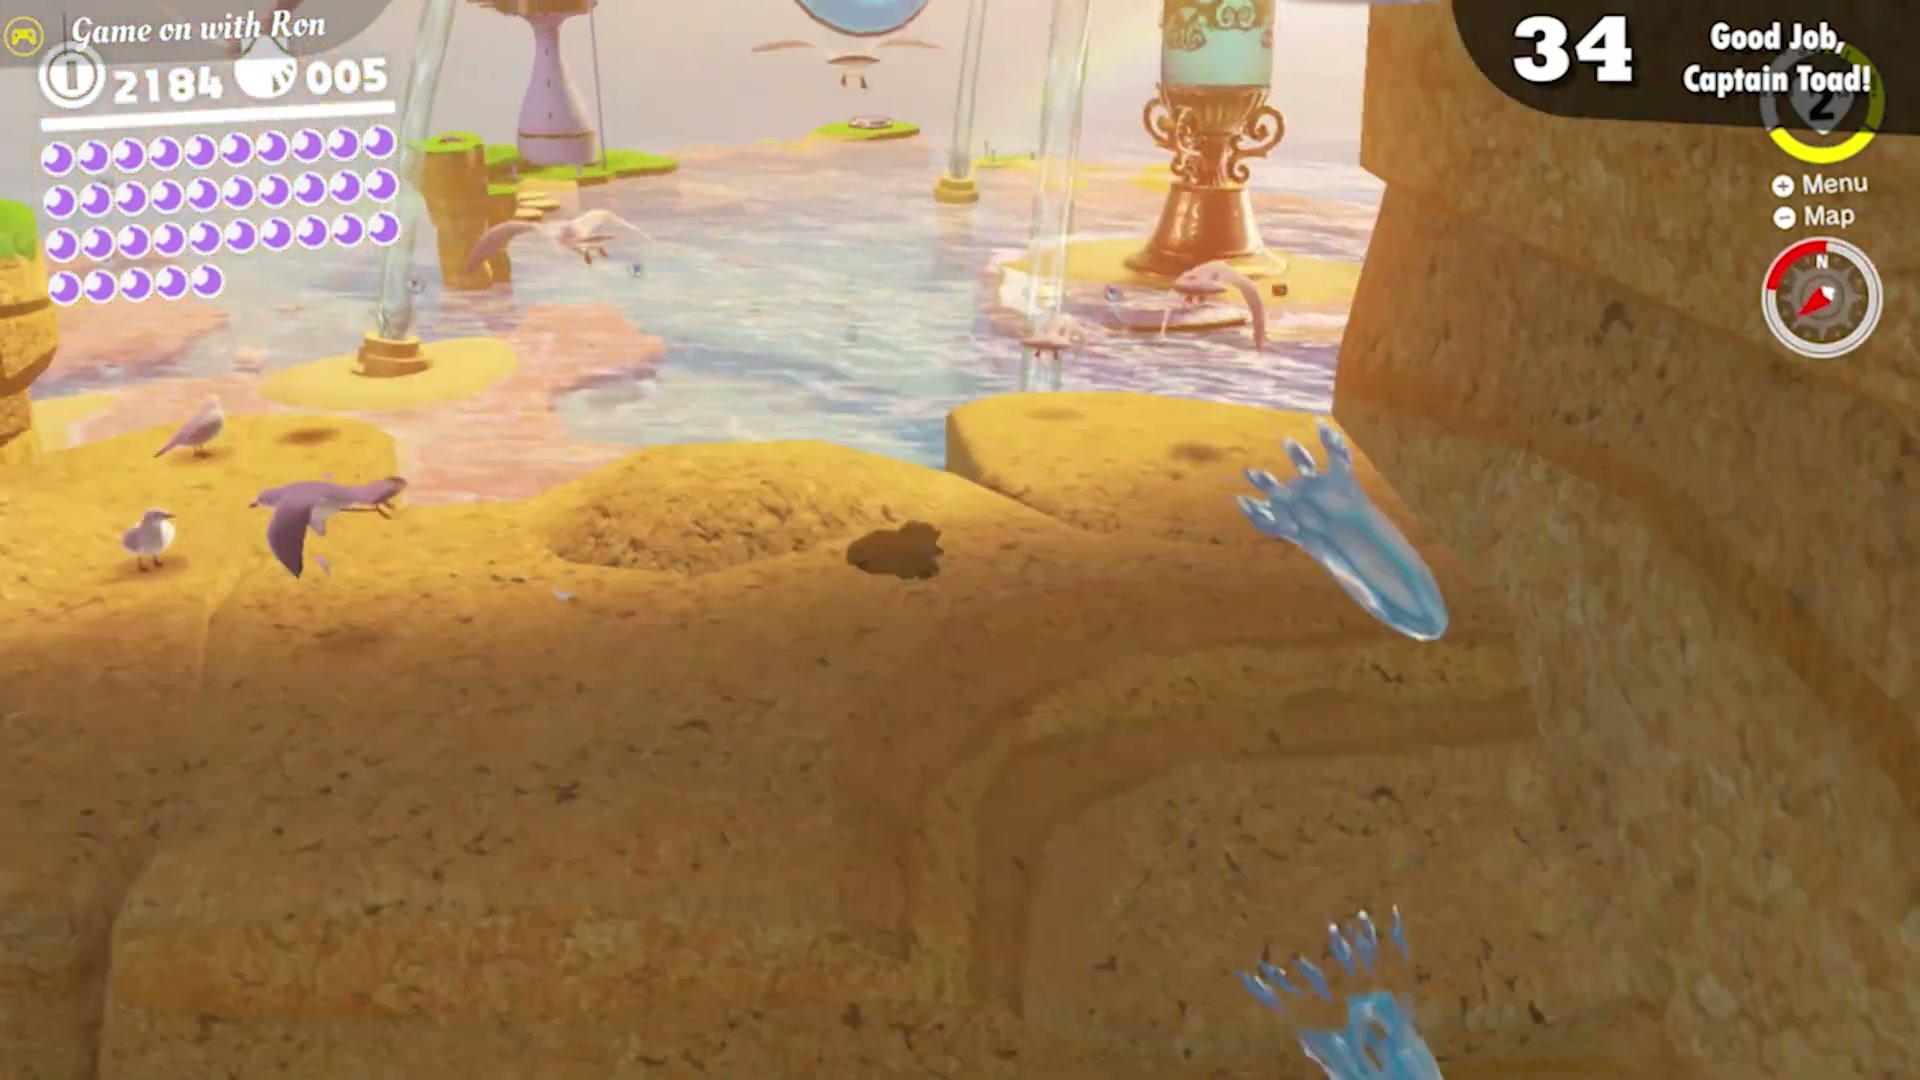
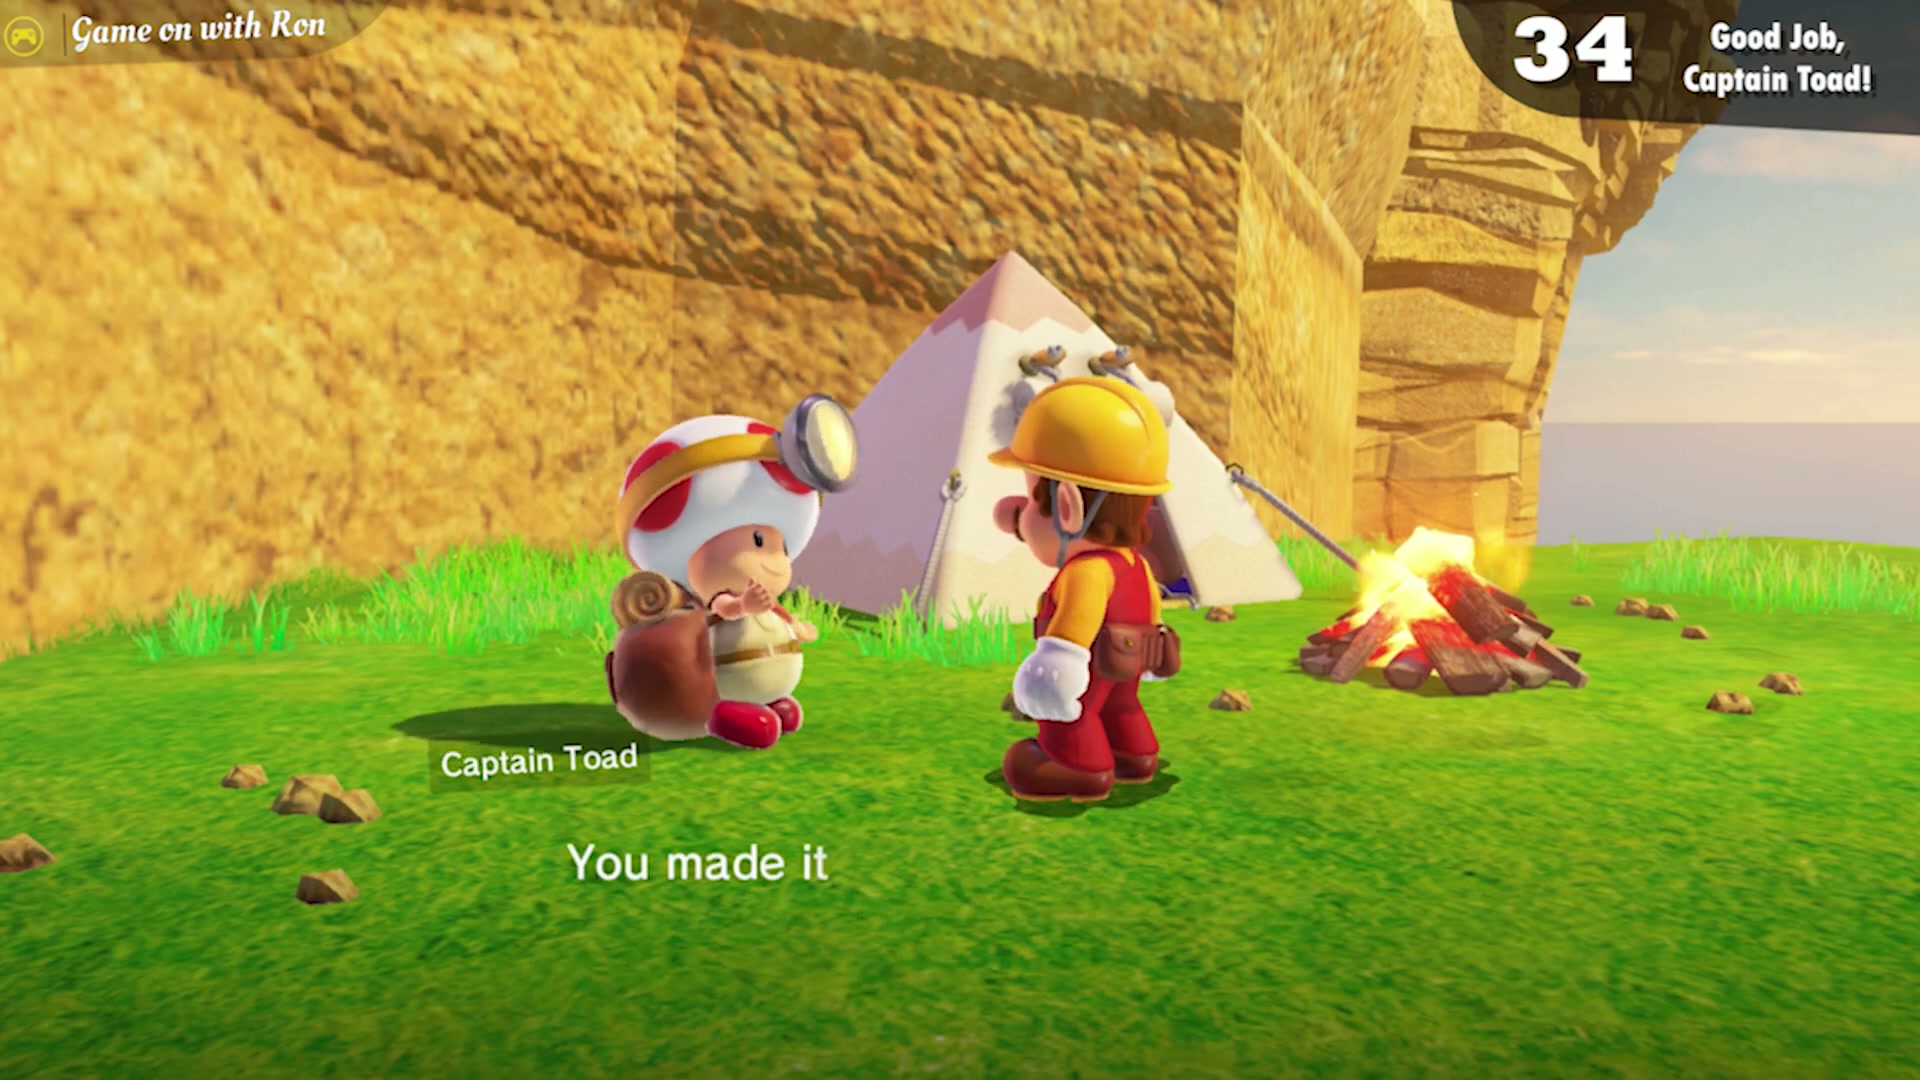
Good Job, Captain Toad!
Capture a Gushen and ride it to the end of the Rolling Canyon path. Captain Toad is camped on a higher platform near The Seal Above the Canyon moon. Talk to him and he hands over the moon.
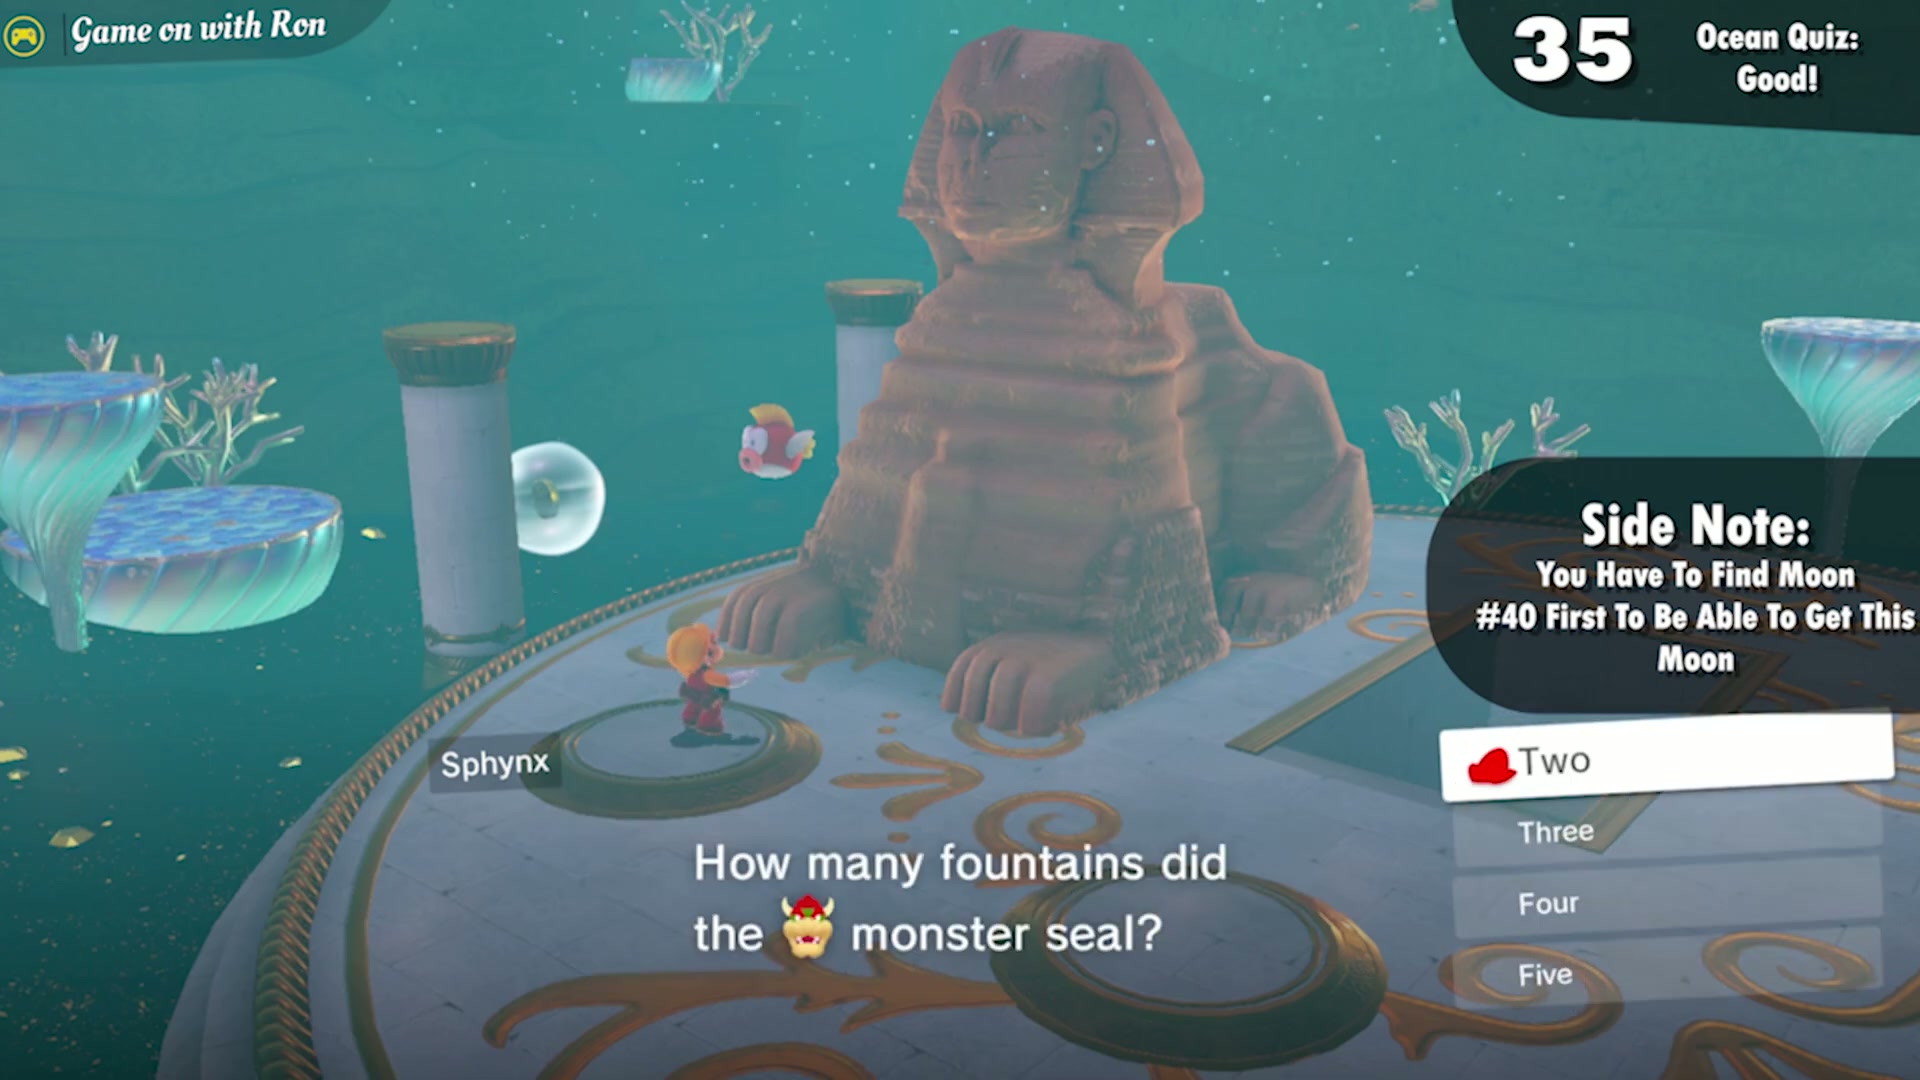
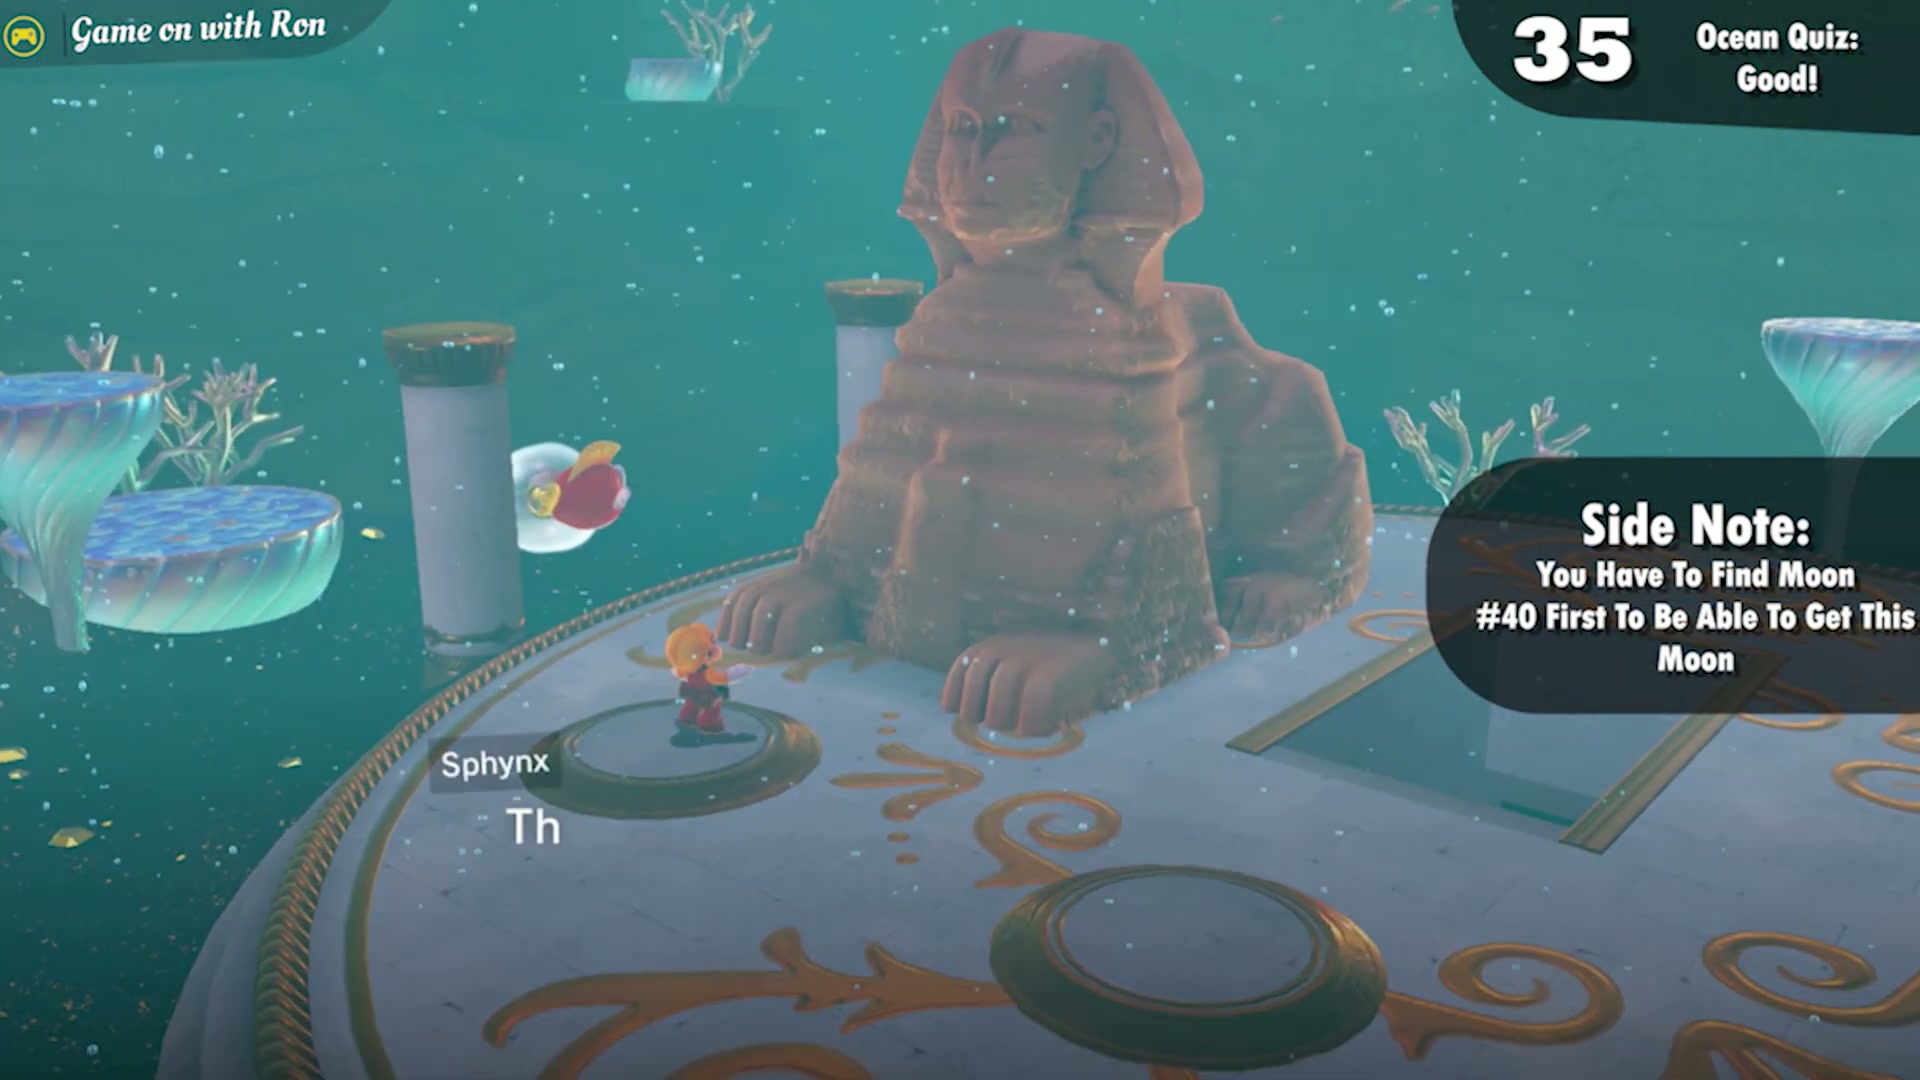
Ocean Quiz: Good!
Near the Ocean Trench East checkpoint, the Sphynx floats in the deep area to the southwest. Answer all five of its questions correctly to earn the moon. The answers are Bubblaine, Four, Attack, Resort Outfit, and To ask questions.
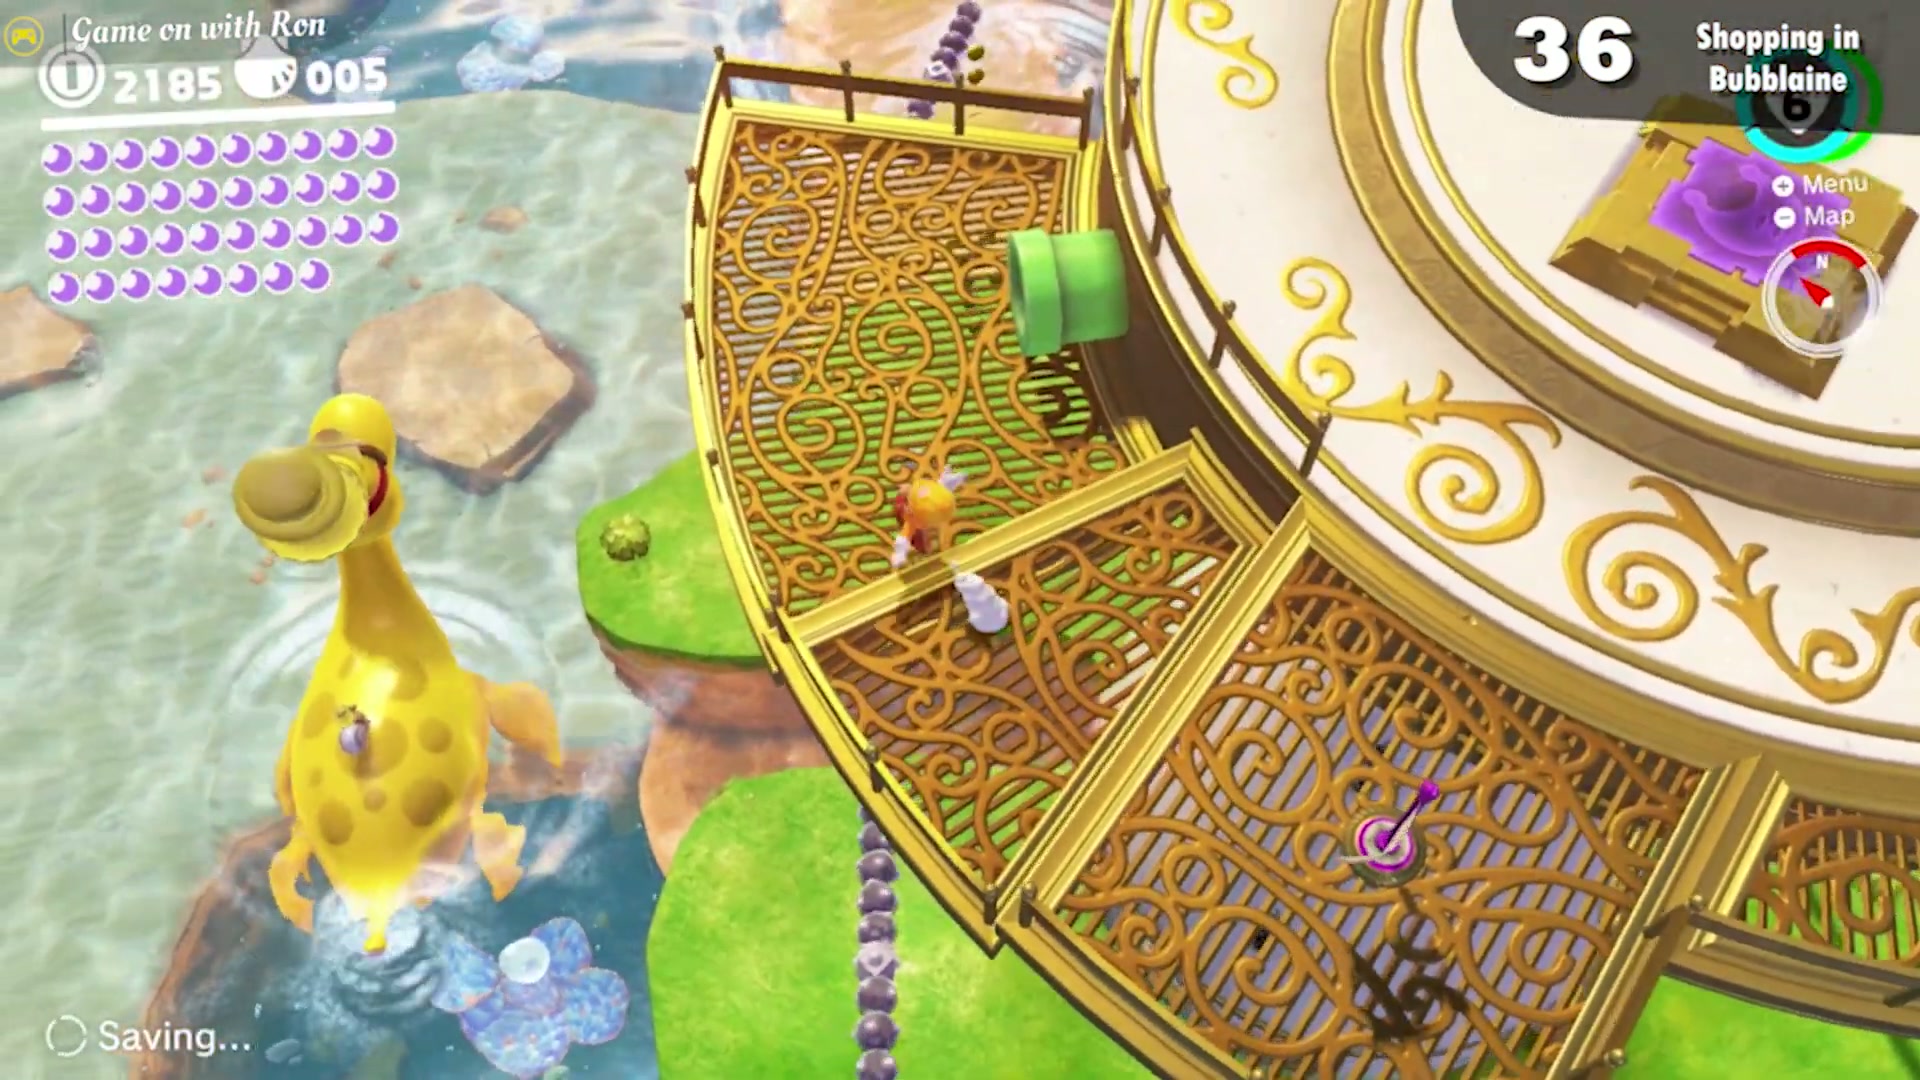
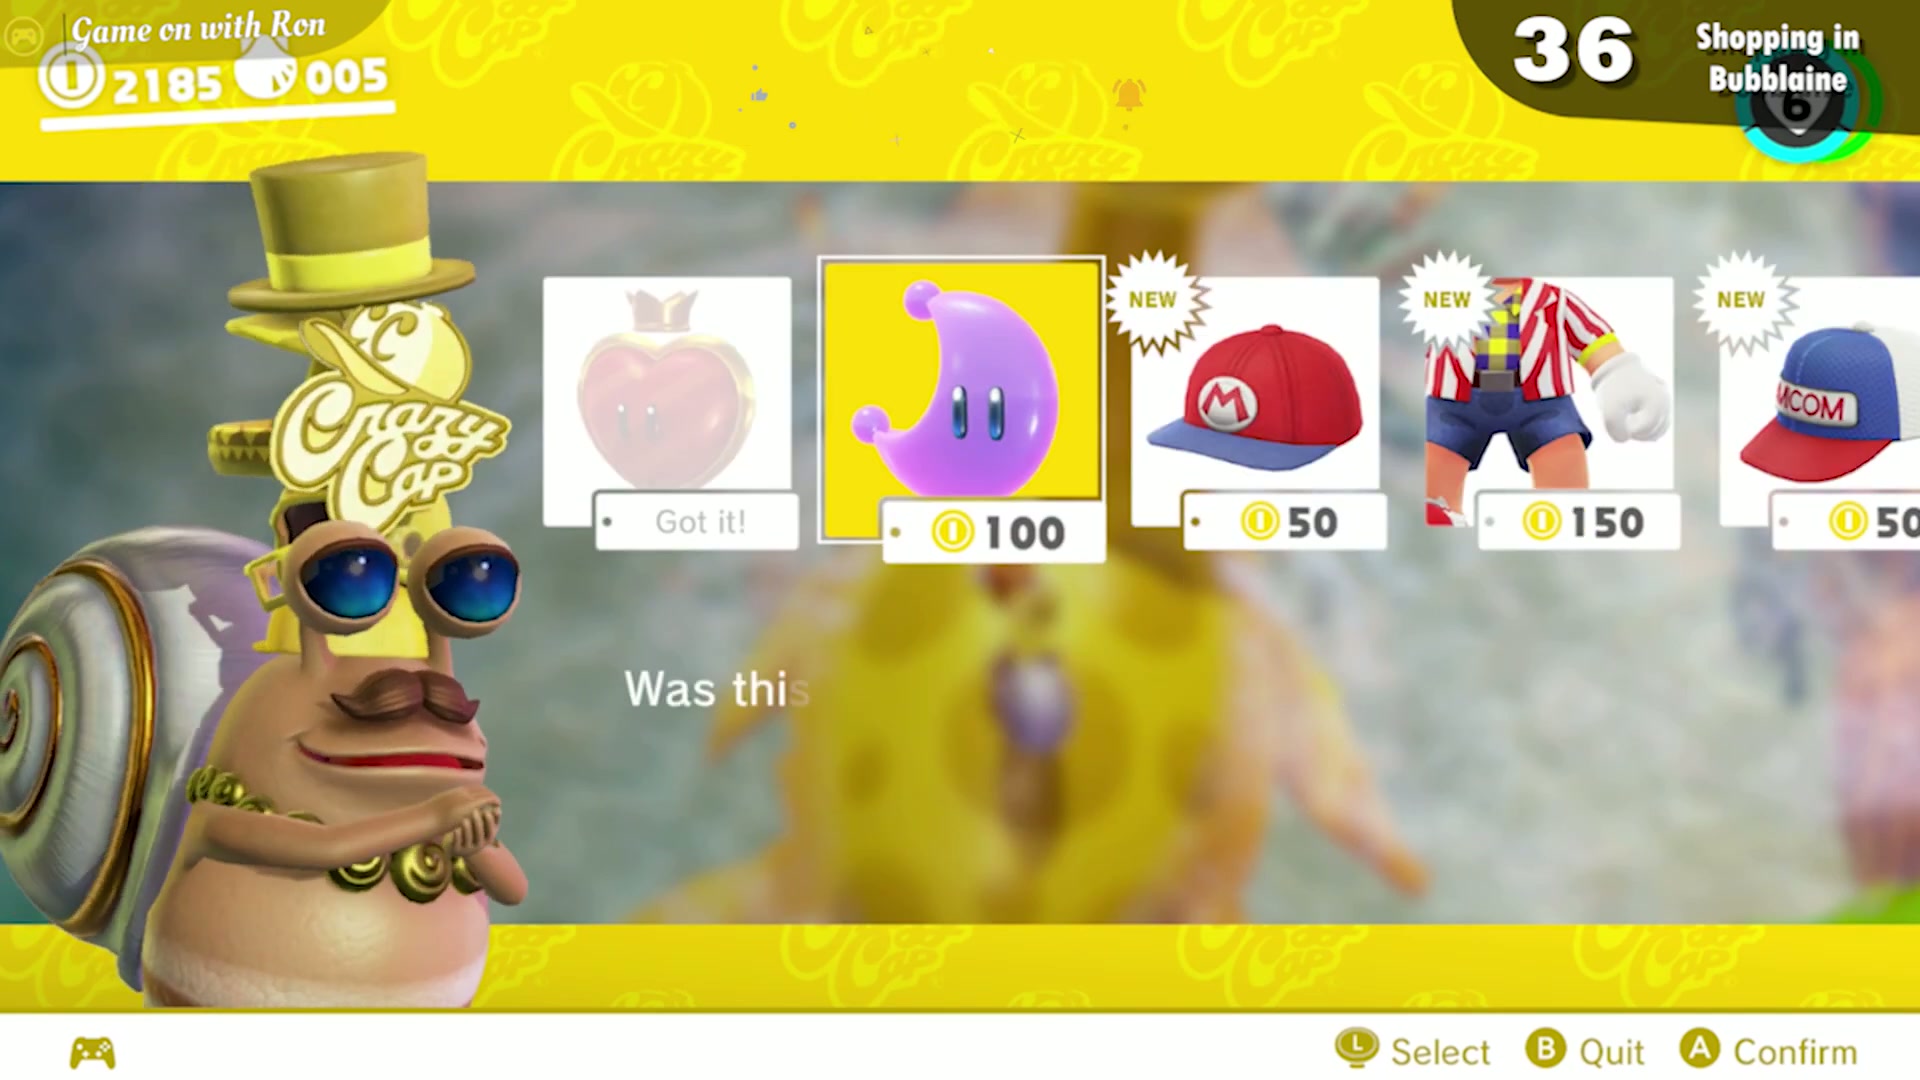
Shopping in Bubblaine
You can buy this moon from the yellow Crazy Cap shop for 100 gold coins.
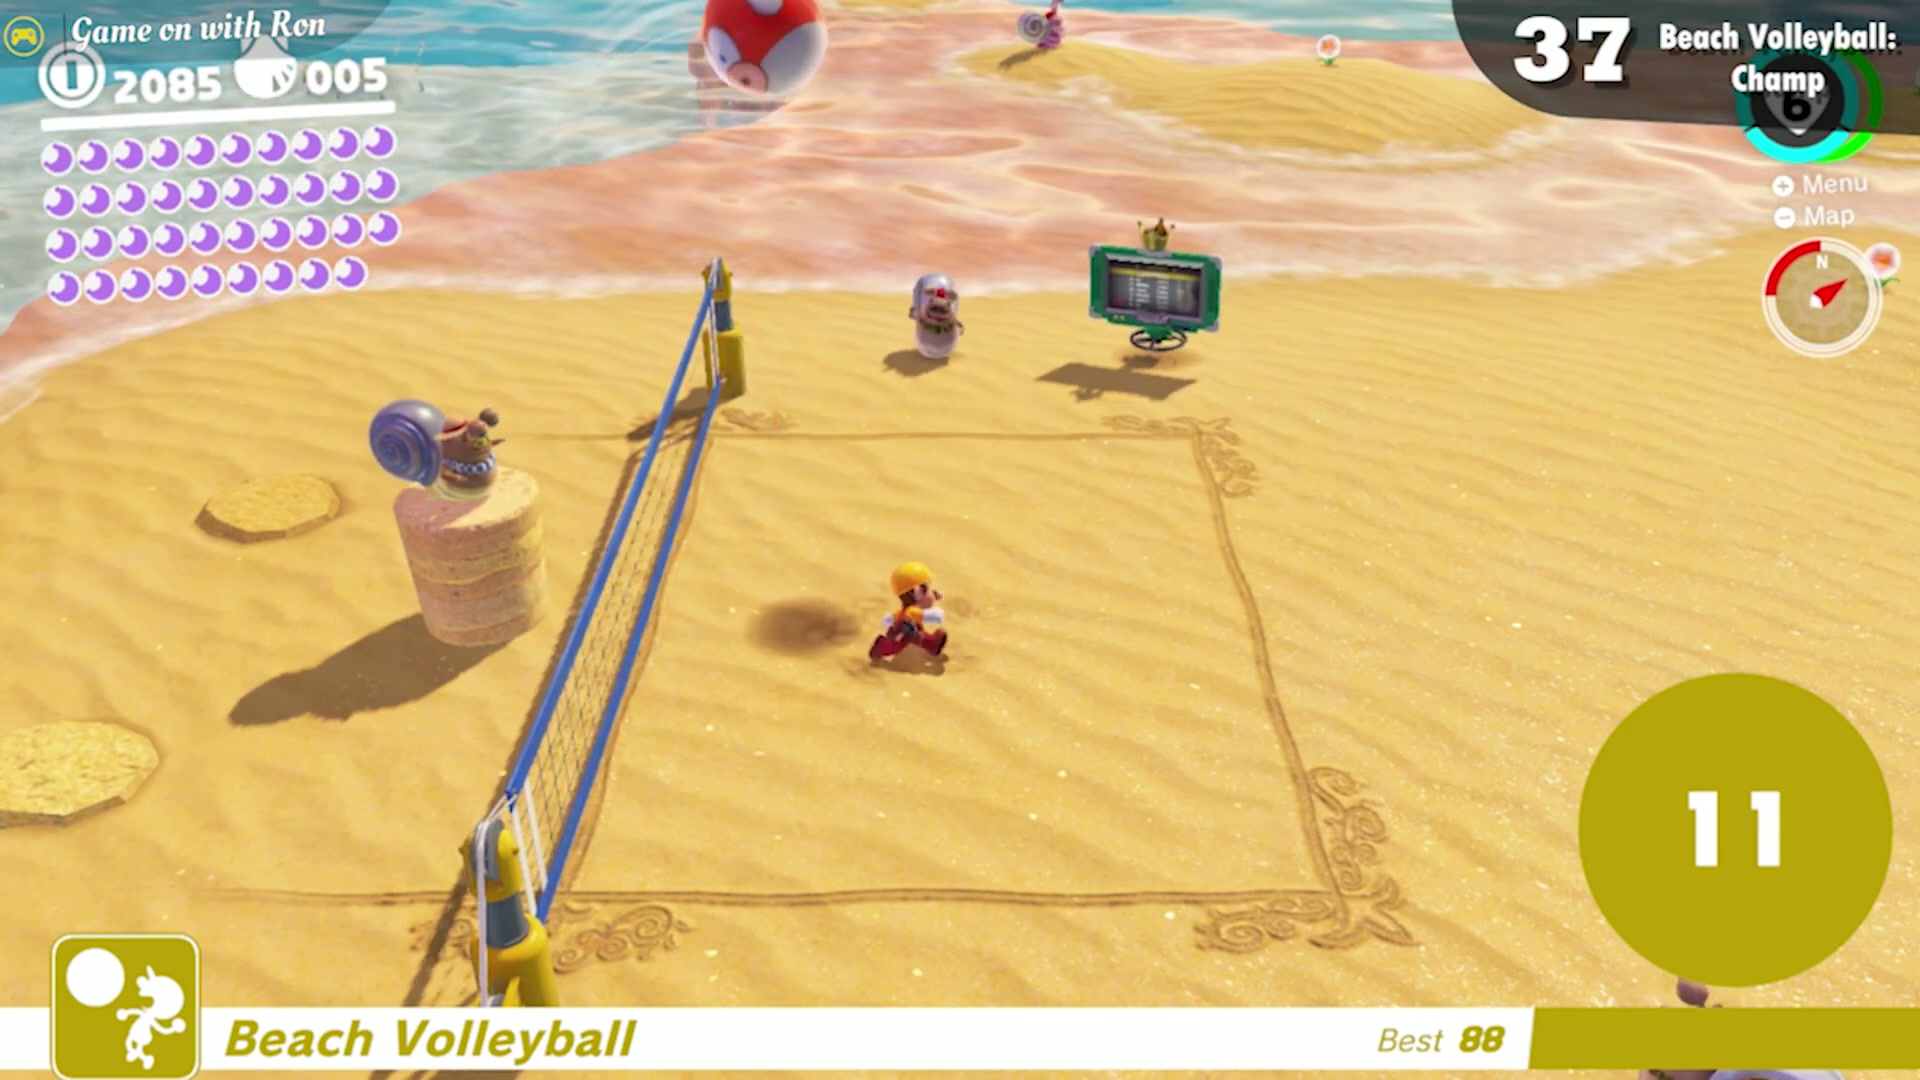
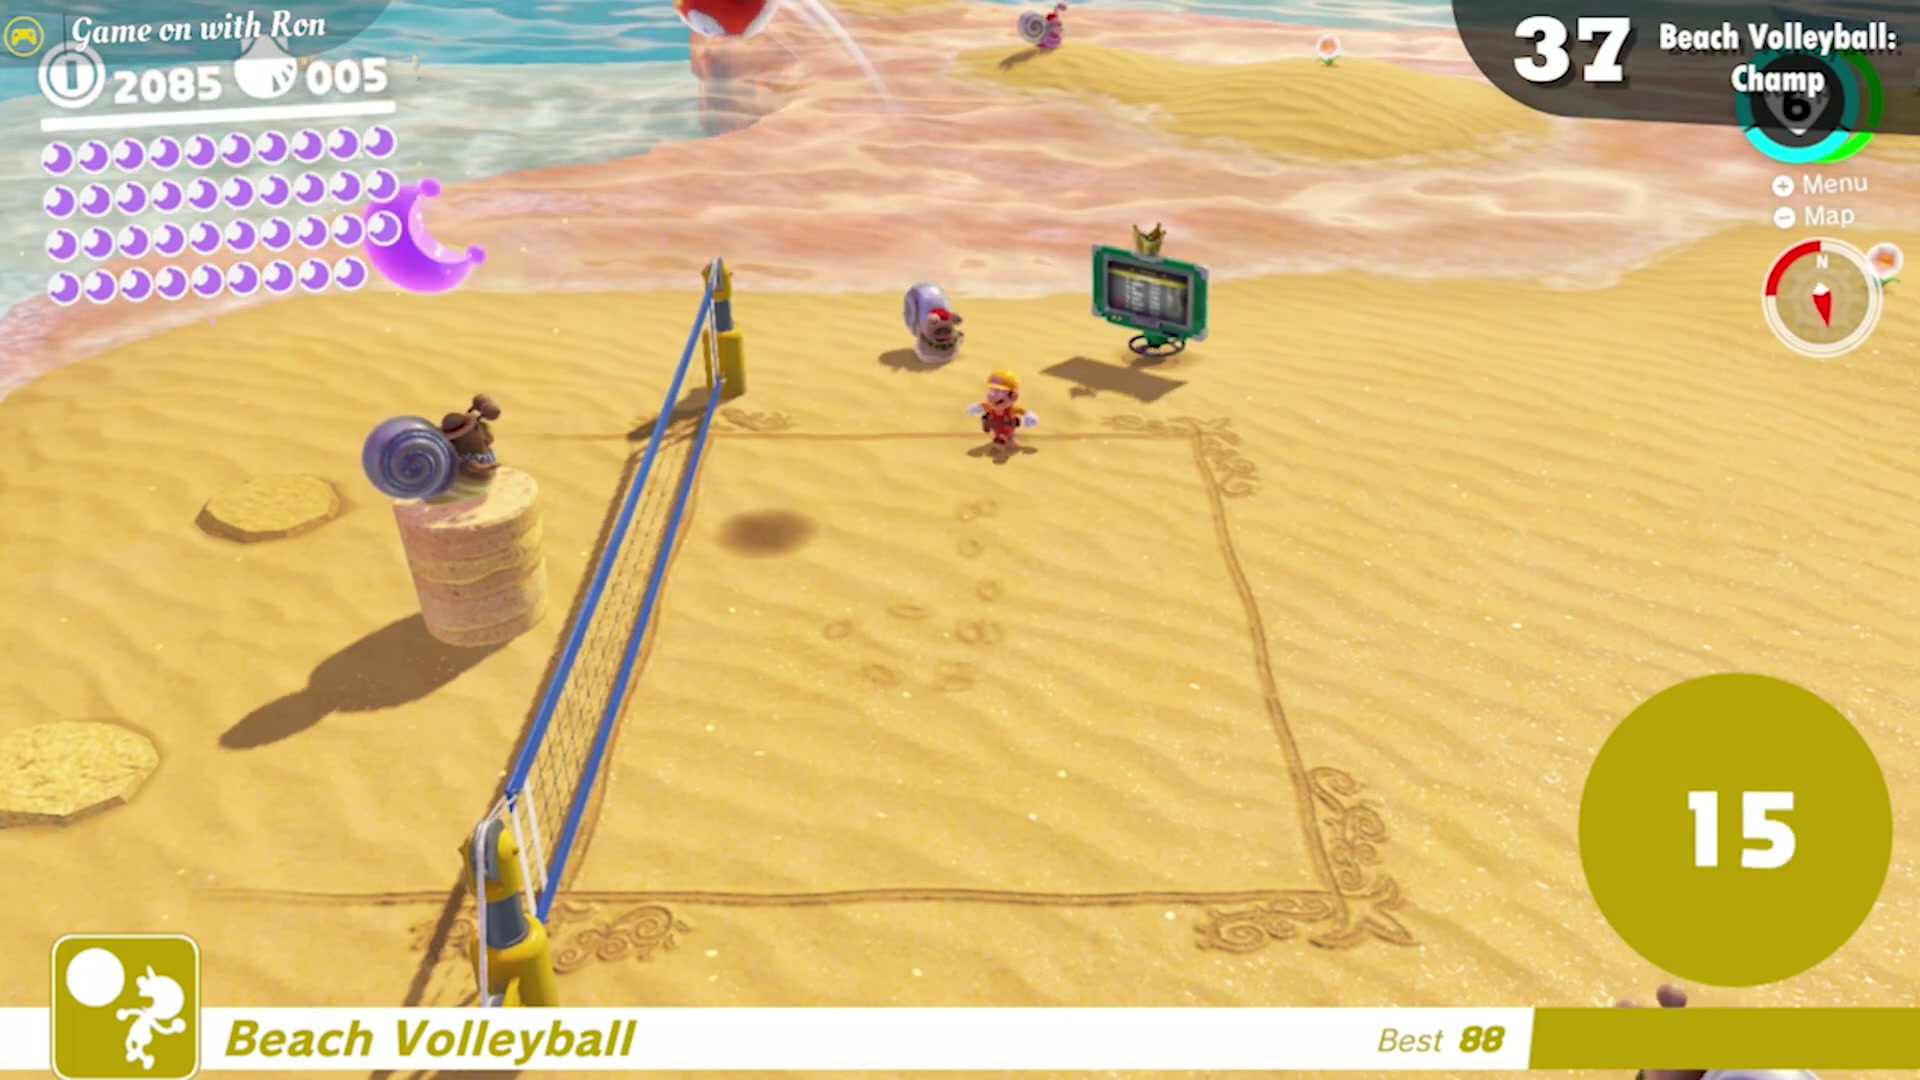
Beach Volleyball: Champ
In the Beach Volleyball minigame, keep the rally going and hit the ball back and forth 15 times in a row to earn this moon.
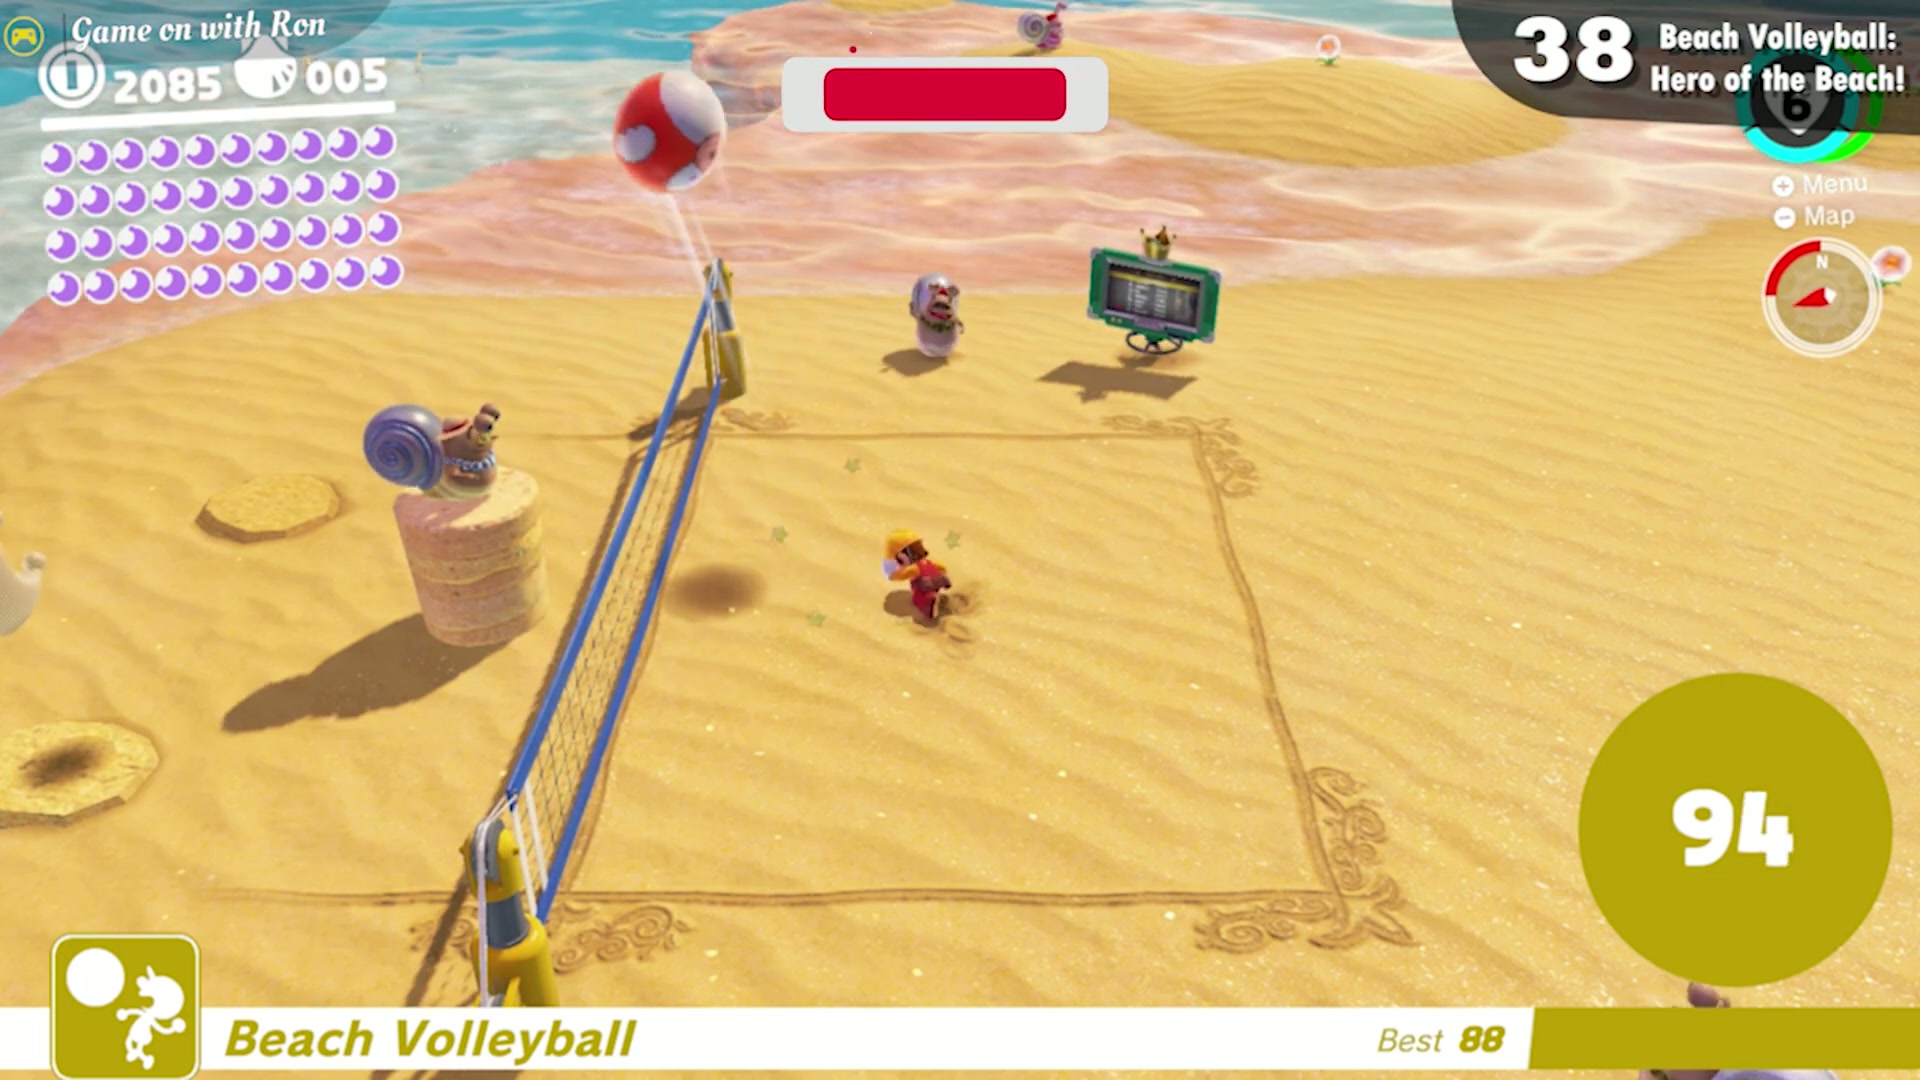
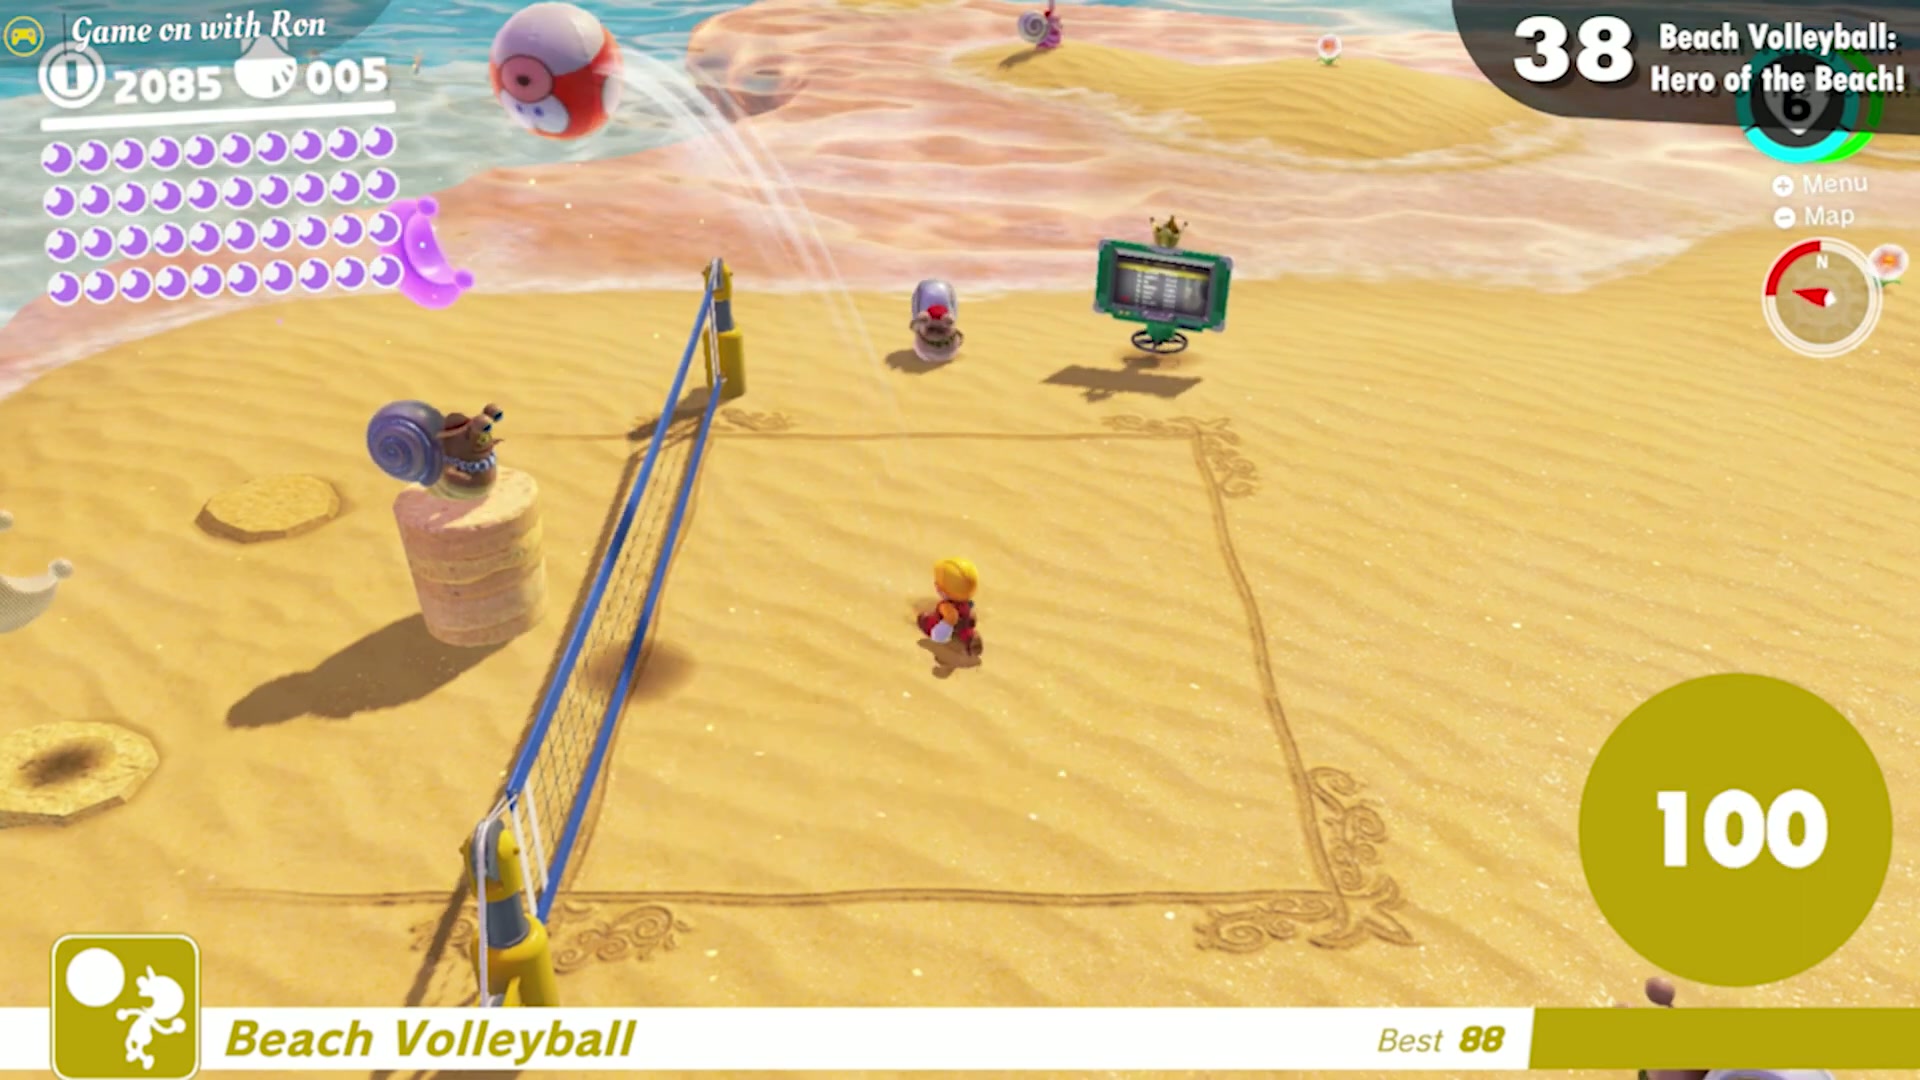
Beach Volleyball: Hero of the Beach!
In the same Beach Volleyball minigame, keep an even longer rally going and hit the ball back and forth 100 times in a row for this moon.
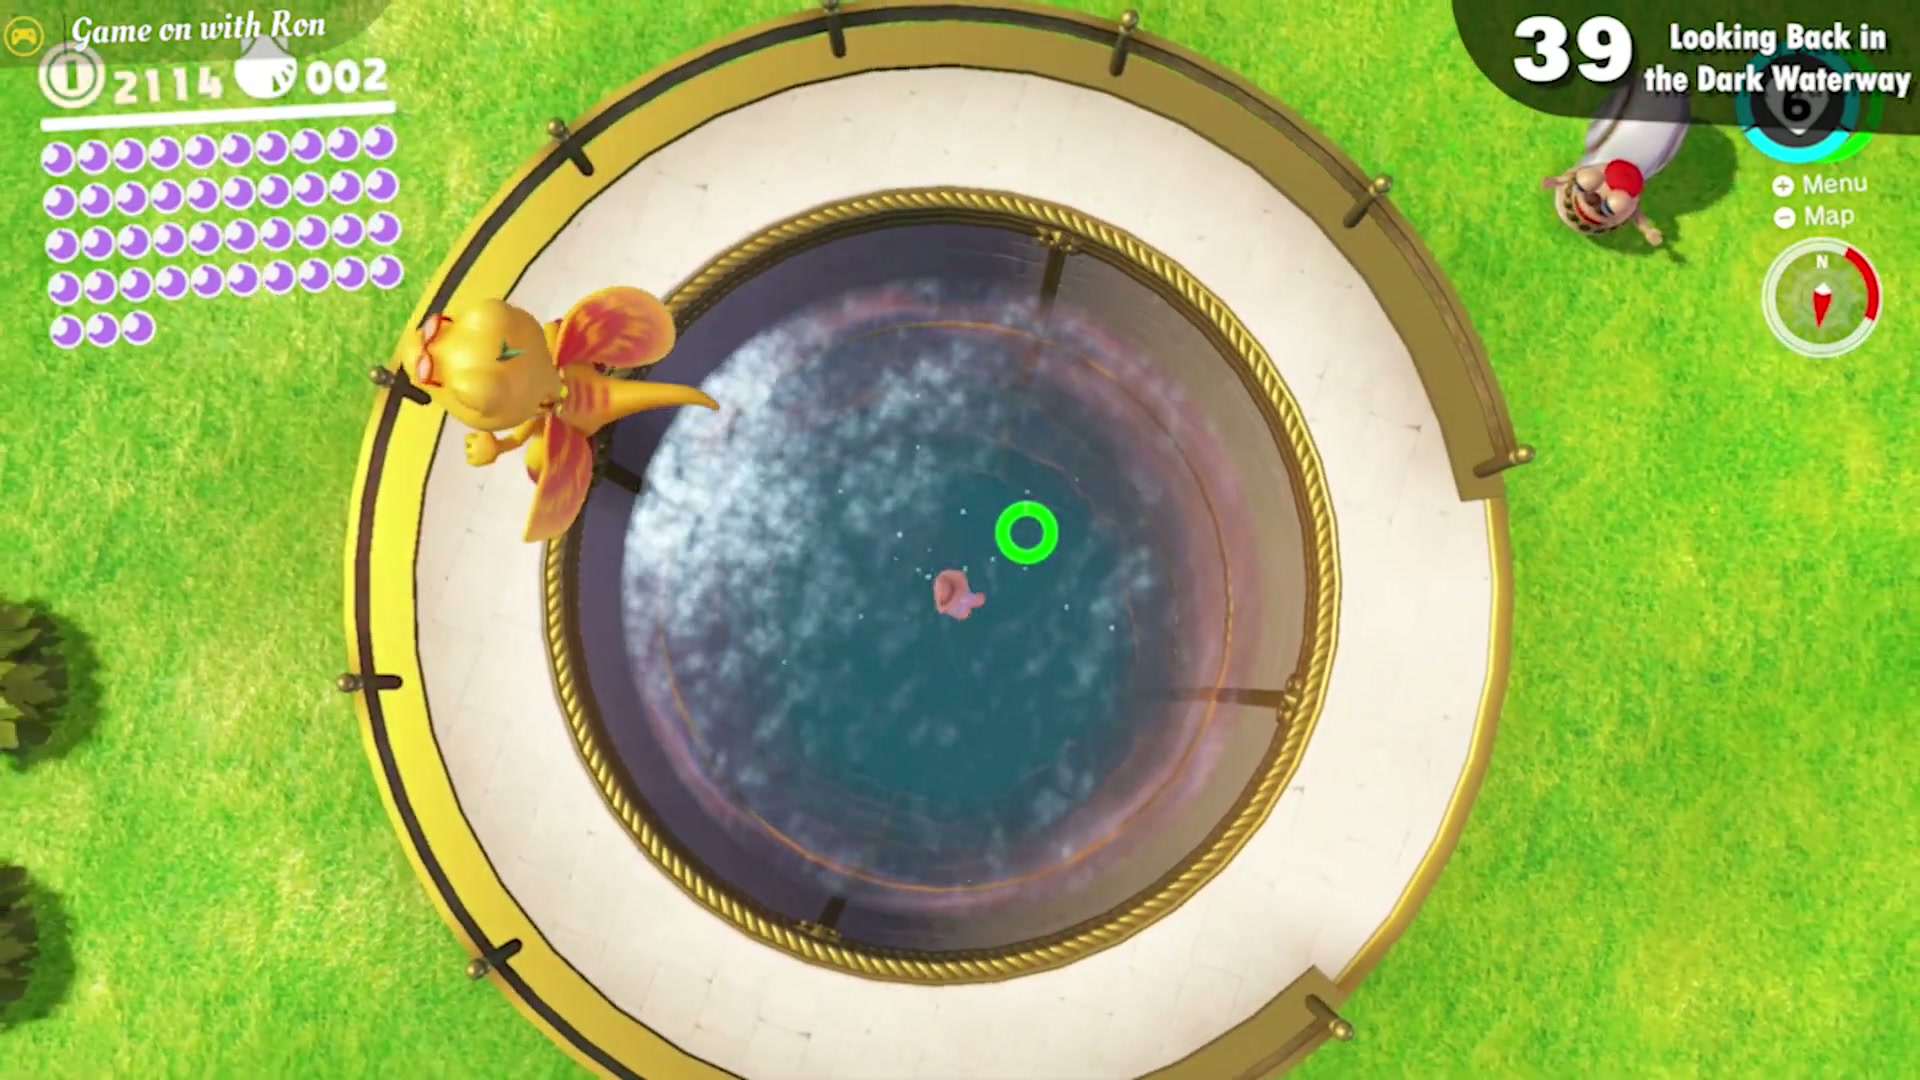
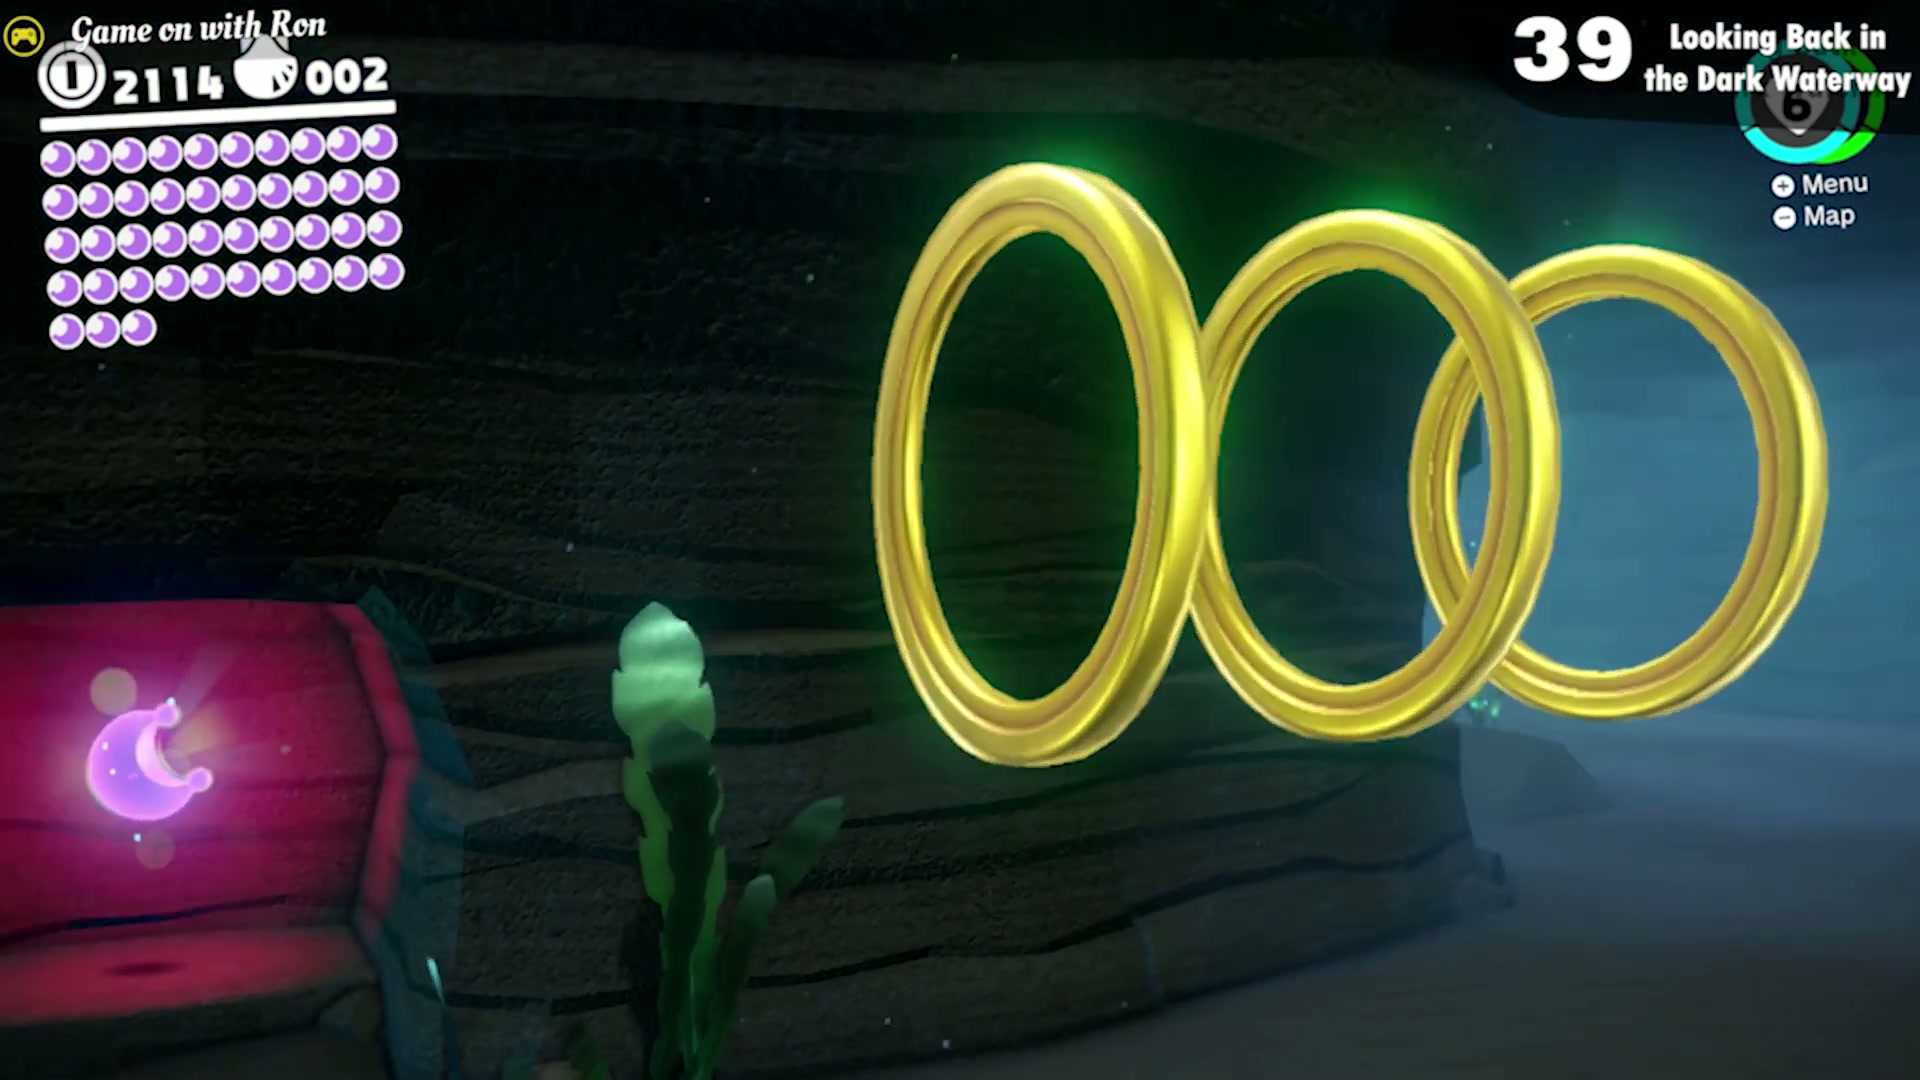
Looking Back in the Dark Waterway
Dive into the hole marked by coin rings that leads to the Underwater Tunnel to the Lighthouse. In the first stretch, where three Cheep Cheeps swim, the moon sits inside a small hole in the wall on the left side.
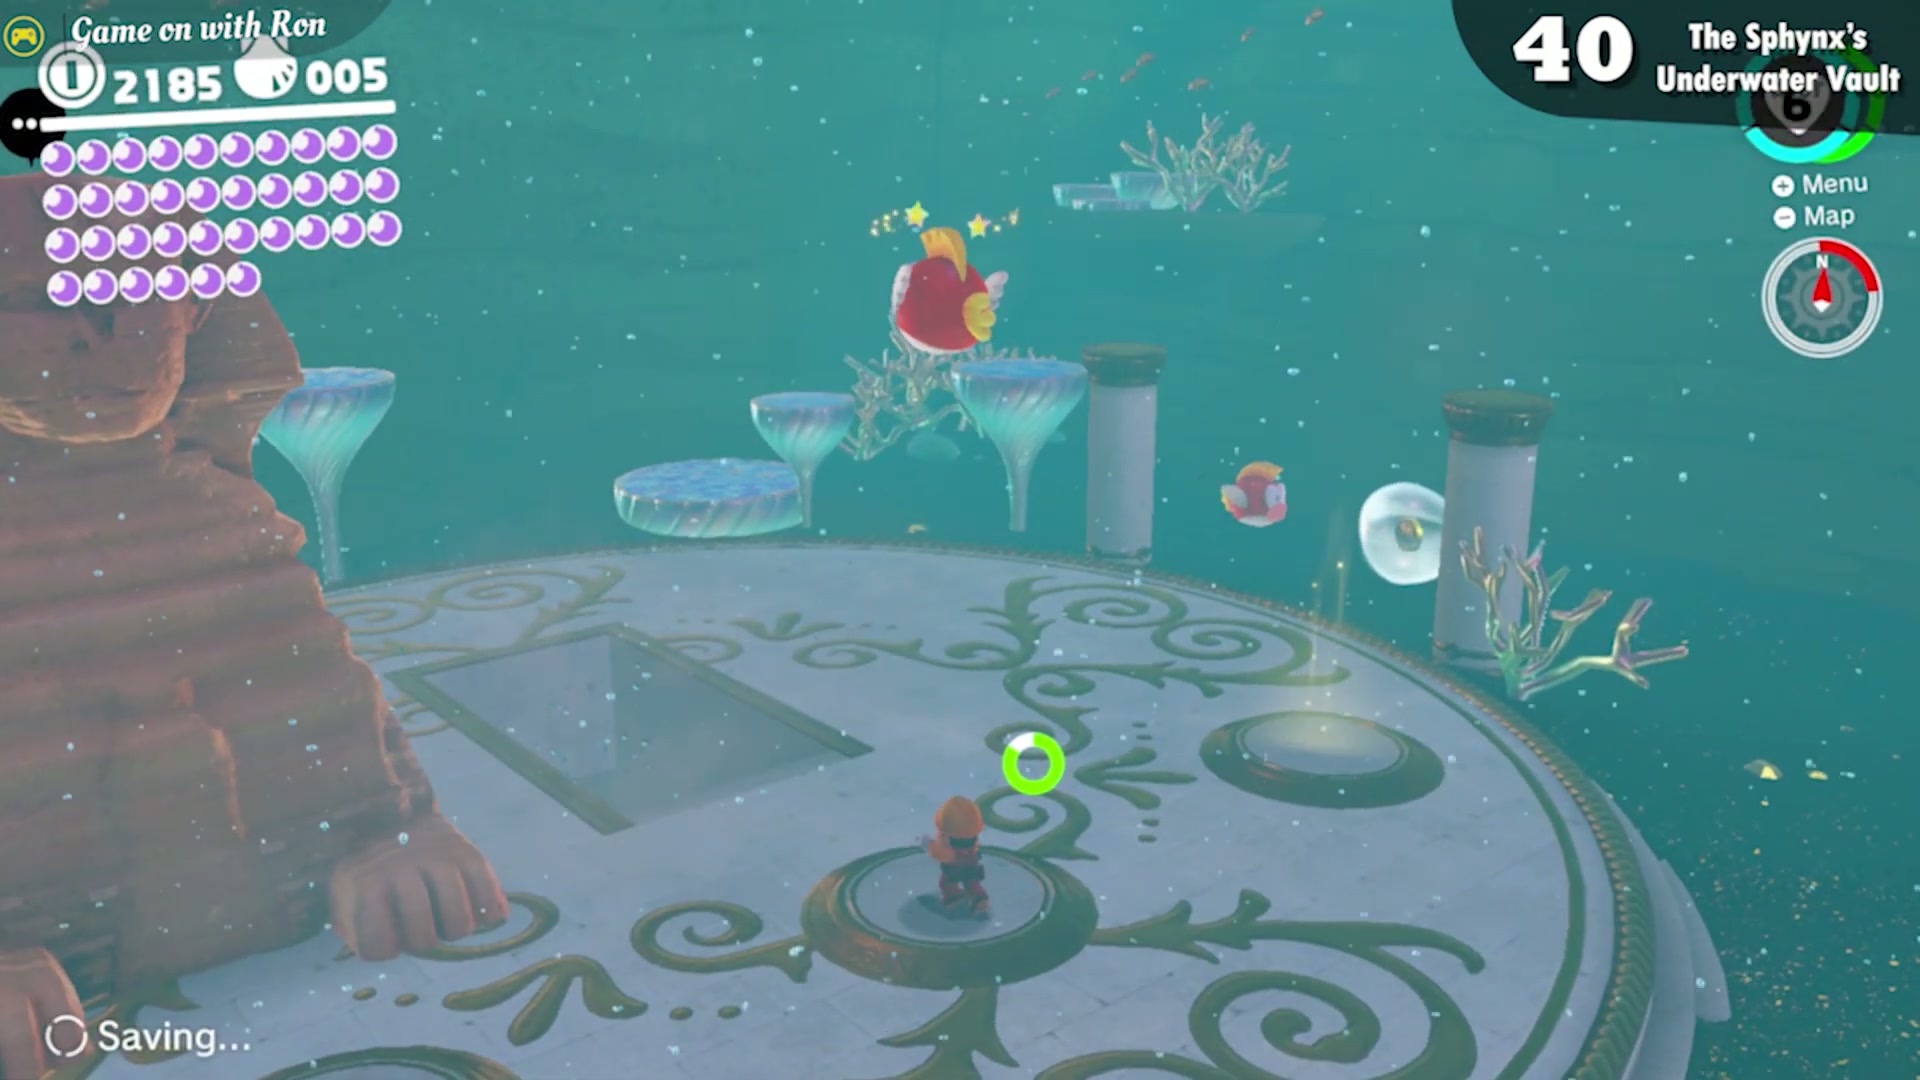
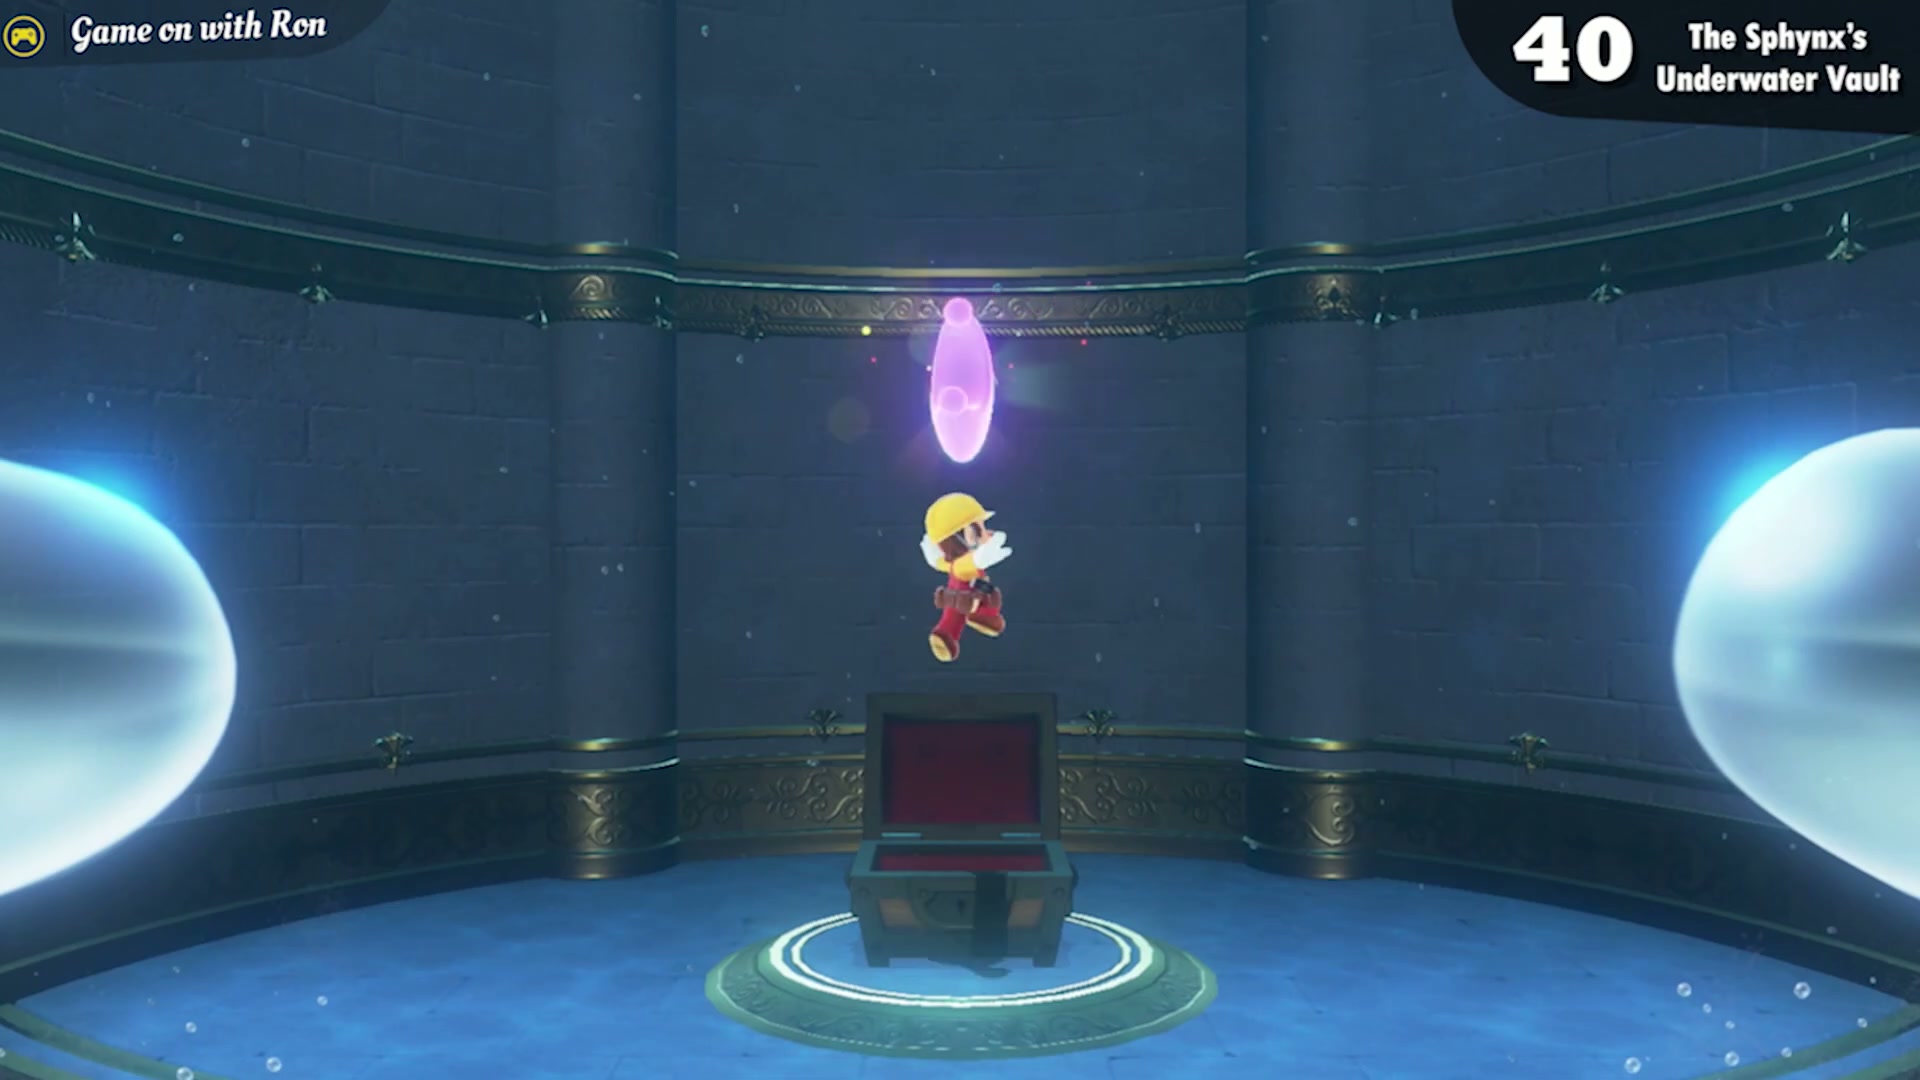
The Sphynx’s Underwater Vault
Near the Ocean Trench East checkpoint, find the Sphynx in the deep area to the southwest. Answer one of its questions correctly and it opens a doorway to an underwater room with a treasure chest holding the moon.
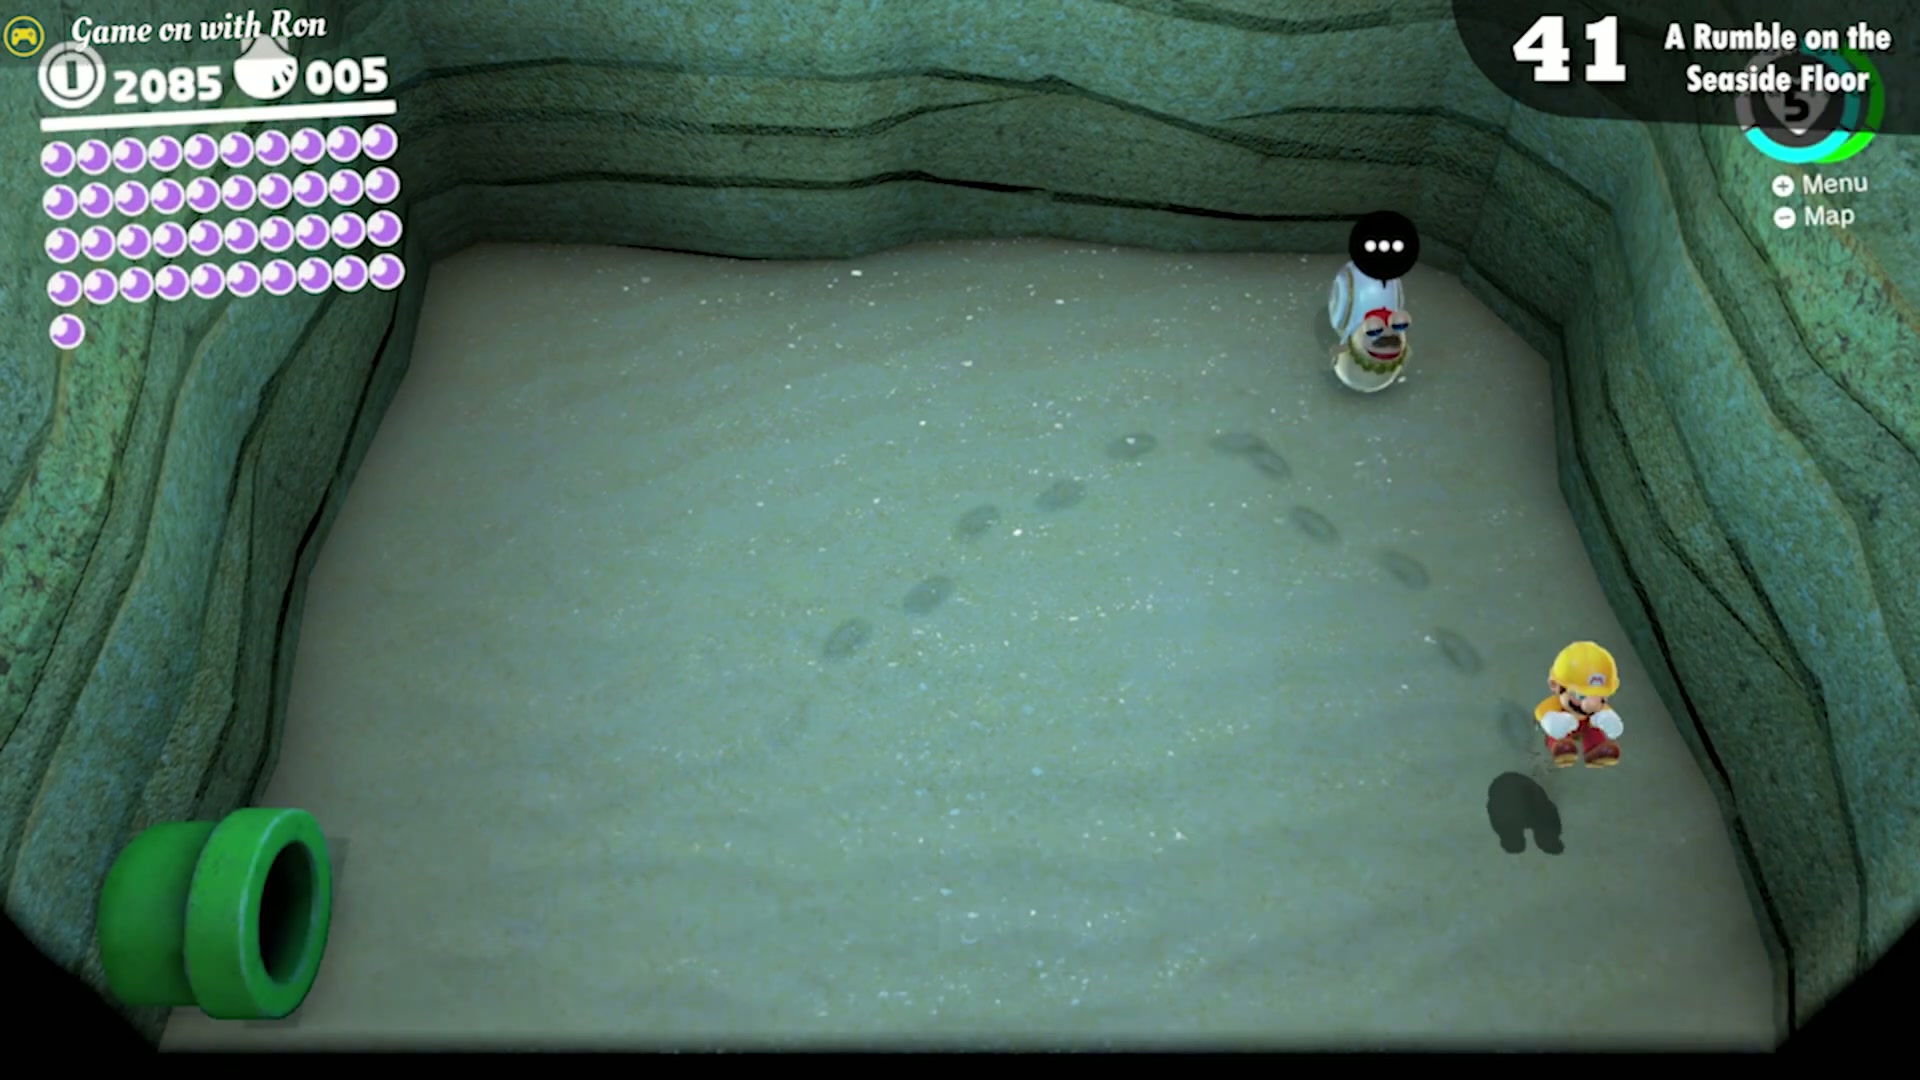
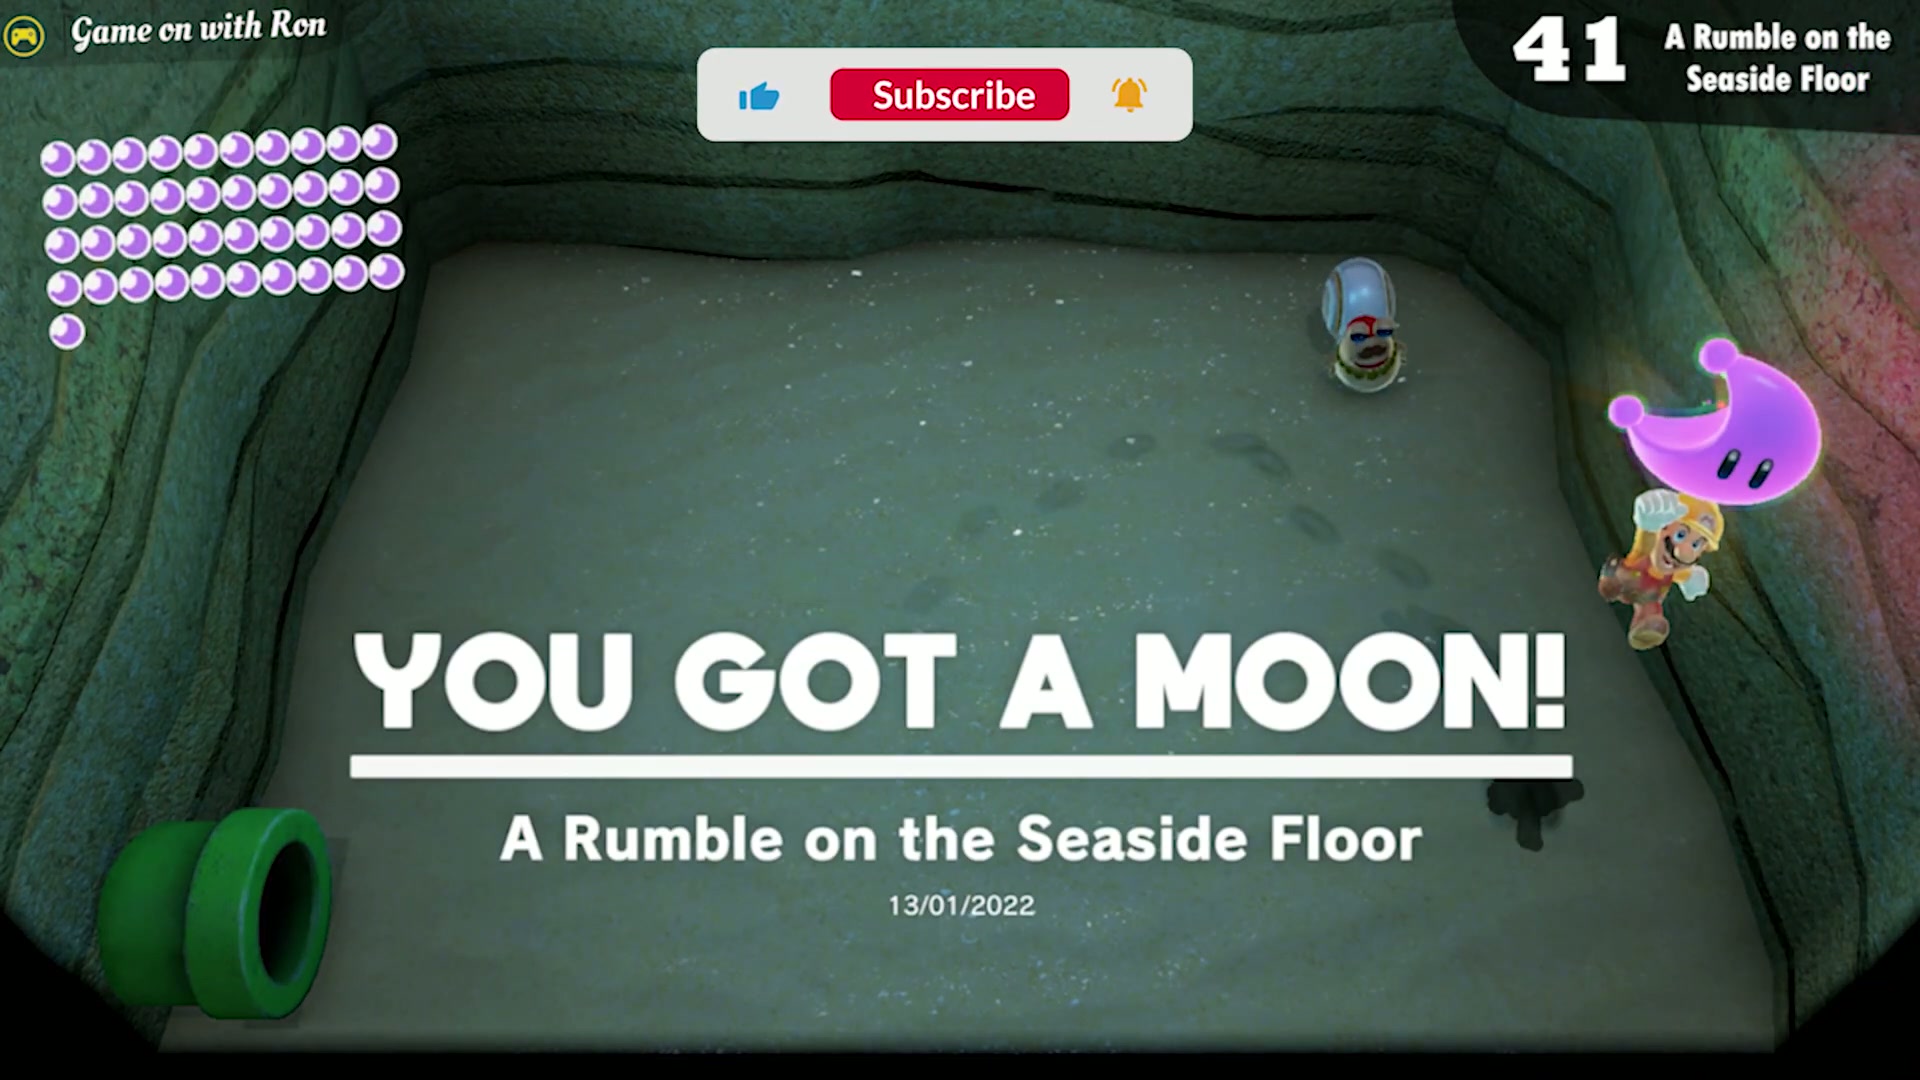
A Rumble on the Seaside Floor
Near the Odyssey, a Warp Pipe on the wall takes Mario into a hidden room. Ground pound the right spot on the floor to reveal the moon. Enabling controller rumble makes the spot far easier to find.
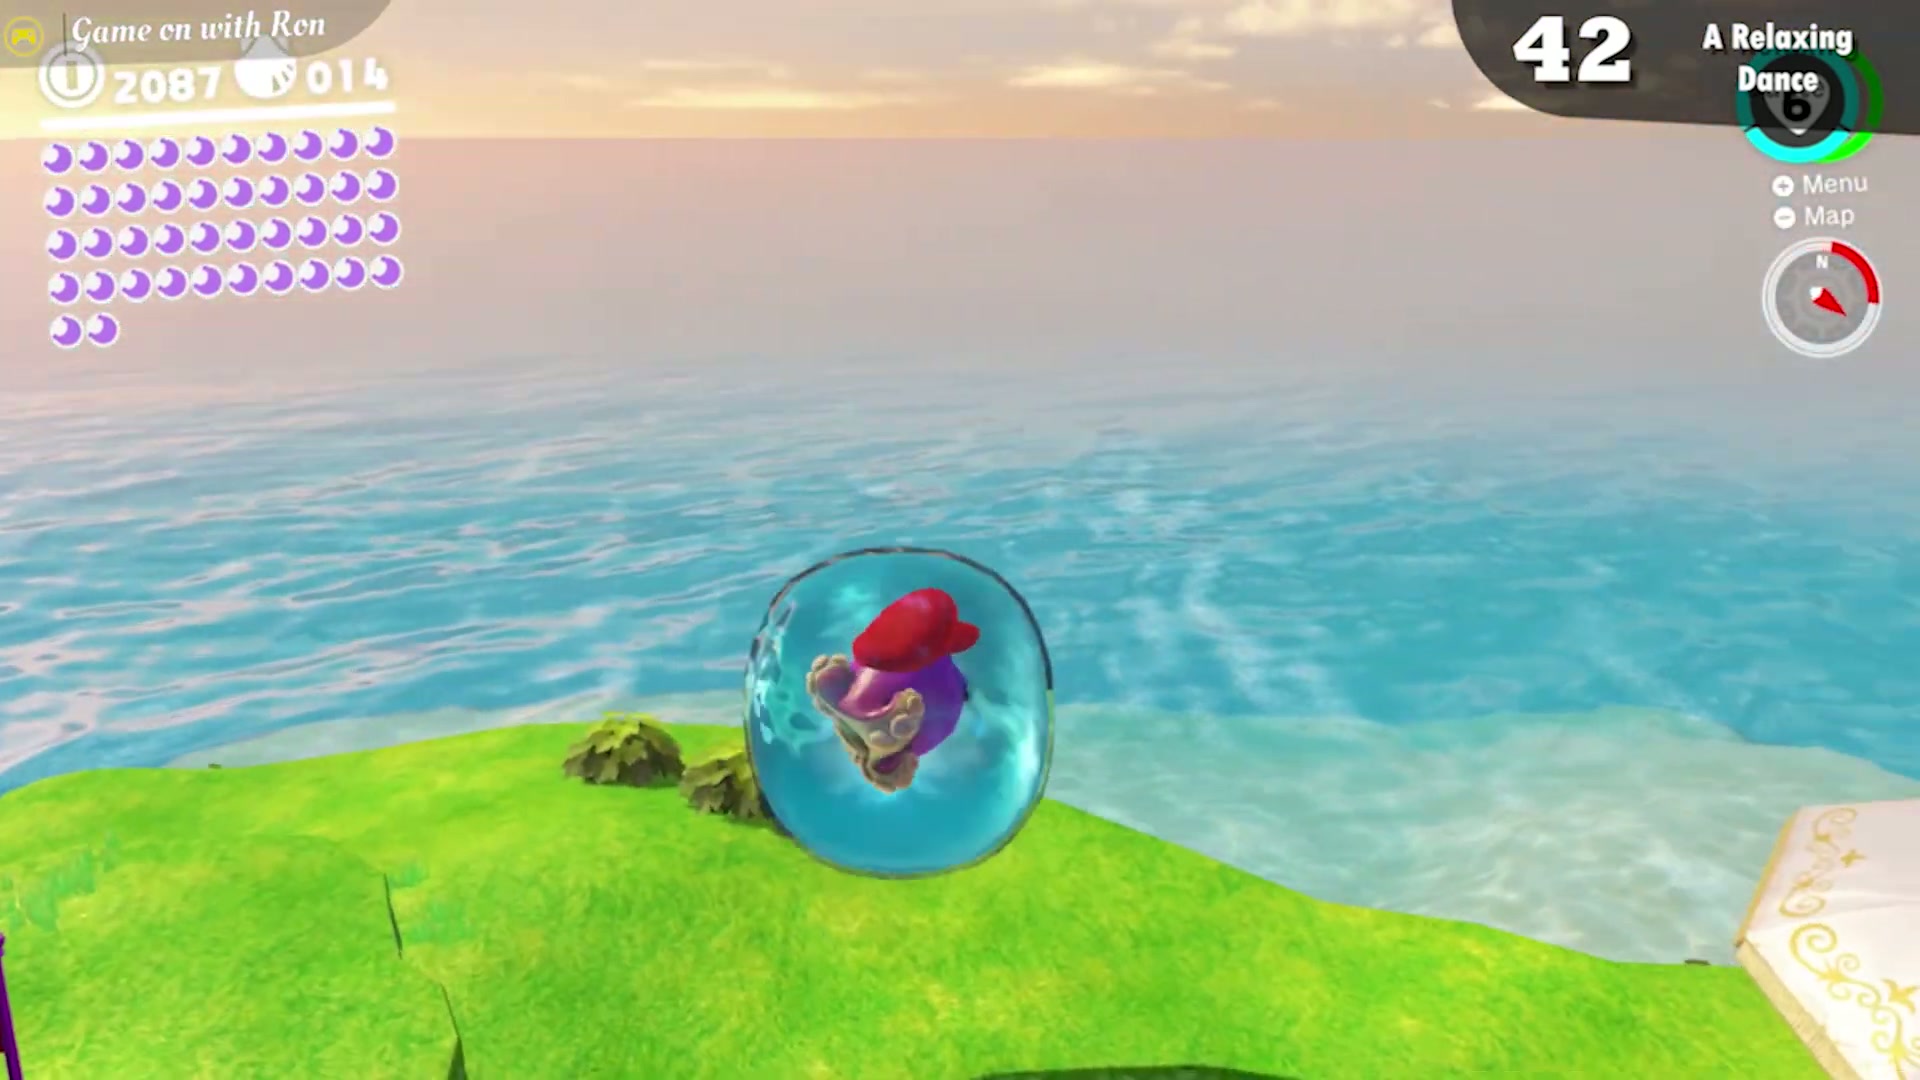
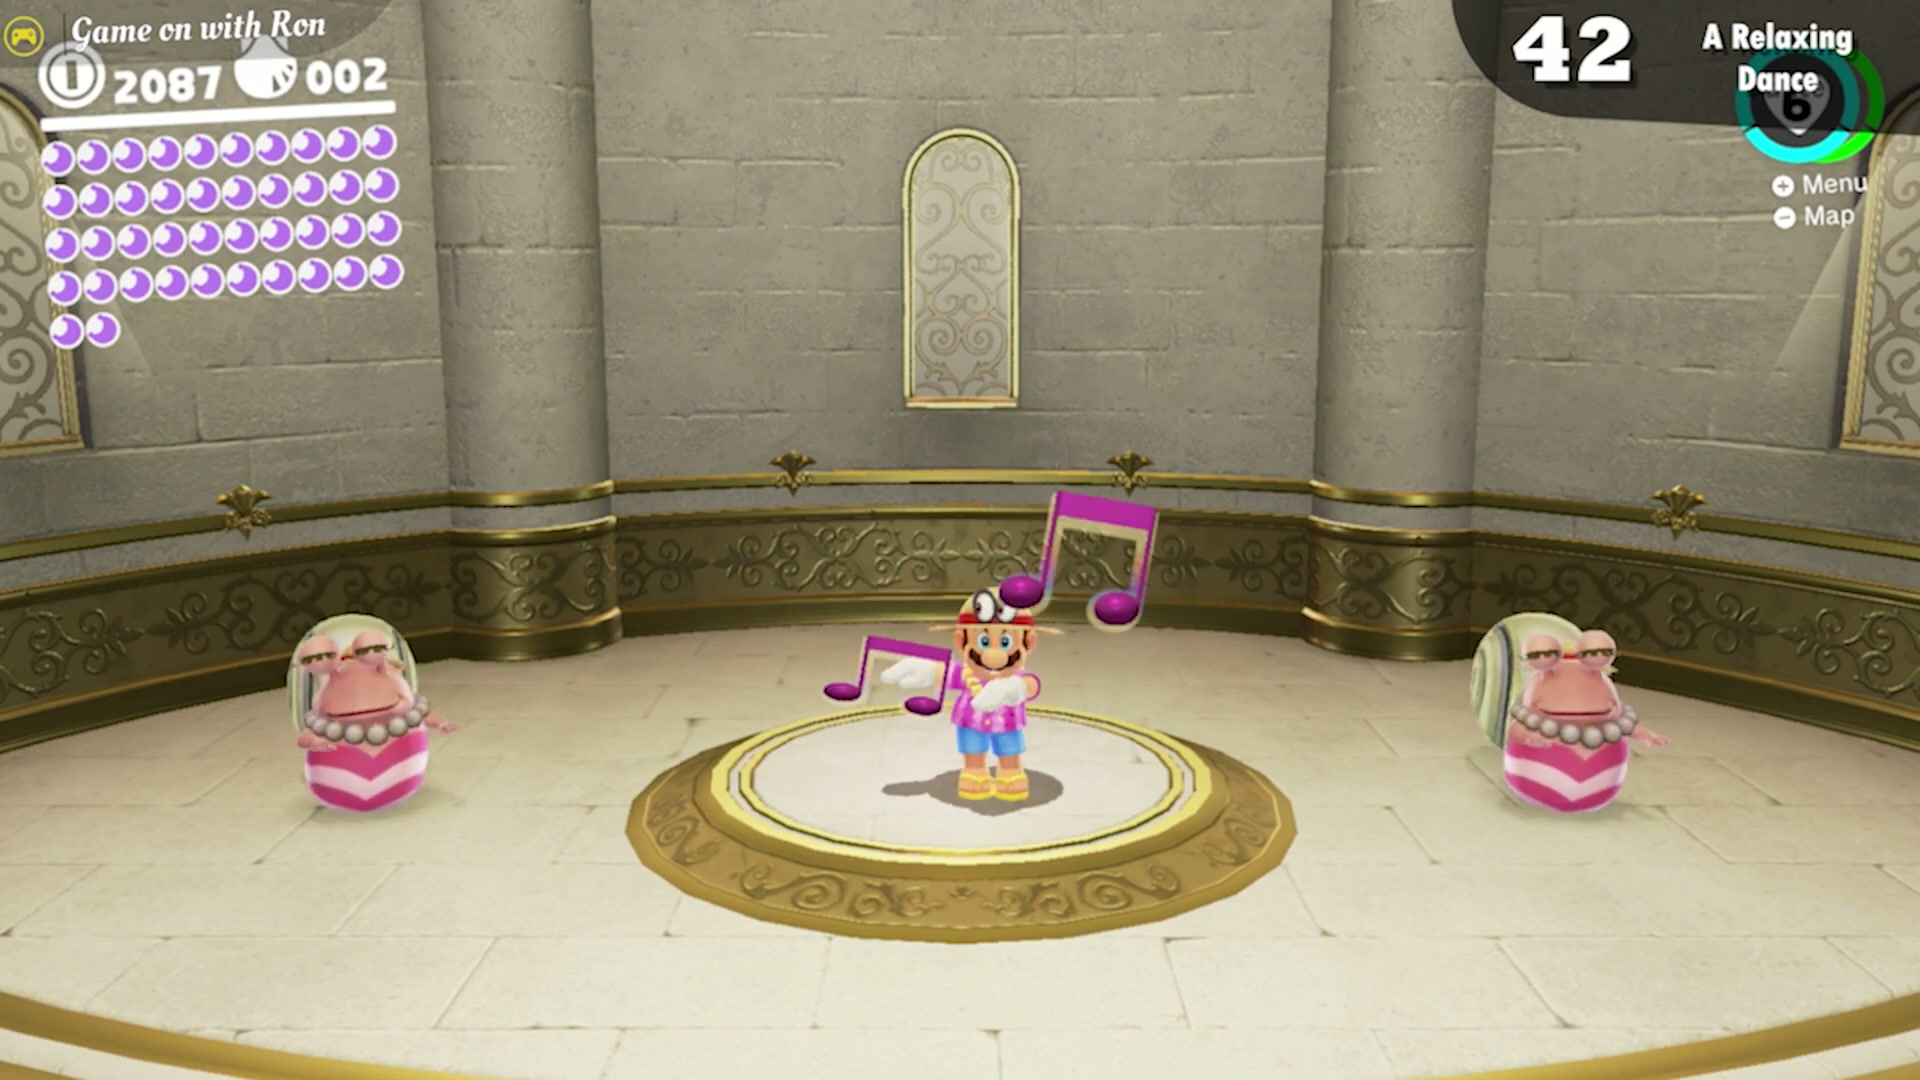
A Relaxing Dance
Buy the Resort Hat and Resort Outfit (or the Sunshine Shades and Sunshine Outfit) from the purple Crazy Cap shop, then talk to the Bubblainian who unlocks a door to the Beach House. Inside, dance with the two Bubblainians for a few seconds to be rewarded with the moon.
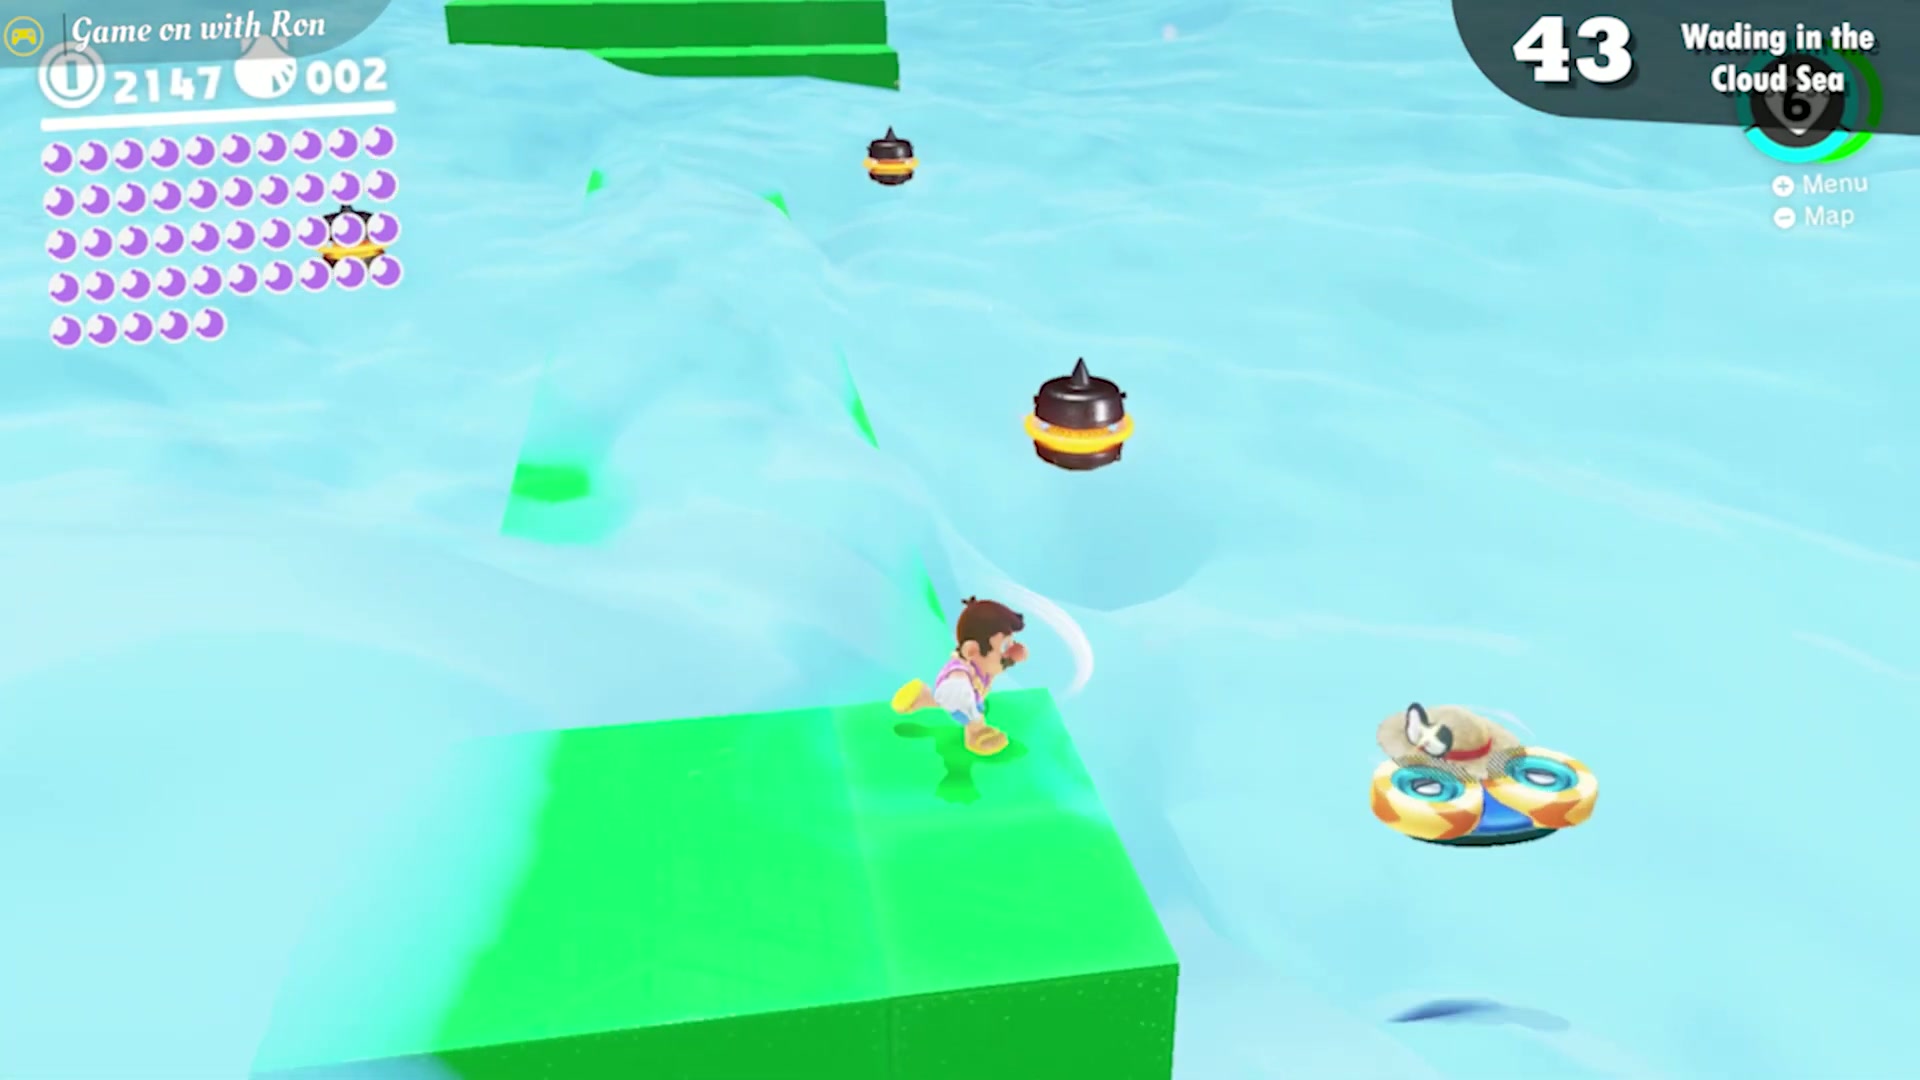
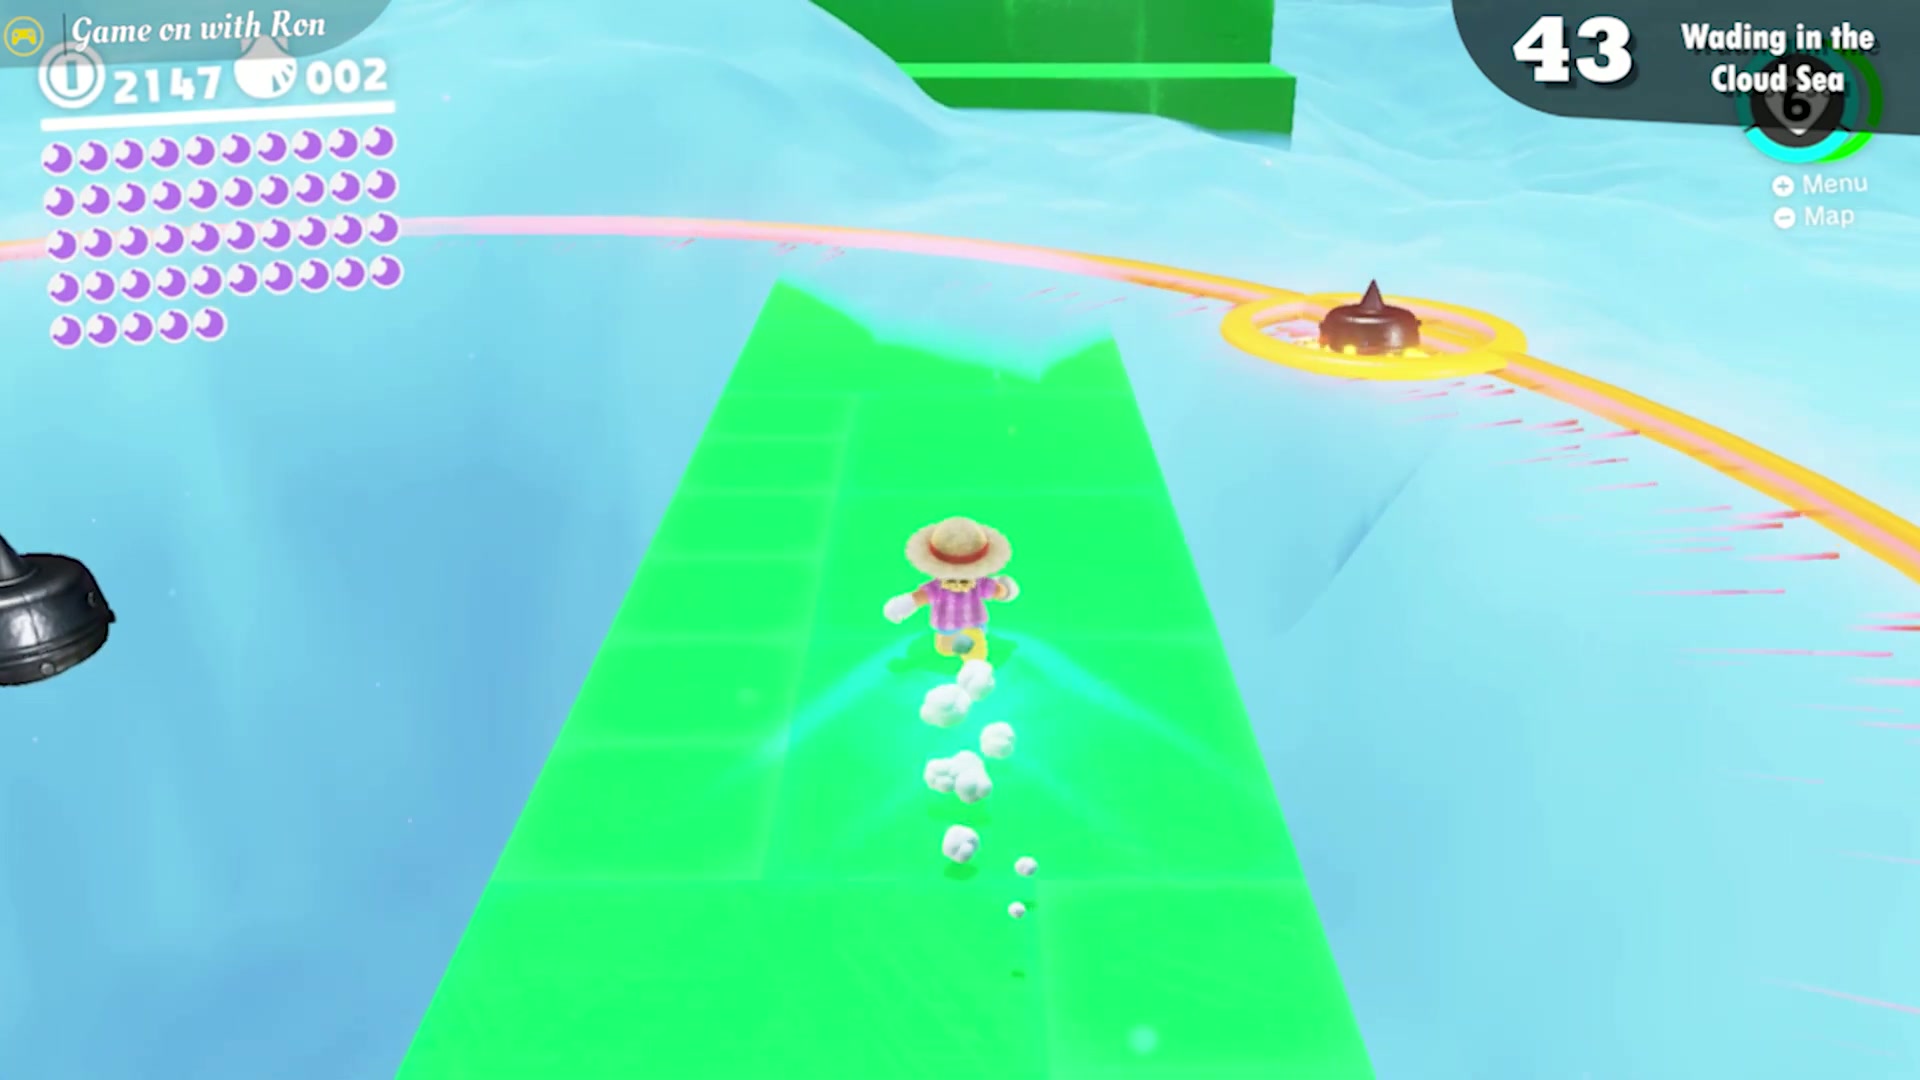
Wading in the Cloud Sea
Near the Beach House, a higher cliff holds a Mini Rocket that launches you into a bonus area. Wade across the large cloud-filled chasm, past enemies like Pulse Beams and Burrbos, to reach the moon.
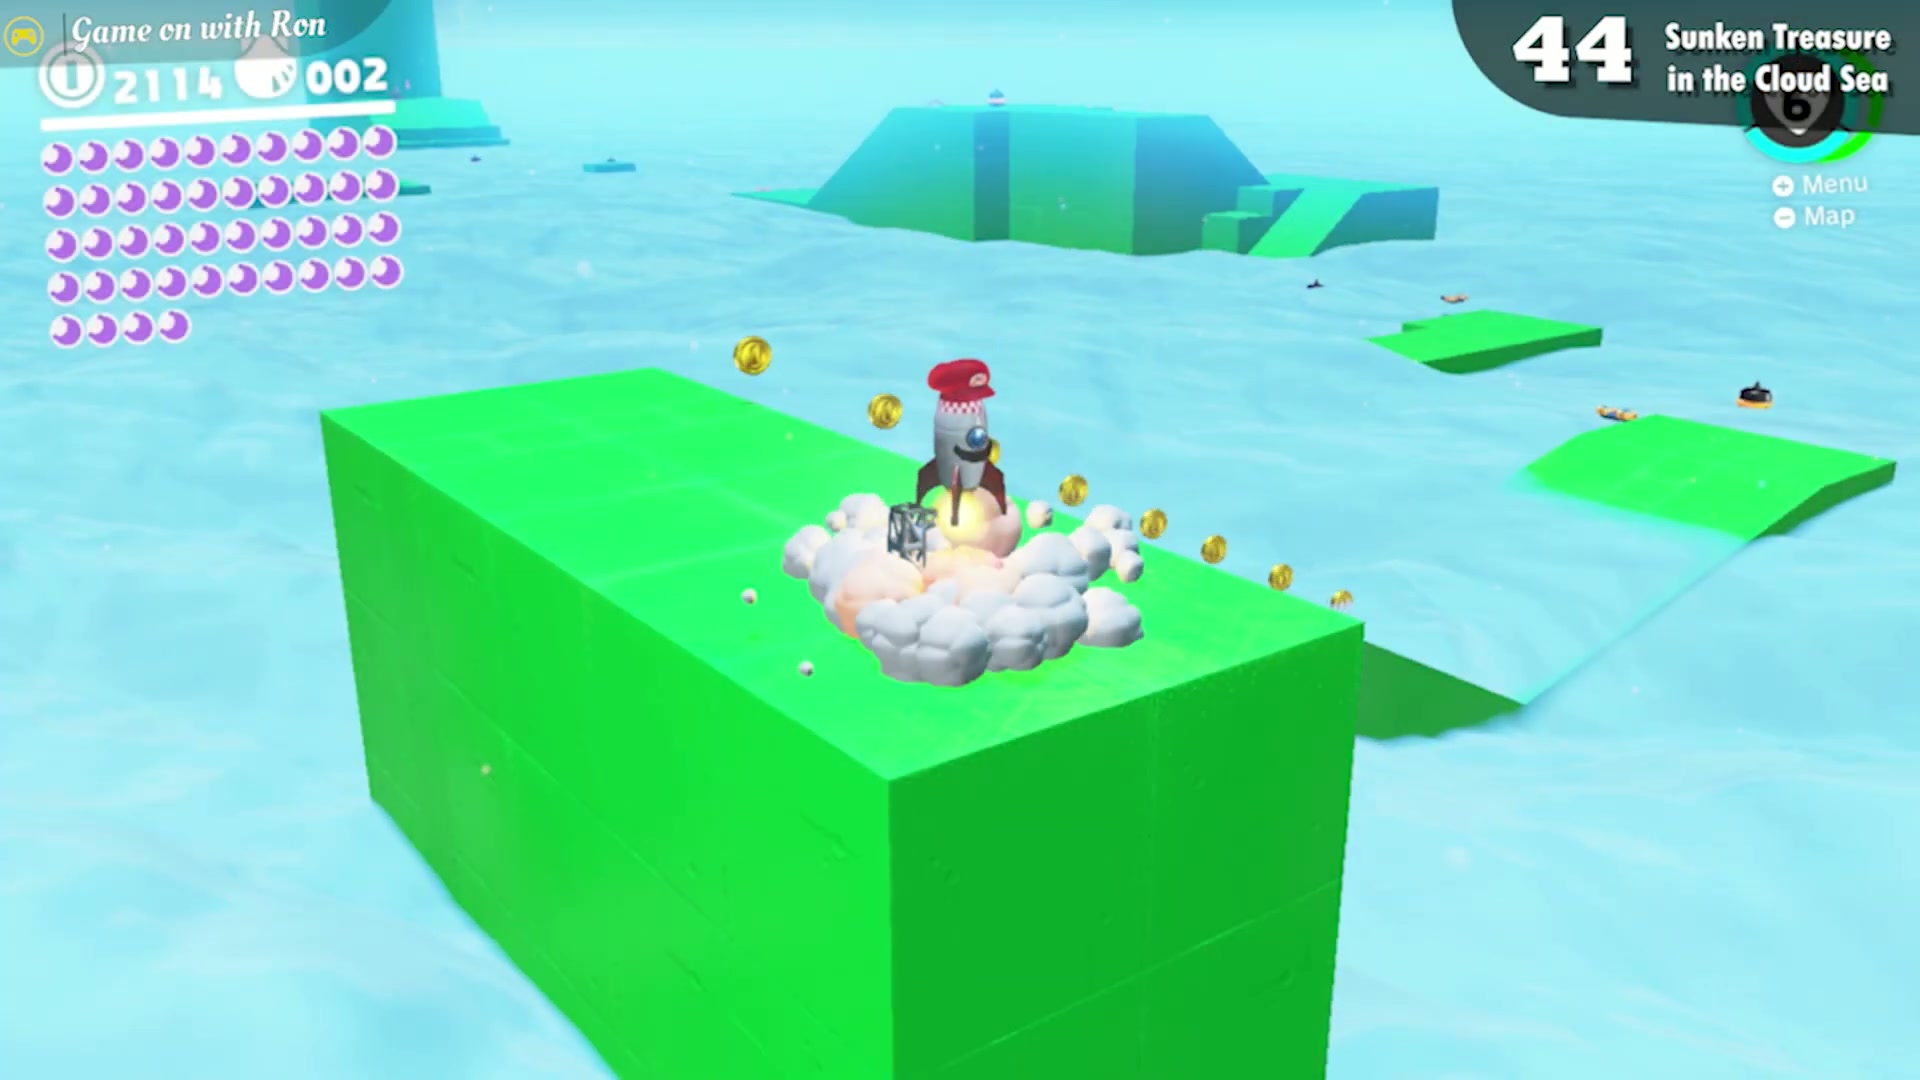
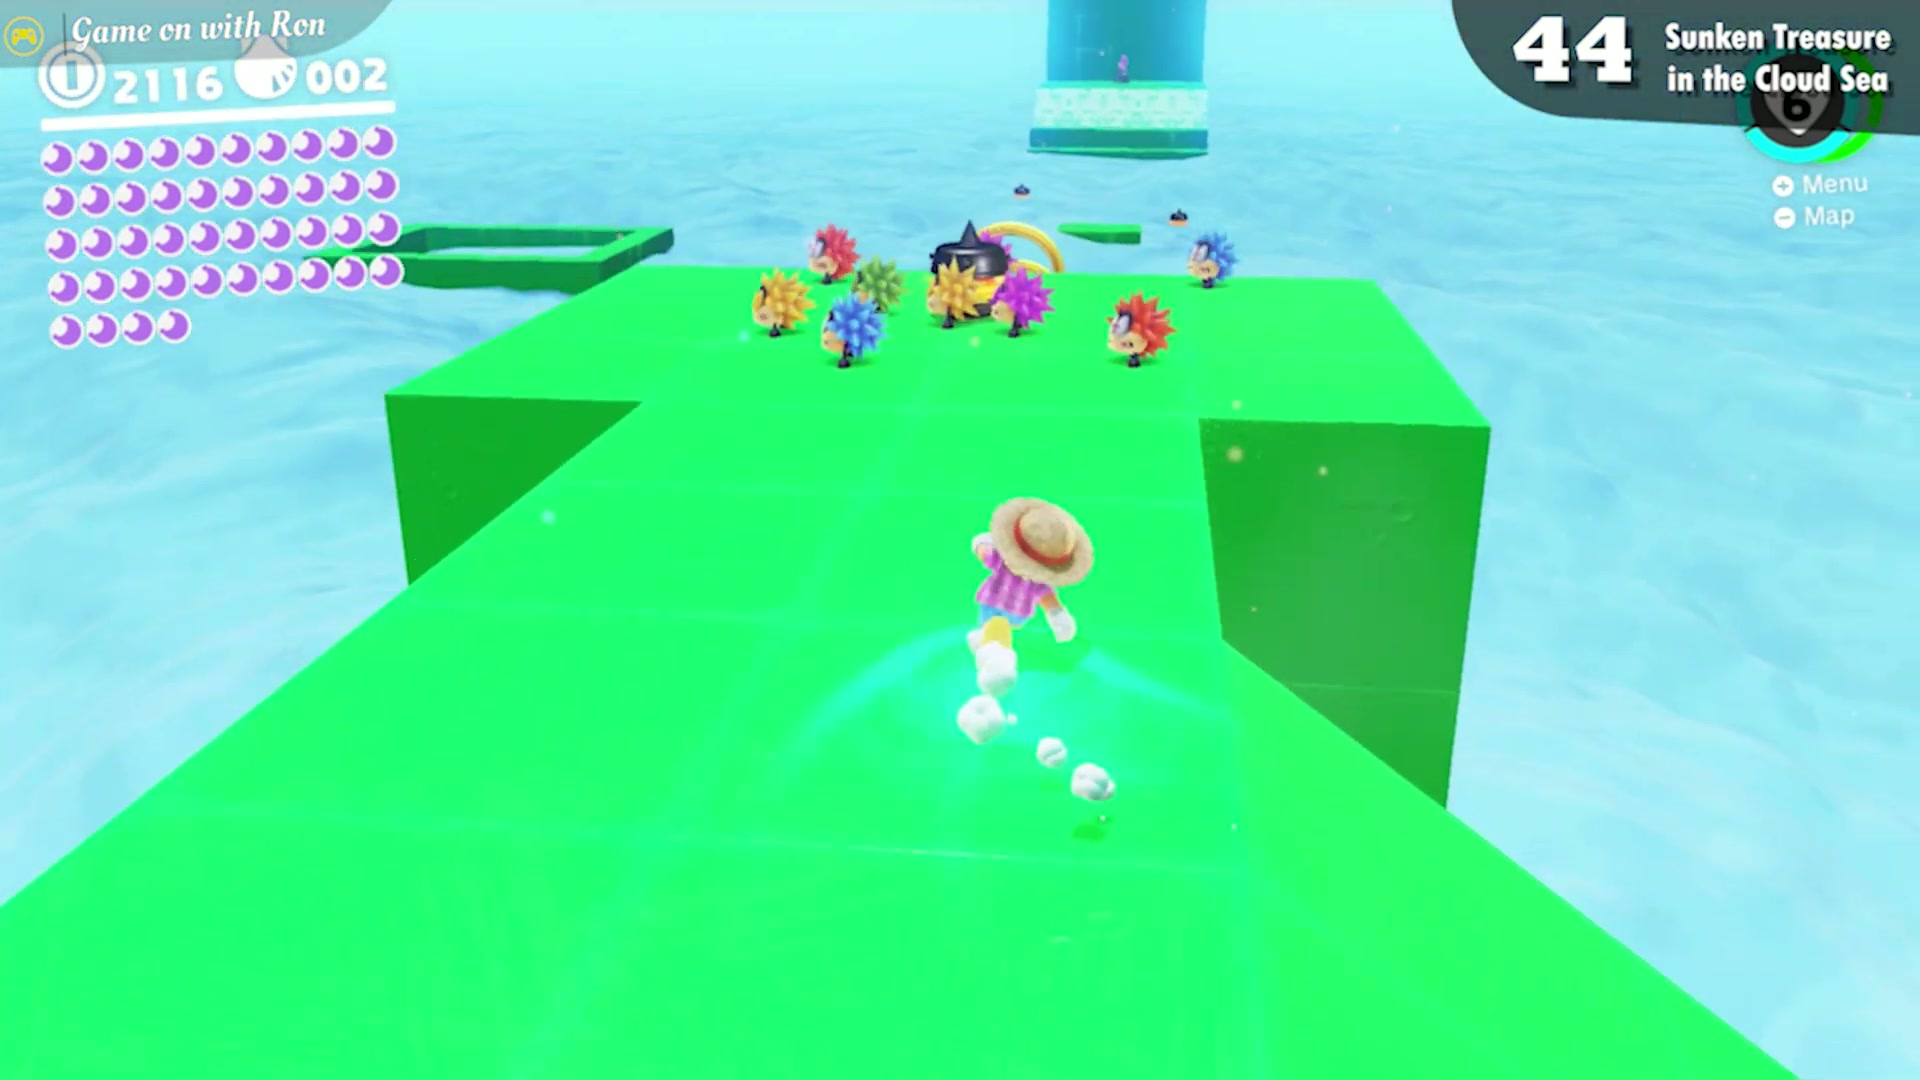
Sunken Treasure in the Cloud Sea
In the same bonus area as the Wading in the Cloud Sea moon, a thin pathway hidden by the clouds branches off the normal route. Follow it to a square platform where a cloud-covered treasure chest holds the moon.
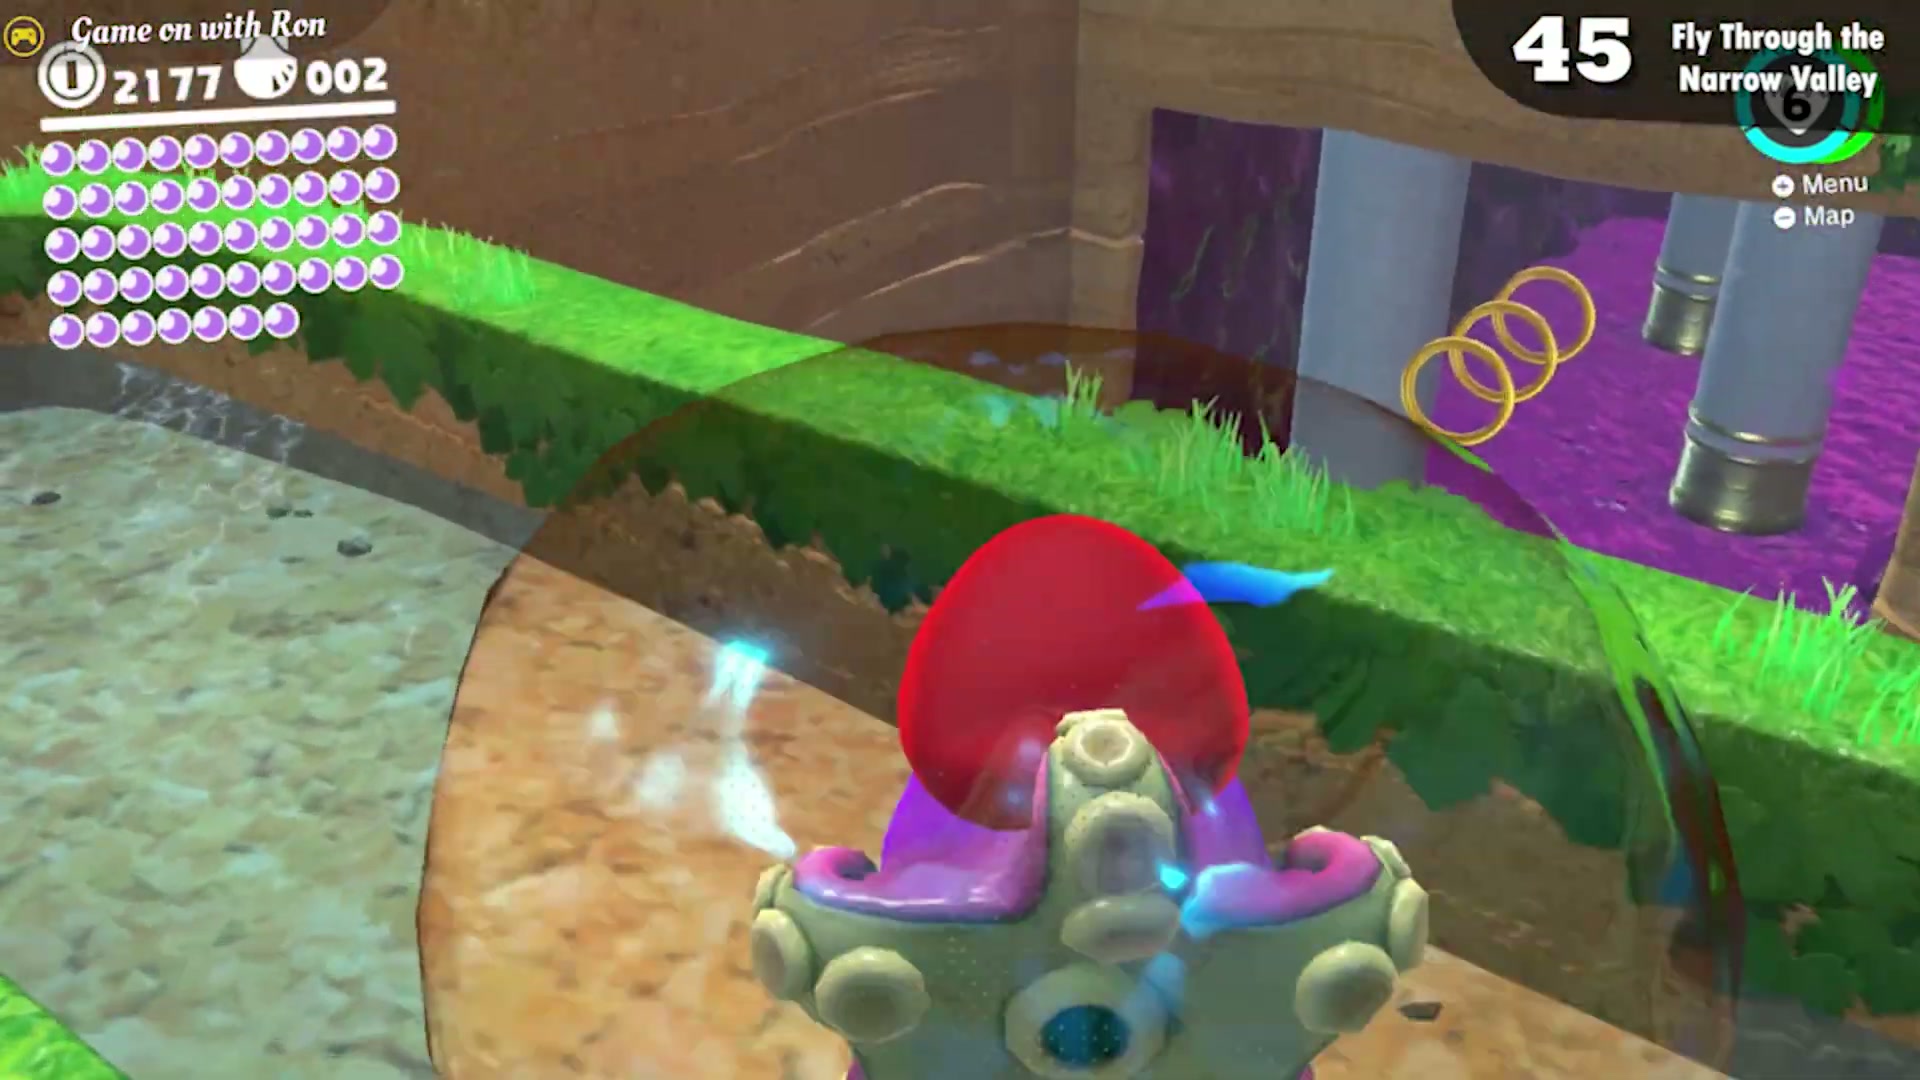
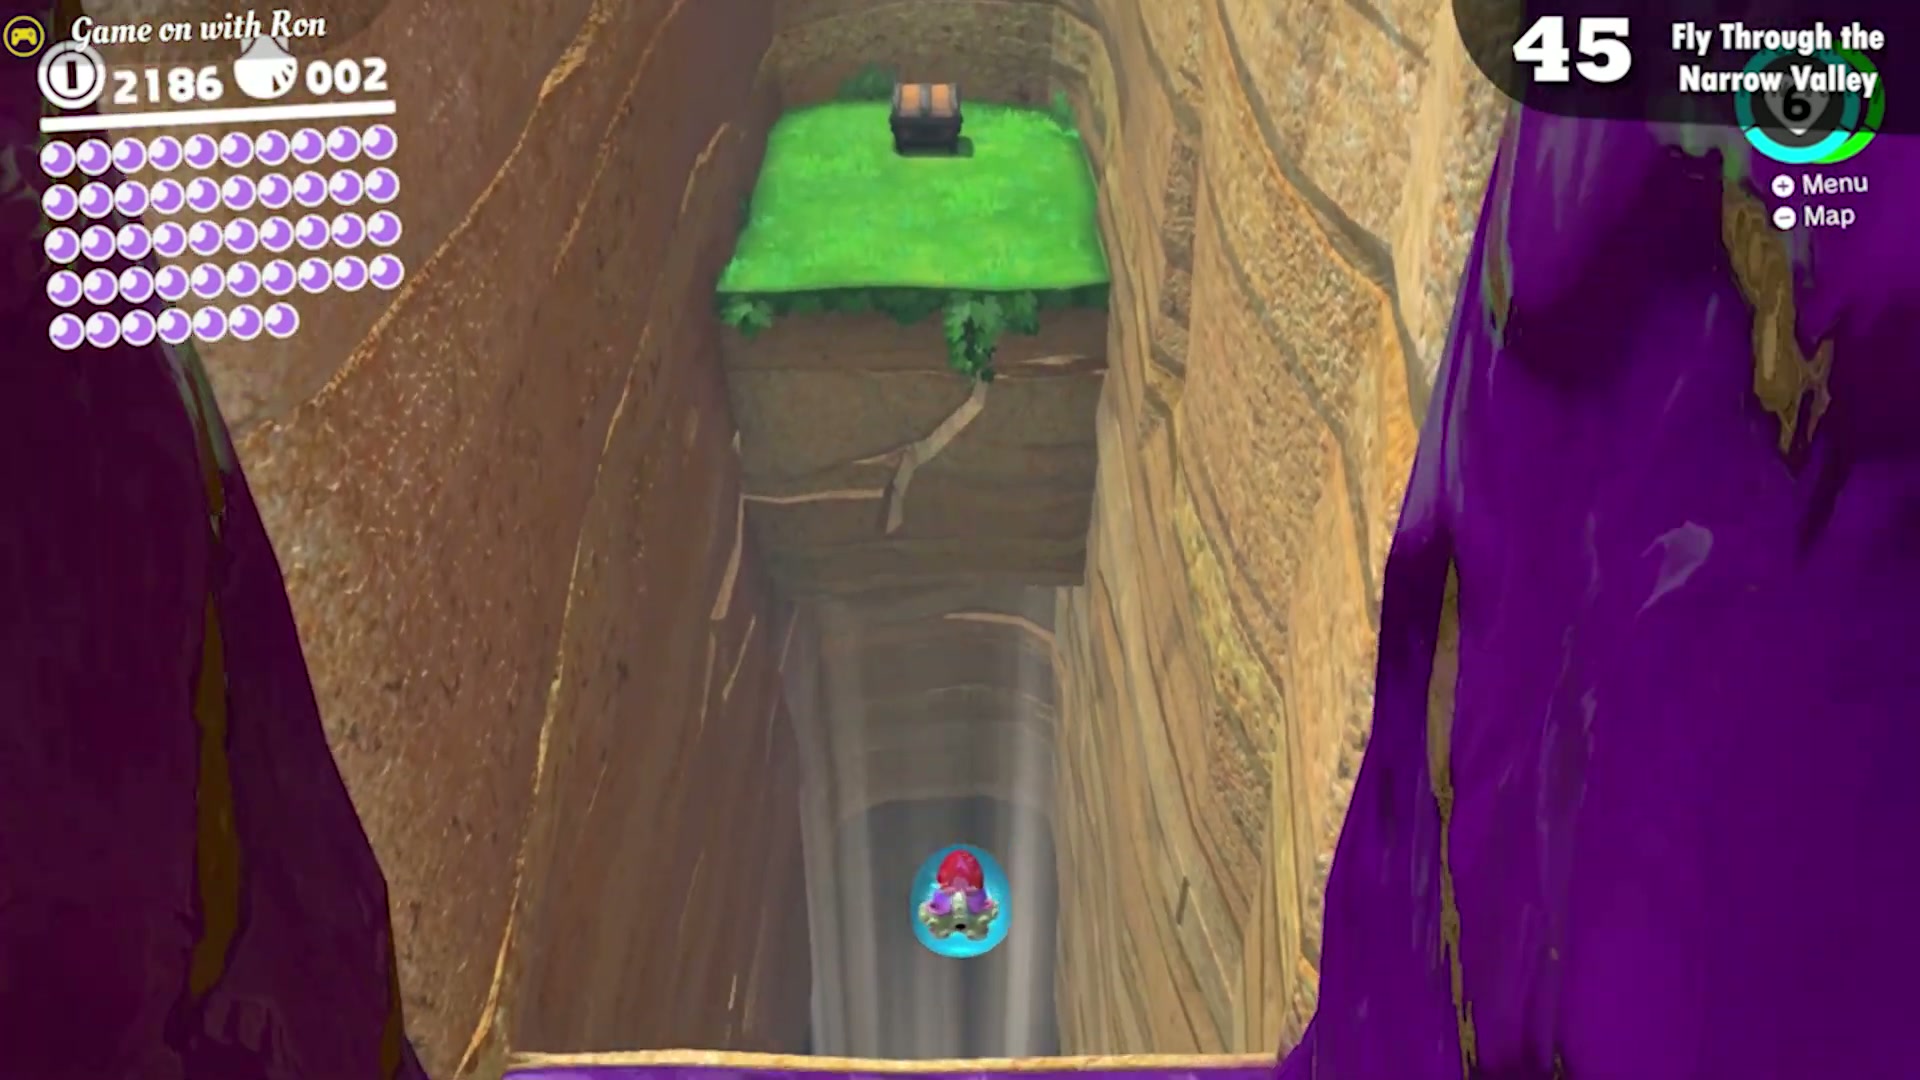
Fly Through the Narrow Valley
To the right of the Beach Volleyball court, capture a Gushen to reach a hidden alcove with a door to a bonus area. Inside, capture the Gushens along the way to fly past the bottomless pits and pools of poison water to the moon.
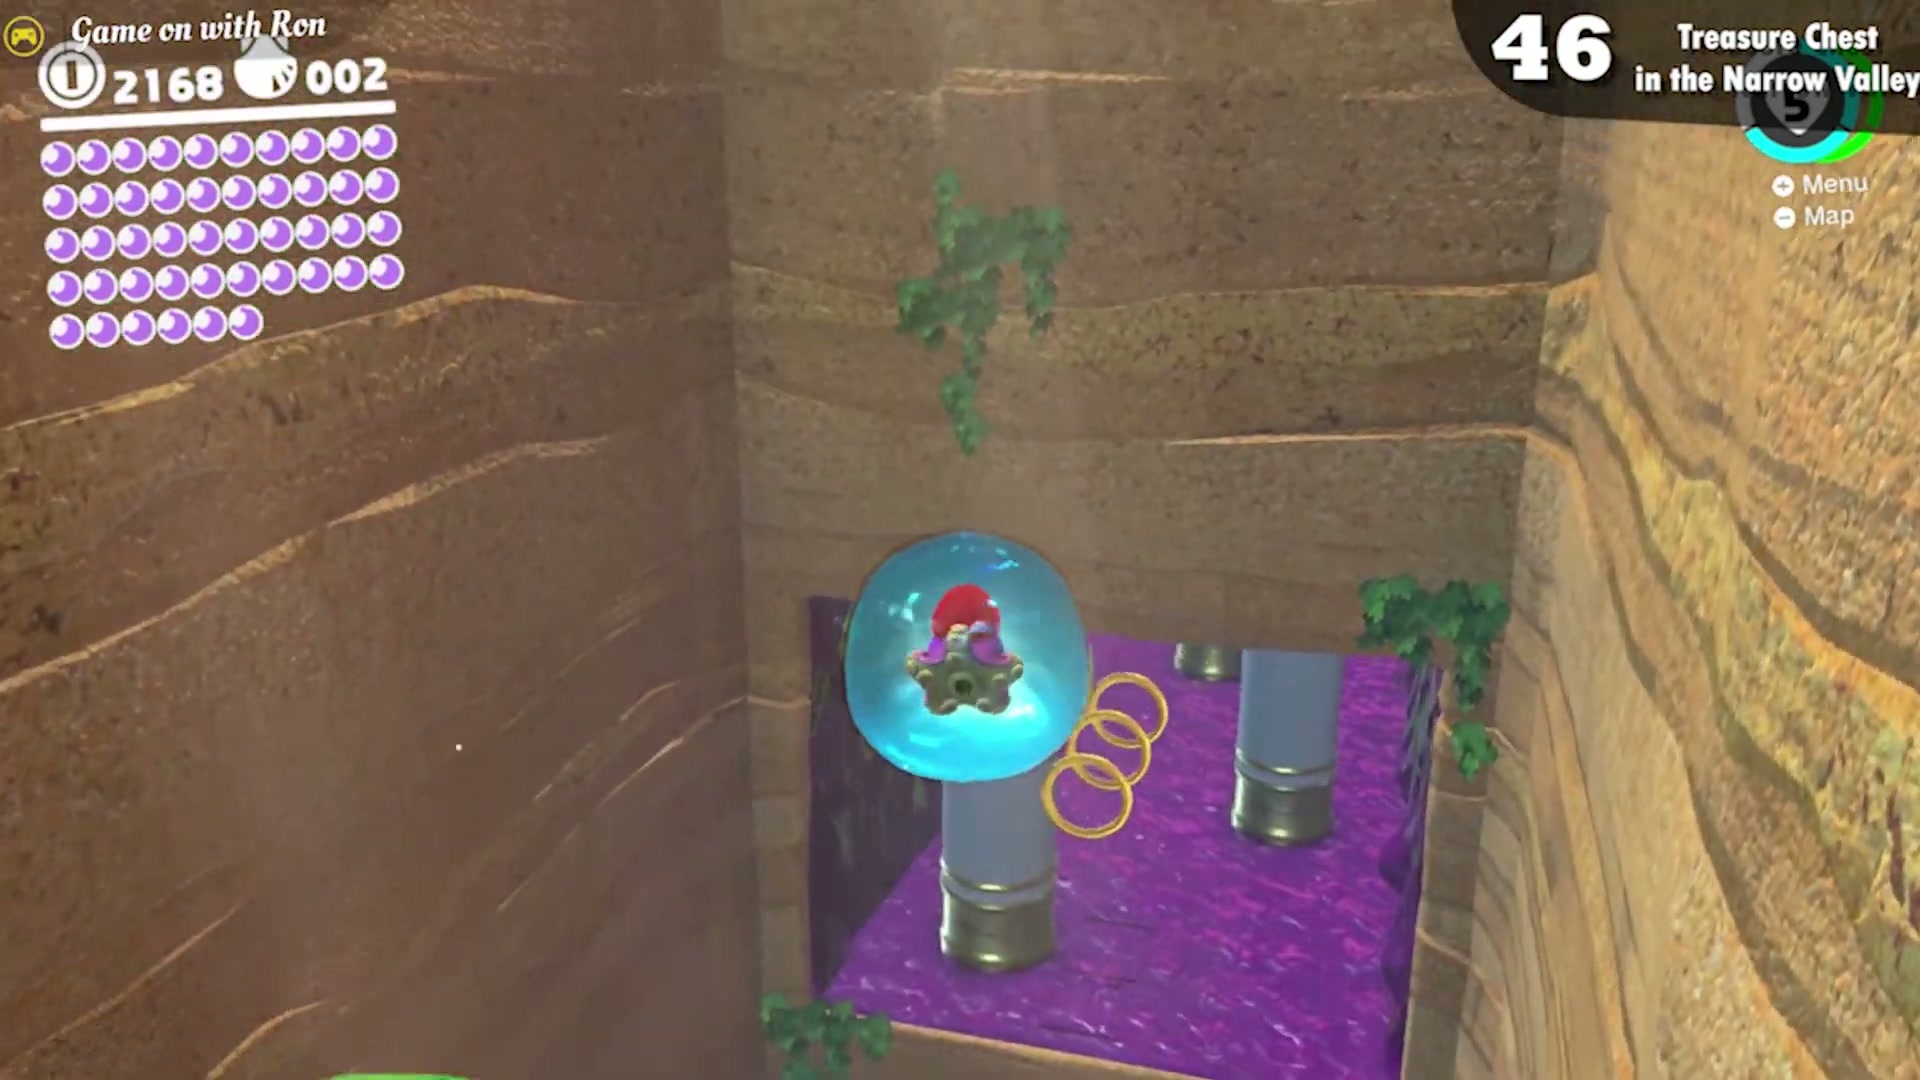
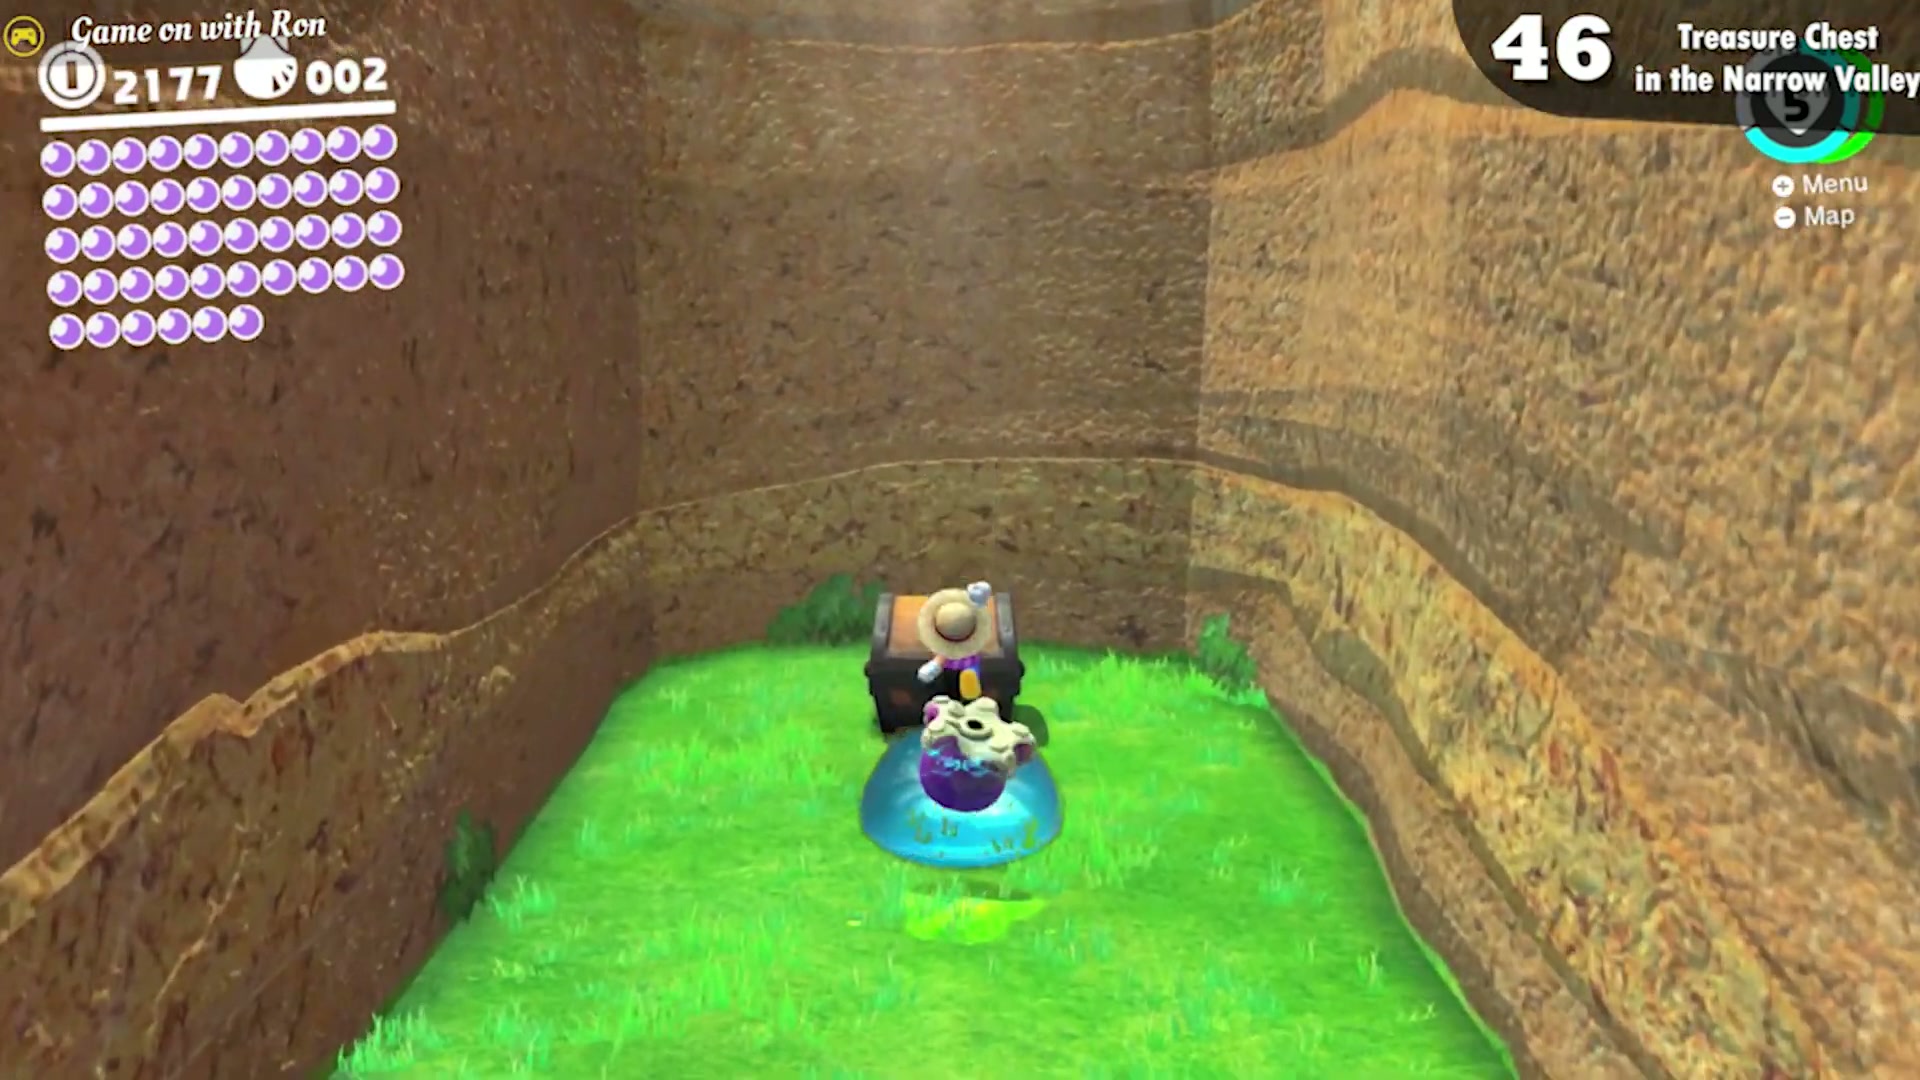
Treasure Chest in the Narrow Valley
In the same bonus area as the Fly Through the Narrow Valley moon, keep going past the point where you would normally drop to collect that moon. A treasure chest further along holds this second moon.
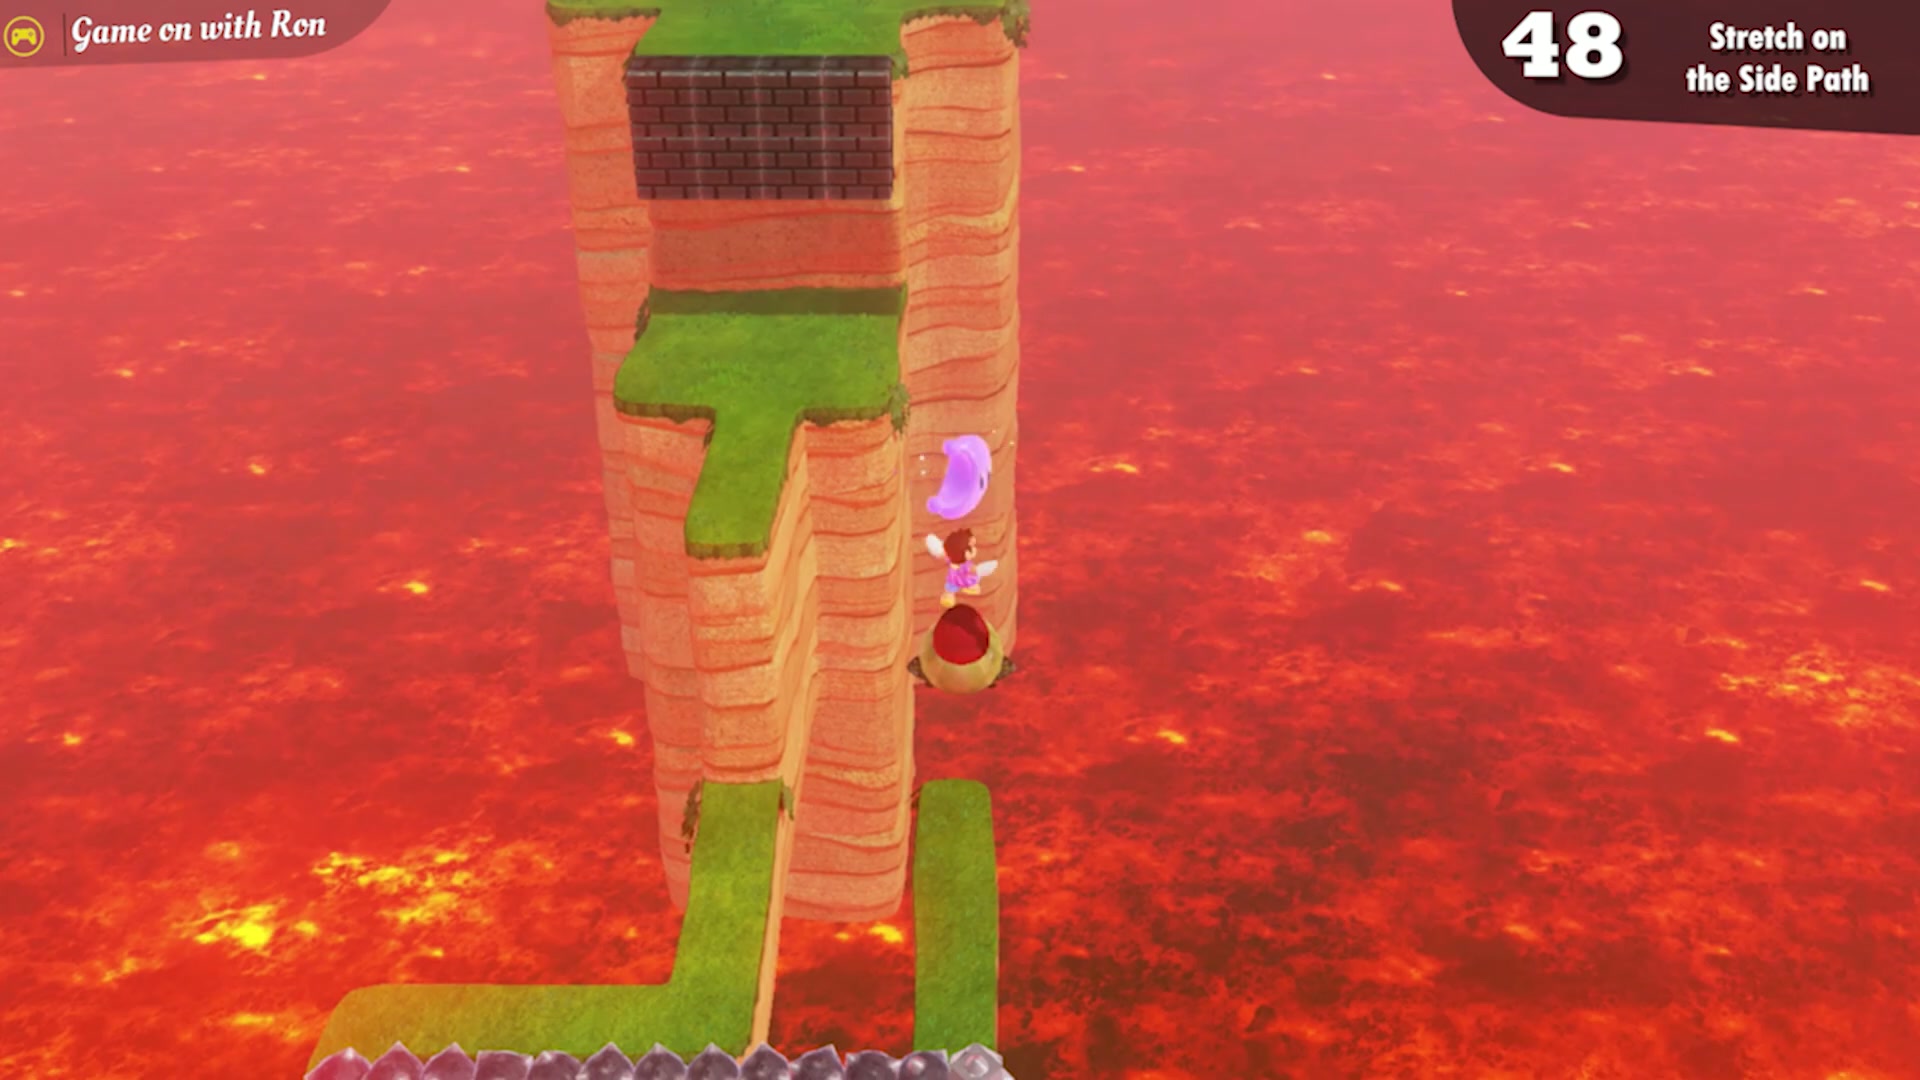
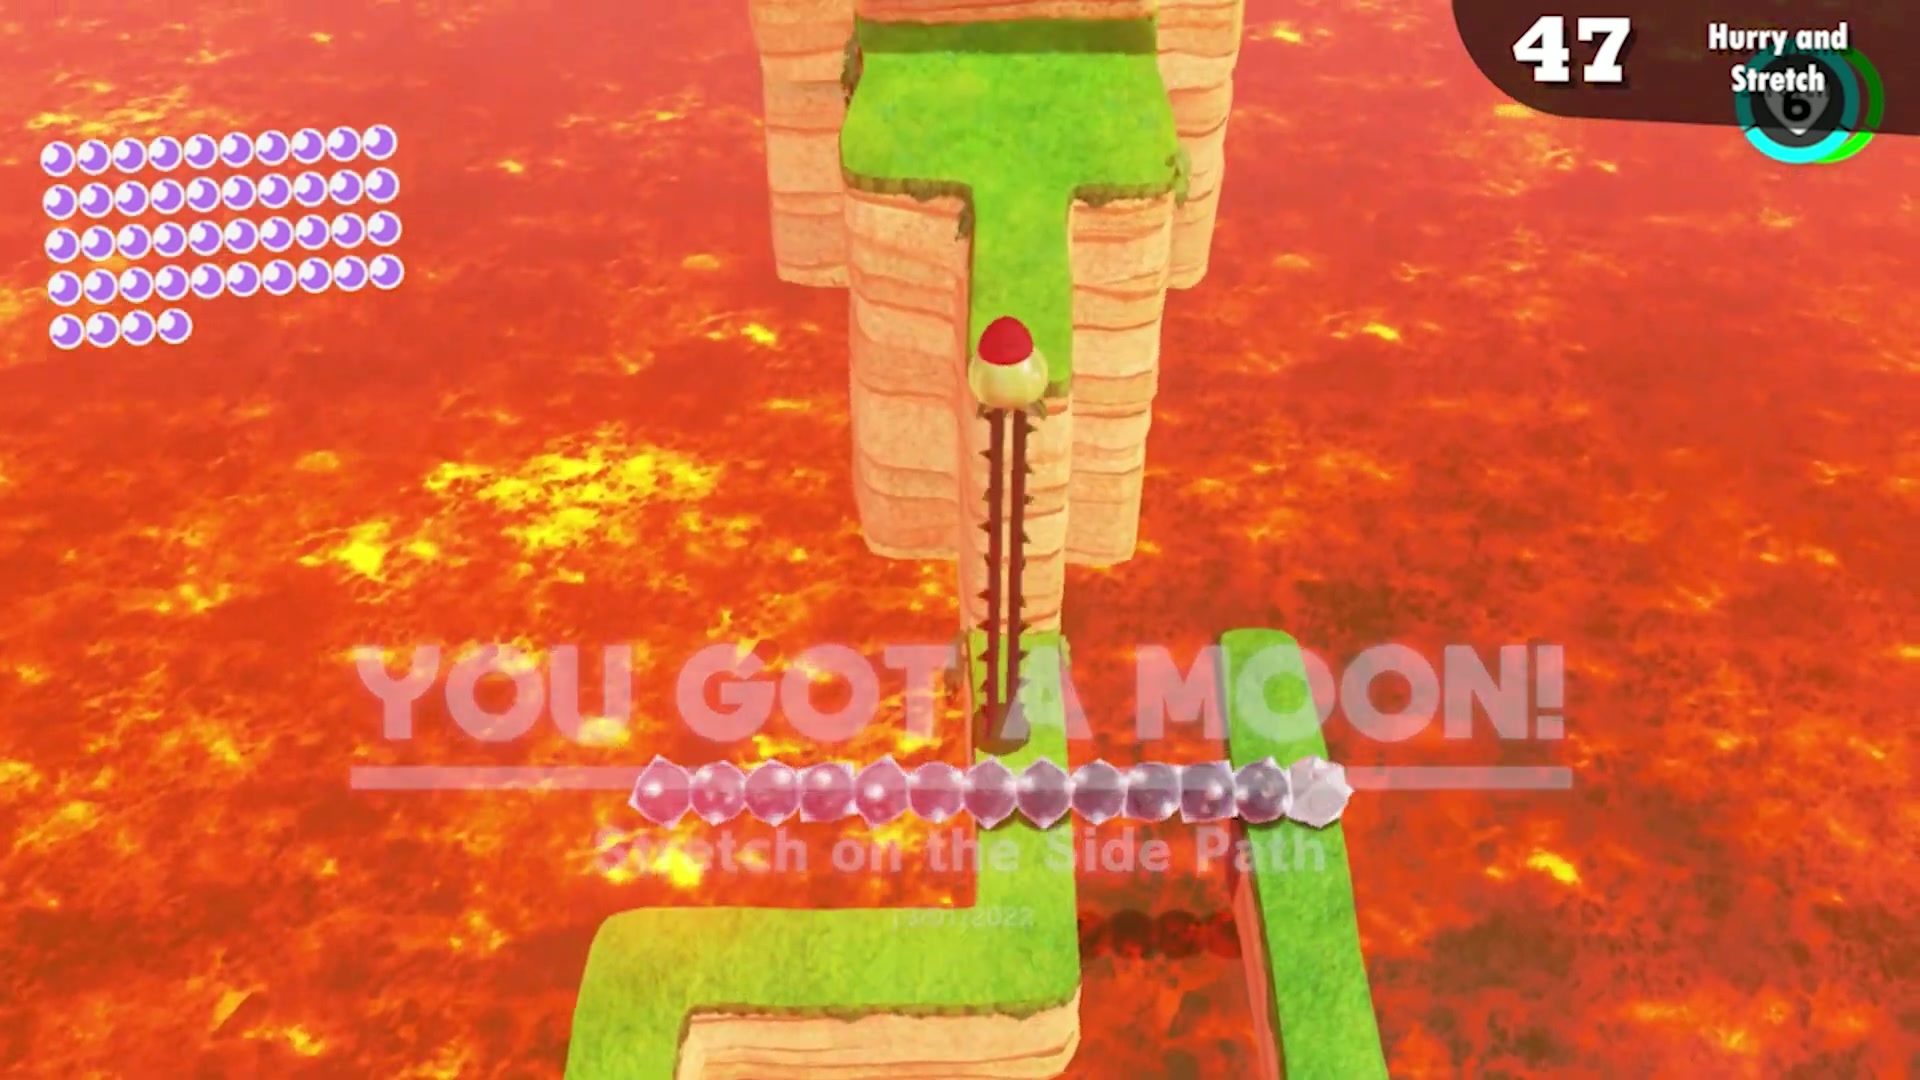
Hurry and Stretch
Underwater in the northeast of the kingdom, near Hot Spring Island, a door in an alcove leads to a bonus area. Capture the Uproots and climb the rising tower past Moonsnakes and rising lava. Even in Assist Mode, touching the lava costs Mario a life and 10 coins.
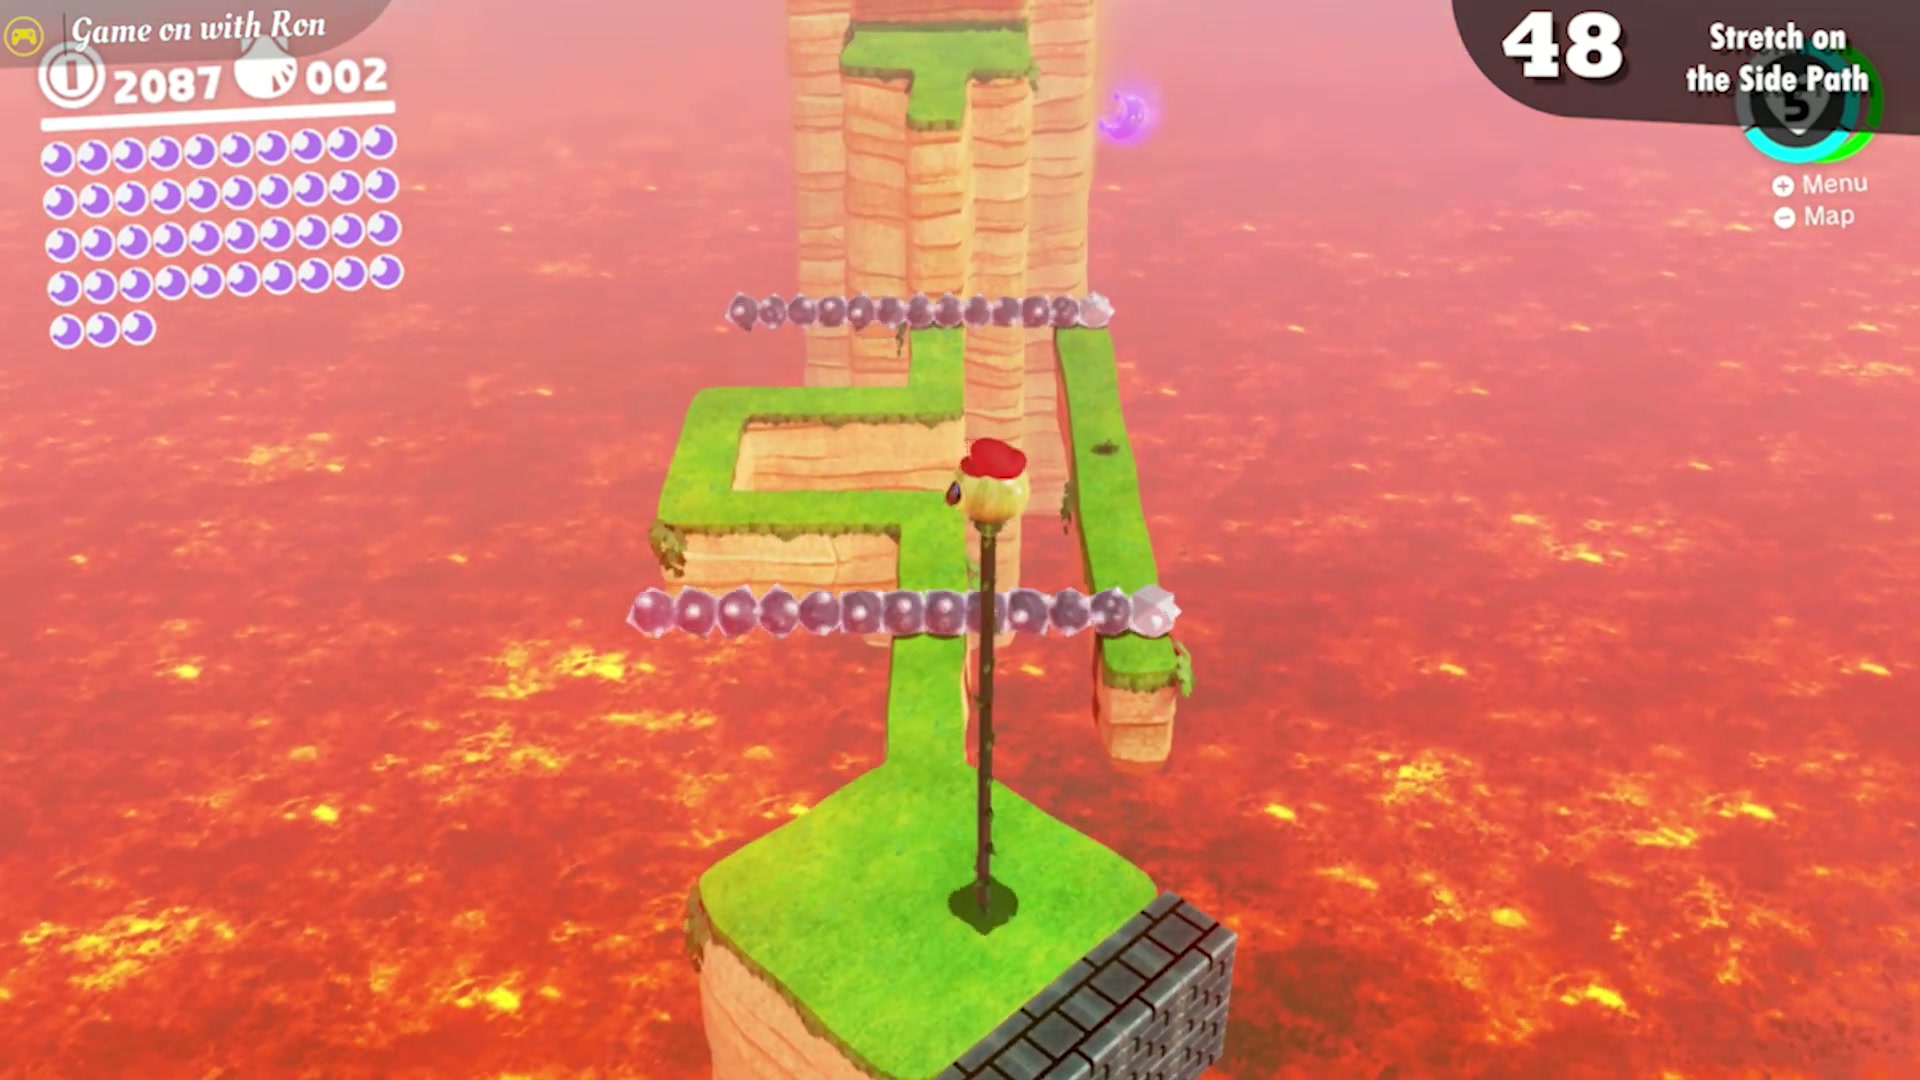
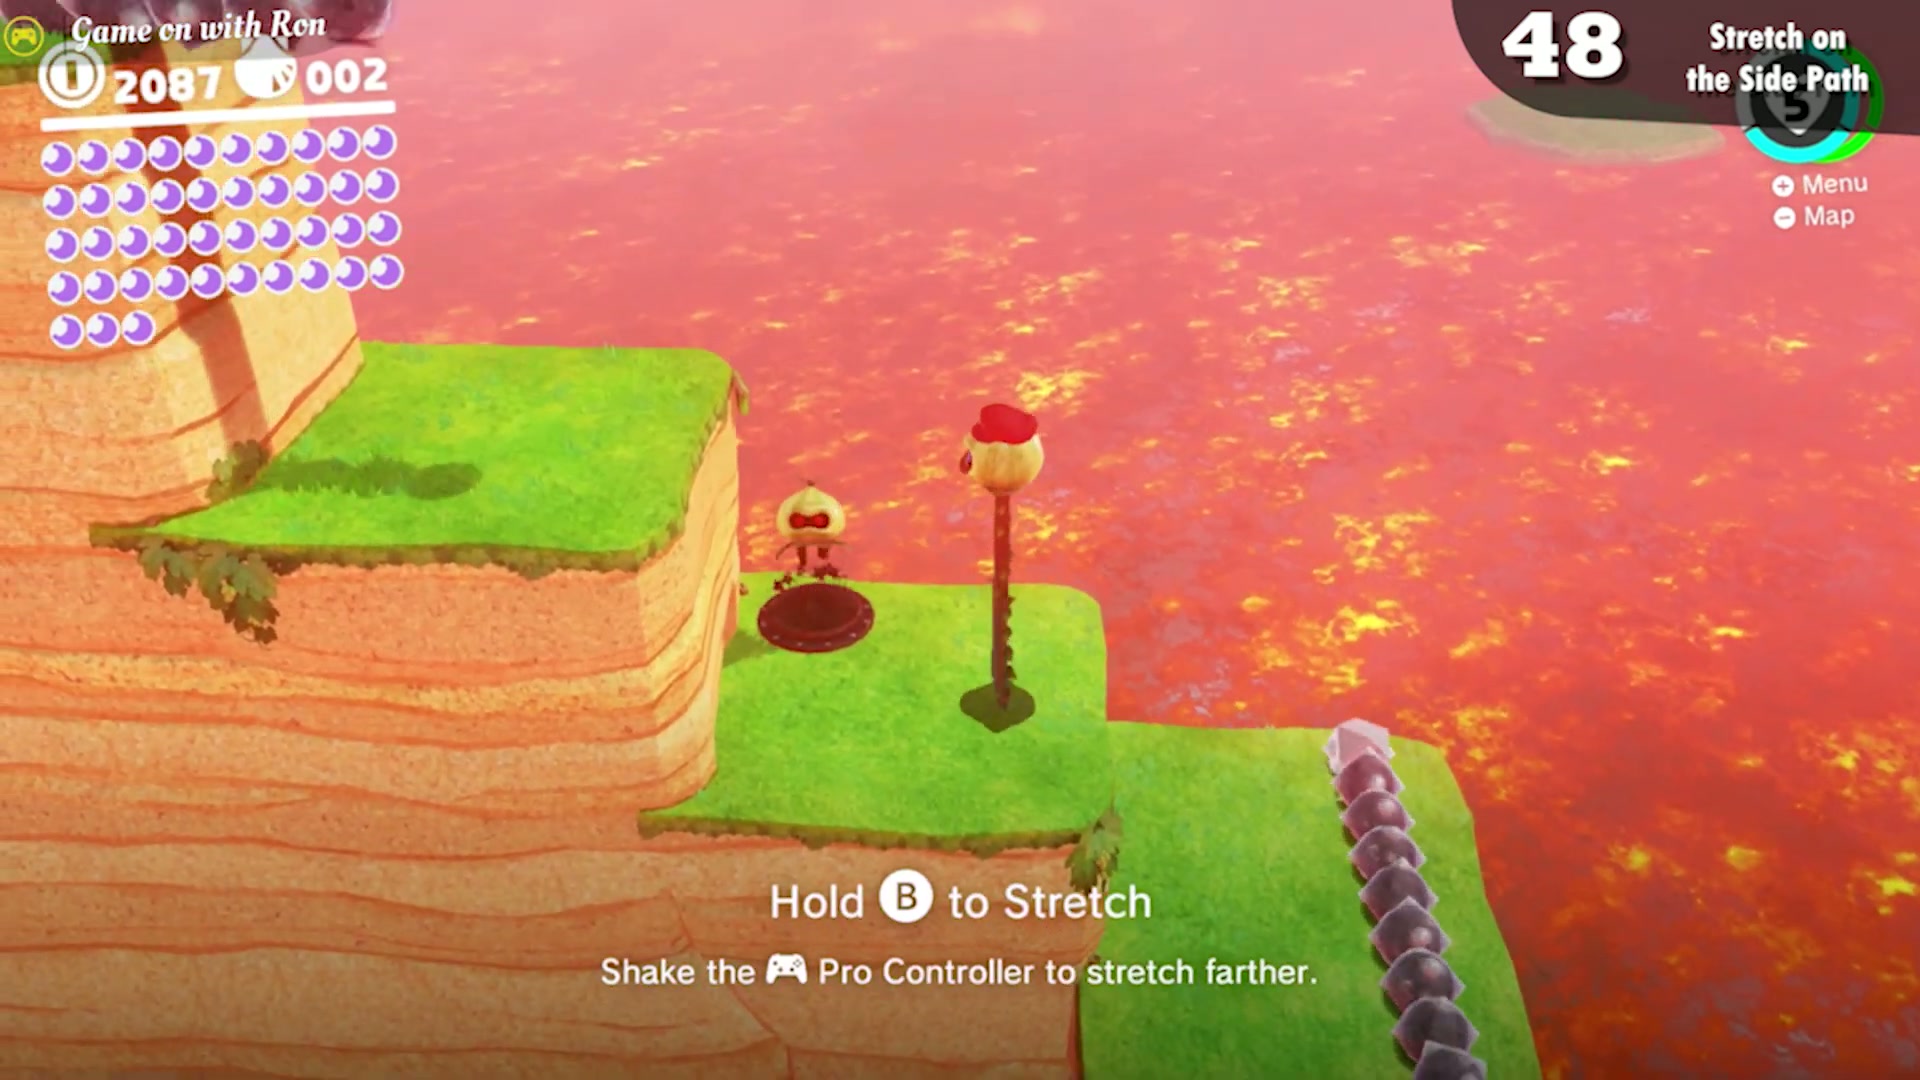
Stretch on the Side Path
In the same bonus area as the Hurry and Stretch moon, at the narrow side path, this moon floats above the right side. Capture an Uproot and stretch upward to grab it.
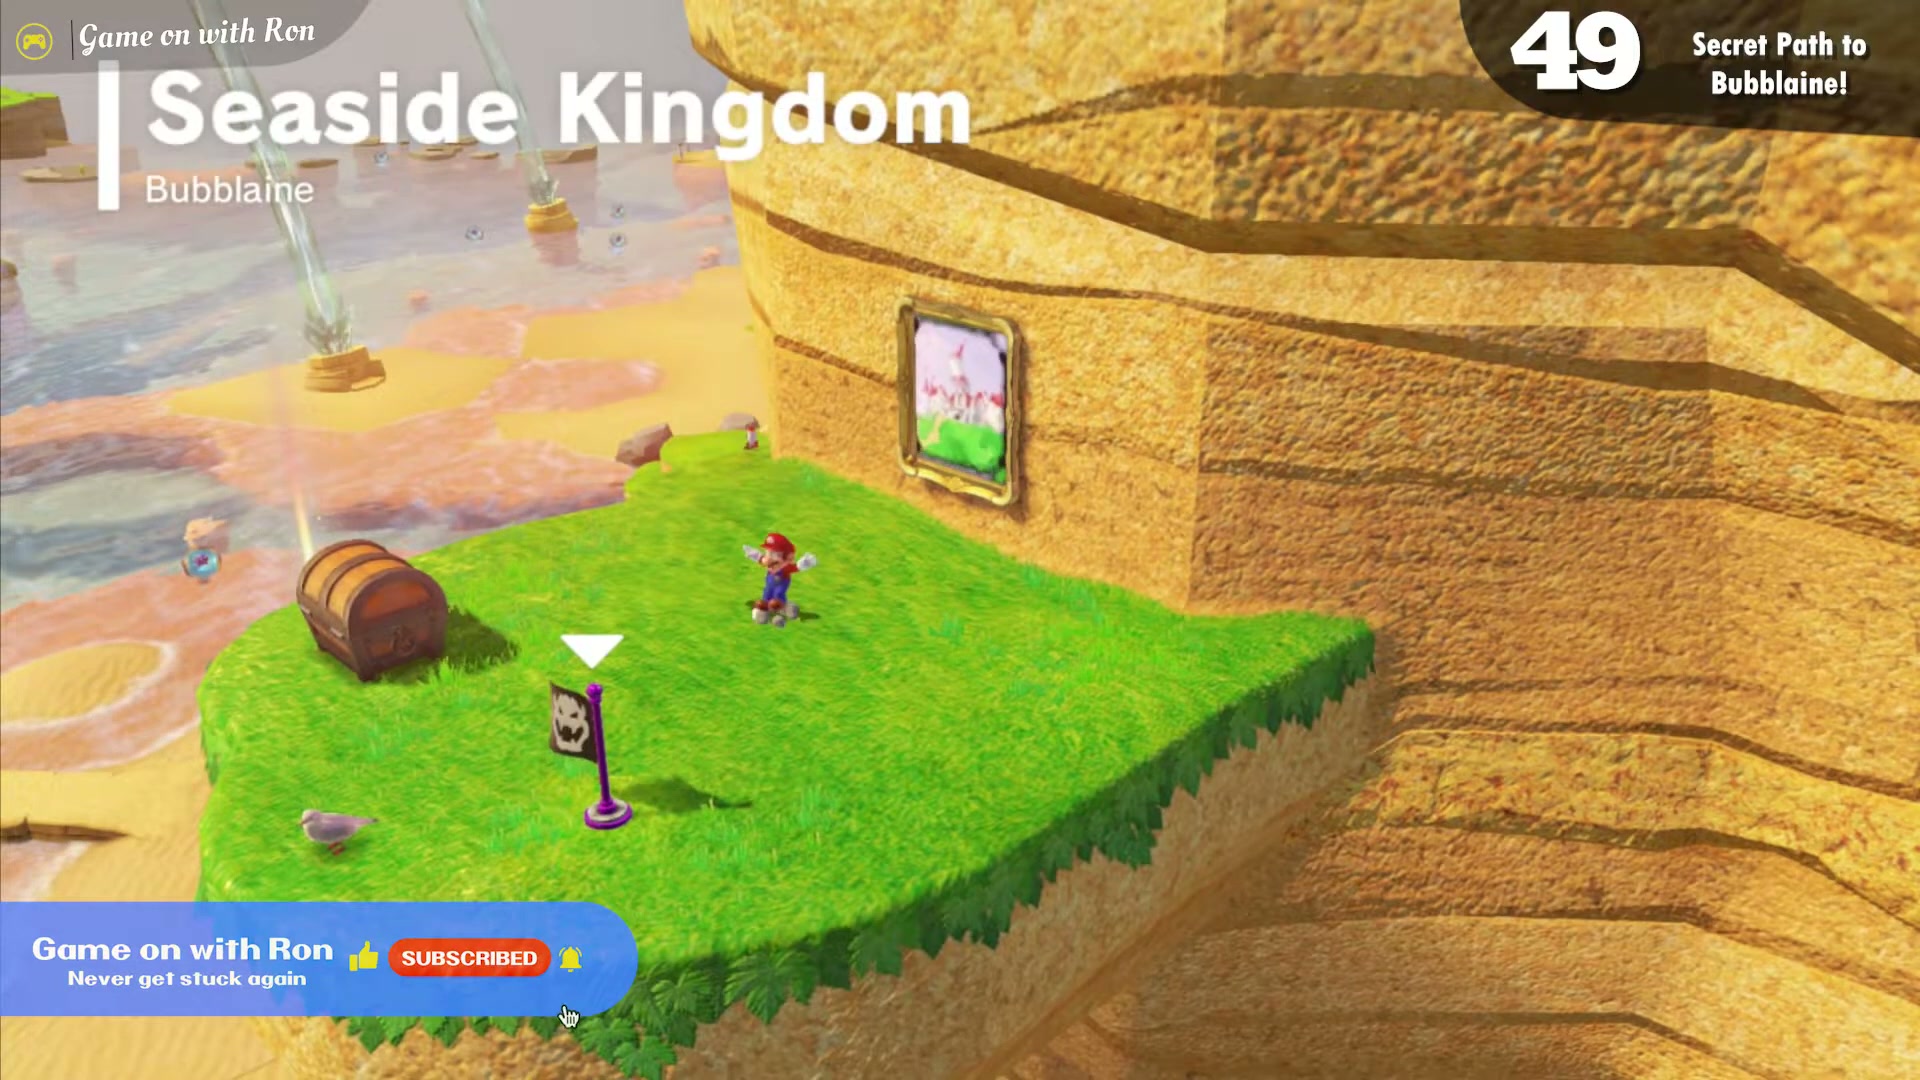
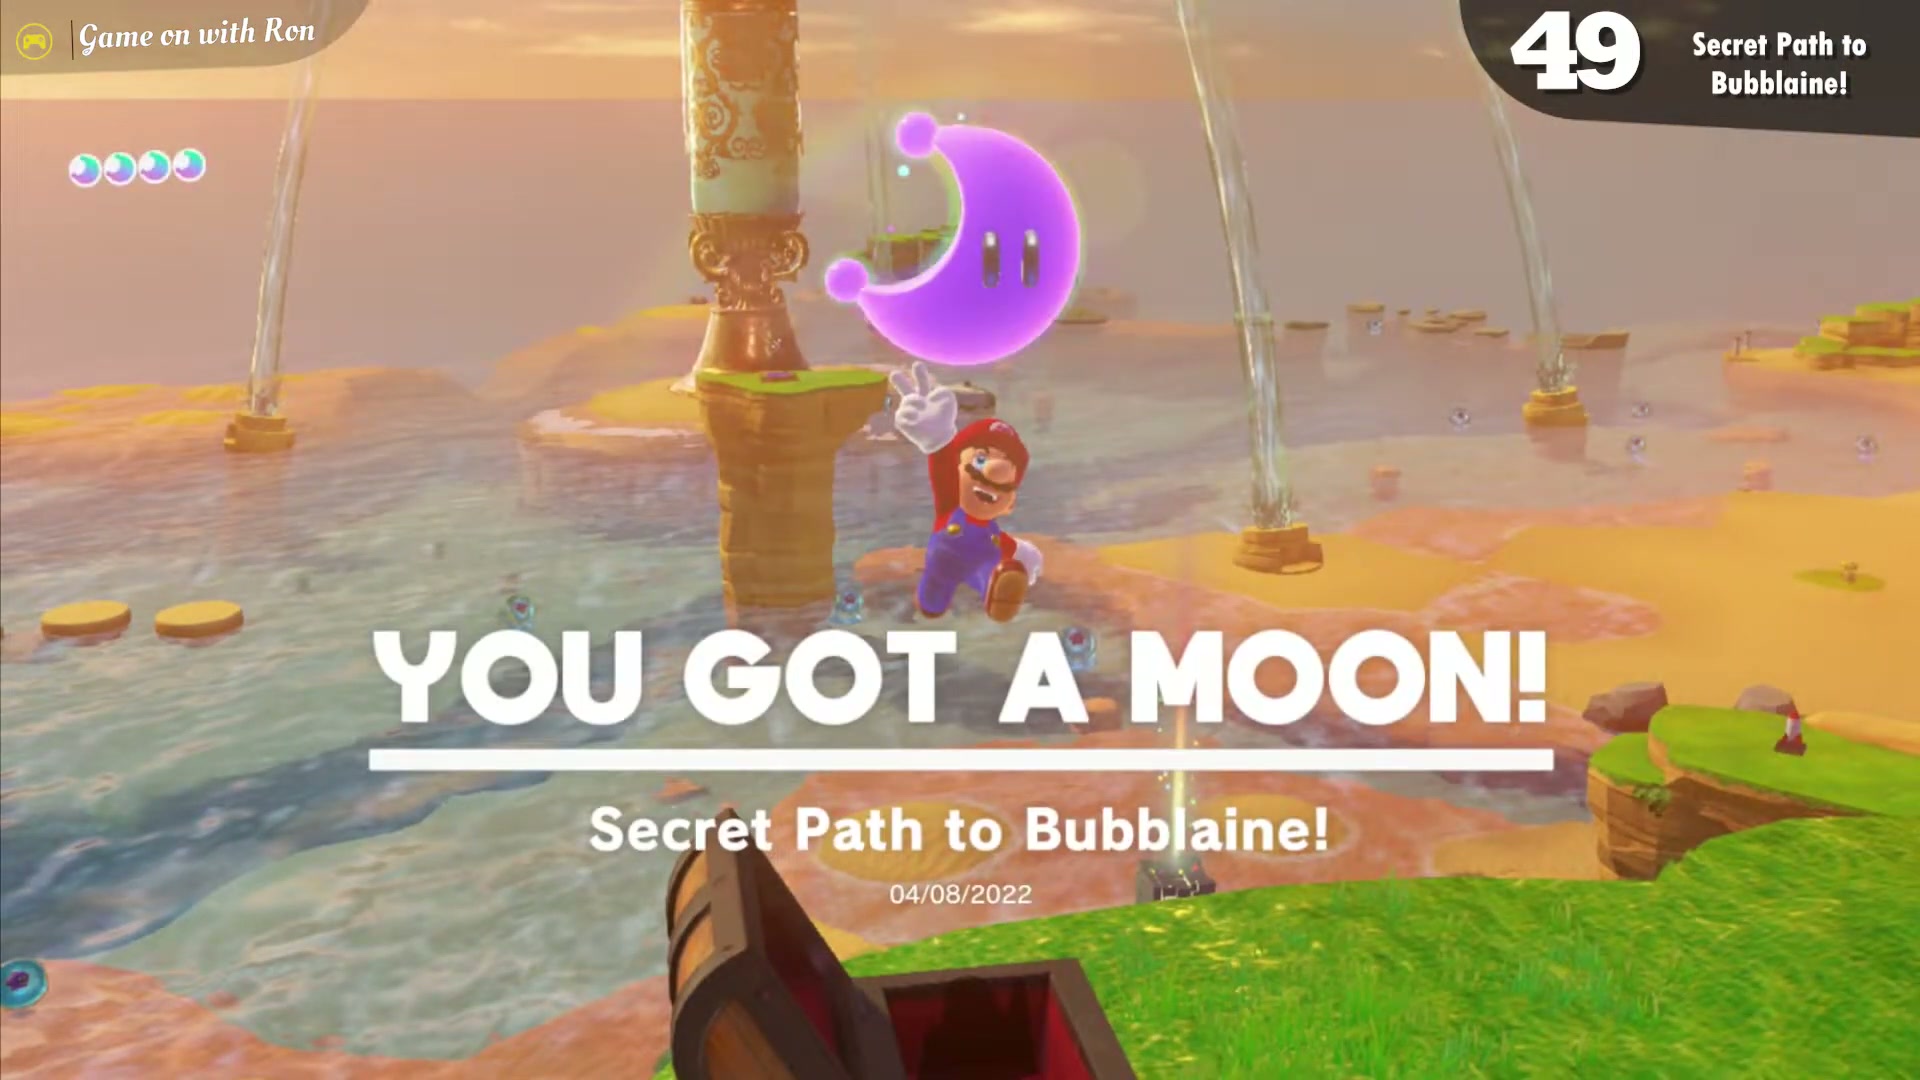
Secret Path to Bubblaine!
This moon sits on top of the Diving Platform, reached through a painting found in another kingdom. In Bowser’s Kingdom the painting is behind the left building at the Main Courtyard Entrance; in the Mushroom Kingdom it is between some trees near the Odyssey.
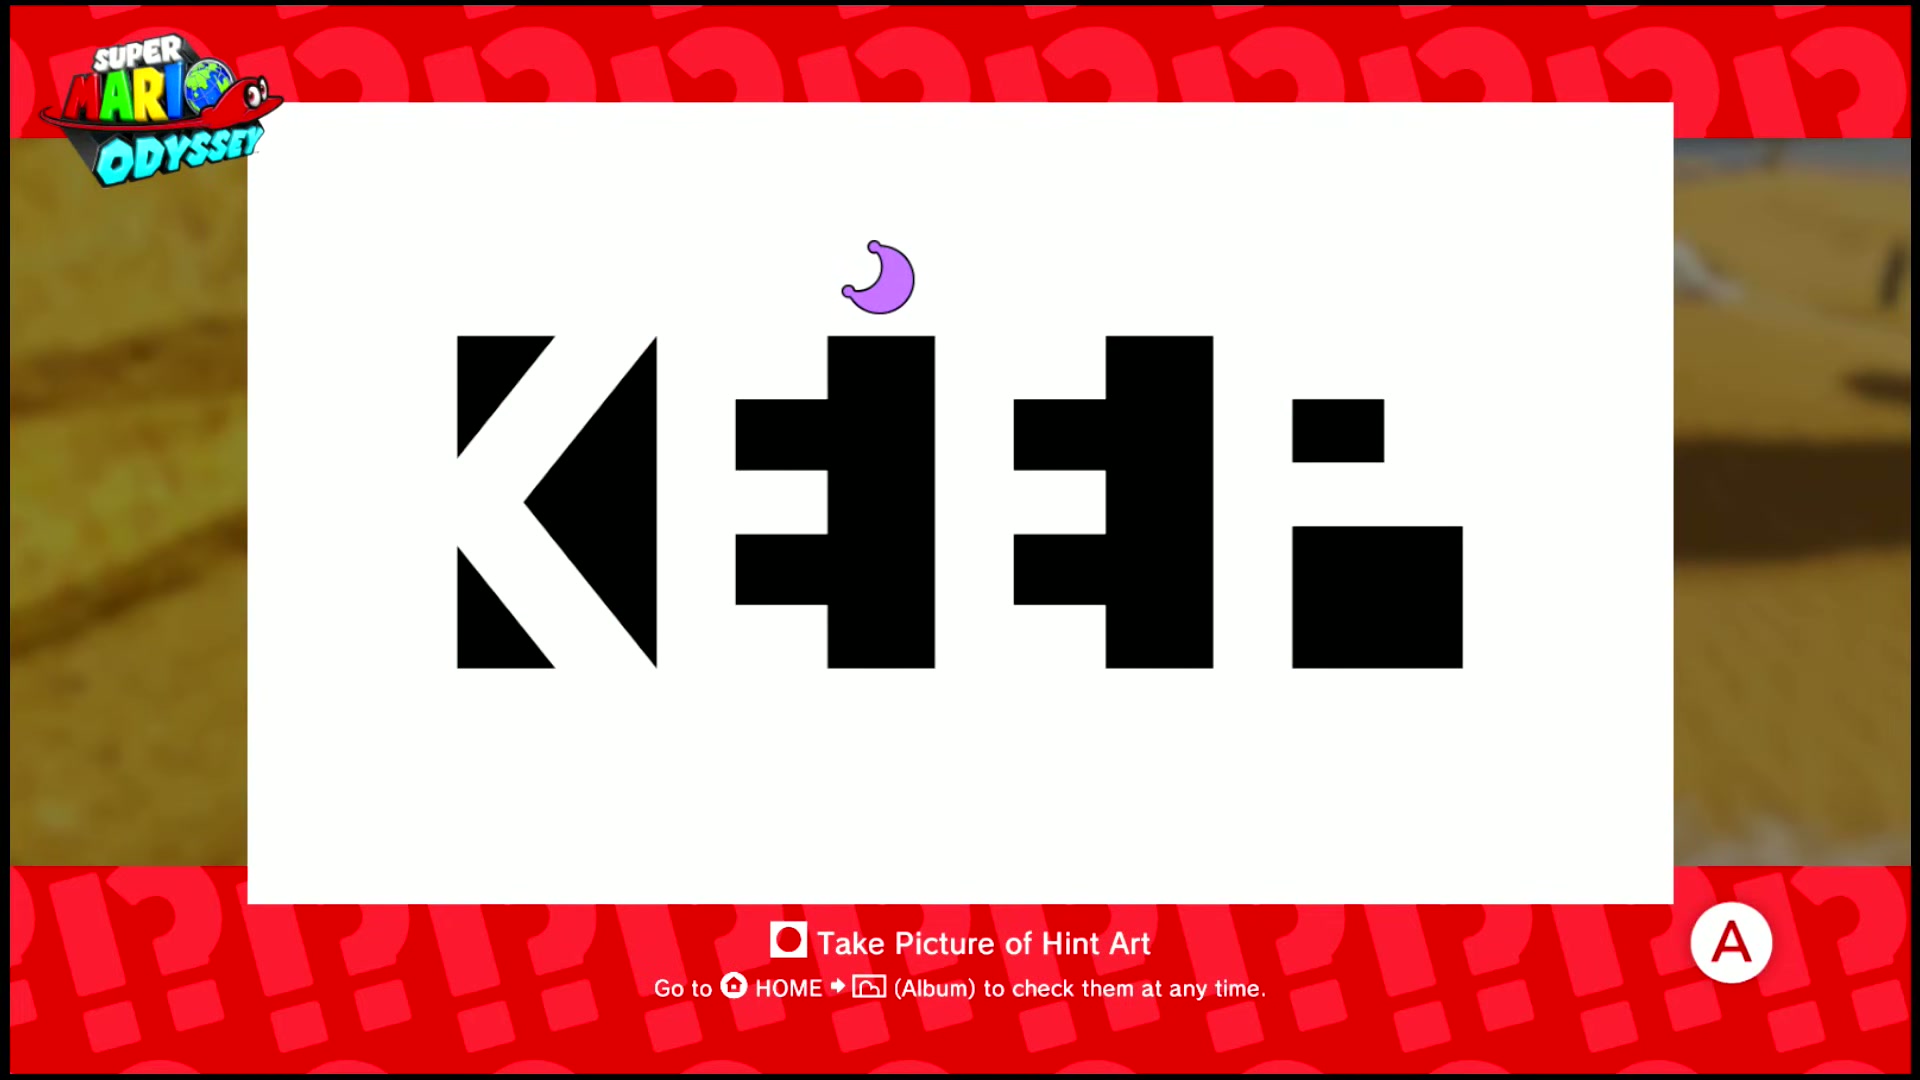
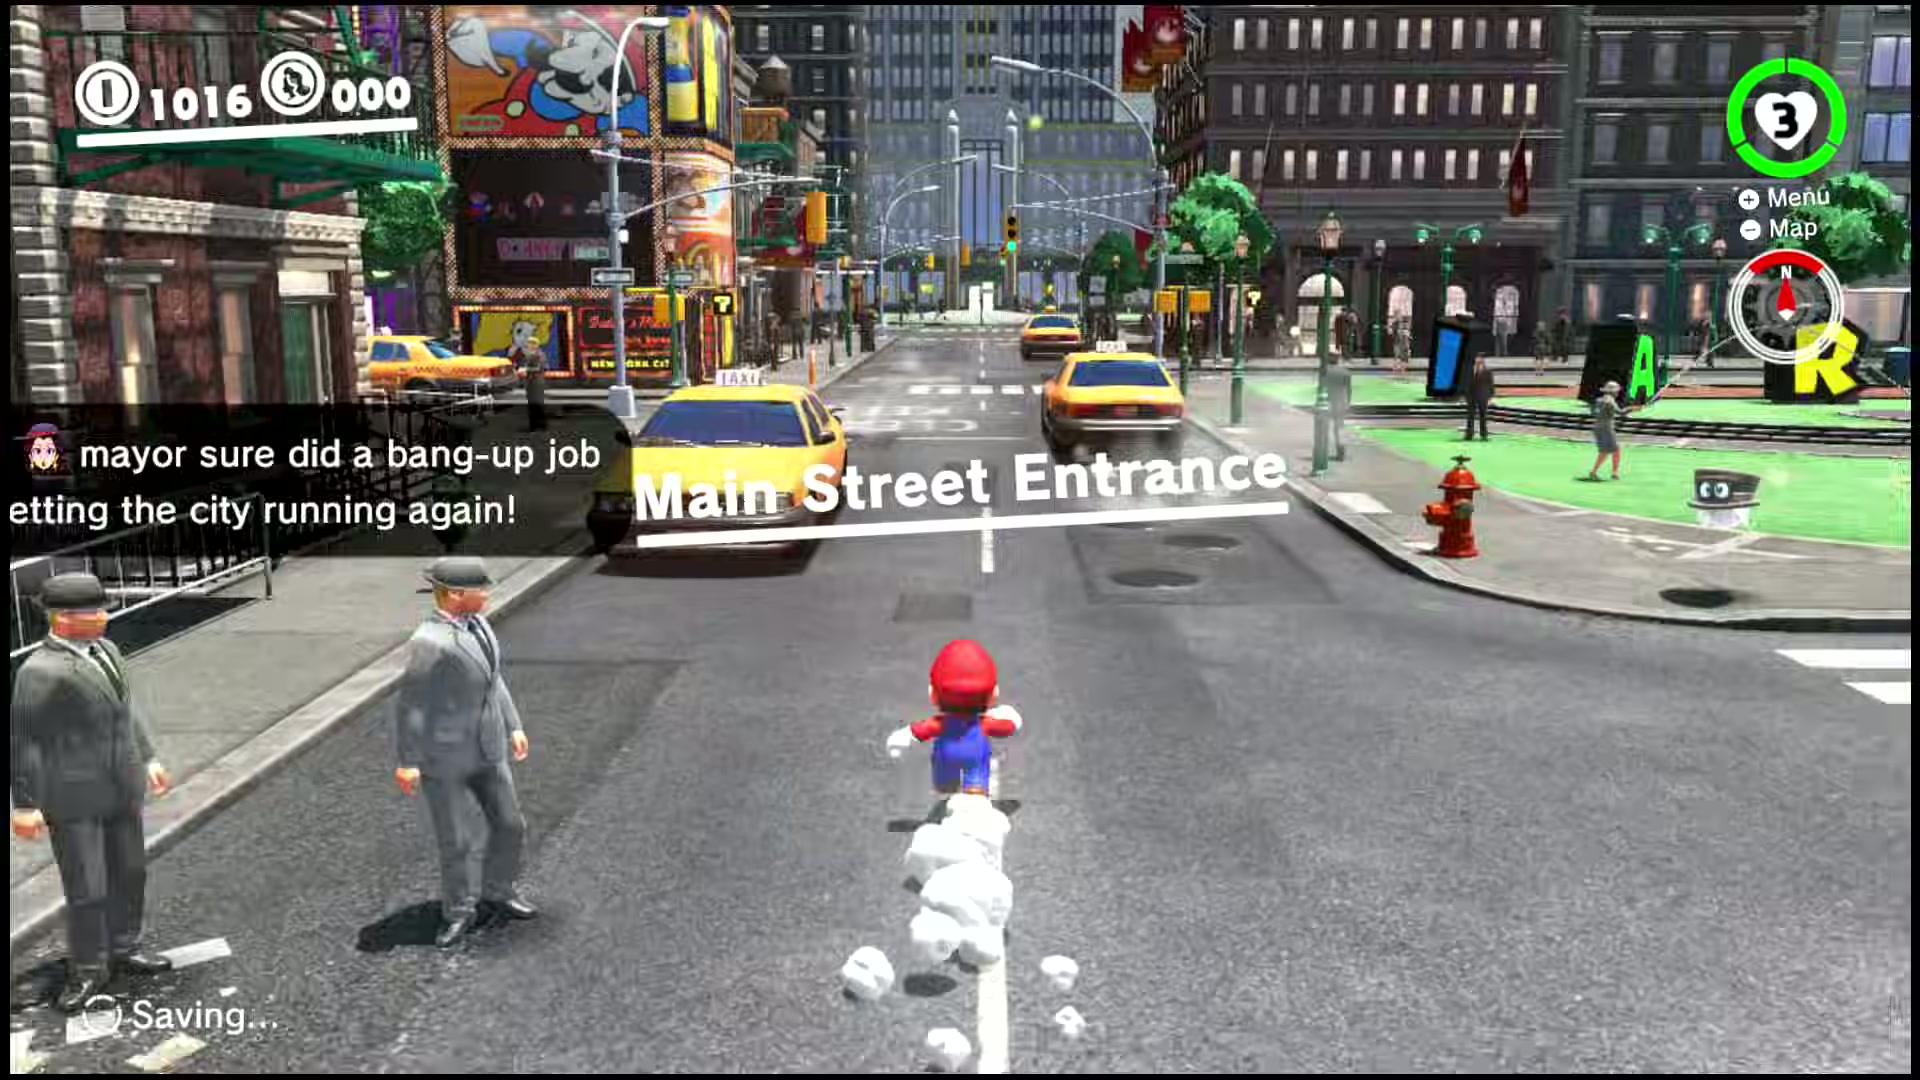
Found with Seaside Kingdom Art
In the Seaside Kingdom you can find a piece of Hint Art. The picture points to a spot in the Metro Kingdom near the Main Street Entrance. Travel there and ground pound the marked spot to dig up the moon.
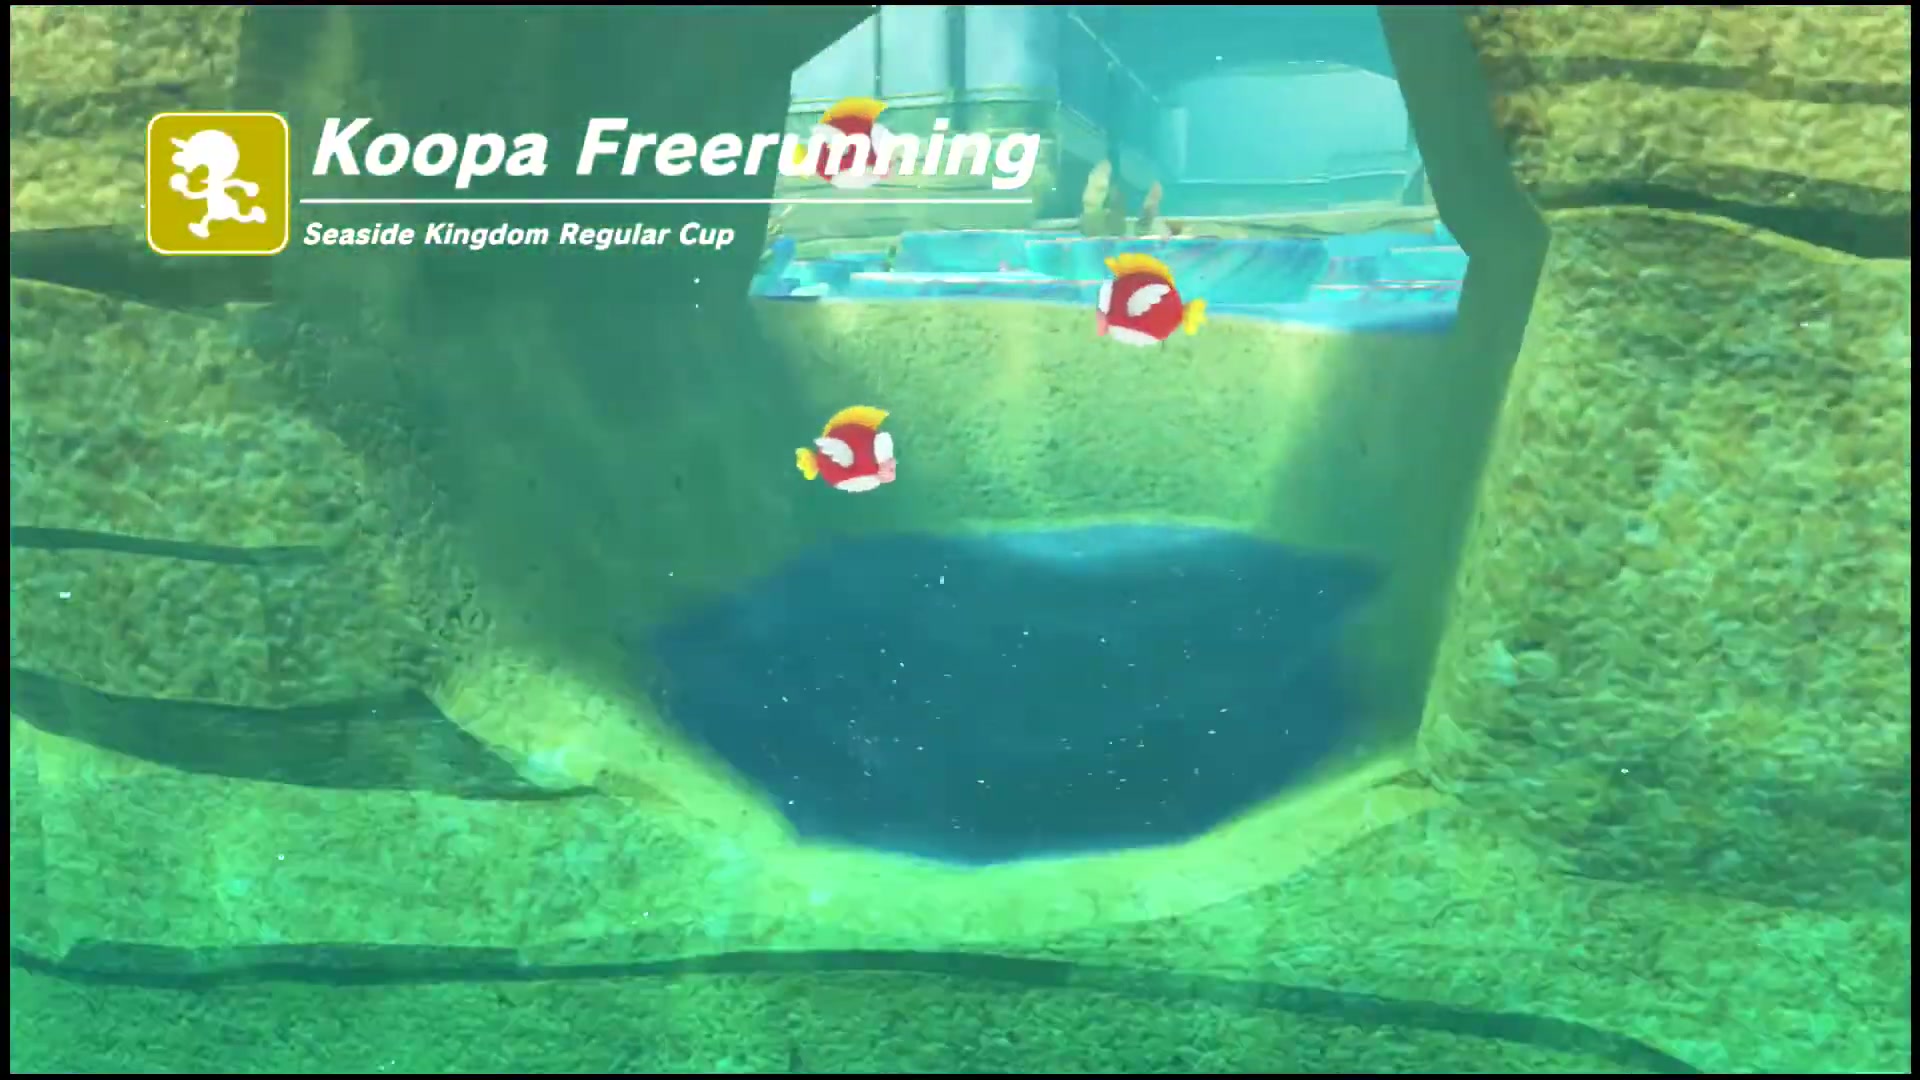
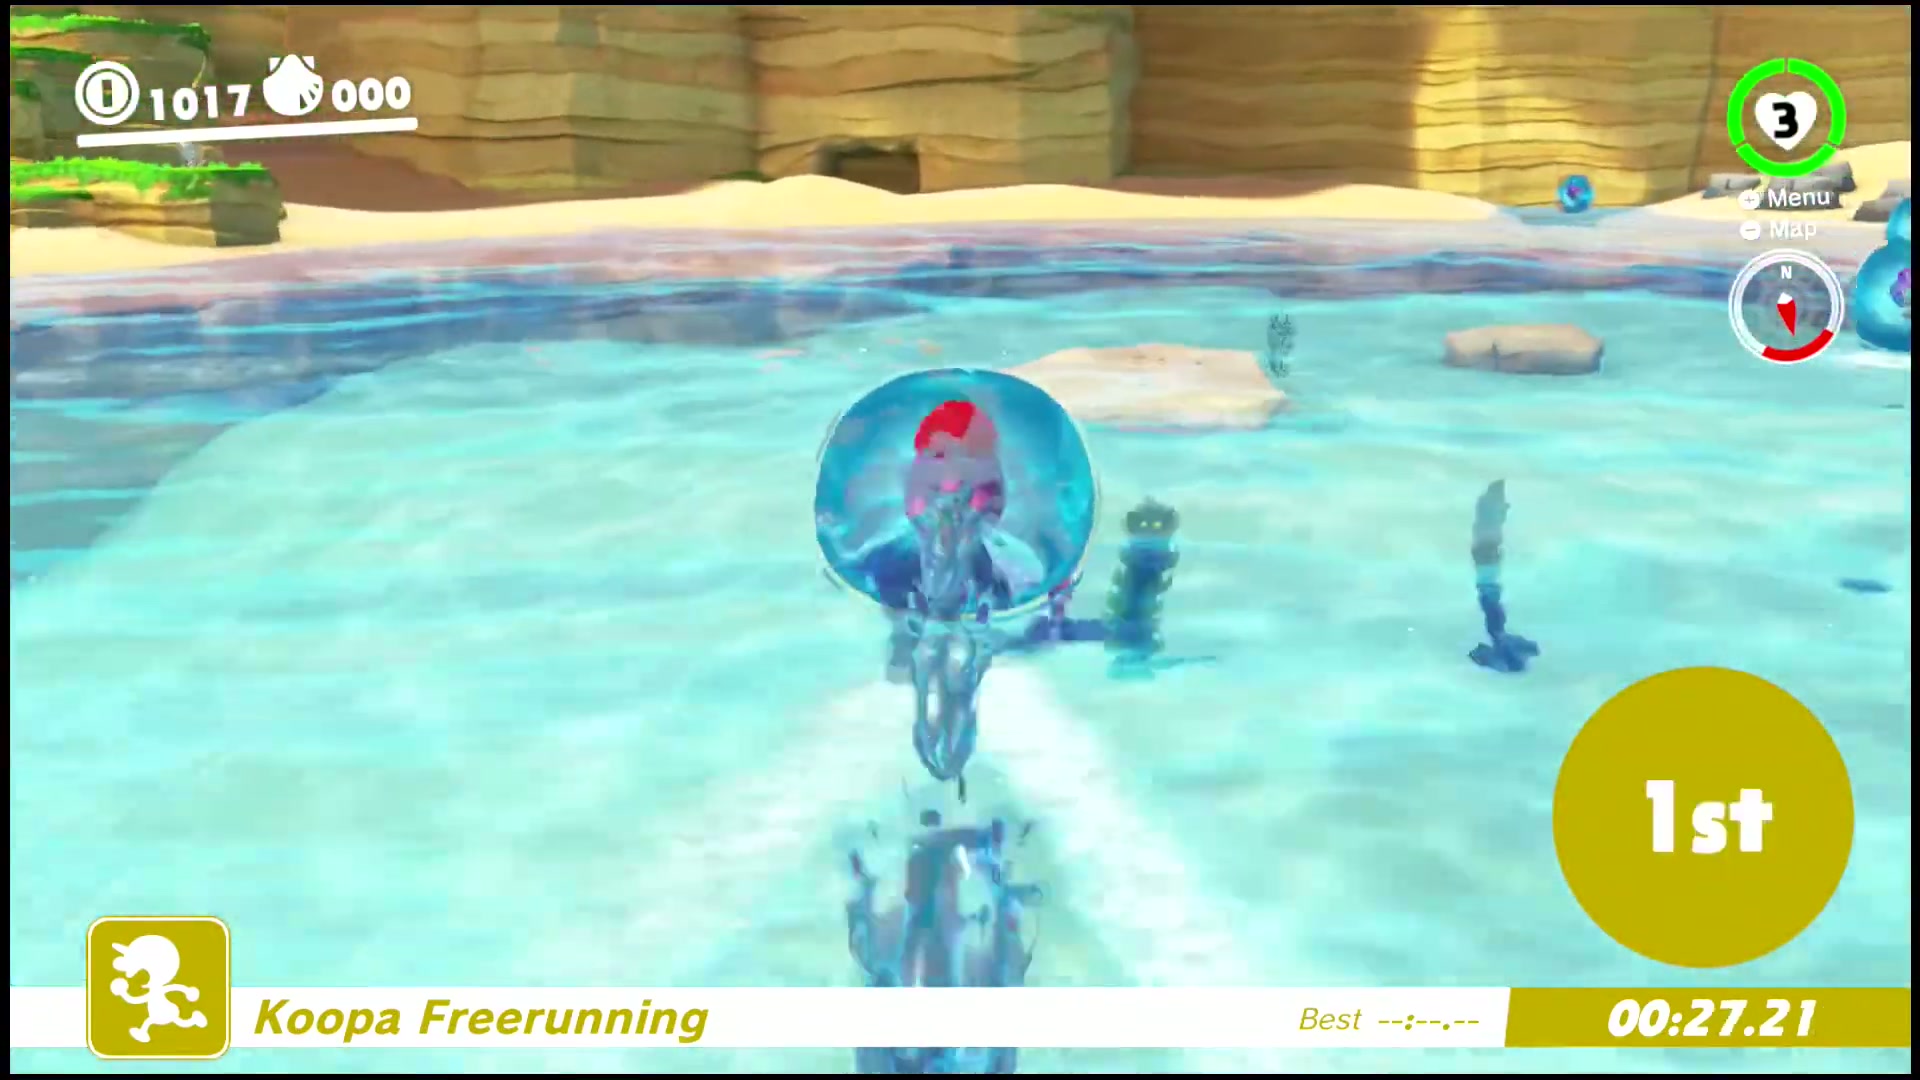
Seaside Kingdom Regular Cup
In the northwest of the kingdom a Koopa Troopa hosts the Koopa Freerunning mini-game. Enter the Regular Cup race and finish in first place to earn the moon.
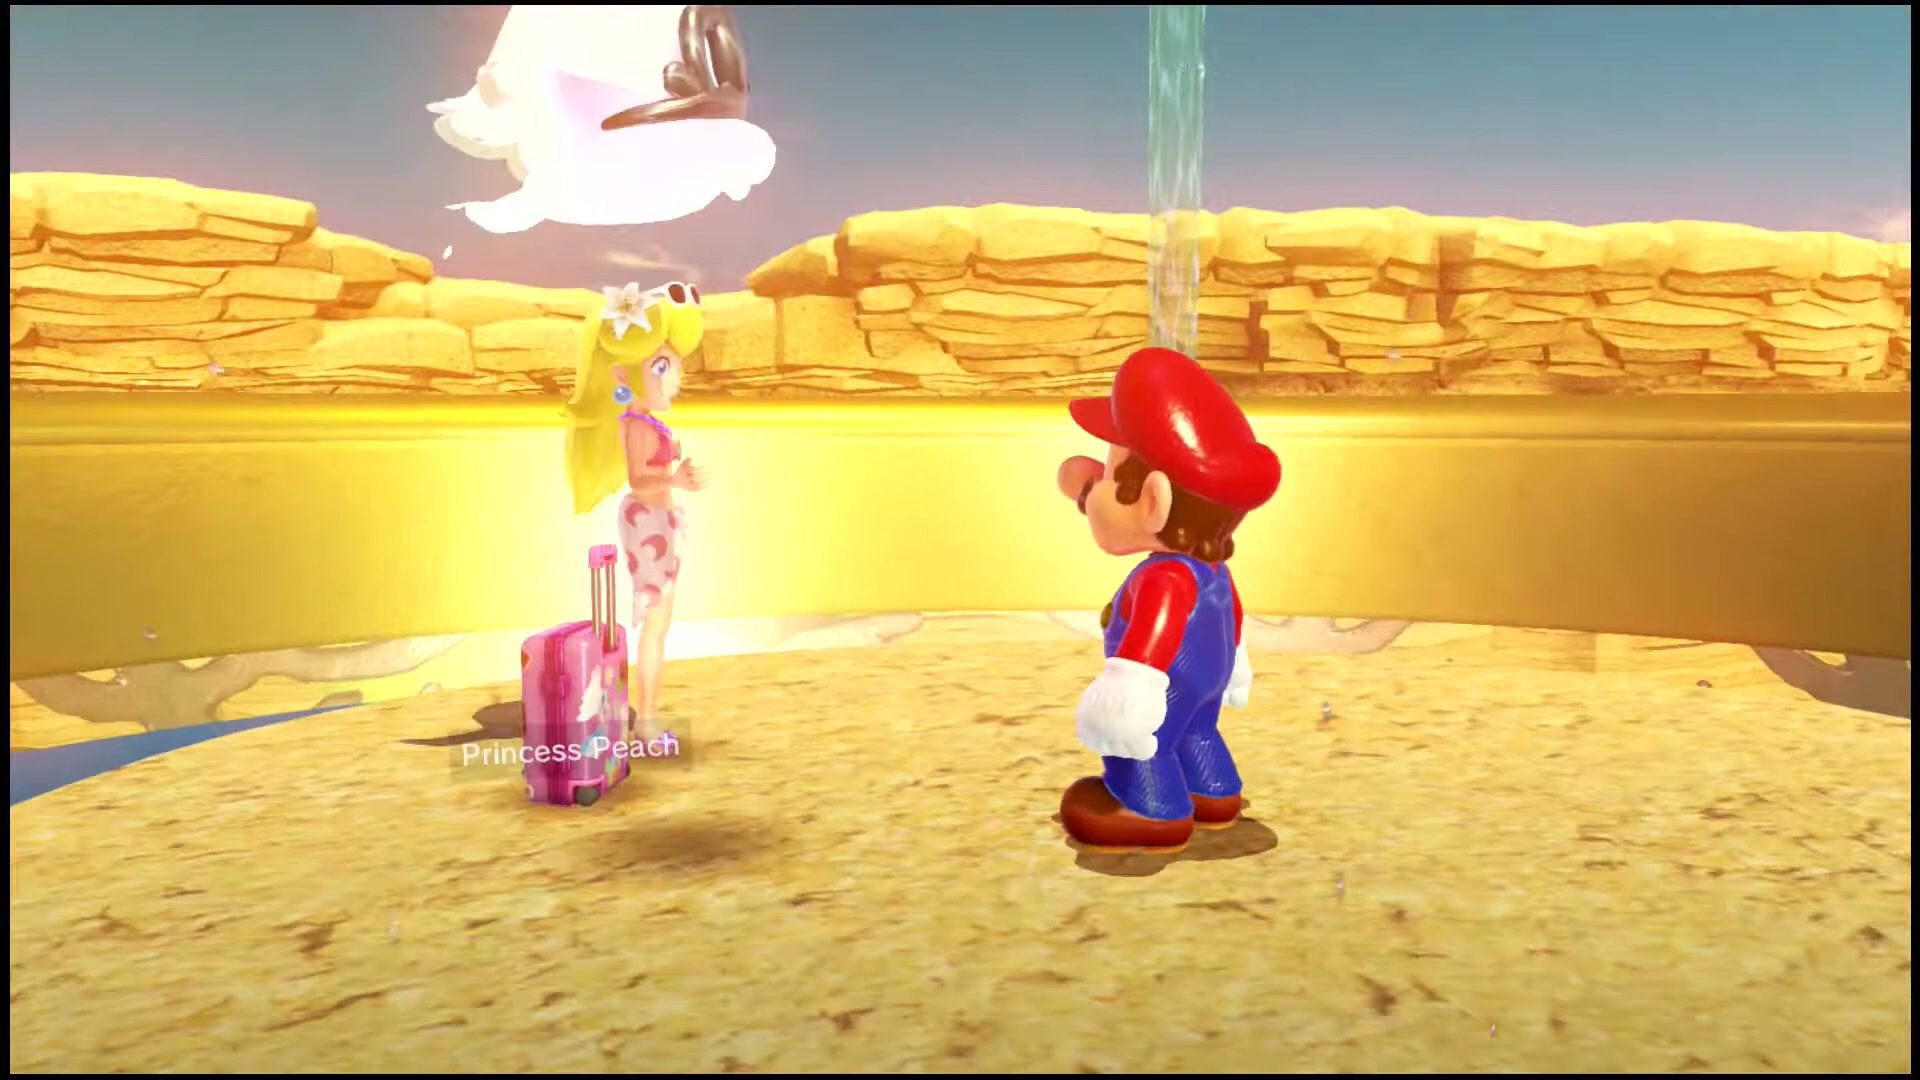
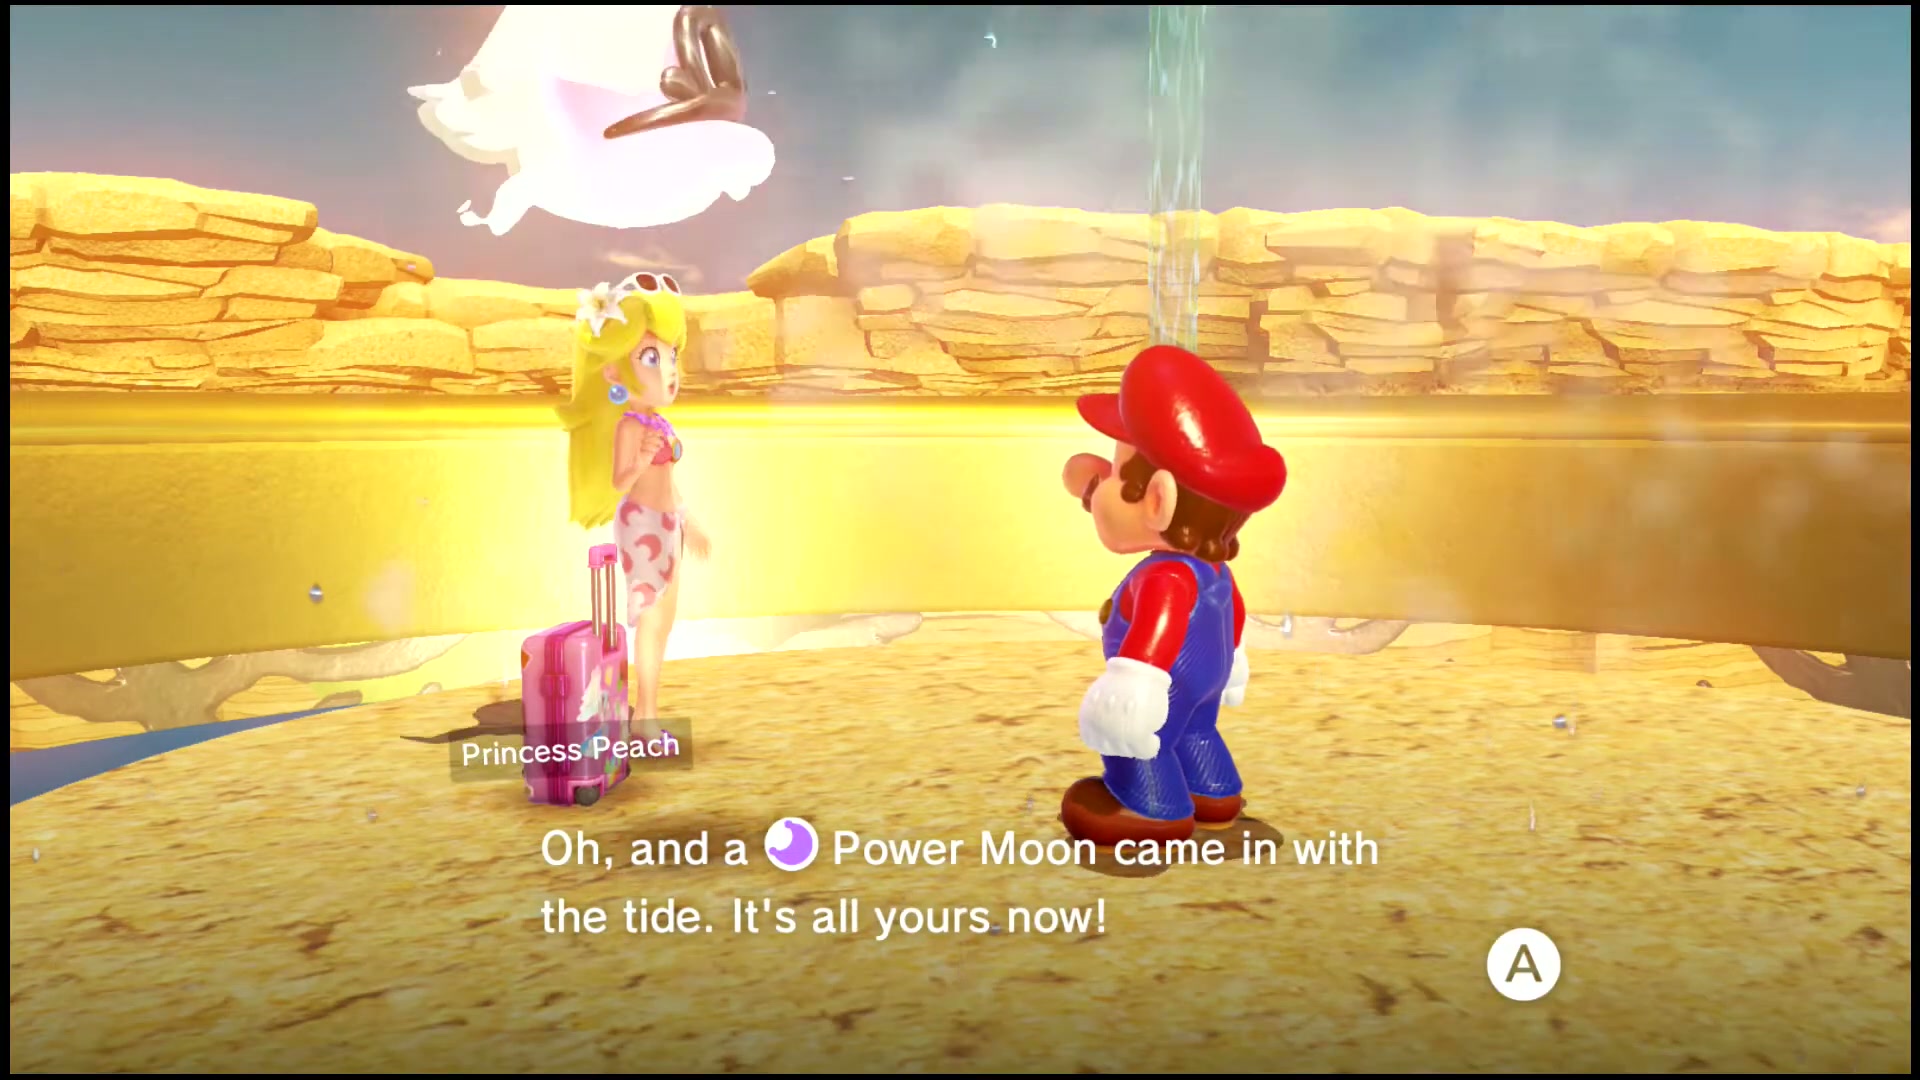
Peach in the Seaside Kingdom
After the story, Princess Peach and Tiara are visiting the beach in the Seaside Kingdom. Talk to Peach and she hands Mario a Power Moon that washed in with the tide.
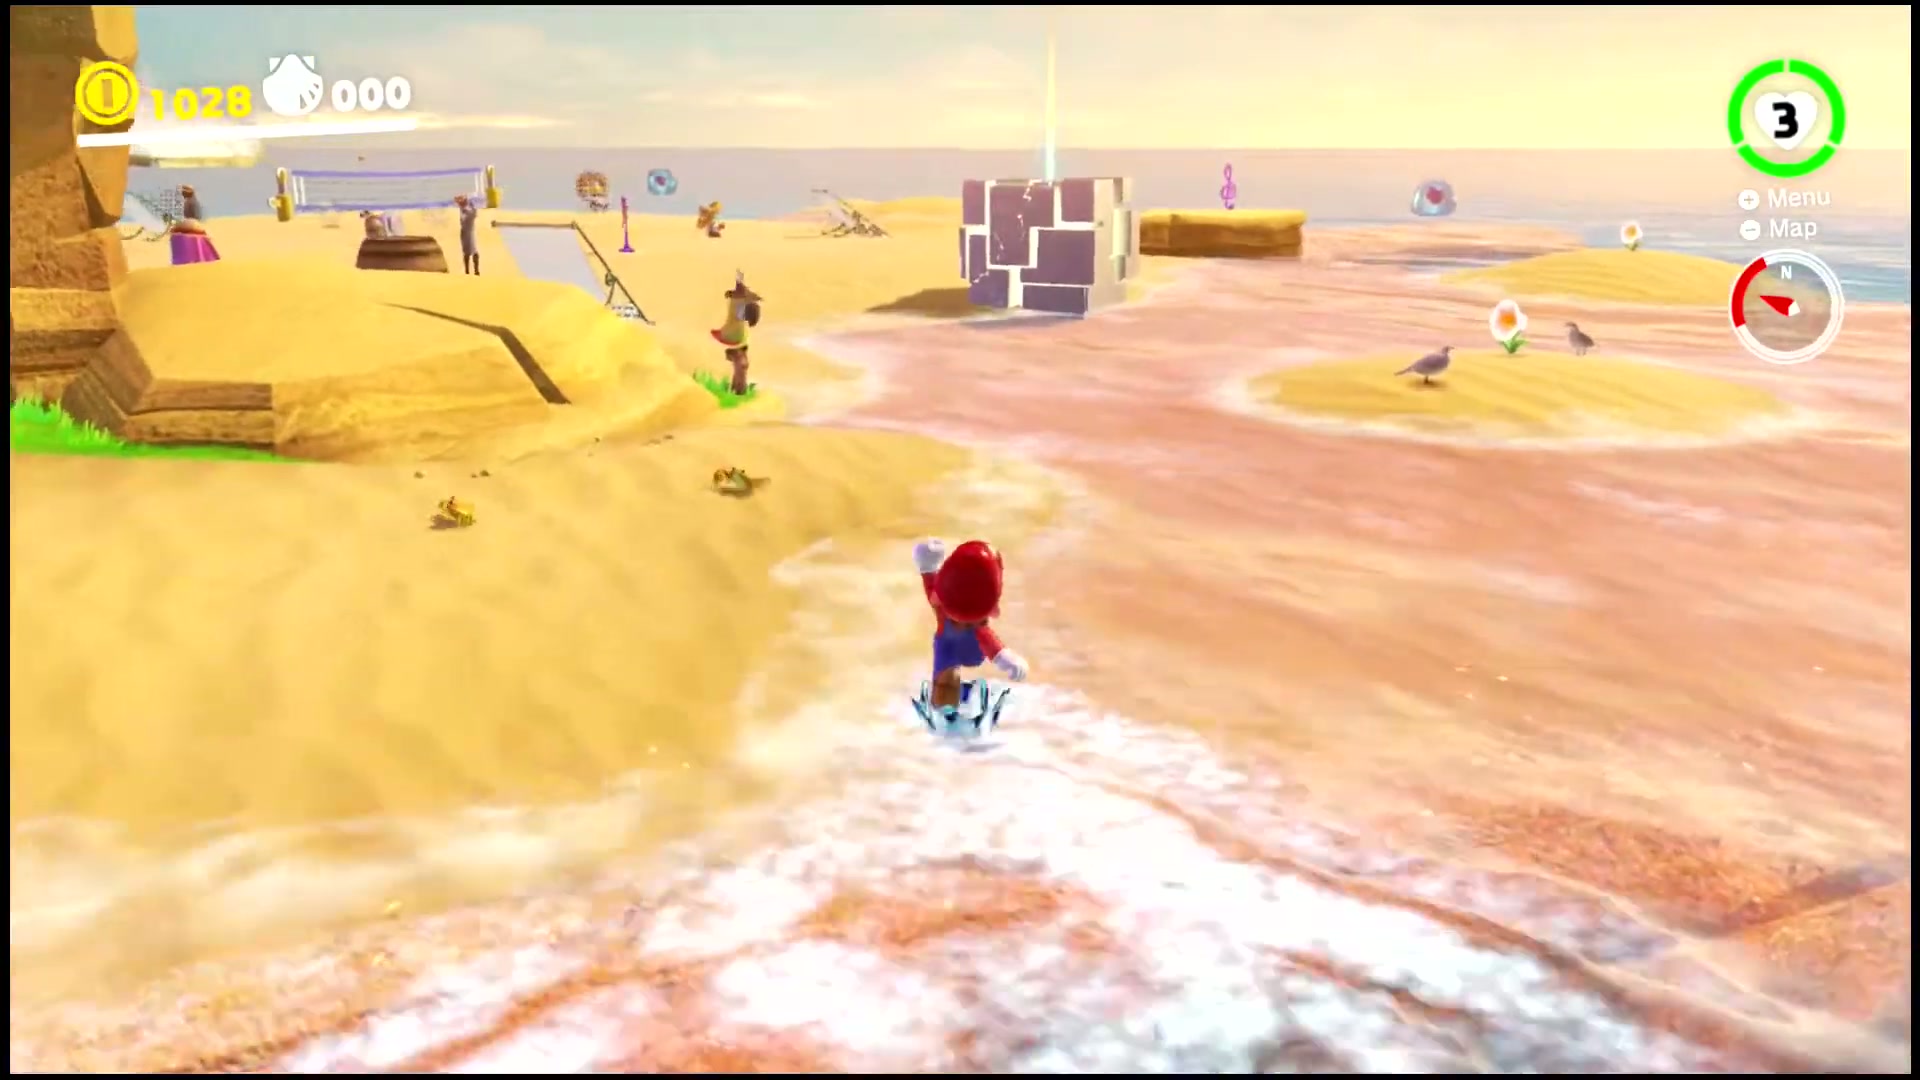
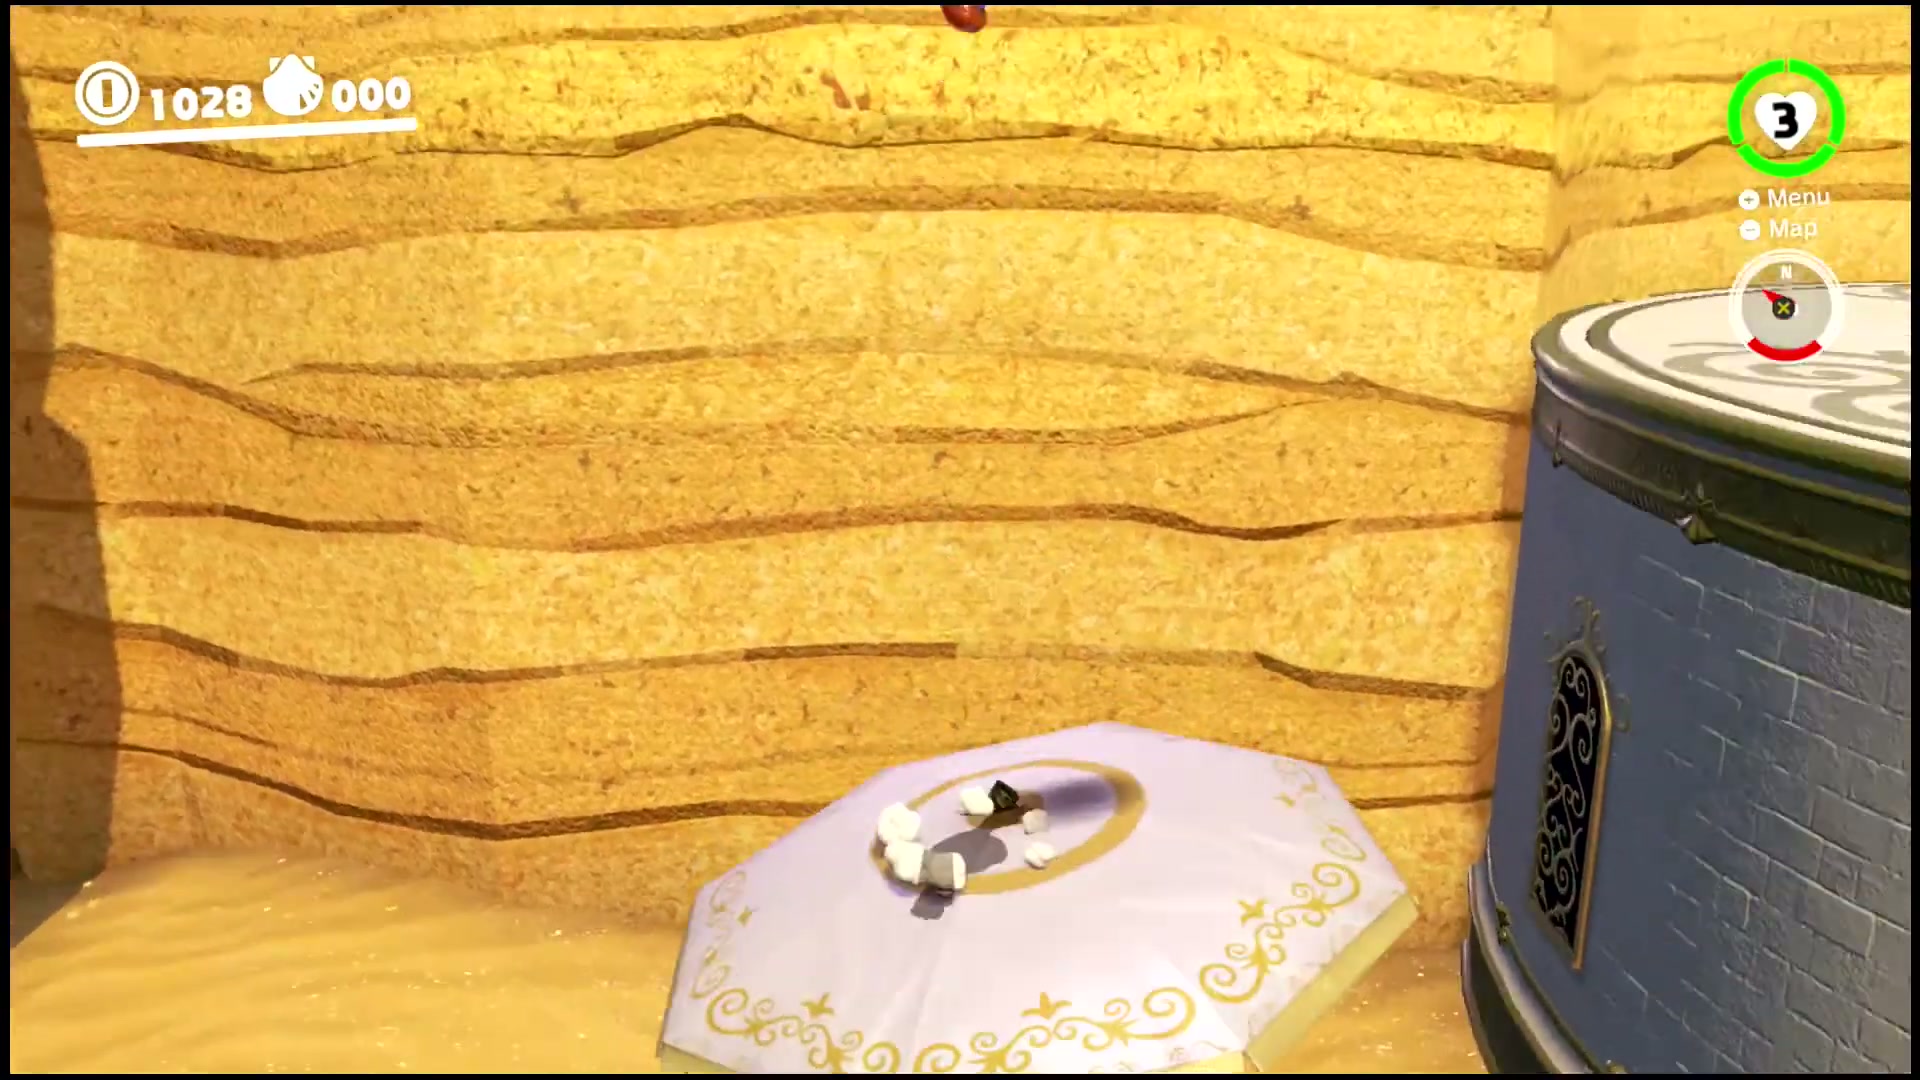
Above the Parasol: Catch!
Near the Glass Palace, a Power Moon hovers above one of the beach parasols. Capture a Glydon at the Lighthouse and glide over to catch the moon above the parasol.
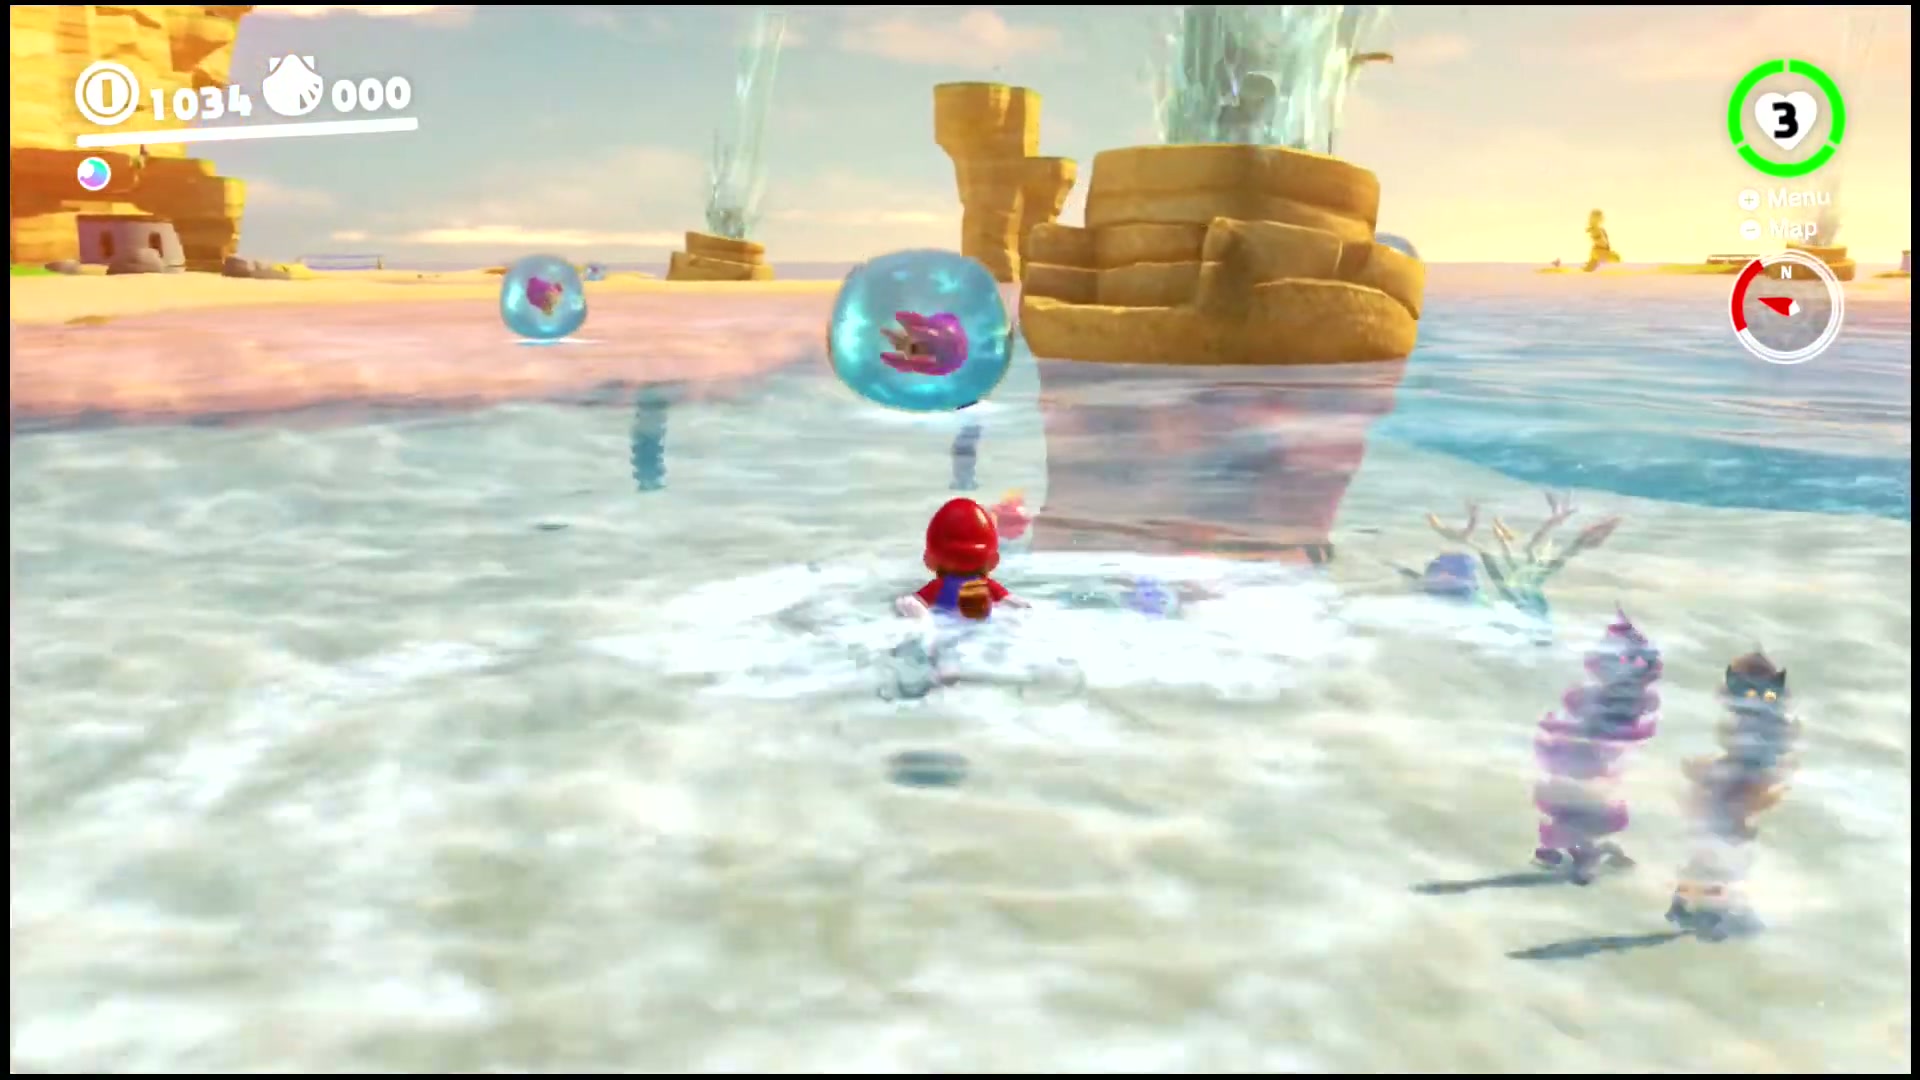
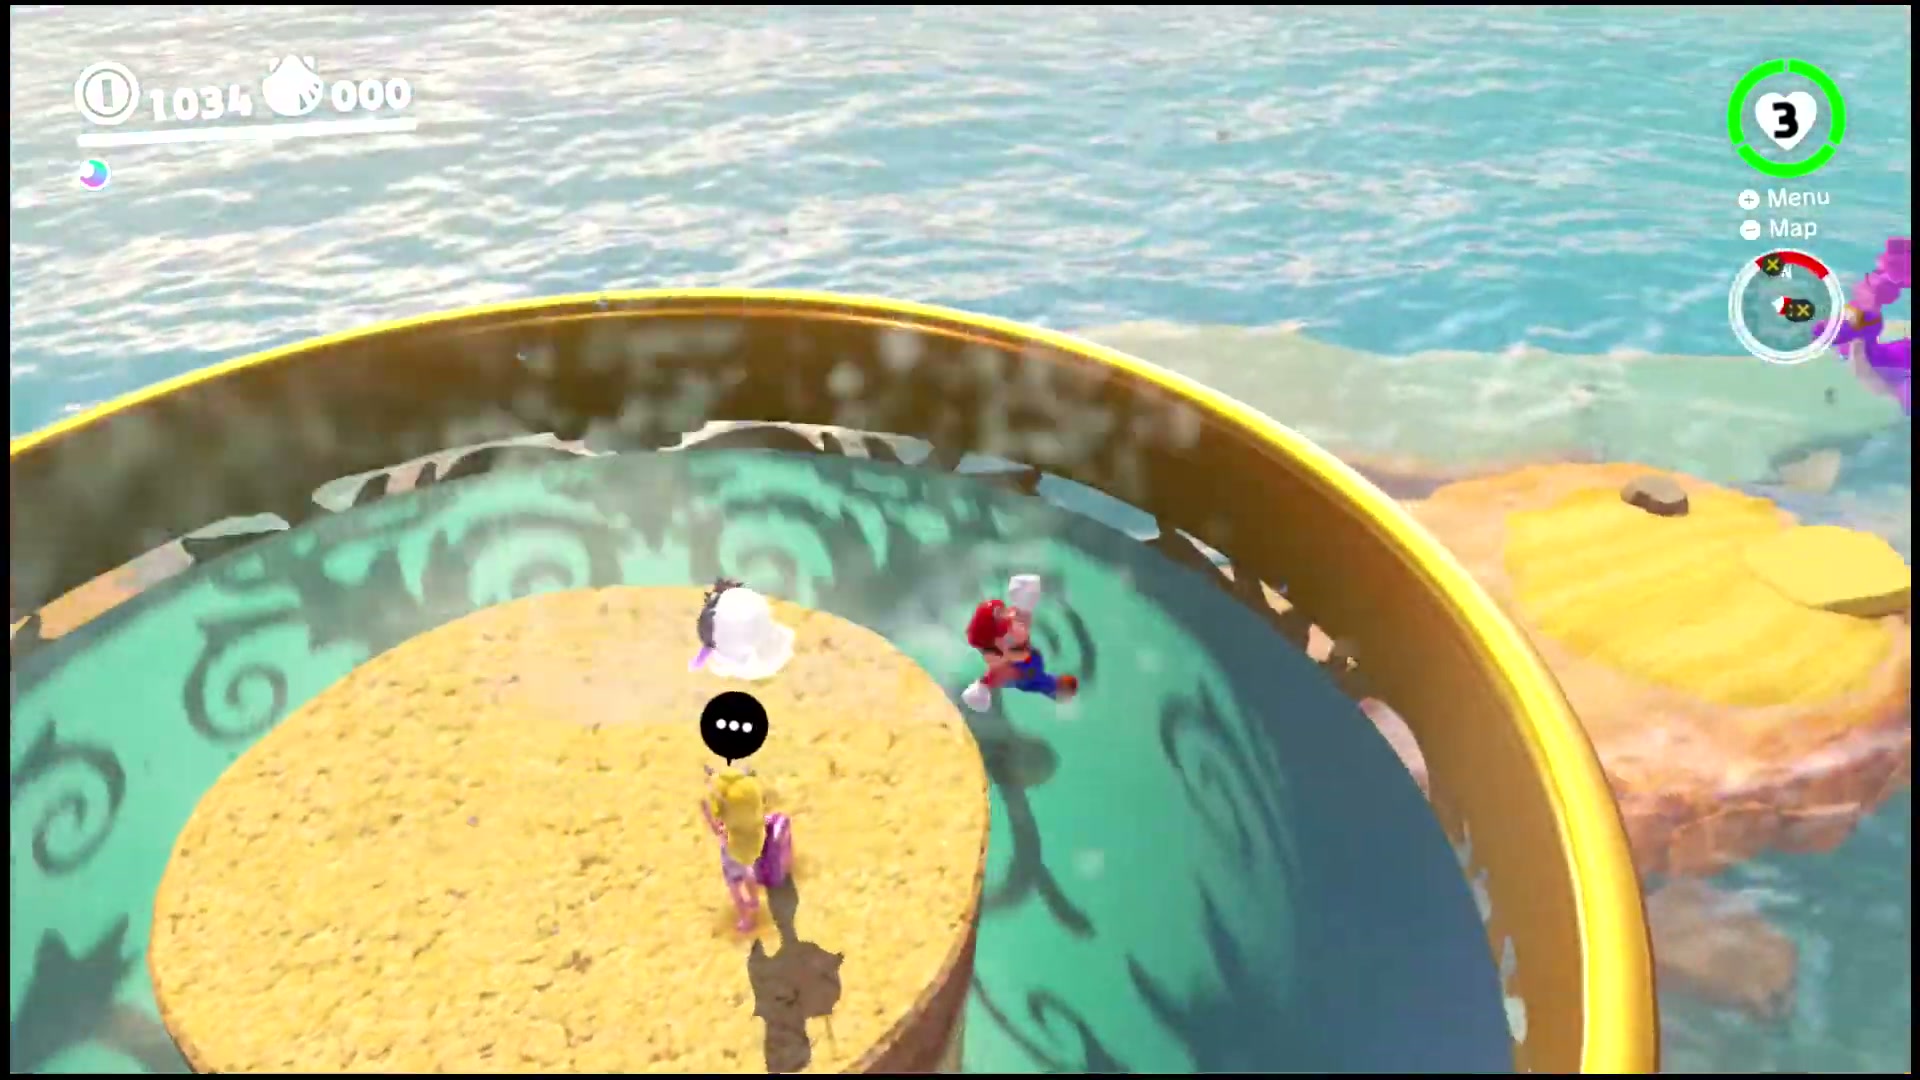
What Shines Inside the Glass
Capture a Gushen and jet up to the top of the Glass Tower in the middle of the bay. The moon is shining inside the glass at the top, in the sandy basin.
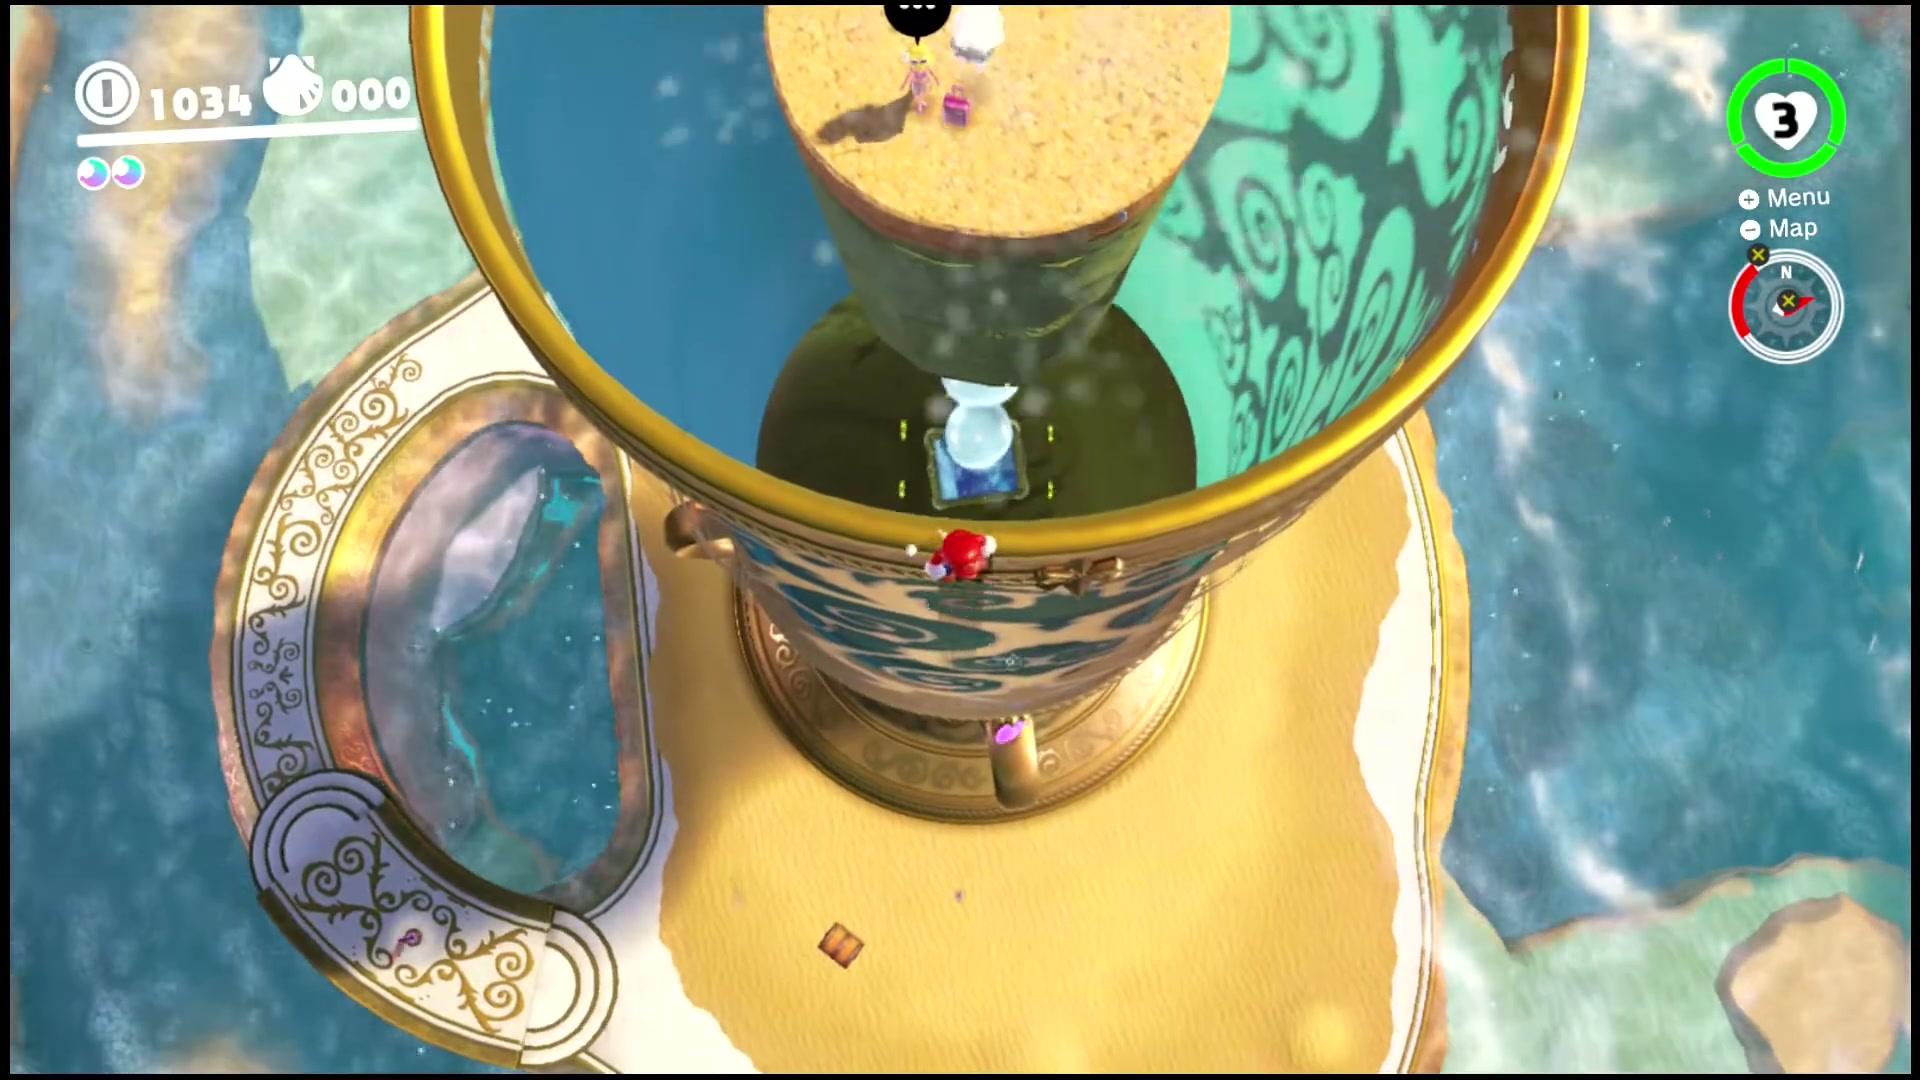
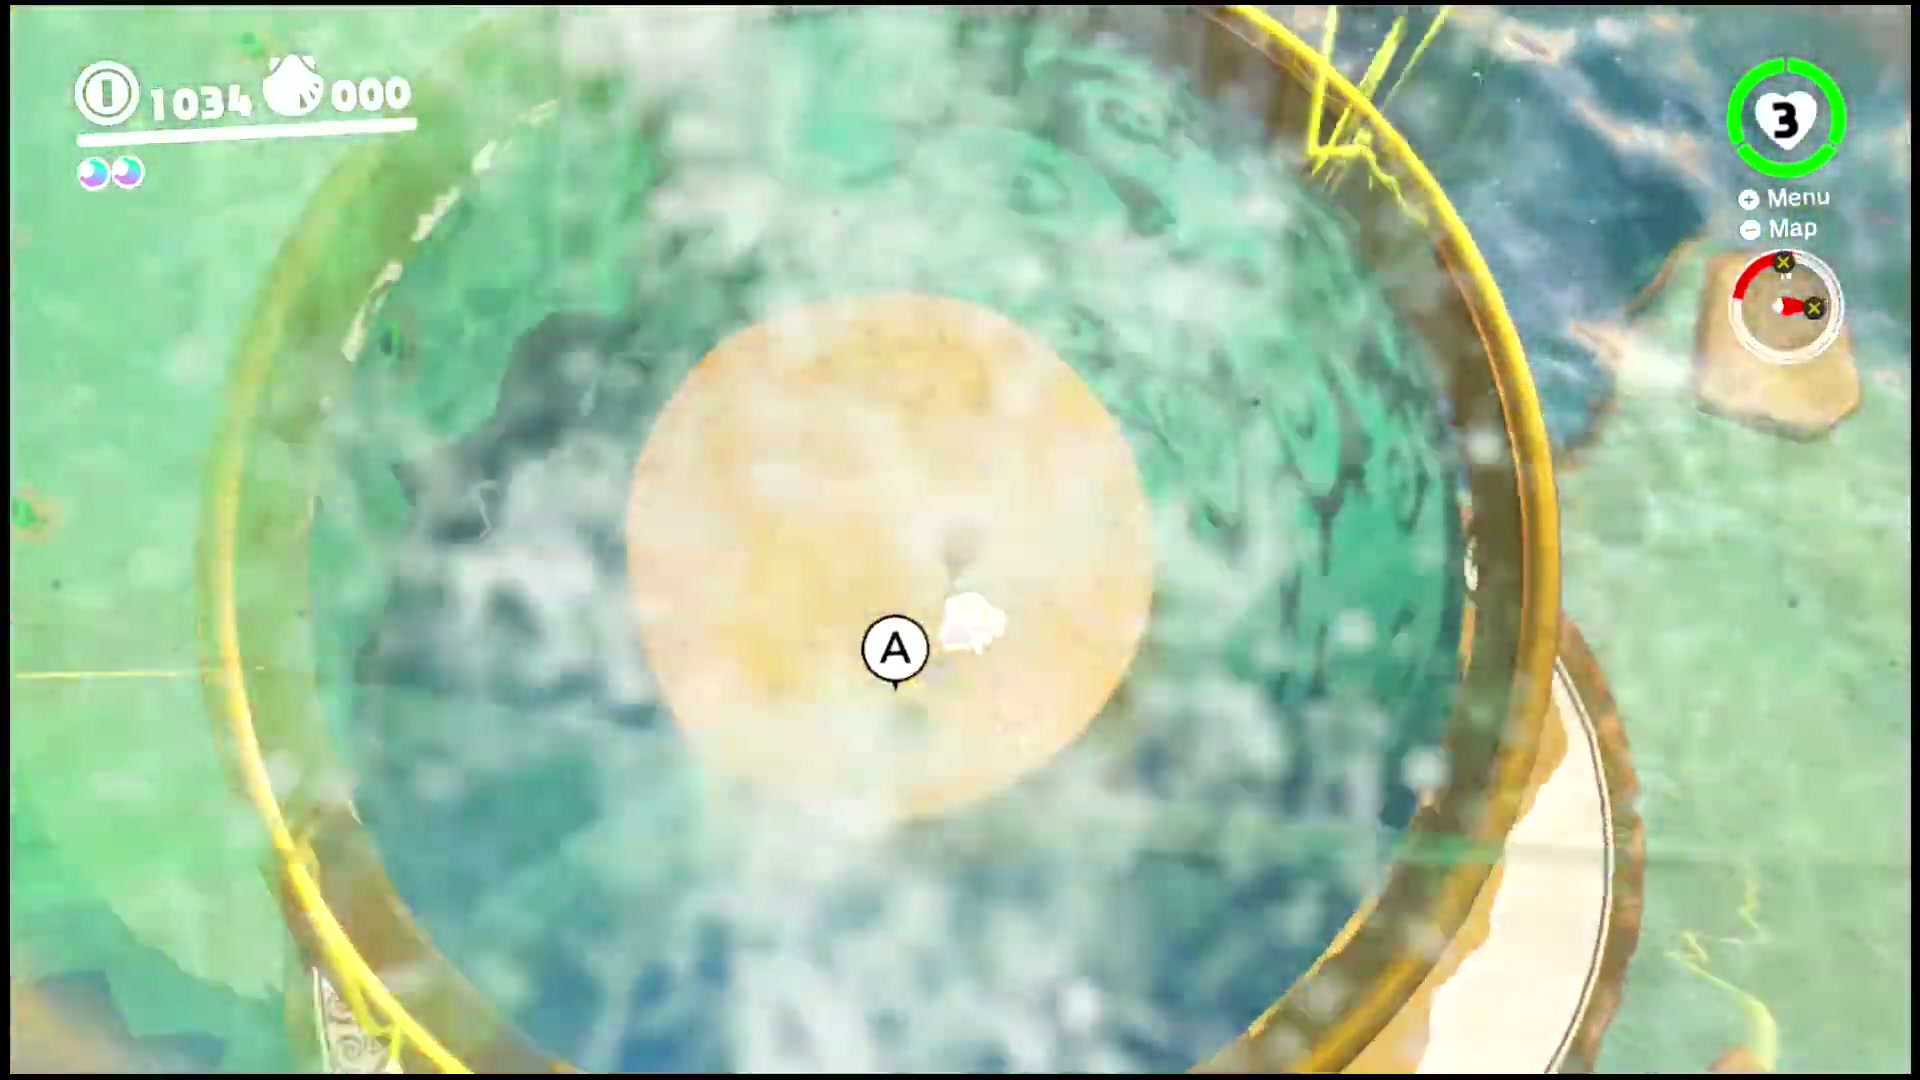
A Fine Detail on the Glass
On the same Glass Tower in the middle of the bay, the moon is hidden as a fine detail inside the glass. Make your way into the tower and look closely to collect it.
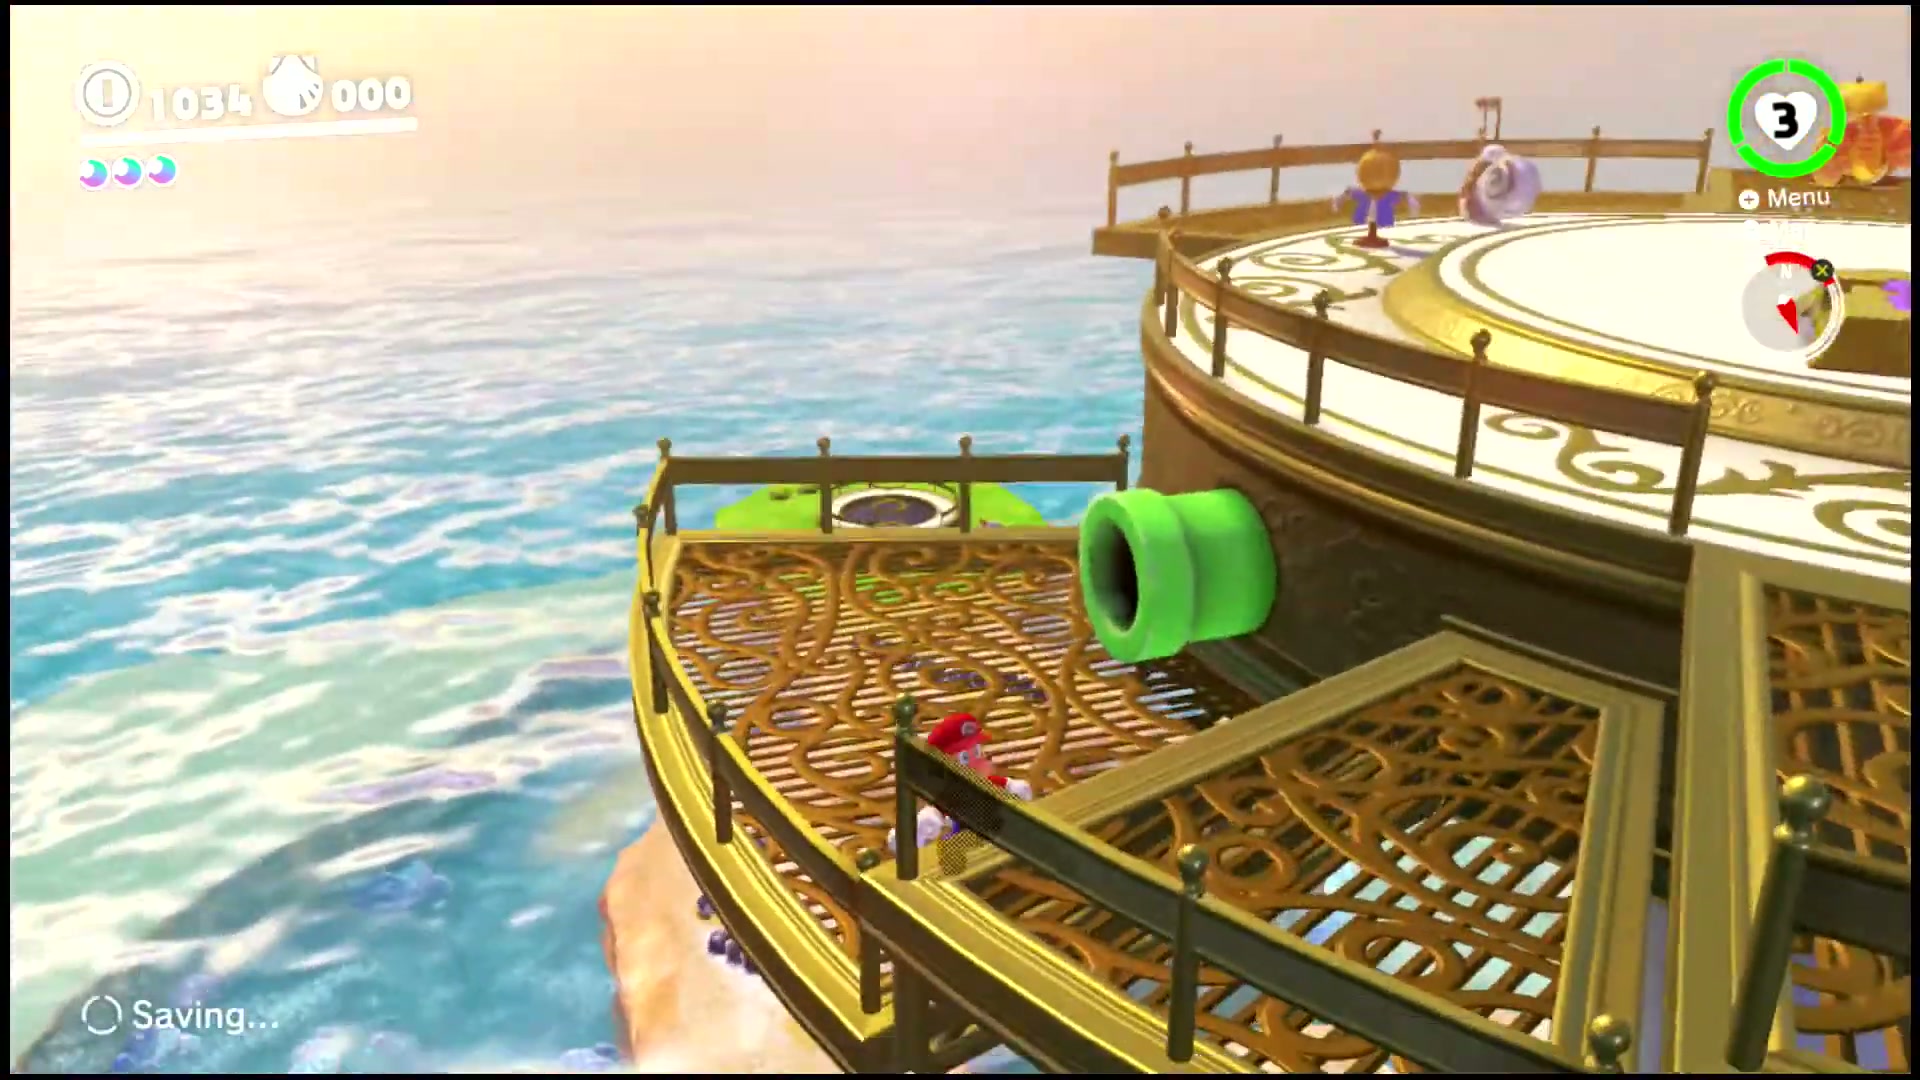
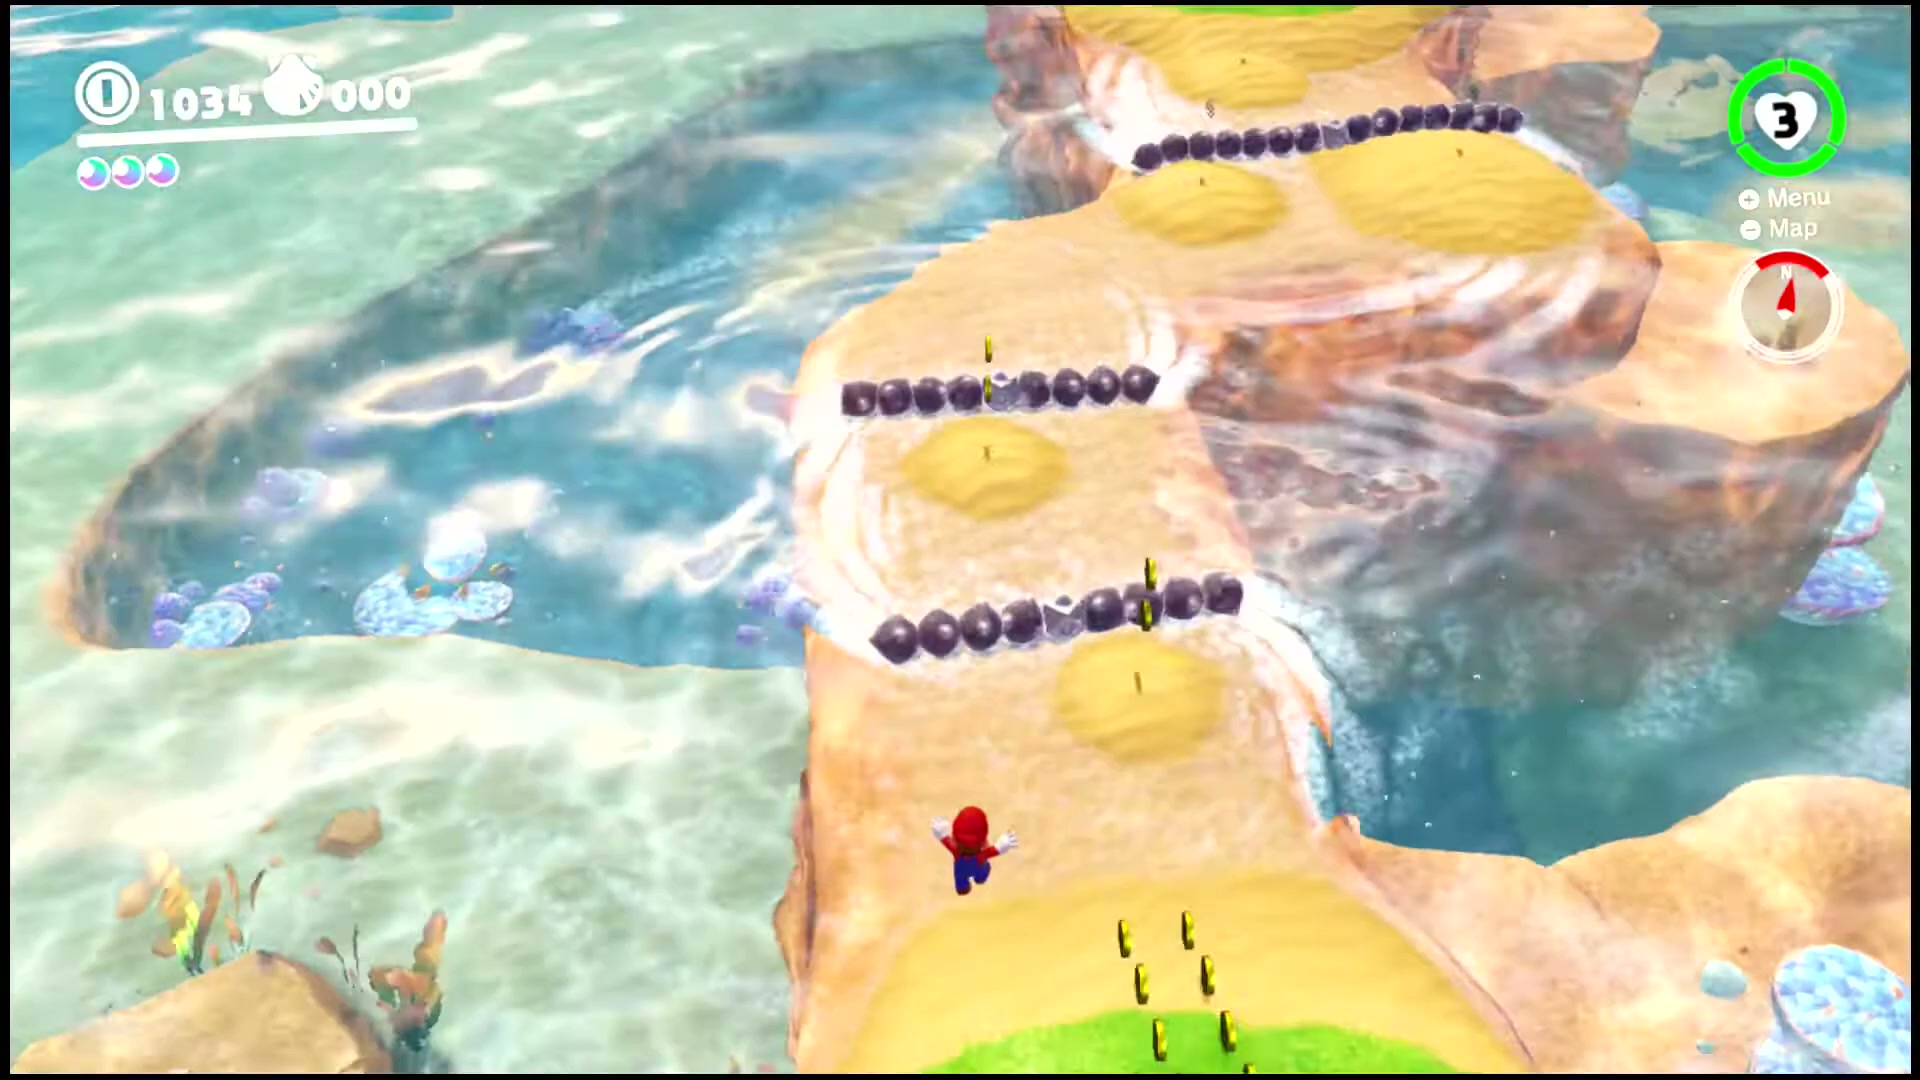
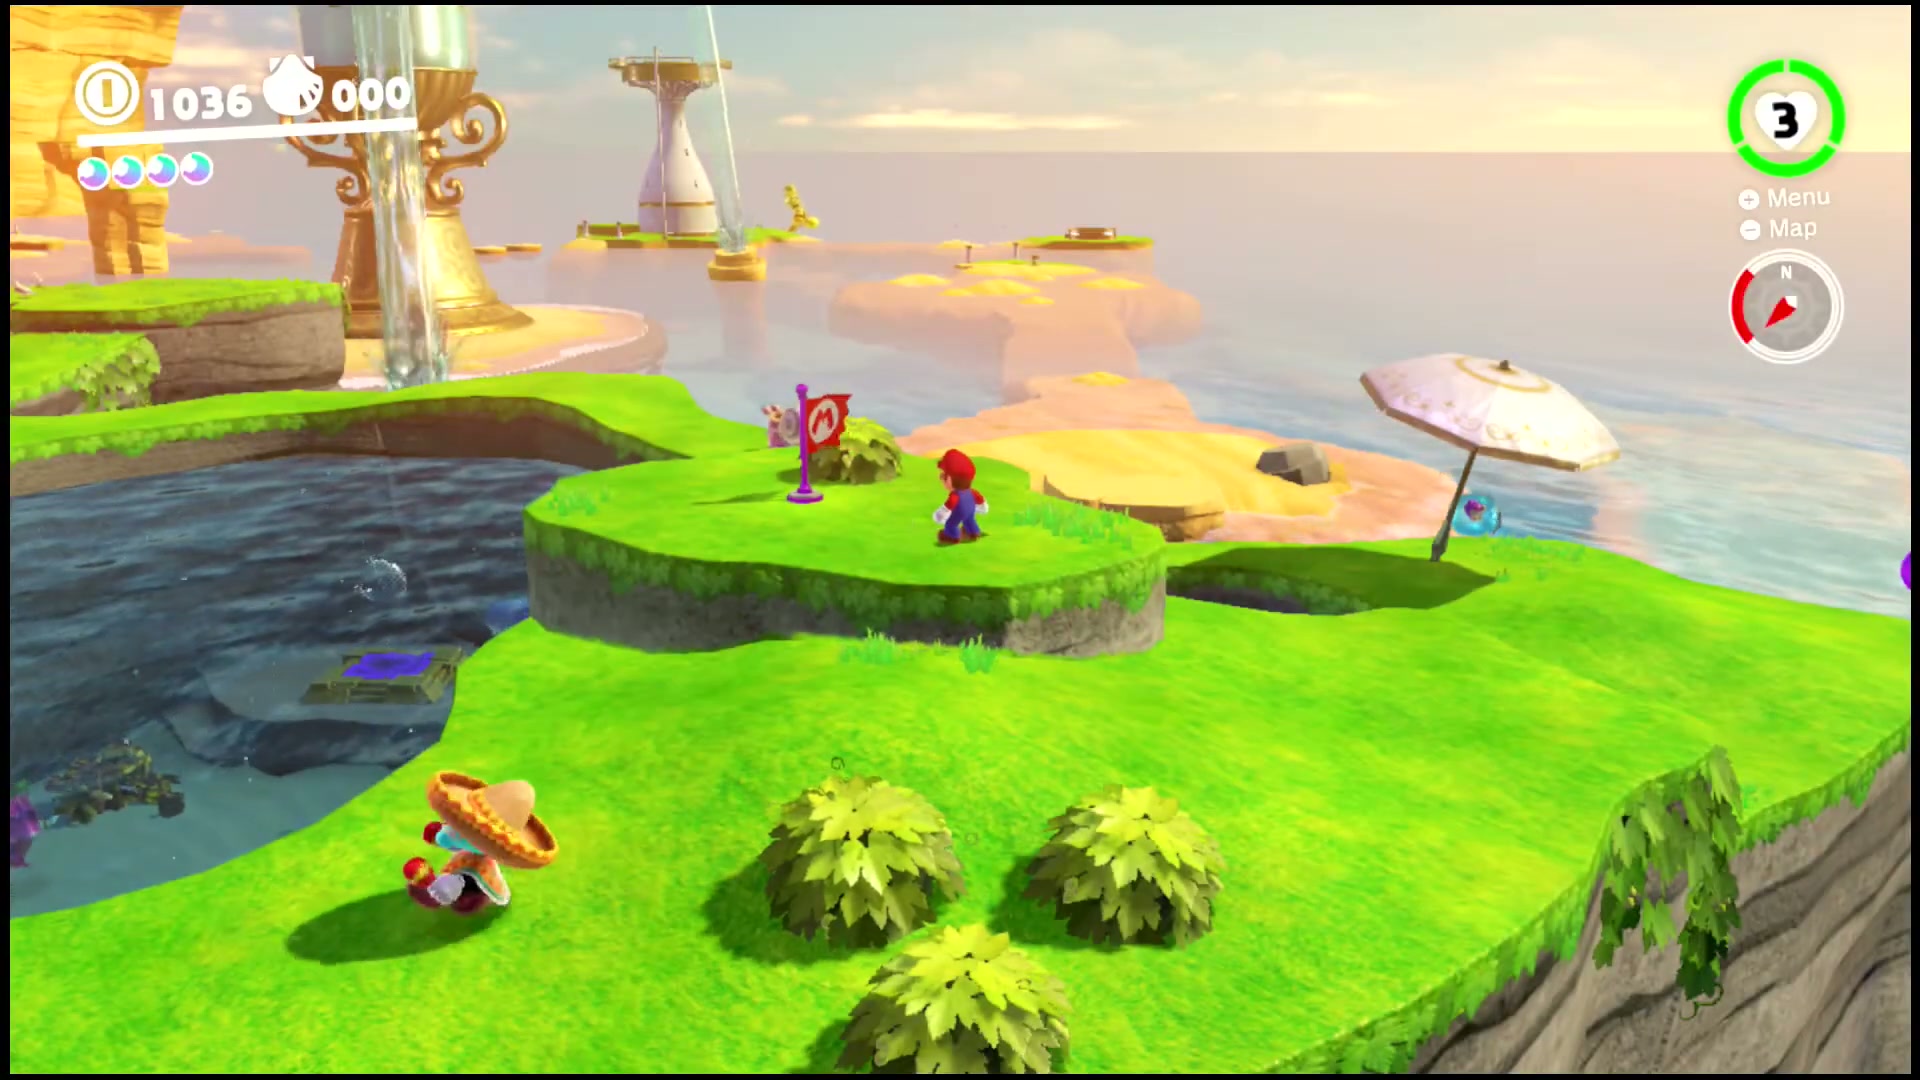
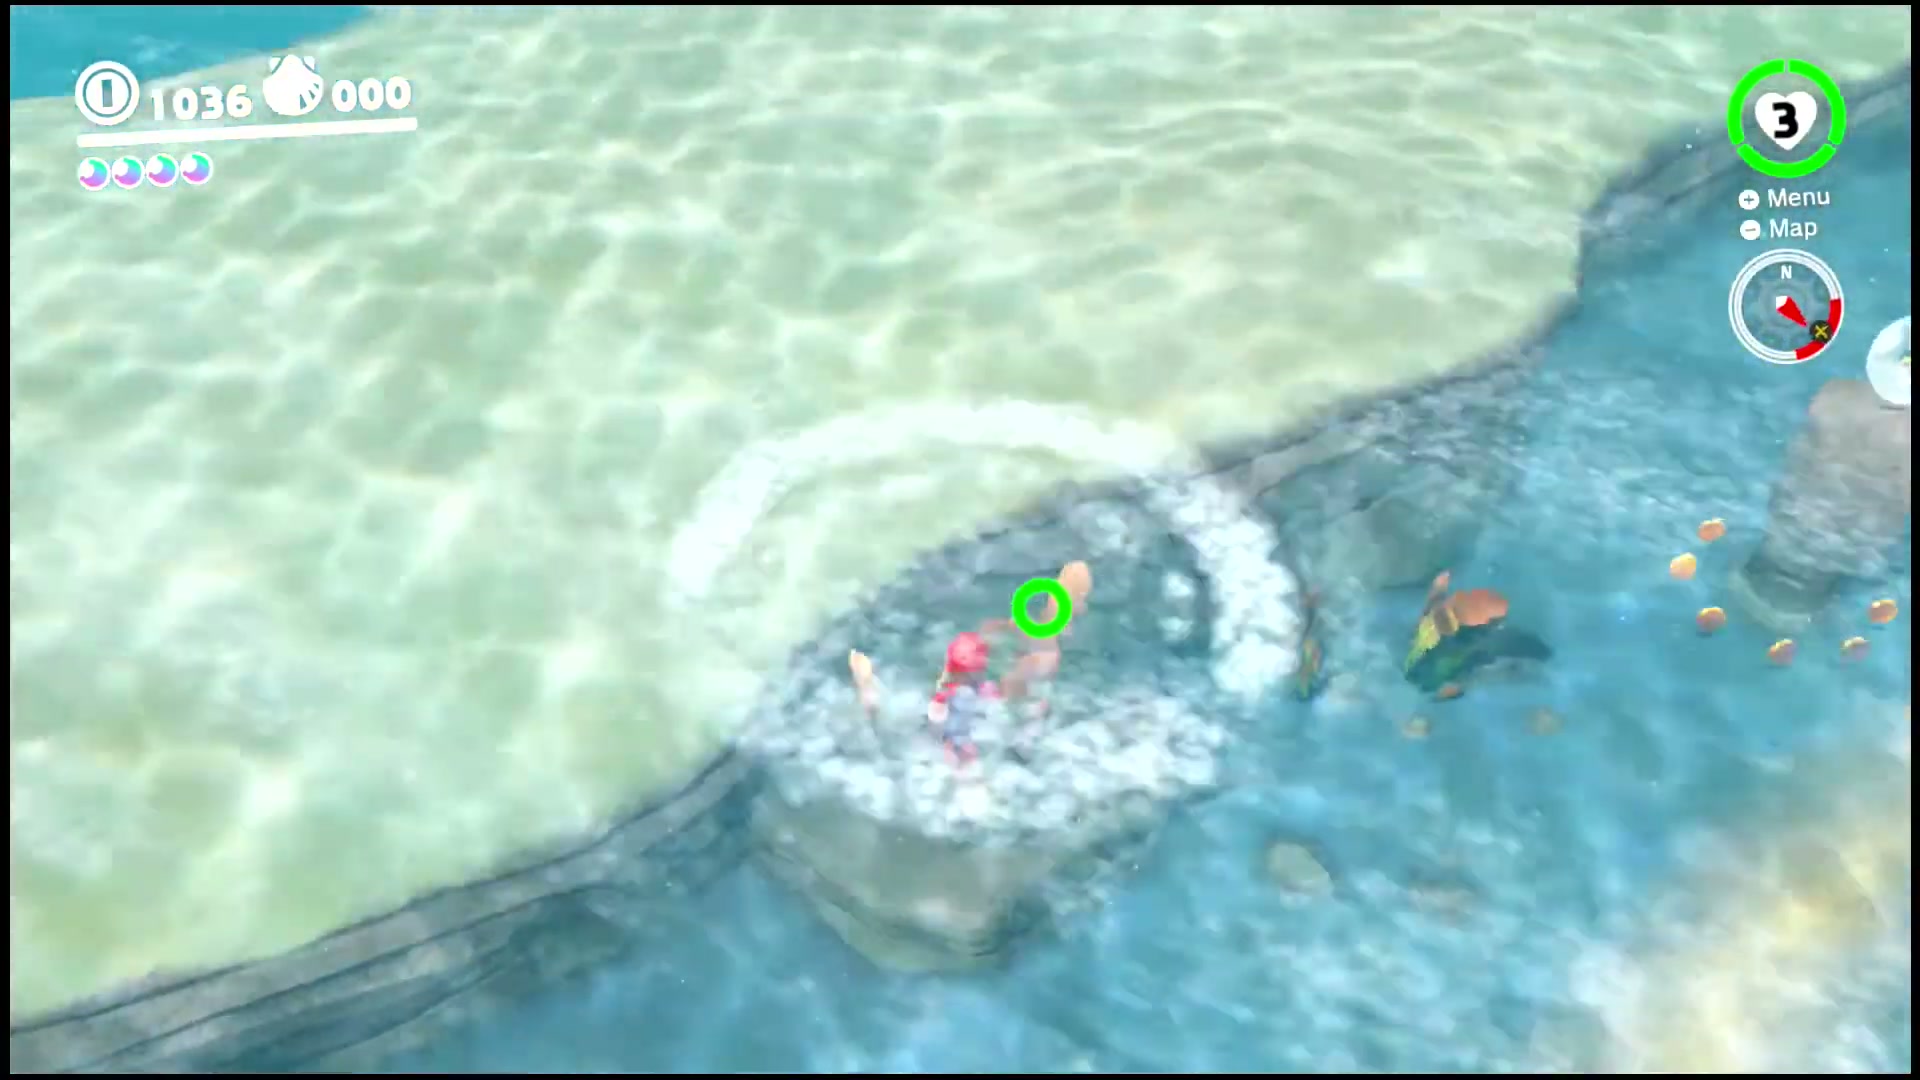
Underwater Highway West: Explore!
Drop into the green pipe by the sunken ship at the western edge of the bay and follow the underwater highway. Swim through the rock tunnel to its end to reach the Power Moon.
Underwater Highway East: Explore!
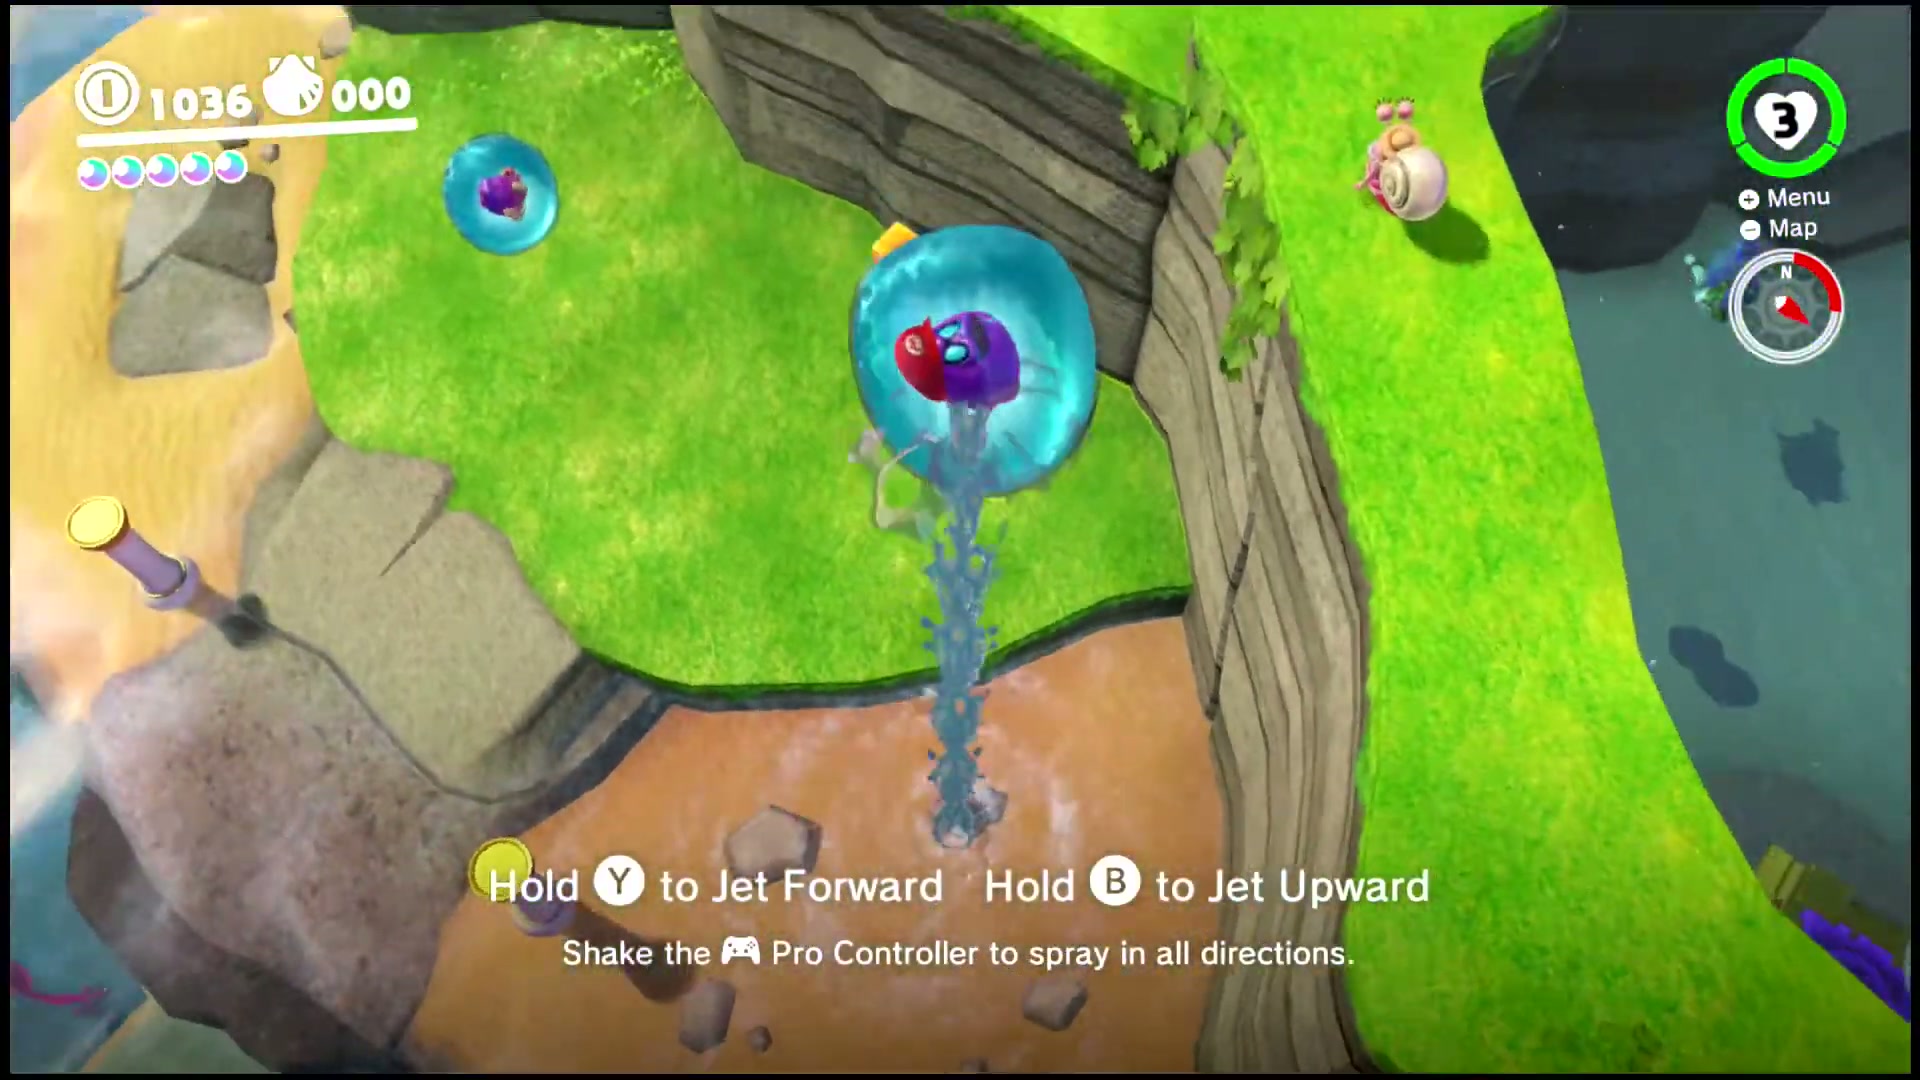
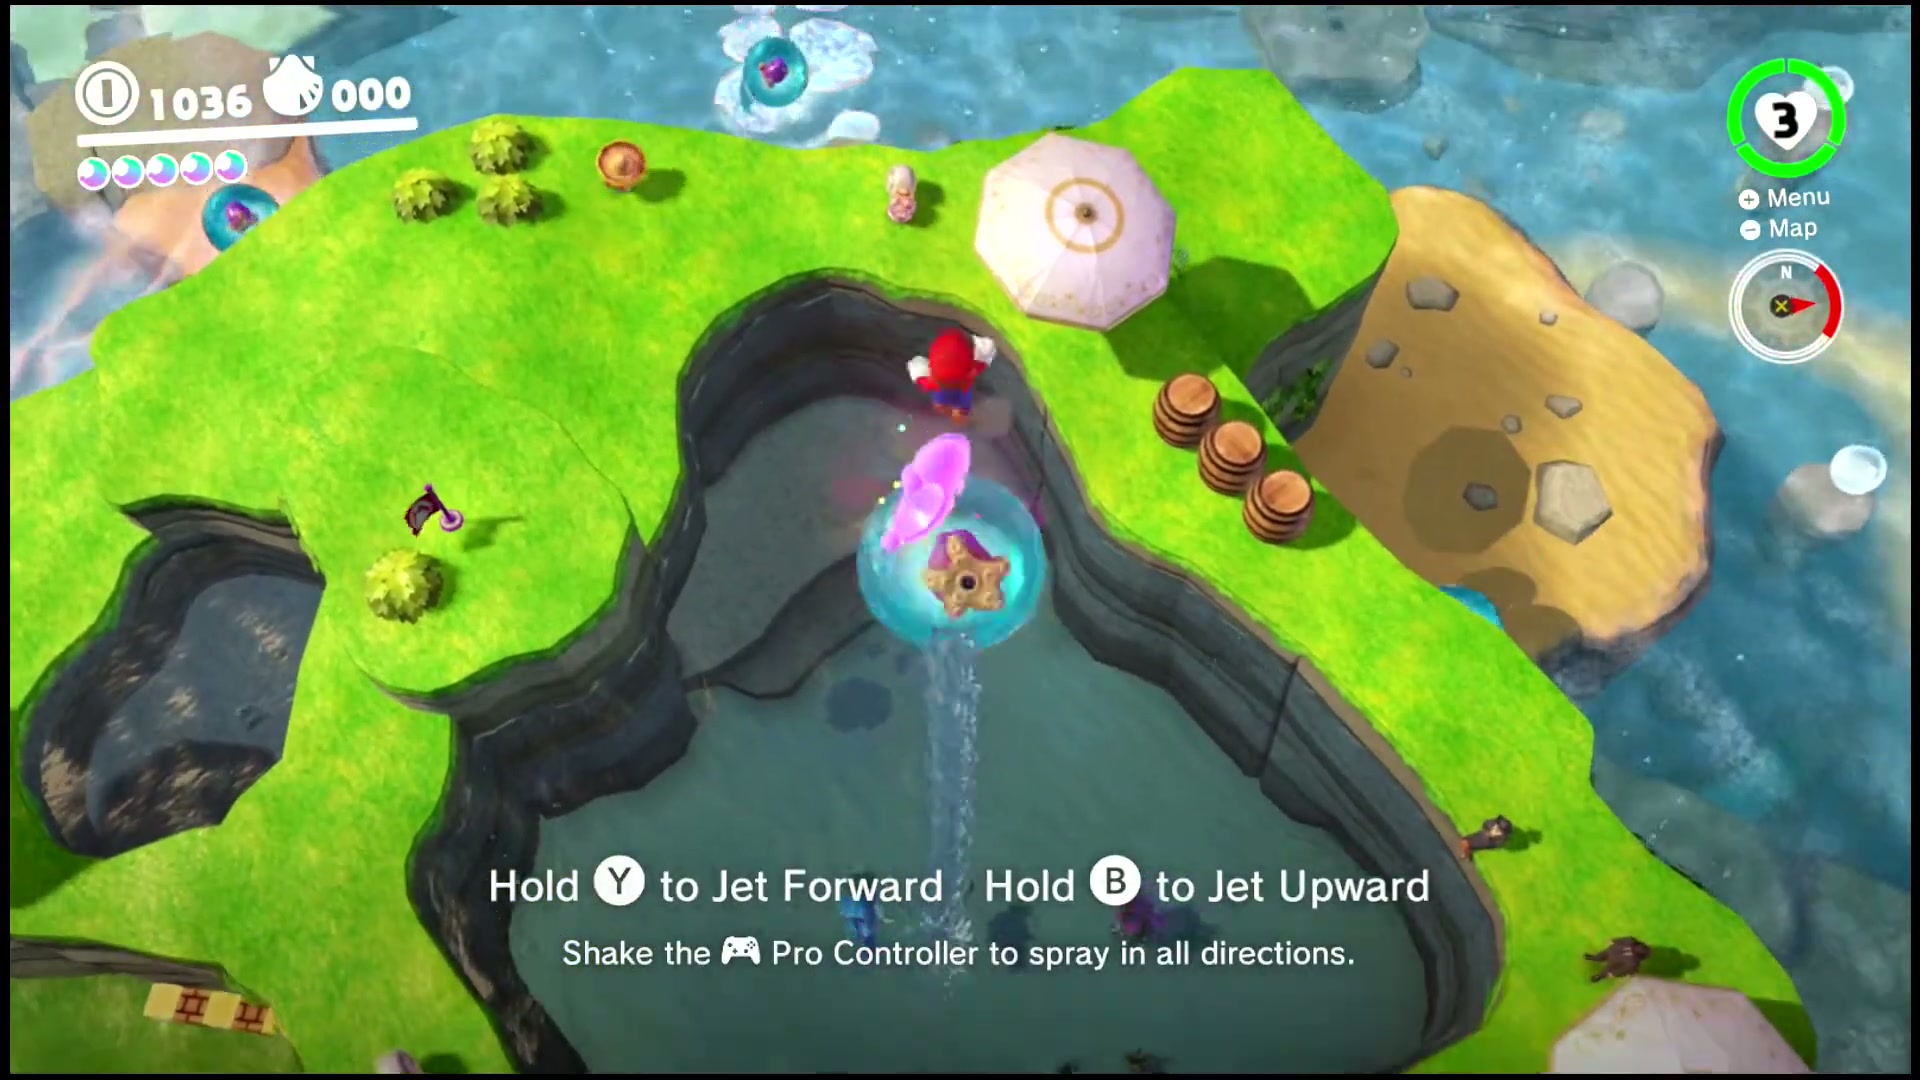
Dive into the matching underwater highway on the eastern side of the bay. Ride the current along the path and swim to its end, where the Power Moon waits.
Rapid Ascent on Hot Spring Island
On Hot Spring Island, capture a Gushen and use its water jets to launch straight up the rock walls. Keep jetting to the very top of the island to grab the Power Moon.
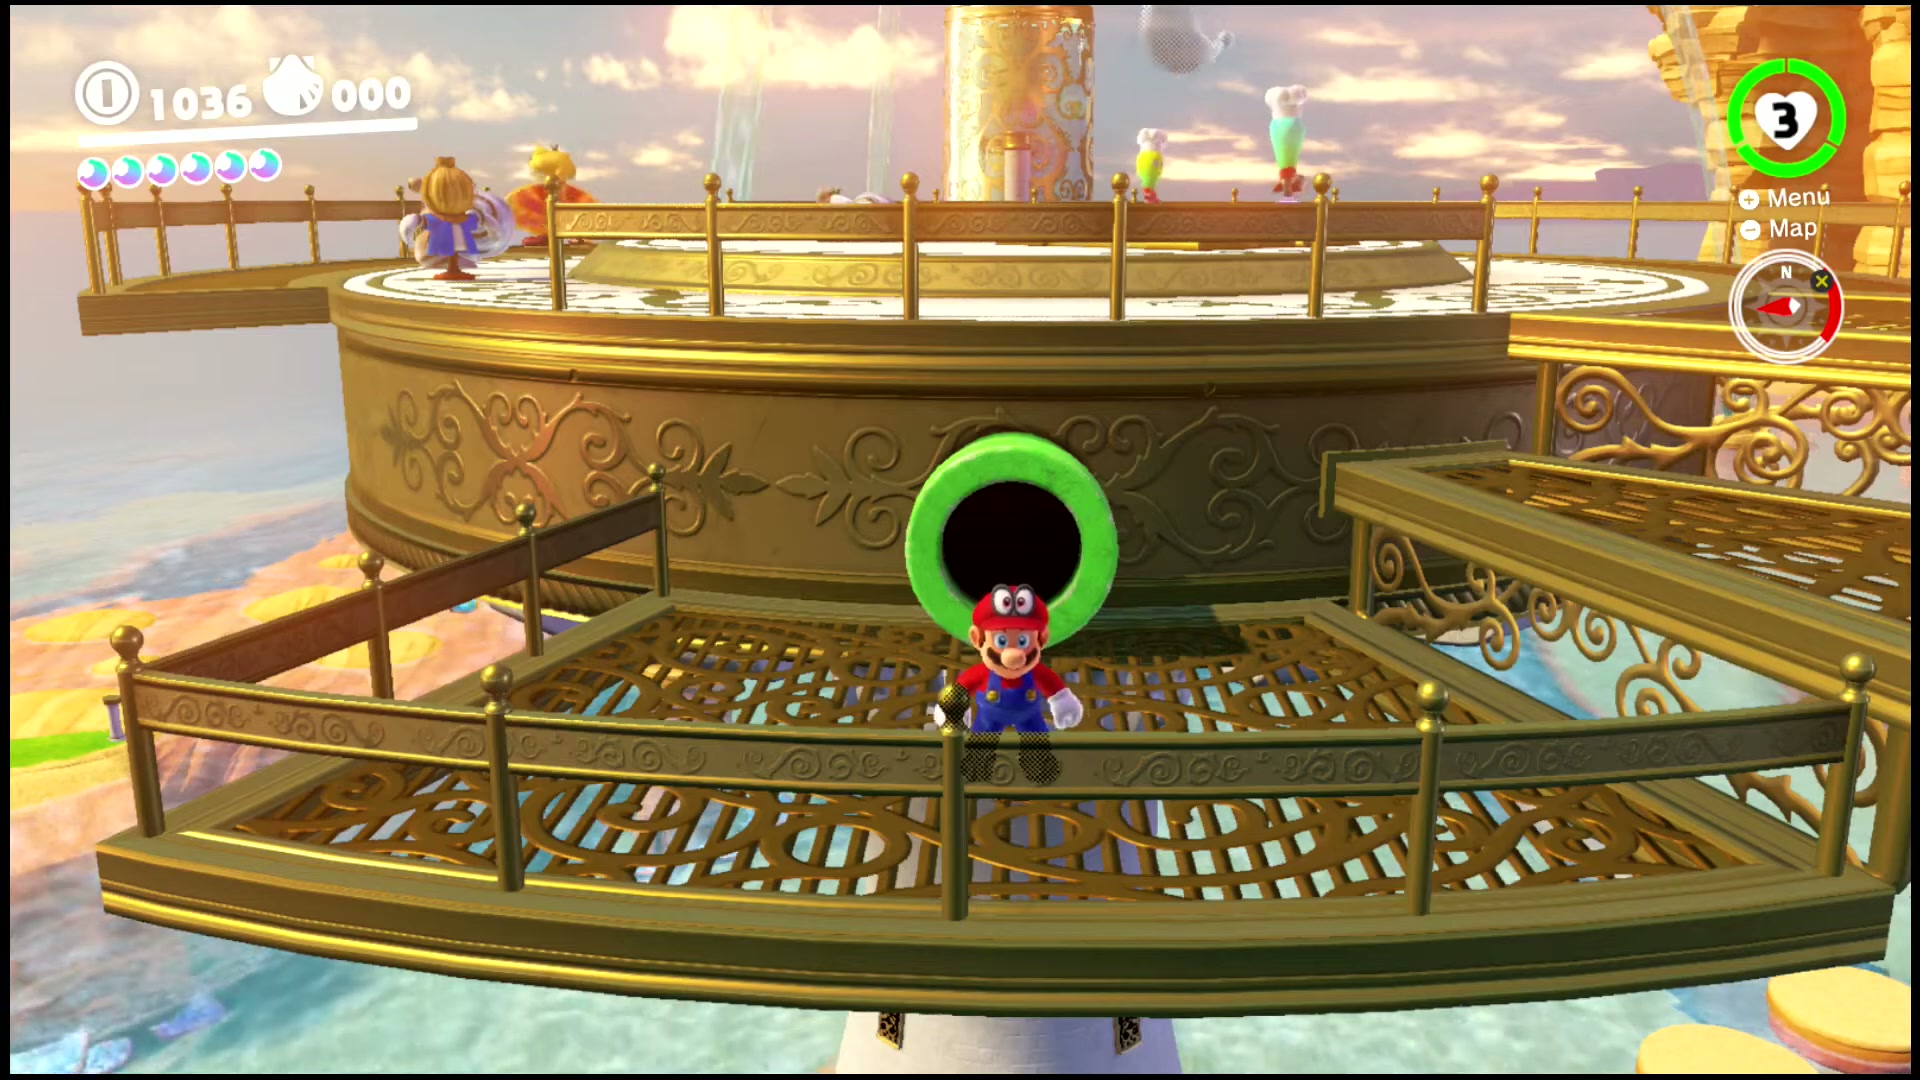
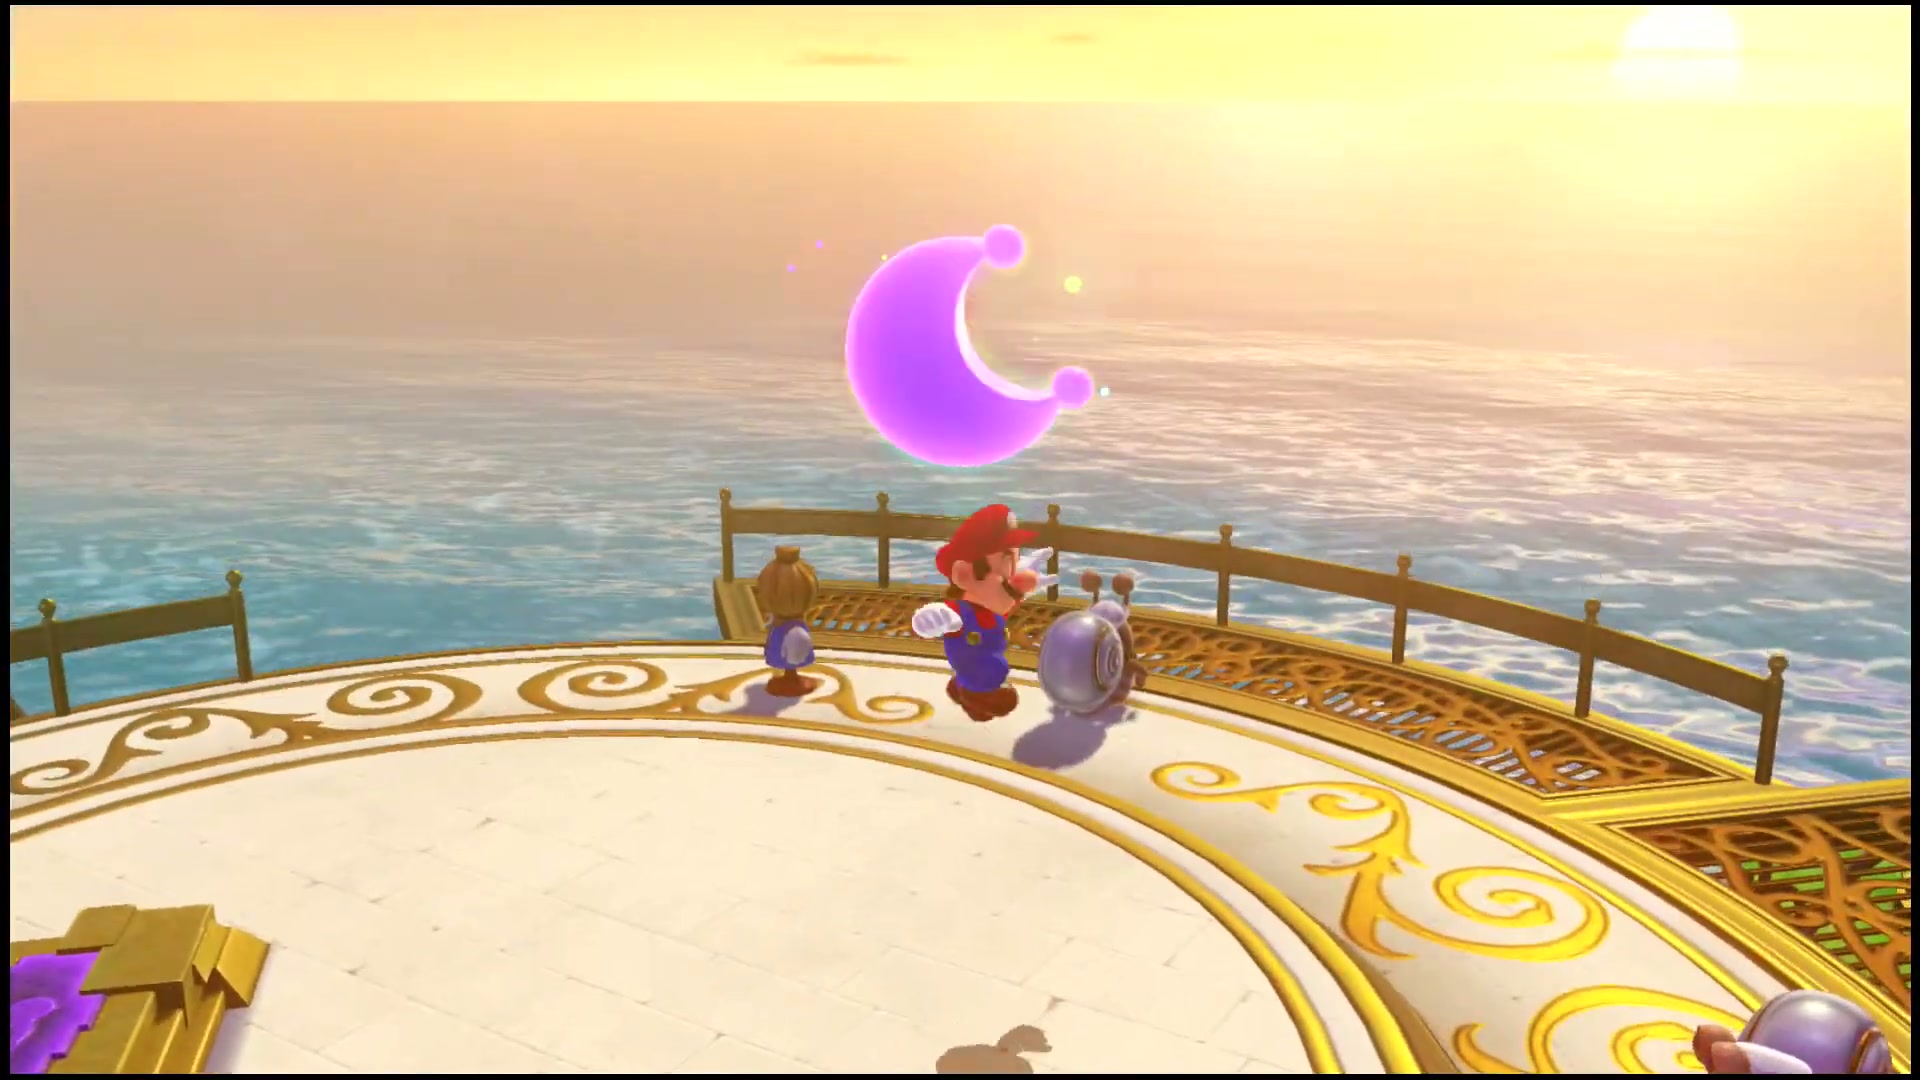
A Light Next to the Lighthouse
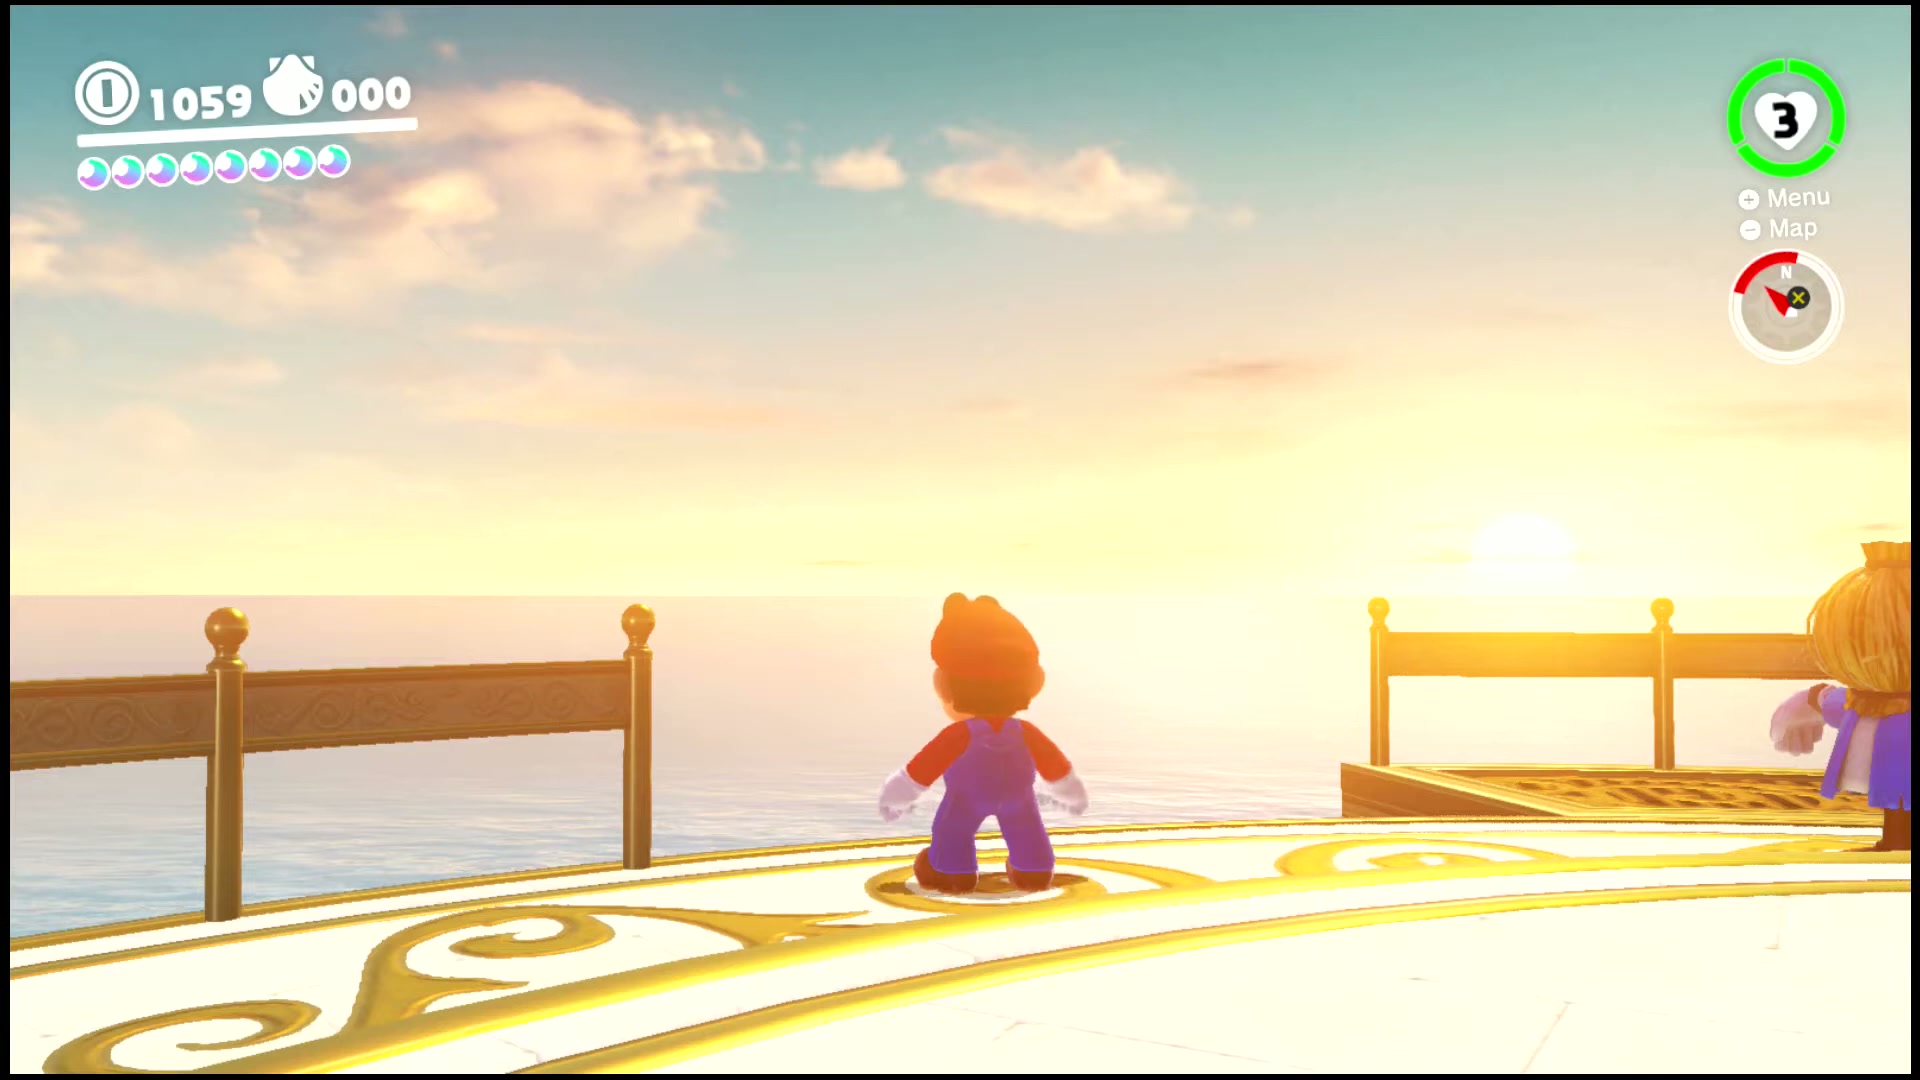
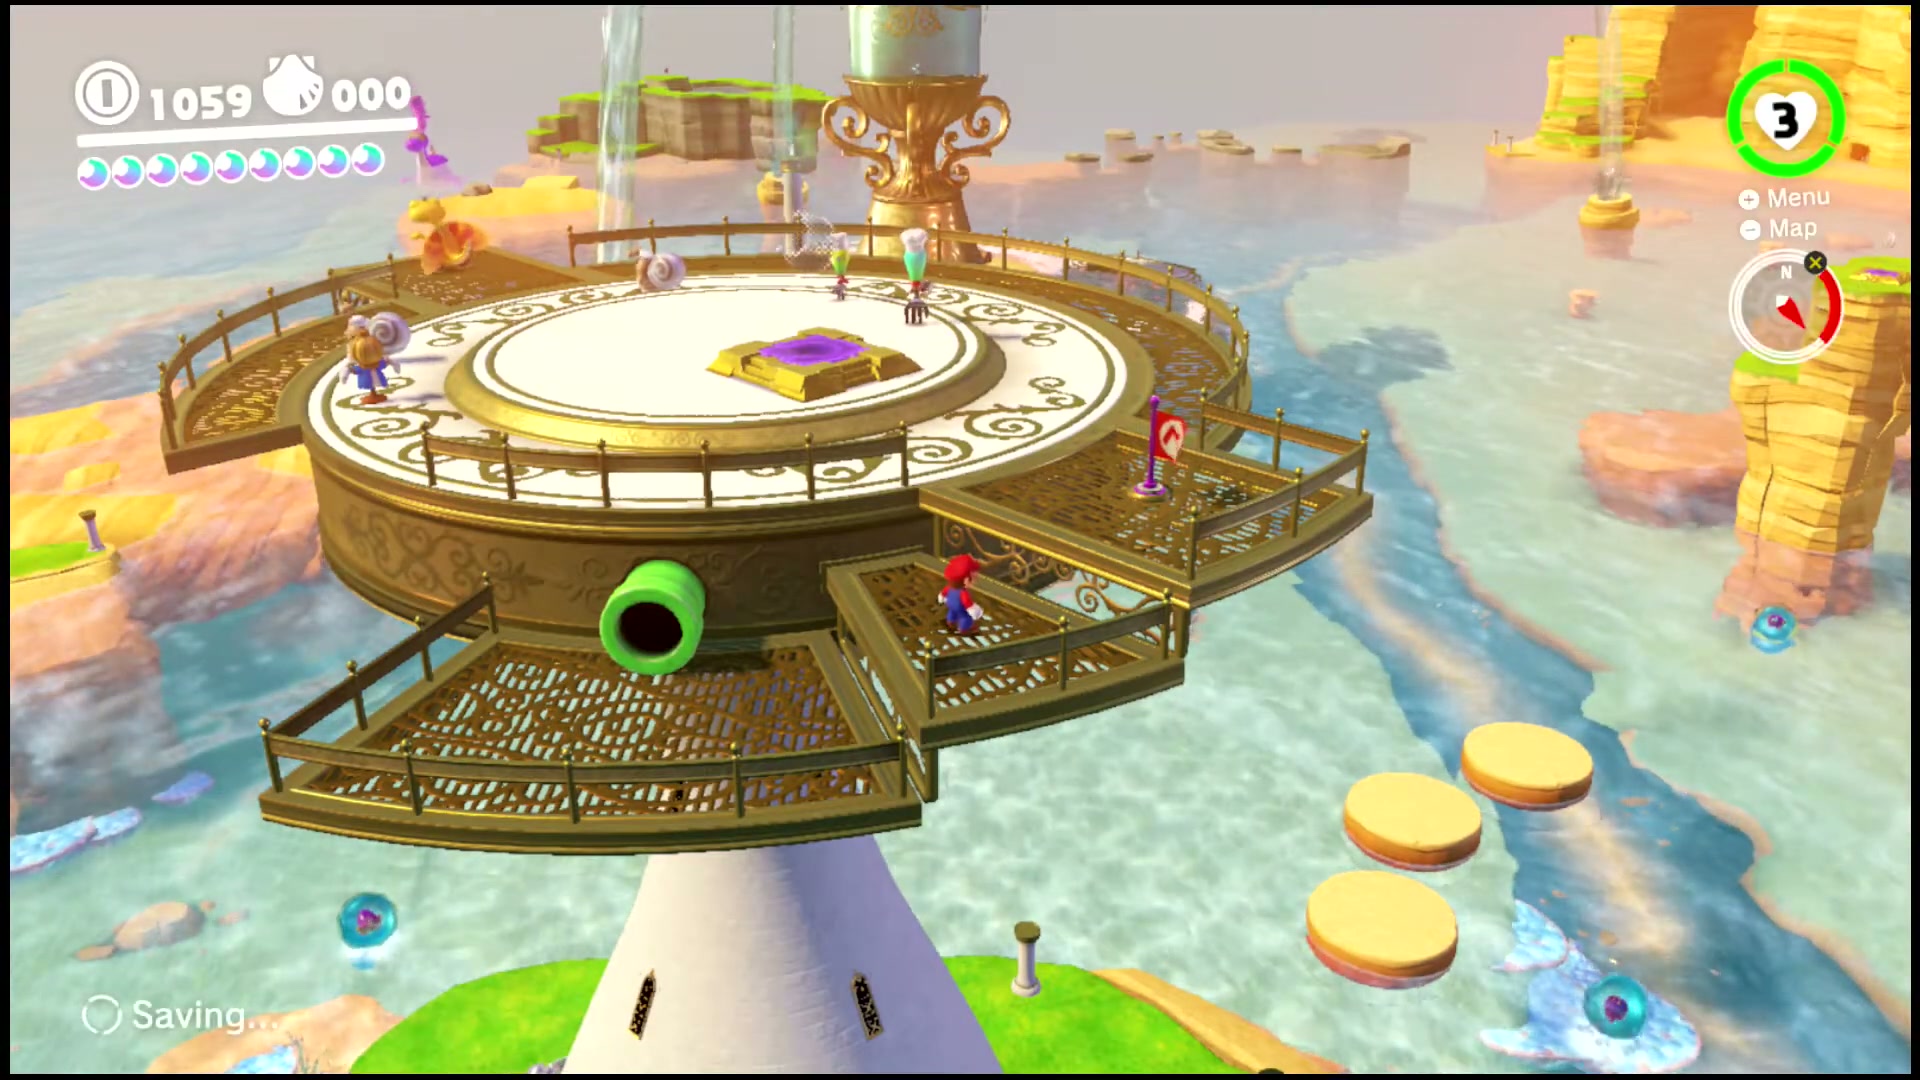
Climb to the platform at the very top of the lighthouse and drop through the green pipe there. Cross the fountain plaza inside, and the Power Moon appears out on the deck at sunset.
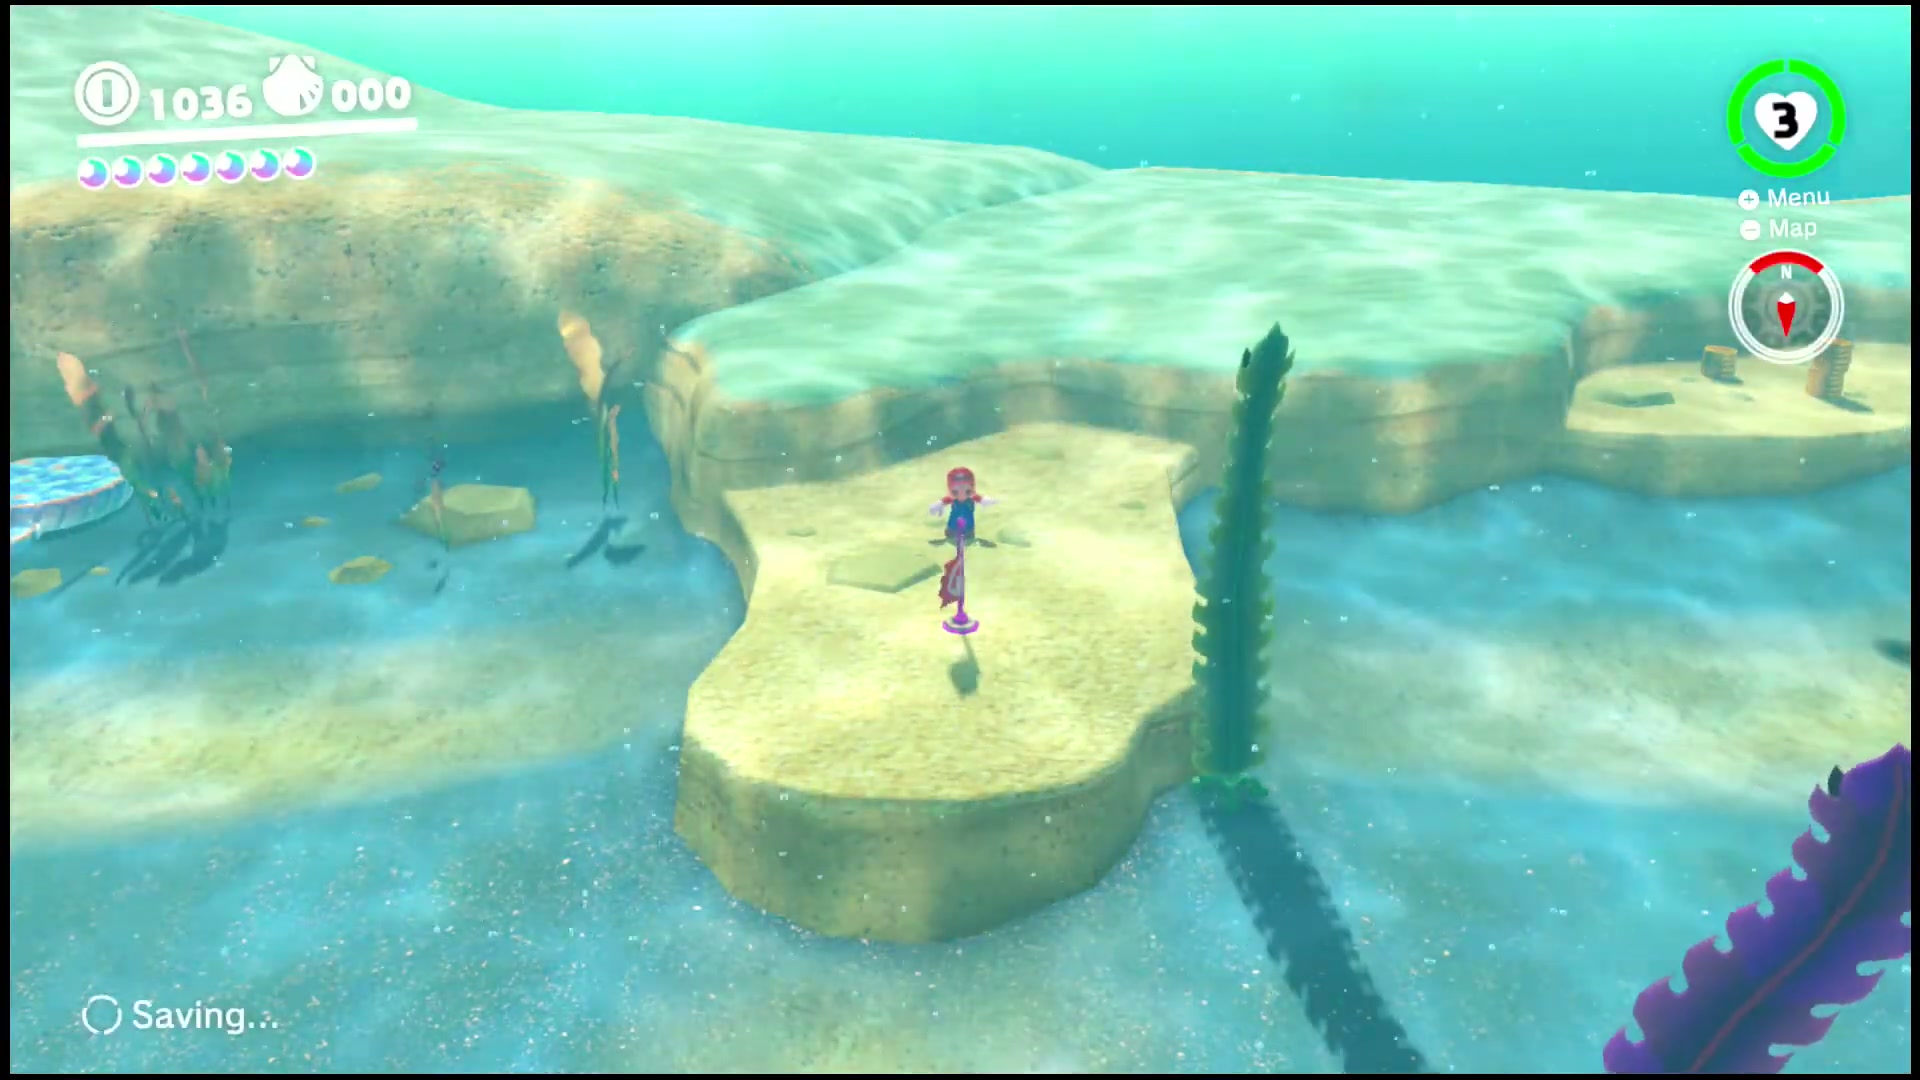
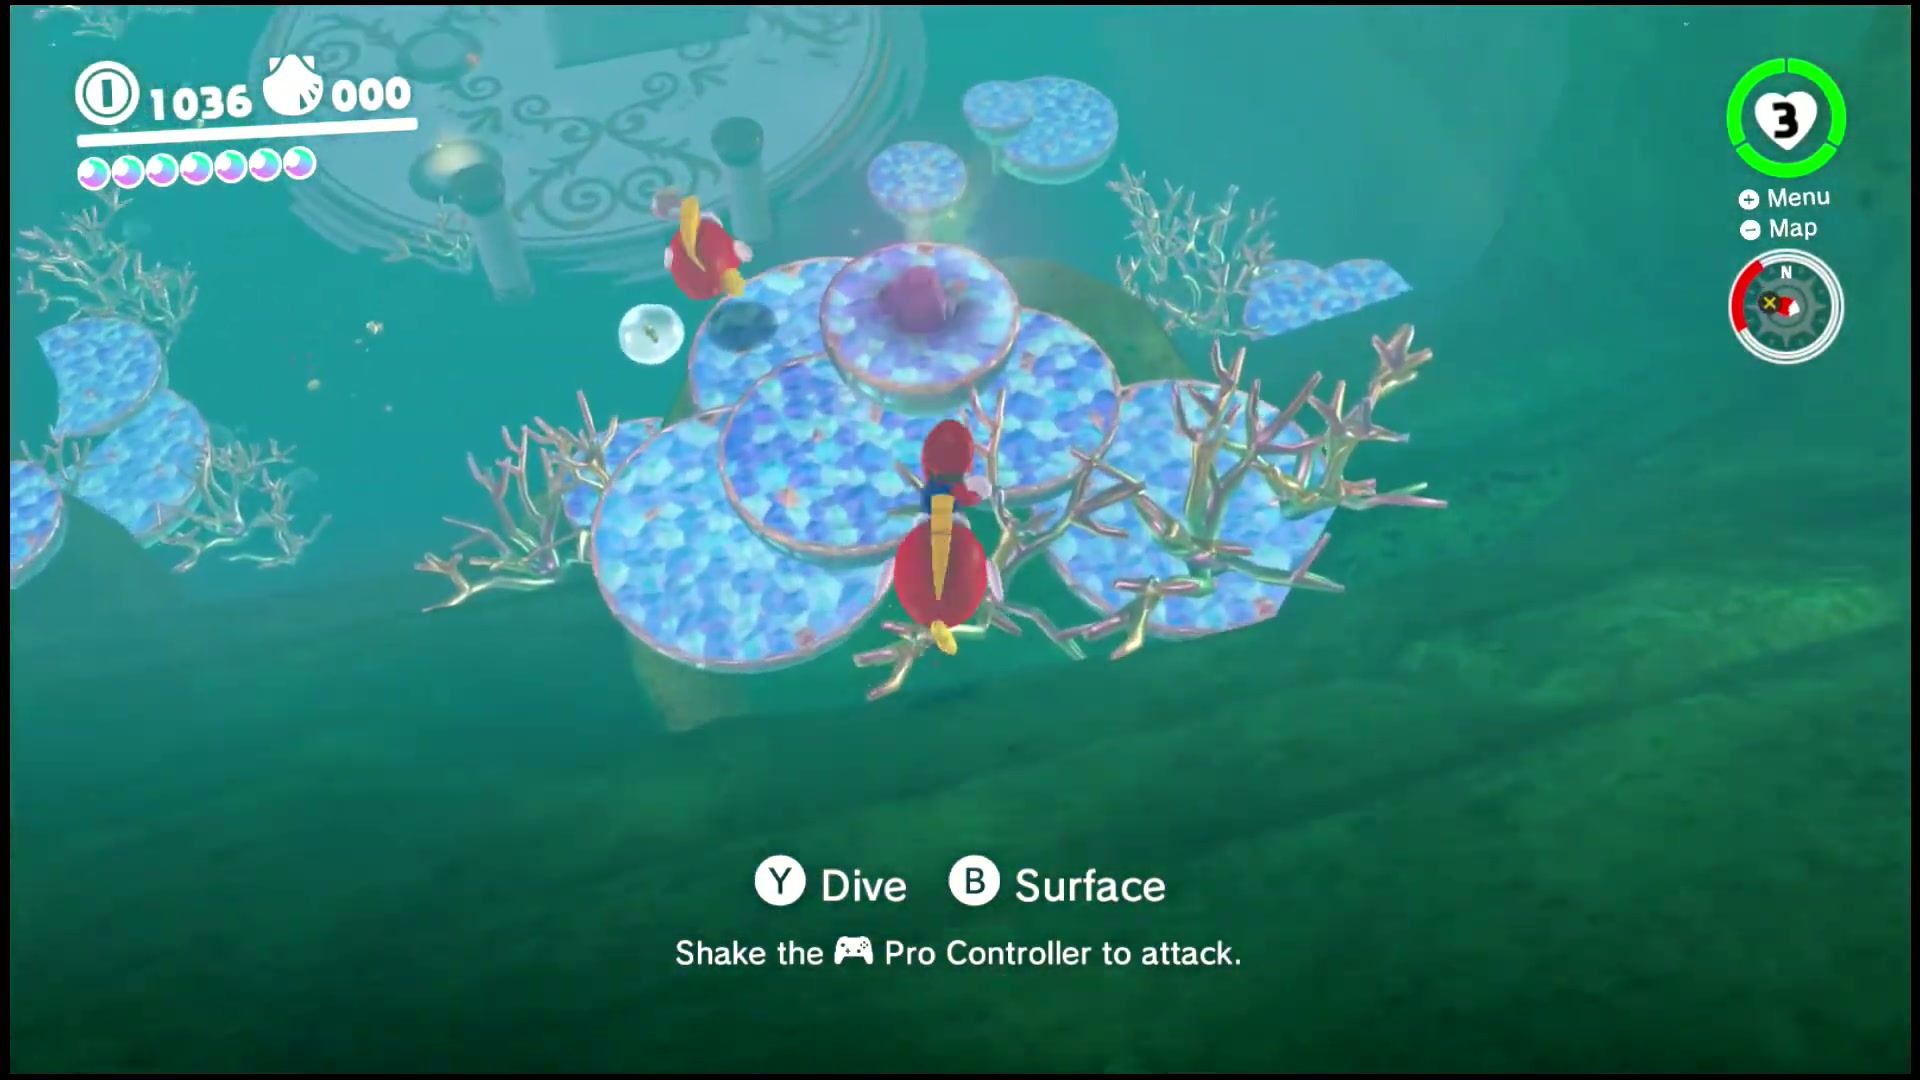
The Tall Rock Shelf in the Deep Ocean
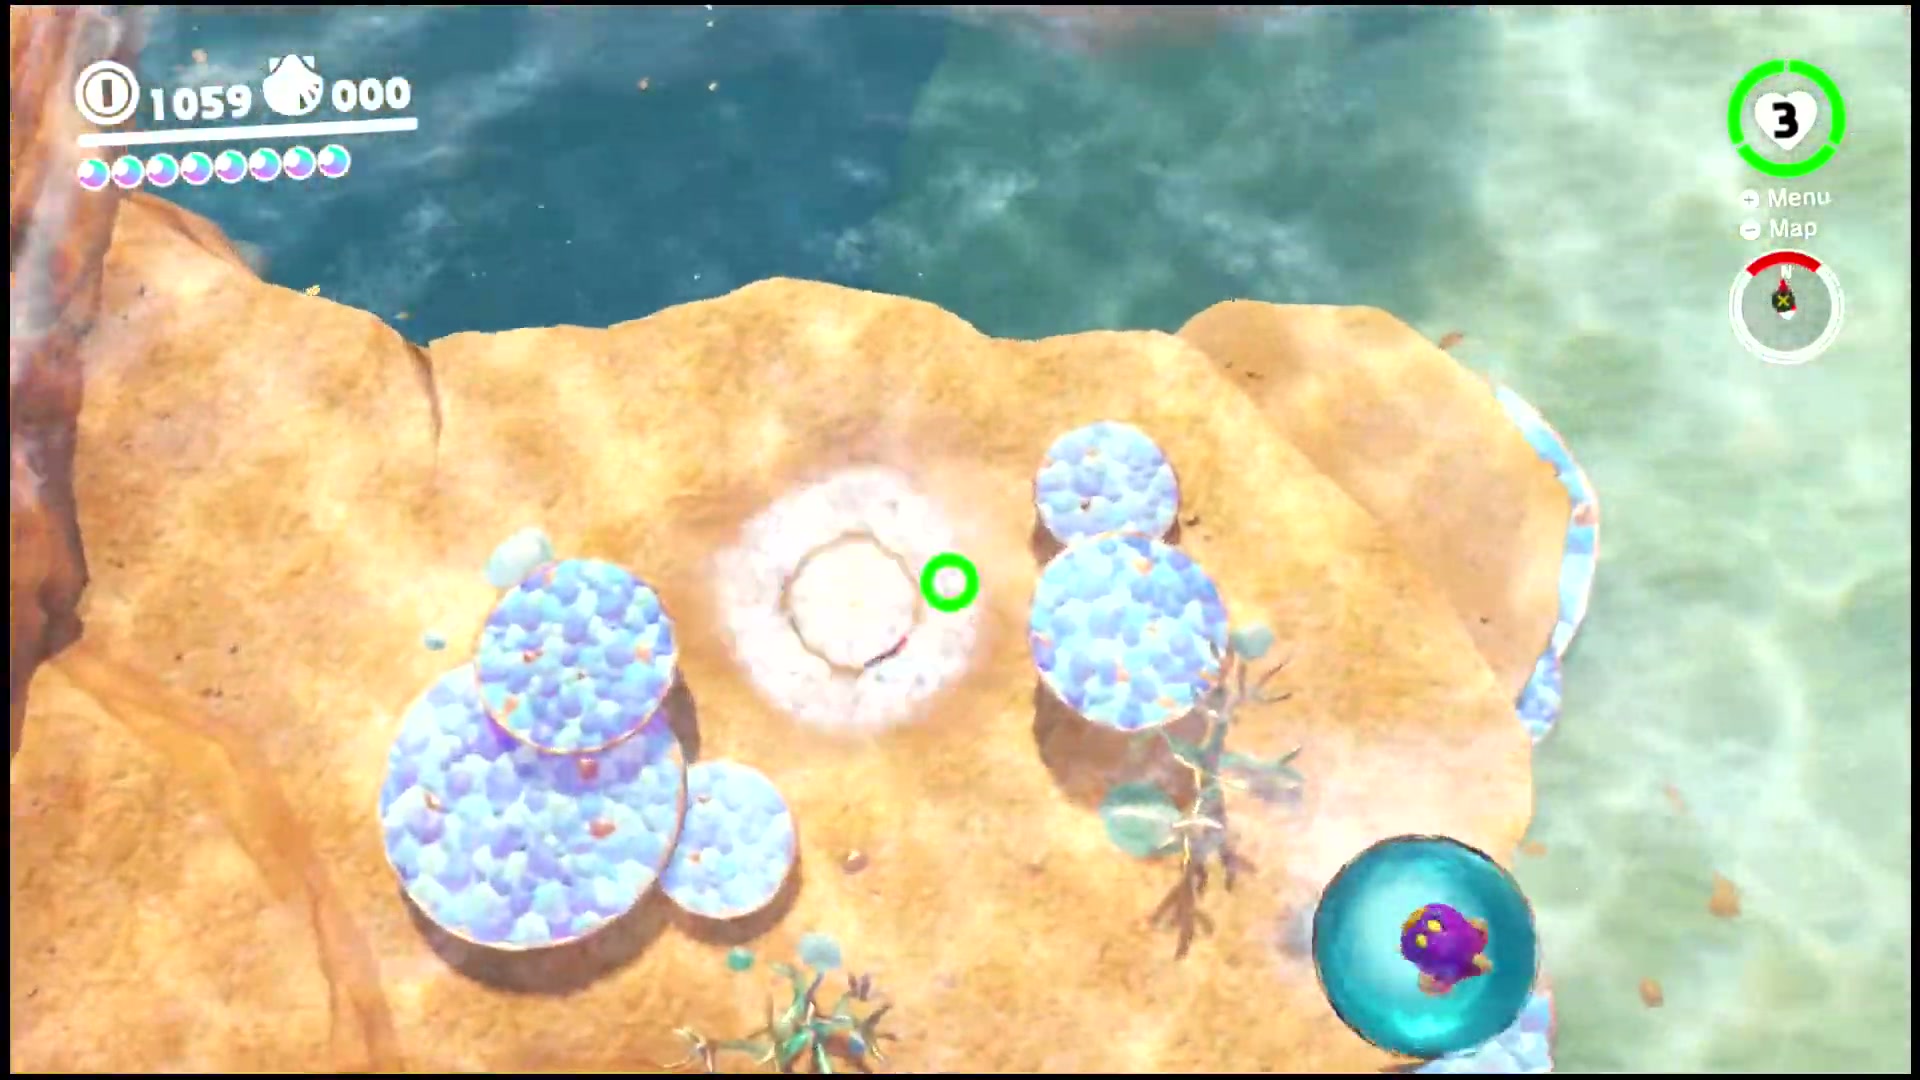
Dive to the deepest part of the bay and look for the tall rock shelf rising from the ocean floor. The Power Moon sits among the glowing blue coral beds at its base.
At the Base of the Lighthouse
Swim down to where the lighthouse meets the seafloor. Search the sandy bottom and the blue clam beds around its foundation to uncover the Power Moon.
Bird Traveling Over the Ocean
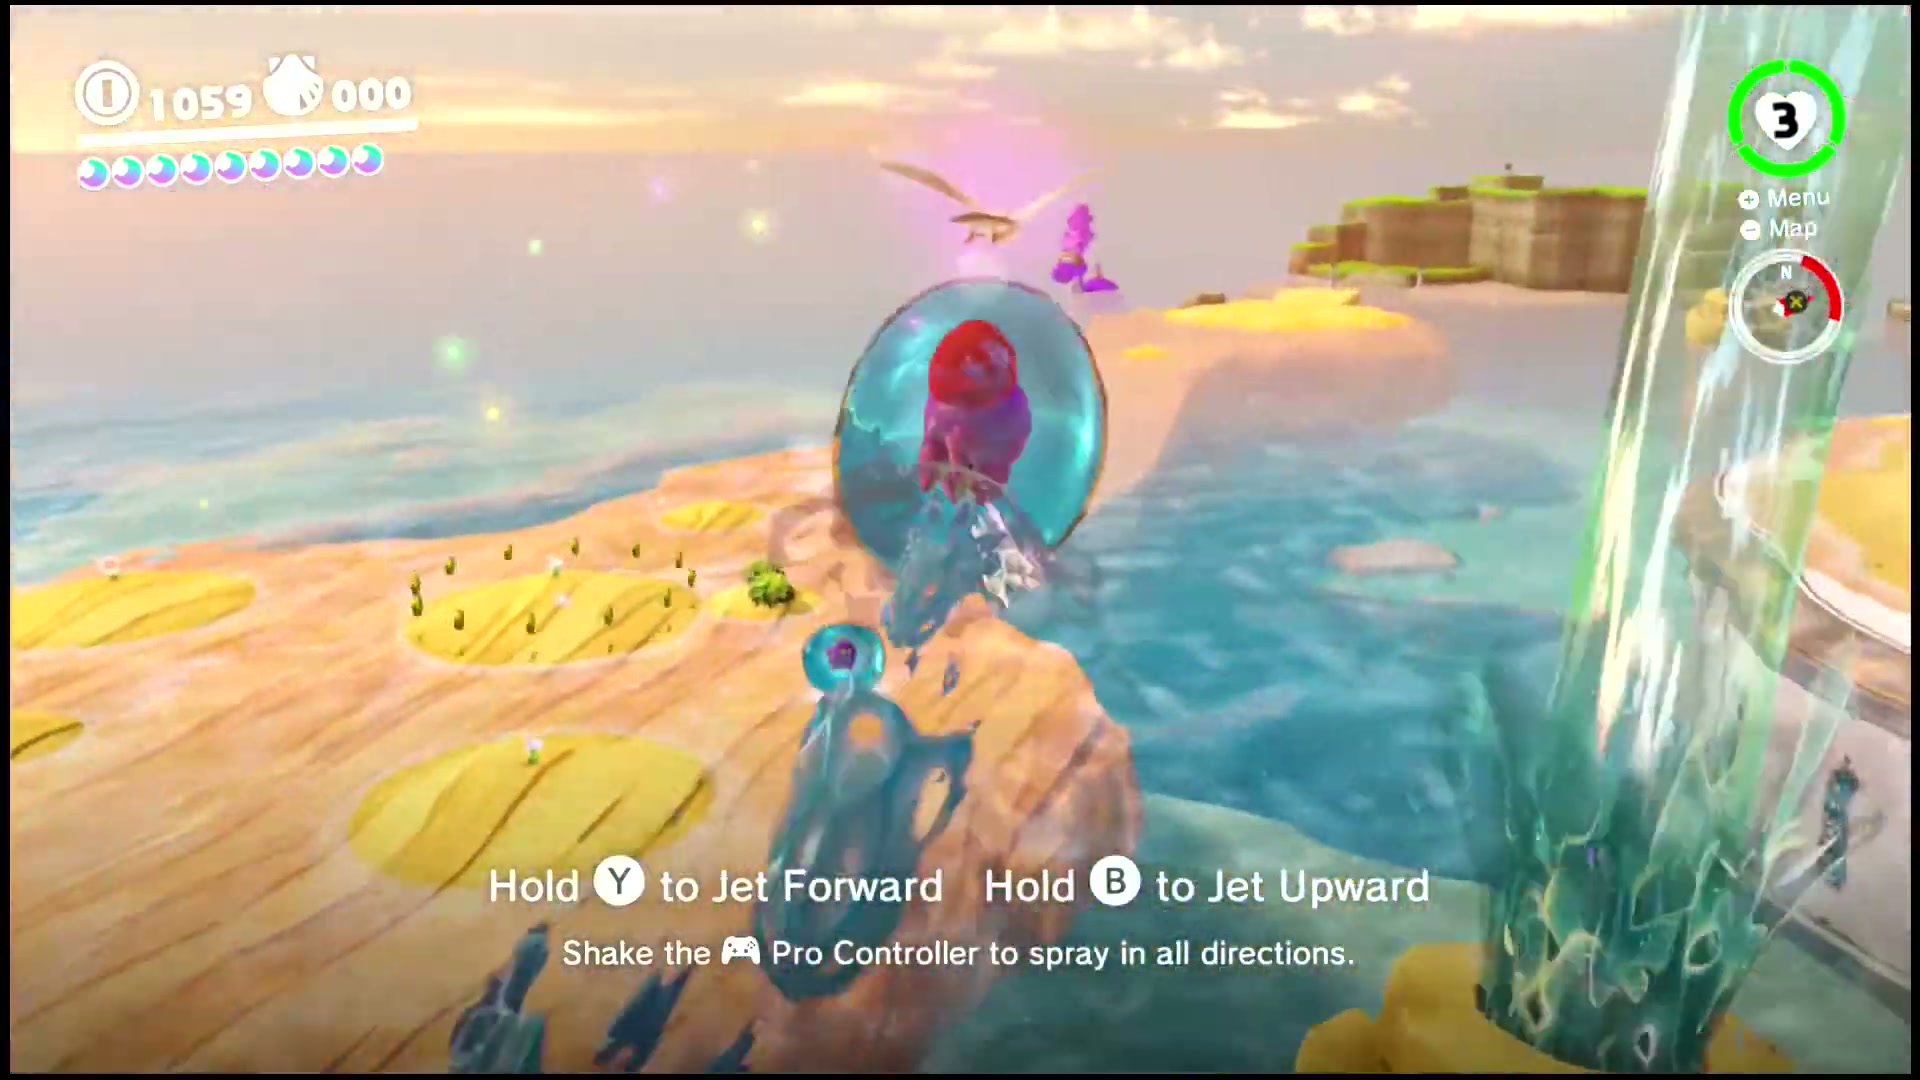
Capture a Gushen near the lighthouse and use its water jets to soar out over the ocean. Chase down the bird gliding across the waves and spray it to make the Power Moon appear.
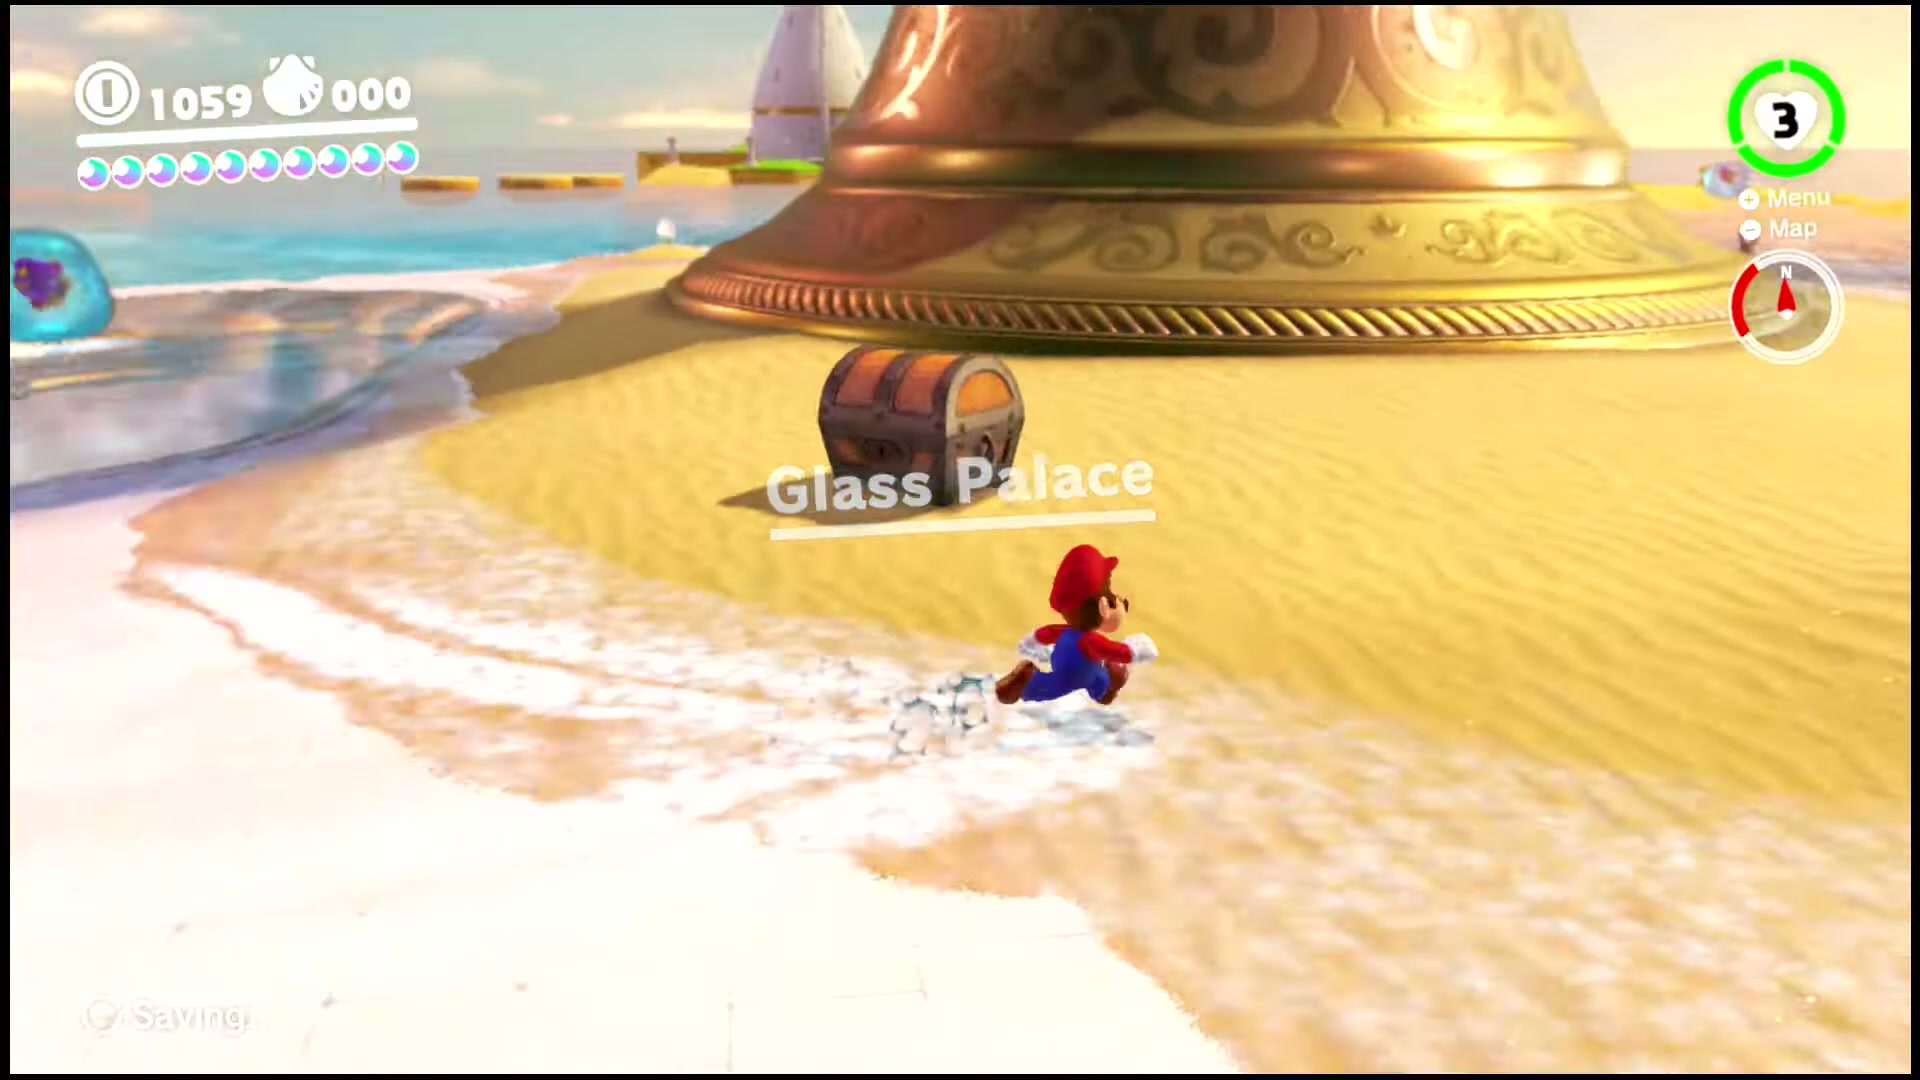
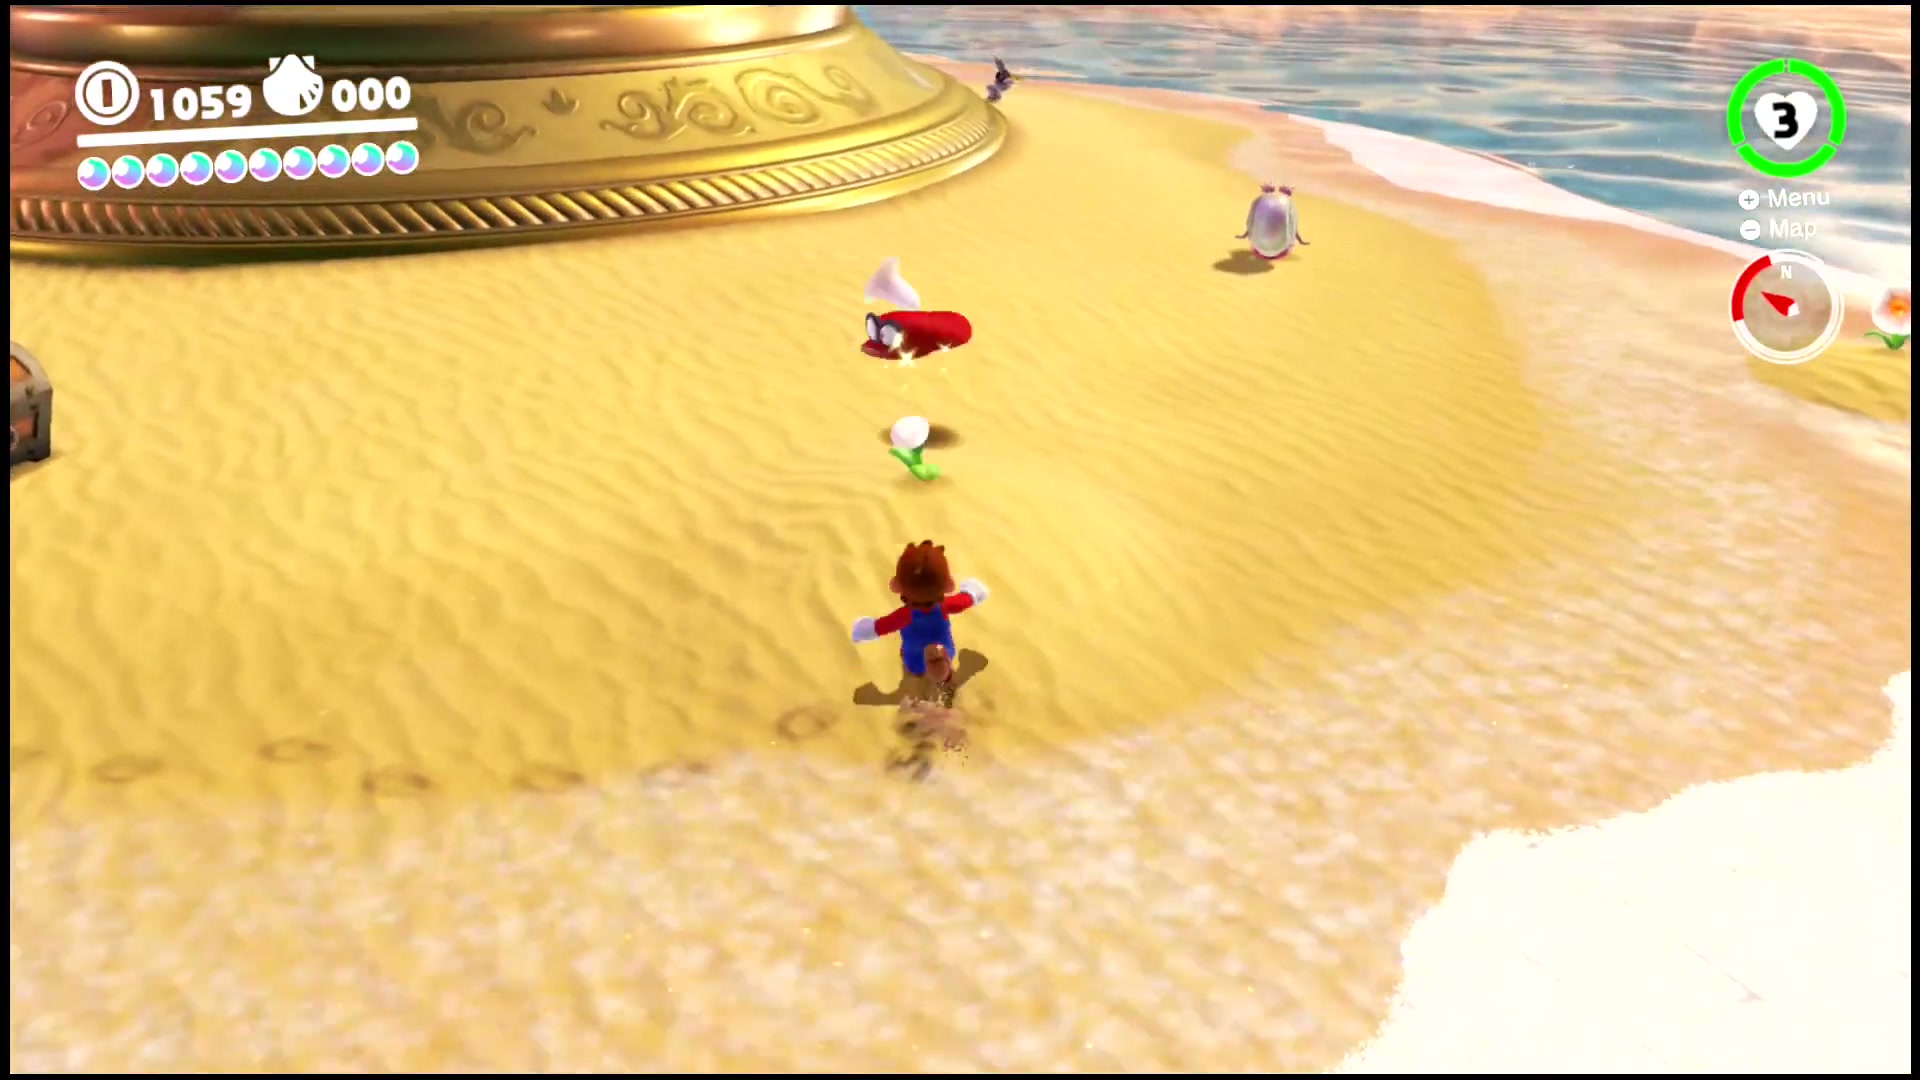
Caught Hopping at Glass Palace!
Head to the Glass Palace at the foot of the giant bell. A small creature hops around the beach there, so chase it down and catch it to earn the Power Moon.
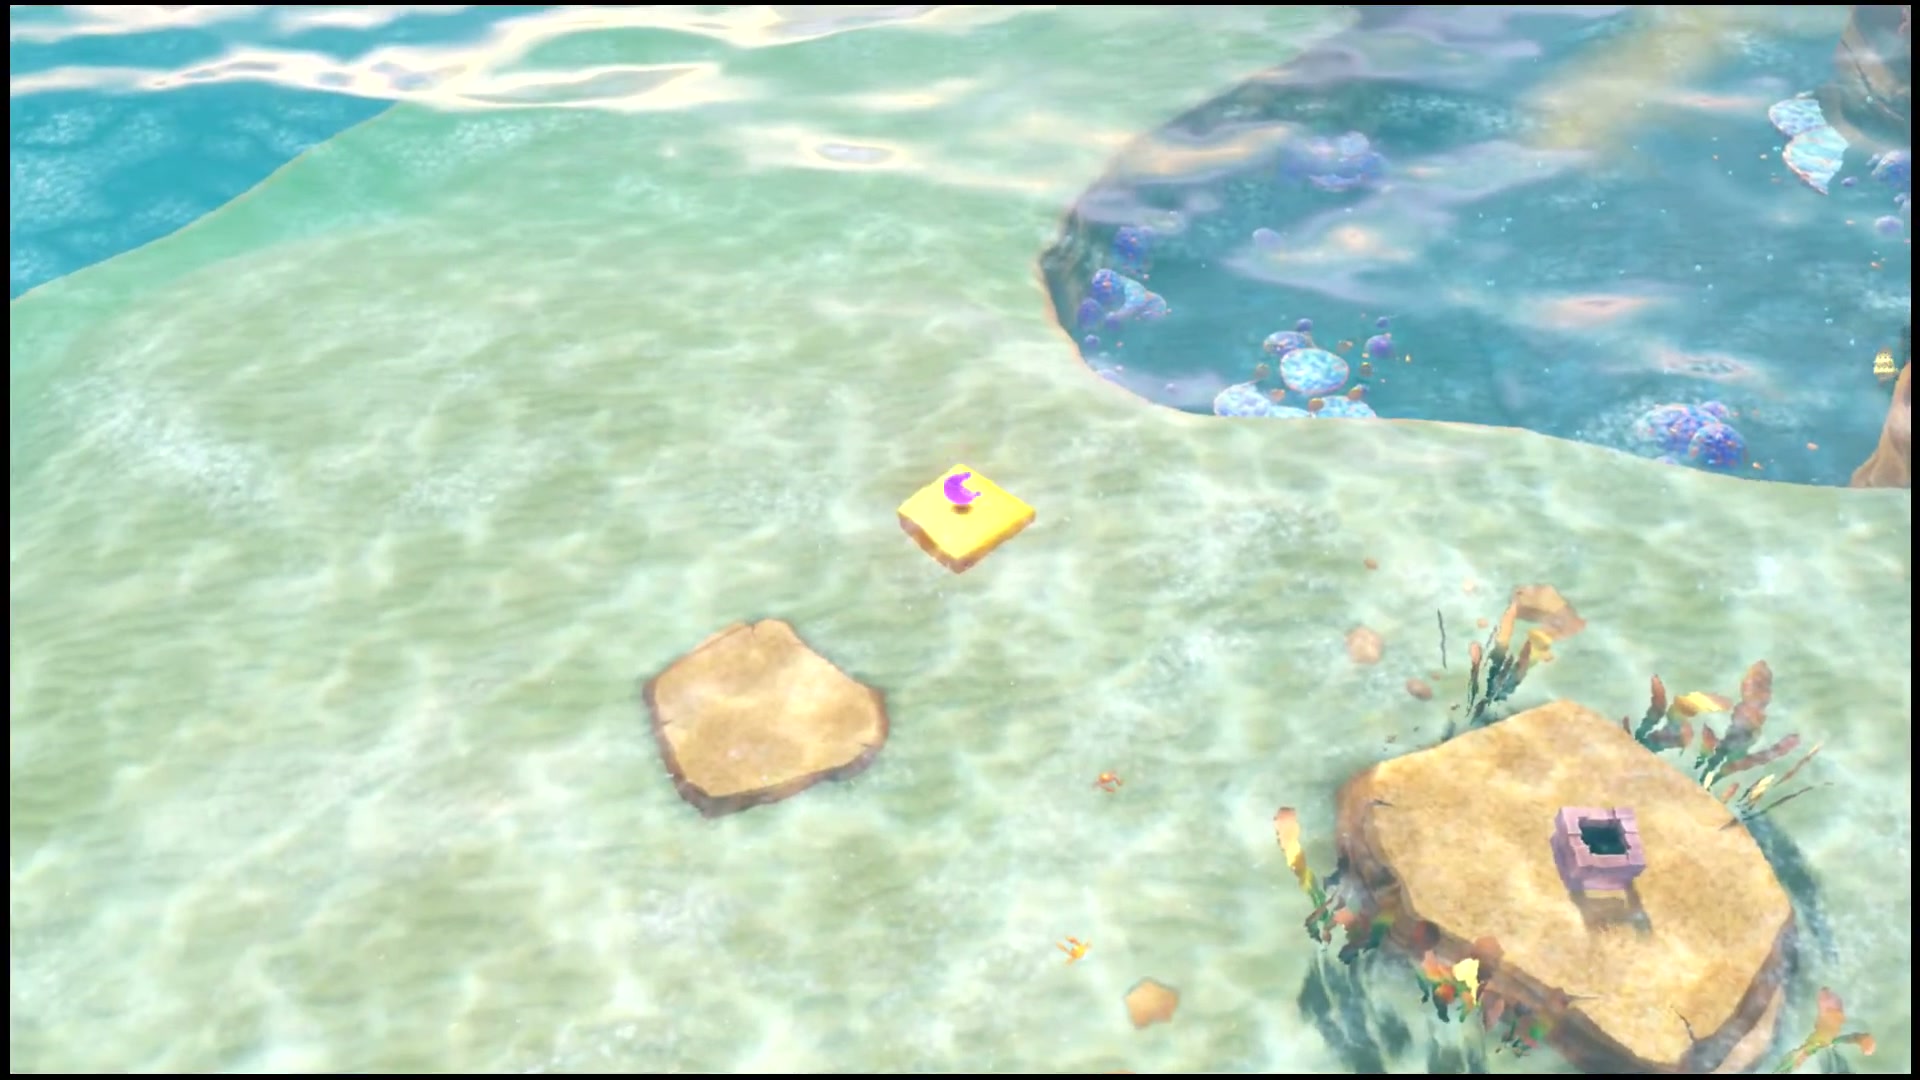
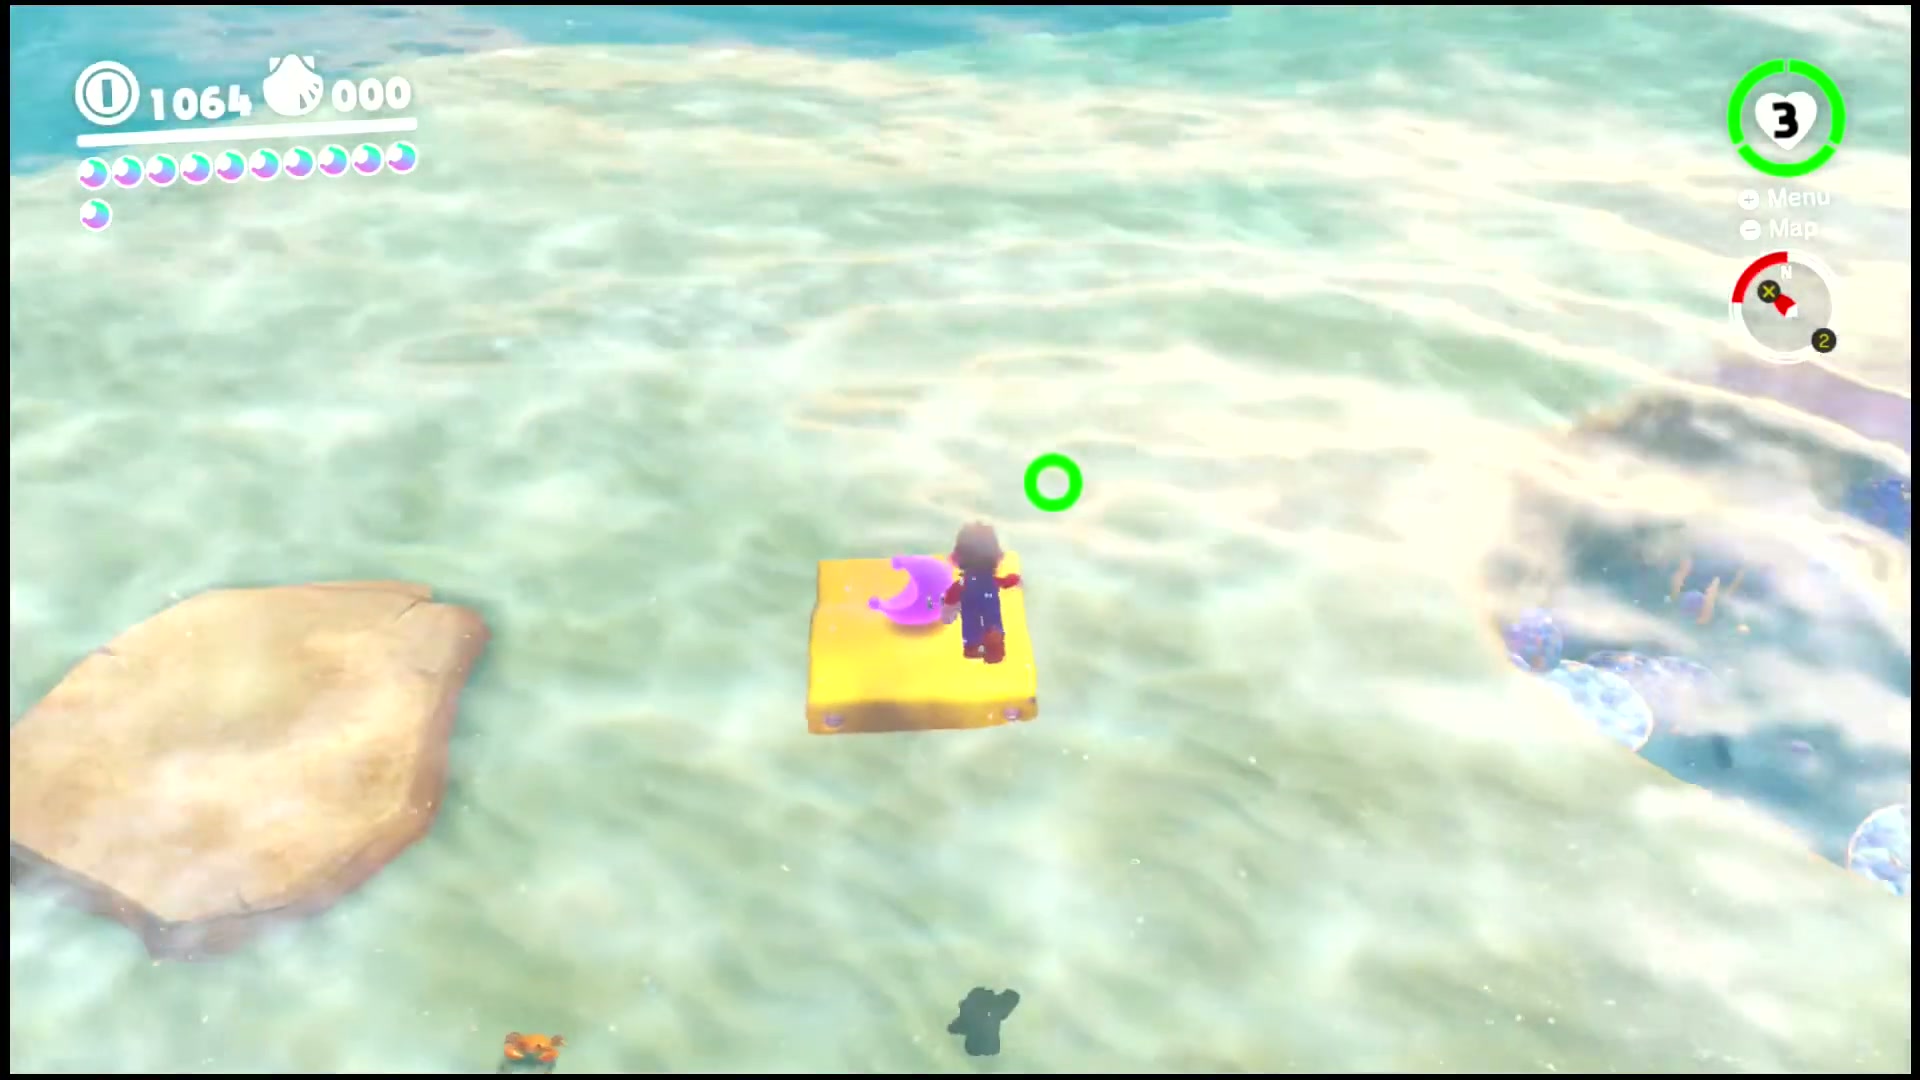
Seaside Kingdom Timer Challenge 3
Hit the P-switch to start the challenge, then dash across the stone platforms in the shallows before time runs out. Reach the goal in time to claim the Power Moon.
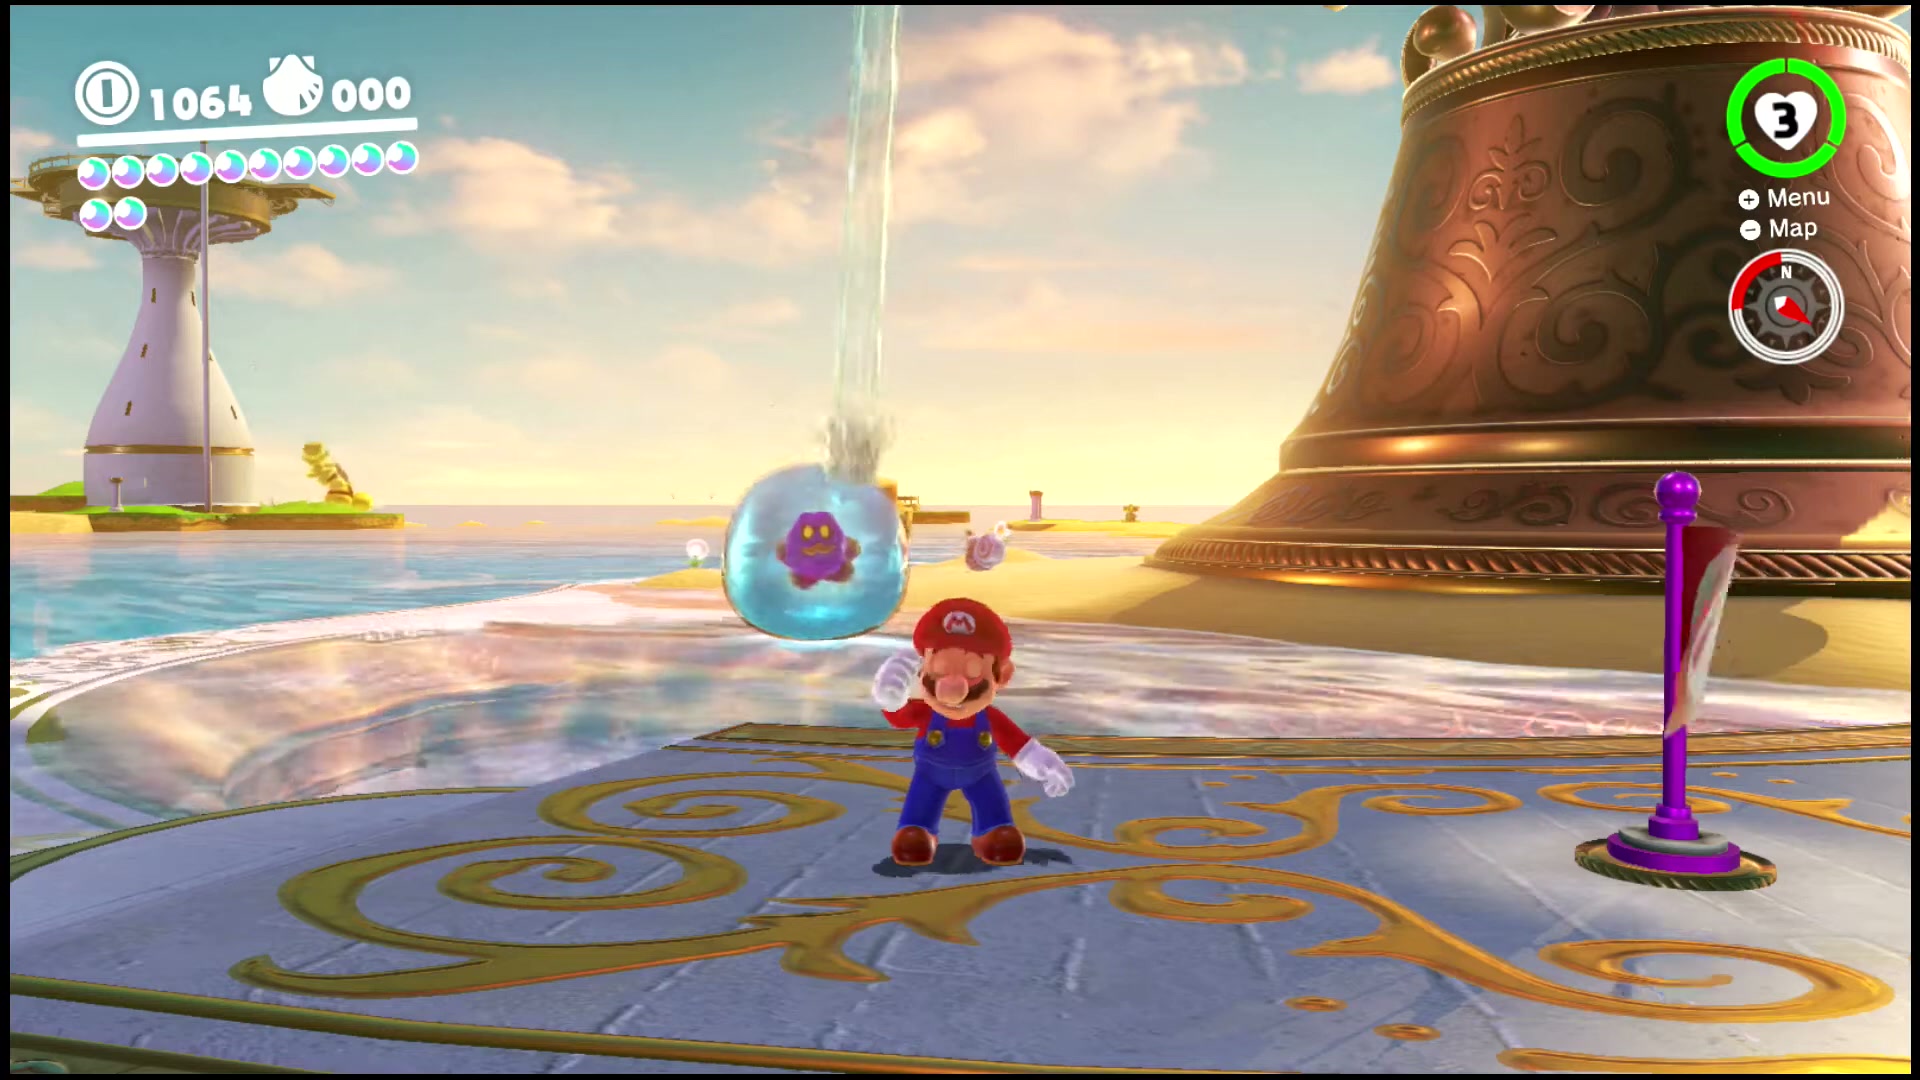
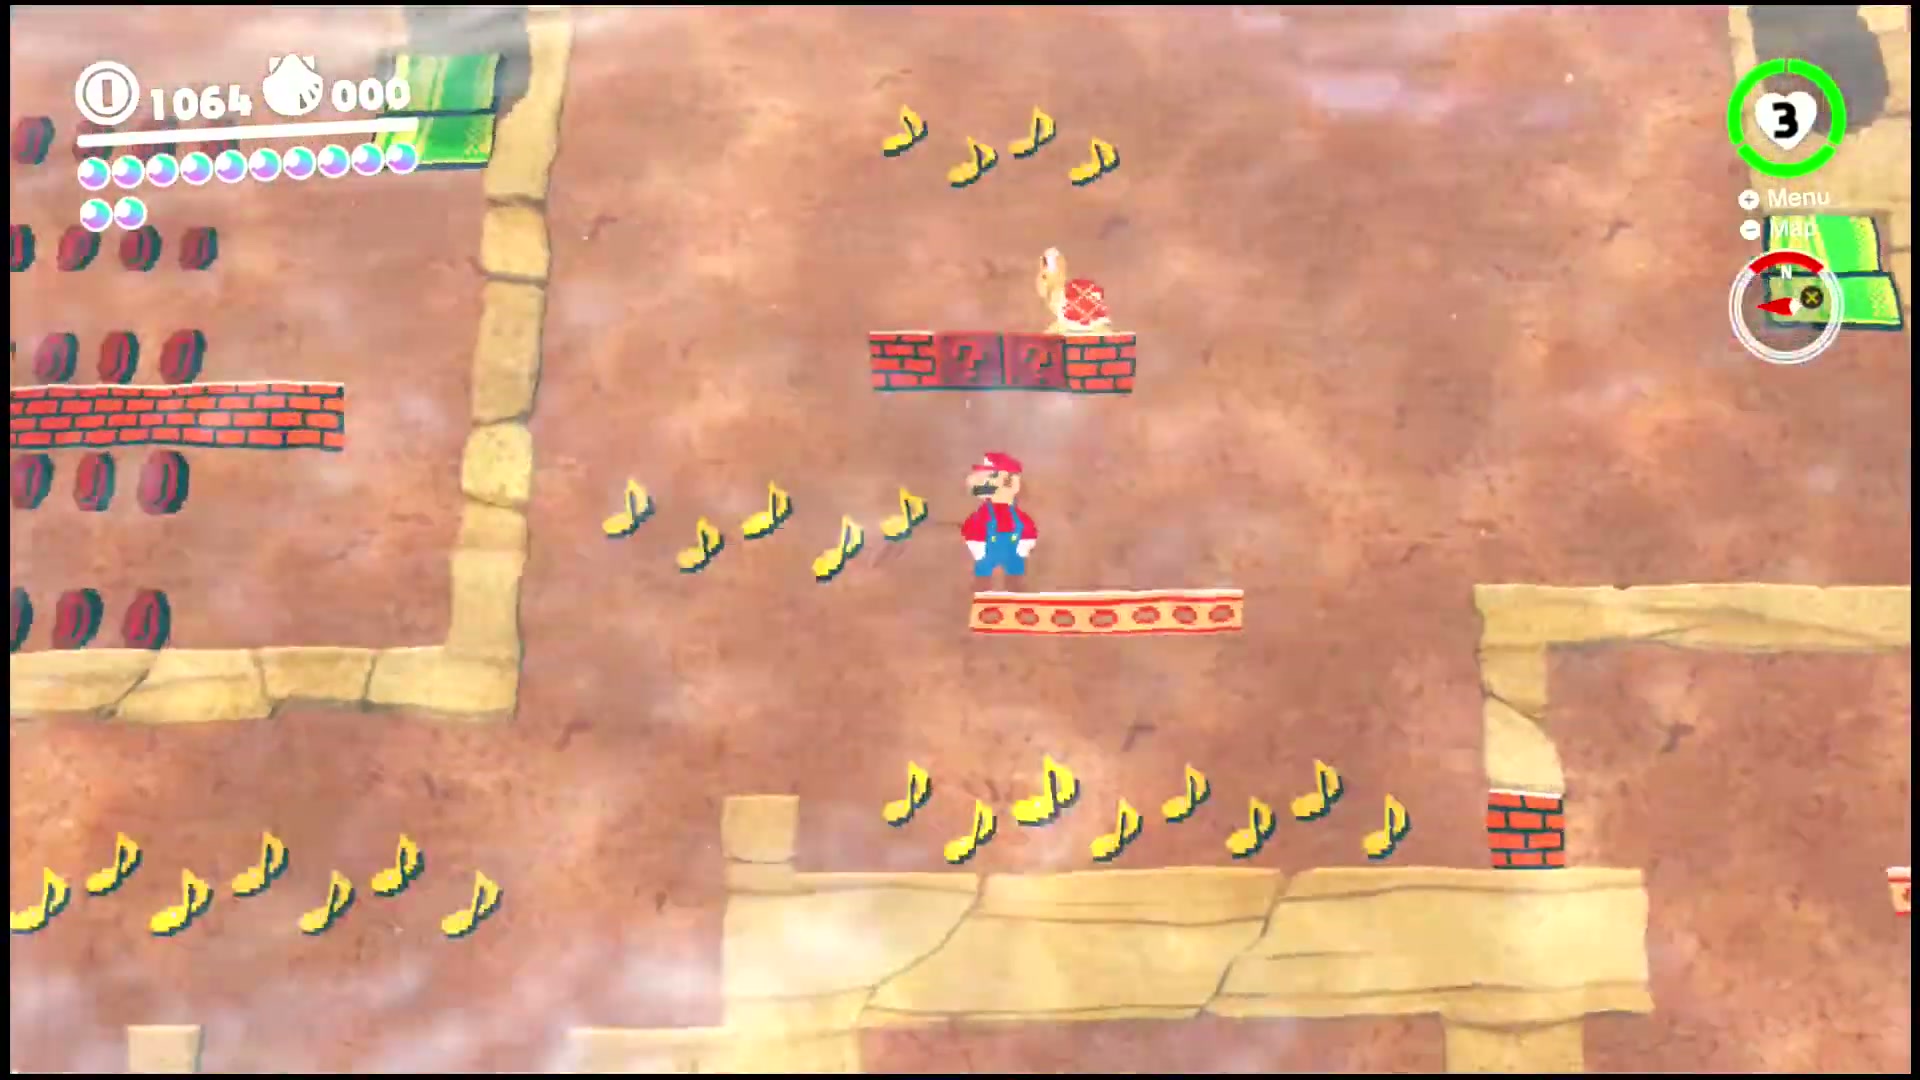
Taking Notes: Ocean-Bottom Maze
Touch the music note to begin, then race through the brick maze and grab every note before the timer ends. Collect them all to make the Power Moon appear.
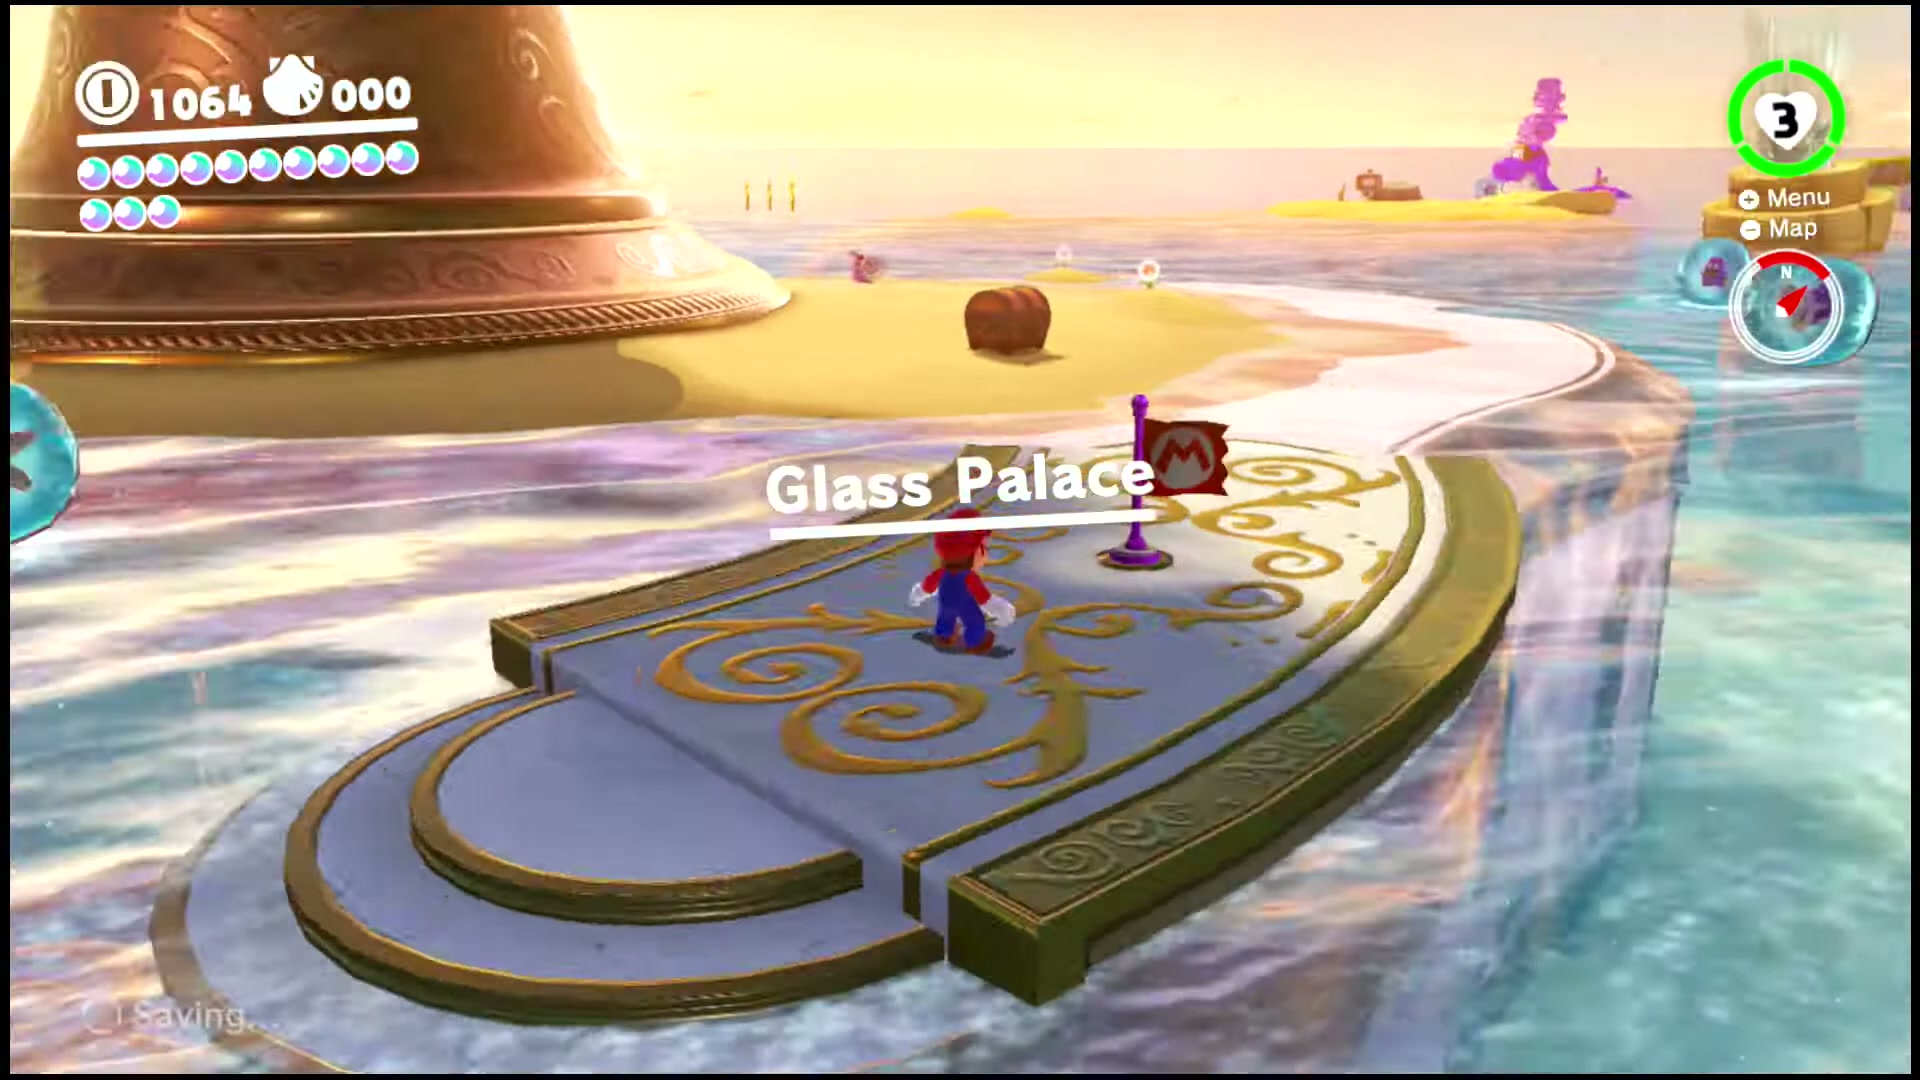
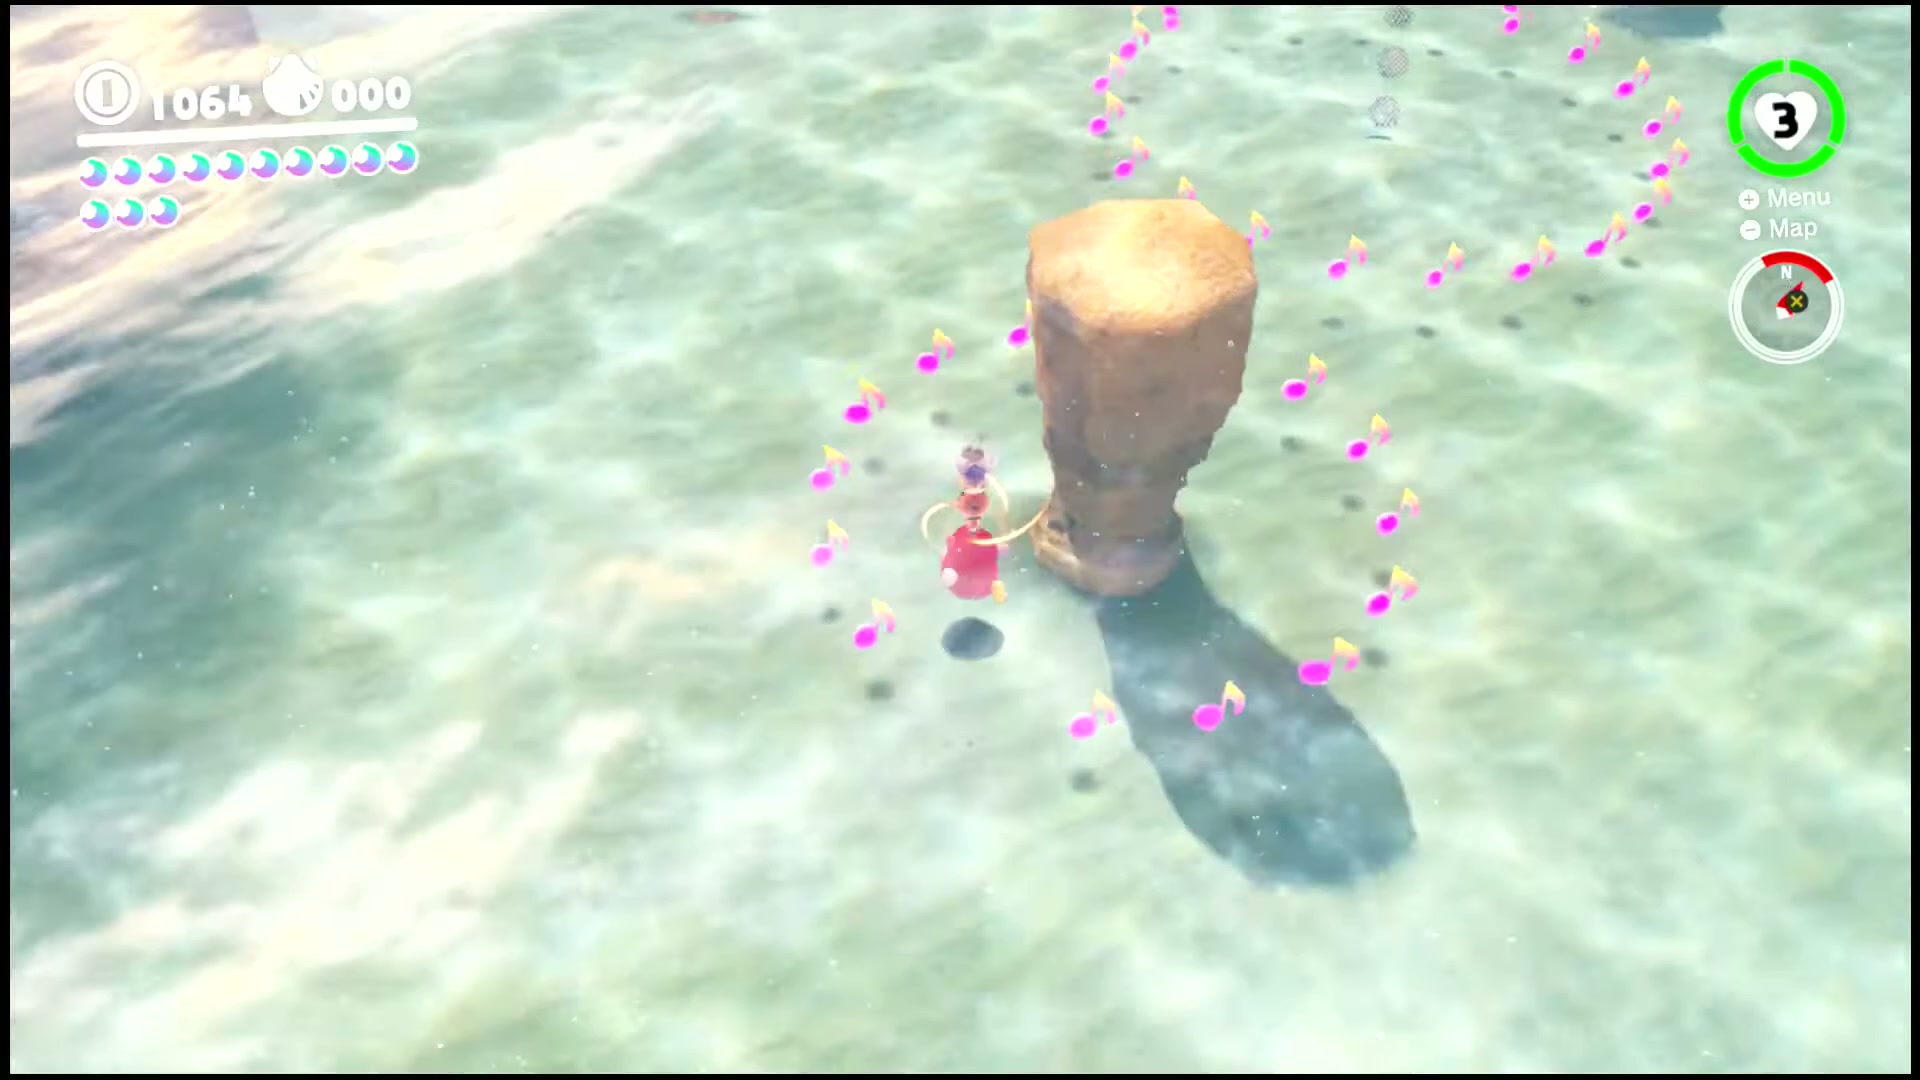
Taking Notes in the Sea
Start the note challenge near Glass Palace, then swim out and gather every music note circling the rock pillar before time runs out to earn the Power Moon.
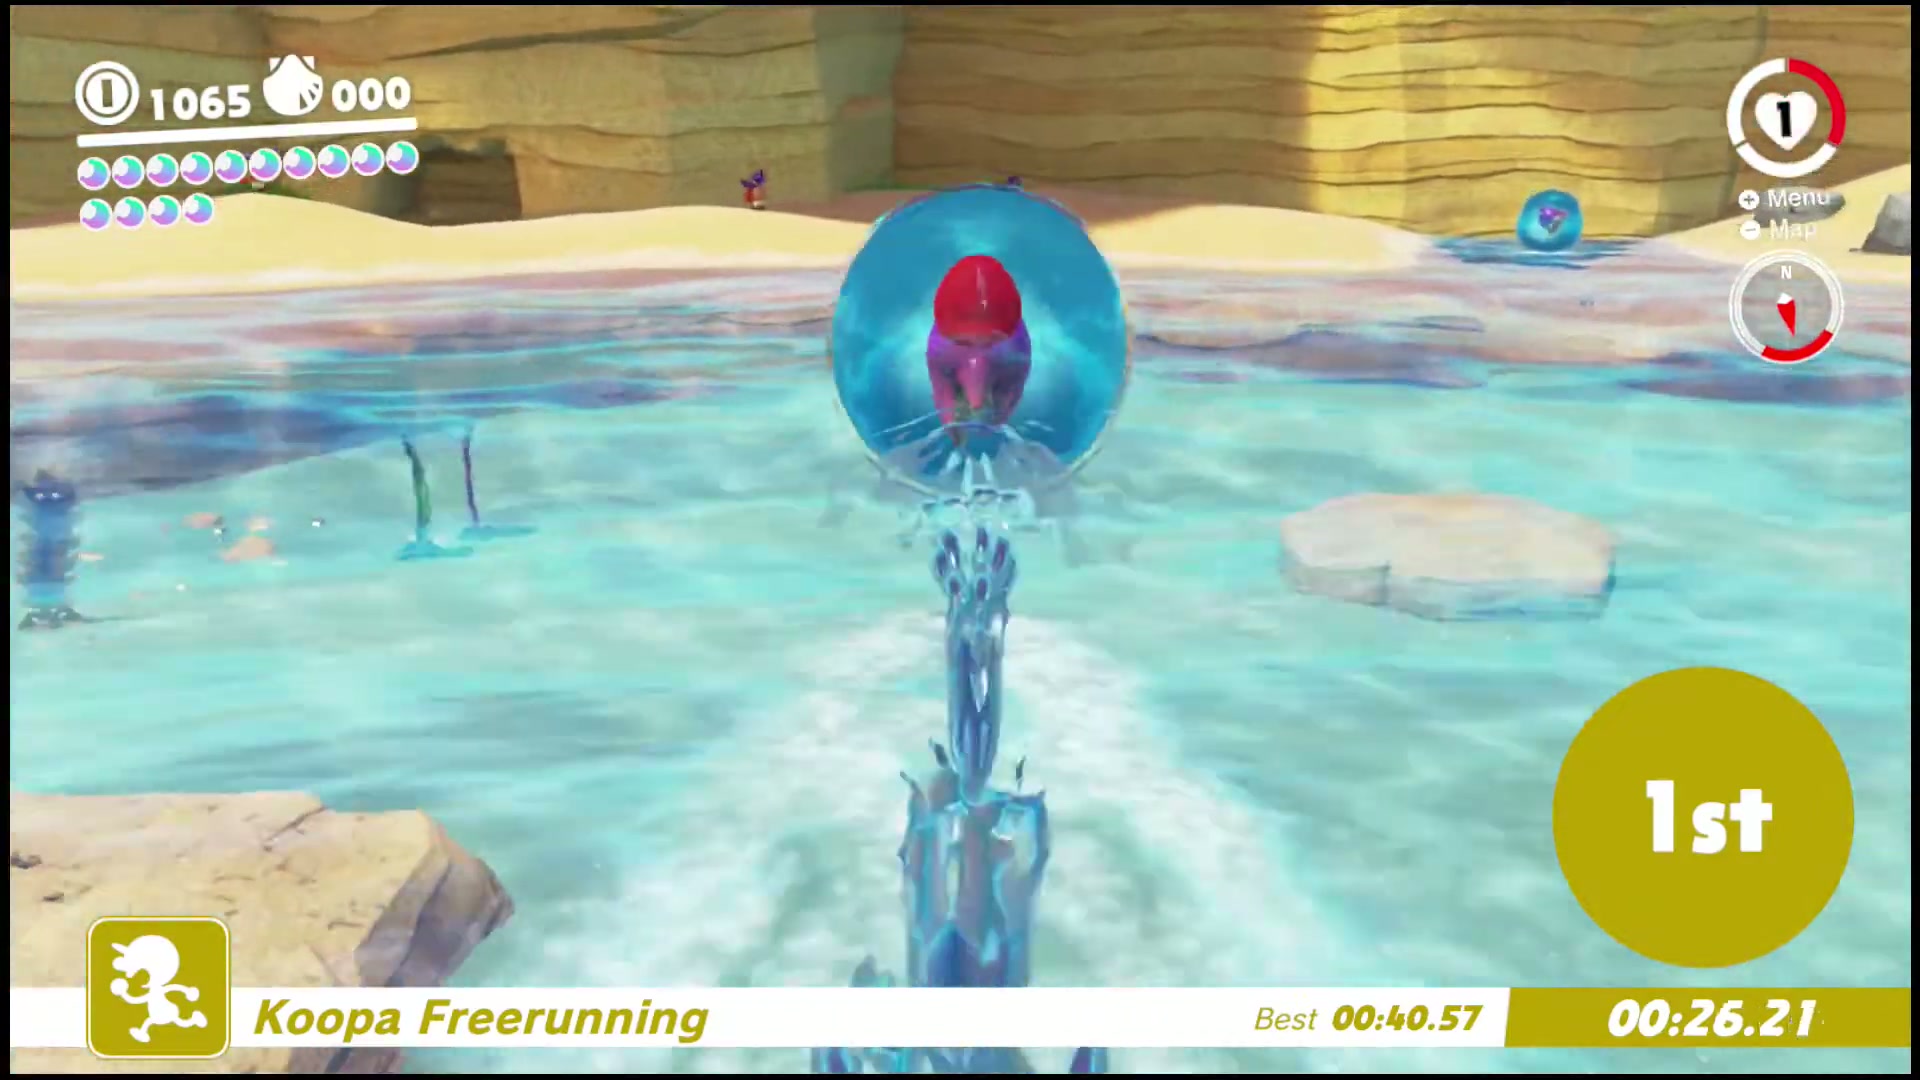
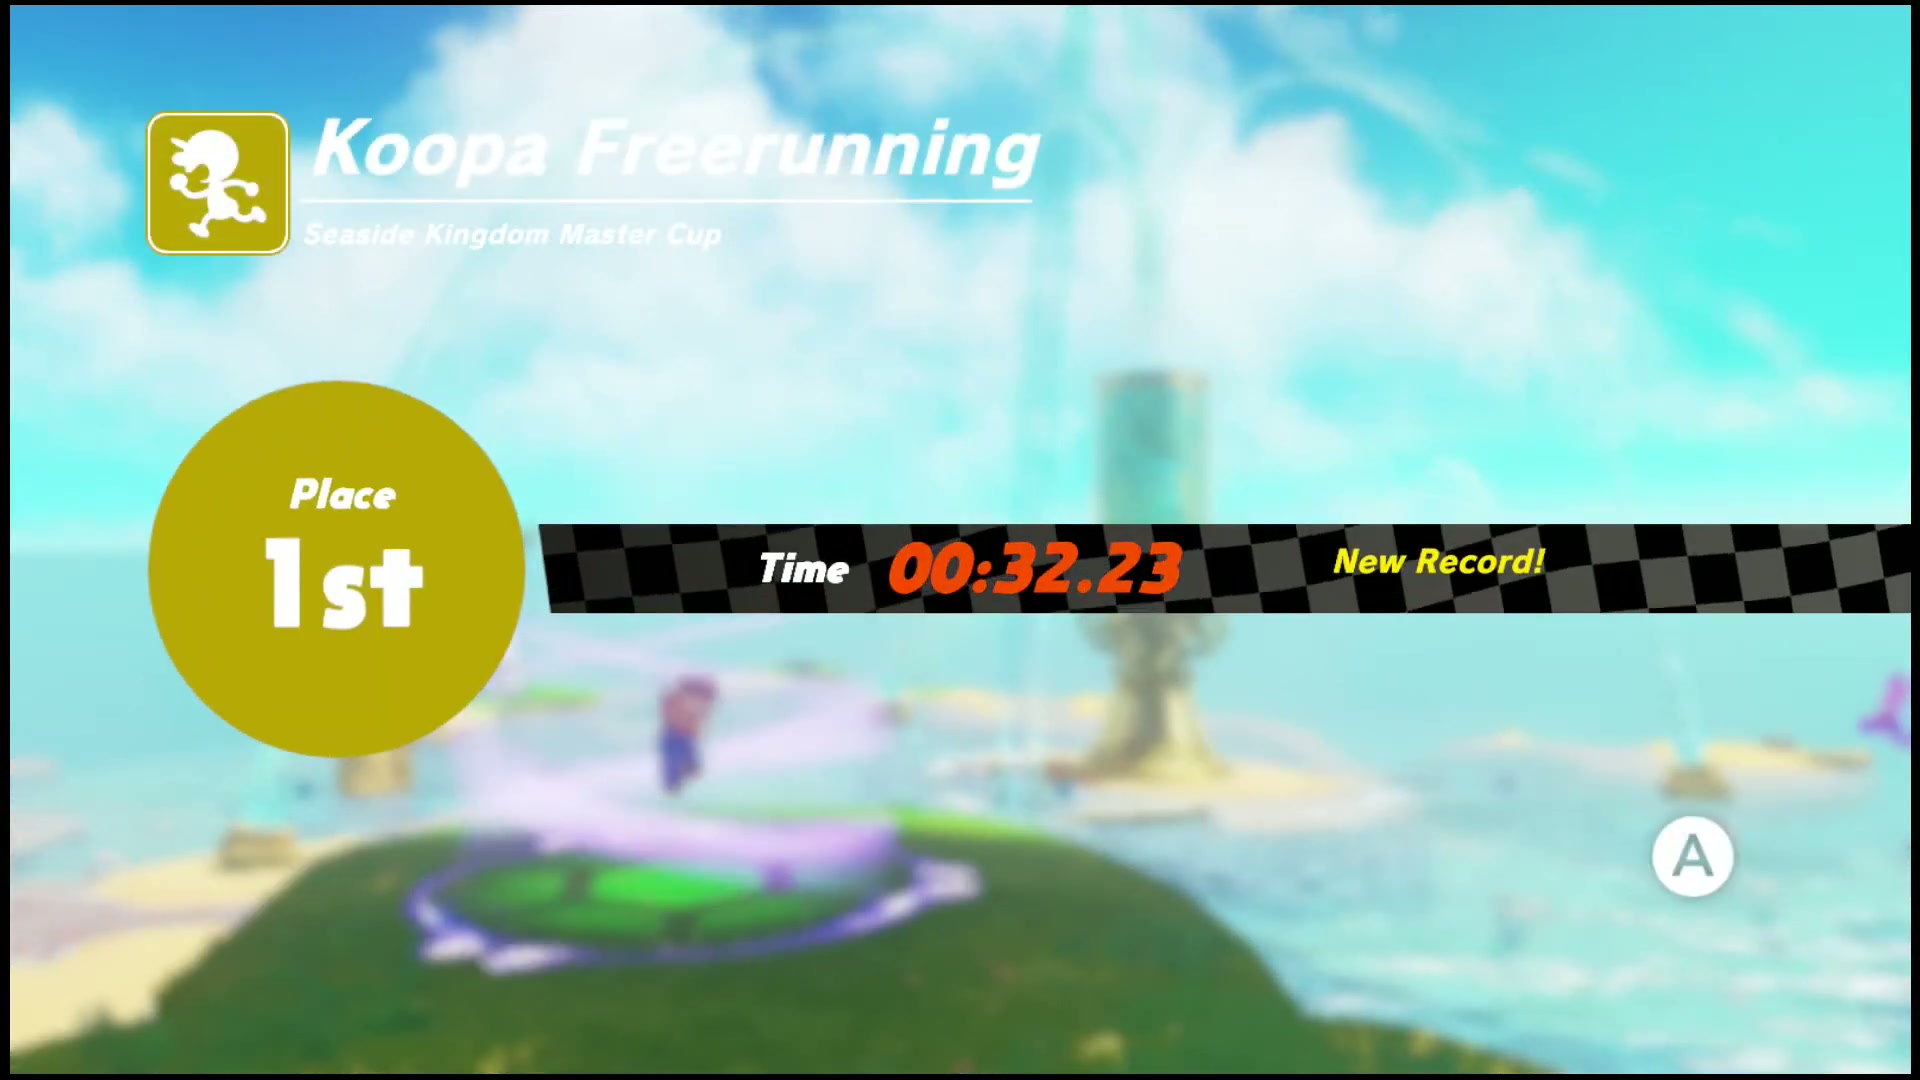
Seaside Kingdom Master Cup
Talk to the Koopa to enter the Master Cup. Capture a Gushen and weave through the tougher course, finishing in first place to win the Power Moon.
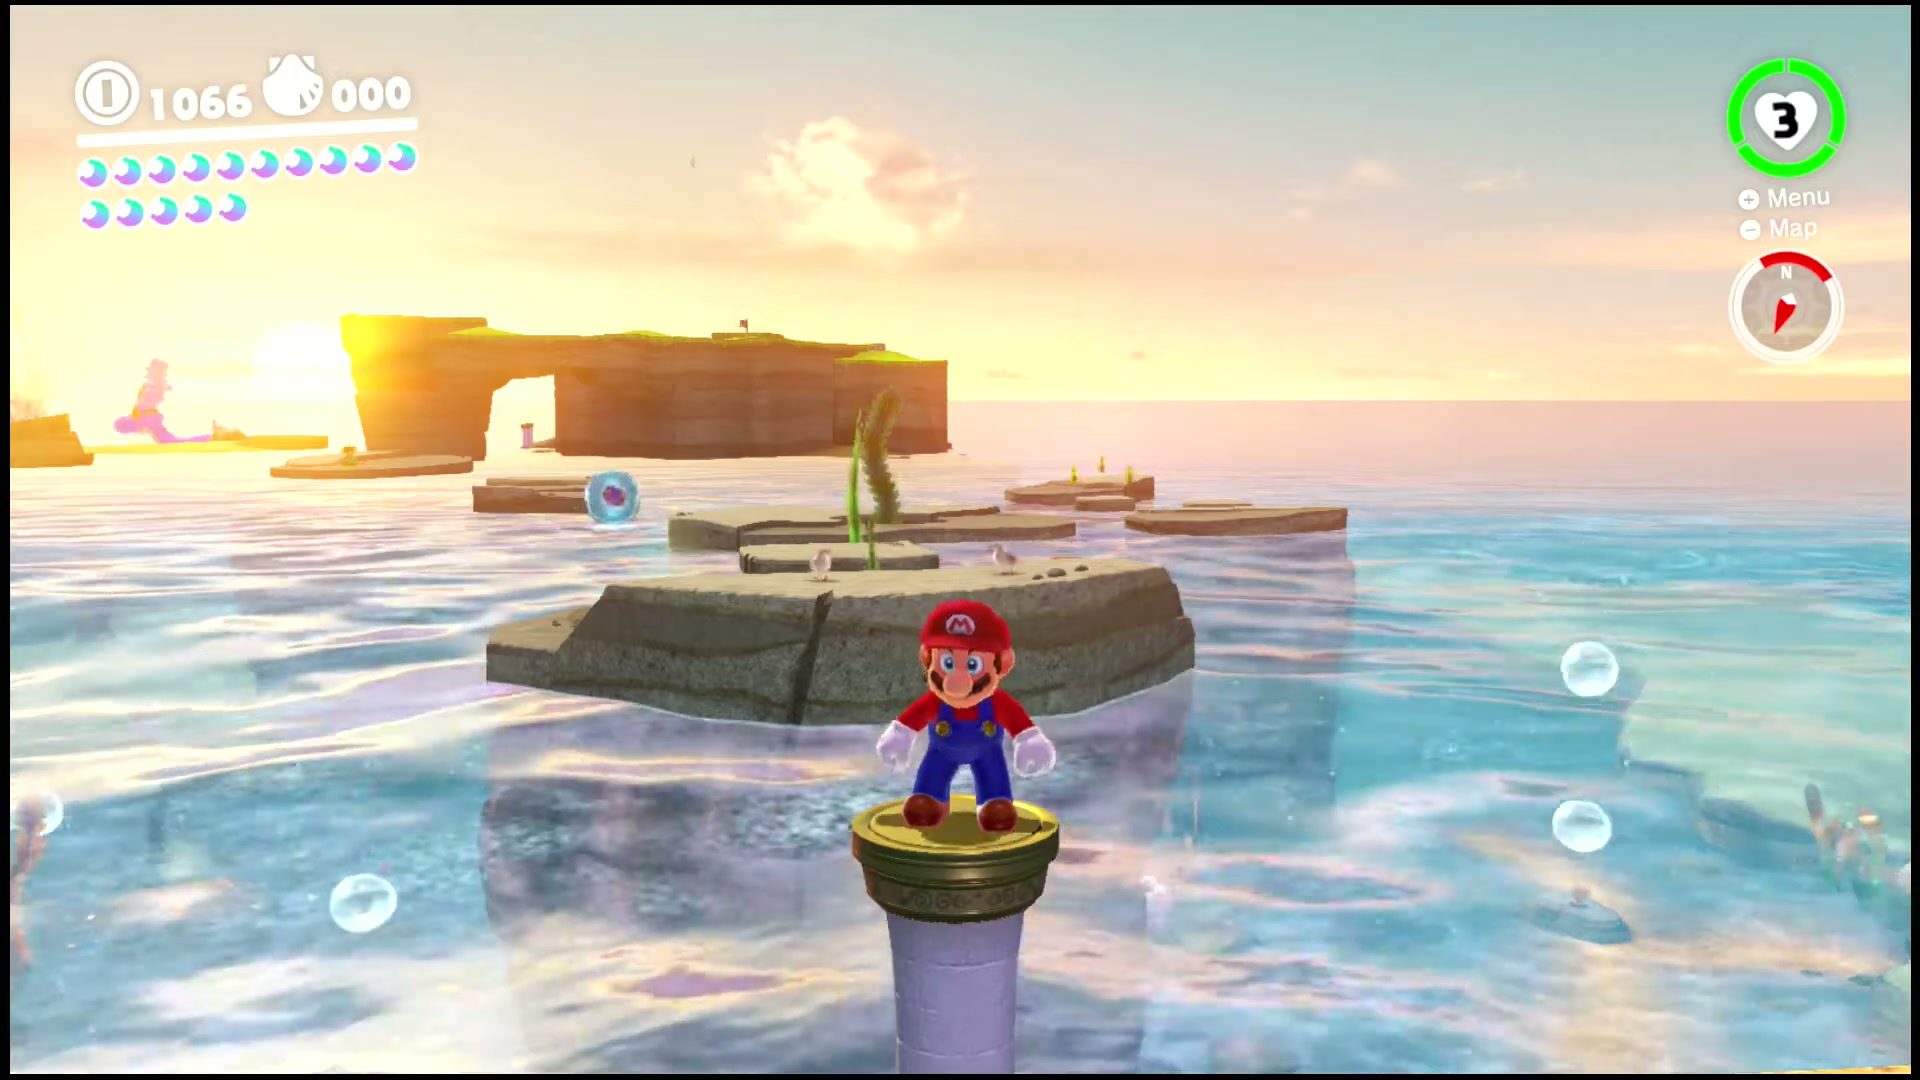
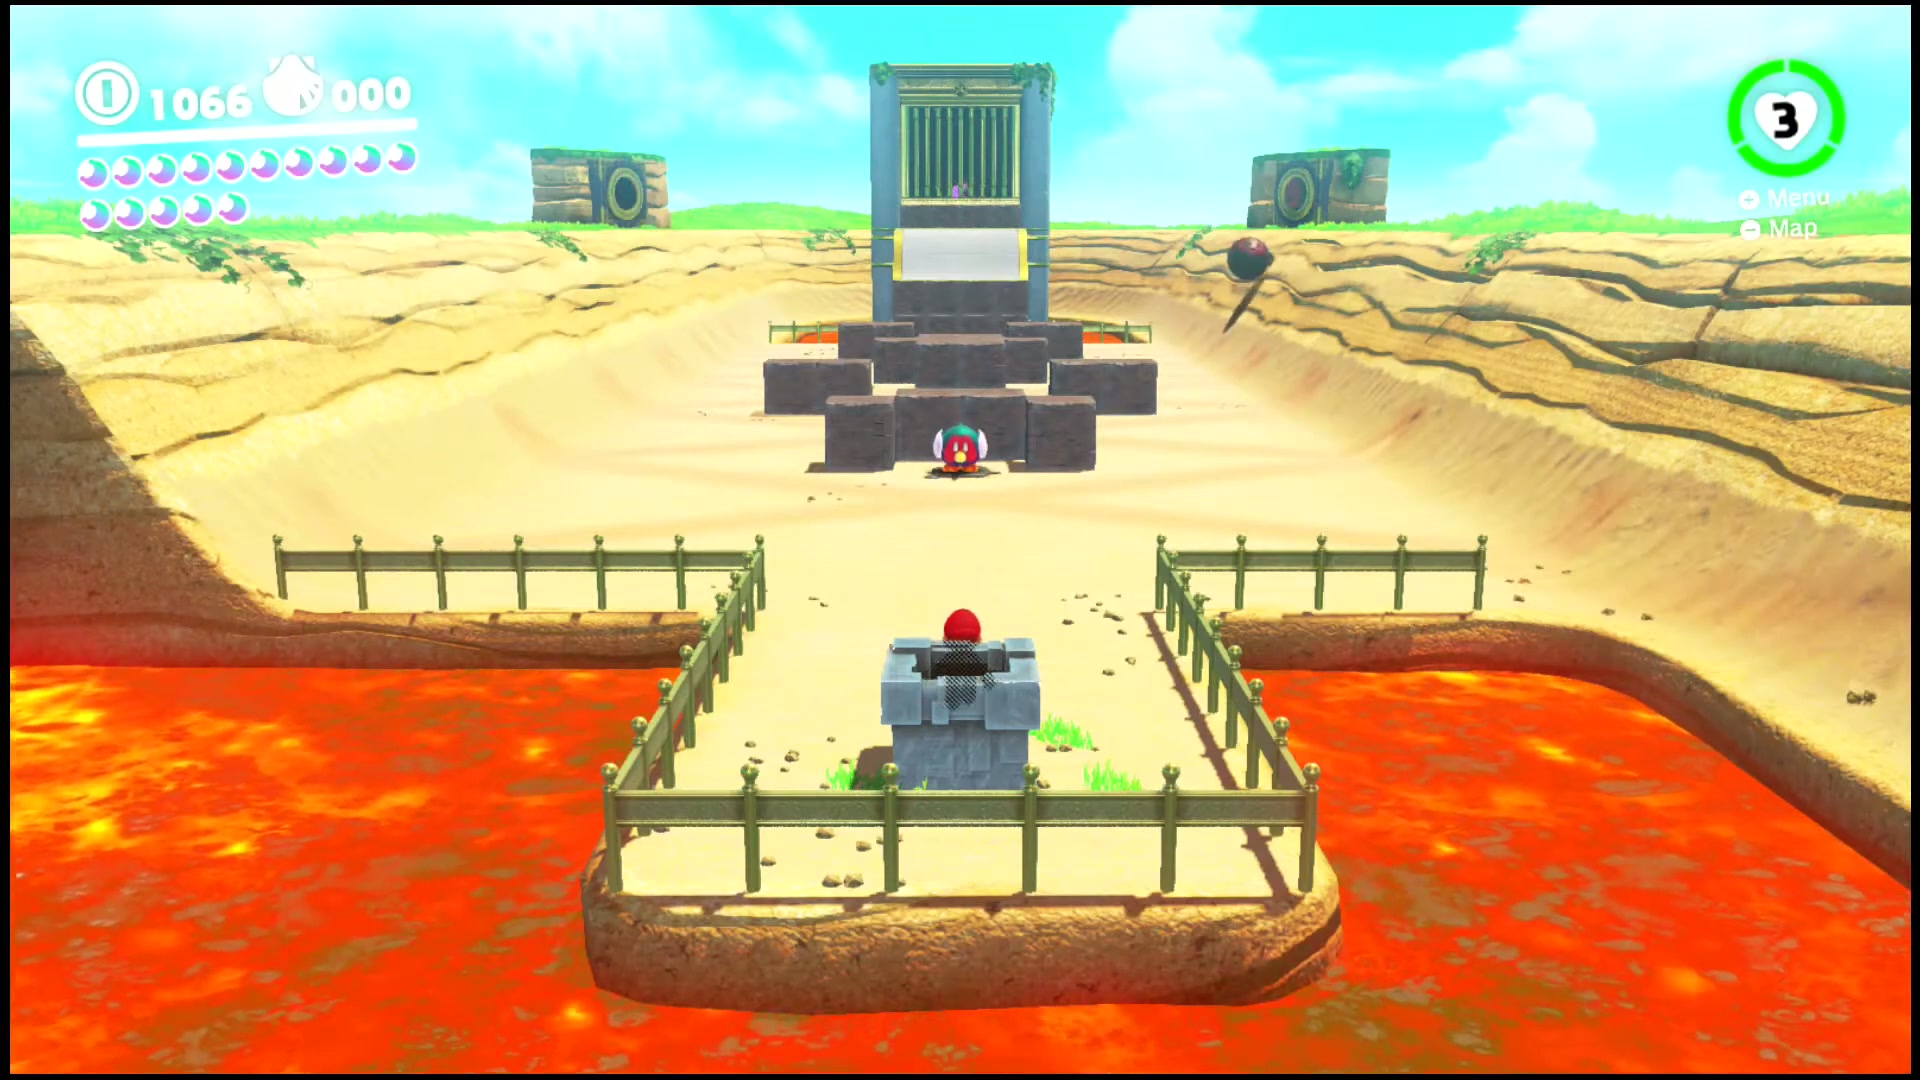
Aim! Poke!
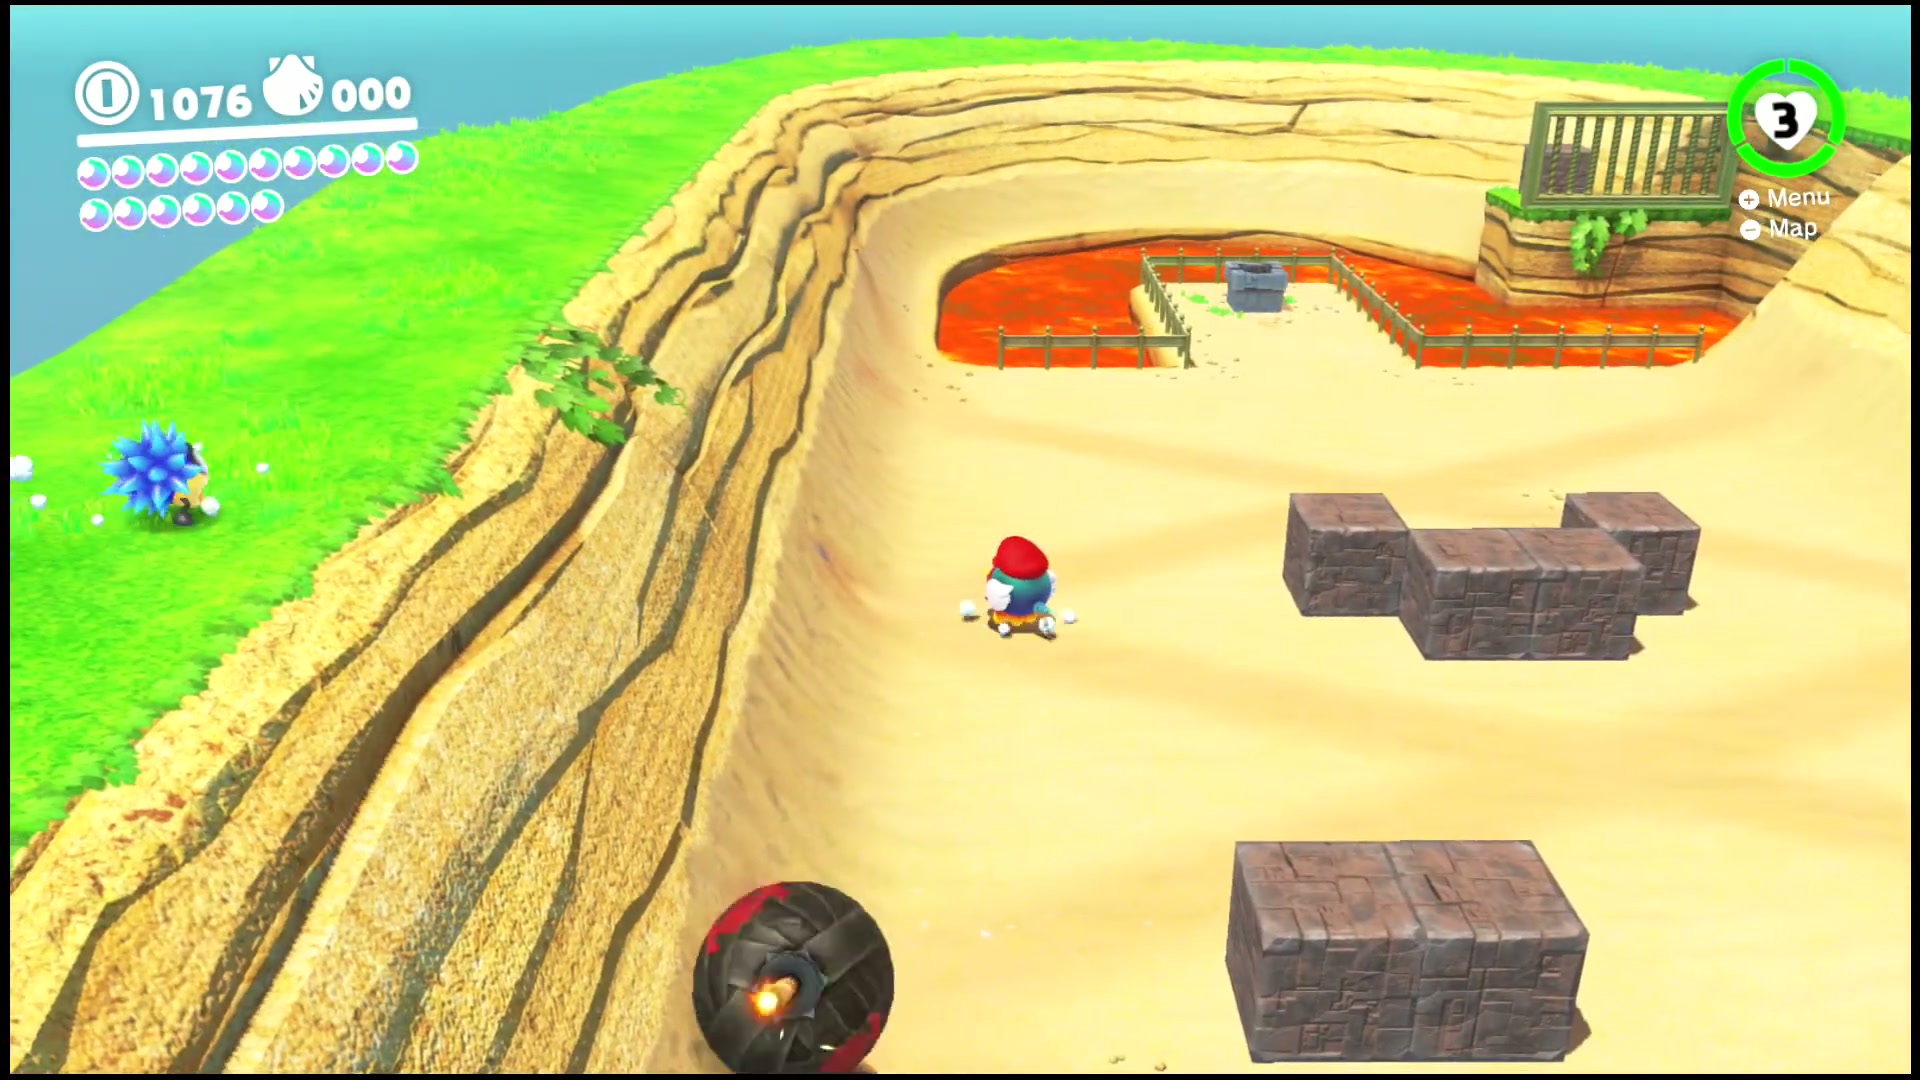
Drop into the hidden sand-and-lava chamber and work across the brick platforms. Poke the panels to open the way forward, then reach the Power Moon past the lava.
Poke! Roll!
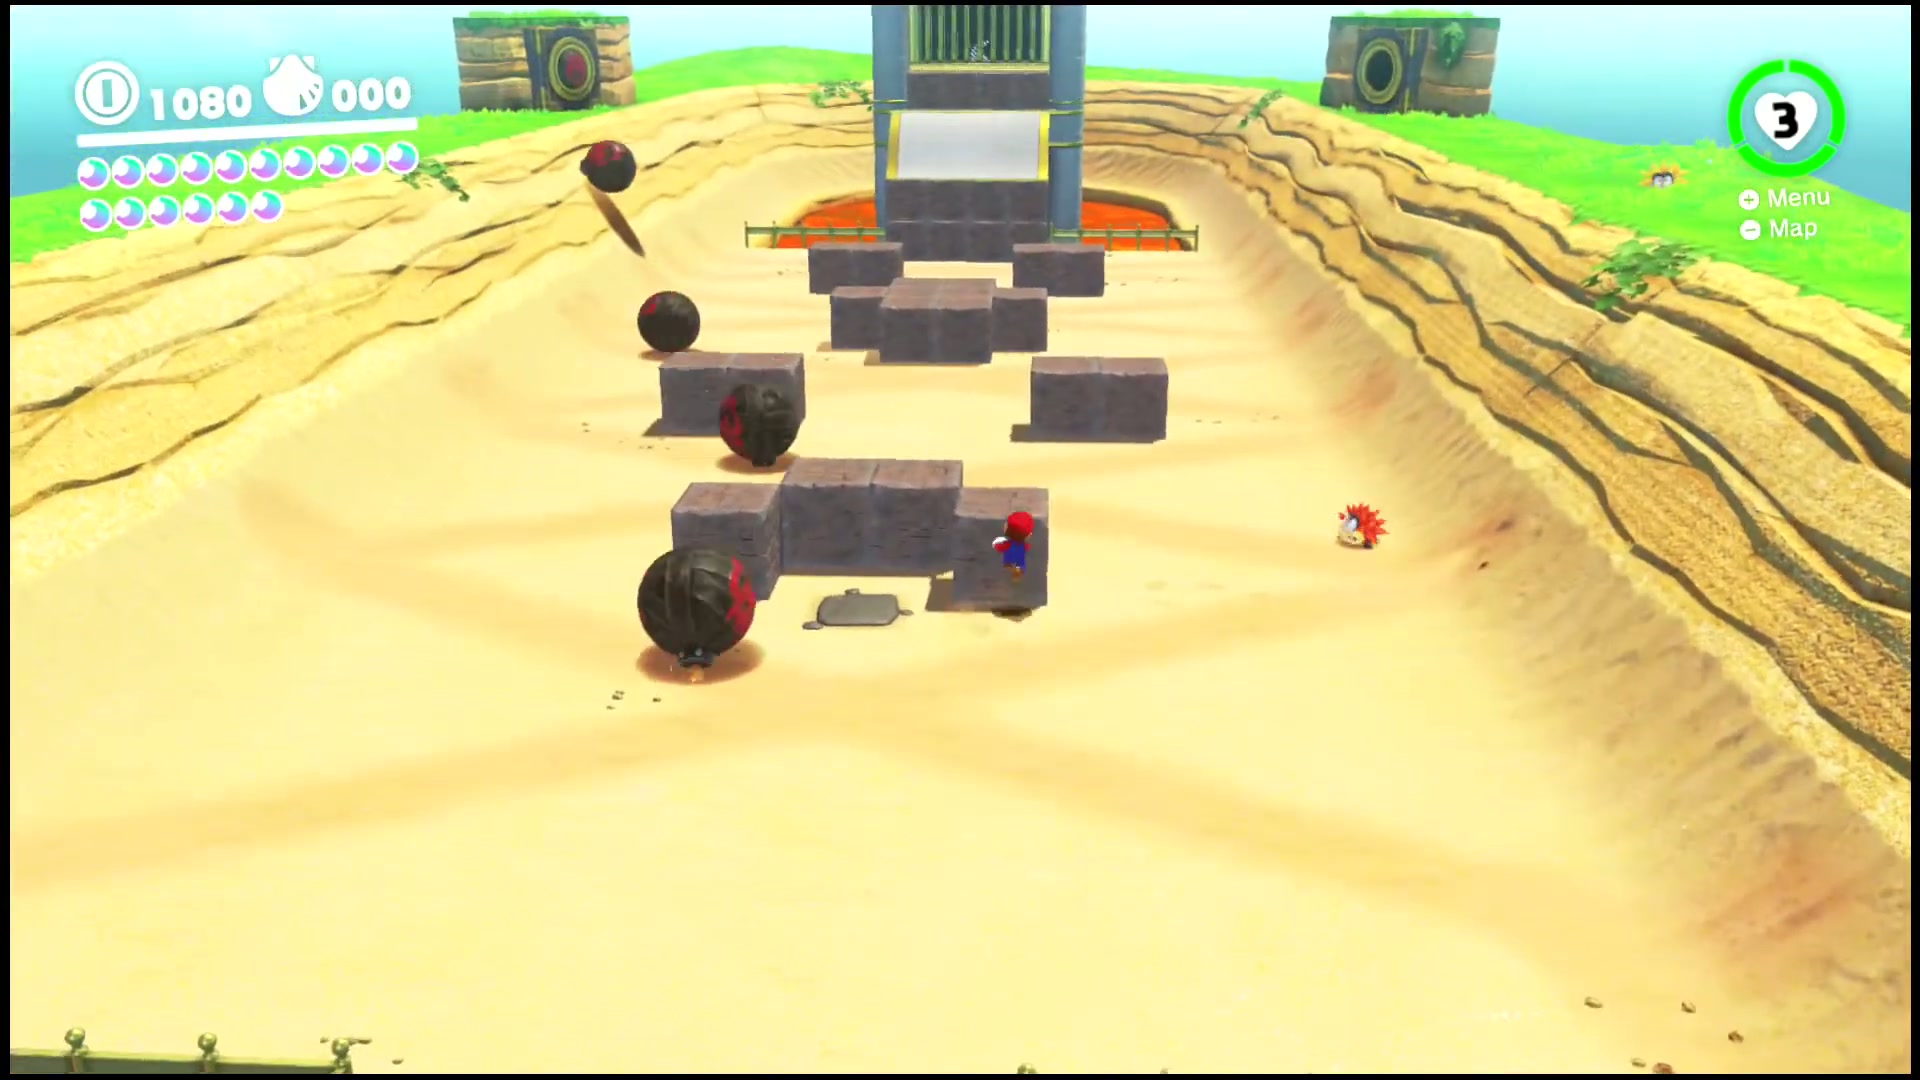
Back in the sand-and-lava chamber, dodge the boulders rolling along the tracks. Time your moves between them and poke your way across to grab the Power Moon.
The Spinning Maze: Search!
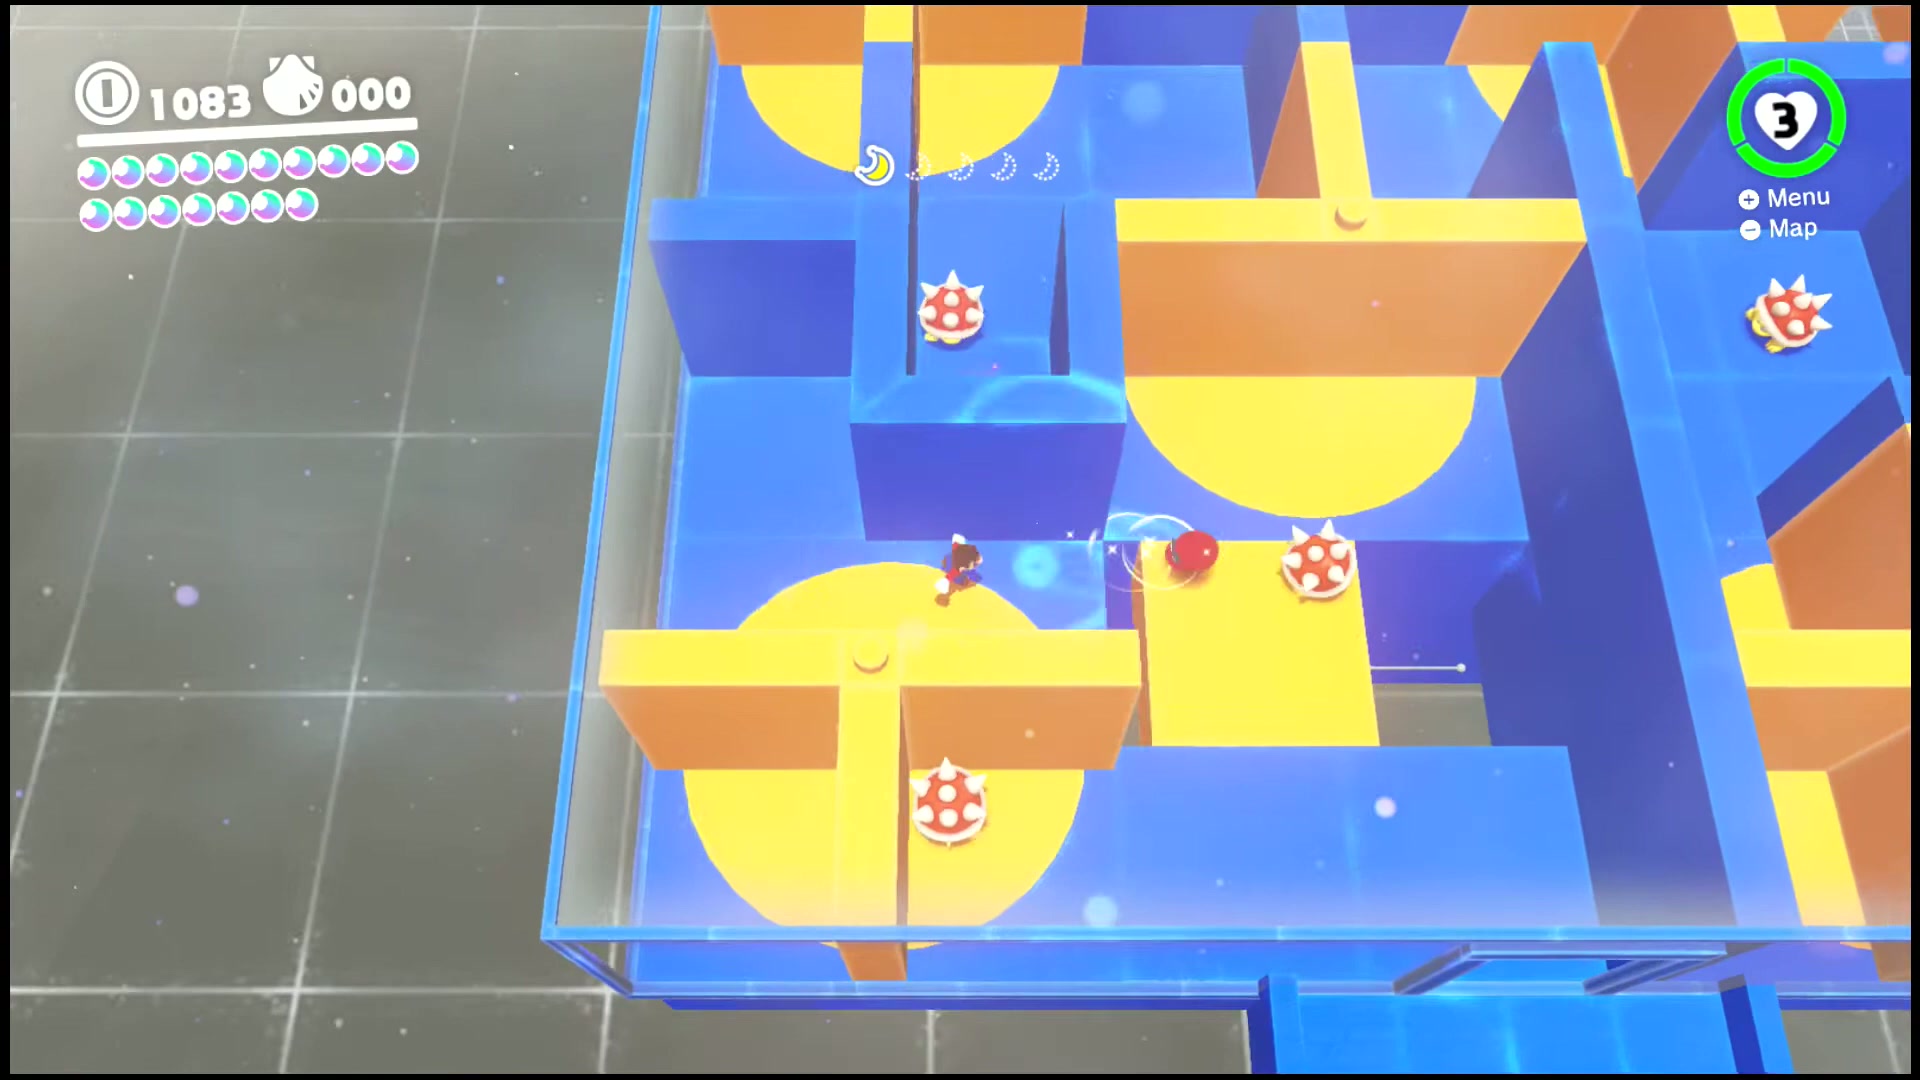
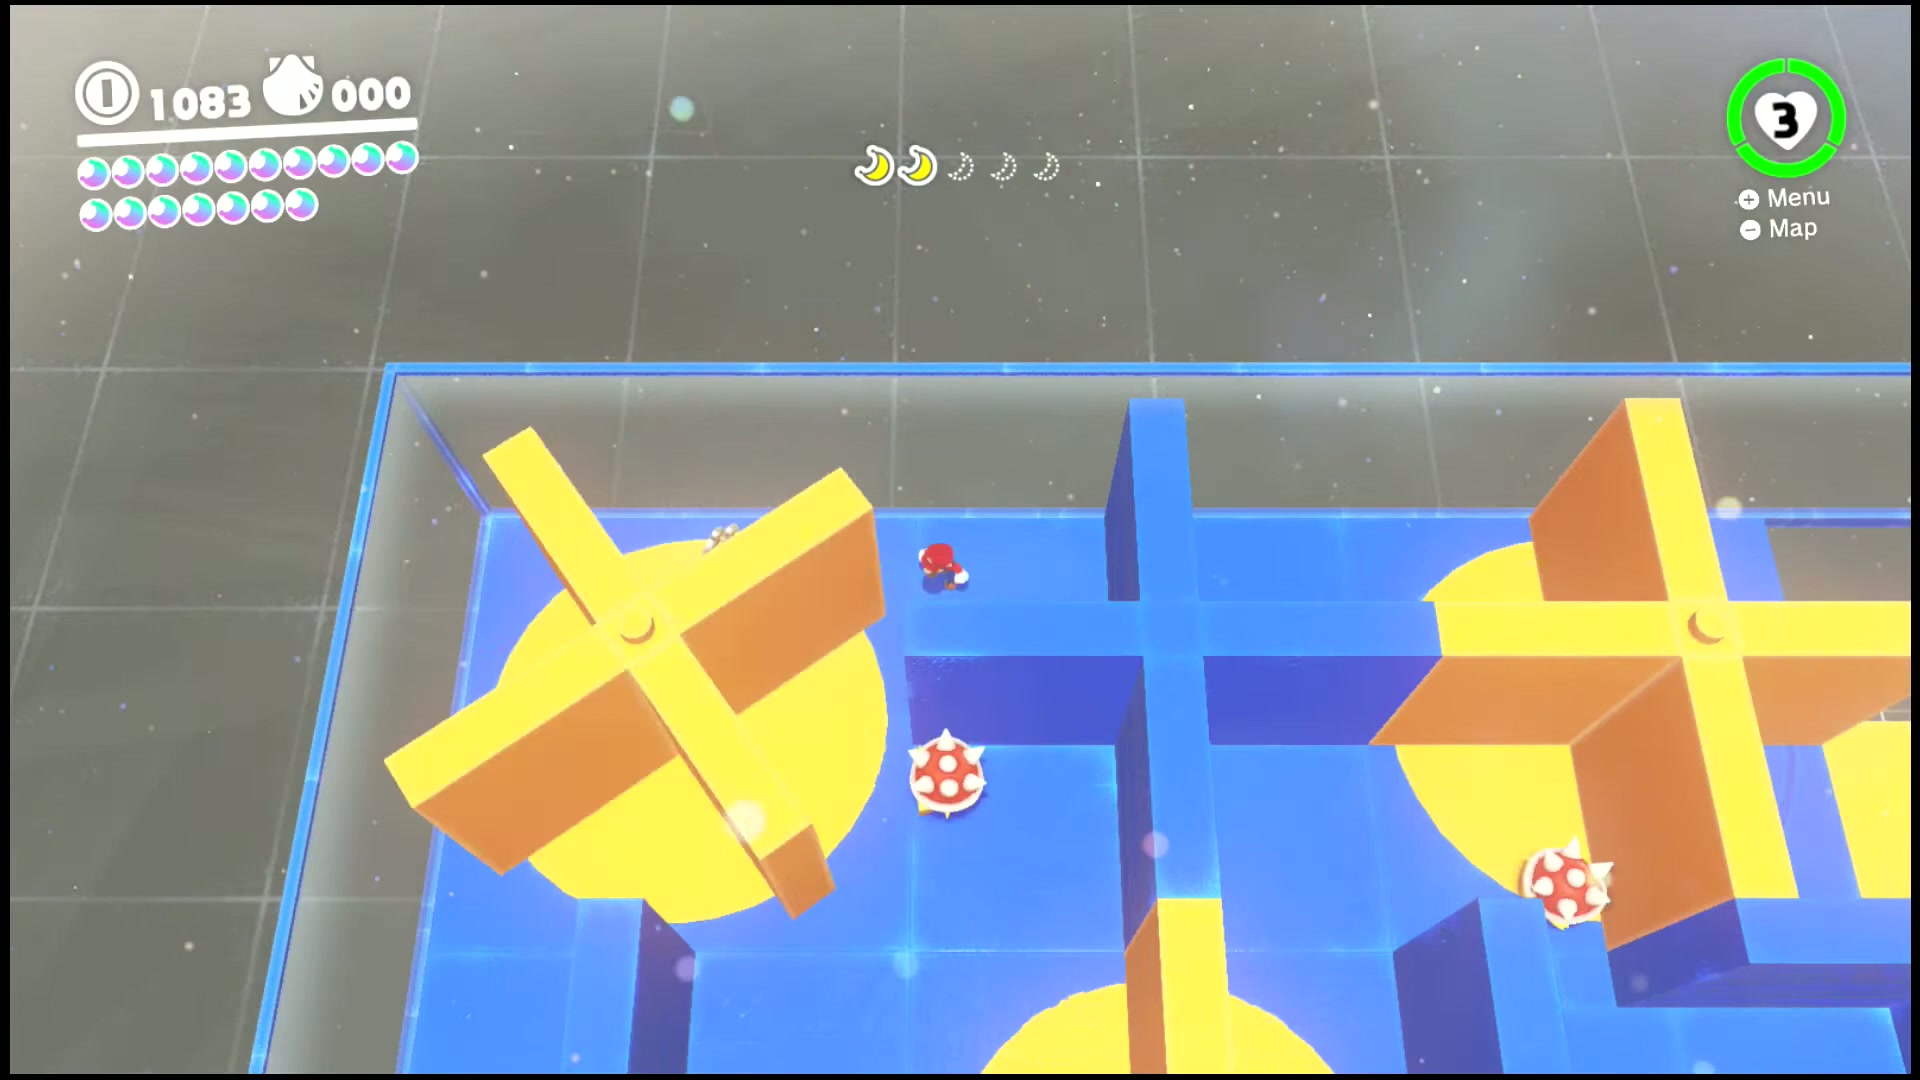
Enter the rotating maze and weave between the spinning platforms and spike traps. Search every corner of the shifting walls to find the hidden Power Moon.
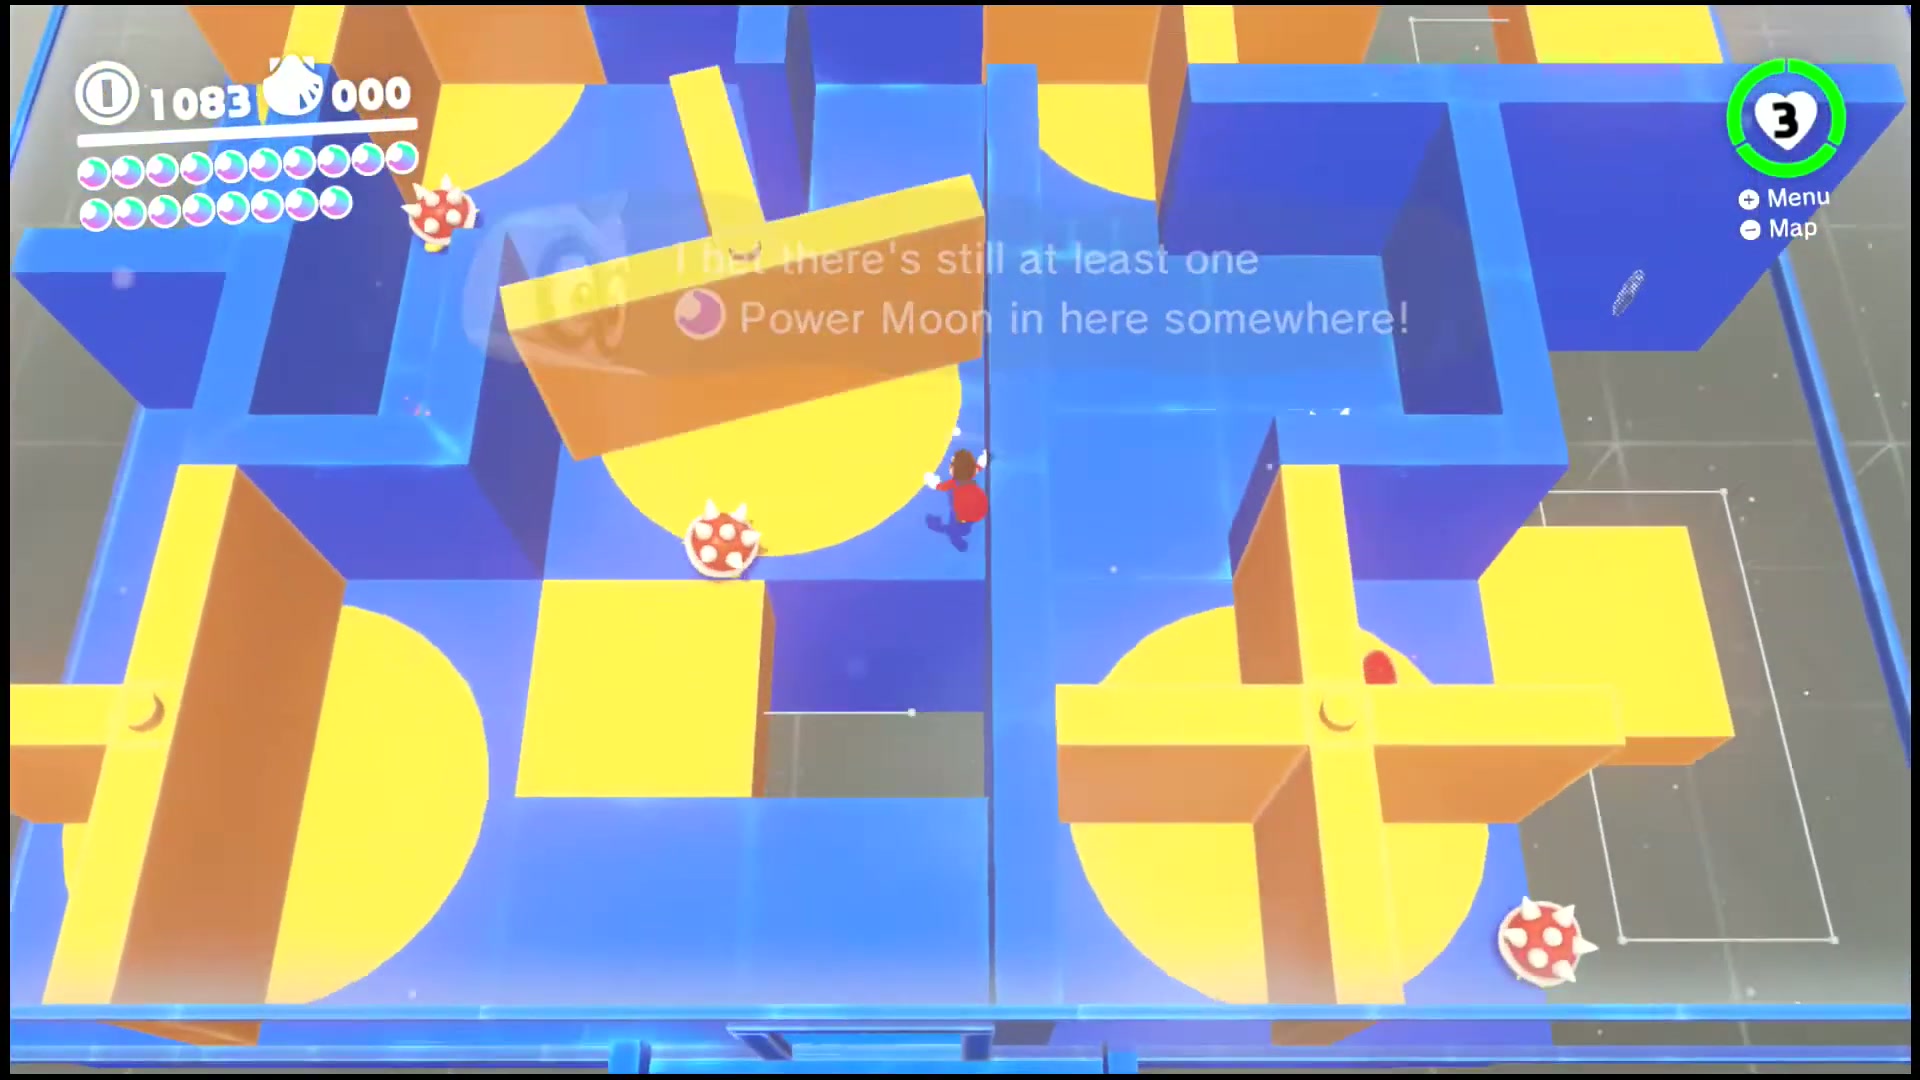
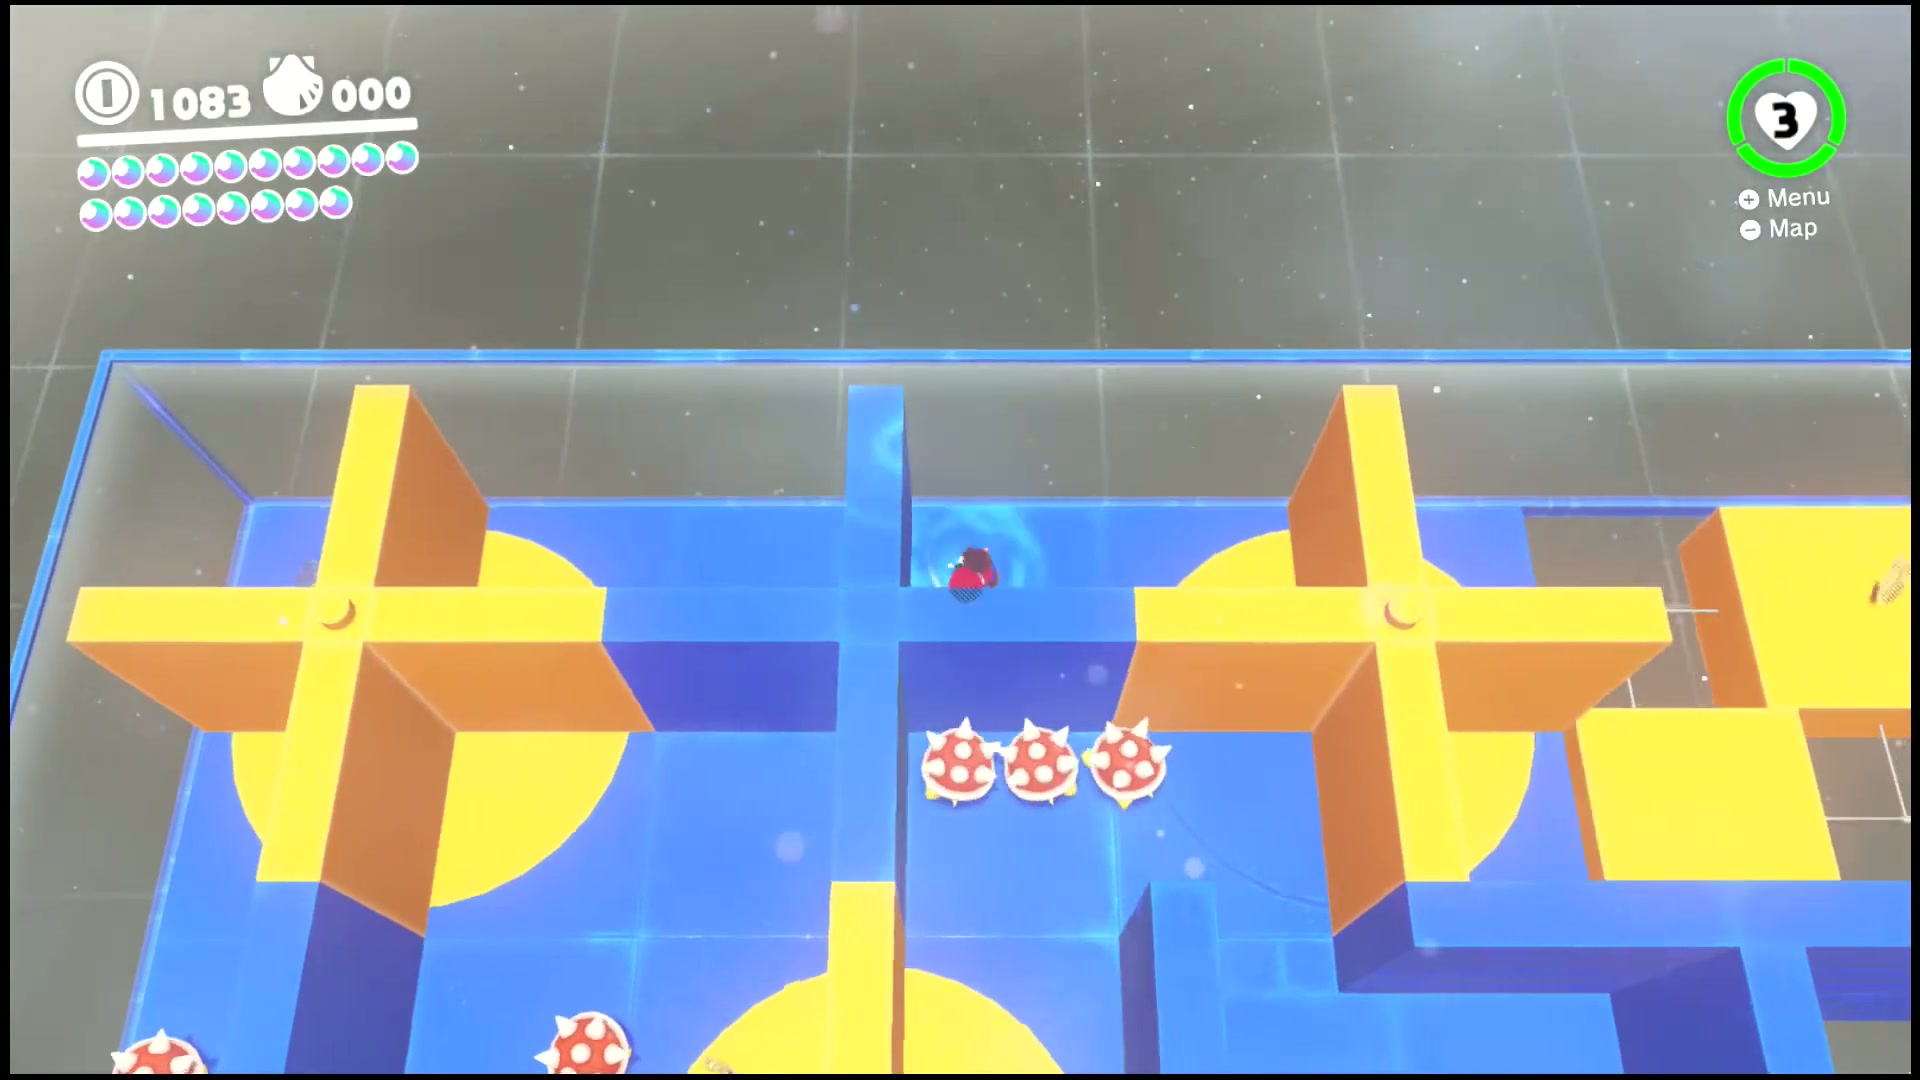
The Spinning Maze: Open!
Return to the spinning maze and make your way to the sealed section. Open it up and clear the rotating obstacles to claim the last Seaside Kingdom Power Moon.
Image Sources and Credits
Moon names, checklist order and reference screenshots are cross-checked against Super Mario Wiki and the in-game Seaside Kingdom list order. Each uploaded media item includes source page credit in WordPress.
More Super Mario Odyssey videos are available on The Gaming Guide Archives YouTube channel.
FAQ
How many Power Moons are in
Seaside Kingdom has 71 listed Power Moons.
Can every Seaside Kingdom moon be collected on the first visit?
No. Some moons require later story progress, post-game access, Moon Rock unlocks, races, shop access, NPC conditions or challenge rooms.
What is the best way to clean up
Work by area and checkpoint. Clear nearby moons together, then use the Moon Rock markers and this checklist for the late cleanup pass.