
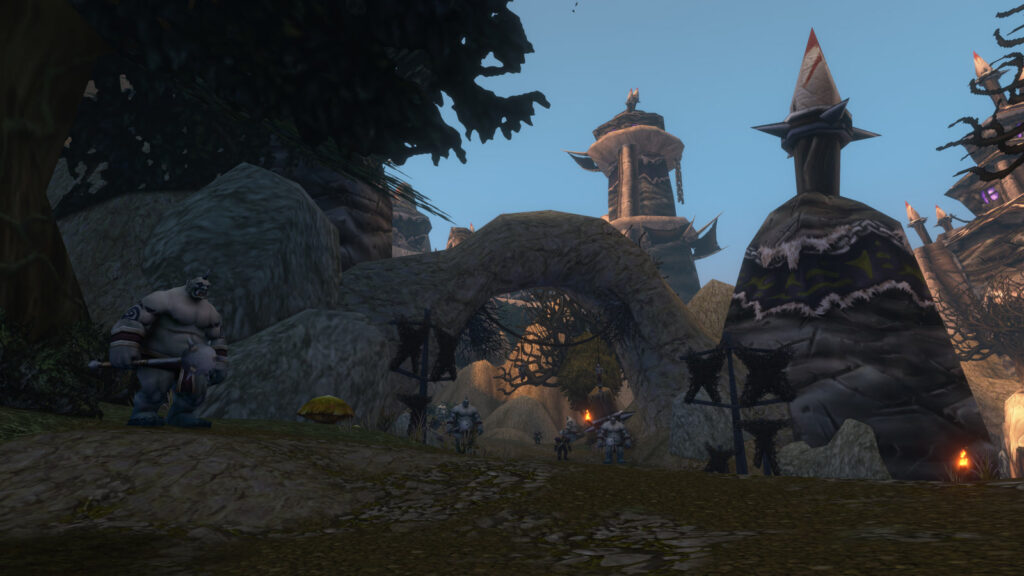
Find Krol’dok Stronghold in the Riverglades, prepare the live dungeon quests and follow the safest route through all five journal encounters from Slavecrusher Grox to Mugg. The encounter journal calls the final fight Overseer Mugg, while the current live nameplate reads Overlord Mugg.
Quick Overview
| Game | World of Warcraft: Forever |
|---|---|
| Factions | Alliance and Horde |
| Location | Northern Riverglades; use the cave west of the main Krol’dok fortress gates |
| Level range | Blizzard lists 40-45; current launch databases expose a broader 40-47 finder range |
| Bosses | Slavecrusher Grox, Twilight Commander Zarmok, Handler Ashka, Nar’gurk and Overseer Mugg |
| Group | 5 players: tank, healer and three damage dealers |
| Main risks | Wide patrol lanes, cultist casts, beast Fear, player mind control and Mugg’s escalating attack speed |
Before You Start
Prepare for a long outdoor stronghold with several open intersections and an optional quest detour.
- A balanced level 42 or higher group is a comfortable first-clear target. Bring at least two reliable interrupts and one form of humanoid crowd control.
- Fear removal, Tremor Totem or fast dispels help at Handler Ashka. Nar’gurk also requires controlled damage rather than uncontrolled cleave.
- Repair, empty several bag slots and carry food and water. The route climbs through multiple compounds, so a wipe near the top costs time.
- Current public records list five quest titles for this dungeon: A Token of Vengeance, Eye of Mugg, Tome of Twilight, Twilight Mementos and Vengeance of the Highborne. Faction variants and giver locations are still being completed in public databases.
- Early clear videos include named side enemies such as Tunk and Zalfan Moonshadow. They are not replacements for the five journal encounters; take their side route only when your quest log needs it.
Krol’dok Stronghold Route at a Glance
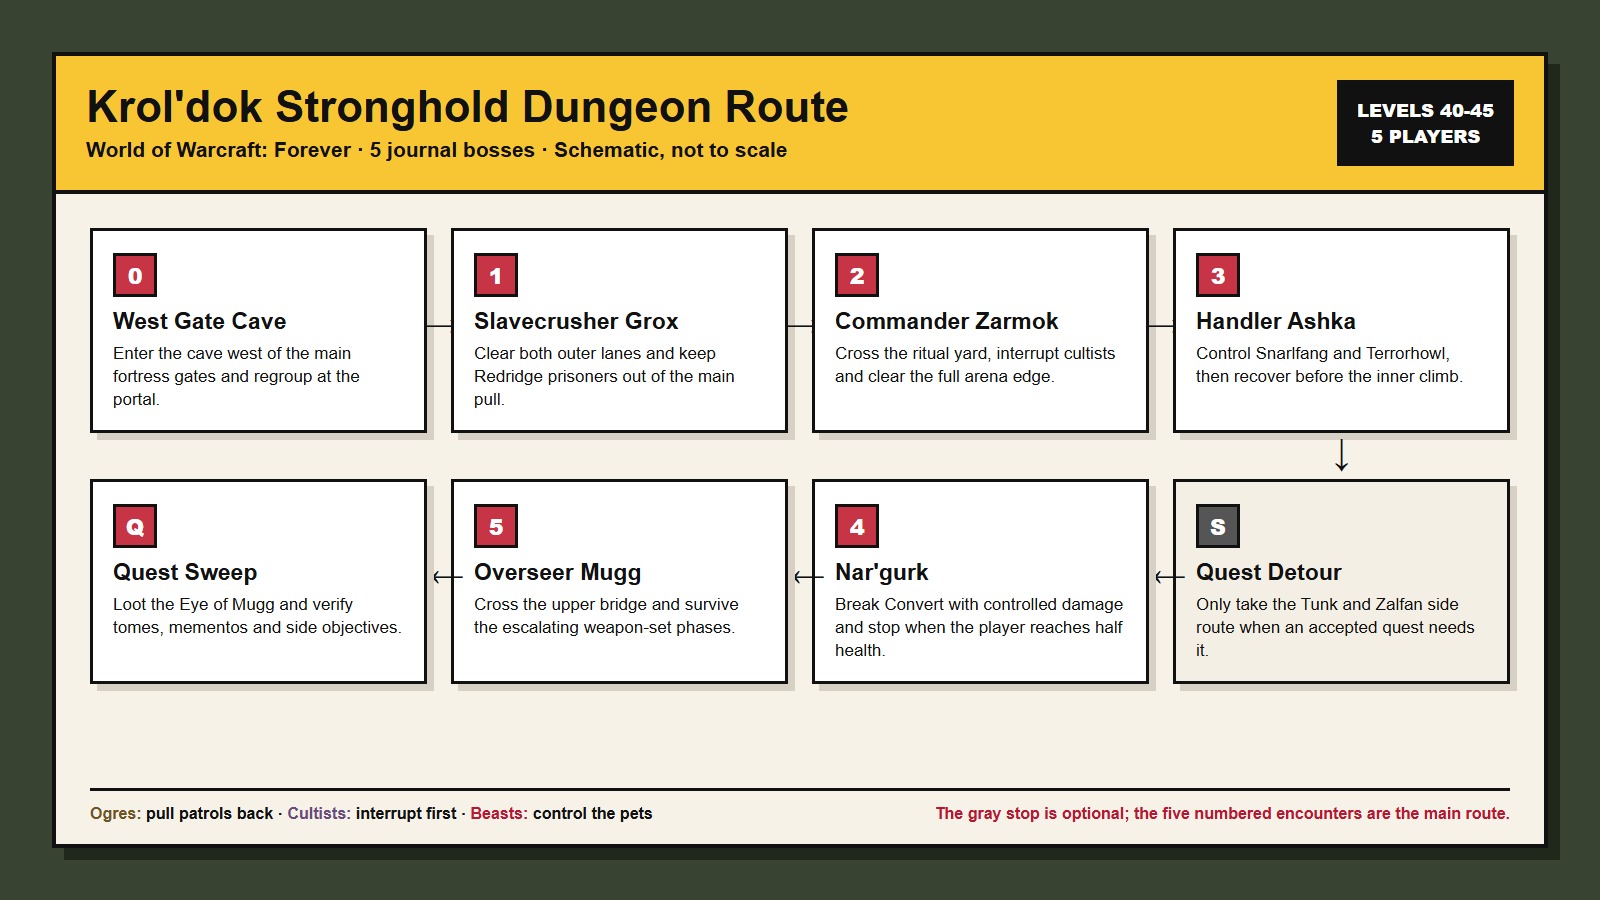
Follow the uphill main route, adding the side compound only when an accepted quest requires it.
Travel north through Riverglades and enter the cave west of the large fortress gates.
Pull patrols into cleared ground and finish every prisoner objective before climbing.
Interrupt cultists, clear both arena edges and keep the boss away from extra packs.
Keep Snarlfang and Terrorhowl controlled while the group handles Fear and focused commands.
Take the side compound only for a matching quest objective, then return to the uphill road.
Damage the controlled player to half health without killing them, then interrupt Shadow pressure.
Save tank cooldowns for the accelerating weapon phases and finish the final arena cleanly.
Loot the Eye of Mugg and verify every tome, memento and side objective before leaving.
Krol’dok Stronghold Dungeon Map
This original schematic separates the five journal encounters from the optional quest detour seen in early live clears.
Riverglades Travel and Quest Prep by Faction
Choose your faction for the most direct current route to northern Riverglades and the safest quest check.
Alliance Route
Fly to Farholde Keep at approximately 60.6, 81.6, then follow the main road north toward Sunnyglade and the Krol’dok hills.
- Use the cave west of the visible fortress gates; current entrance footage and live reports place it around 37.5, 37.5.
- Check Farholde Keep and the Riverglades quest chain before leaving the Alliance hub.
- Accept any available Tome of Twilight, Twilight Mementos, A Token of Vengeance, Vengeance of the Highborne or Eye of Mugg objective. Public giver data is still incomplete, so the accepted quest log is the final authority.
Horde Route
Fly to Rog’mar at approximately 59.6, 45.0, then ride northwest and north toward the Krol’dok hills. Powderfuse Port is a useful alternative when arriving by boat from Tanaris.
- Approach from the main road and turn into the cave west of the large fortress gates around 37.5, 37.5.
- Check Rog’mar and your active Riverglades chain before riding to the dungeon.
- Accept any available Tome of Twilight, Twilight Mementos, A Token of Vengeance, Vengeance of the Highborne or Eye of Mugg objective. Some records have faction variants, so do not rely on another faction’s giver location.
Stage 1 of 8
Reach the West Gate Cave in Northern Riverglades
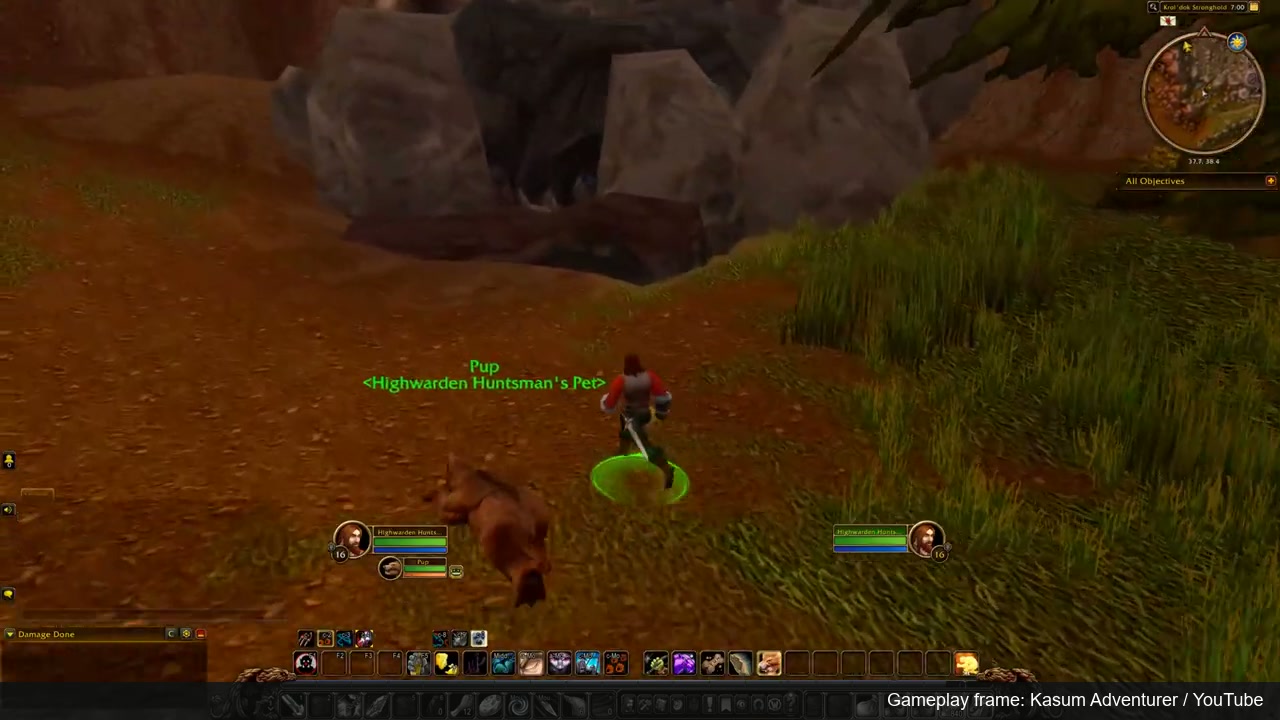
The portal is inside a side cave west of the imposing fortress gates, not through the gate itself.
- Set Farholde Keep or Rog’mar as your last repair and supply stop, then ride toward northern Riverglades.
- At the Krol’dok fortress, ignore the large front gate and look west for the cave entrance near 37.5, 37.5.
- Follow the tunnel without taking side openings. The instance portal is deeper inside the rock passage.
- Regroup before zoning in and compare every accepted dungeon quest with the five names in the preparation section.
Common mistake: Trying to force a route through the visible fortress gate. The dungeon portal is reached through the western cave, so turn away from the gate before climbing higher.
Stage 2 of 8
Clear the Outer Compound and Slavecrusher Grox
The opening area uses broad patrol lanes and prisoner groups to punish pulls made in the middle of the road.
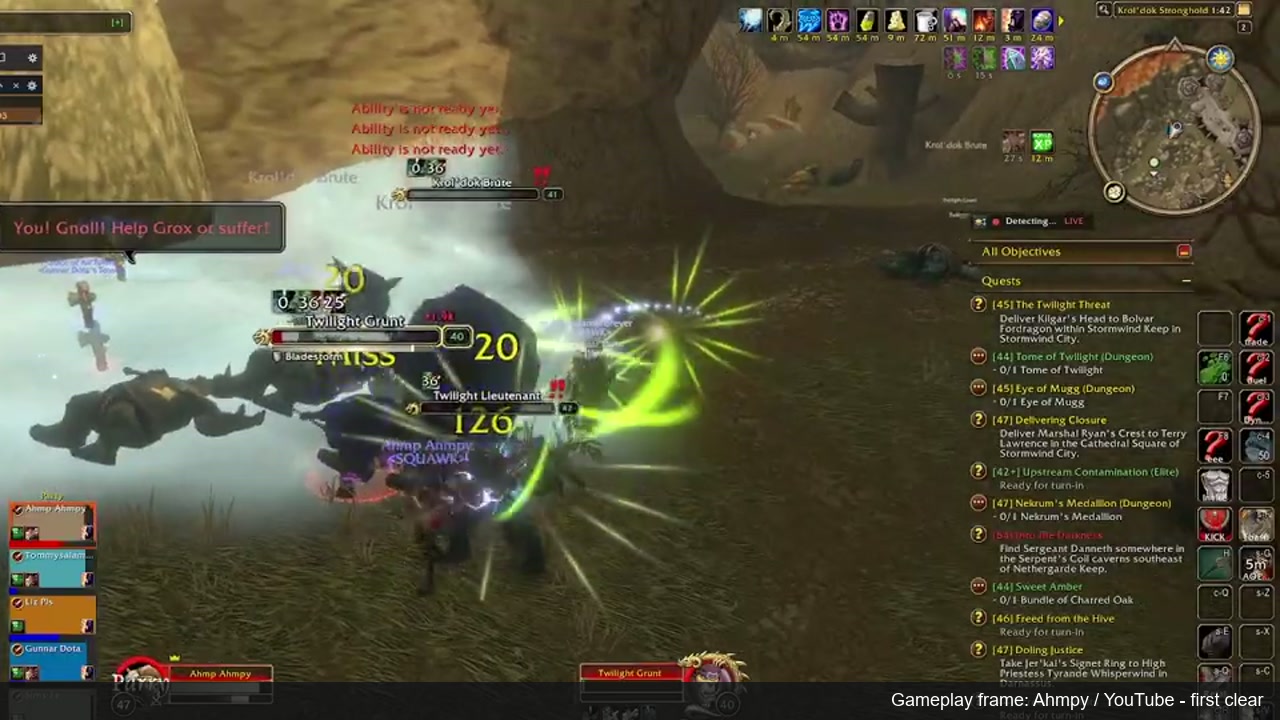
- Enter the outer compound and clear one edge at a time. Use the rock corners as pull-back points instead of fighting in the center lane.
- Interrupt ogre casters and Twilight cultists before using area damage. Some fortress abilities can draw nearby Redridge prisoners into combat.
- Finish any prisoner, token or memento objective visible in this lower compound before moving uphill.
- Clear Slavecrusher Grox’s full patrol space, place the boss against the outer wall and keep the group on the already-cleared side.
Common mistake: Chasing a fleeing or repositioning enemy into the next lane. Hold the cleared corner and let the tank bring the target back.
Stage 3 of 8
Cross the Ritual Yard to Twilight Commander Zarmok
The second journal encounter sits among Twilight forces and overlapping open-yard patrols.
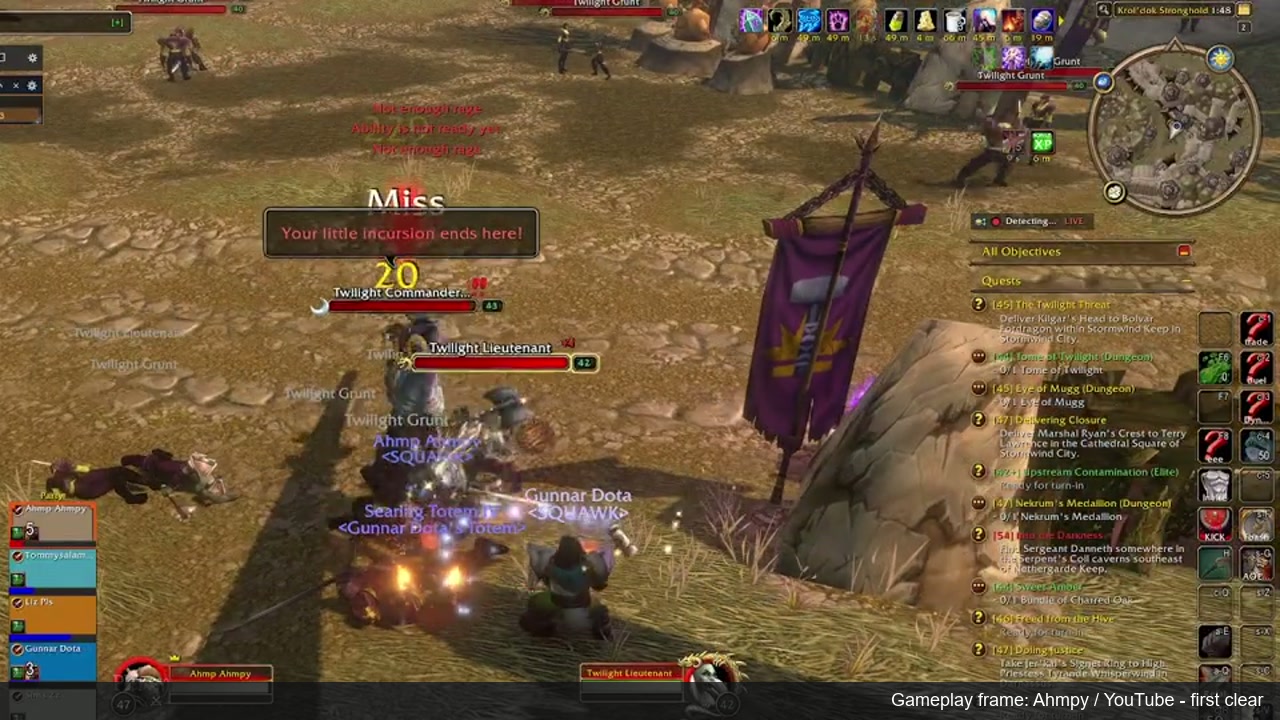
- Follow the uphill road until the architecture changes from ogre labor camps to purple-lit Twilight structures.
- Pull the outer cultists into the previous lane. Mark one caster for interrupts and crowd-control a second when the pack is large.
- Clear both sides of Zarmok’s arena, including any patrol that can walk behind the healer.
- Tank Zarmok on the cleared edge, interrupt dangerous casts and step out of visible ground effects without spreading into uncleared space.
Common mistake: Pulling Zarmok as soon as the commander is visible. The arena is wide enough for a side patrol to join after the fight has started.
Stage 4 of 8
Control Handler Ashka, Snarlfang and Terrorhowl
The journal’s third encounter is a handler fight built around two beasts, focused commands and a large-radius Fear.
- Continue from Zarmok into the beast-handling section and clear every nearby beast pack before engaging Ashka.
- Assign one player to watch Snarlfang and Terrorhowl. Stuns, roots or other control reduce simultaneous tank pressure while the group establishes the pull.
- When Ashka uses Command: Kill!, use a defensive on the selected player and focus the commanded beast if it becomes vulnerable or breaks control.
- Prepare for Frightening Howl. Use Fear removal or Tremor Totem where available, and keep the party away from uncleared paths before the cast.
Common mistake: Stacking the entire party beside an uncleared exit when the Fear lands. Clear the room perimeter first and fight with a safe wall behind the group.
Stage 5 of 8
Take the Optional Tunk and Zalfan Quest Detour
Early live clears enter a side compound for named enemies that are not part of the five-boss journal order.
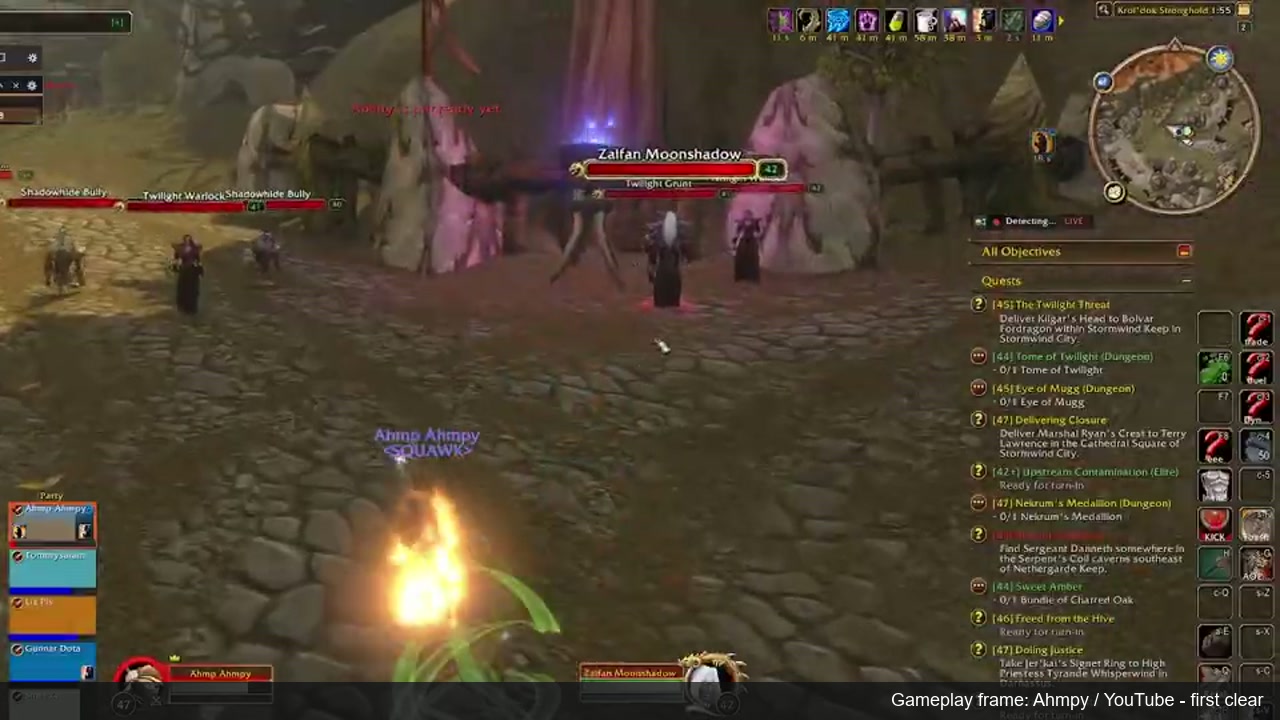
- Stop at the side-road junction after Ashka and read every party member’s quest objectives.
- If no accepted quest names Tunk, Zalfan Moonshadow or an object in their compound, remain on the main uphill route.
- If the detour is needed, clear the side lane from the junction inward. Defeat Tunk before pushing deeper toward the purple ritual focus and Zalfan.
- Confirm the objective update, then return to the same junction. Do not continue along an unverified side wall looking for Nar’gurk.
Common mistake: Counting Tunk or Zalfan as the missing third journal boss. Handler Ashka is the third boss; these named enemies belong to the optional side route seen in early clears.
Stage 6 of 8
Break Nar’gurk’s Convert Without Killing the Player
The fourth journal encounter turns a party member hostile until controlled damage reduces them to half health.
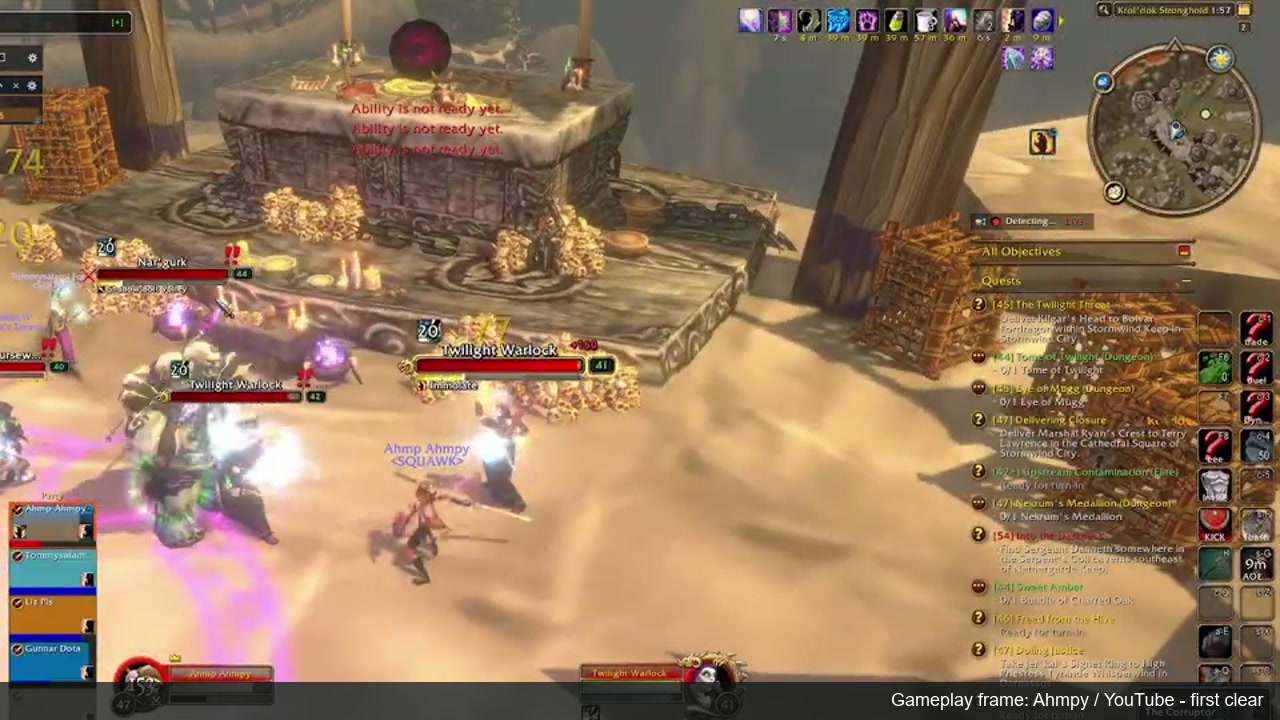
- Return from the optional side compound and follow the main road into the inner ritual area.
- Clear every cultist around Nar’gurk’s platform. Leave enough open space for the group to separate from a converted player.
- When Convert takes control of a player, stop area damage and use controlled single-target attacks until that player reaches roughly 50 percent health.
- Resume Nar’gurk damage after the control ends. Interrupt or mitigate Shadow Infusion pressure and heal the freed player before the next dangerous cast.
Common mistake: Treating the converted player like an ordinary add. Convert ends at half health; burst damage or lingering area effects can kill your own teammate.
Stage 7 of 8
Cross the Upper Bridge and Defeat Mugg
The final climb ends inside Mugg’s upper stronghold, where weapon sets increase damage and repeated hits accelerate the boss. The encounter journal uses Overseer Mugg; the live nameplate in current footage uses Overlord Mugg.
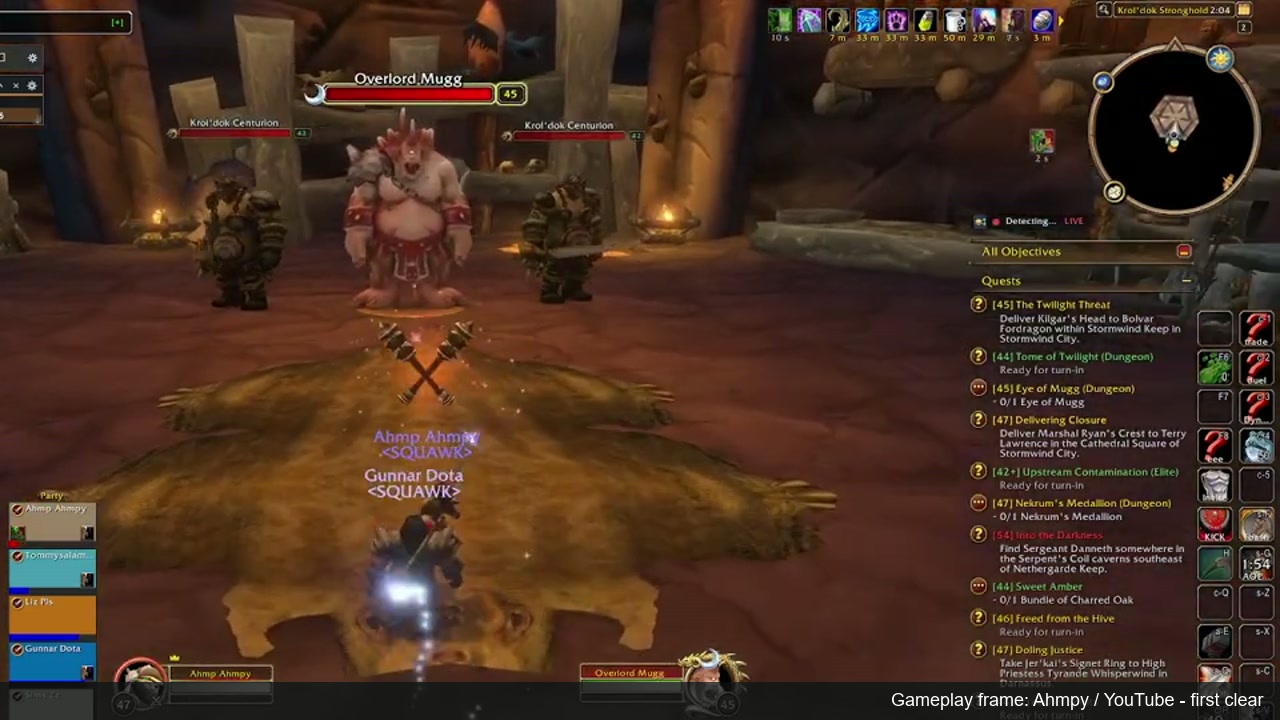
- Restore mana before crossing the upper bridge. Pull bridge enemies back to solid ground so knockbacks or runners do not split the party.
- At the final hall, clear the doorway and both nearby packs before attacking Mugg.
- Mugg alternates between a set of maces and a heavier set of mauls. Current spell data assigns the larger damage bonus to the maul set, so tanks save their strongest mitigation for it.
- Mugg’s Fury increases attack speed as the boss continues landing hits. Healers prepare for rising tank damage, while damage dealers finish each weapon phase quickly without pulling threat.
- Loot Mugg personally if Eye of Mugg is active; the Eye is a quest trophy, not automatic completion for an unlooted player.
Common mistake: Using every tank cooldown at the pull. Mugg becomes more dangerous as Fury accelerates, especially during the maul set, so stagger mitigation through the later phase.
Stage 8 of 8
Complete the Final Quest and Loot Check
Stay inside until all five journal bosses and every accepted dungeon objective are confirmed.
- Loot Mugg and verify that Eye of Mugg updated for every eligible party member.
- Check Tome of Twilight and Twilight Mementos before leaving; these objectives may complete from objects or drops collected earlier in the route.
- Verify A Token of Vengeance and Vengeance of the Highborne. If a side objective is incomplete, use the map to return to the Tunk and Zalfan junction as a full group.
- Confirm that the journal shows Slavecrusher Grox, Twilight Commander Zarmok, Handler Ashka, Nar’gurk and Overseer Mugg complete. The last boss may still appear as Overlord Mugg on the in-world nameplate.
Common mistake: Leaving when Mugg dies without checking the optional side objective. Boss completion and quest completion are separate checks.
Krol’dok Stronghold Dungeon FAQ
What level is Krol’dok Stronghold in WoW Forever?
Blizzard’s corrected range is levels 40-45. Some launch databases expose a 40-47 finder range, but level 42 or higher is a comfortable target for a first full clear.
Where is the Krol’dok Stronghold entrance?
The dungeon is in northern Riverglades. Approach the large fortress, then enter the cave west of the main gates around 37.5, 37.5. The portal is deeper inside that cave.
How many bosses are in Krol’dok Stronghold?
The launch journal lists five in order: Slavecrusher Grox, Twilight Commander Zarmok, Handler Ashka, Nar’gurk and Overseer Mugg.
Which Krol’dok Stronghold quests should I bring?
Current public records list A Token of Vengeance, Eye of Mugg, Tome of Twilight, Twilight Mementos and Vengeance of the Highborne. Availability and giver locations can differ by faction, so check your Riverglades hub and quest log before entering.
Are Tunk and Zalfan Moonshadow Krol’dok bosses?
They appear as named enemies on an optional side route in early live clears, but they are not among the five journal encounters. Visit their compound only when an accepted quest requires it.
How do I handle Handler Ashka?
Control or focus Snarlfang and Terrorhowl, protect the target of Command: Kill! and prepare Fear removal for Frightening Howl. Clear the room perimeter before pulling so feared players do not reach another pack.
How do I break Nar’gurk’s Convert?
Stop uncontrolled area damage and deliberately reduce the converted player to about half health. Convert ends there; continued burst damage can kill your teammate.
Why does Mugg hit faster during the fight?
Mugg’s Fury accelerates his attacks as he continues landing hits, while his weapon sets raise damage by different amounts. Save tank mitigation and healer cooldowns for the later, faster portion of the encounter. Current records call the encounter Overseer Mugg, while the live nameplate can read Overlord Mugg.